Saludos queridos amigos de NEEDLEWORKMONDAY, ya casi fin de semana y que mejor que dedicarme a lo que mas me gusta, mis costuras ☺️, deseo que tengamos muchas energías y buenas vibras para lograr todos nuestros proyectos de costura y agujas 🪡 🥰❤️
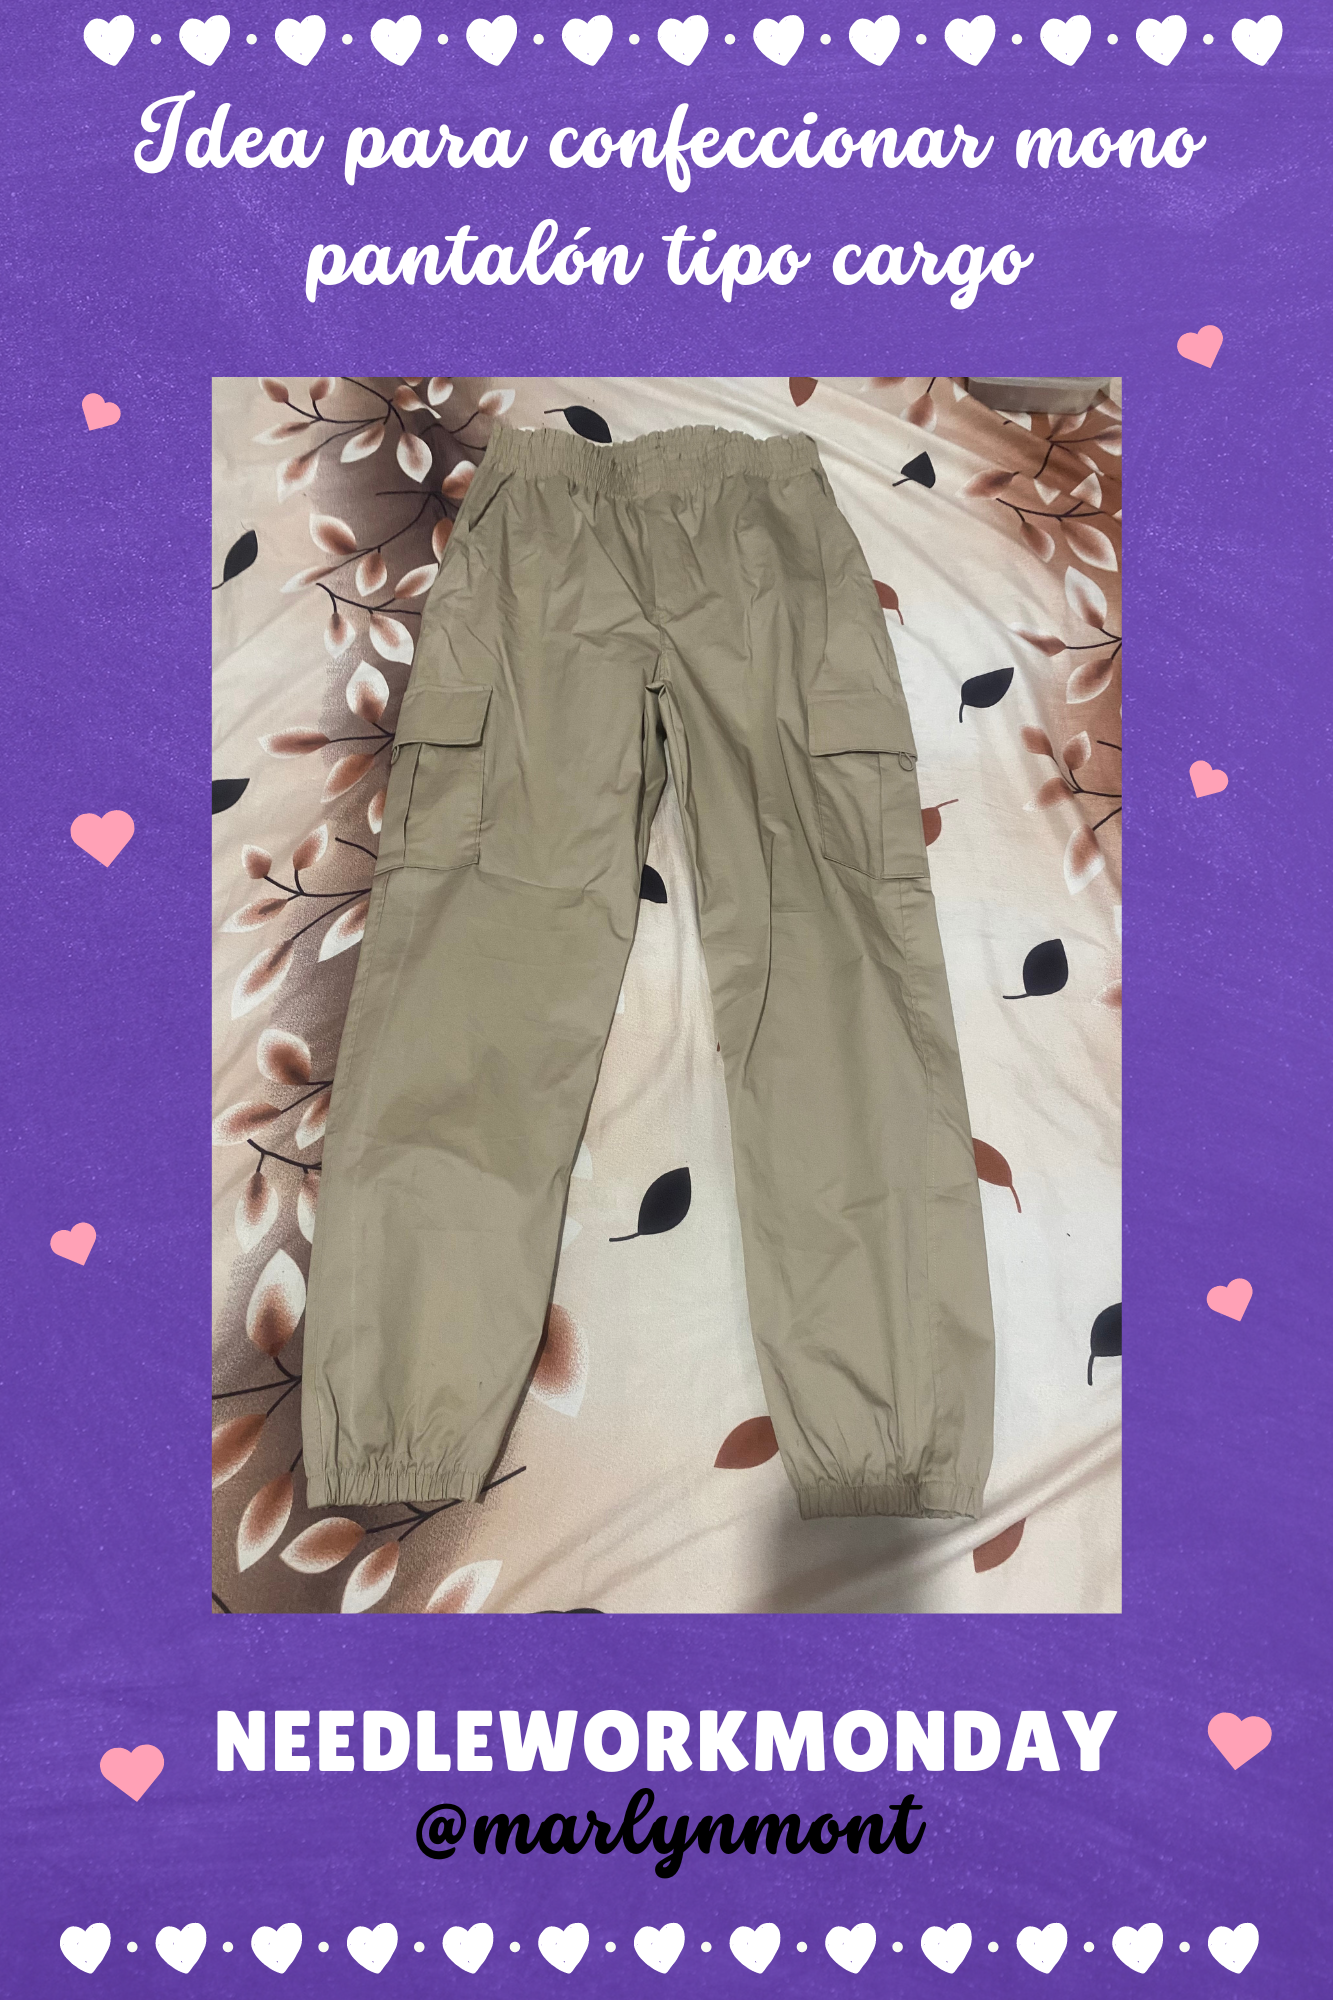
Aprovechando que ya mis hijos están de vacaciones en sus estudios he tratado de dedicarme a mis costuras, y a todos esos proyectos que tengo engavetados y así aprovechar al máximo estas vacaciones, Hoy quiero mostrarles cómo confeccionar un hermoso mono pantalón tipo cargo, ven y te muestro cómo lo hice:
Greetings dear friends of NEEDLEWORKMONDAY, it's almost the weekend and what better way to dedicate myself to what I like the most, my sewing ☺️, I hope we have a lot of energy and good vibes to achieve all our sewing and needle projects 🪡 🥰❤️
Taking advantage of the fact that my children are on vacation from their studies, I have tried to dedicate myself to my sewing, and to all those projects that I have shelved and thus make the most of these vacations. Today I want to show you how to make a beautiful cargo pants jumpsuit, come and I will show you as I did:
➿➿➿➿🧡🪡🧡➿➿➿➿
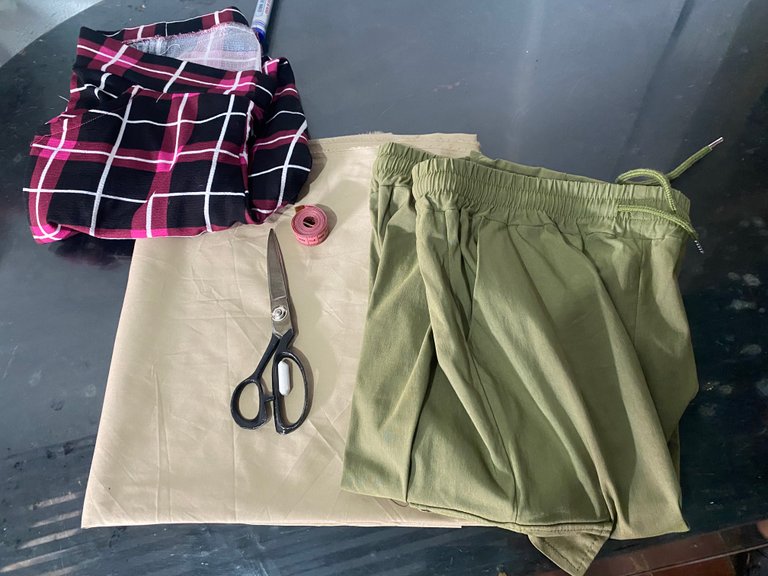
Cada vez que visito la tienda de telas de mi ciudad trato de recorrérmela minuciosamente para poder conseguir esas grandes ofertas que tanto nos encantan, hace una semanas atrás conseguí una hermosa tela en color caquis, estaba junto a diferentes tipos de tela.
Al verla no lo podía creer ya que es como popelina Stretch y este tipo de tela es costosa, llamé a una de las vendedoras y le pedí que me confirmara si esa tela estaba en 1$, y ella me confirmó e inmediatamente le indiqué que me cortara 2 m.
Mi presupuesto para adquirir mis amadas telas no es tan alto, así que siempre logro comprar en pocas cantidades, pero como son proyectos para mí o para mis hijos es más que suficiente y me hace muy feliz.
Desde un principio imaginé hacer un pantalón con esta tela, pero como muchos de mis proyectos por la falta del tiempo ese día llegué a casa y la guardé, pero ahora estoy decidida en culminar todos esos proyectos que tengo guardados y este es uno de ellos, aquí te muestro el procedimiento de cómo lo hice
Every time I visit the fabric store in my city I try to go through it carefully to be able to get those great offers that we love so much. A few weeks ago I got a beautiful fabric in khakis, it was next to different types of fabric.
When I saw it I couldn't believe it since it is like Stretch poplin and this type of fabric is expensive, I called one of the salespeople and asked her to confirm if that fabric was at $1, and she confirmed it and I immediately told her to will cut 2 m.
My budget to purchase my beloved fabrics is not that high, so I always manage to buy in small quantities, but since they are projects for me or my children, it is more than enough and makes me very happy.
From the beginning I imagined making pants with this fabric, but like many of my projects due to lack of time that day I came home and put it away, but now I am determined to finish all those projects that I have saved and this is one of them, Here I show you the procedure of how I did it
➿➿➿➿🧡🪡🧡➿➿➿➿
PASO A PASO
STEP BY STEP
Pantalones tipo cargo hay infinidad de modelos, podemos personalizarlos a nuestro gusto y adaptarlos como mejor podamos, este modelo será con bolsillos a los lados engomado en la cintura y en los puños de las piernas, con bolsillo recto en la parte superior.
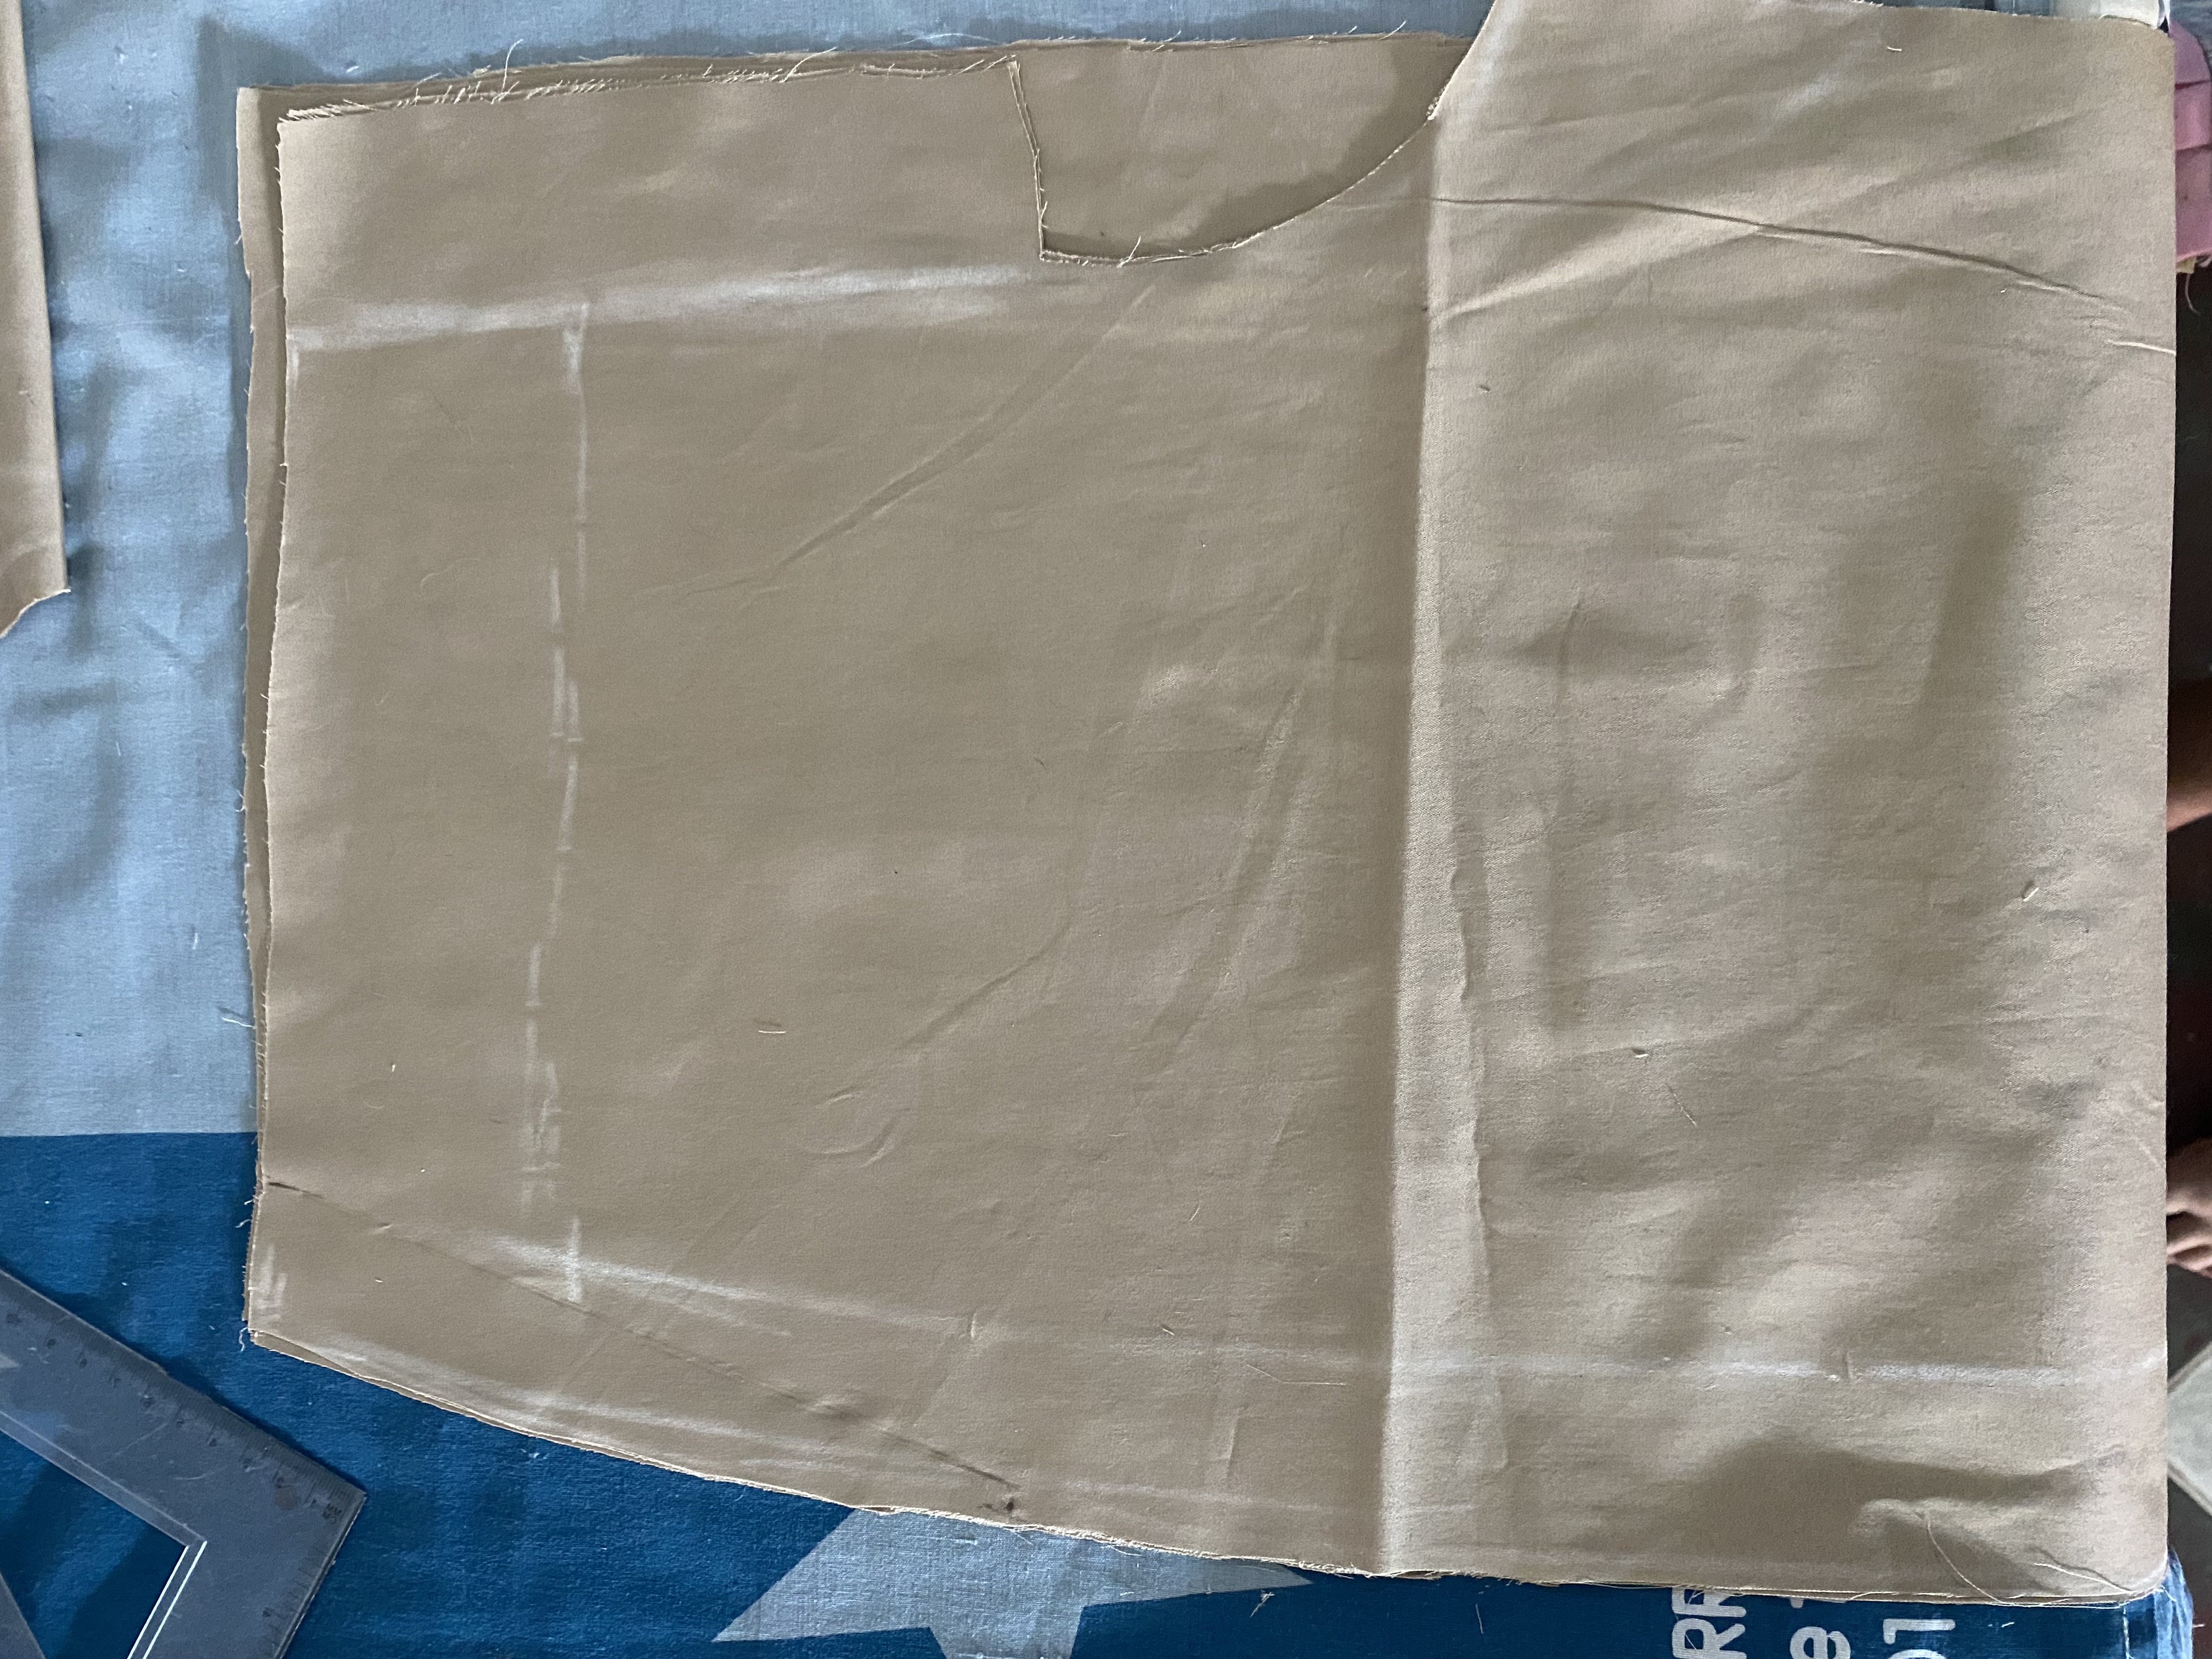
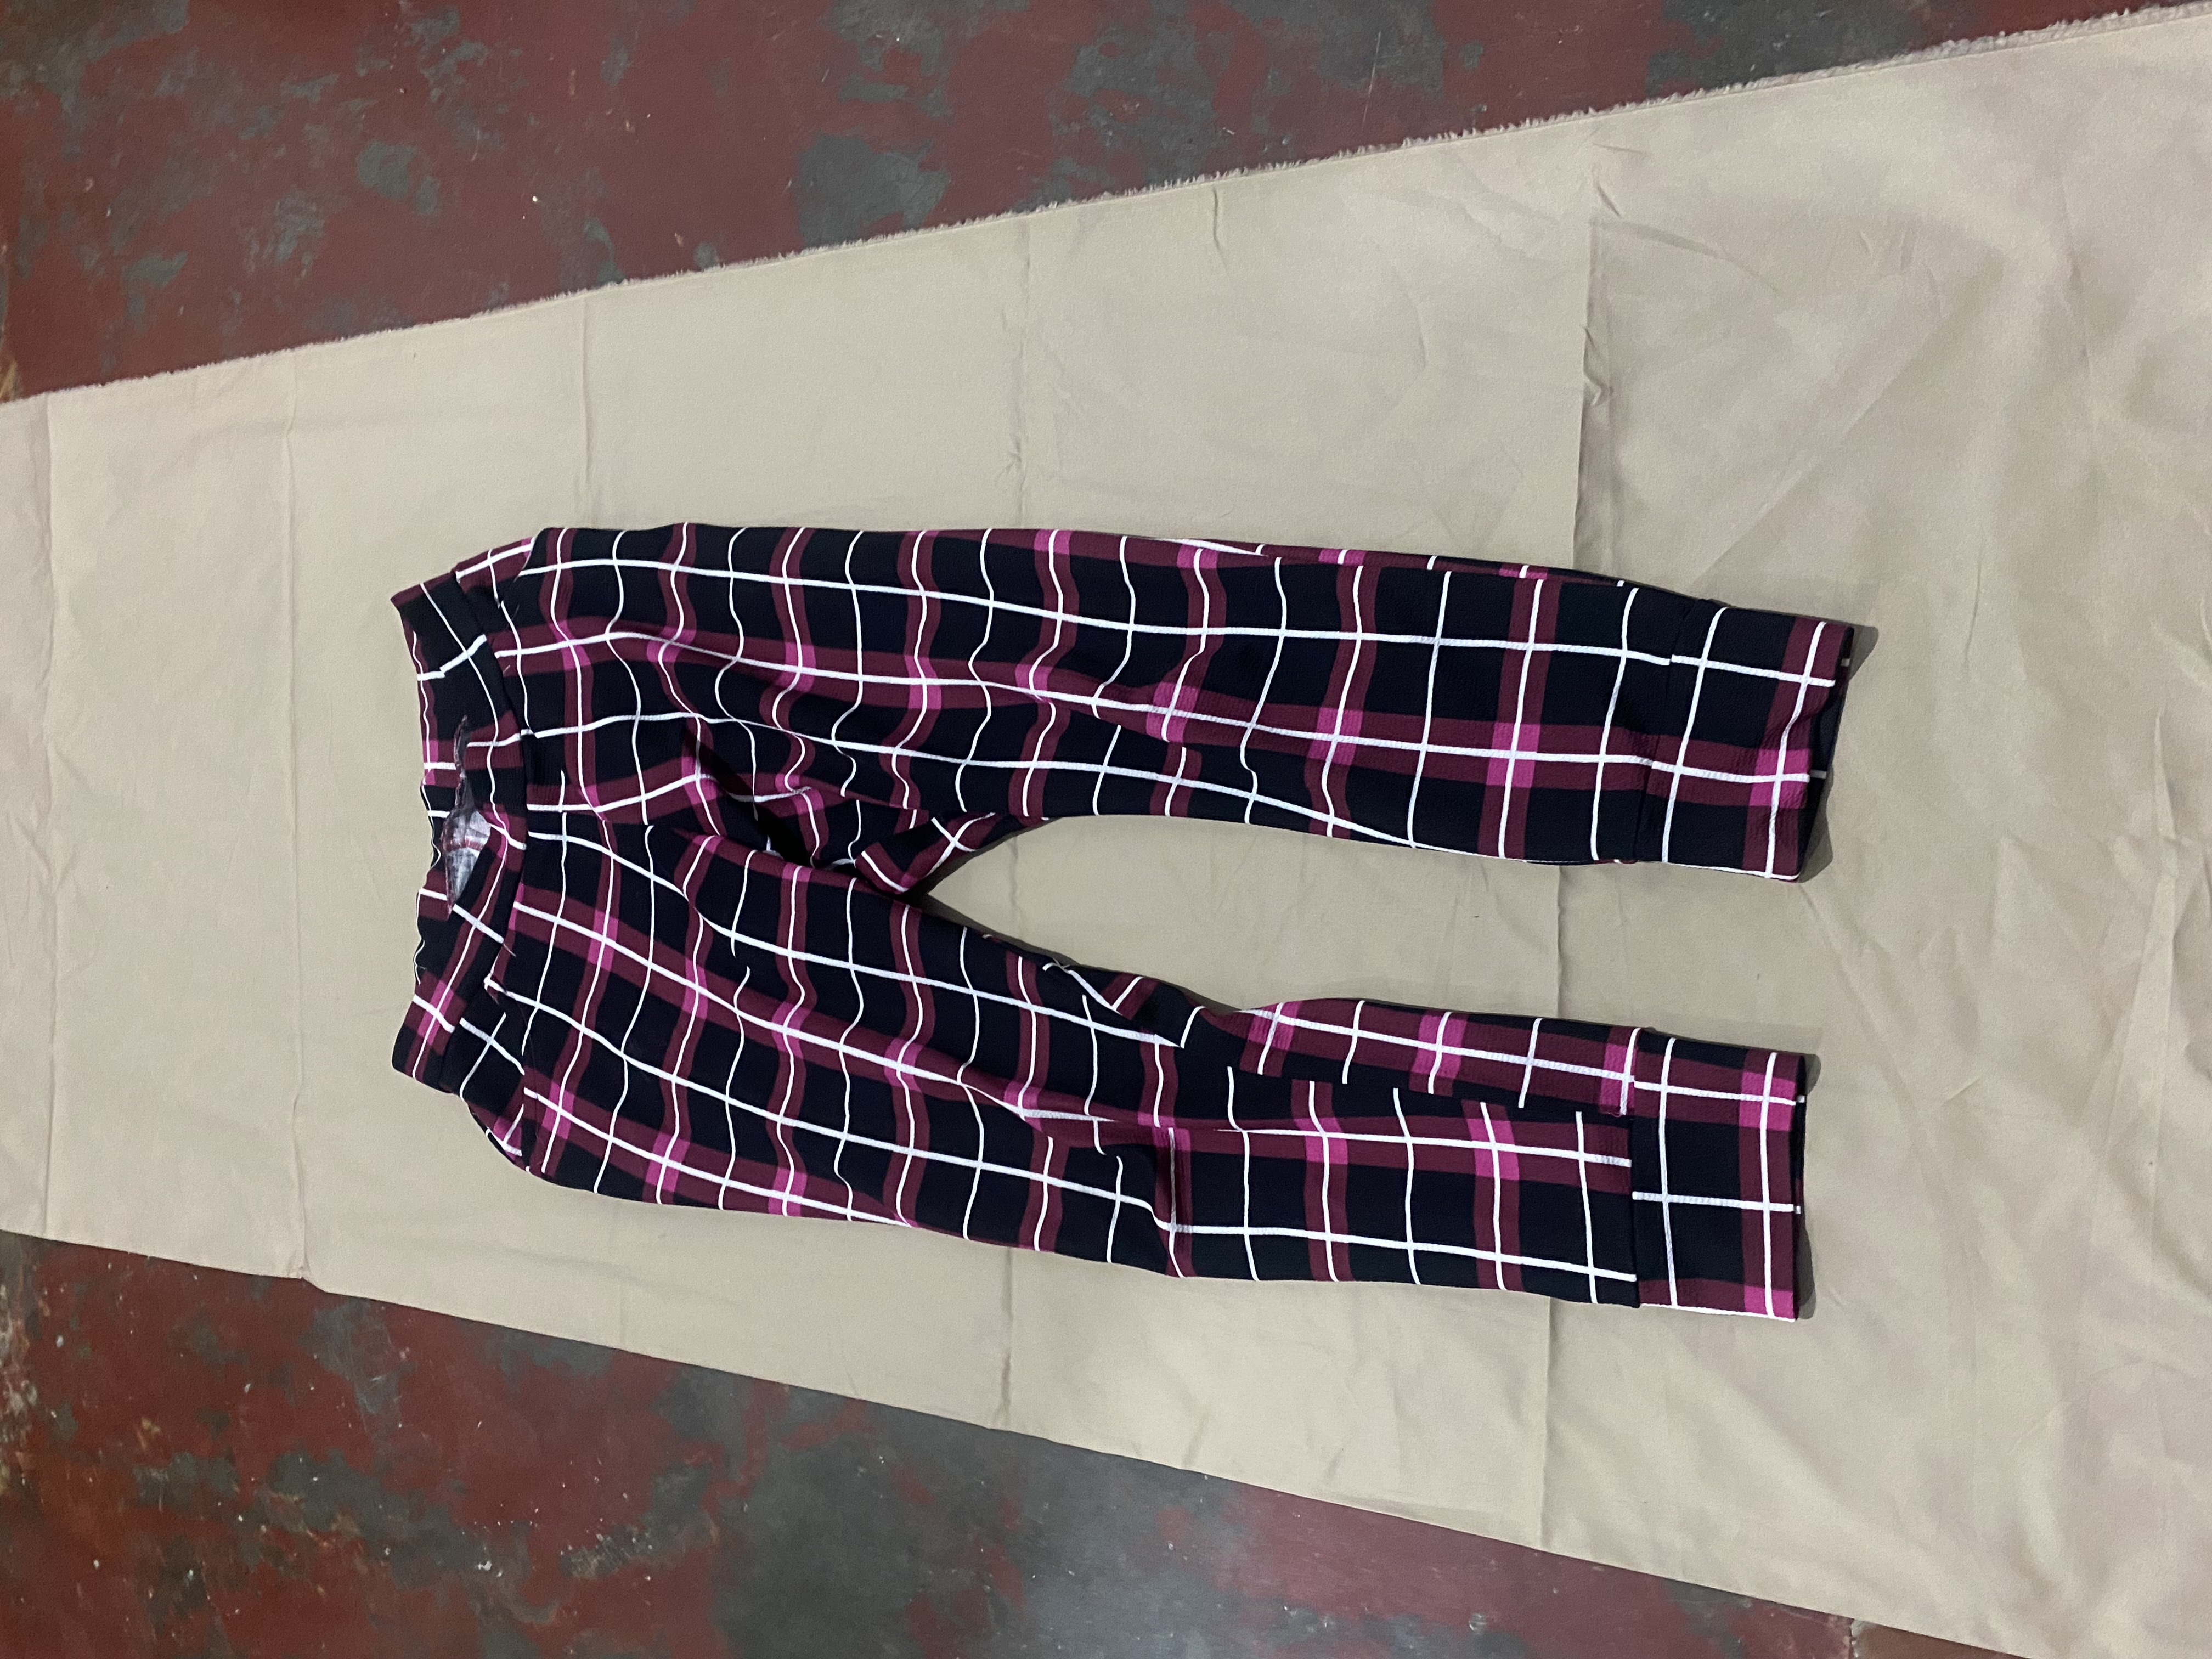
Lo principal que haremos será cortar la base de nuestro pantalón, yo utilicé un mono como guía para el molde, dibujé el contorno añadiéndole un cm por cada lado para las costuras, la bota la vamos a cortar un poco recta para que nos quede ancha y así poder engomarla y que se vea bien.
Éste mono no llevará cremallera pero quise hacerle la figura como si la tuviese, así que dejé el retazo de tela extra para hacerle la figura.
Cargo pants there are countless models, we can customize them to our liking and adapt them as best we can, this model will have pockets on the sides, rubberized at the waist and on the cuffs of the legs, with a straight pocket at the top.
The main thing we will do is cut the base of our pants, I used a monkey as a guide for the mold, I drew the outline adding a cm on each side for the seams, we are going to cut the boot a little straight so that it is wide and so you can glue it and make it look good.
This jumpsuit will not have a zipper but I wanted to make the figure as if it had one, so I left the extra piece of fabric to make the figure.
 |  |
|---|
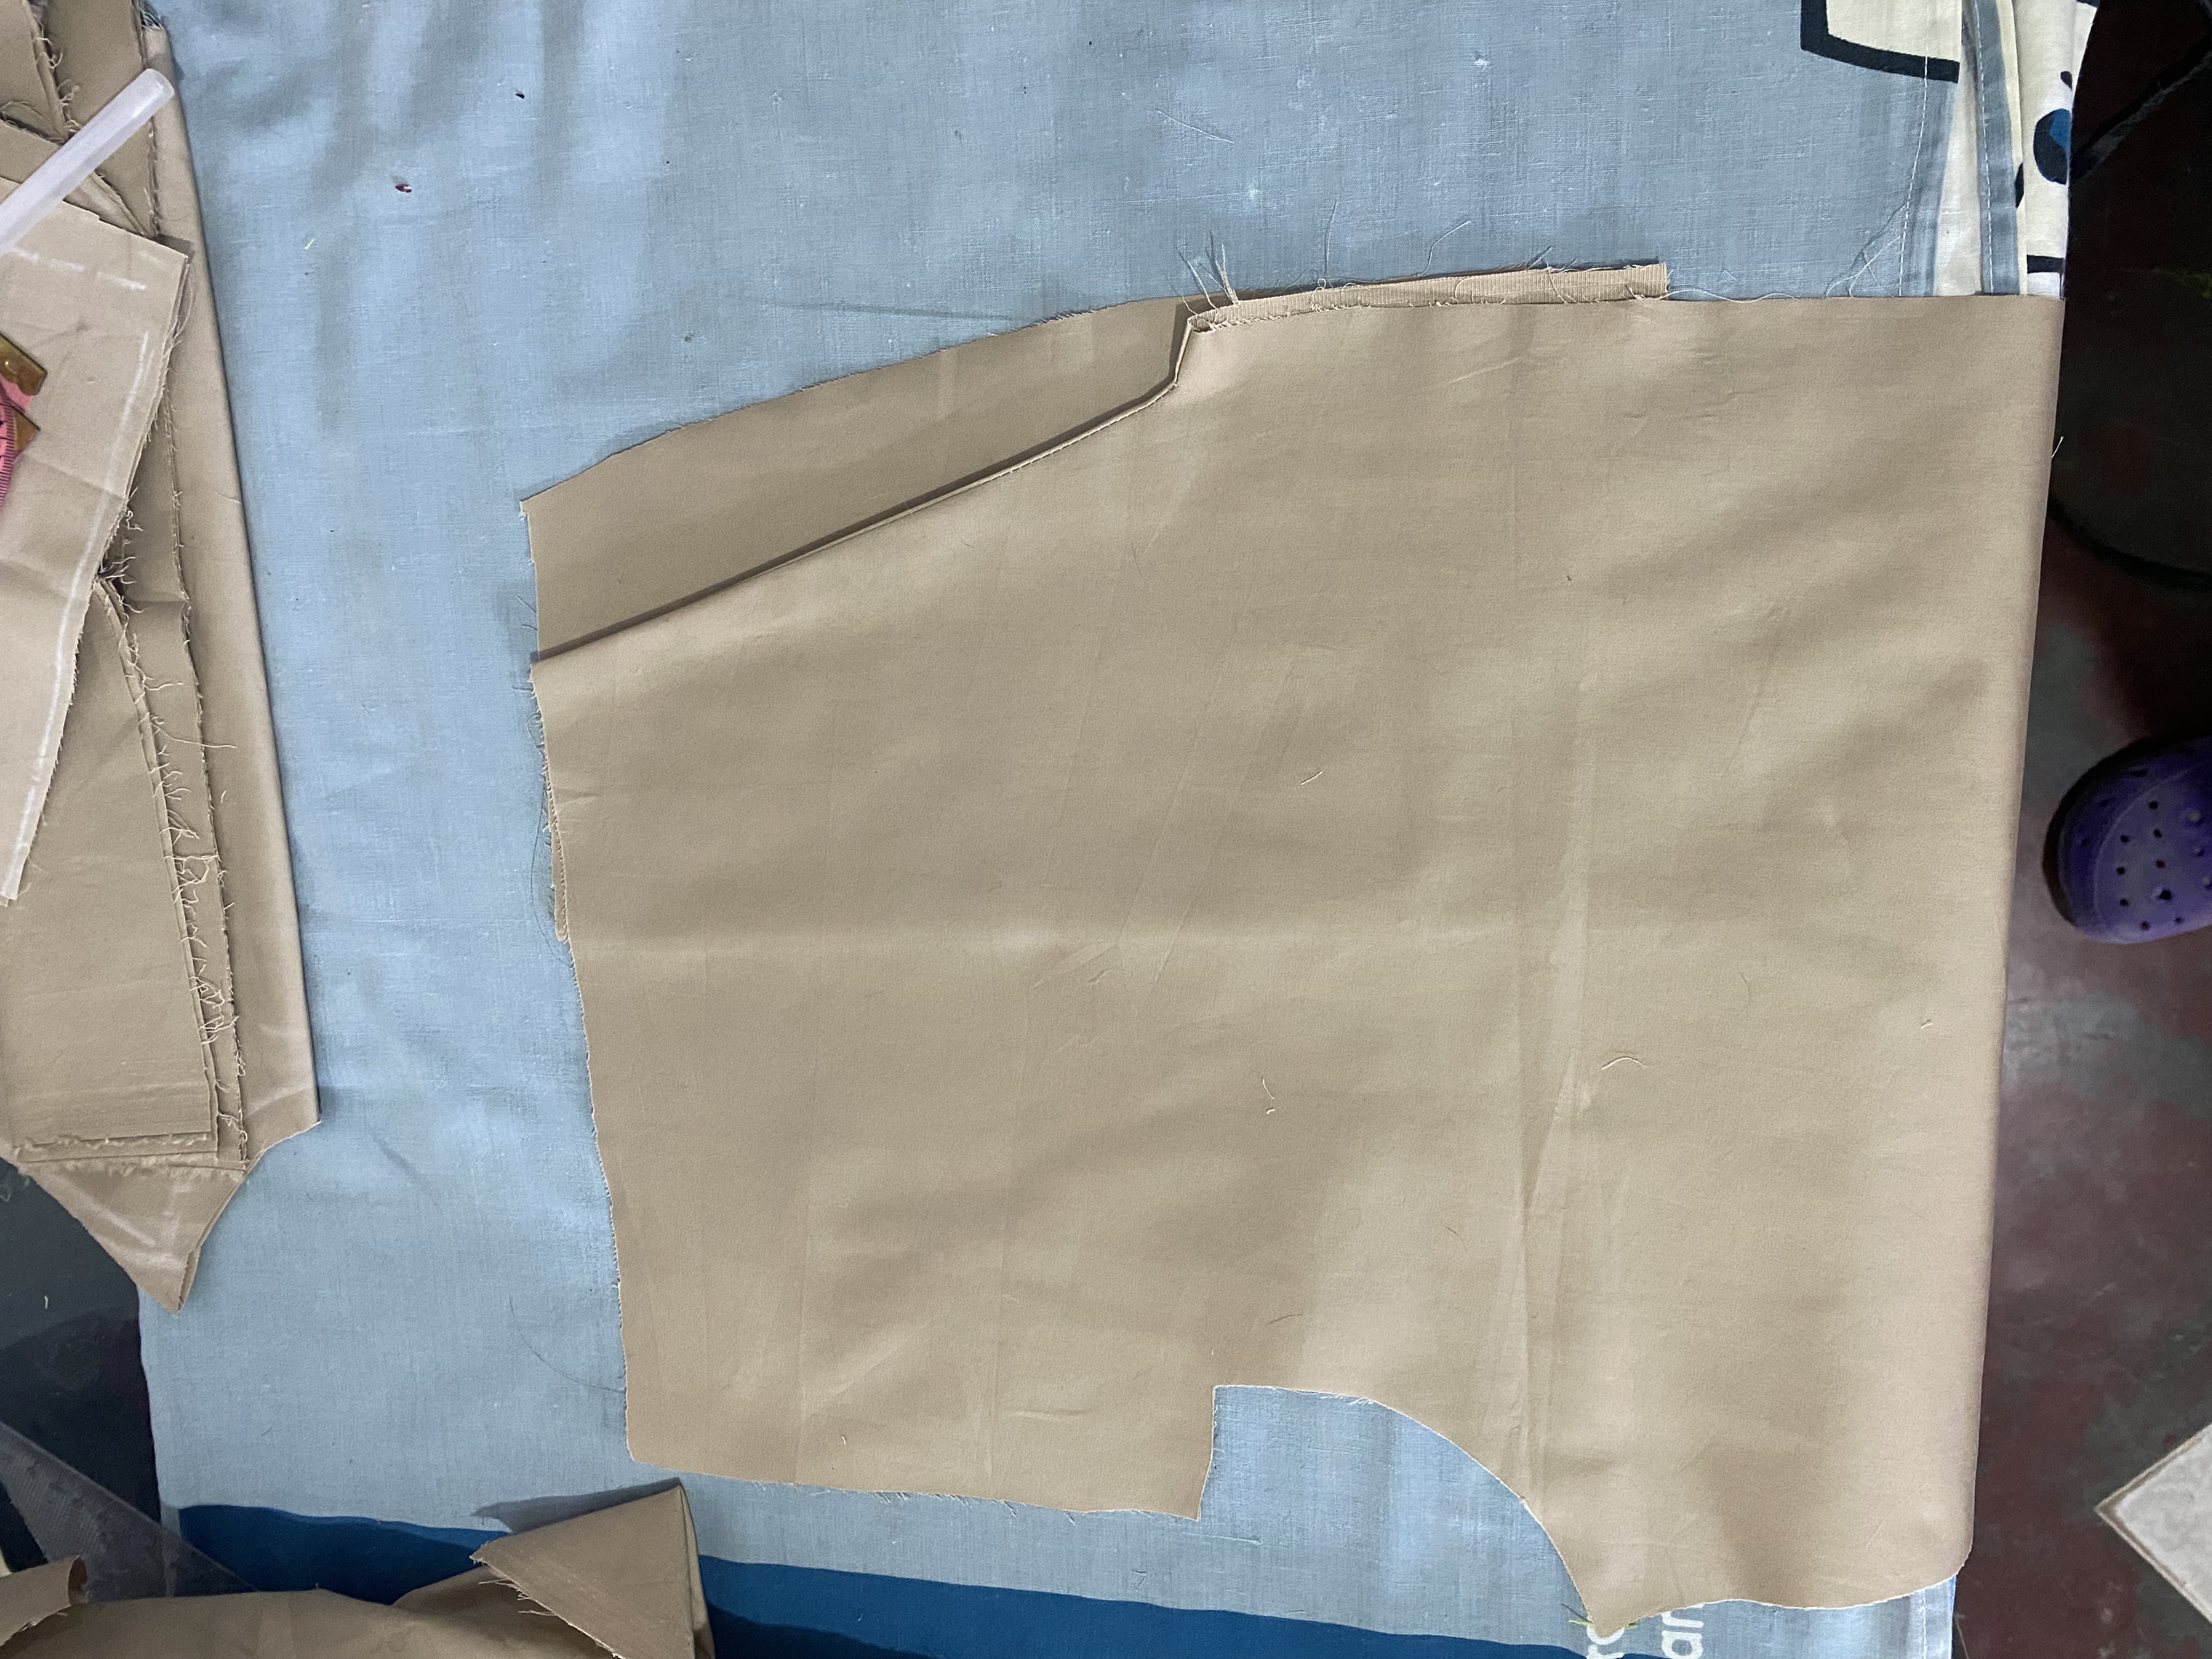
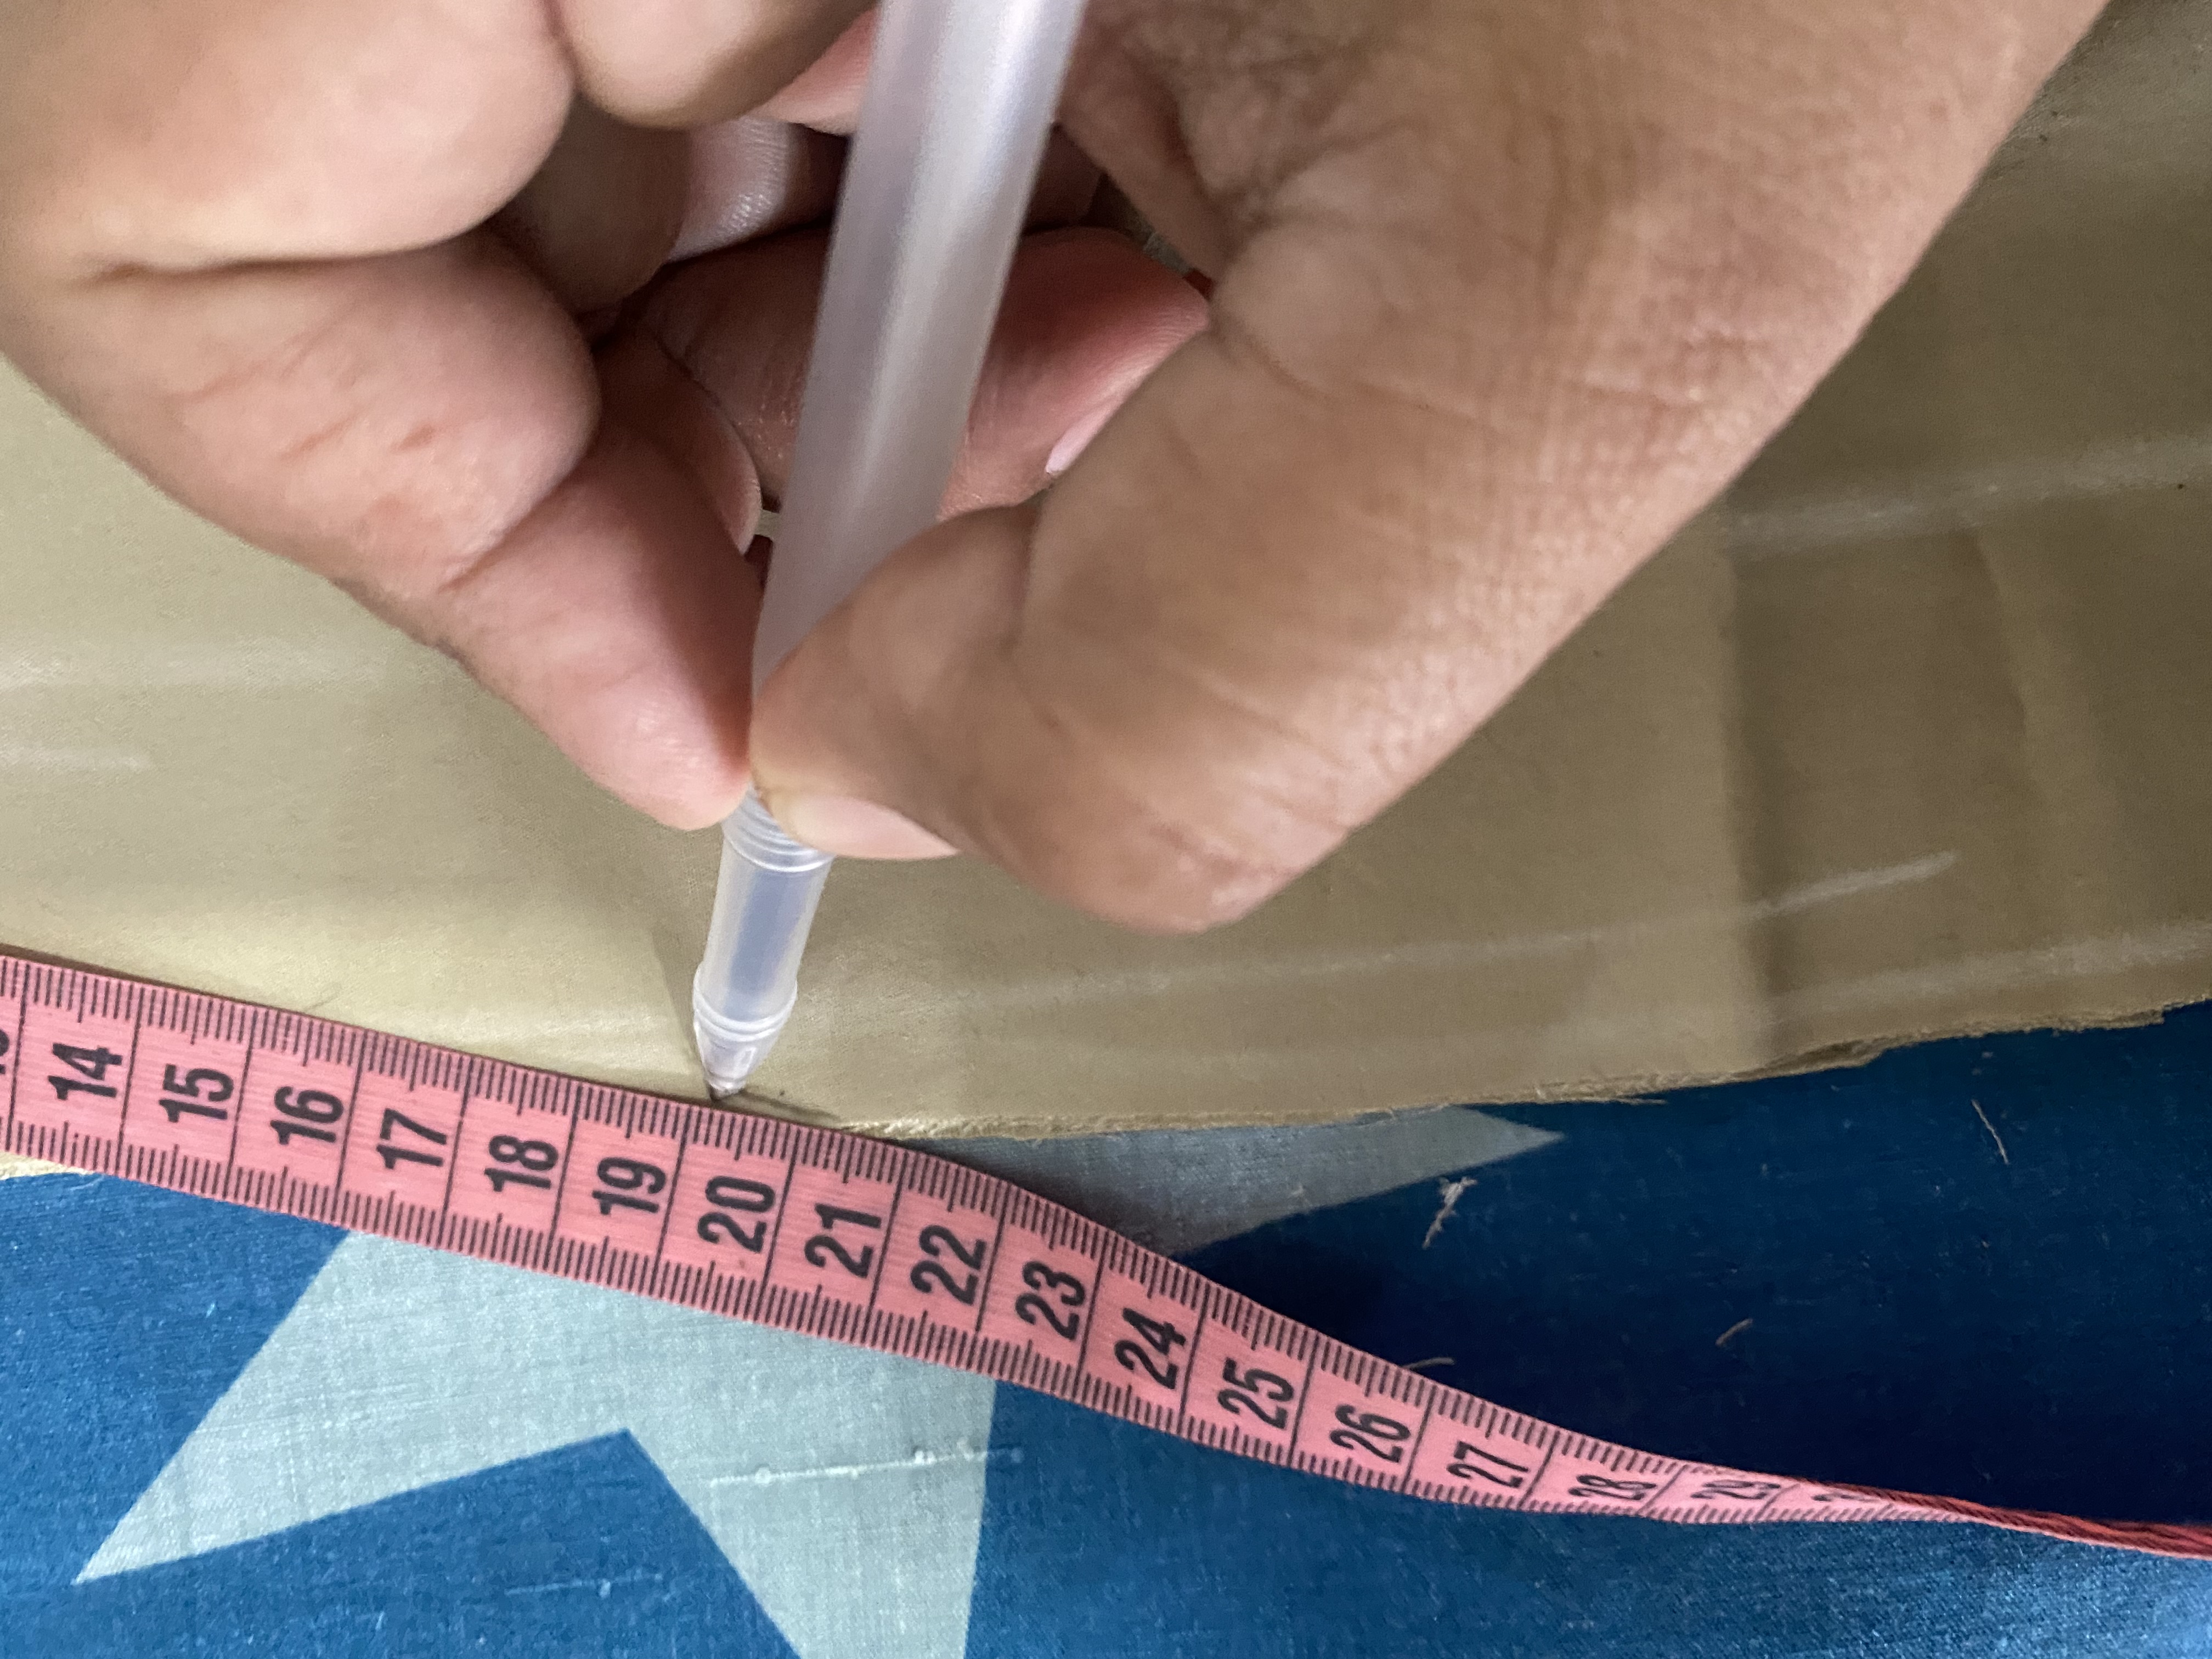
El bolsillo superior de los lados es muy sencillo, este es uno de los bolsillos más fáciles de hacer, vamos a marcar 4 cm de la orilla hacia adentro en la parte superior, luego en diagonal marcamos 20 cm, si lo quieres más pequeño el bolsillo redúcele algunos centímetros.
Cortaremos un retazo Cuadrados de tela de 32 cm por cada lado, doblamos a la mitad y en una de las orillas le vamos a dar la forma que le dimos al bolsillo en el pantalón.
para comenzar a coser colocamos el bolsillo por la parte de afuera de la tela, pasamos una costura, luego doblamos hacia adentro y planchamos para luego pasar una costura decorativa, también puedes pasar una costura acercándote bastante a la orilla por la parte interna y así no se verá por la parte de afuera.
The upper pocket on the sides is very simple, this is one of the easiest pockets to make, we are going to mark 4 cm from the edge inwards at the top, then diagonally we mark 20 cm, if you want the pocket smaller Reduce it a few centimeters.
We will cut a piece of fabric squares measuring 32 cm on each side, fold it in half and on one of the edges we will give it the shape that we gave to the pocket on the pants.
To start sewing, we place the pocket on the outside of the fabric, pass a seam, then fold inwards and iron and then pass a decorative seam. You can also pass a seam getting quite close to the edge on the inside and thus not It will be seen from the outside.
 |  |
|---|
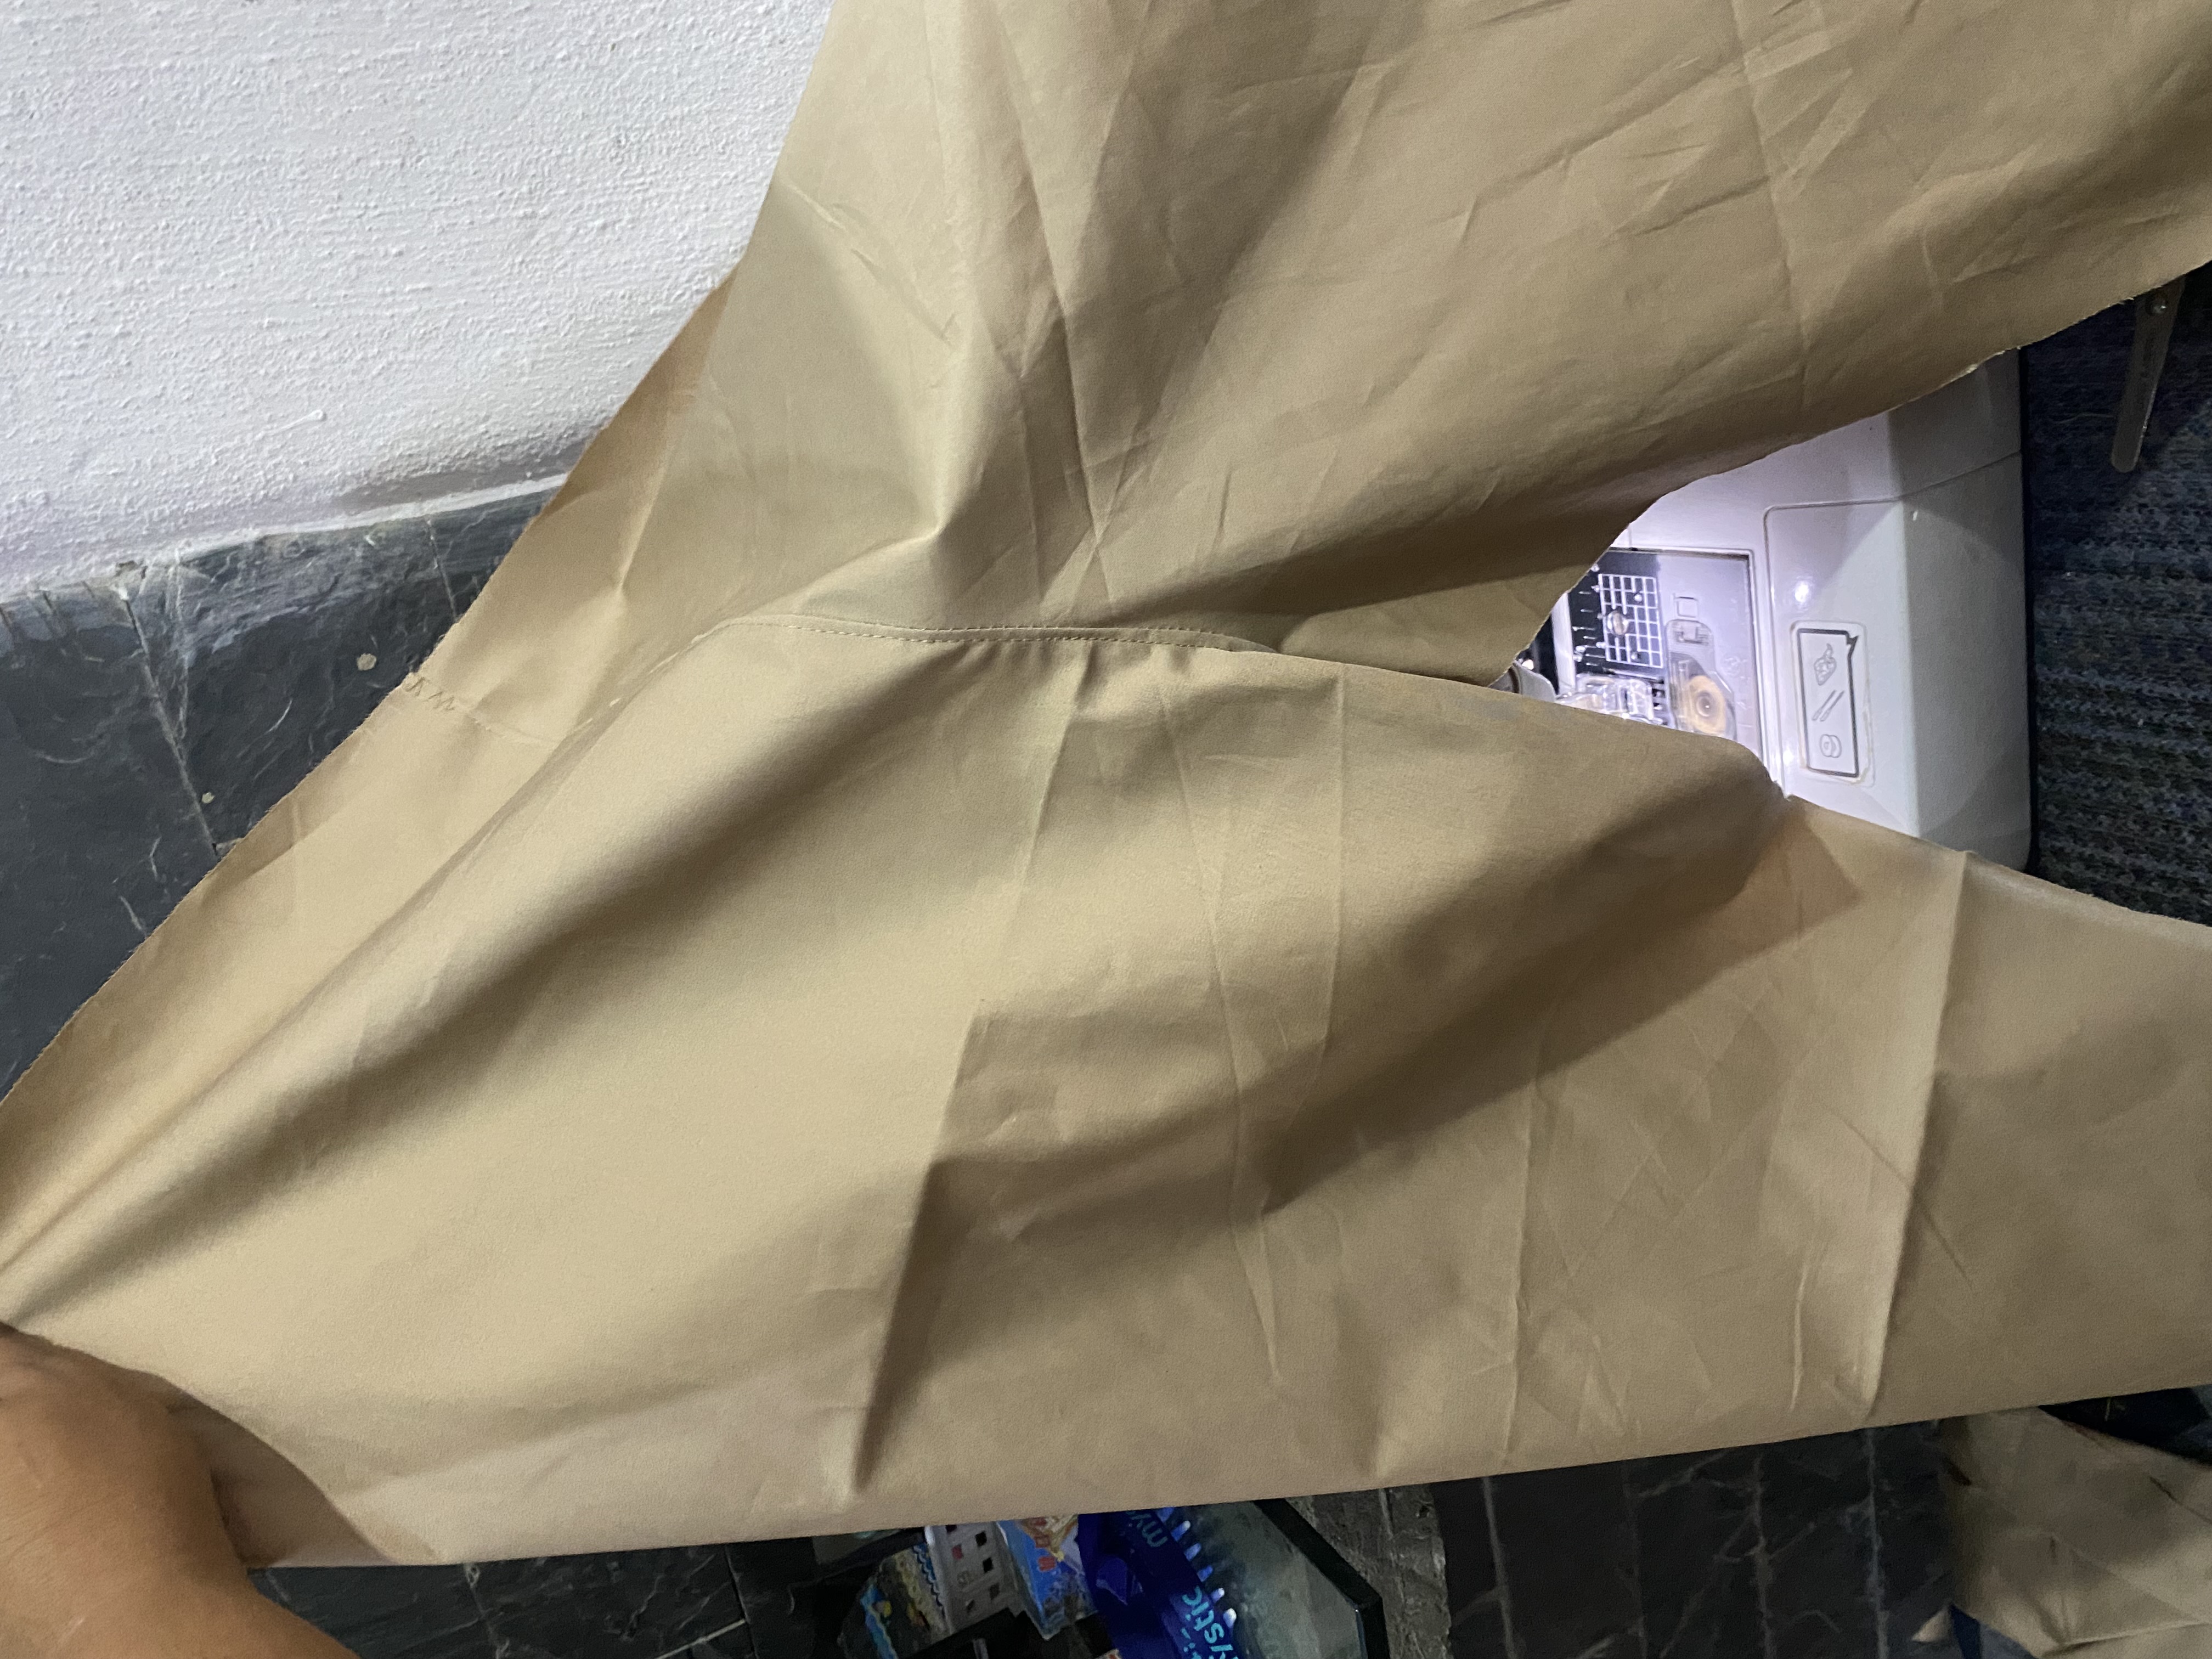
Uniremos las dos partes traseras del pantalón pasándole costura, luego pasamos una costura decorativa por la parte de afuera, luego unimos por los laterales y hacemos el mismo procedimiento
We will join the two back parts of the pants by sewing them, then we will sew a decorative seam on the outside, then we will join them on the sides and do the same procedure
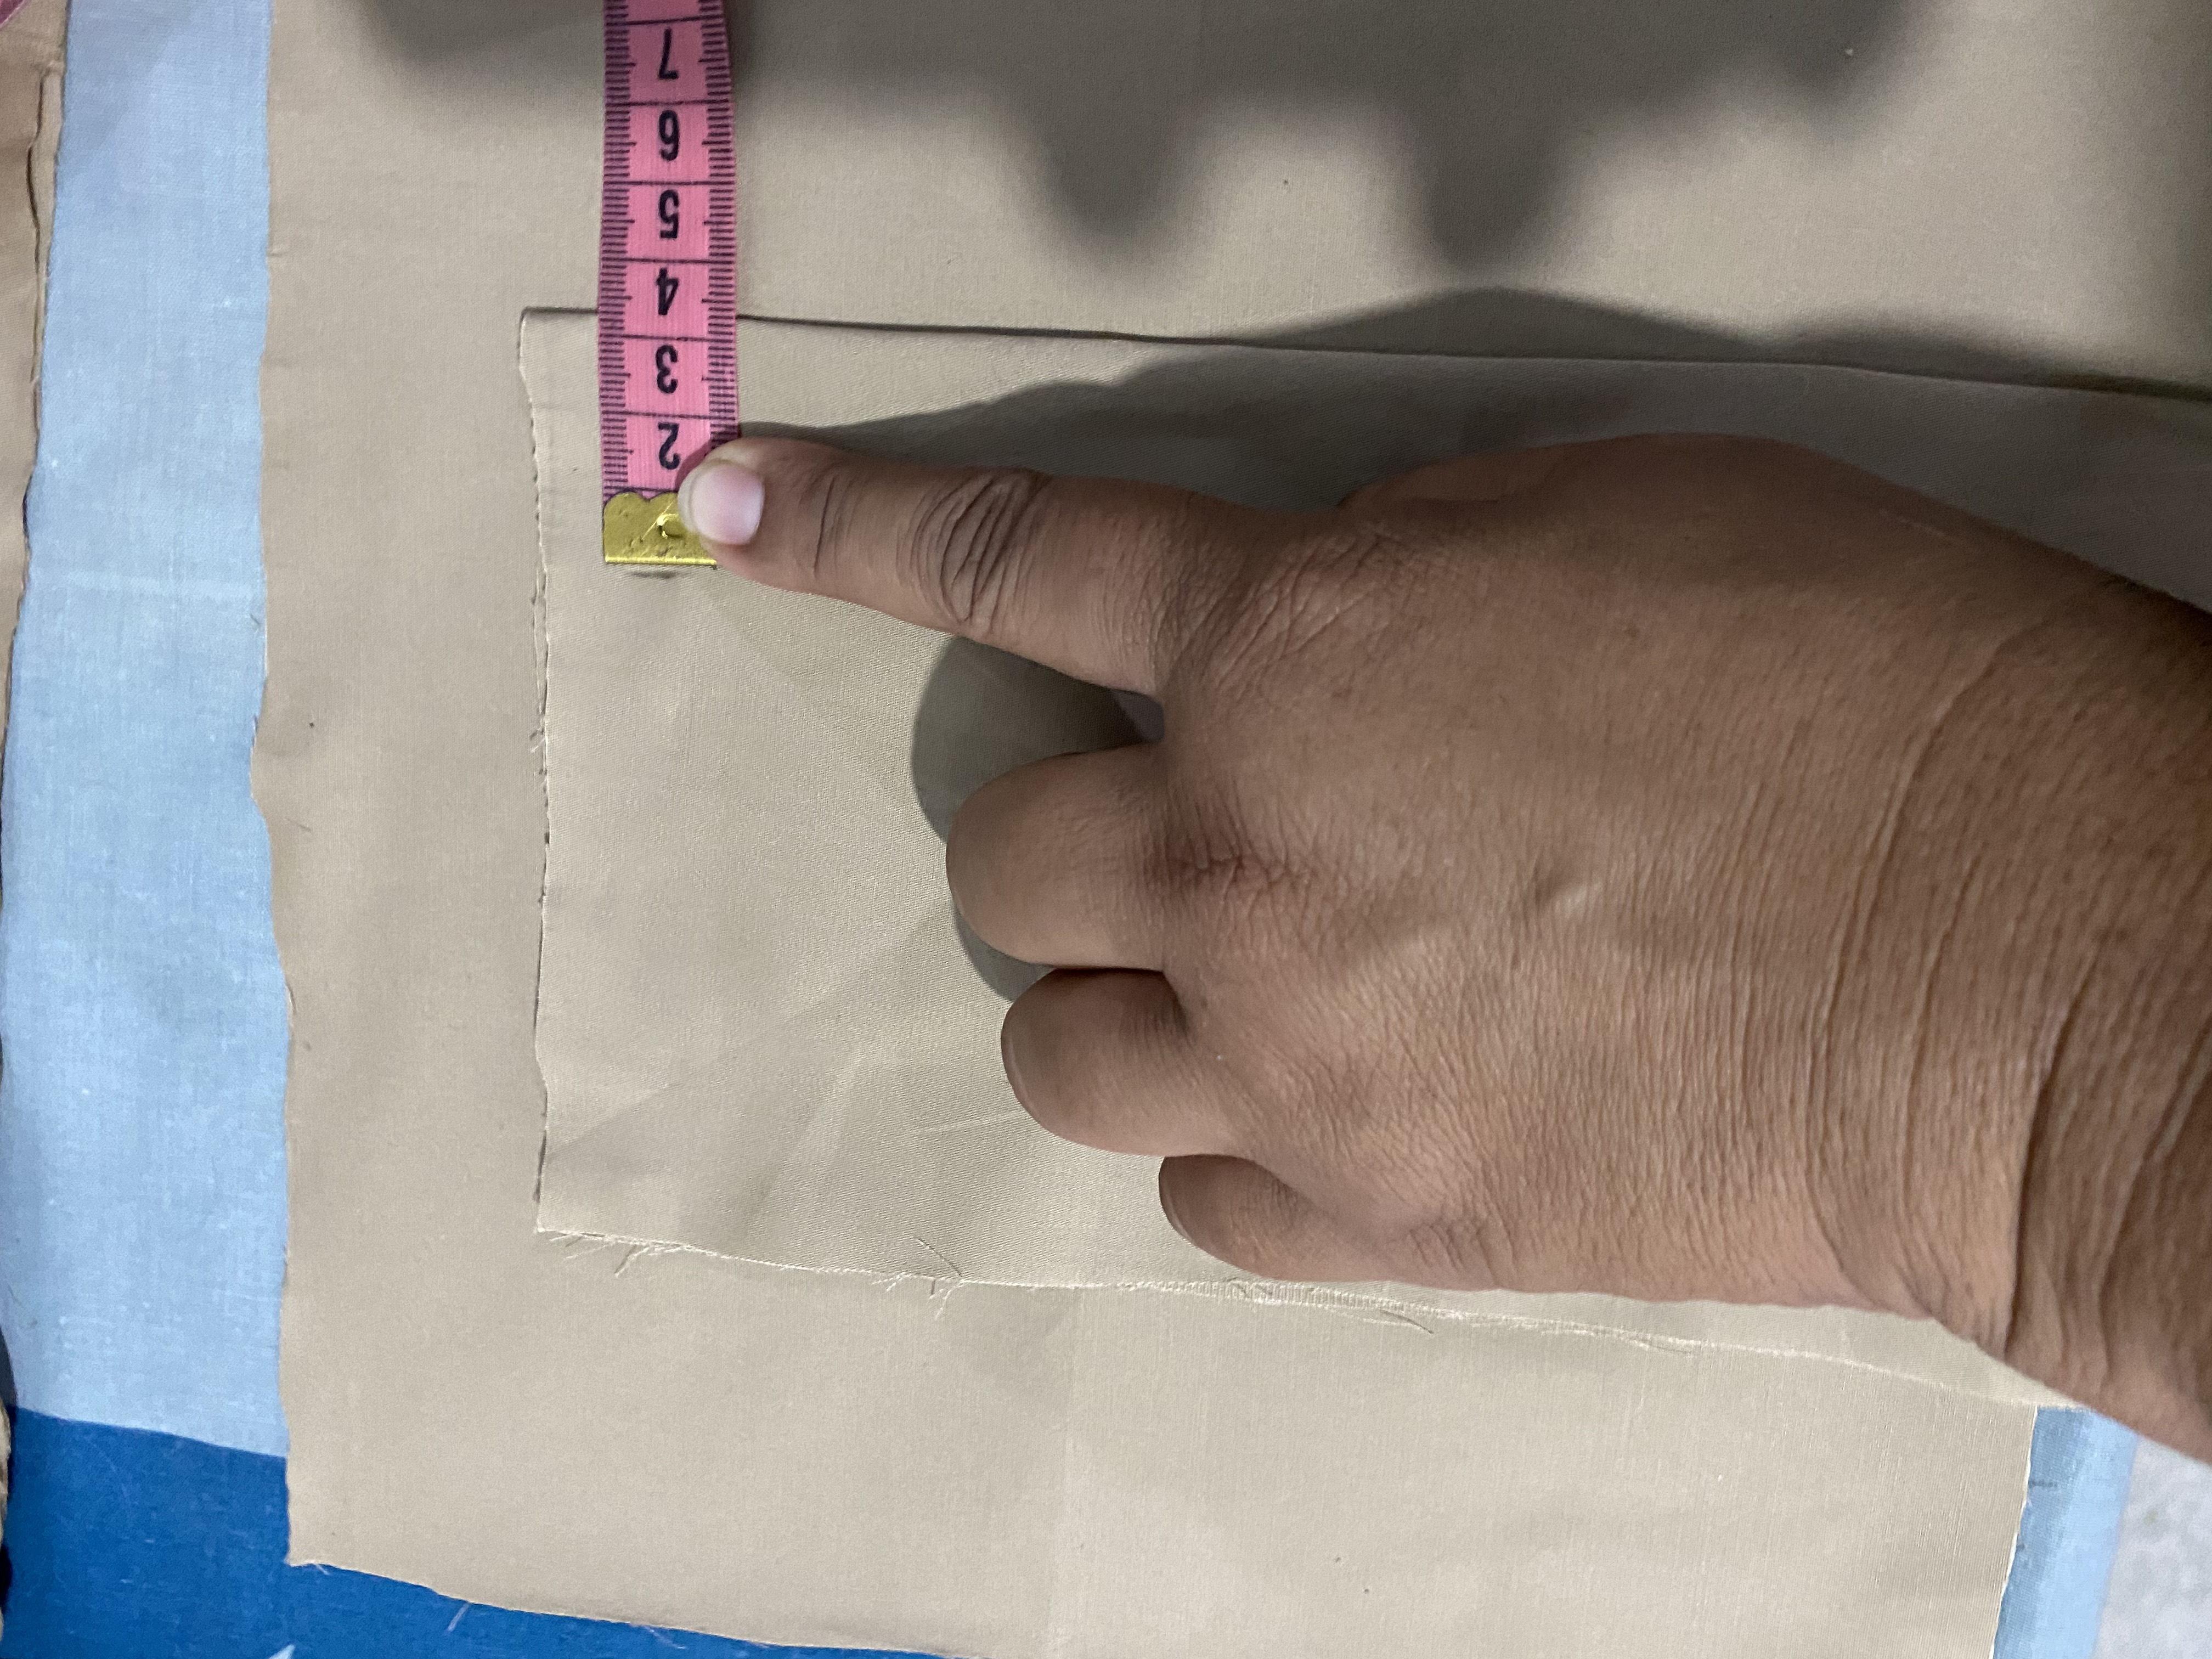
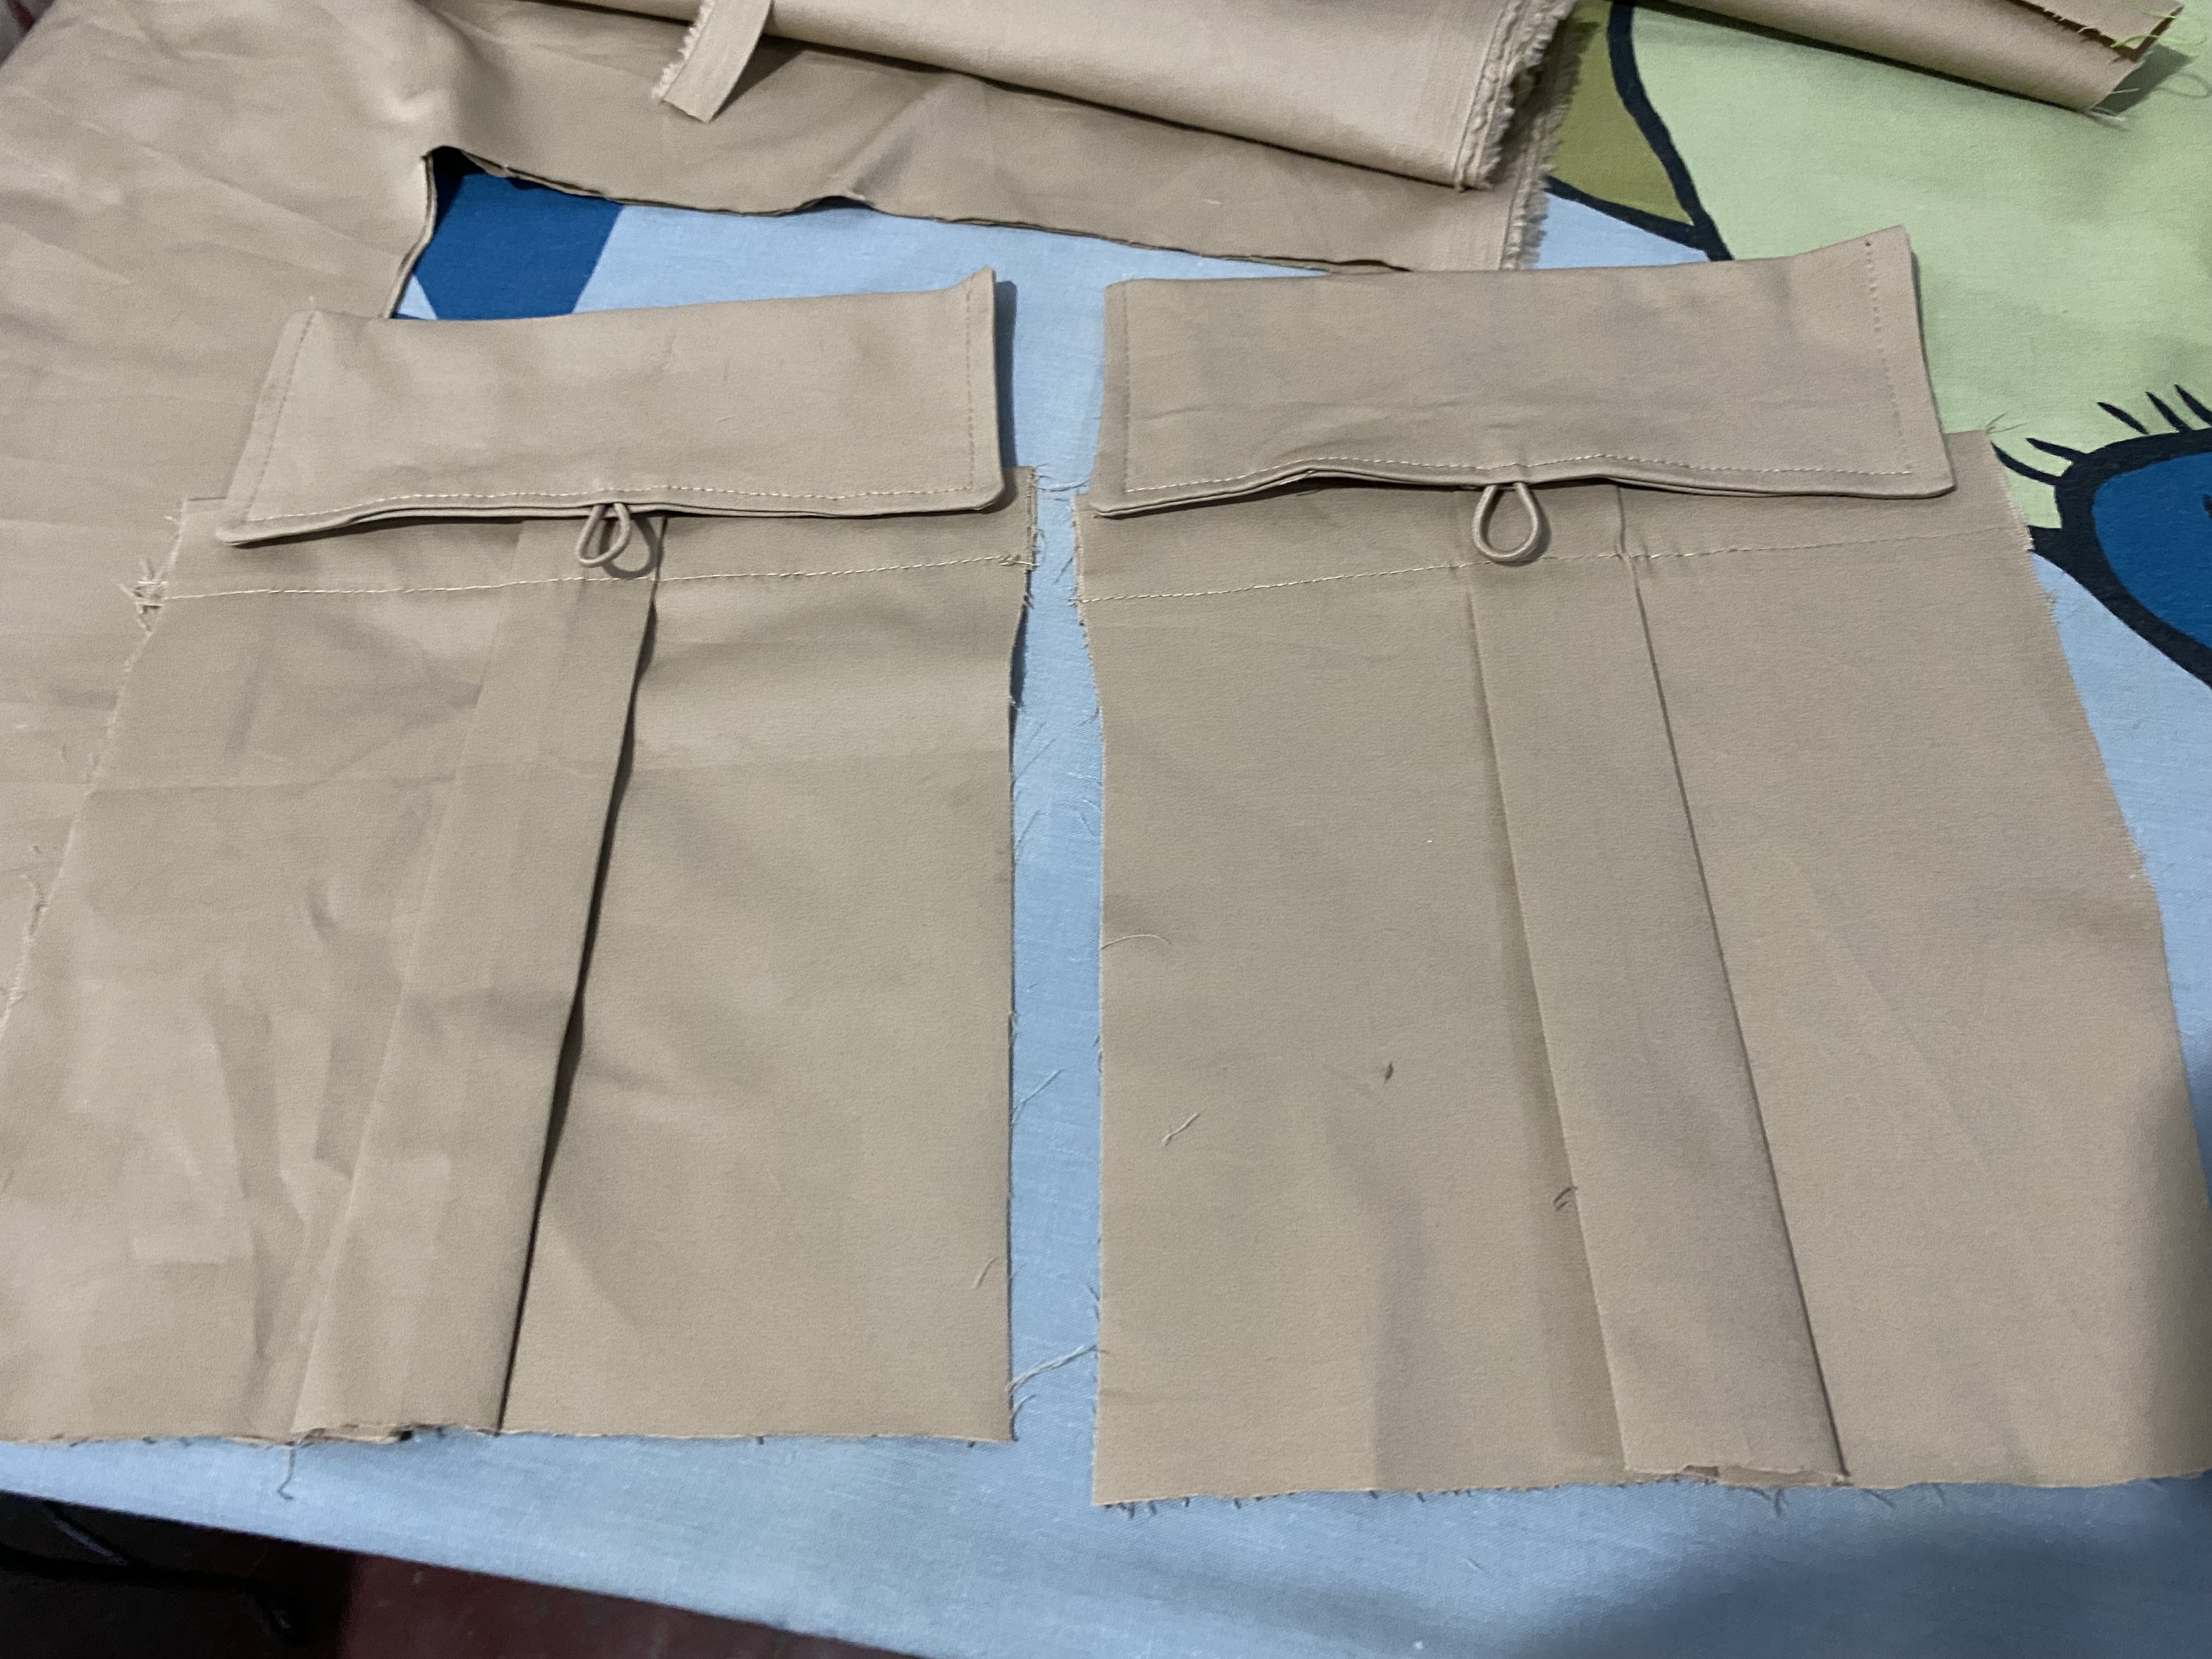
Ahora diseñaremos el bolsillo de los laterales, Vamos a cortar un retazo de tela de 25 cm de alto por 26 cm de ancho, dóblanos a la mitad Para luego pasar una costura a 3 cm del centro hacia adentro luego volvemos a extender el bolsillo y planchamos para darle forma
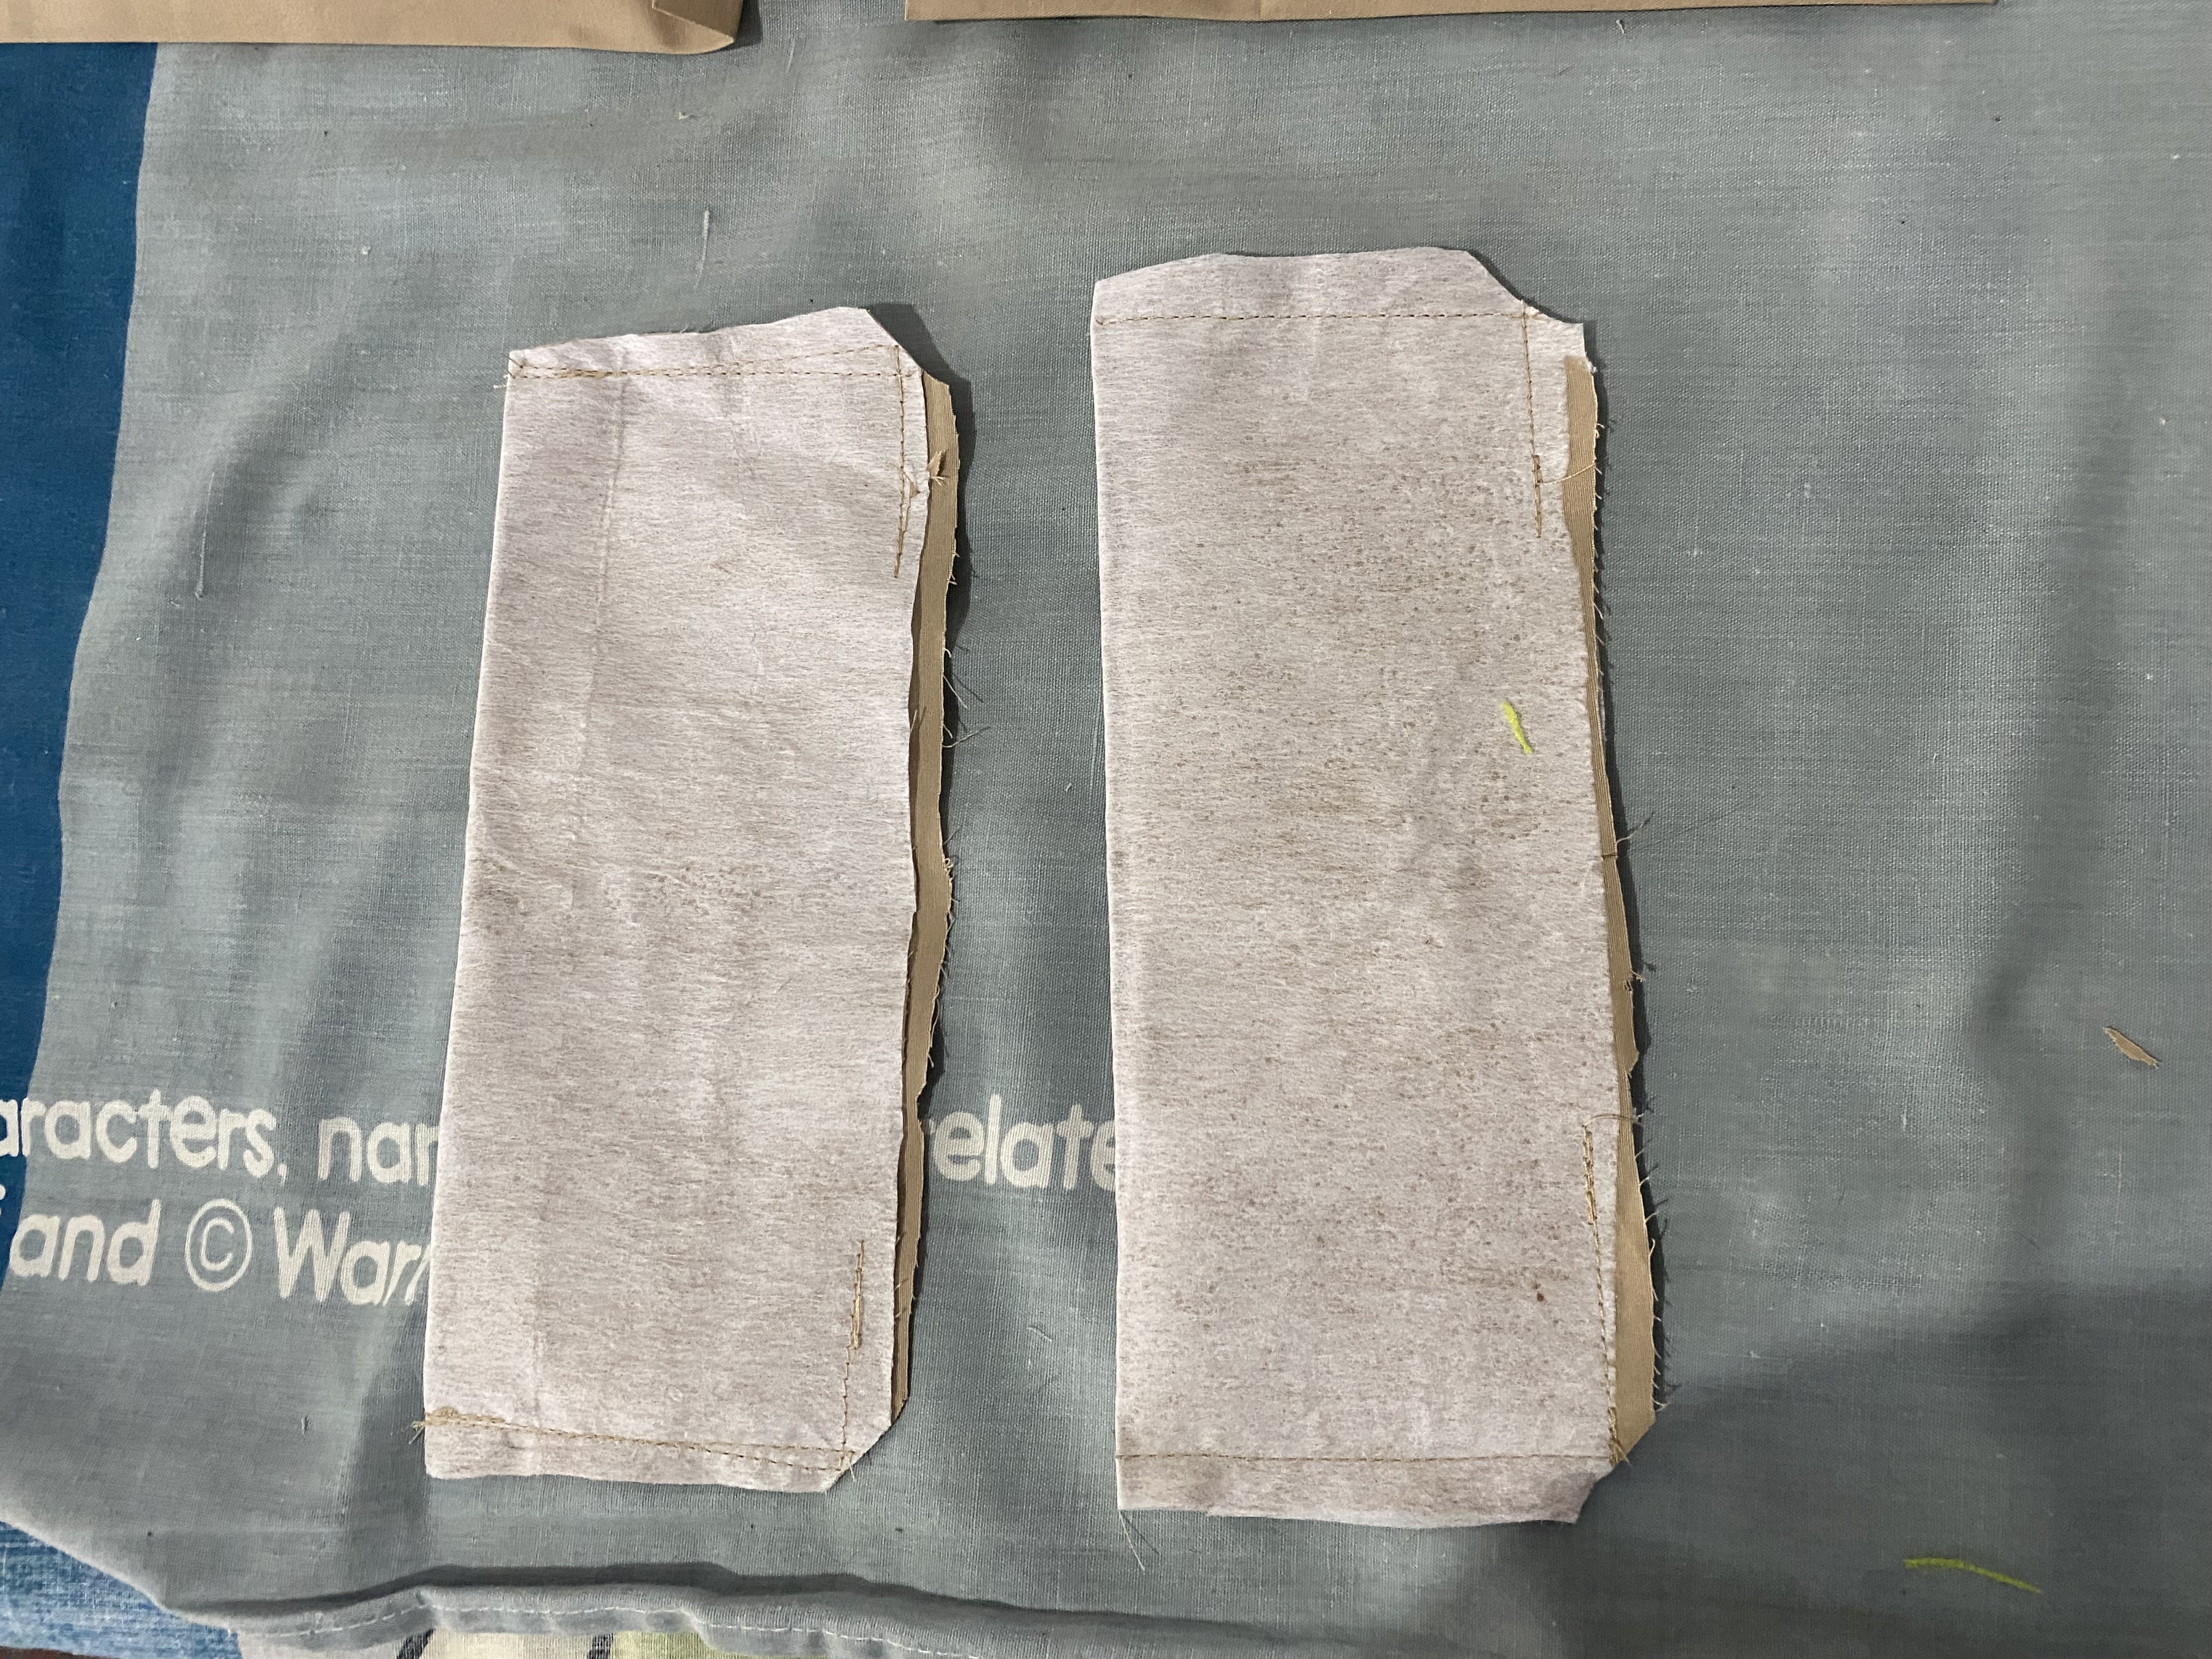
Éste tipo de bolsillo se ve bien con o sin tapa, en mi caso le hice la tapa con un retazo de tela también le coloqué entretela por la parte de adentro para que quede un poco más firme y también le coloqué un Pequeño retazo de goma redonda para decorarlo.
Now we will design the pocket on the sides. We are going to cut a piece of fabric 25 cm high by 26 cm wide, fold it in half and then pass a seam 3 cm from the center inwards, then we extend the pocket again and iron to shape
This type of pocket looks good with or without a lid. In my case I made the lid with a piece of fabric. I also placed interlining on the inside so that it was a little firmer and I also placed a small piece of round rubber. to decorate it.
 |  |
|---|---|
 |
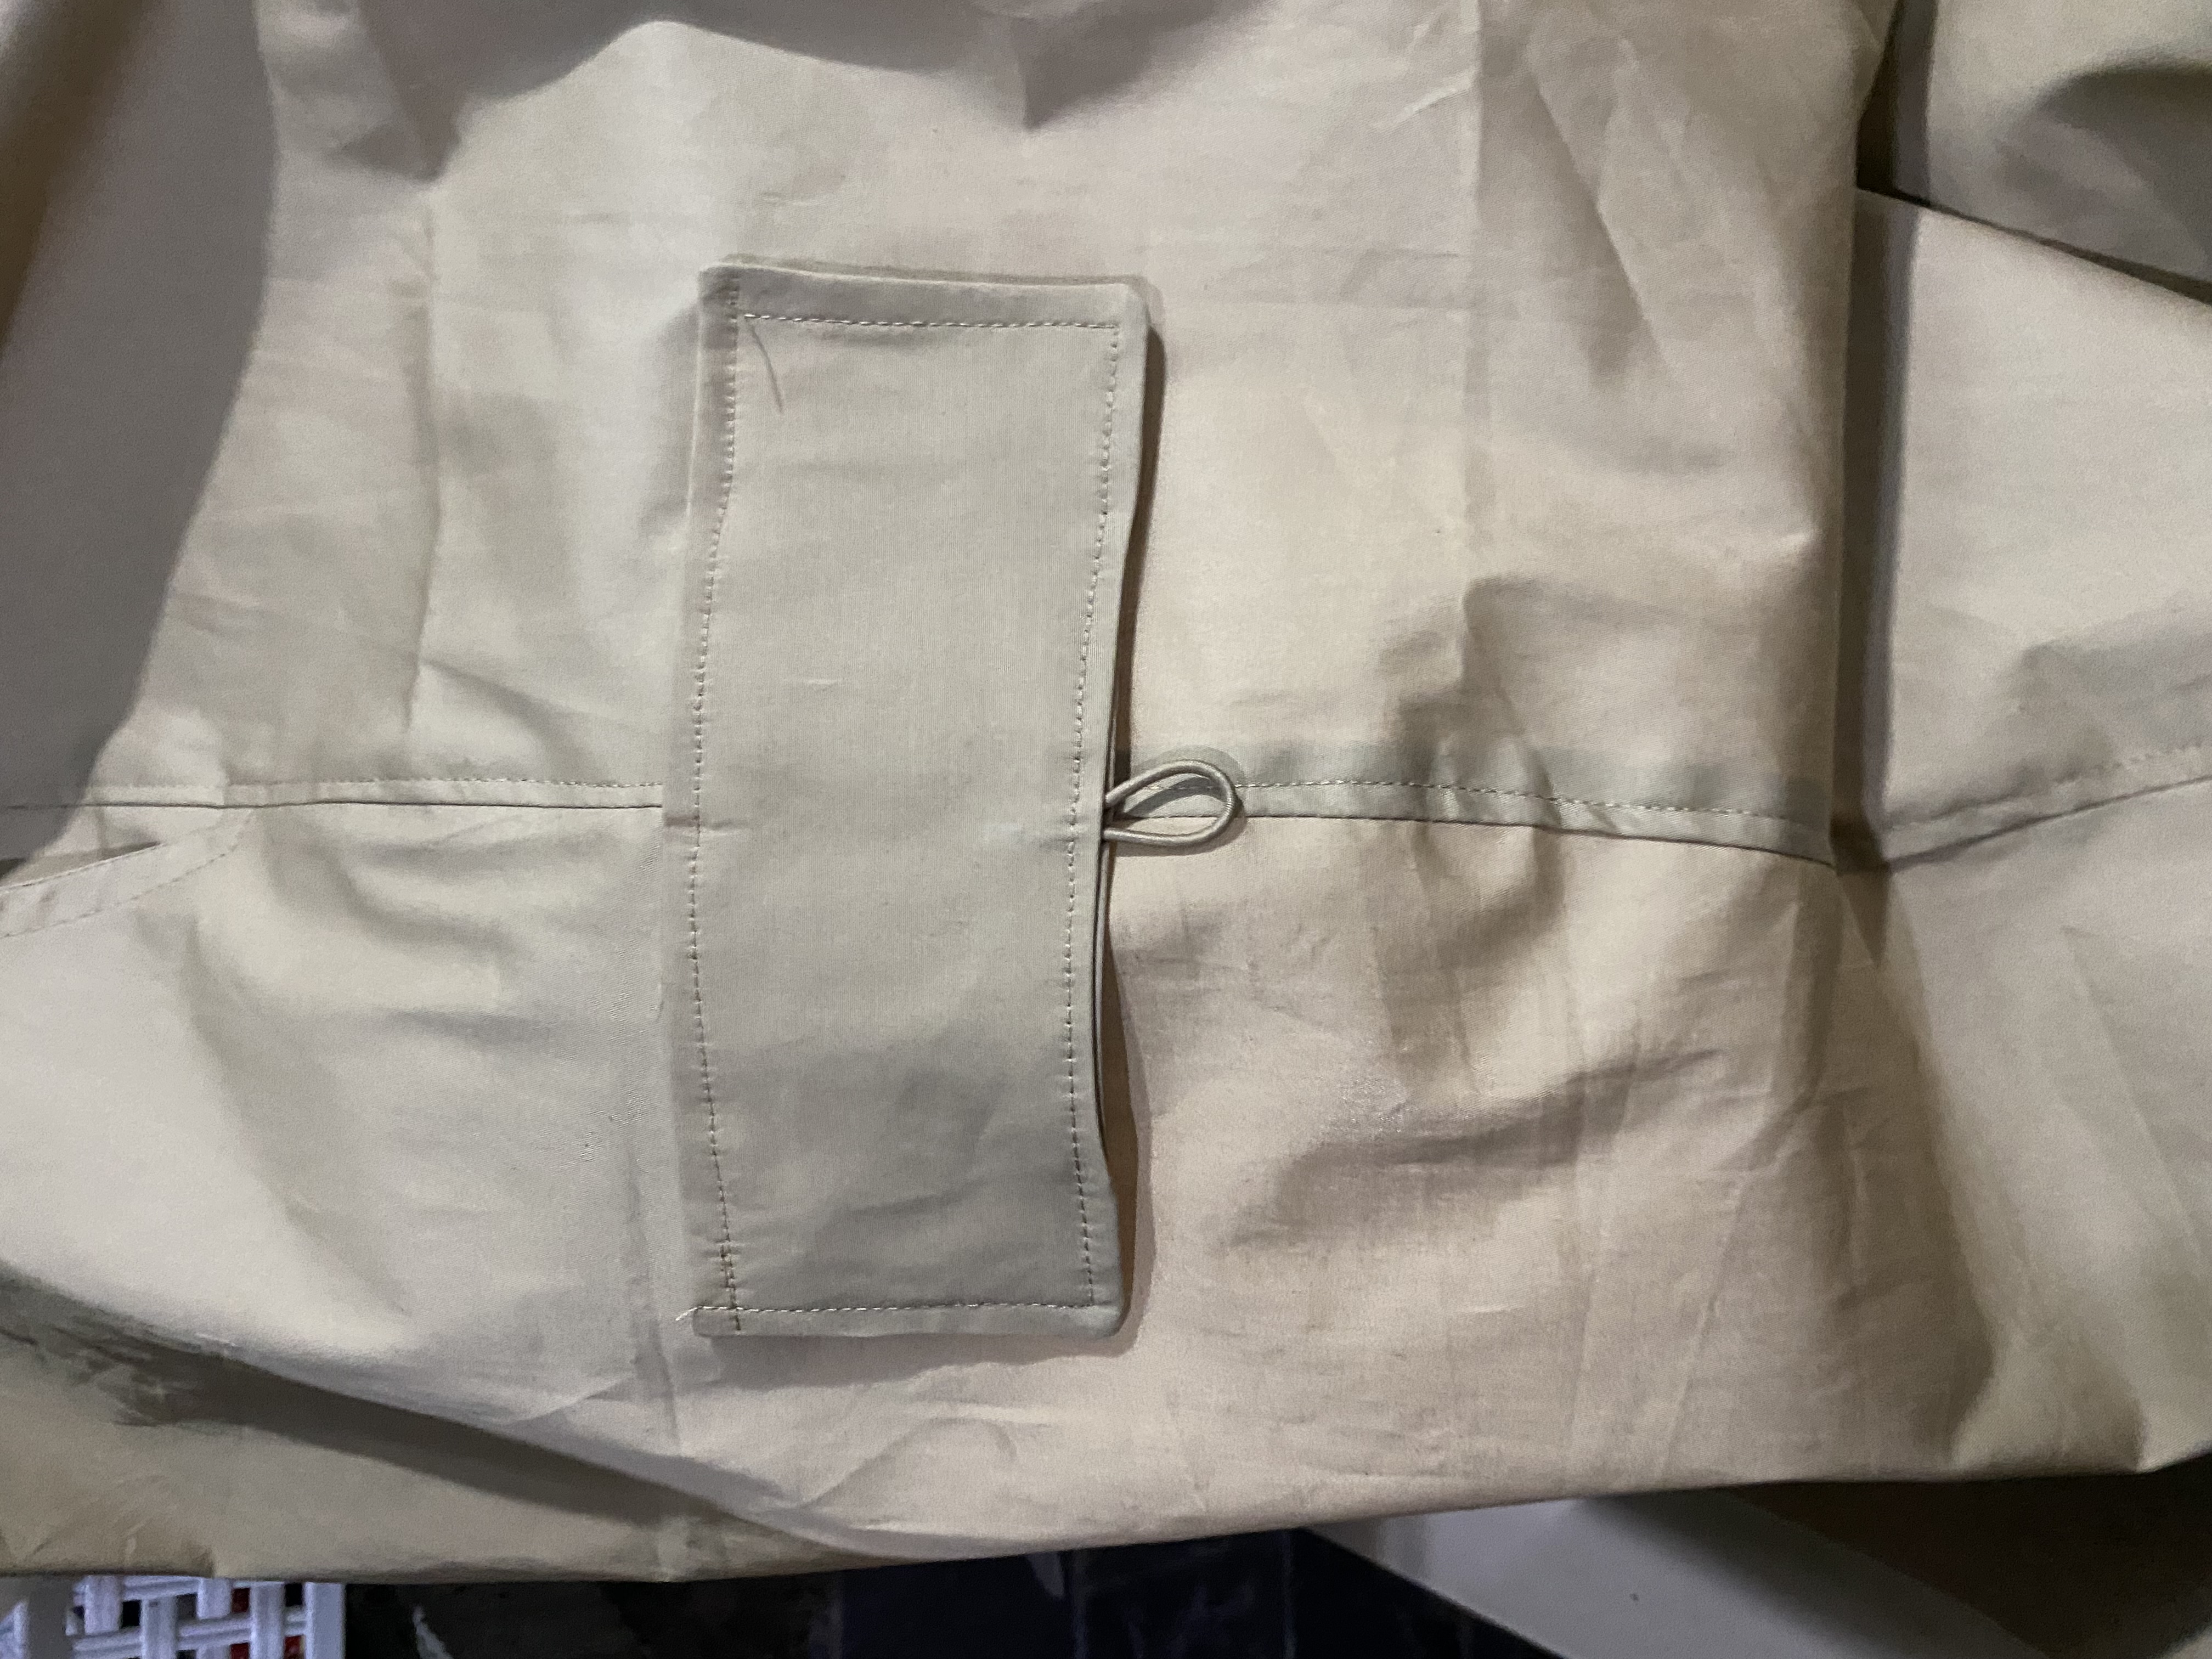
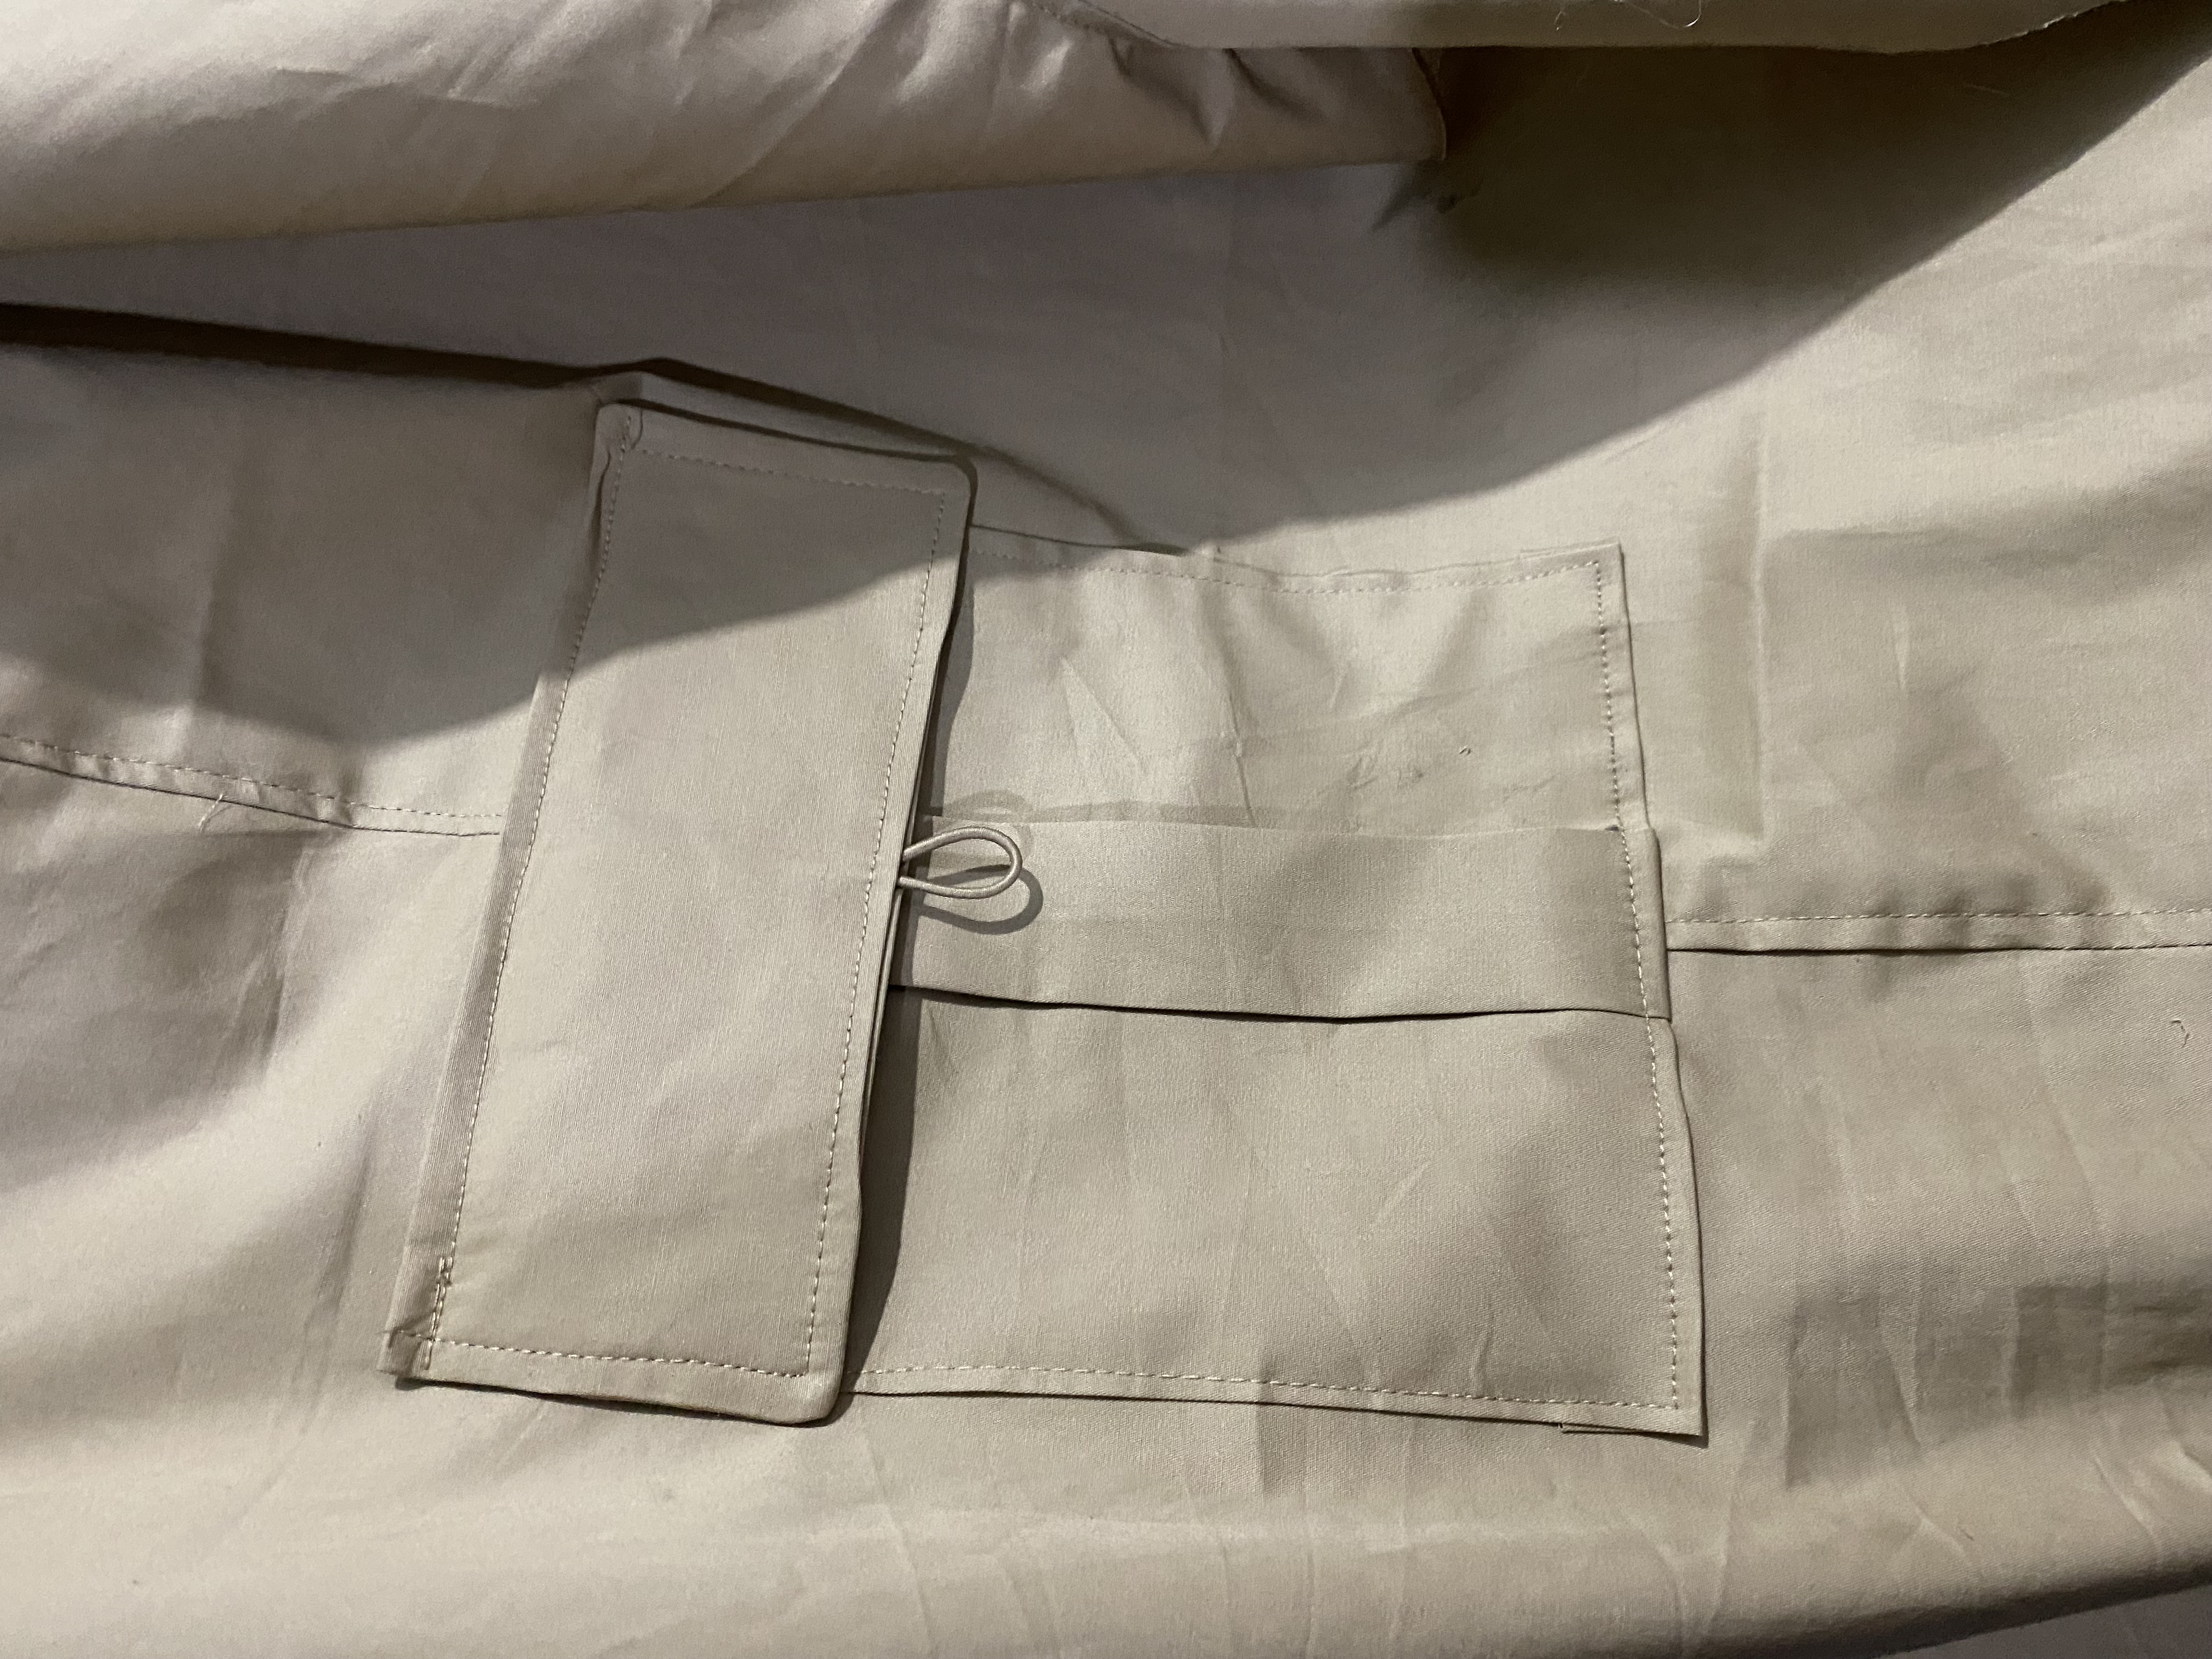
Para unir el bolsillo a este pantalón comenzaremos con la tapa del bolsillo vamos a marcar 12 cm de la orilla inferior del bolsillo hacia abajo, justo en esa marca vamos a coser la tapa del bolsillo.
Levantamos la tapa y colocamos el bolsillo en la parte de abajo dejando 1 cm de distancia y pasamos costura por todo el alrededor del bolsillo, este es uno de los bolsillos tipo cargo más sencillos ya que está dividido en el centro y podemos ubicar perfectamente en la costura lateral del pantalón y así nos quedará perfecto
To attach the pocket to these pants we will start with the pocket cover, we will mark 12 cm from the bottom edge of the pocket downwards, right at that mark we will sew the pocket cover.
We lift the lid and place the pocket at the bottom leaving 1 cm of distance and we sew all around the pocket, this is one of the simplest cargo pockets since it is divided in the center and we can place it perfectly in the side seam of the pants and so it will look perfect
 |  |
|---|
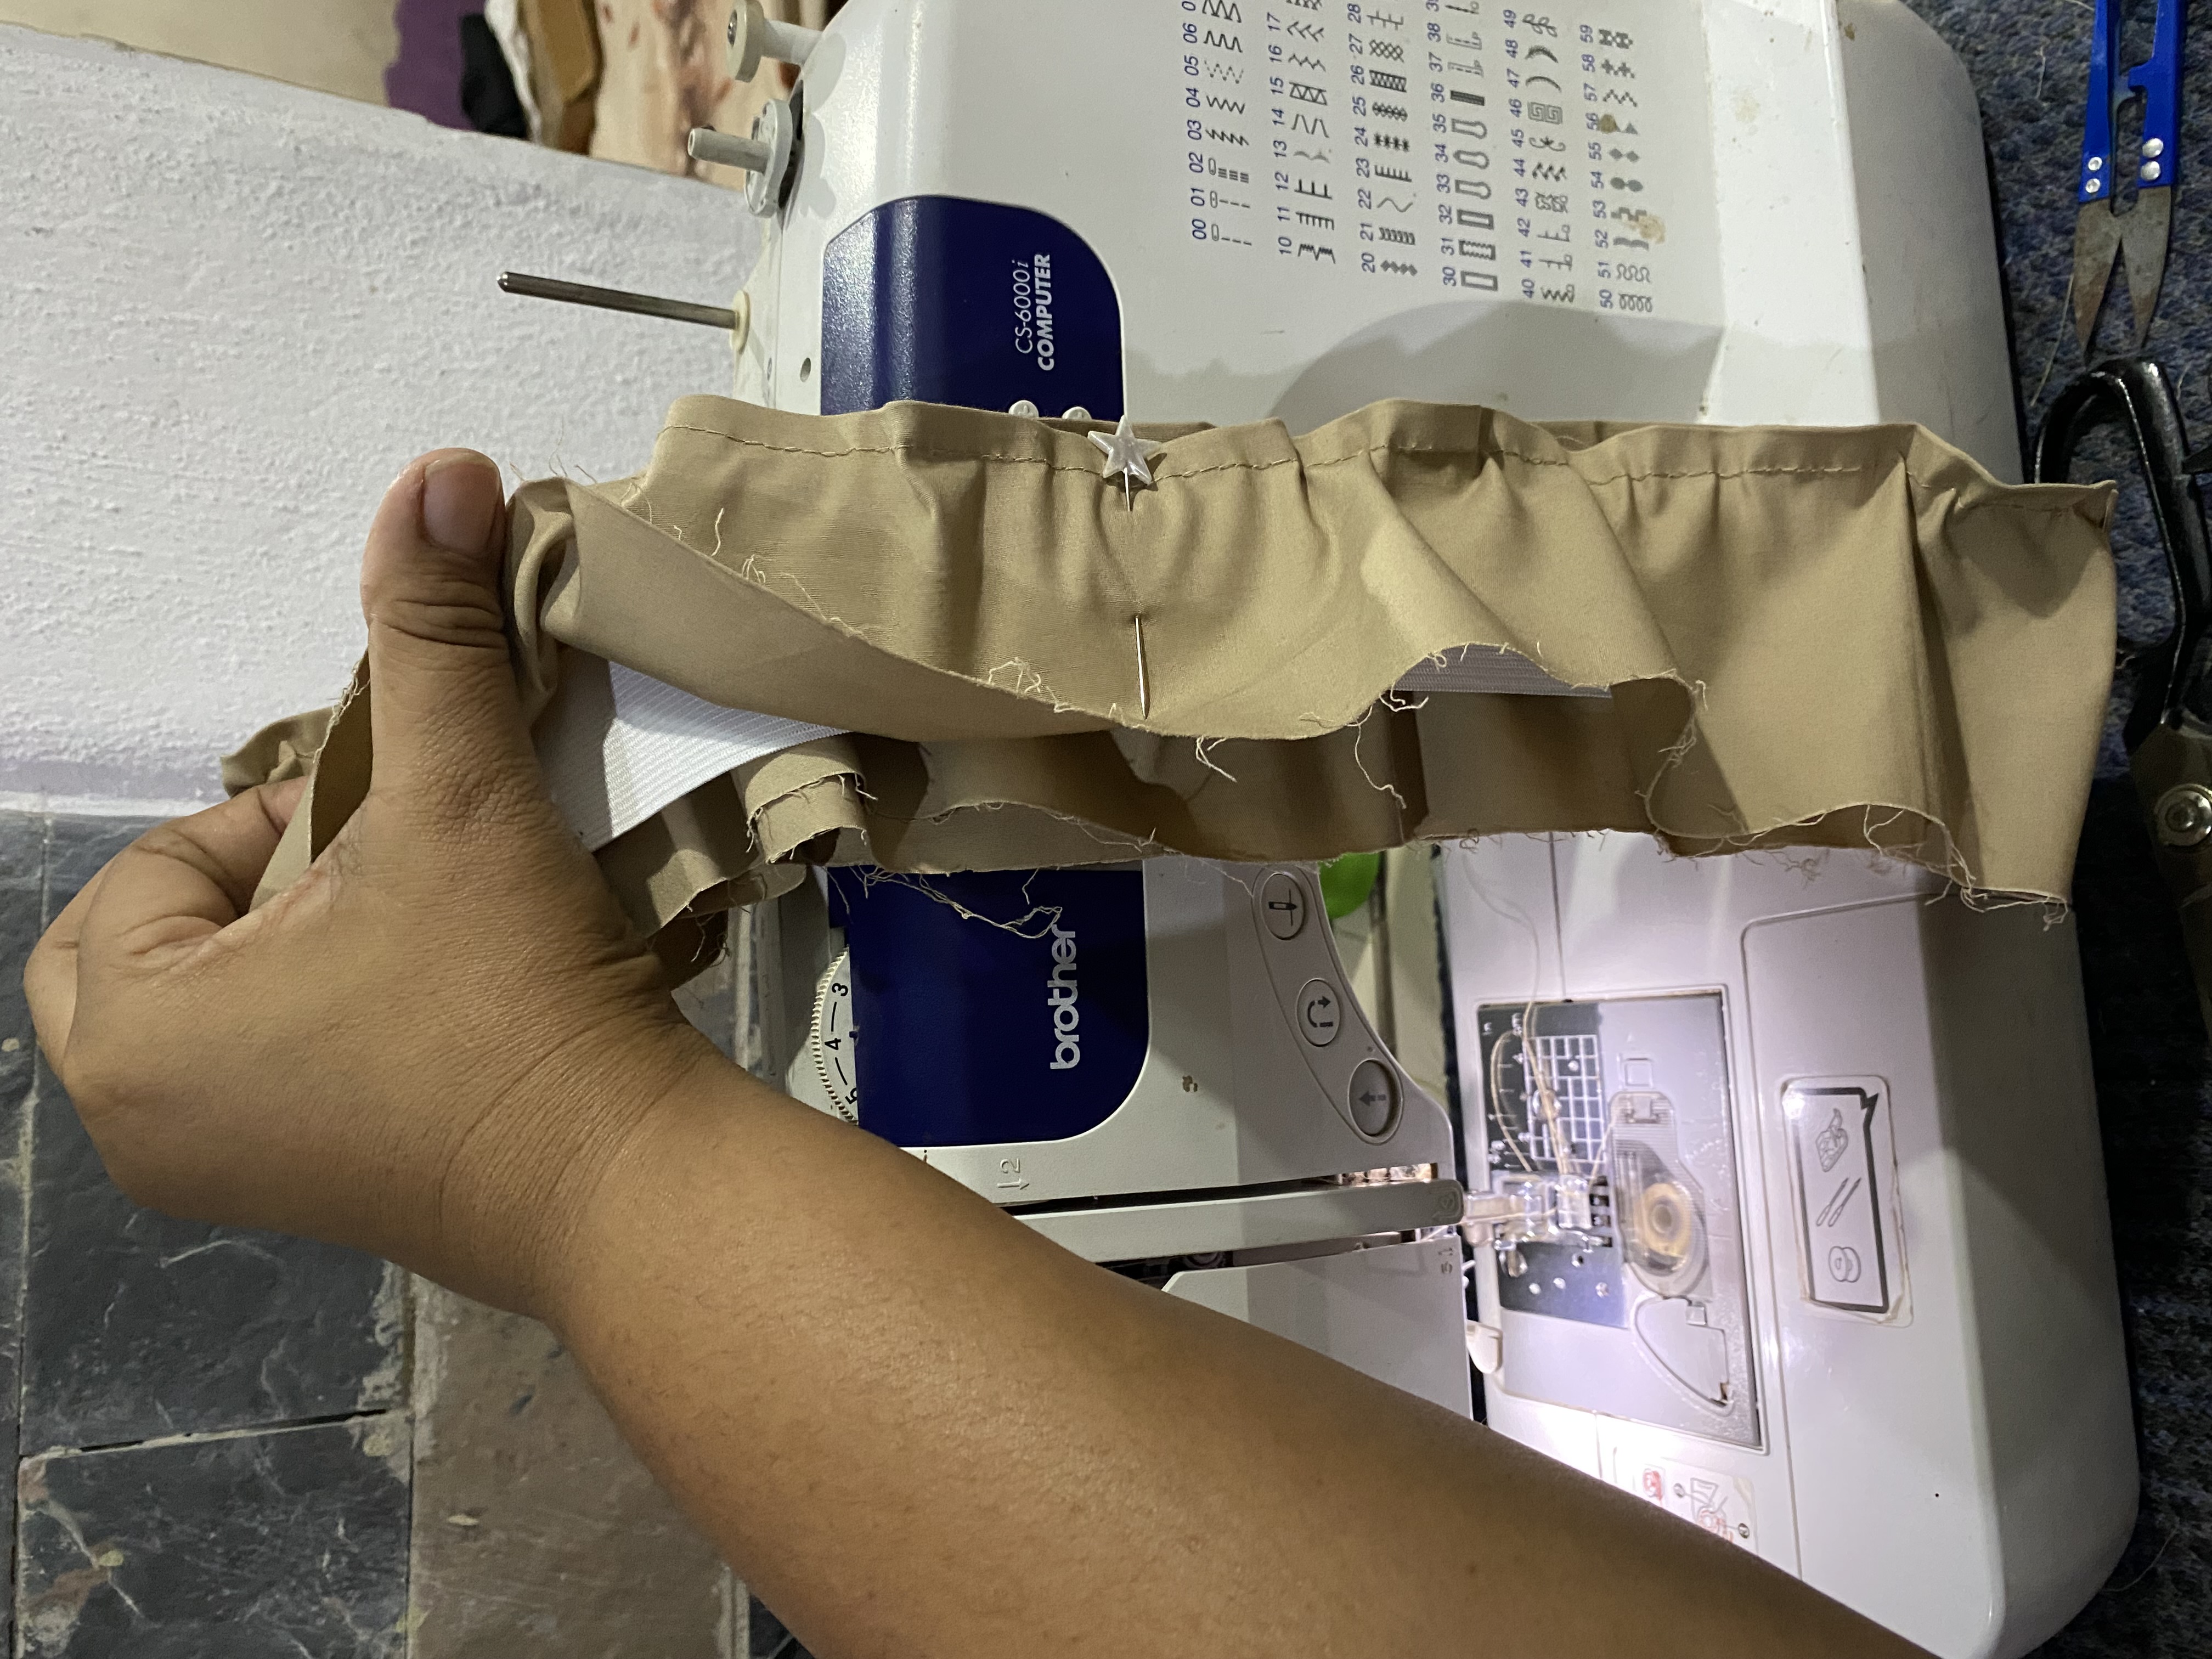
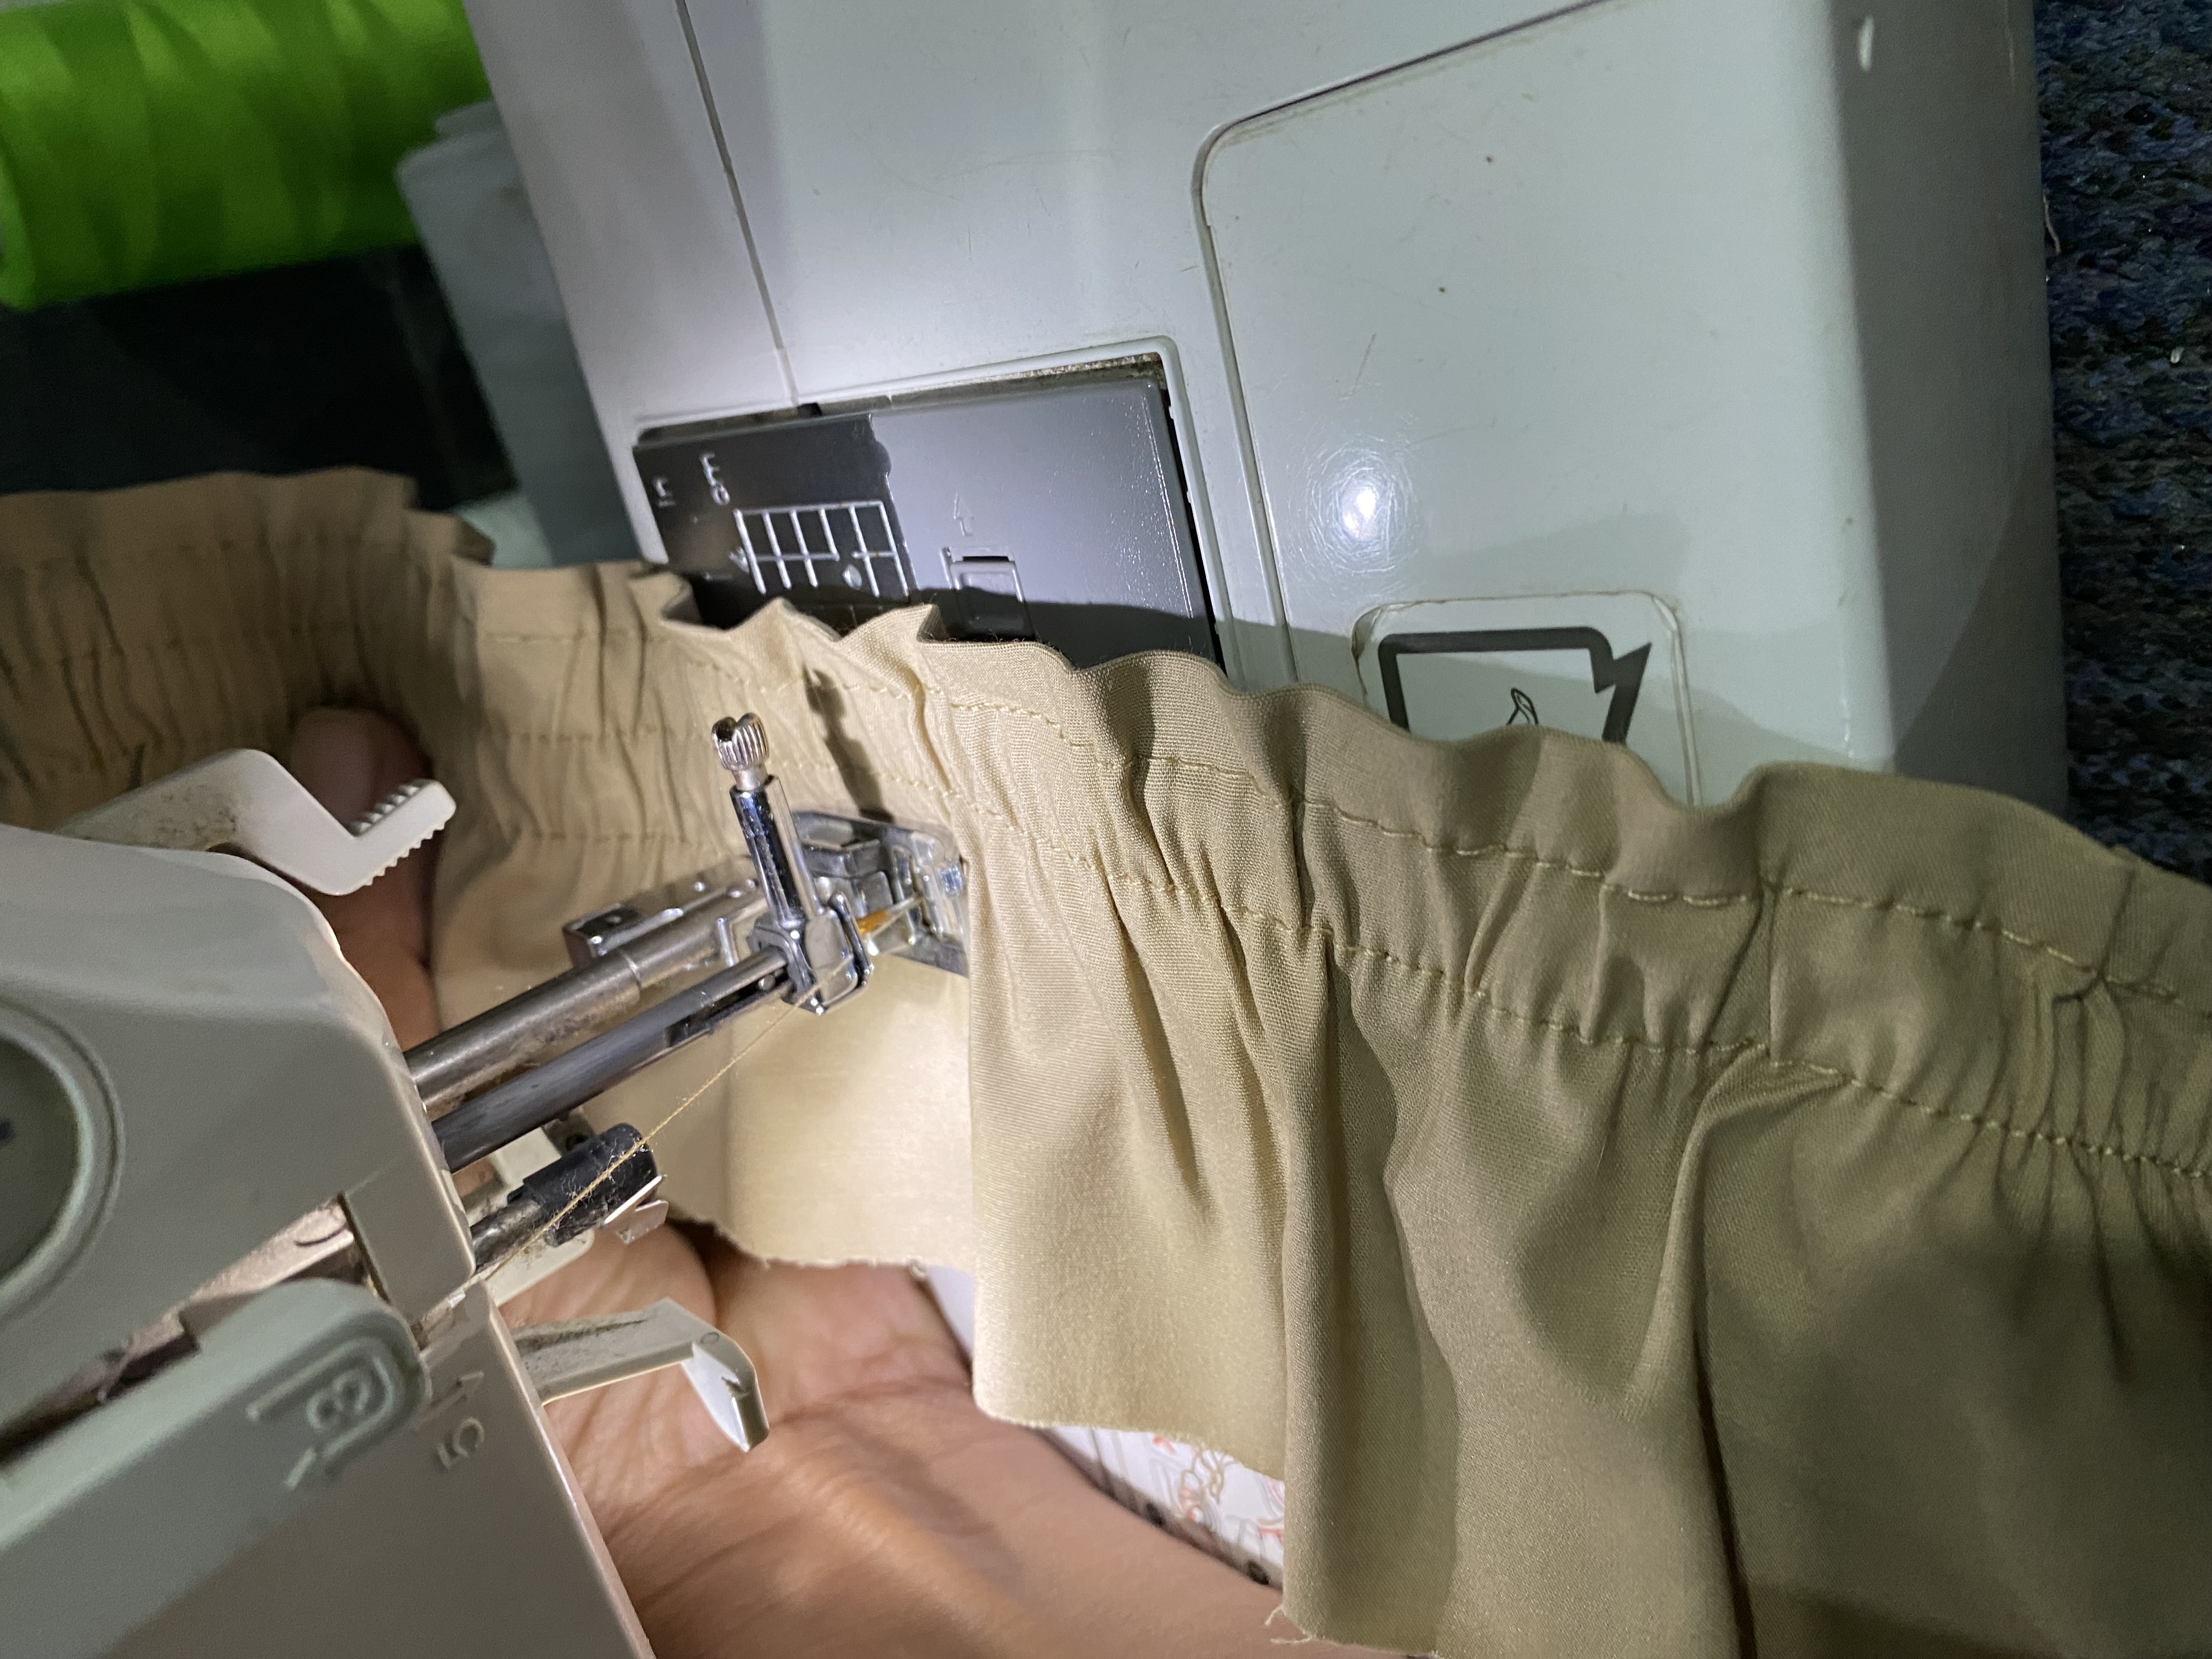
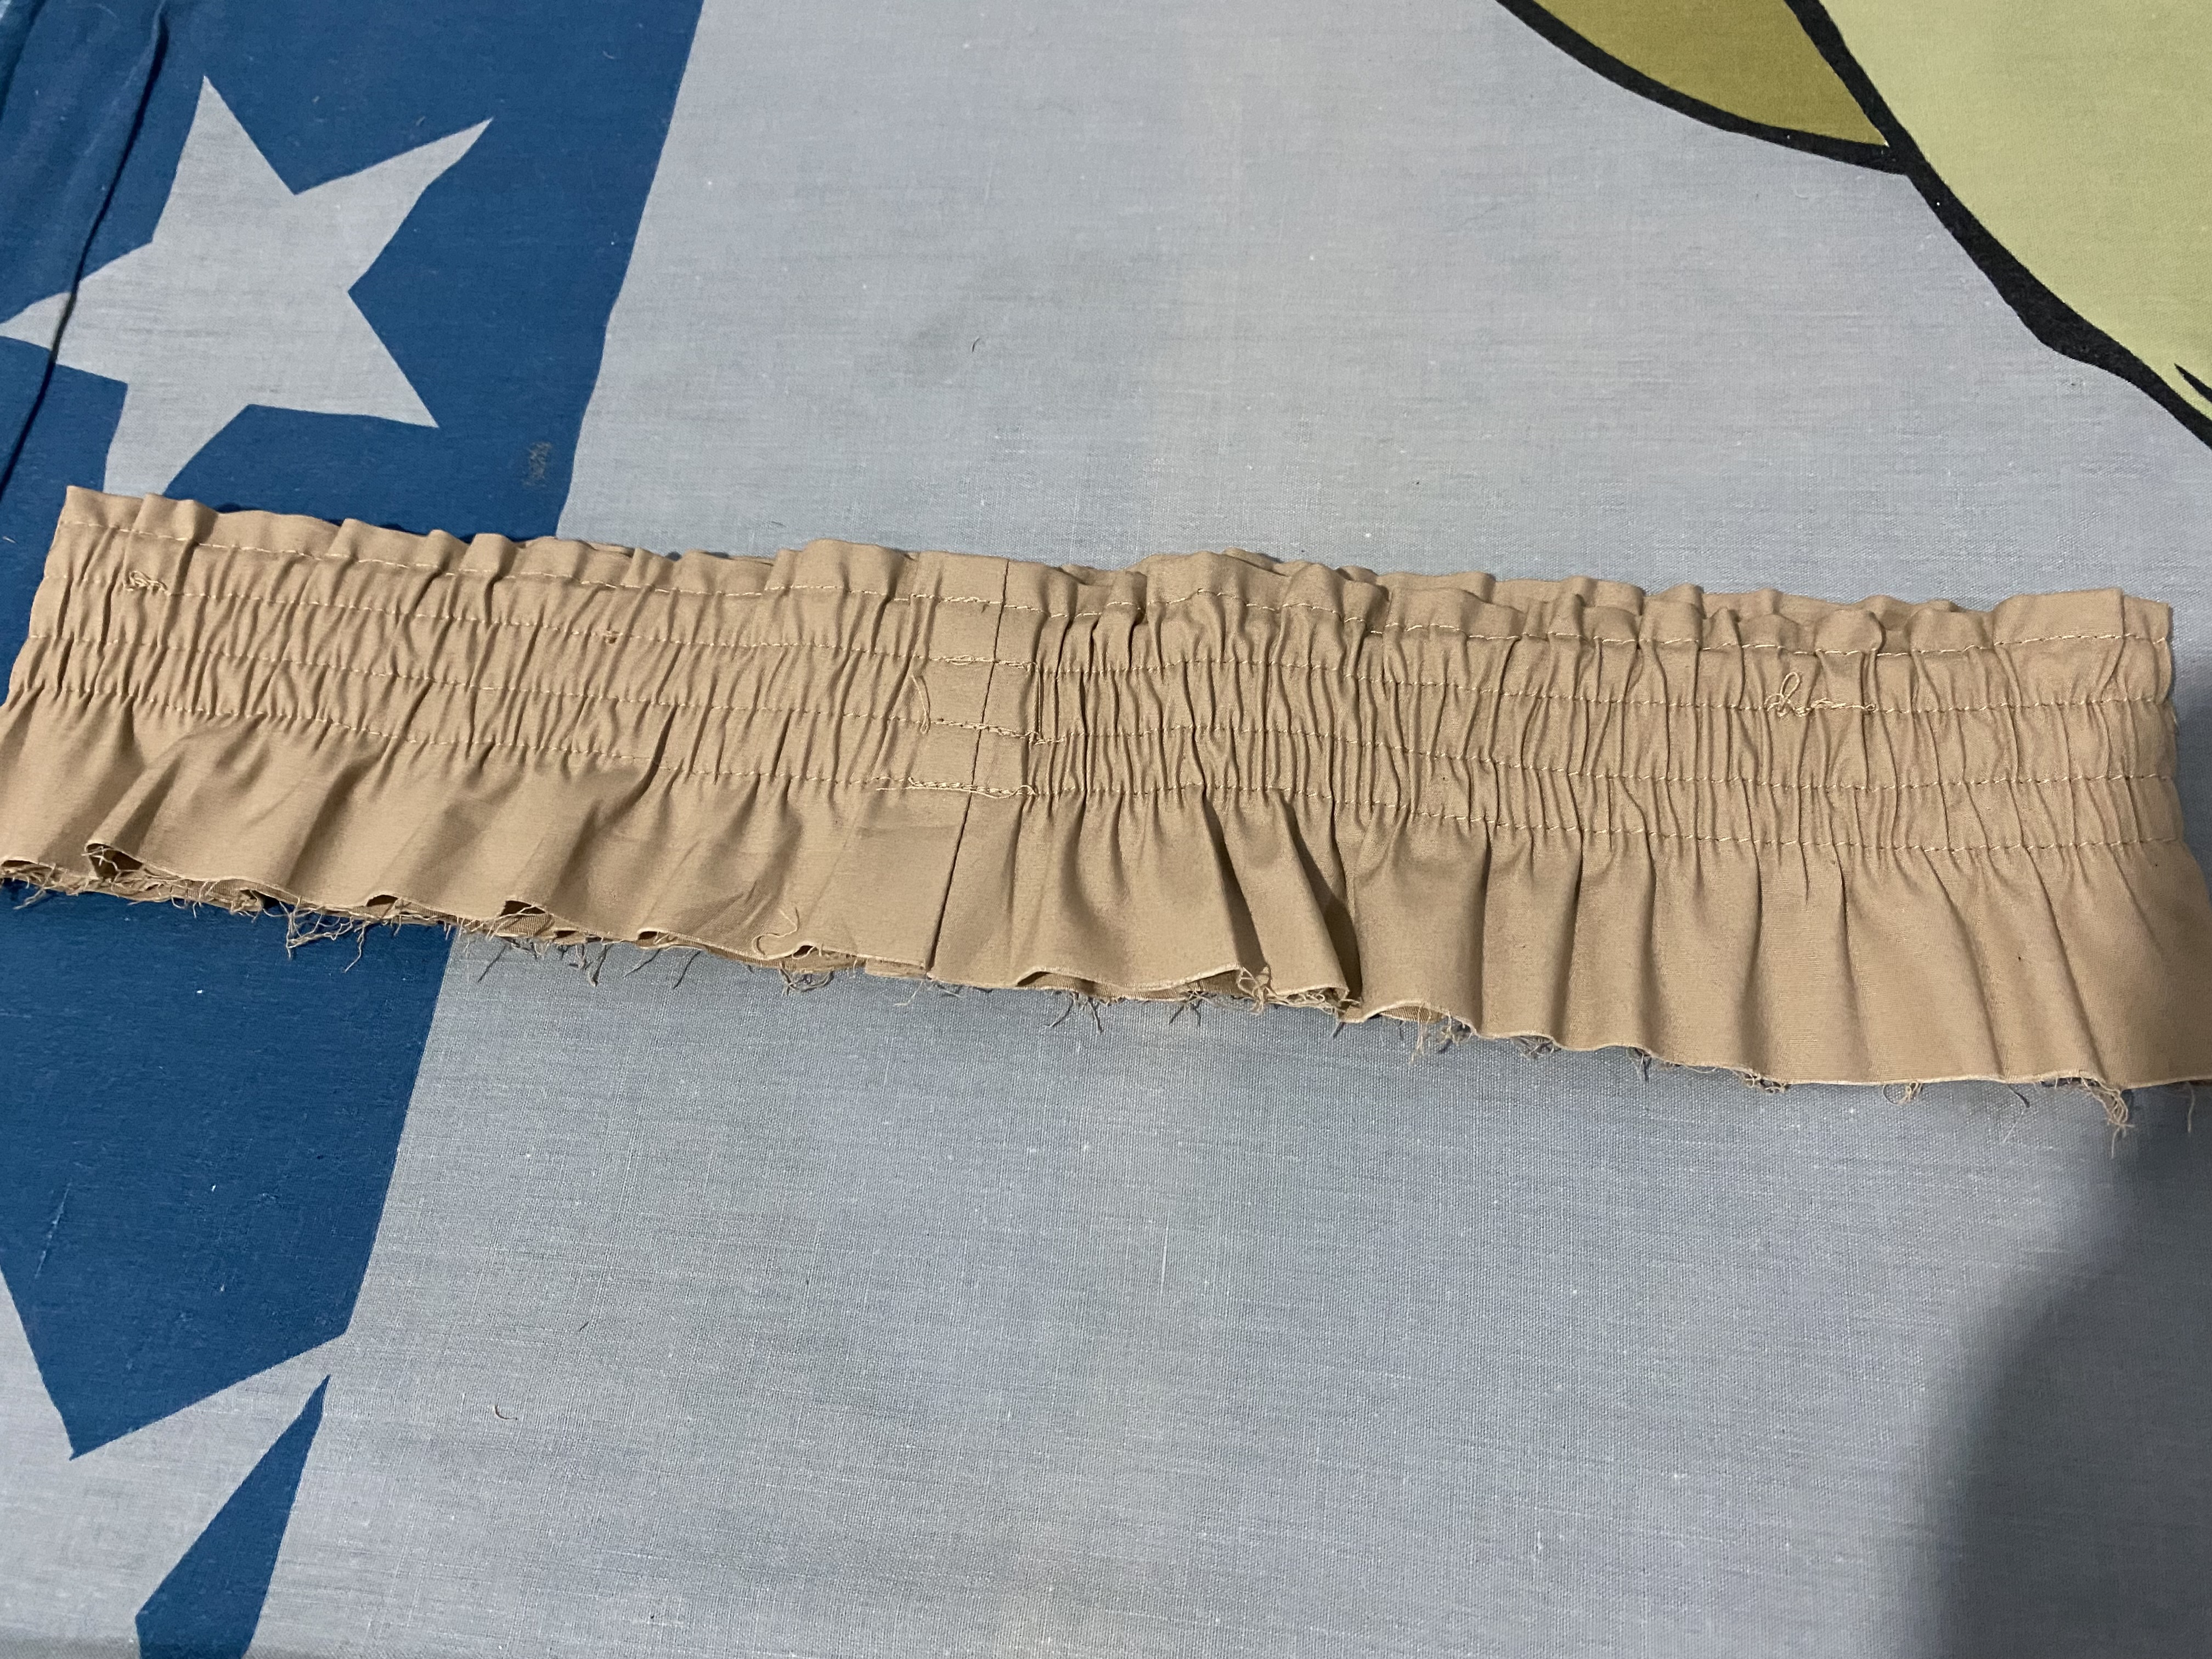
Ahora haremos la cintura o pretina a nuestro pantalón, vamos a cortar una tira de tela de 16cm de alta y de ancha la medida de la cintura del pantalón, utilizaremos un elástico de 4 cm de ancho.
Doblaremos a la mitad en forma horizontal y le vamos a pasar una costura de medio centímetro en la parte superior de nuestra pretina, luego vamos a ubicar la goma y le vamos a pasar en total 3 costuras, nos quedará como muestro en mi imagen.
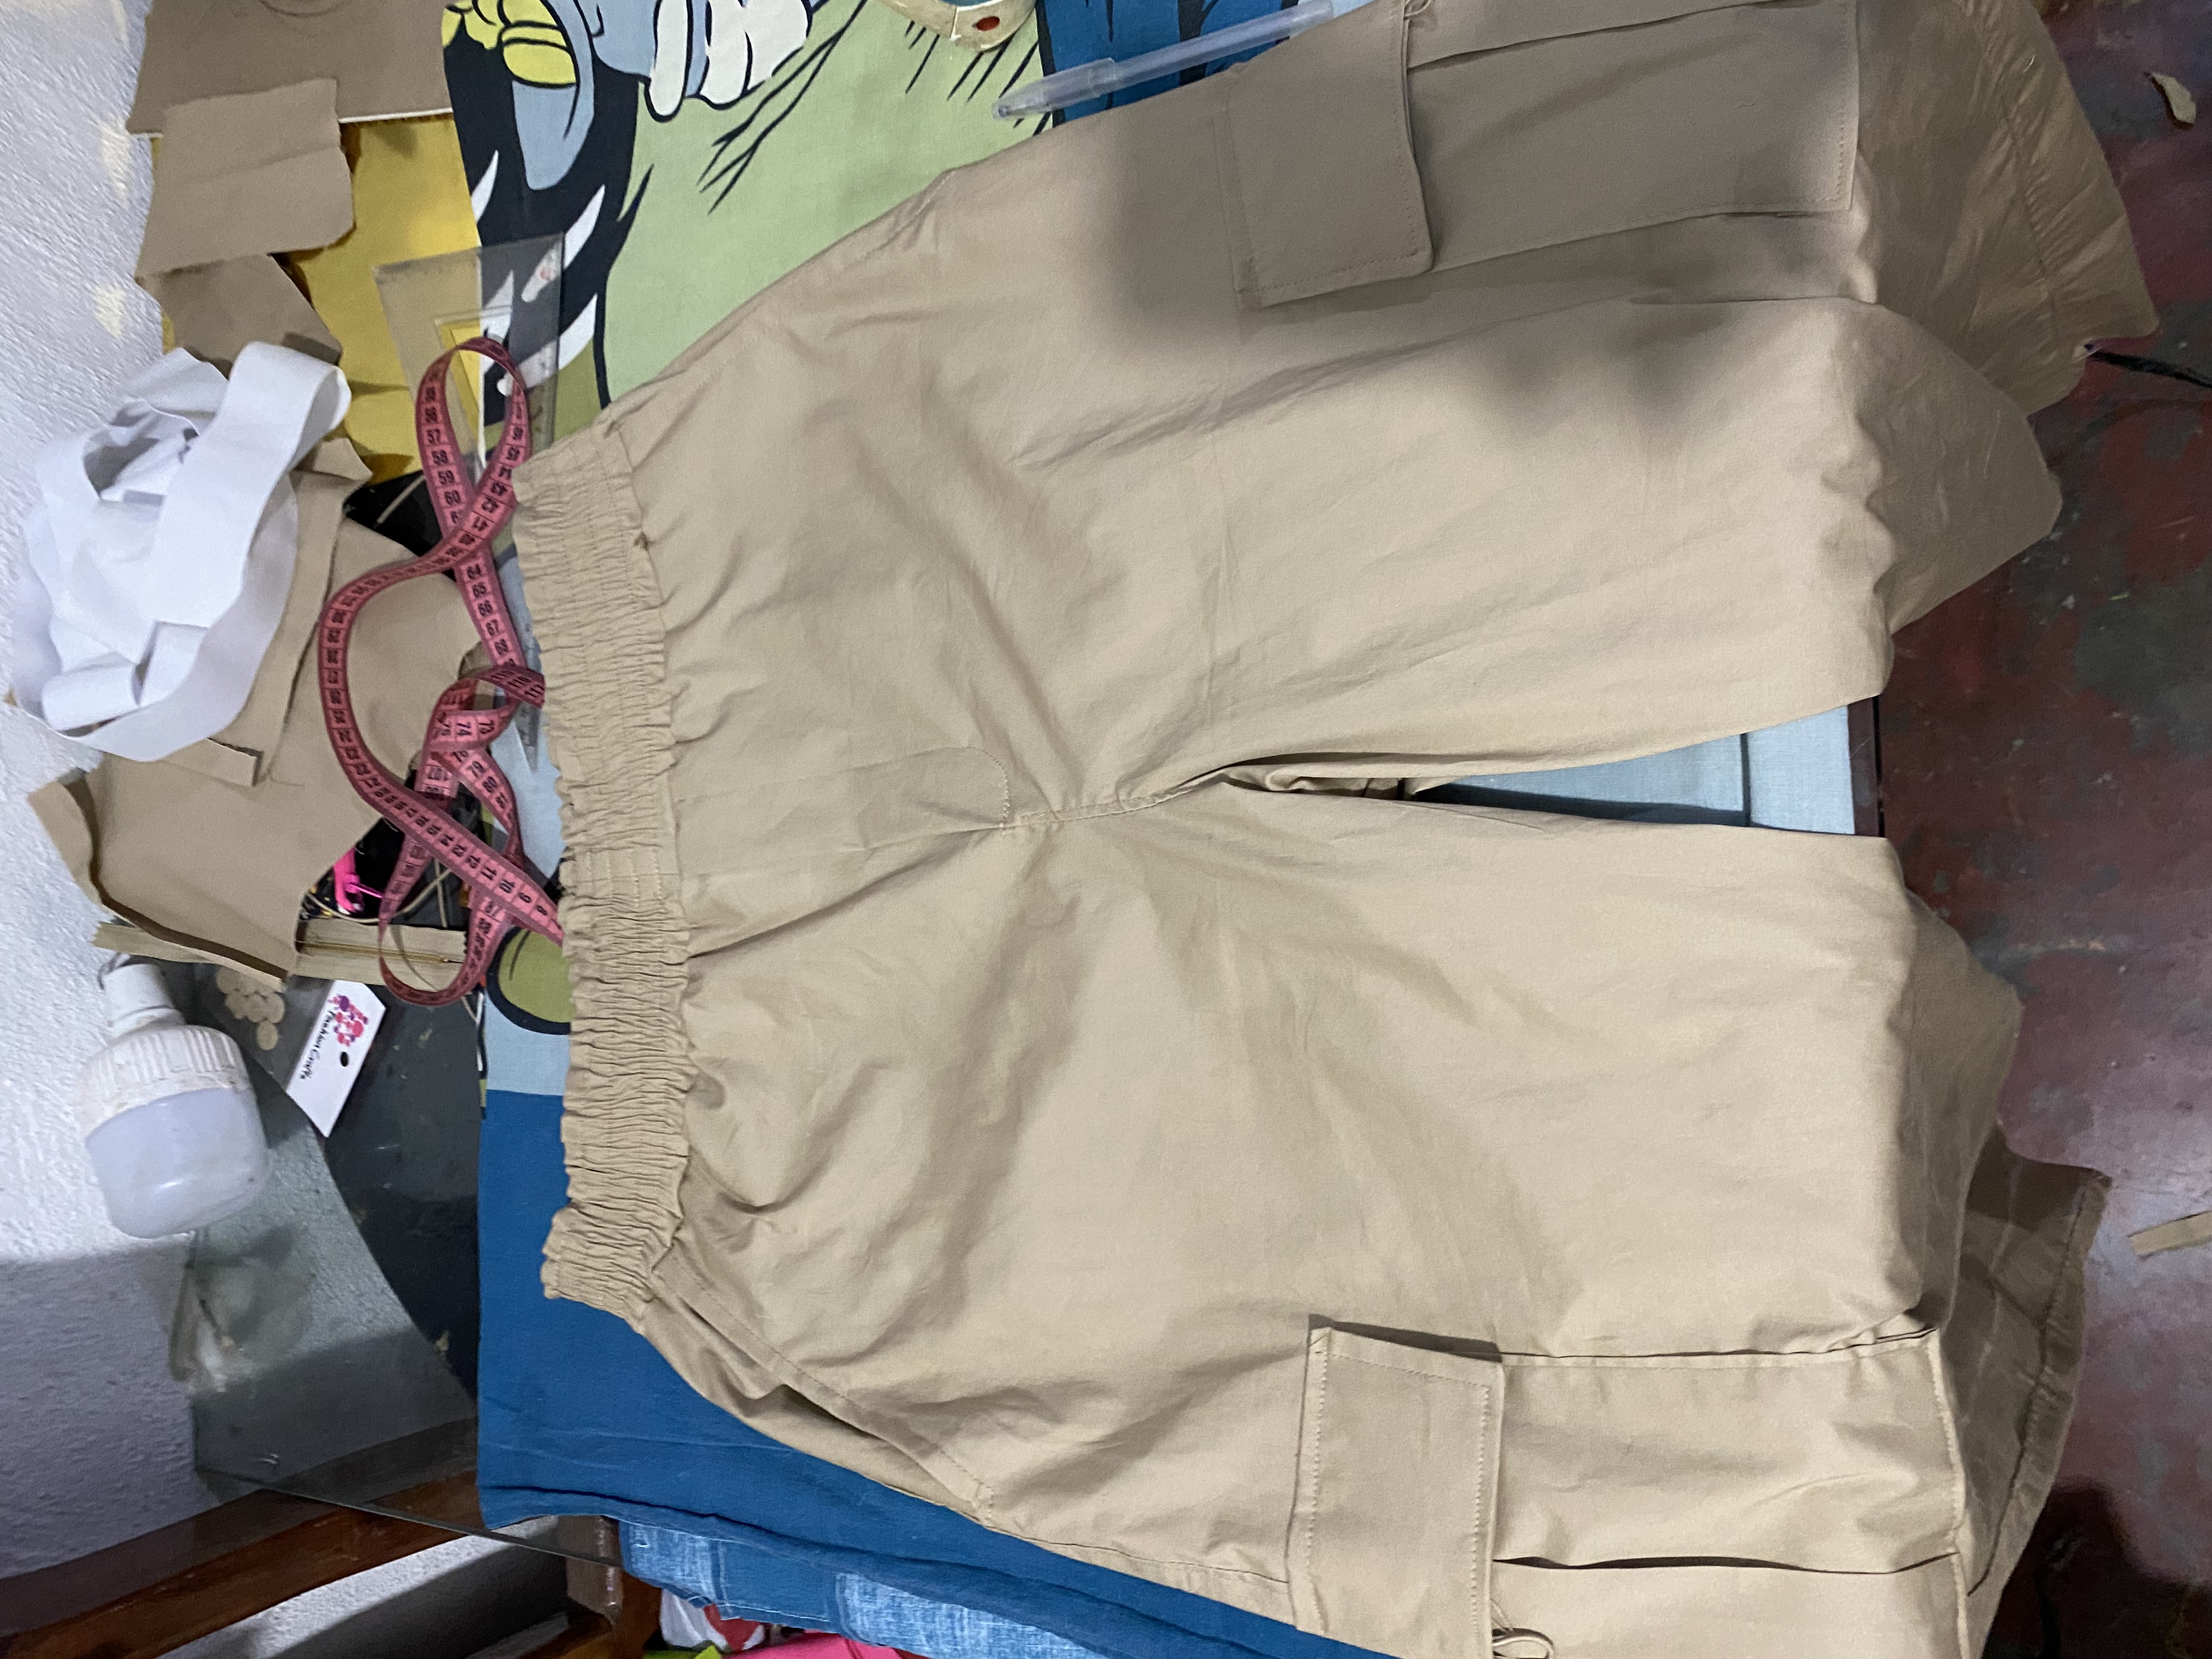
Al tener lista la pretina la vamos a unir a nuestro pantalón, luego planchamos para fijar bien las costuras y que se vea mejor.
Now we will make the waist or waistband of our pants, we are going to cut a strip of fabric 16cm high and as wide as the waist measurement of the pants, we will use a 4cm wide elastic.
We will fold it in half horizontally and we will sew a half-centimeter seam at the top of our waistband, then we will locate the elastic and we will sew a total of 3 seams, it will look like I show in my image.
Once we have the waistband ready, we are going to attach it to our pants, then we iron to fix the seams well and make it look better.
 |  |
|---|---|
 |  |
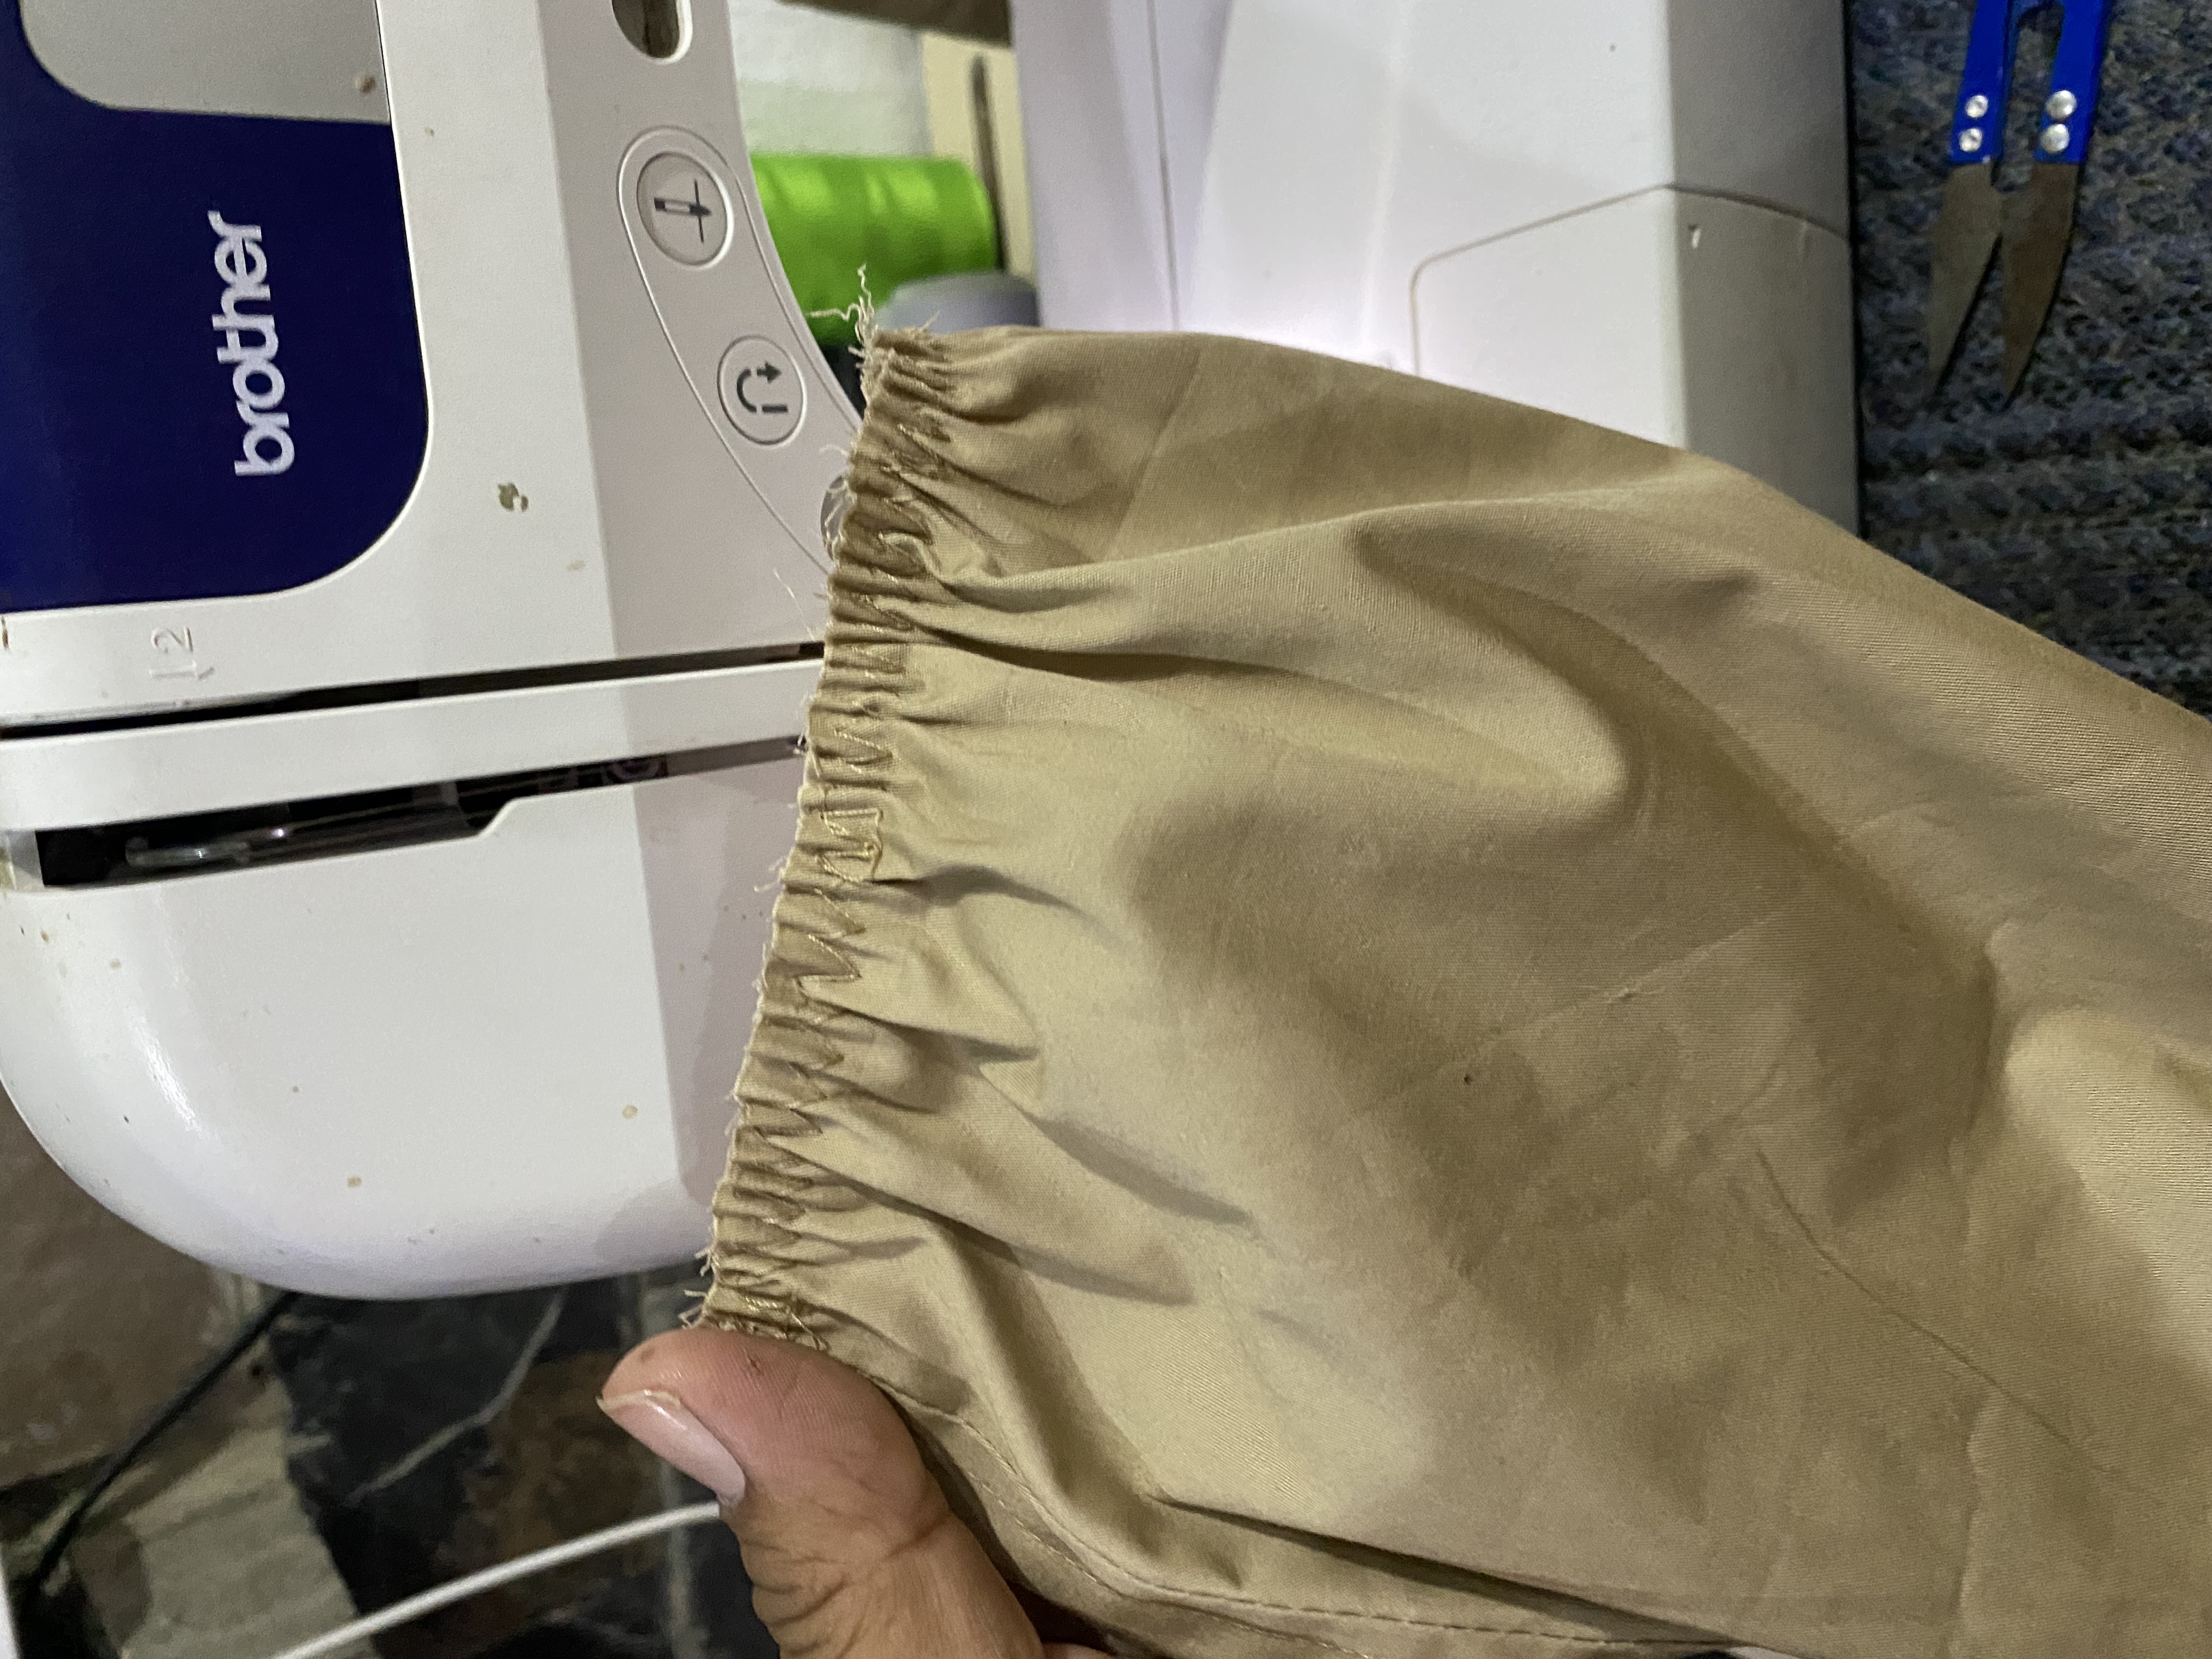
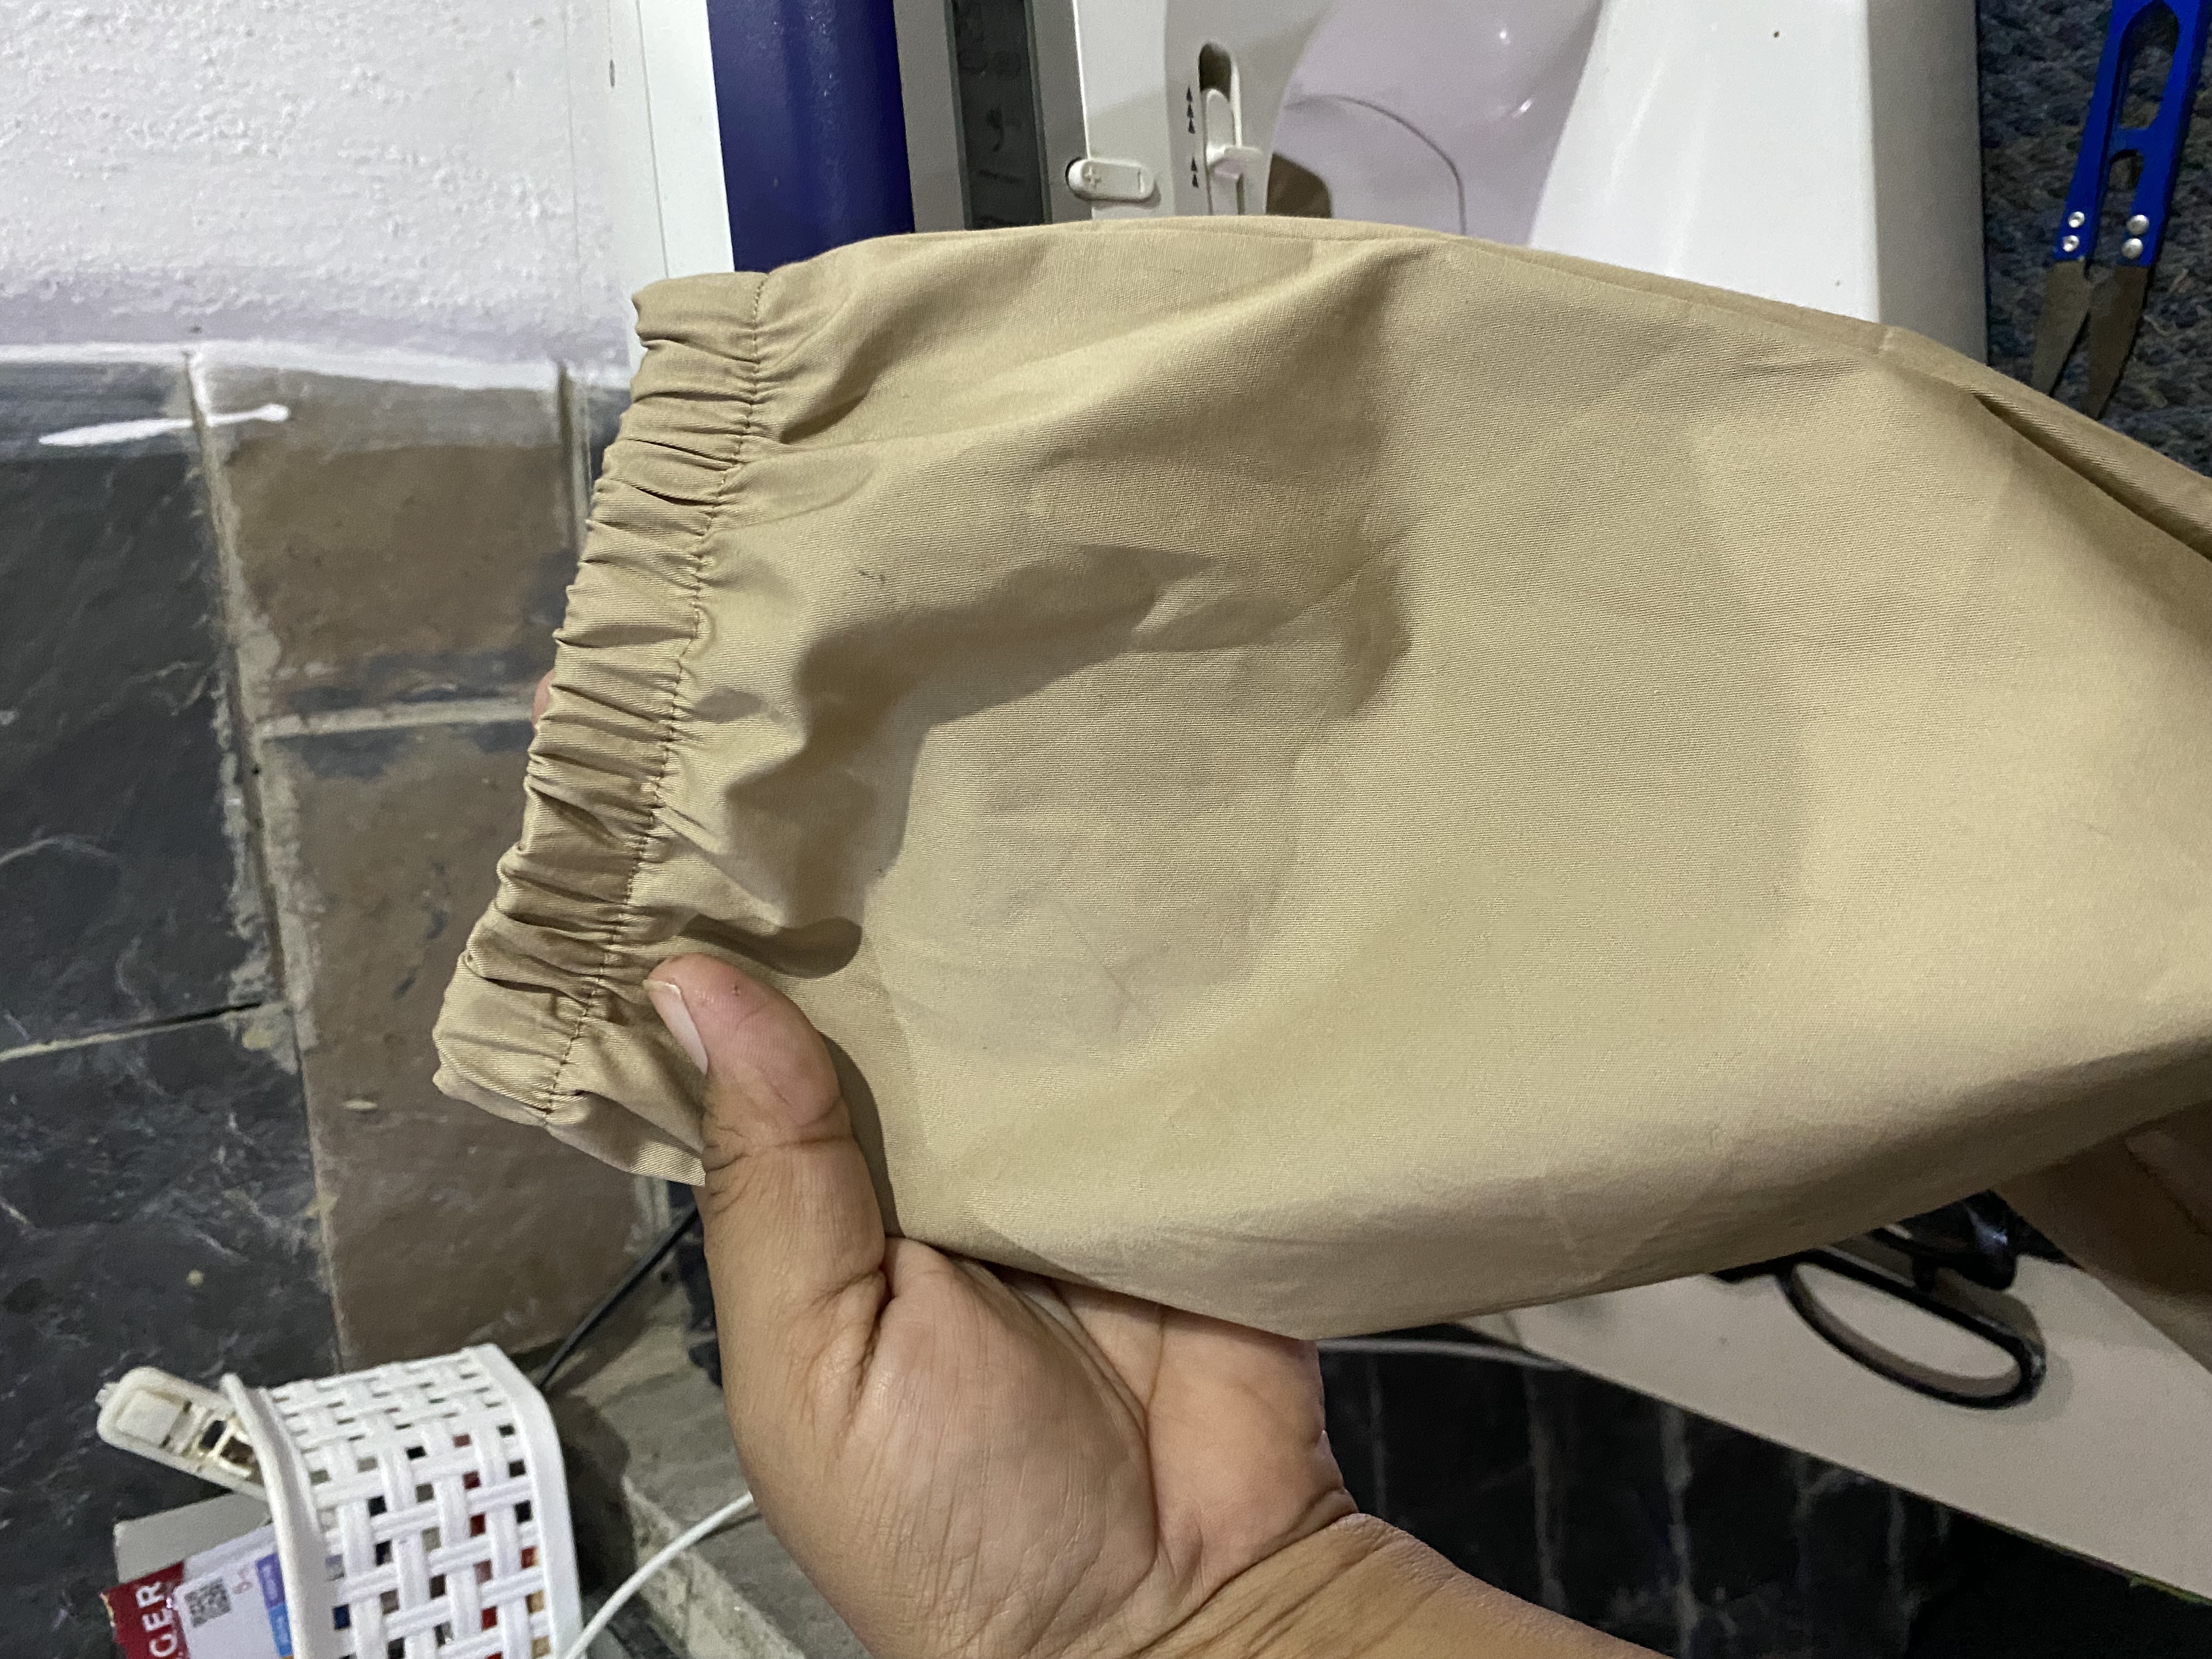
Para el ruedo vamos a utilizar un elástico de 2 cm de ancho, cortaremos el elástico de 27 cm de largo para cada pierna, para unir a nuestra tela en la orilla le pasamos Over Lock o zig zag y luego le pasamos una costura por la parte de afuera.
For the hem we are going to use a 2 cm wide elastic, we will cut the elastic 27 cm long for each leg, to join our fabric on the edge we will pass Over Lock or zig zag and then we will sew a seam along the from outside.
 |  |
|---|
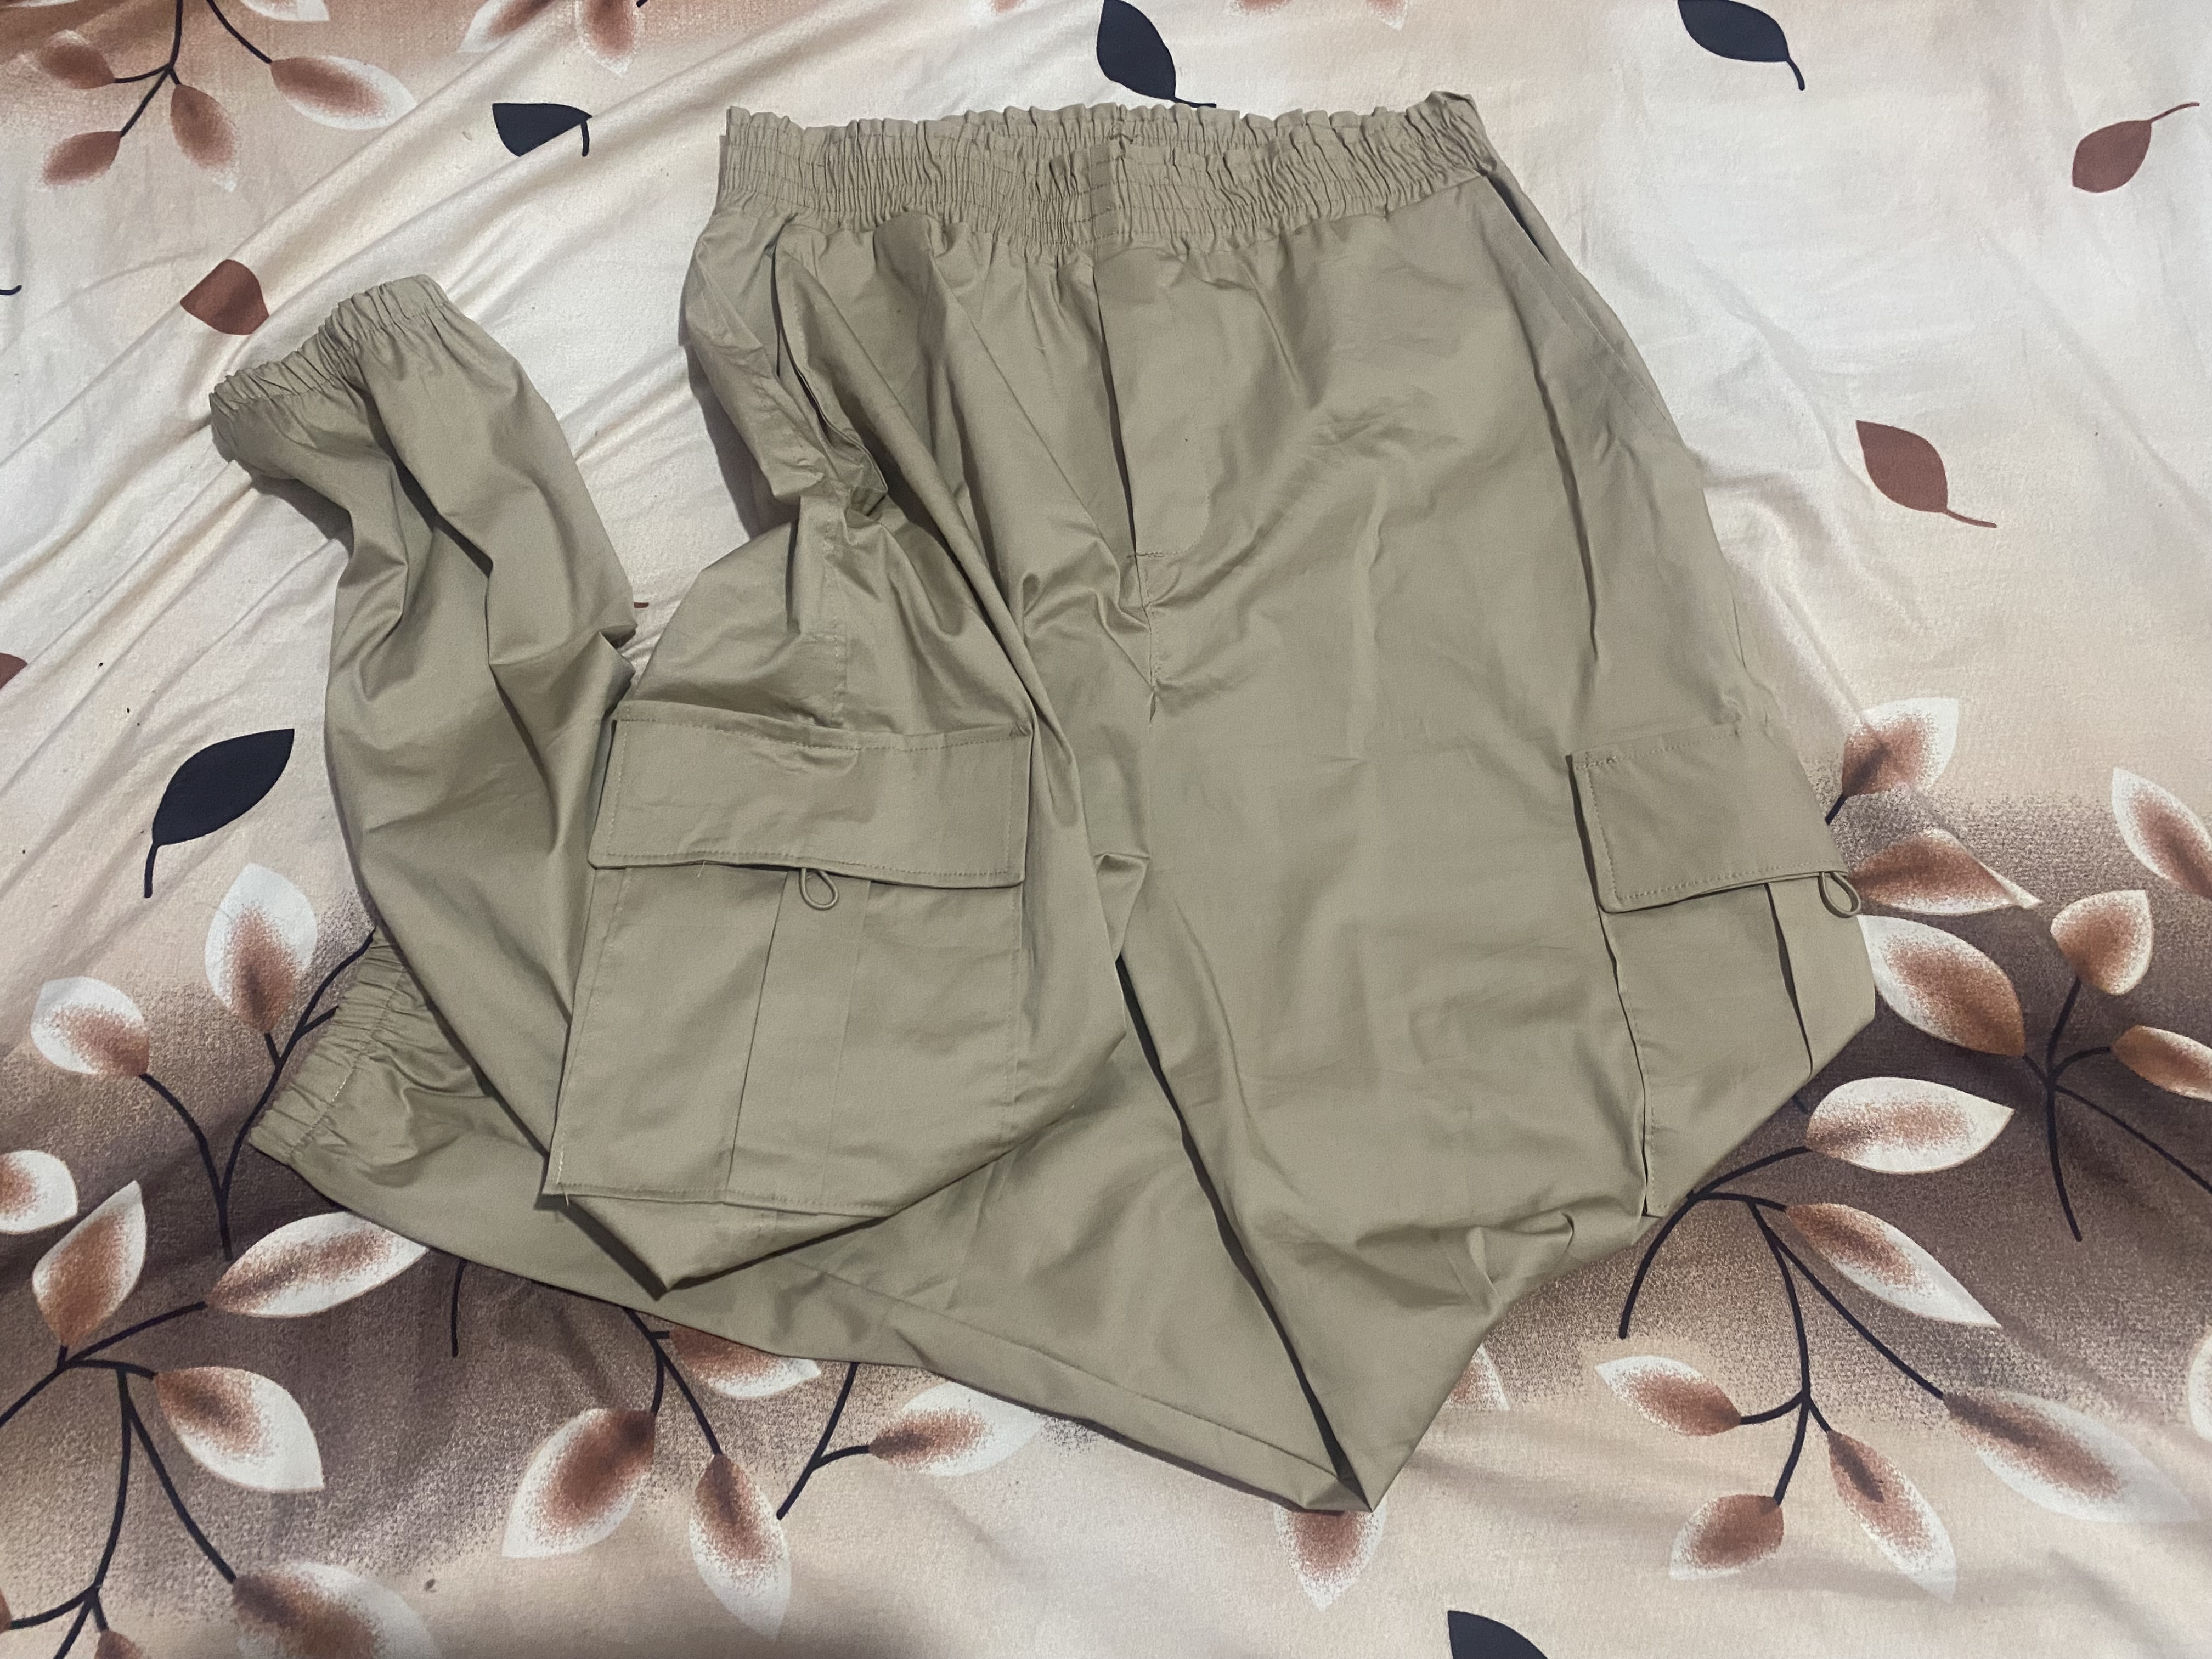
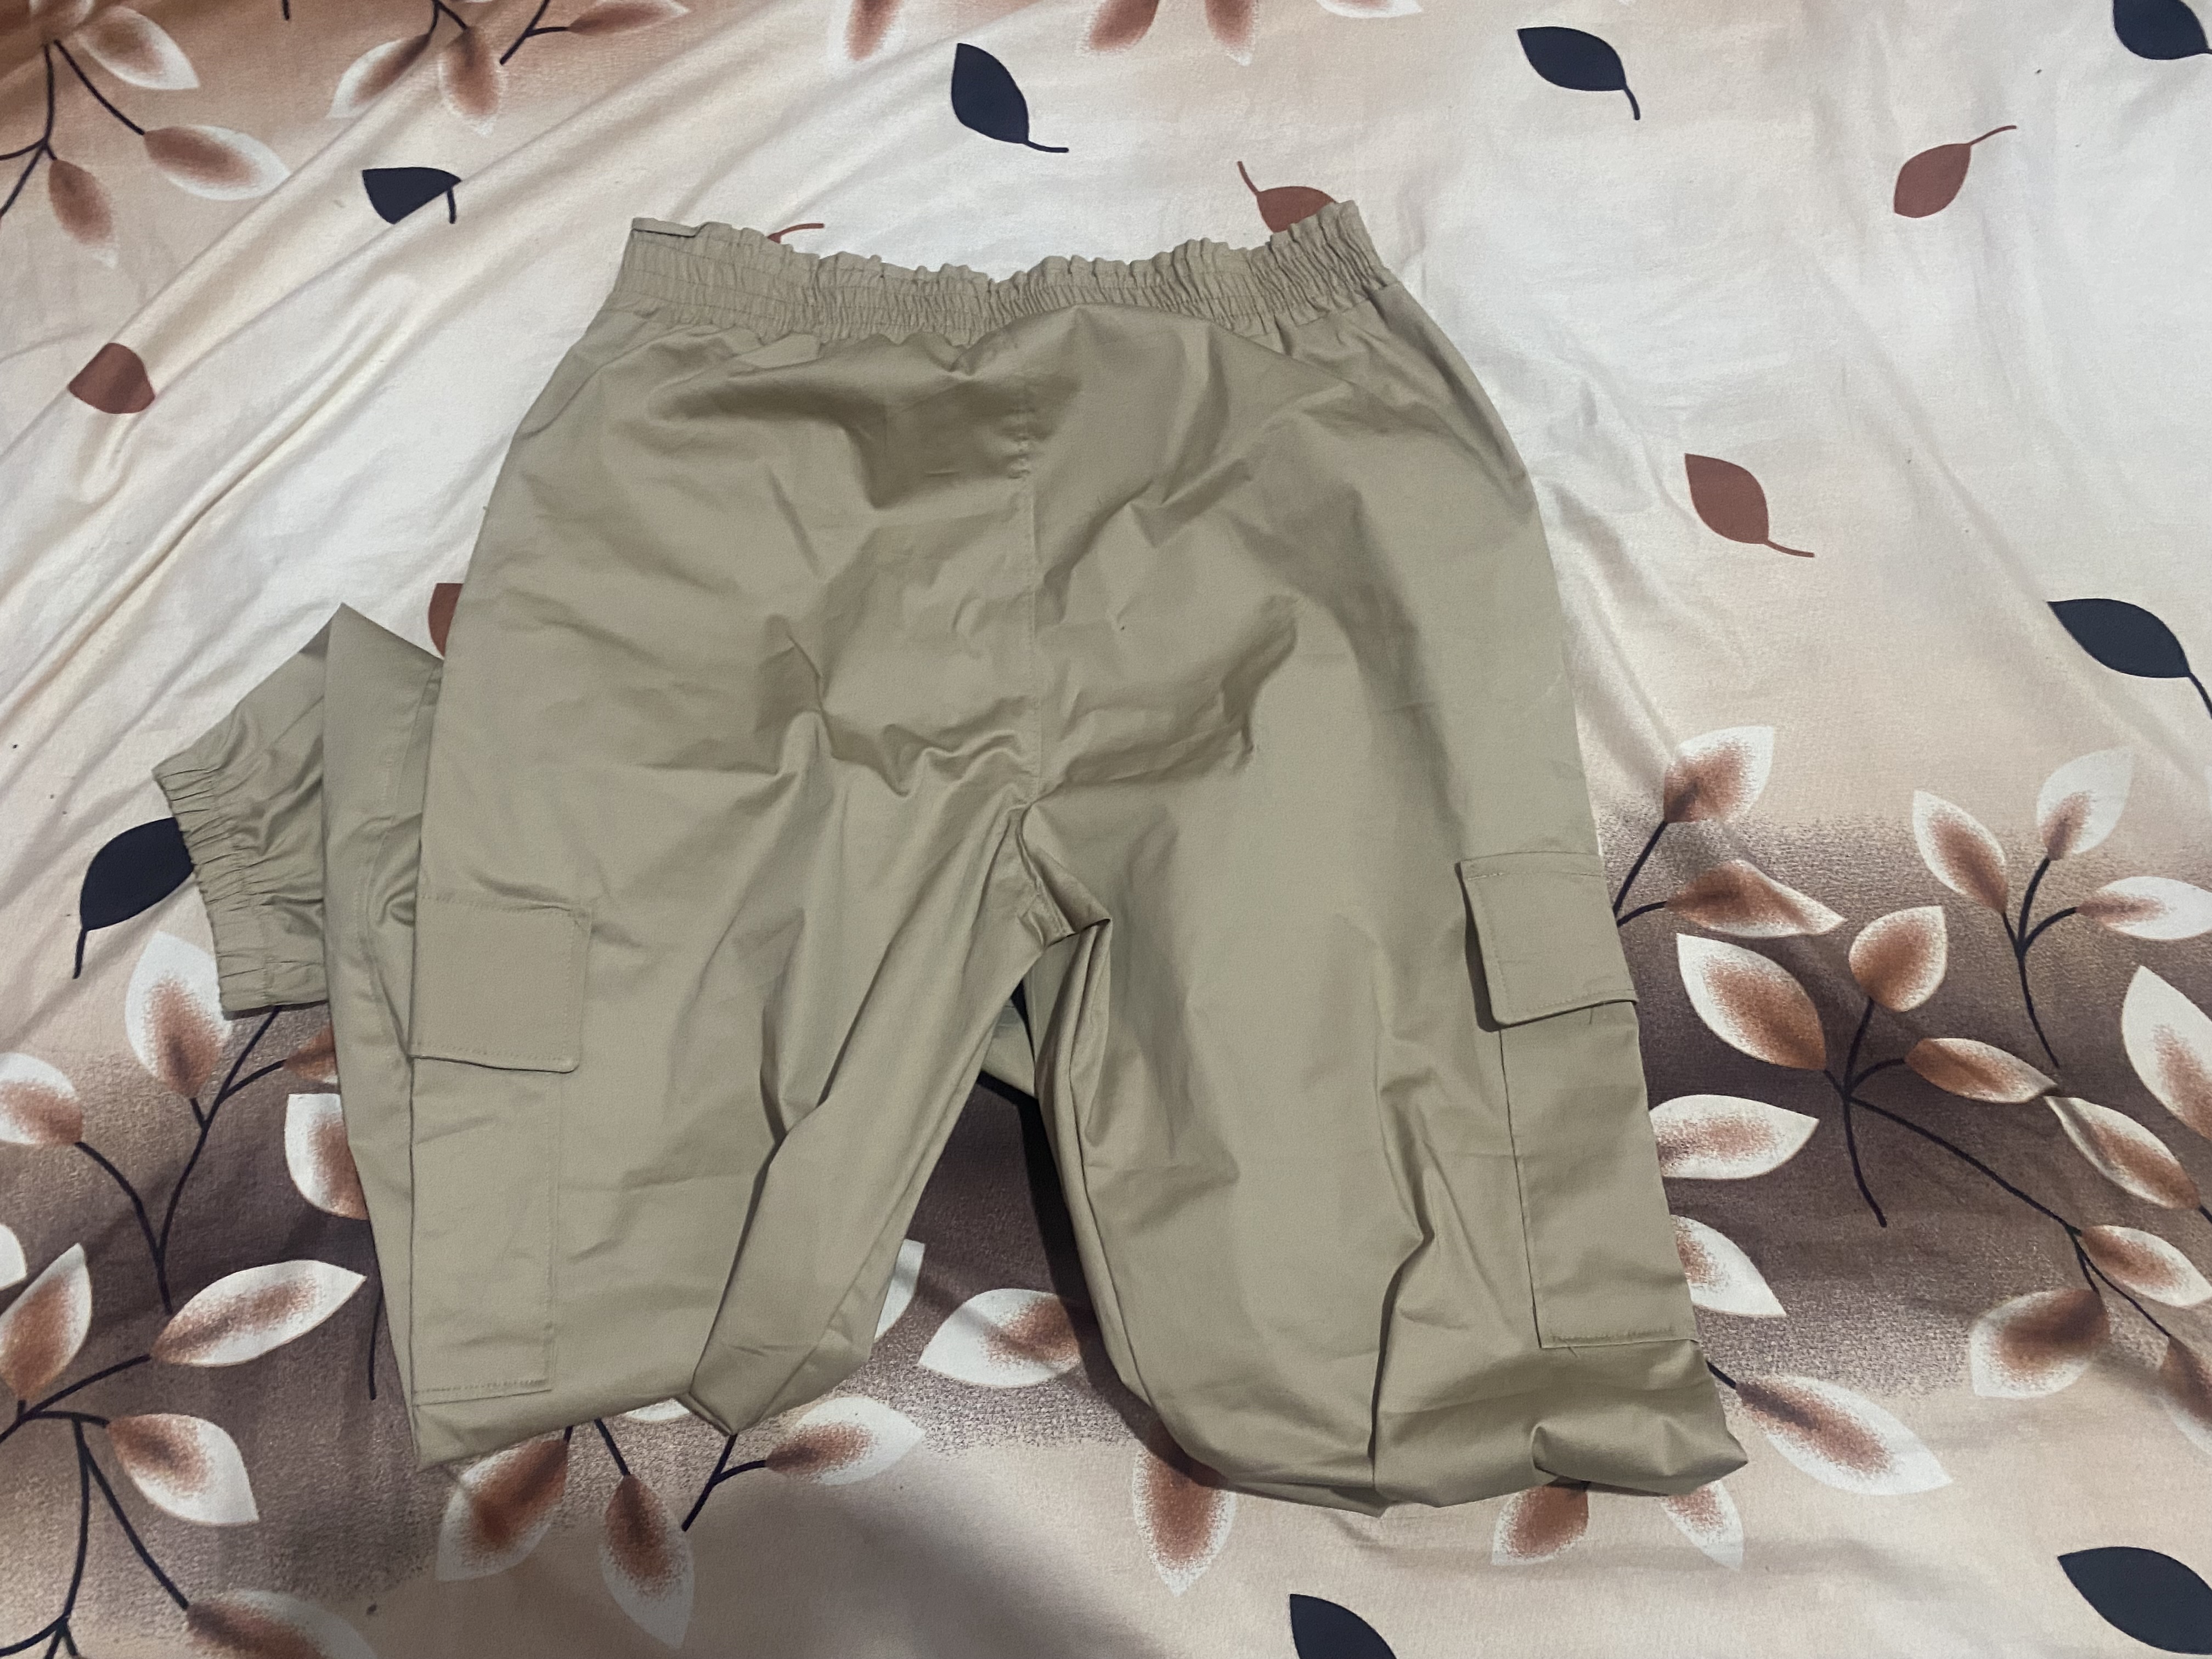
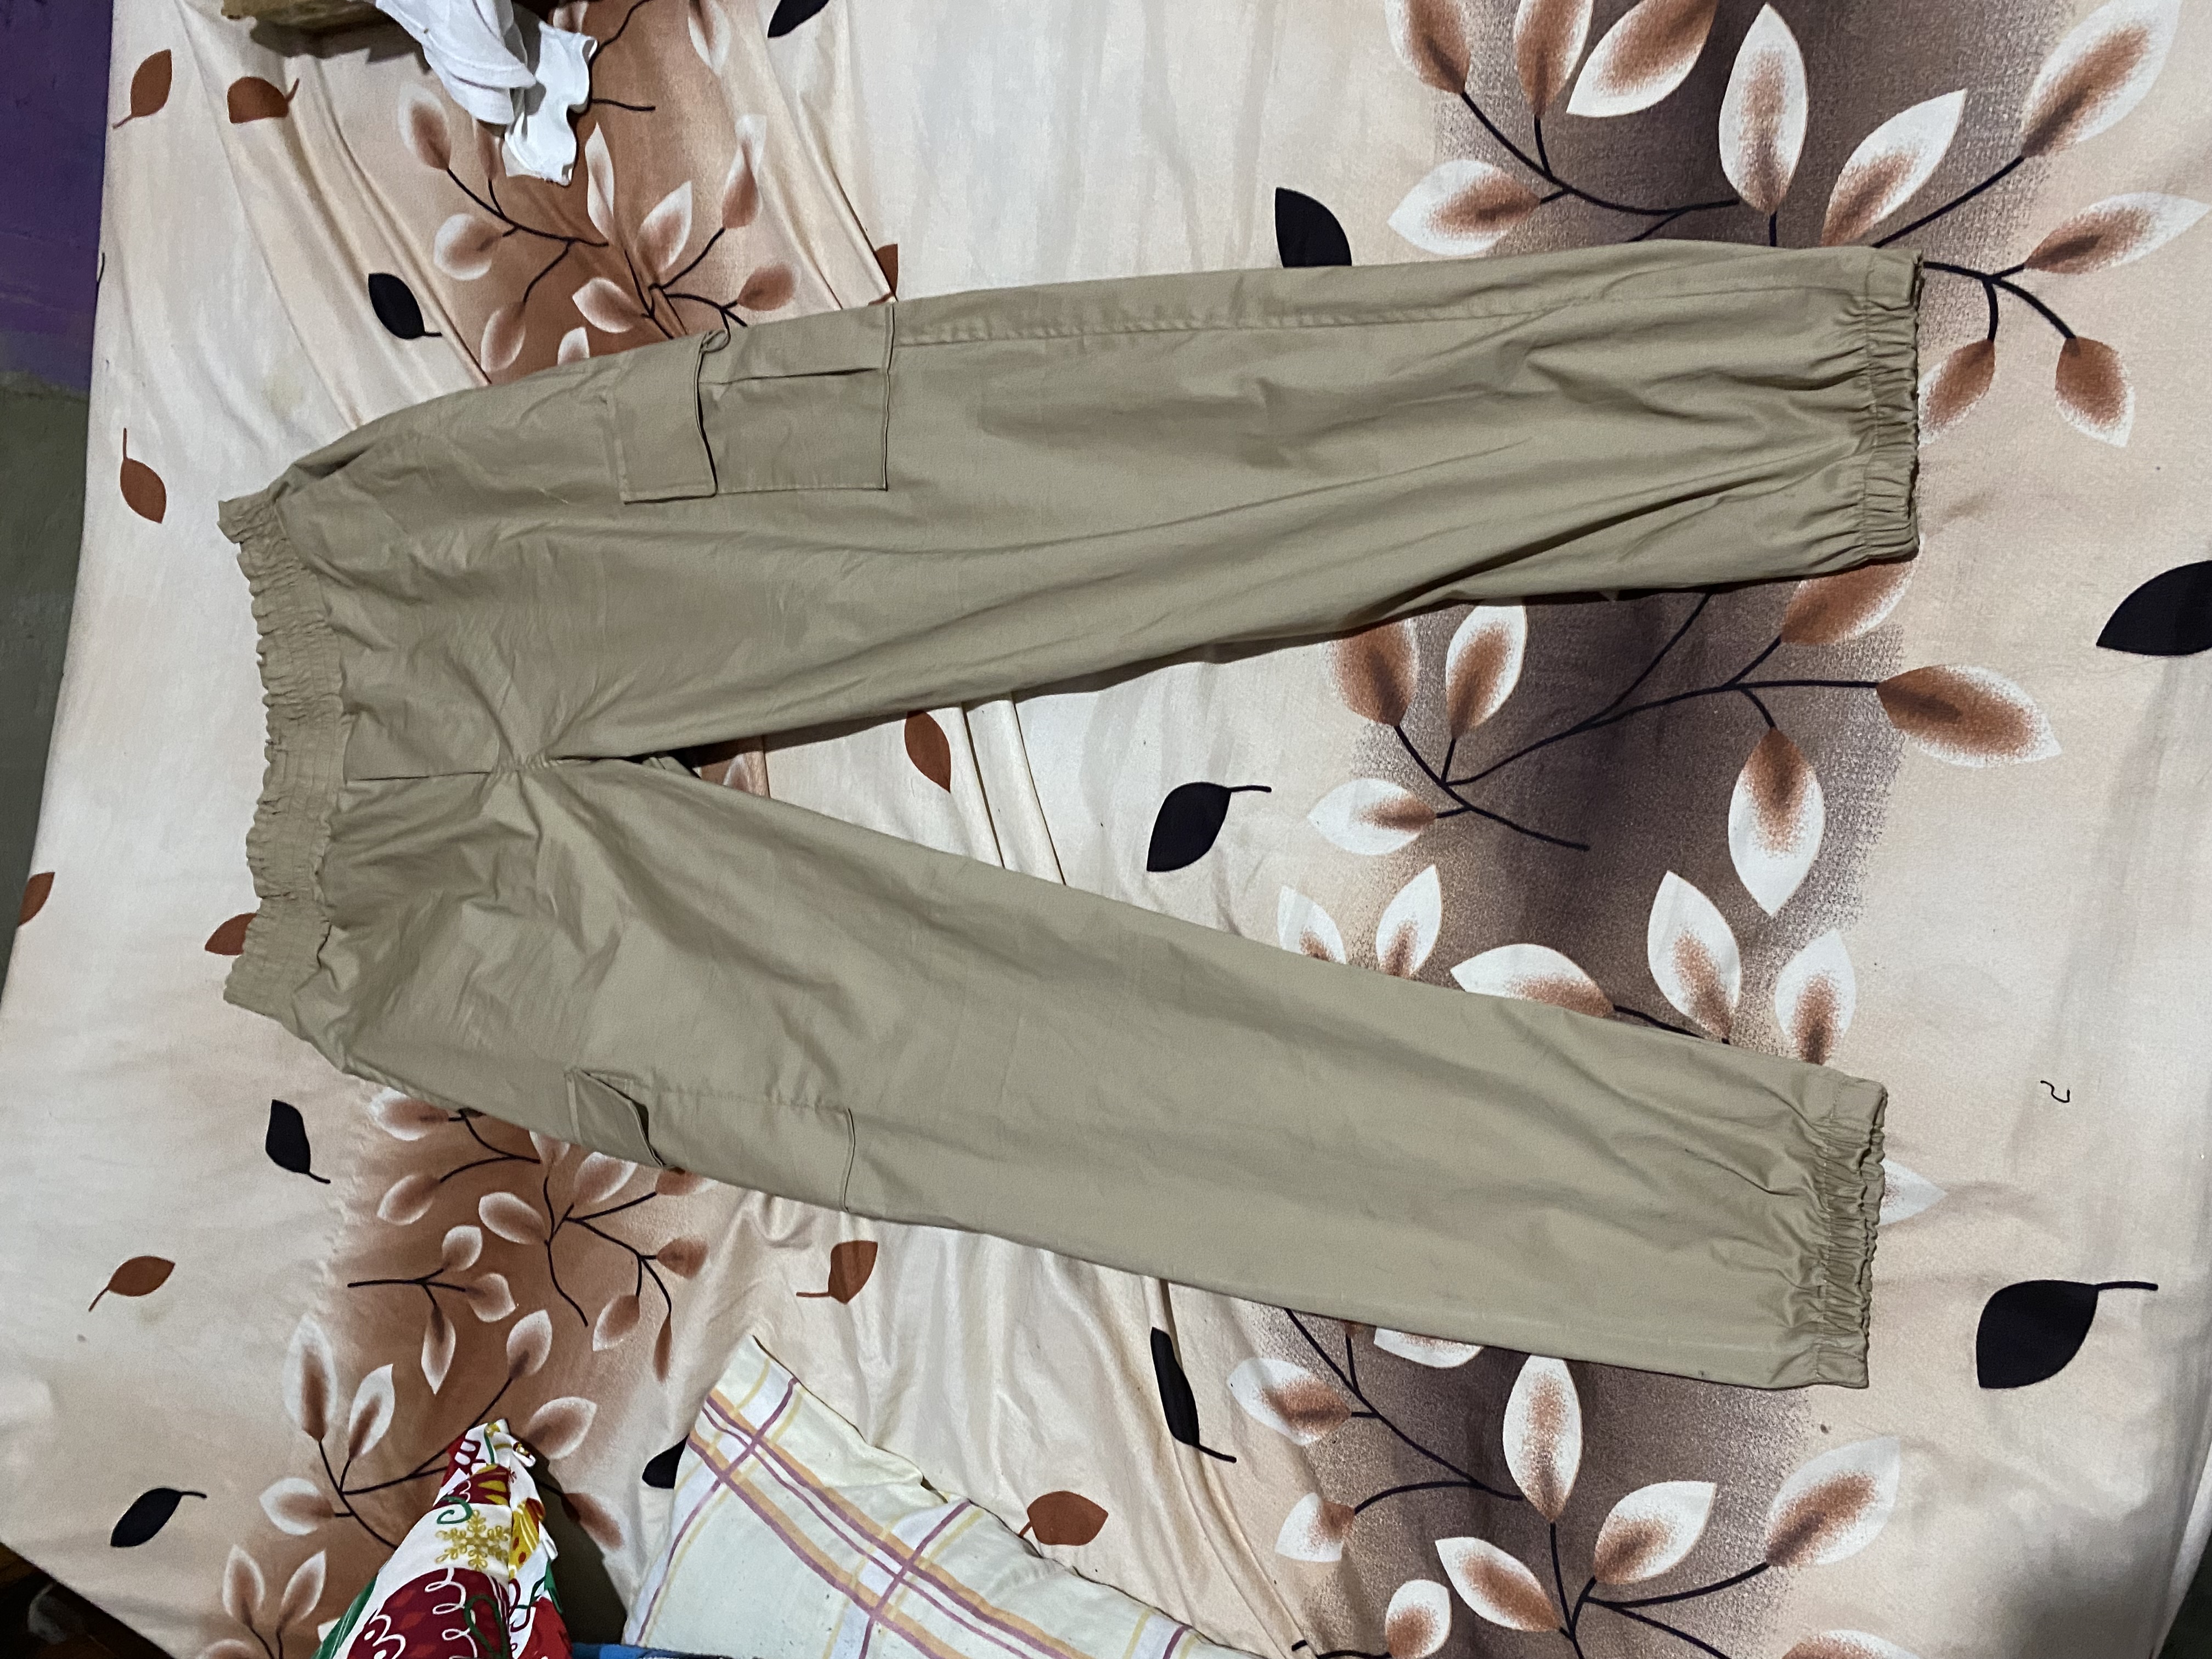
Y así ya tendremos confeccionado este lindo mono pantalón tipo cargo, me encantó el resultado, es un modelo actual y muy cómodo, espero les haya gustado también, me despido por hoy deseándoles muchos éxitos y bendiciones, hasta otra oportunidad
And now we will have made this cute cargo pants jumpsuit, I loved the result, it is a current and very comfortable model, I hope you liked it too, I say goodbye for today wishing you many successes and blessings, until another opportunity
 |  |
|---|---|
 |
➿➿➿➿🧡🪡🧡➿➿➿➿
sewing is a fine craft.
Hola amiga 🌸 Al igual que tú cuando voy a comprar telitas trato de buscar las ofertas por toda la tienda 🤭 porque el presupuesto no es mucho, solo lo necesario. Me alegra que hayas encontrado la tela que querías para el pantalón. Yo tengo pendiente hacer uno tipo cargo también. Este te quedó demasiado lindo 💟
Amiga lo importante es que esas ofertas nos hacen felices 🤭, espero puedas hacerlo pronto , gracias por comentar, saludos 🥰
Wow thise cargo pant is well design and perfect. Please send it down I will love to have one dear.
🤭 I would love to be able to send it, it would make me very proud🥰, greetings ❤️