Feliz lunes y feliz inicio de semana queridos amigos de NEEDLEWORKMONDAY, deseo que esta semana venga cargada de muchas energías para que logren todos sus proyectos. ❤️🪡🧵
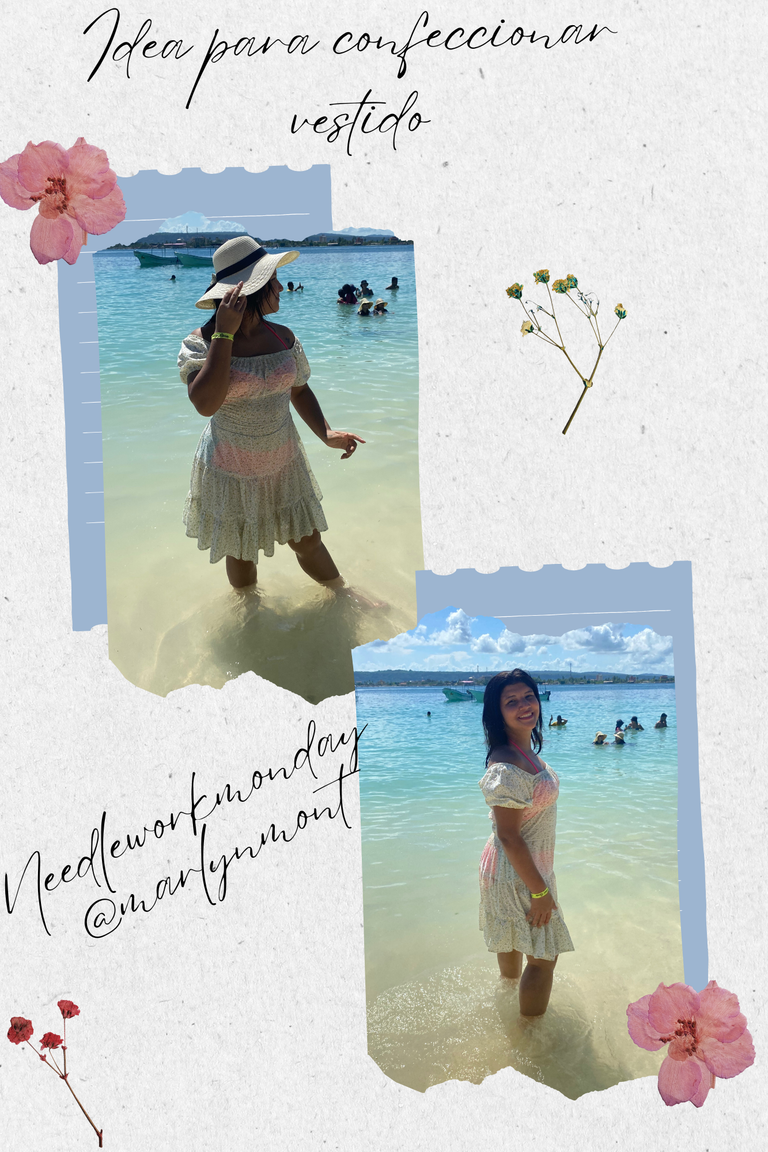
Desde hace un tiempo mi hija me está pidiendo que le haga un vestido tipo campesino, con tantas ocupaciones no me había quedado tiempo hasta que al fin lo confeccione, y hoy quiero mostrarles esta idea para hacer un lindo vestido con estampado de flores, ven y te muestro como lo hice
Happy Monday and happy start of the week dear friends of NEEDLEWORKMONDAY, I hope that this week is full of energy so that you can accomplish all your projects.
For some time now my daughter has been asking me to make her a peasant-style dress, with so many things to do I had no time left until I finally made it, and today I want to show you this idea to make a cute dress with a floral print, come and I'll show you how I did it.
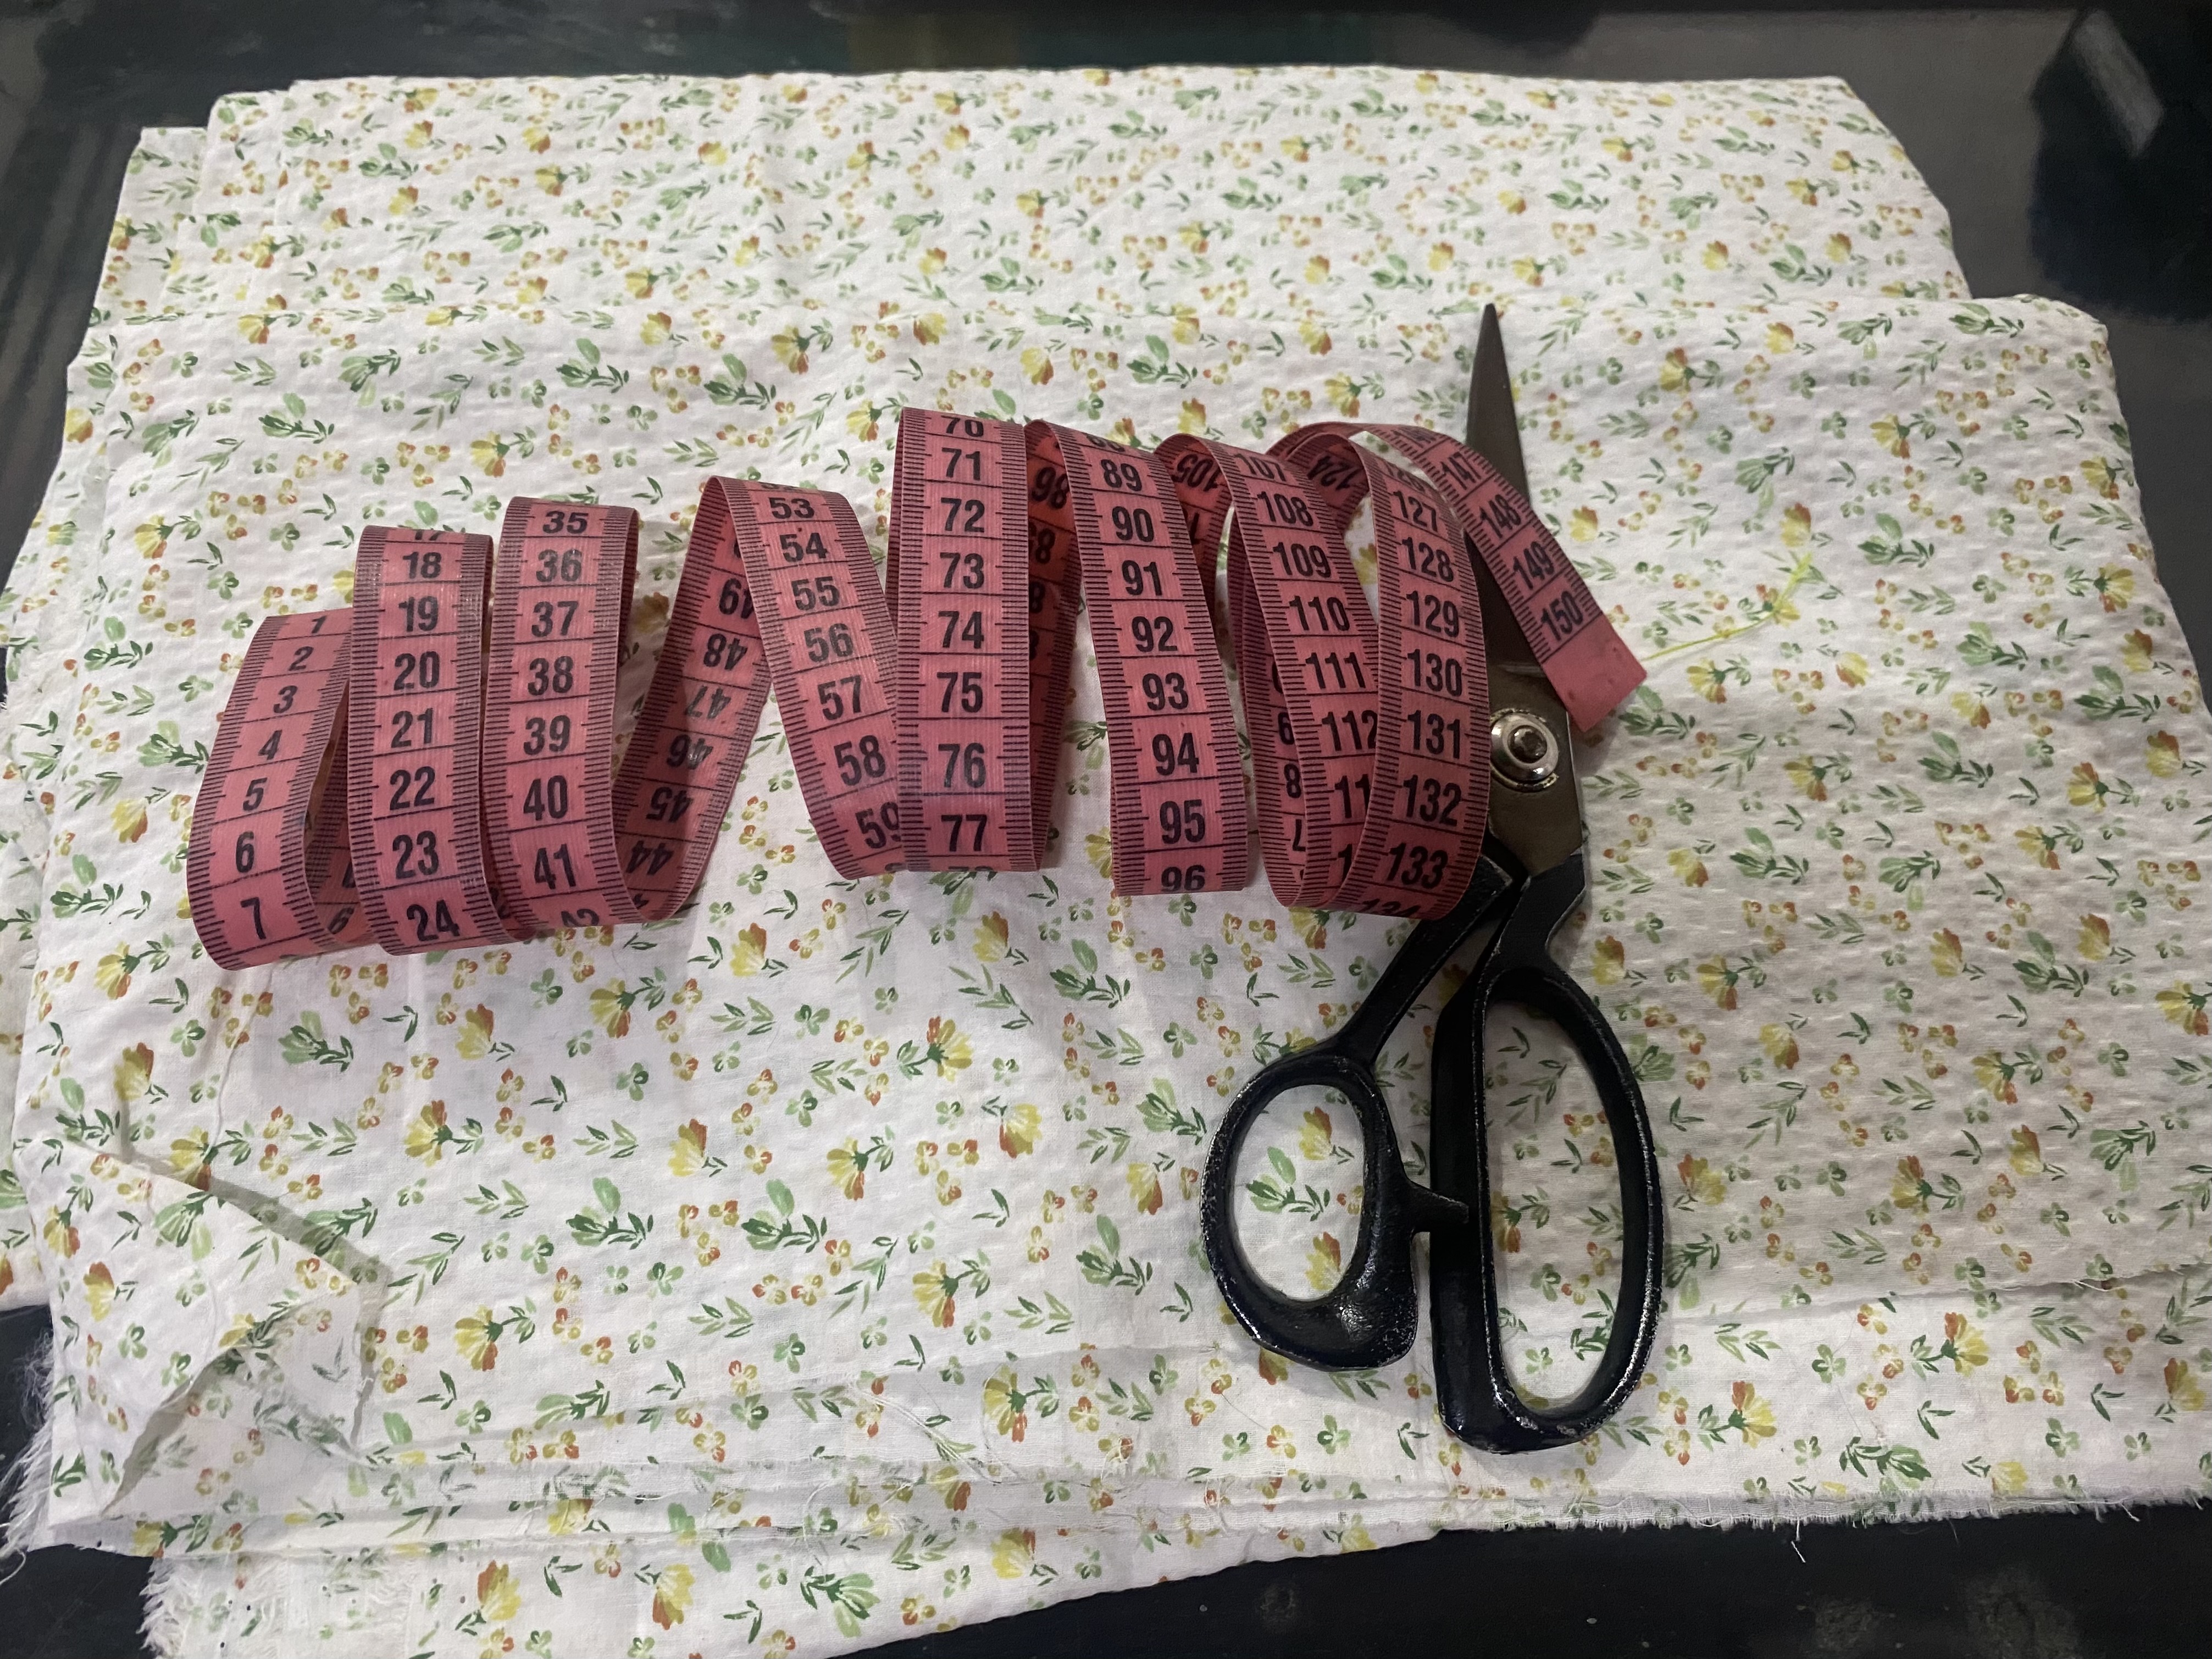
MATERIALES
MATERIALS
Es increíble pero muchas veces cuando dejamos las cosas para último momento quedan mucho mejor que haciéndolas con tiempo, ja ja, mi hija compró la tela para que le hiciera un vestido hace muchísimo más de un mes, y dándole largas a este proyecto lo hice ya a último momento este fin de semana hicimos un pequeño viaje de paseo a la playa y mi hija me pidió, mejor dicho me suplicó que le hiciera su vestido que ella deseaba lucirlo en la playa, entonces me puse manos a la obra el día anterior y le cumplí su sueño de hacerle un lindo vestido, aquí te dejo la lista de materiales a utilizar
- 1,25 de tela
- Uno, 50 m de elástico
- Máquina de coser, hilo, tijeras, cinta métrica, lápiz o tiza para marcar.
PASO A PASO
STEP BY STEP
Siempre comienzo un proyecto dibujando lo que quiero hacer, esta vez vi varias ideas en Internet, entre mi hija y yo escogimos el que a ella más le gustaba, Al principio quise dibujar sobre la tela pero me da miedo ya que esta es una tela rígida, o sea no es Stretch, entonces decidí buscar el patrón de mi hija para poder hacerlo a la medida.
Poco a poco me he dado cuenta que guiarse por patrones es un poco más sencillo al confeccionar prendas, ya que allí va bien definida la cintura, la cadera y el busto, el modelo de este vestido va dividido en varias partes, la primera es el área del busto, luego va el área debajo del busto hasta el ombligo y de allí vienen varias piezas, esto lo hará más amplio.
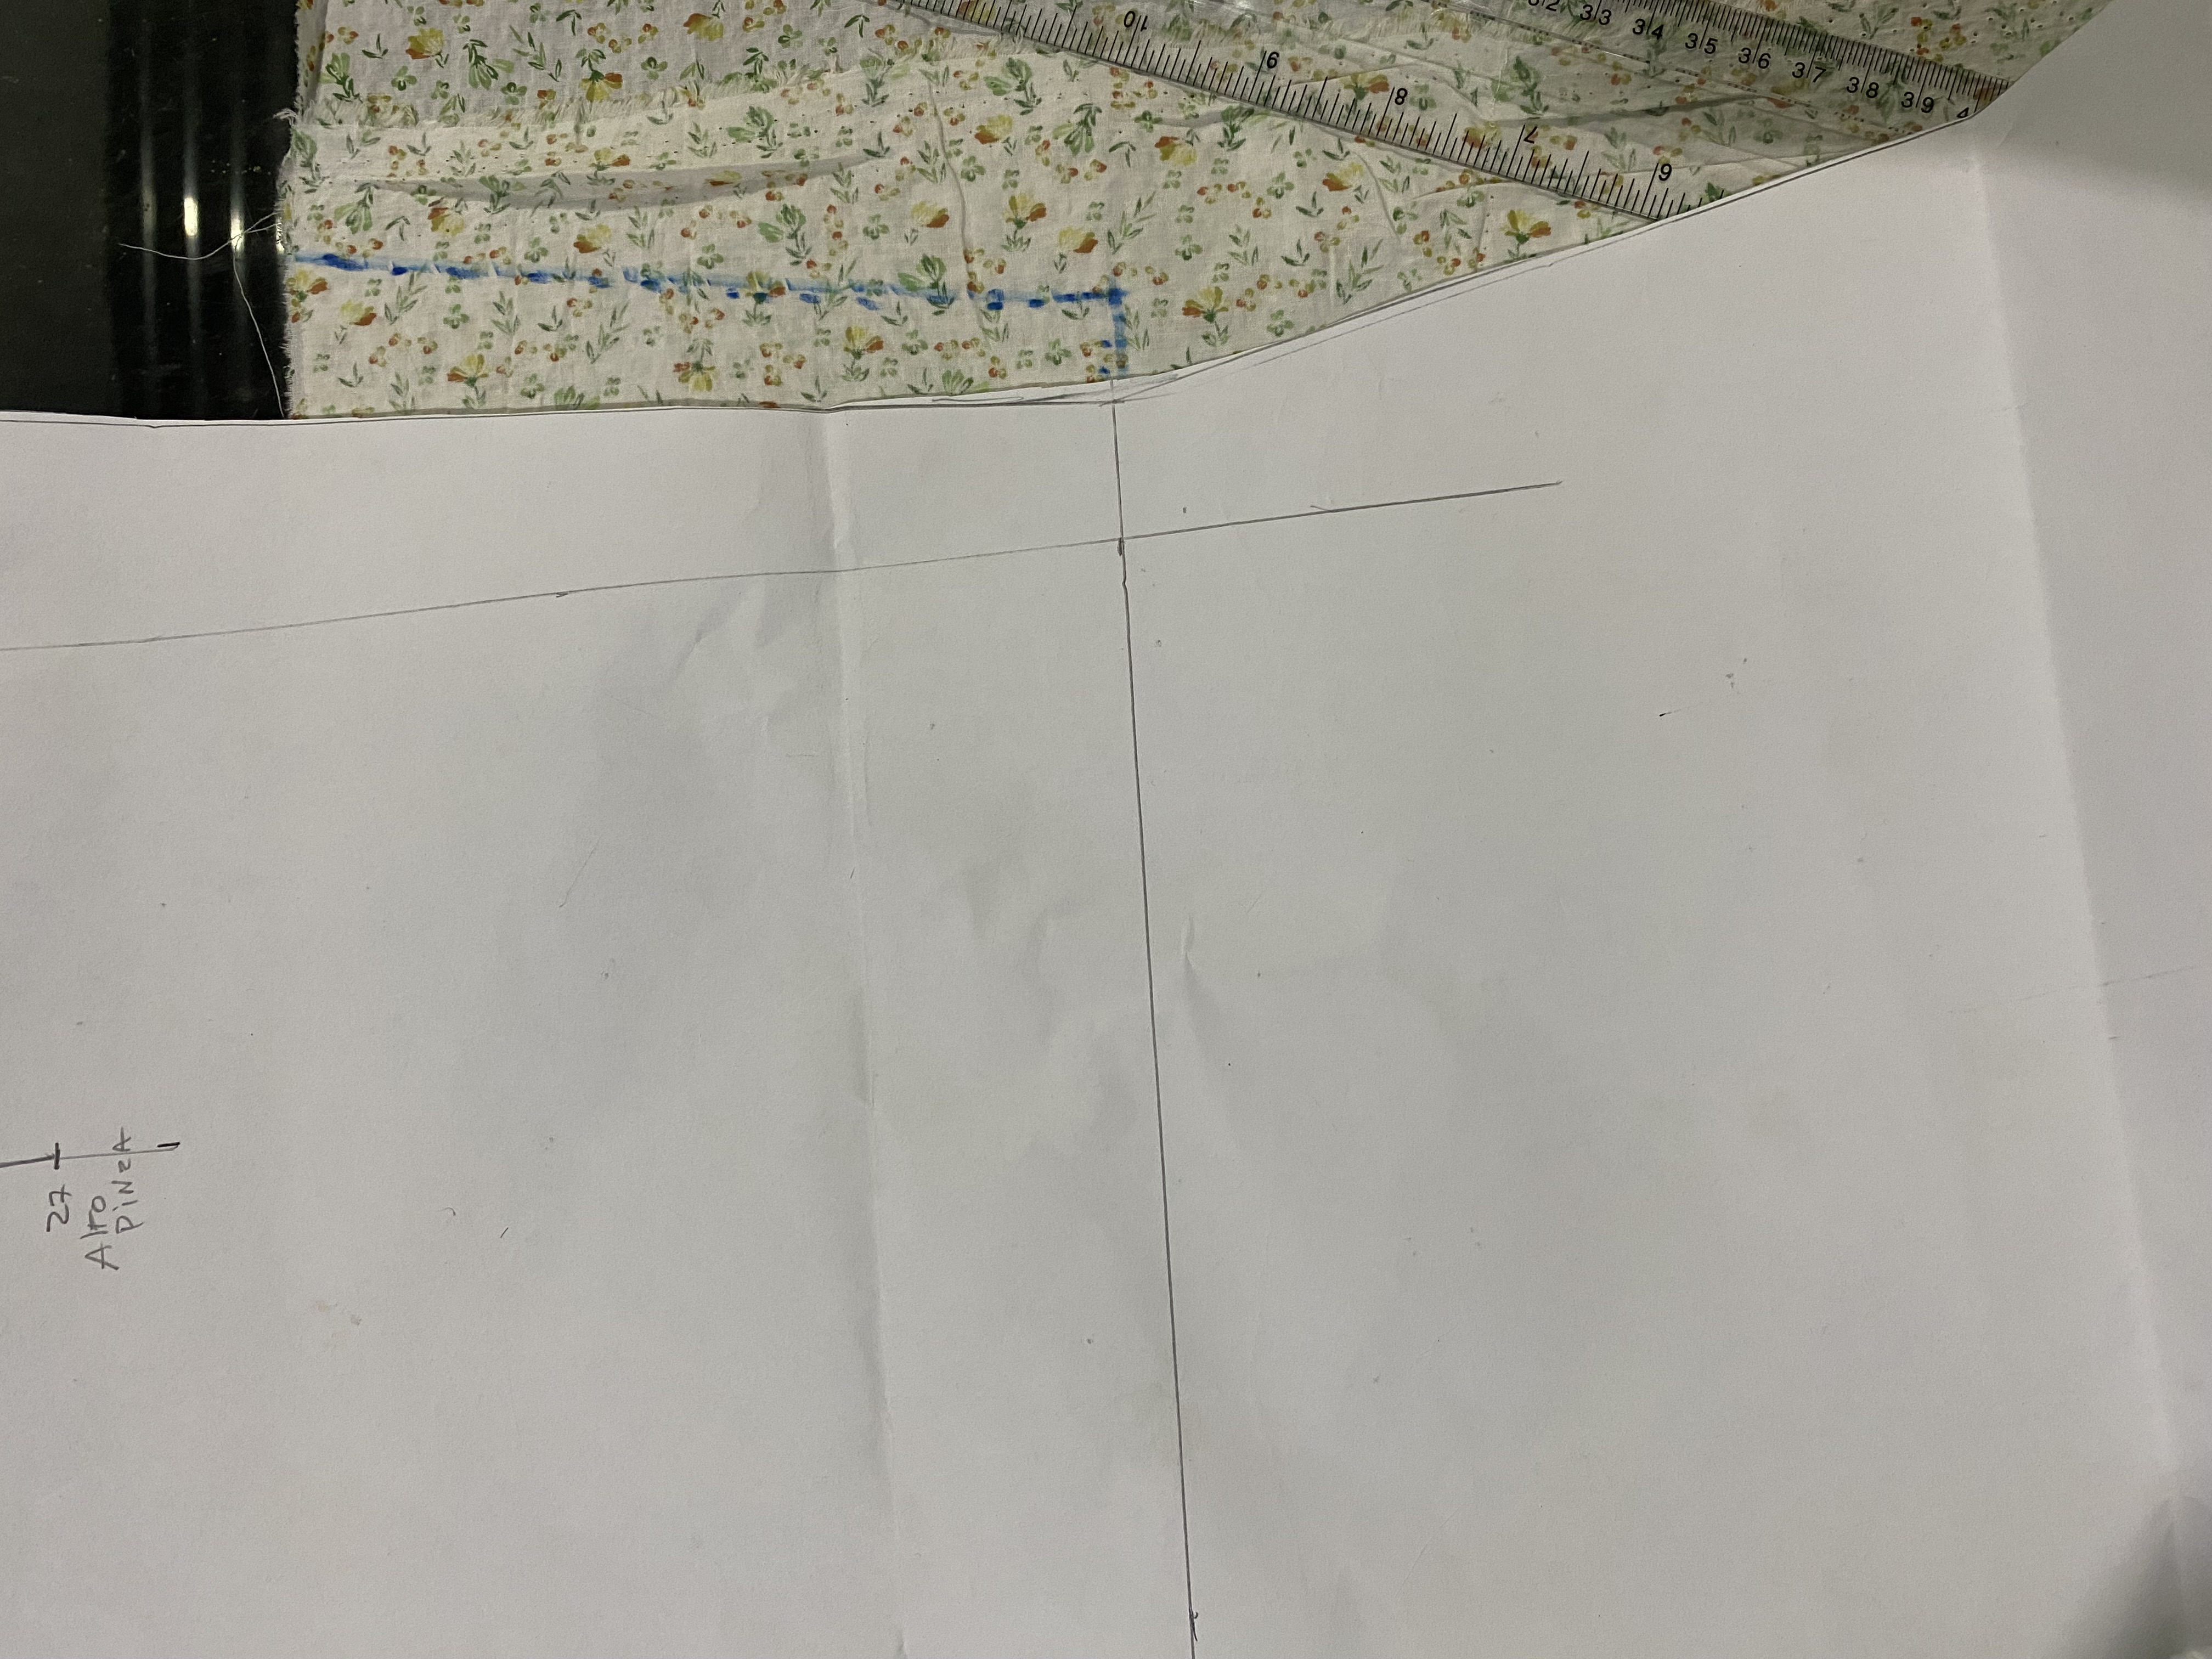
Un pequeño consejo, al cortar telas que no estiran debemos dejar un excedente 2 a 3 cm más ancho que la medida del patrón y así nos quedará a la medida, este vestido lo haré engomado en la parte trasera así que debo cortarlo un poco más grande.
I always start a project by drawing what I want to make, this time I saw several ideas on the Internet, my daughter and I chose the one she liked the most. At first I wanted to draw on the fabric but I was scared because this is a rigid fabric, in other words it is not Stretch, so I decided to look for my daughter's pattern to be able to make it to measure.
Little by little I have realized that being guided by patterns is a little easier when making clothes, since the waist, hips and bust are well defined there. The model of this dress is divided into several parts, the first is the bust area, then the area under the bust to the navel and from there come several pieces, this will make it wider.
A little tip, when cutting fabrics that do not stretch we must leave a surplus 2 to 3 cm wider than the pattern measurement and thus it will fit us, I will make this dress elasticized in the back so I must cut it a little larger.
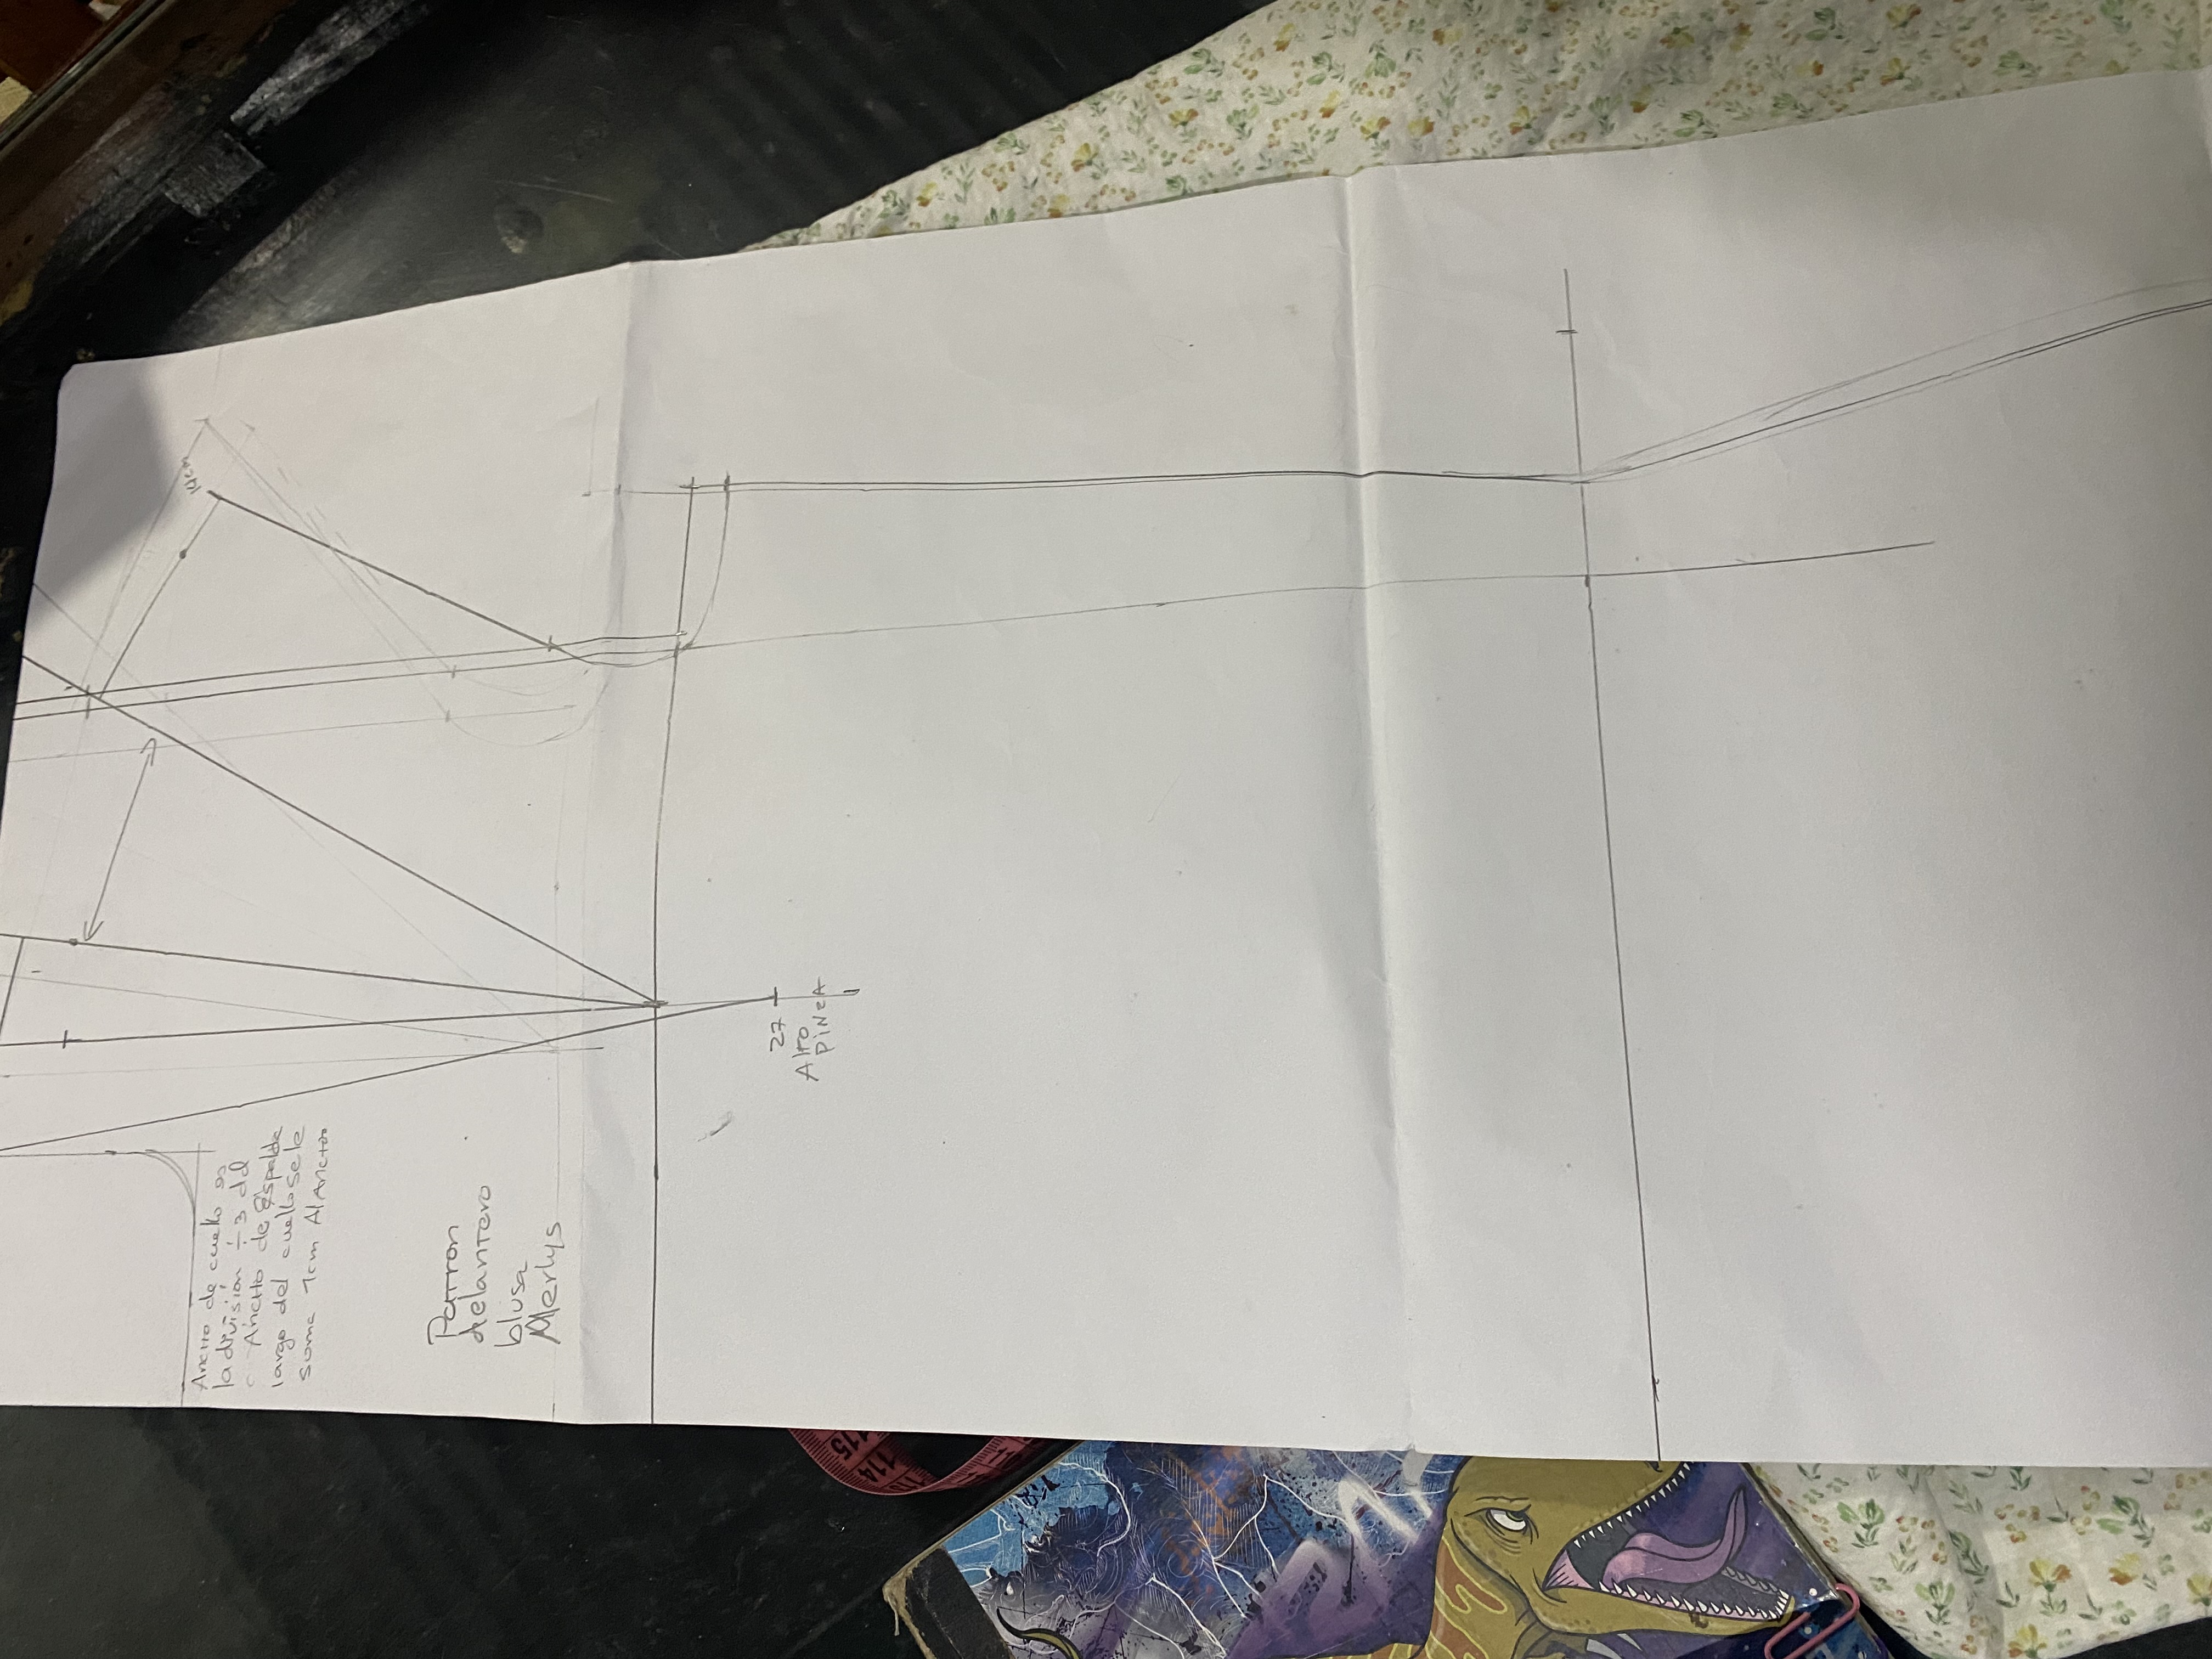
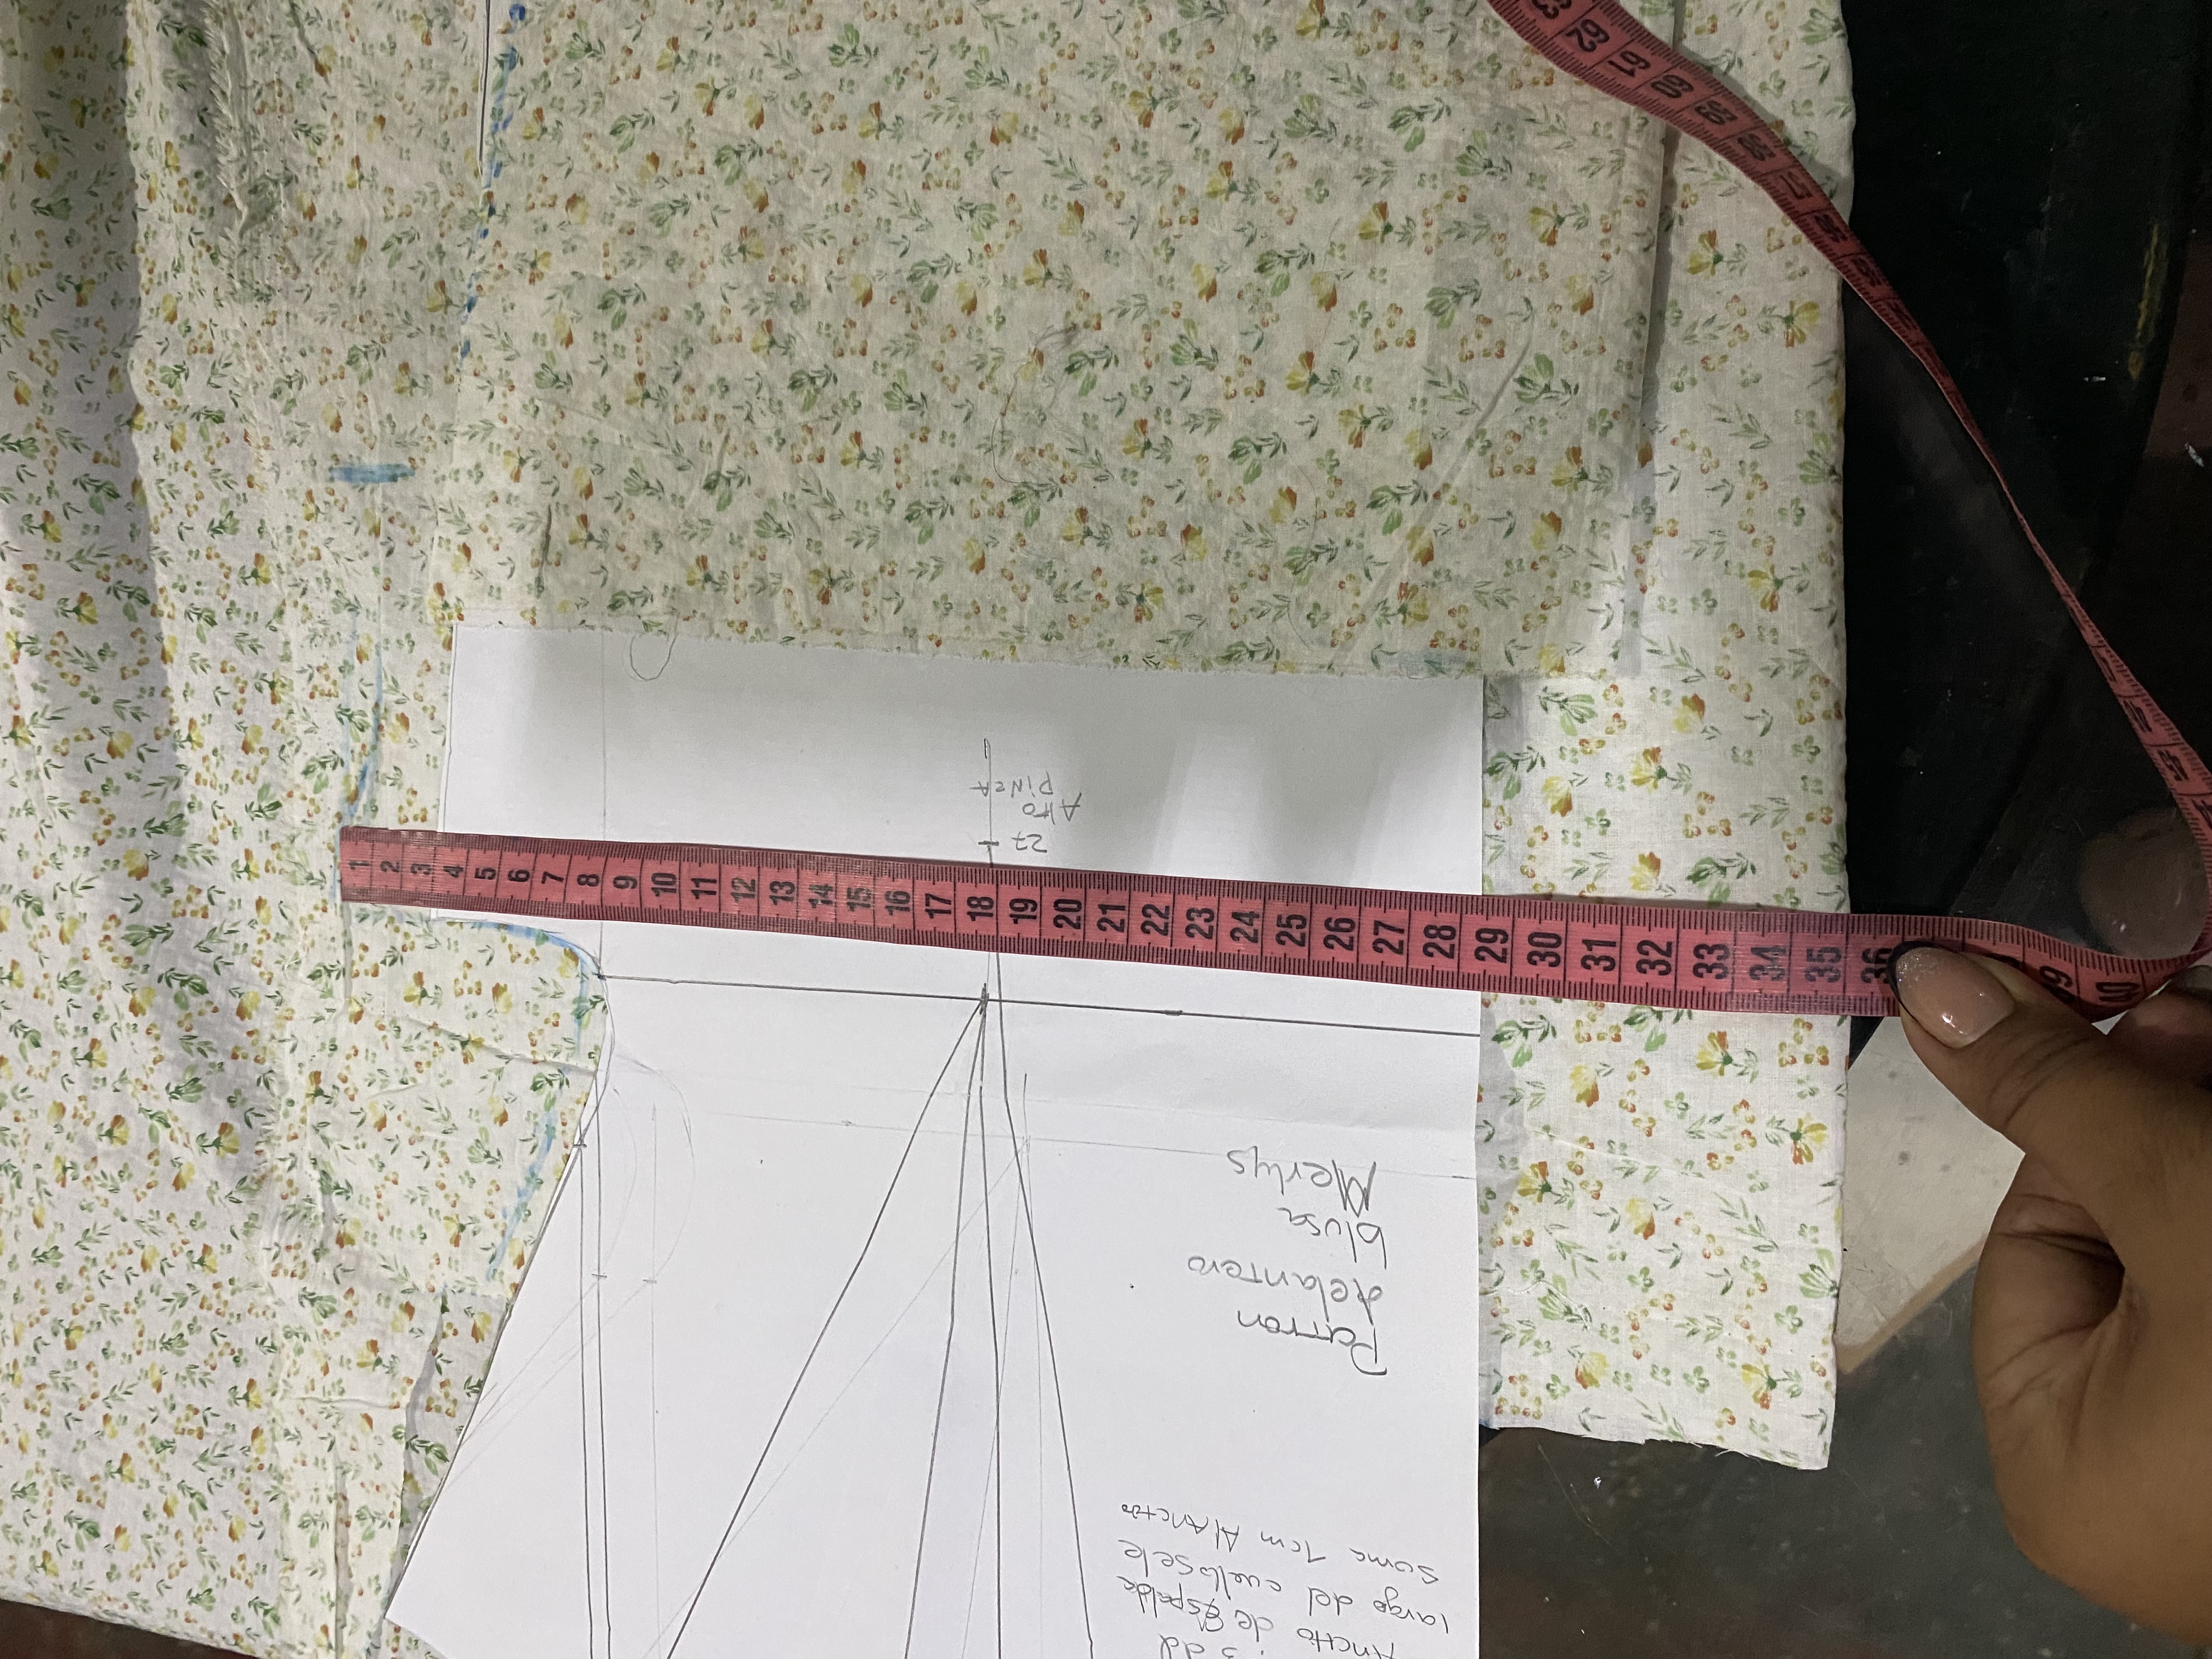
Las medidas de este vestido serán:
El alto del busto de la parte delantera es de aproximadamente 20 cm incluyendo la orilla para el elástico y el centímetro de costura que va debajo del busto
De la axila a la parte baja del busto son 11 cm y en total el alto de la parte del busto son 20 cm
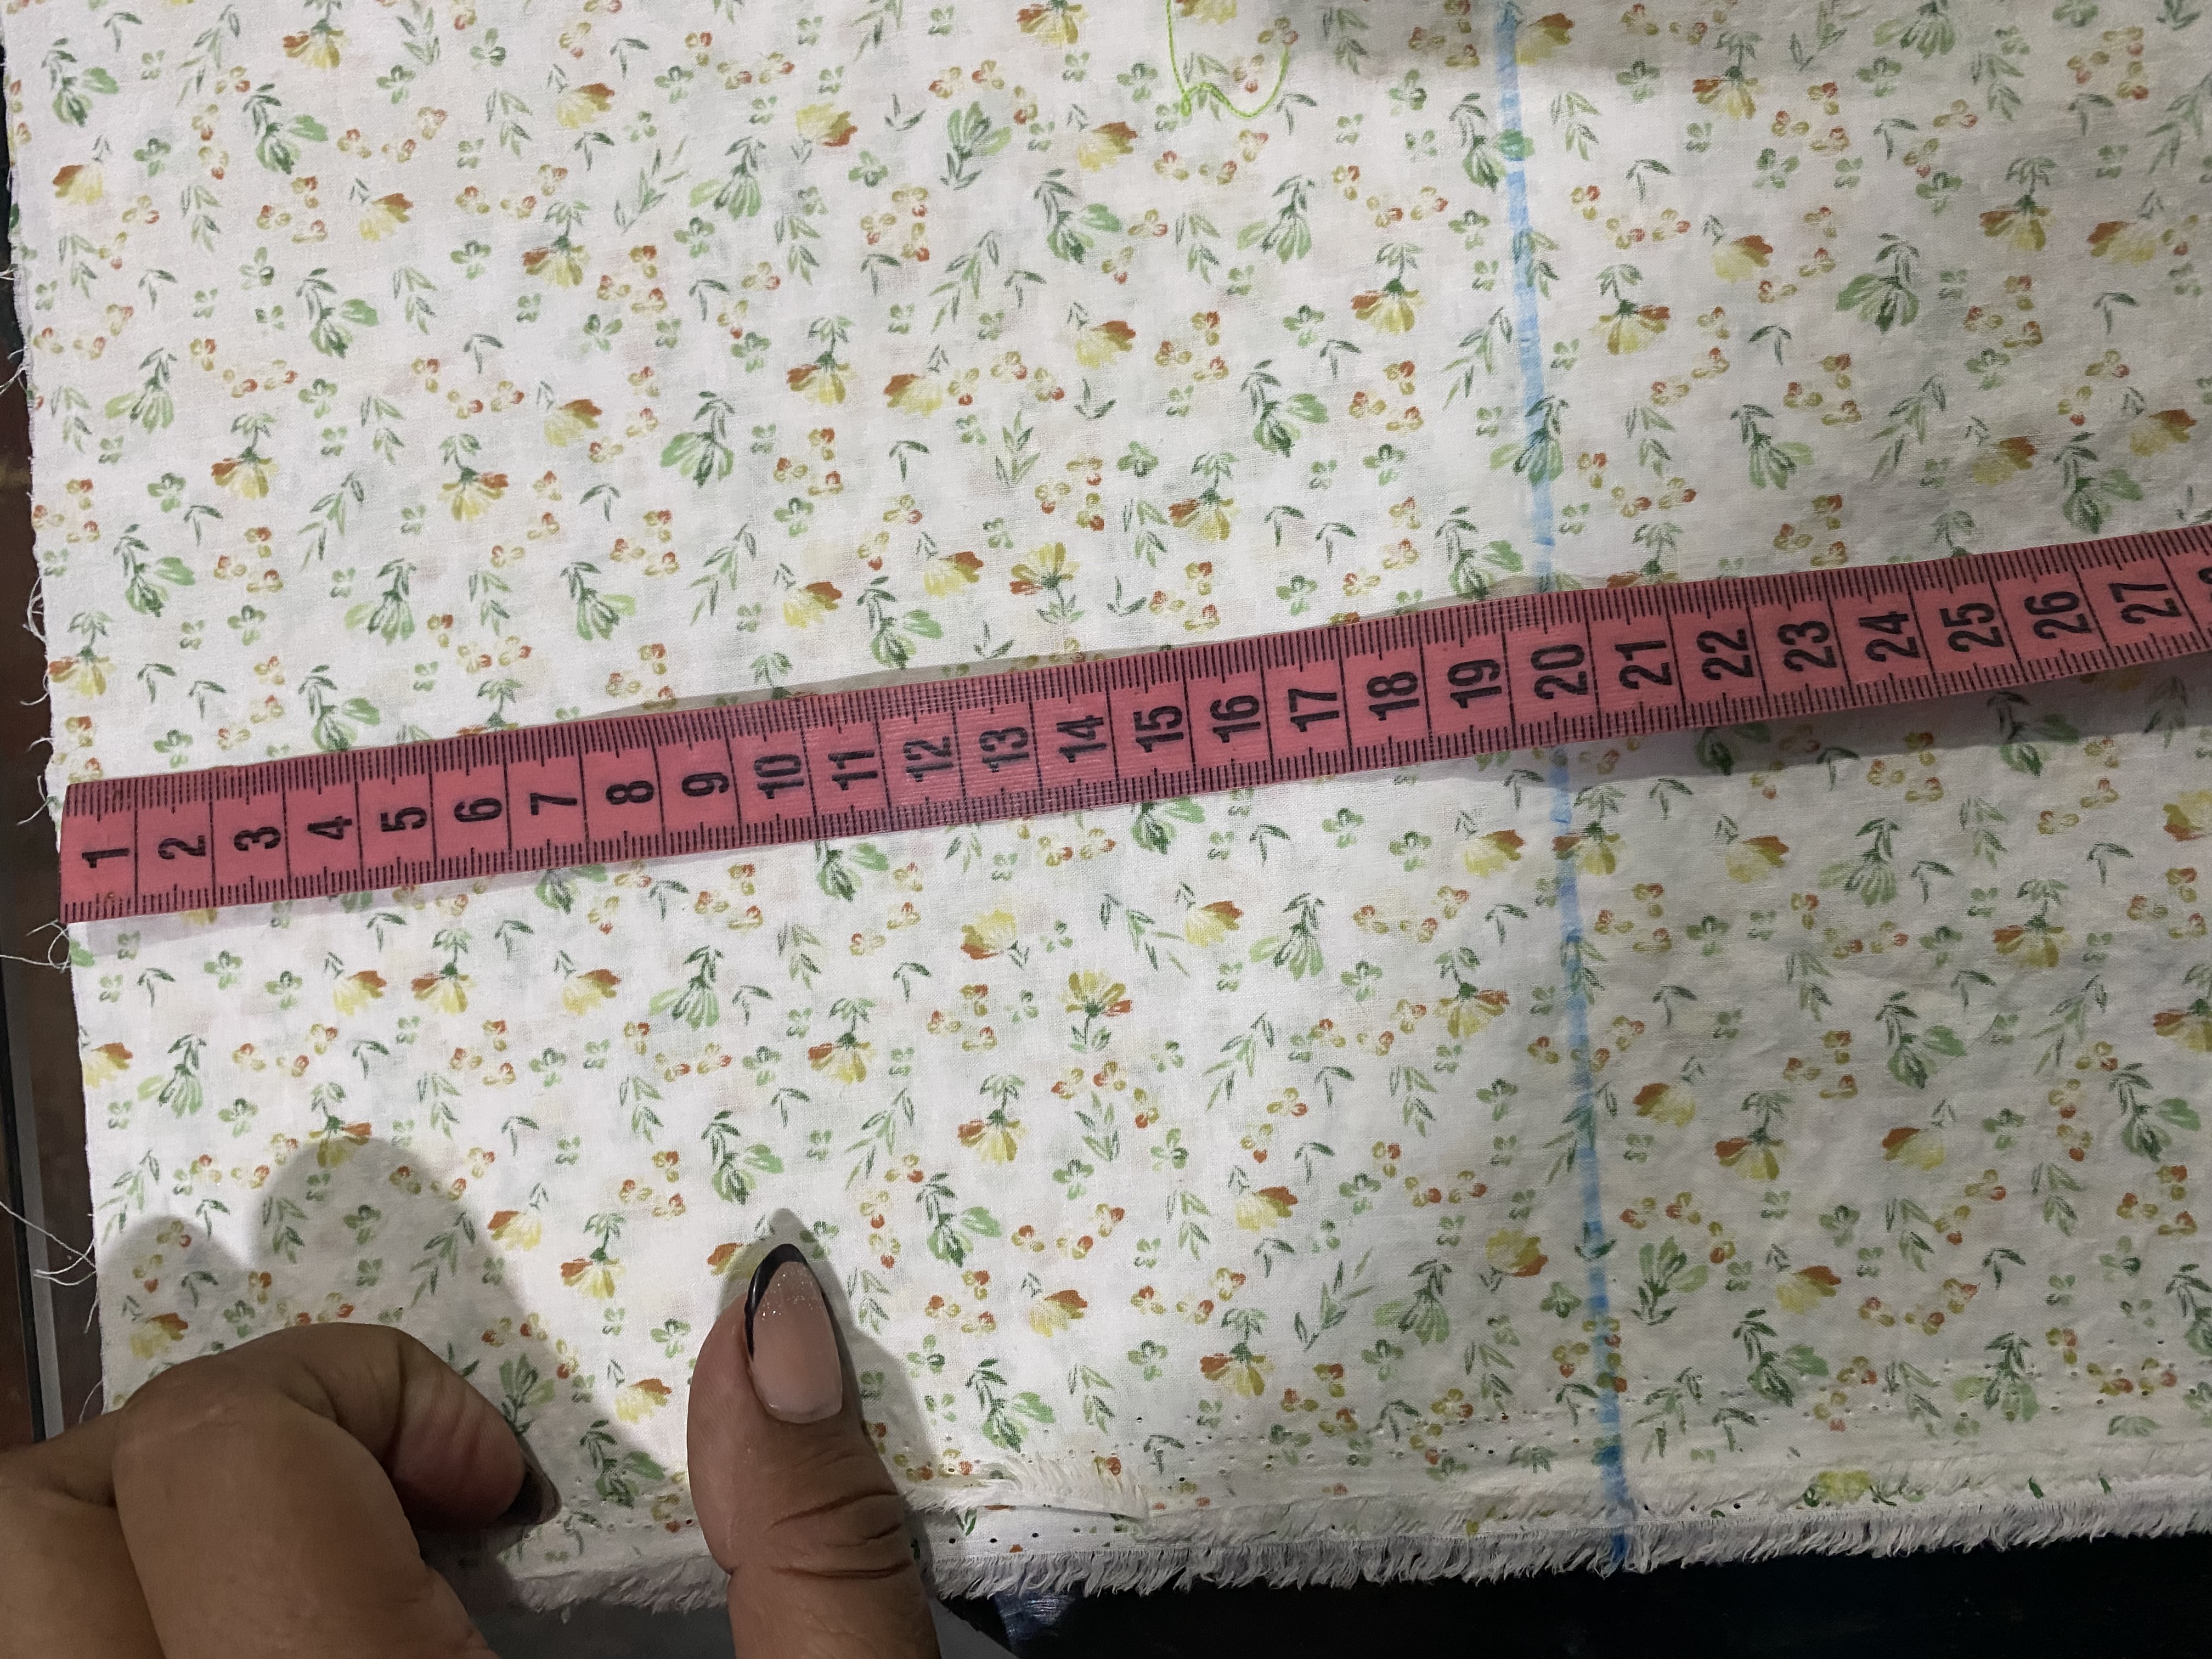
Las piezas de la falda del vestido serán de 20 cm de ancha la primera será de 1 m la segunda de metro y medio y la tercera de 2 m pero esta última será de la mitad o sea de 10 cm de ancha
The measurements of this dress will be:
The height of the front bust is approximately 20 cm including the edge for the elastic and the centimeter of seam that goes under the bust
From the armpit to the lower part of the bust is 11 cm and in total the height of the bust part is 20 cm
The pieces of the skirt of the dress will be 20 cm wide, the first will be 1 m, the second a meter and a half and the third 2 m but this last one will be half or 10 cm wide
 |  |
|---|---|
 |
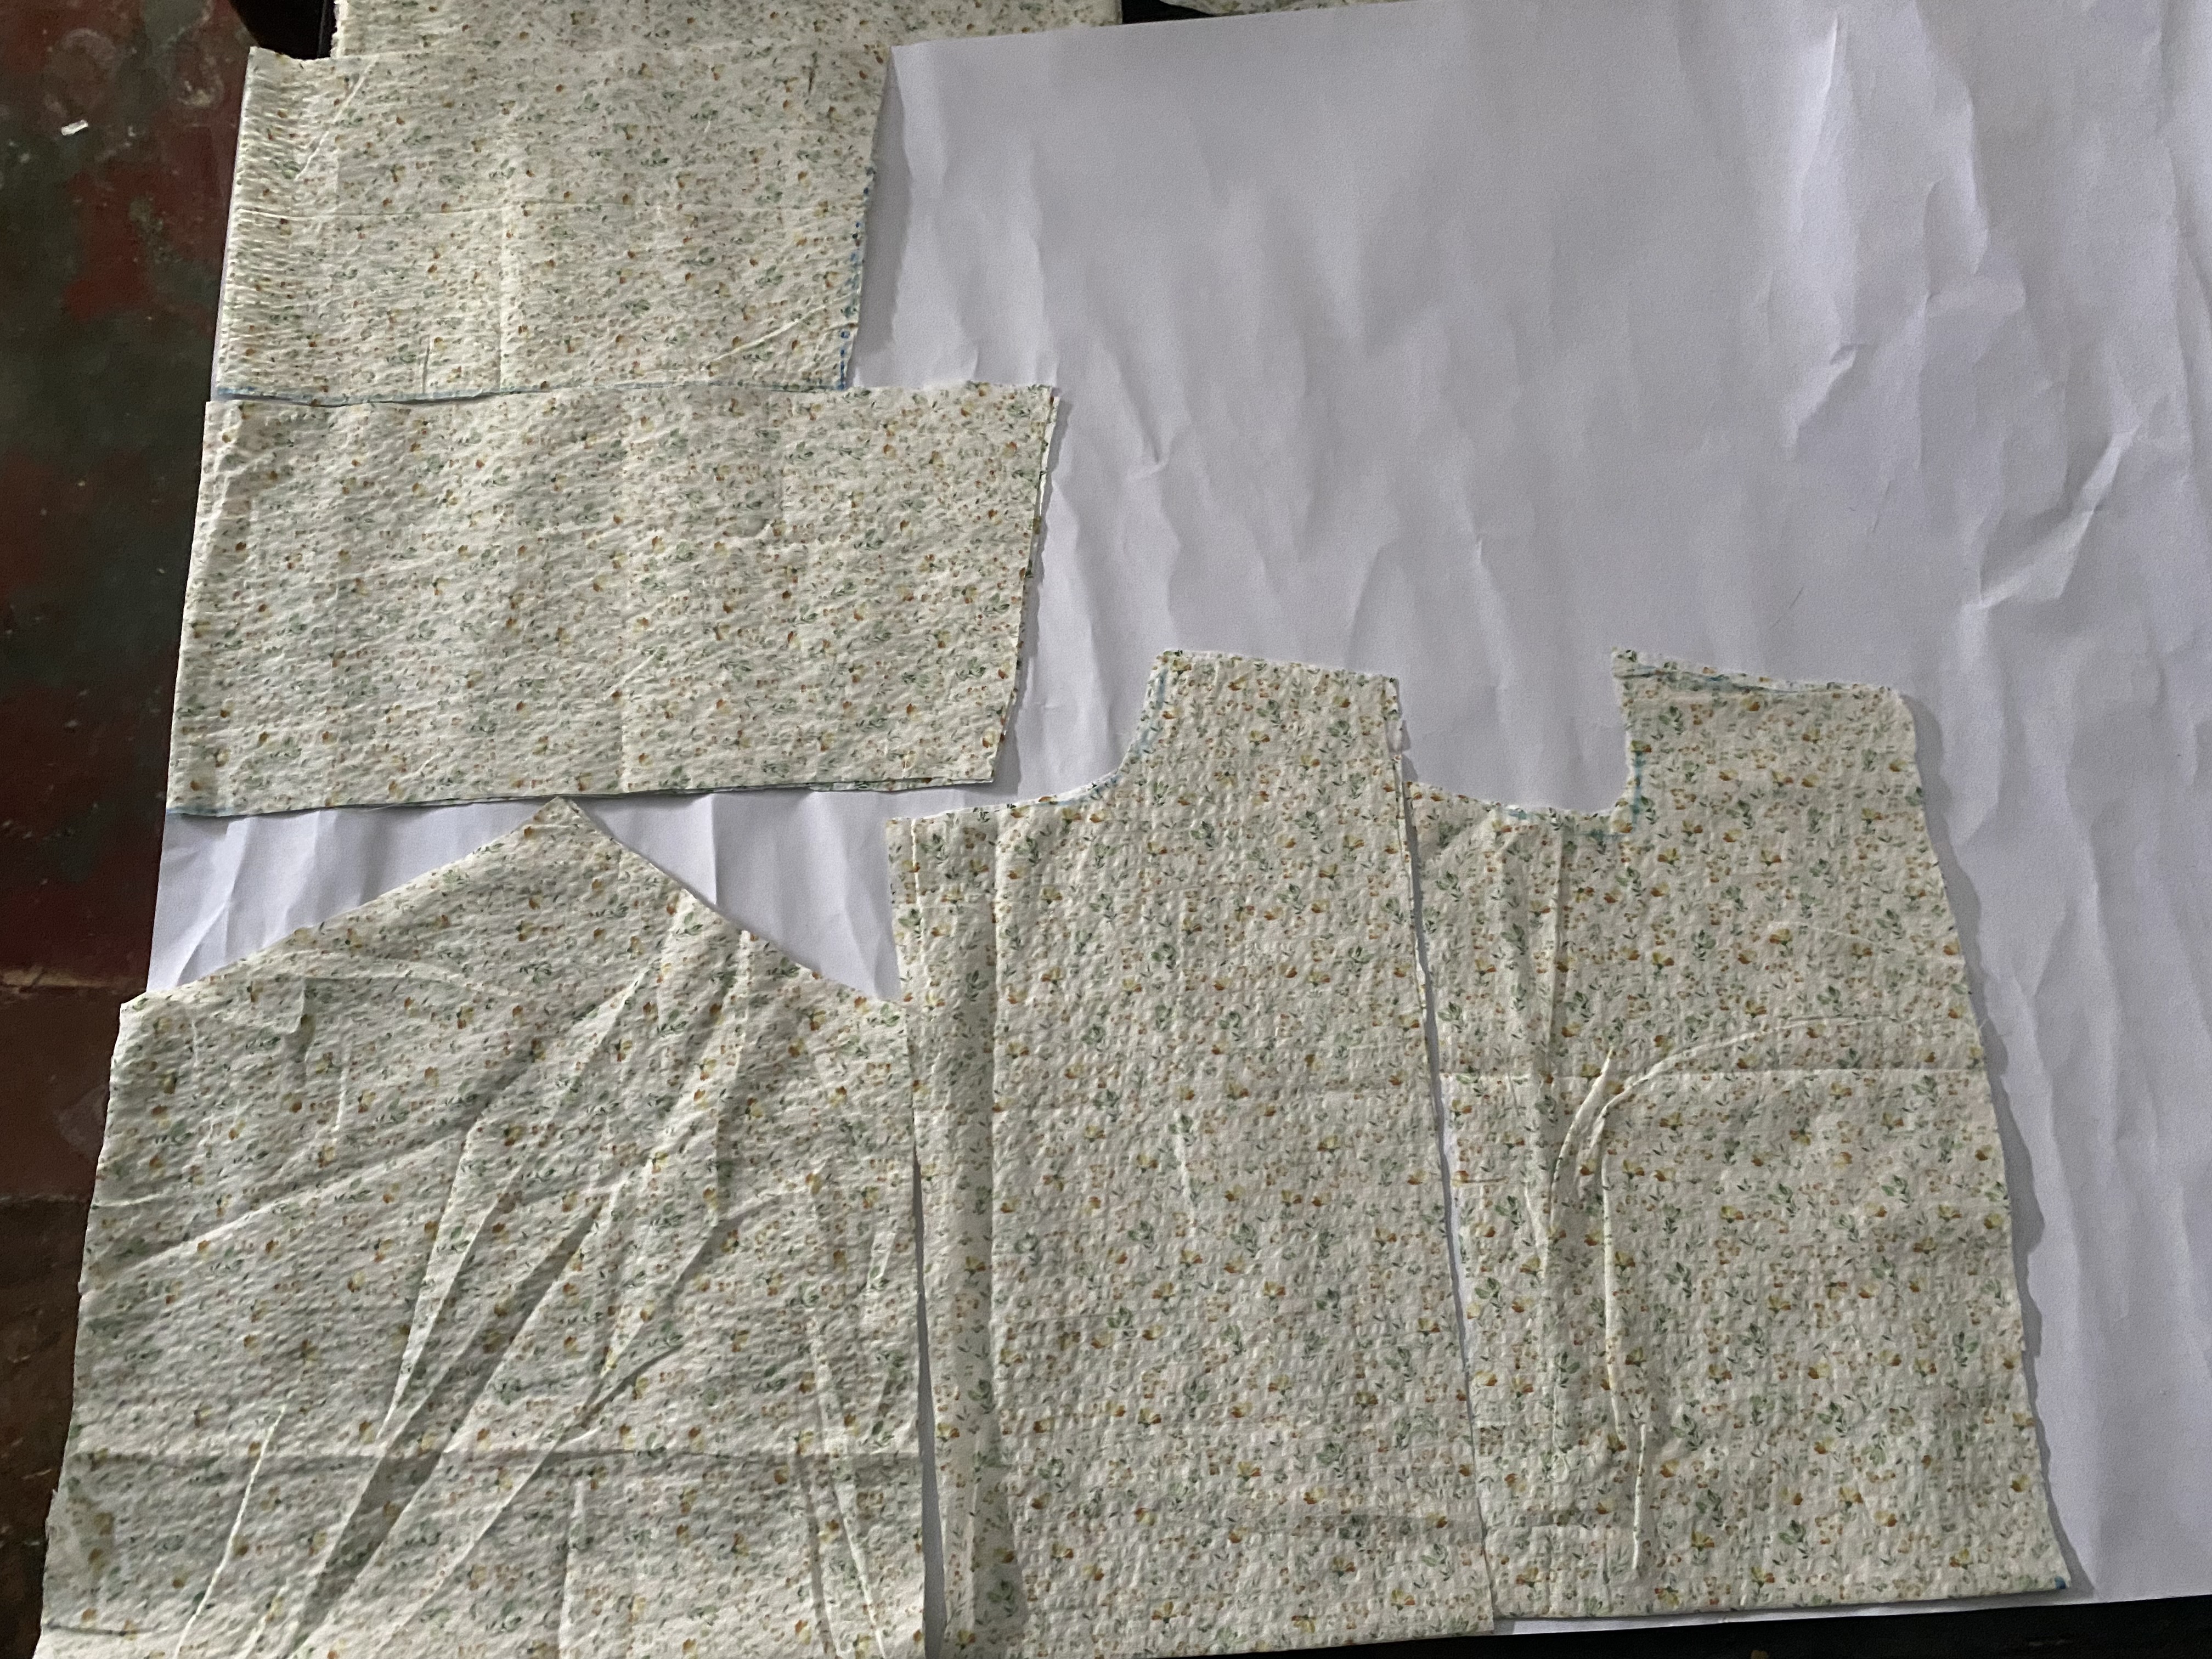
La parte de atrás la vamos a cortar casi la misma forma de la delantera, sólo que la cintura le vamos a aumentar 6 cm al doble ya que esta va engomada y del mismo ancho vamos a cortar la parte superior.
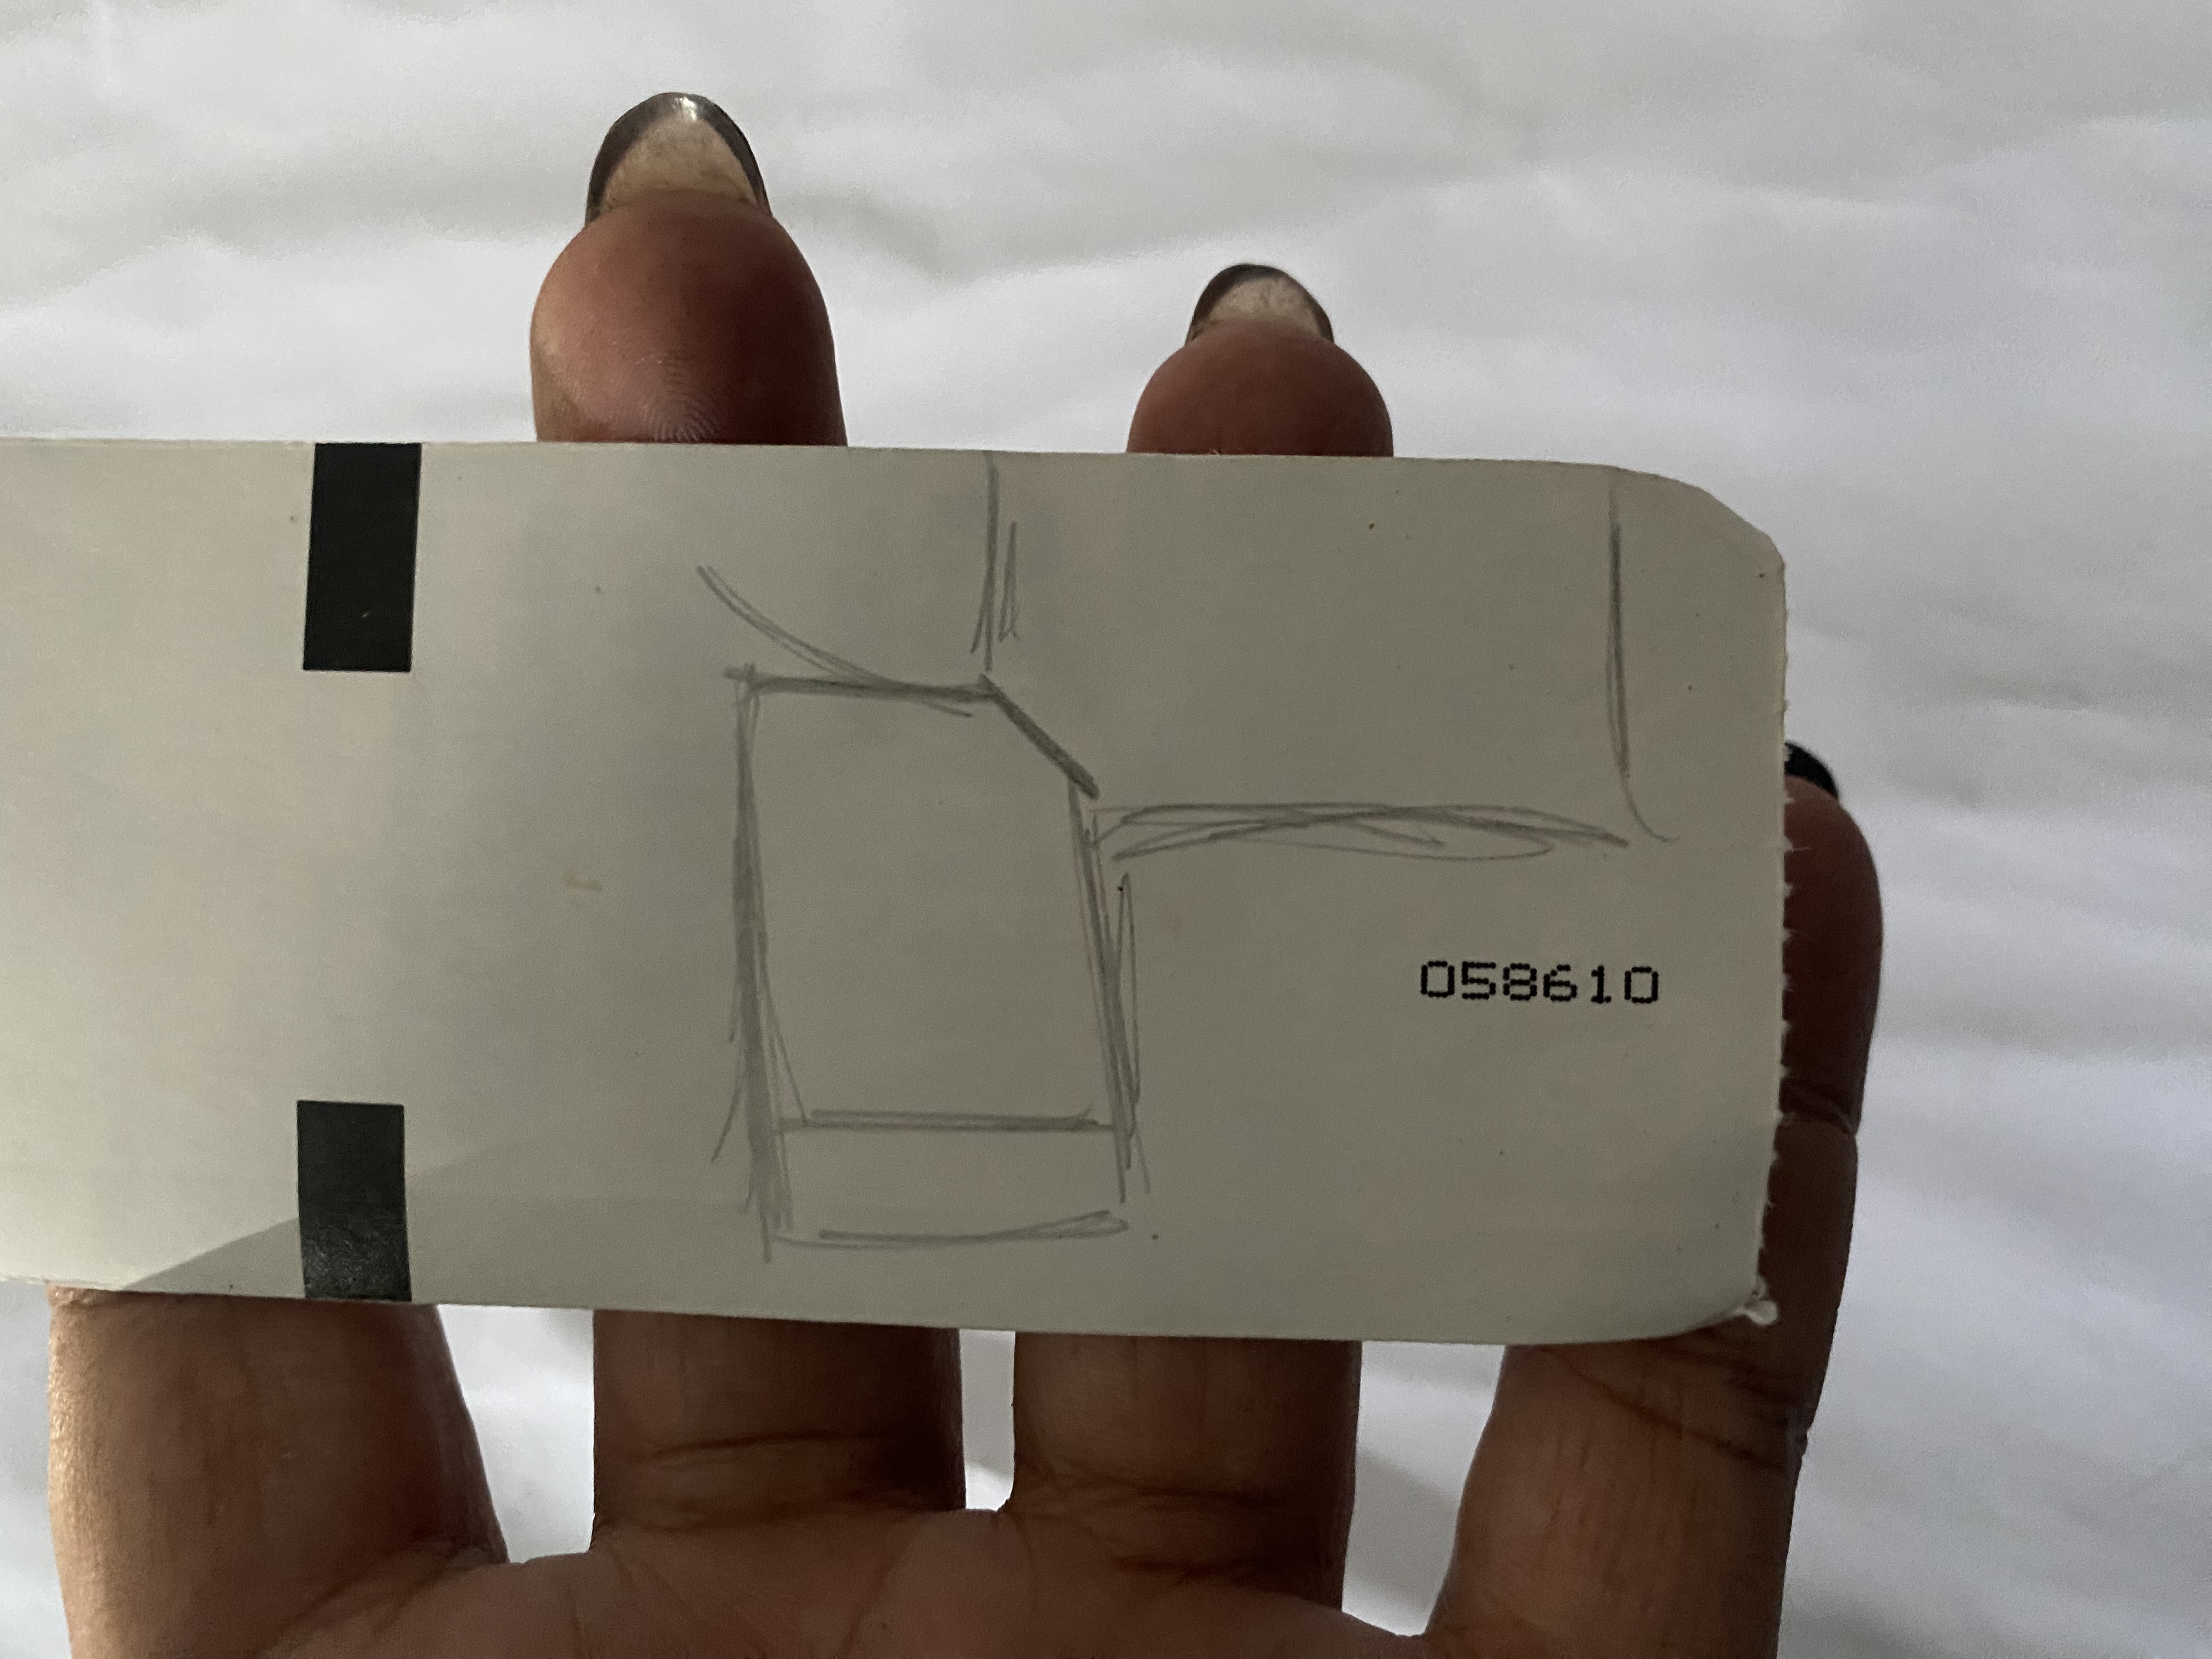
Para confeccionar la manga no encontraban ni por dónde comenzar, luego me la fui imaginando y la dibujé en un cartón que cargaba en el momento la guardé en mi cartera y al llegar a casa la plasmé en papel para luego cortarla, este tipo de mangas siempre se me ha hecho complicada pero al final vi que no es tan difícil
Todo esto lo pasé a papel para copiarlo ya que no tenía el patrón y lo hice directamente sobre la tela, así se me hará más fácil en otro momento que quiera confeccionar un vestido o una blusa con este modelo.
We are going to cut the back part in almost the same way, except that we are going to double the waist by 6 cm since it is elasticated, and we are going to cut the top part in the same width.
To make the sleeve I couldn't even figure out where to start, then I imagined it and drew it on a piece of cardboard that I had at the time, I kept it in my wallet and when I got home I put it on paper and then cut it out. This type of sleeve has always been complicated for me but in the end I saw that it's not that difficult.
I put all this on paper to copy it since I didn't have the pattern and I did it directly on the fabric, so it will be easier for me another time when I want to make a dress or a blouse with this model.
 |  |
|---|
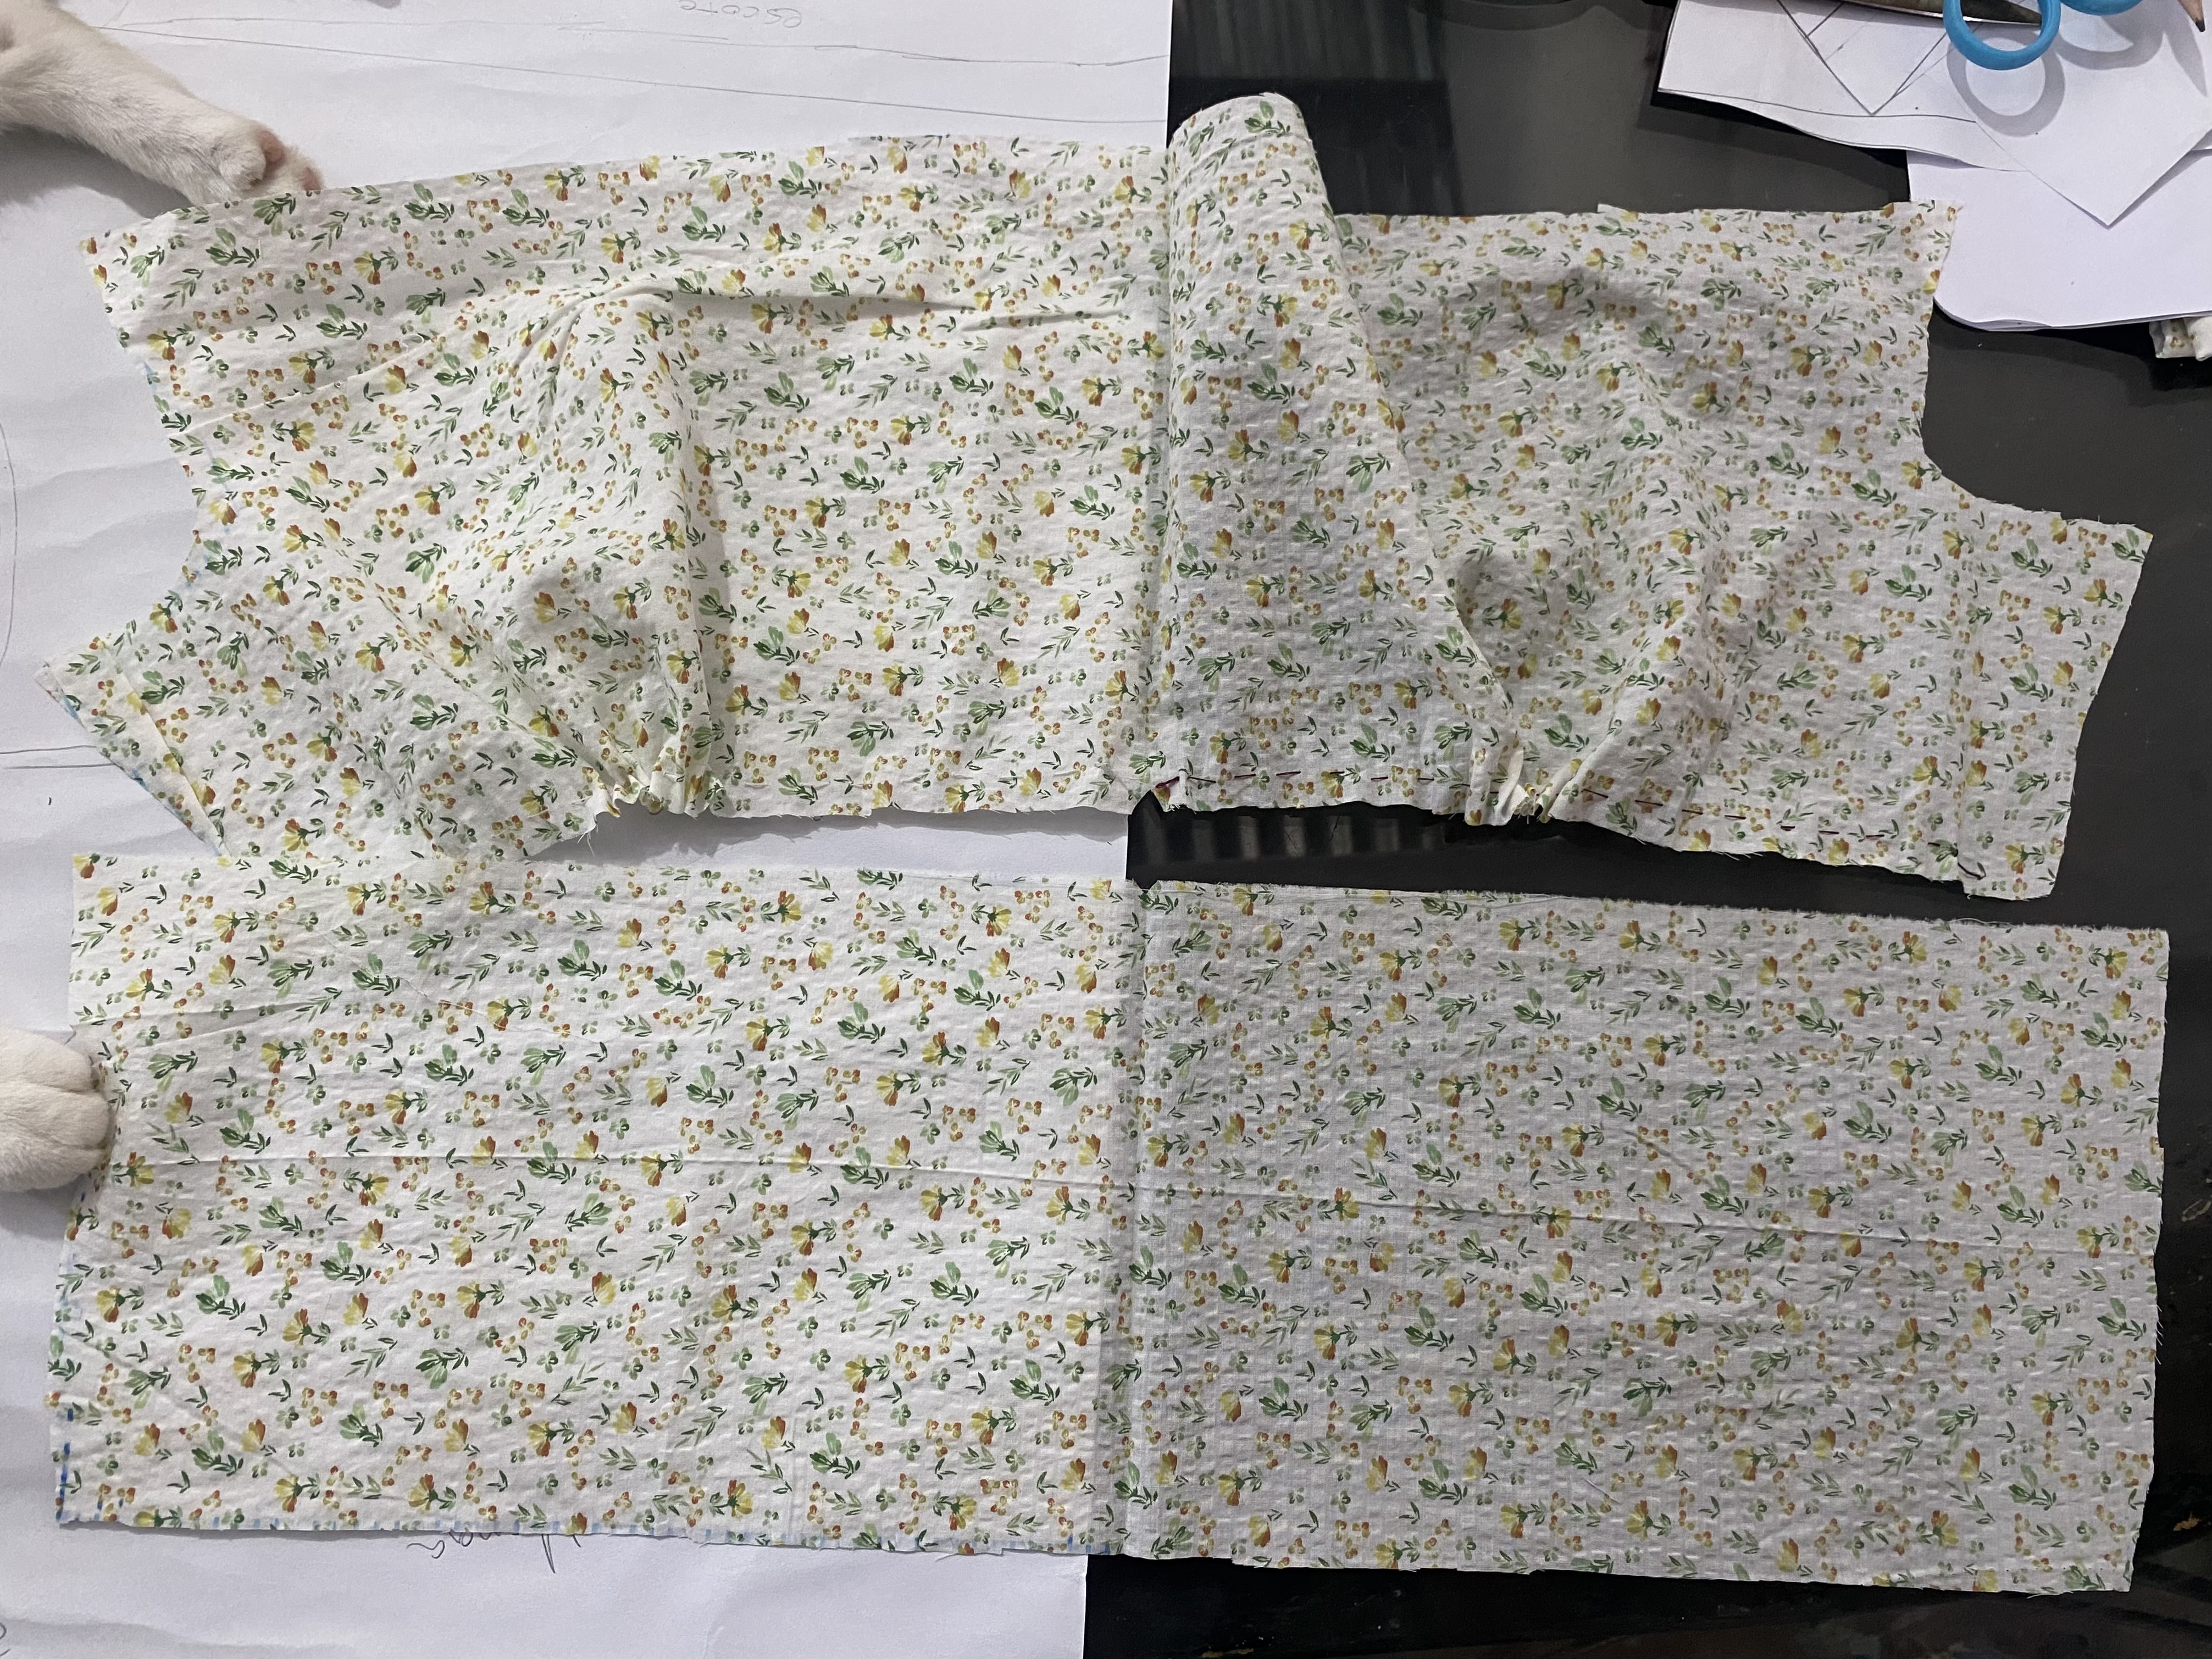
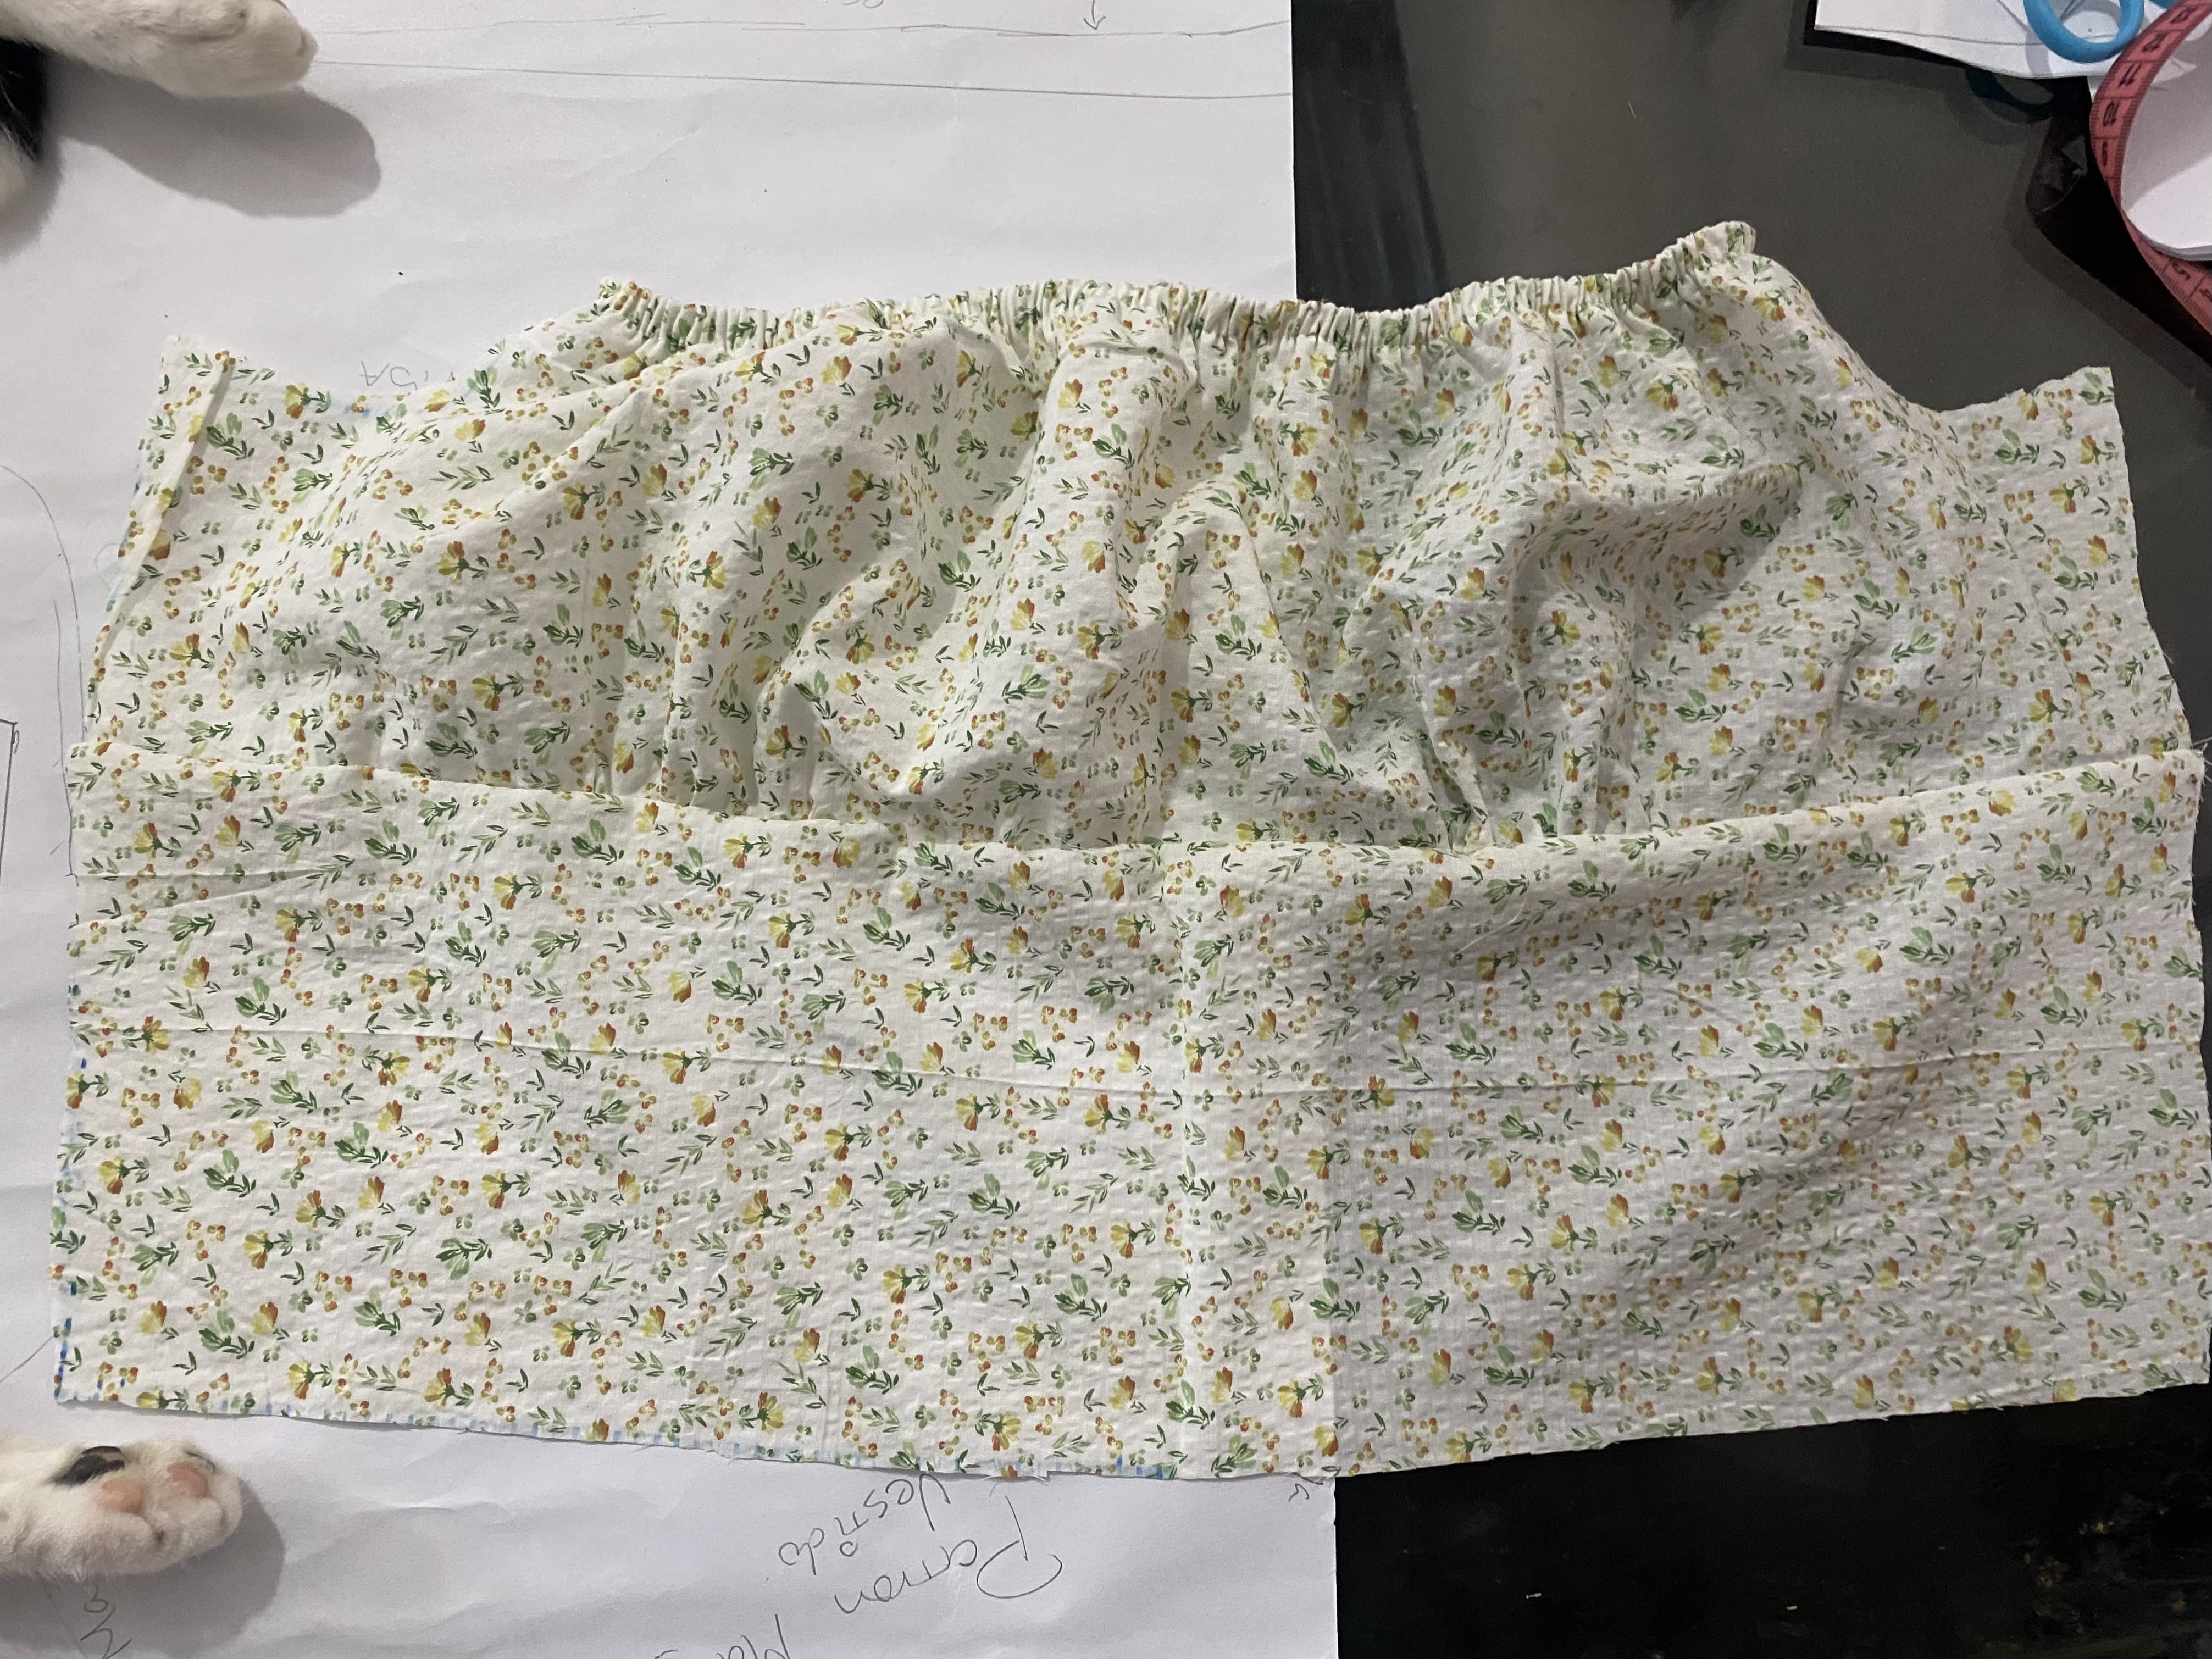
Ahora comenzaremos con las costuras, para unir con costura la parte delantera vamos a hacerle un pequeño piquete en la parte central de ambas partes arruchamos basteamos con costura a mano la parte de arriba y calculamos para que quede exacta al unirla con la parte de abajo, en mi imagen muestro como debe quedar.
Now we will begin with the seams, to join the front part with a seam we will make a small notch in the central part of both parts, we gather and hem the top part with hand stitching and we calculate so that it is exact when joining it with the bottom part, in my image I show how it should look.
 |  |
|---|
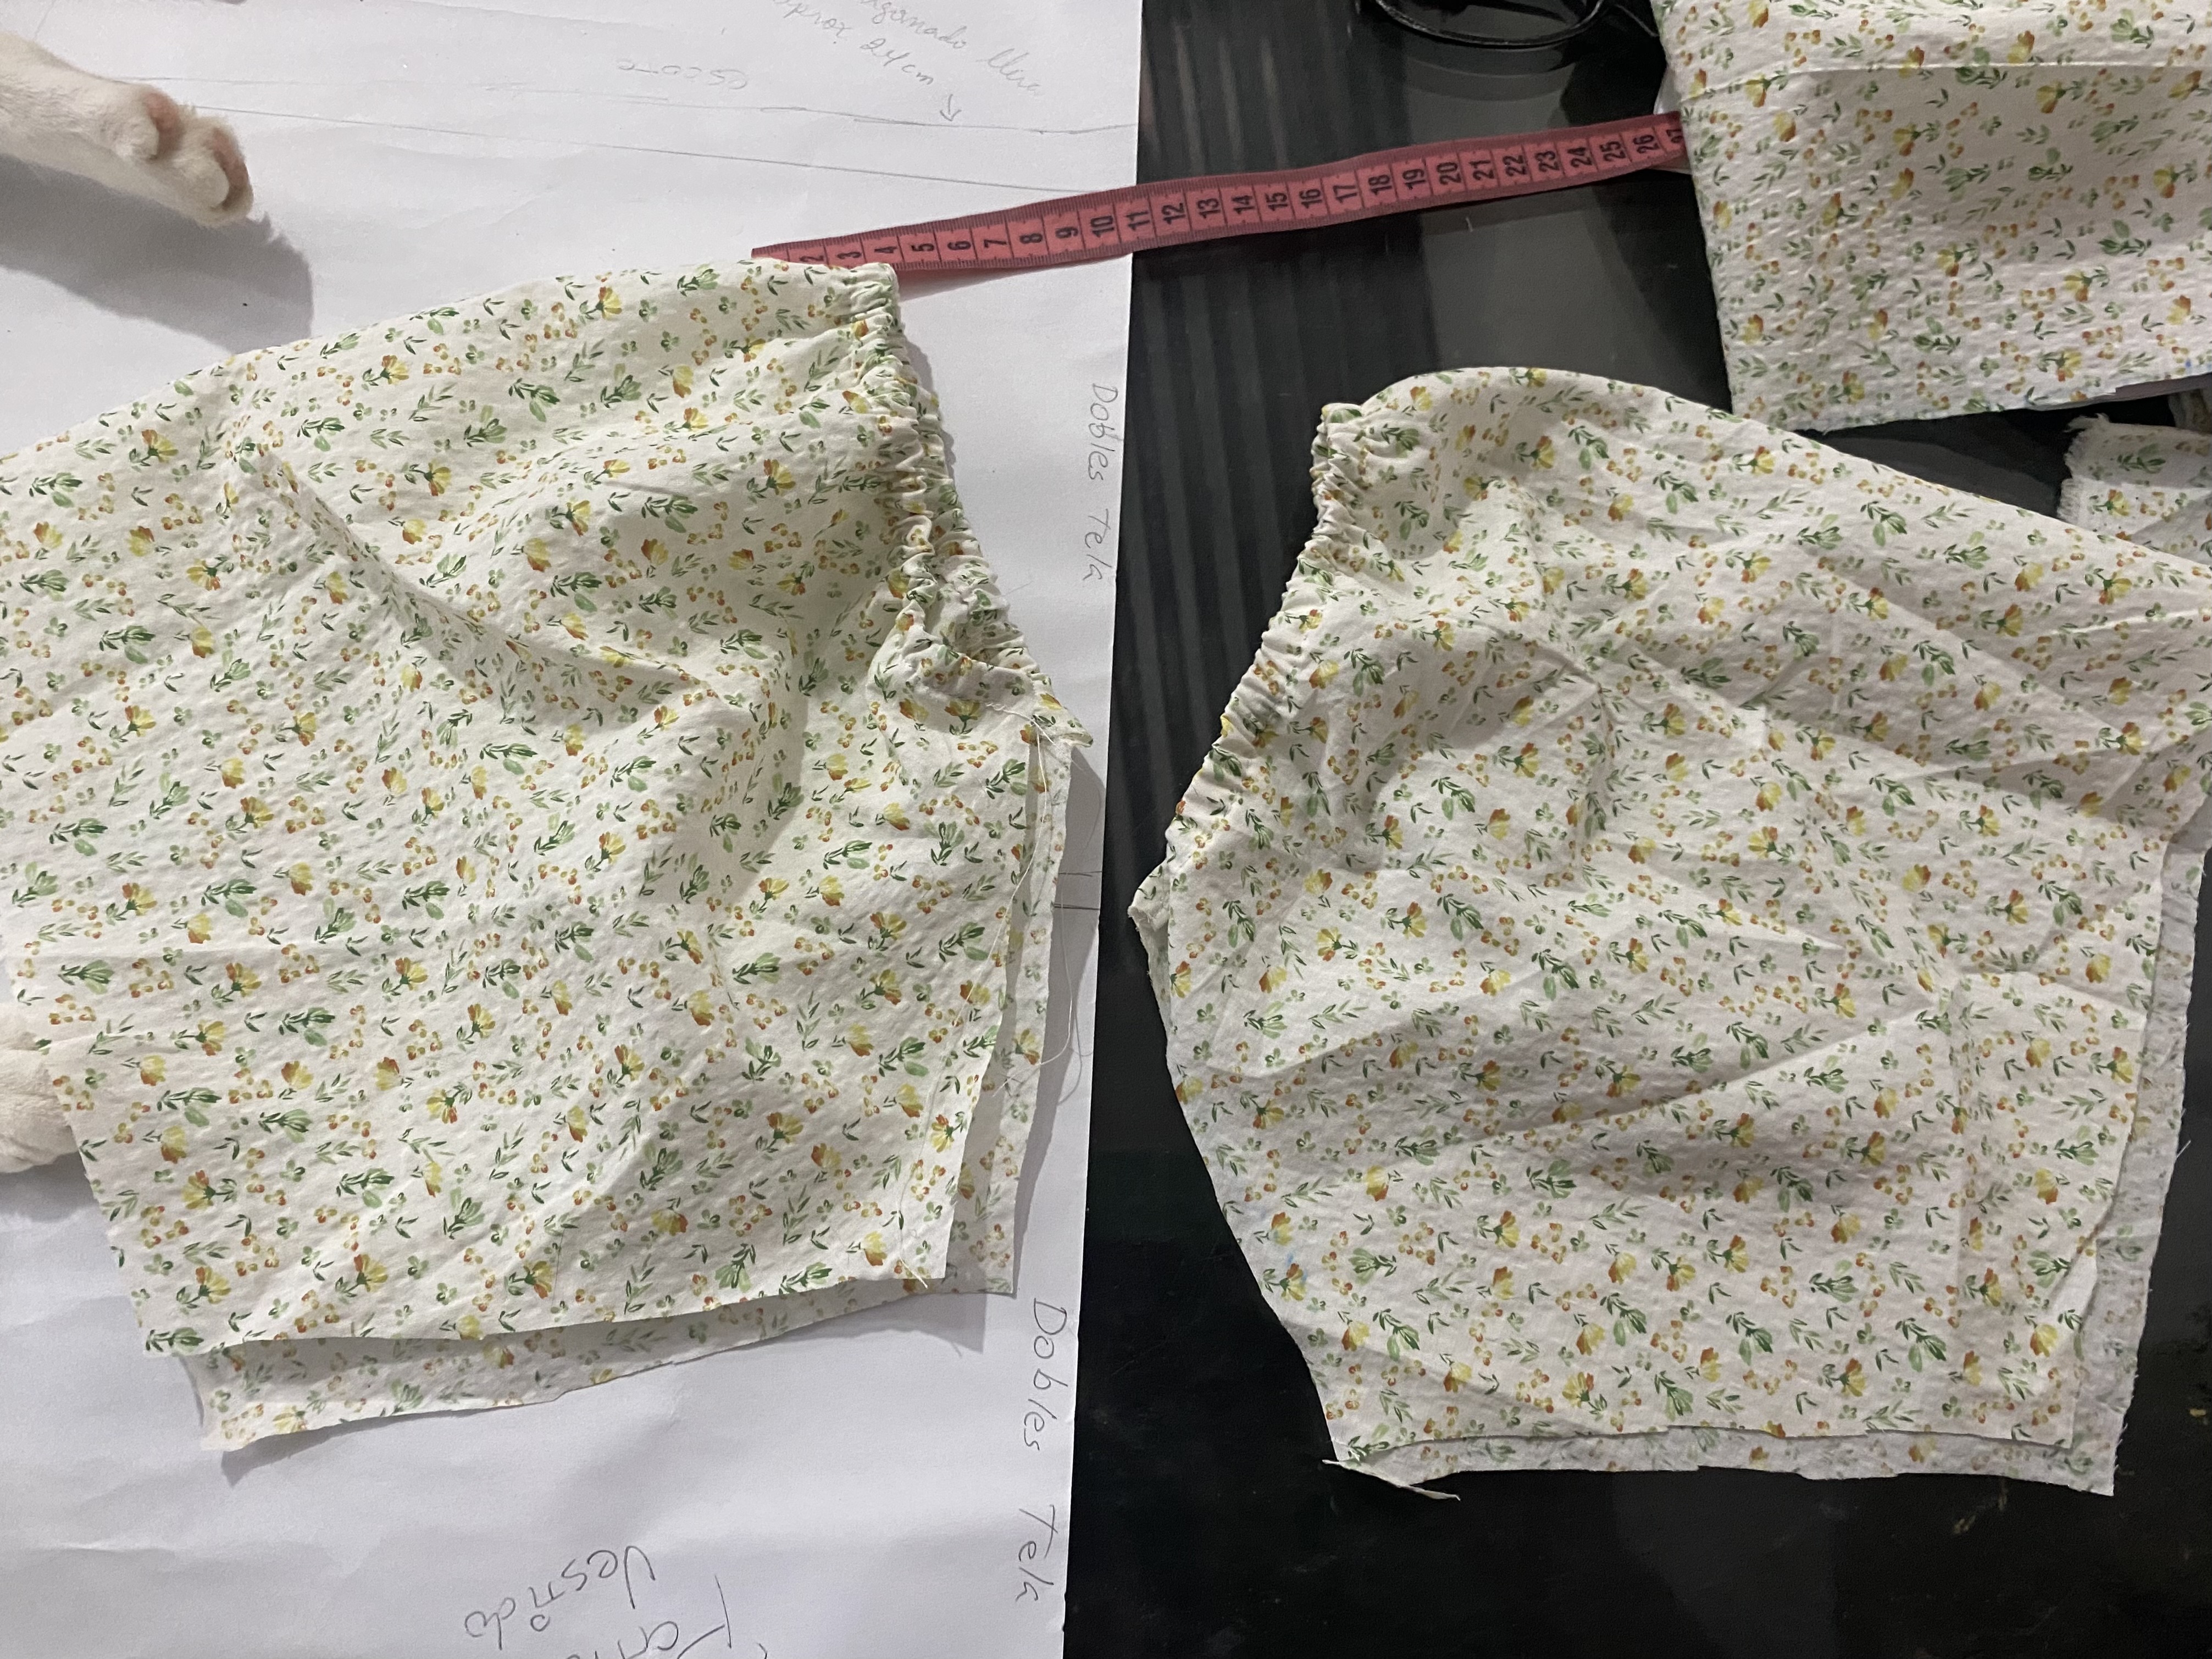
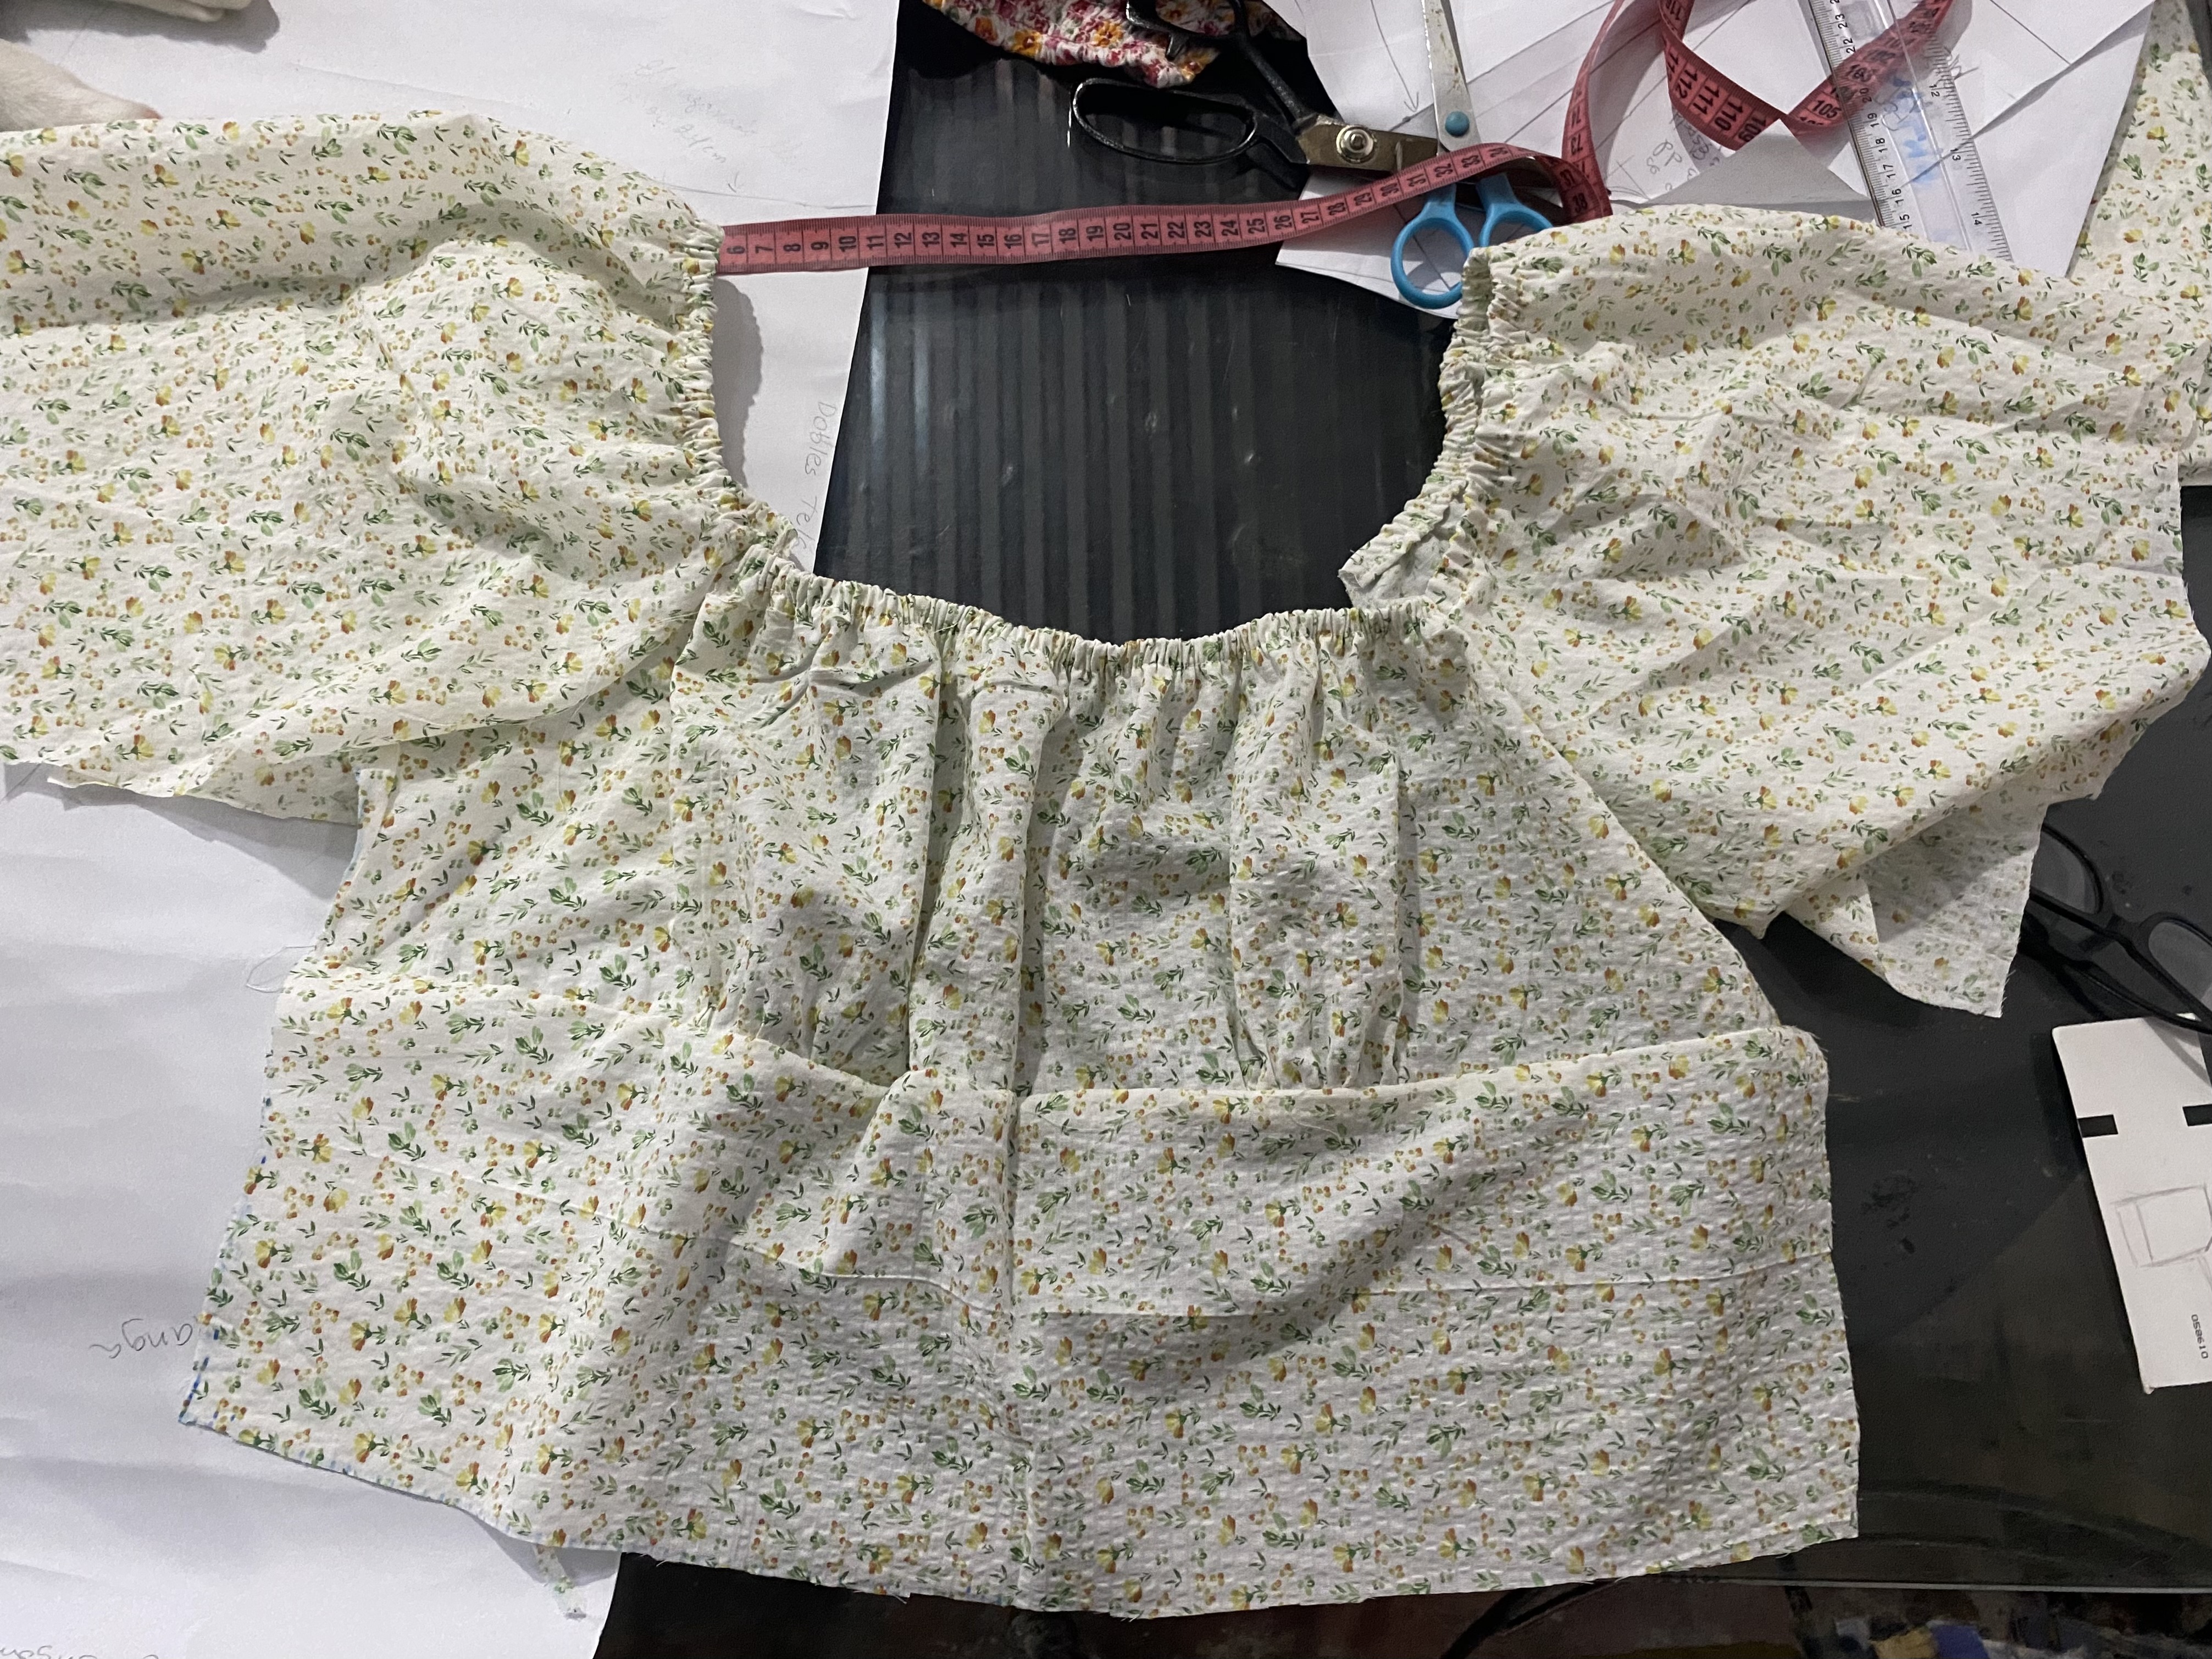
Las mangas las engomamos en la parte del escote del hombro, luego unimos a la parte delantera de la blusa prefiero hacerlo así ya que después me confundo en saber cuál es la orilla del escote del hombro y la orilla del ruedo del brazo a medida que iba costureando la parte delantera, iba viendo el resultado y estaba fascinada, este modelo es nuevo para mí y estaba muy feliz de que lo estaba logrando.
We glued the sleeves to the shoulder neckline, then we joined them to the front of the blouse. I prefer to do it this way because later I get confused about which is the edge of the shoulder neckline and the edge of the arm hem. As I was sewing the front, I saw the result and was fascinated. This model is new to me and I was very happy that I was achieving it.
 |  |
|---|
En este paso haremos las costuras en la parte de atrás del vestido, uniremos las dos piezas luego le colocaremos goma en esa unión, luego le colocaremos elástico dos veces más, dejaremos un espacio de aproximadamente 4 cm, cosemos elastico en lls escotes y luego unimos a las mangas junto con la pieza delantera.
In this step we will sew the seams on the back of the dress, we will join the two pieces then we will put elastic in that joint, then we will put elastic two more times, we will leave a space of approximately 4 cm, we will sew elastic in the necklines and then we will join the sleeves together with the front piece.
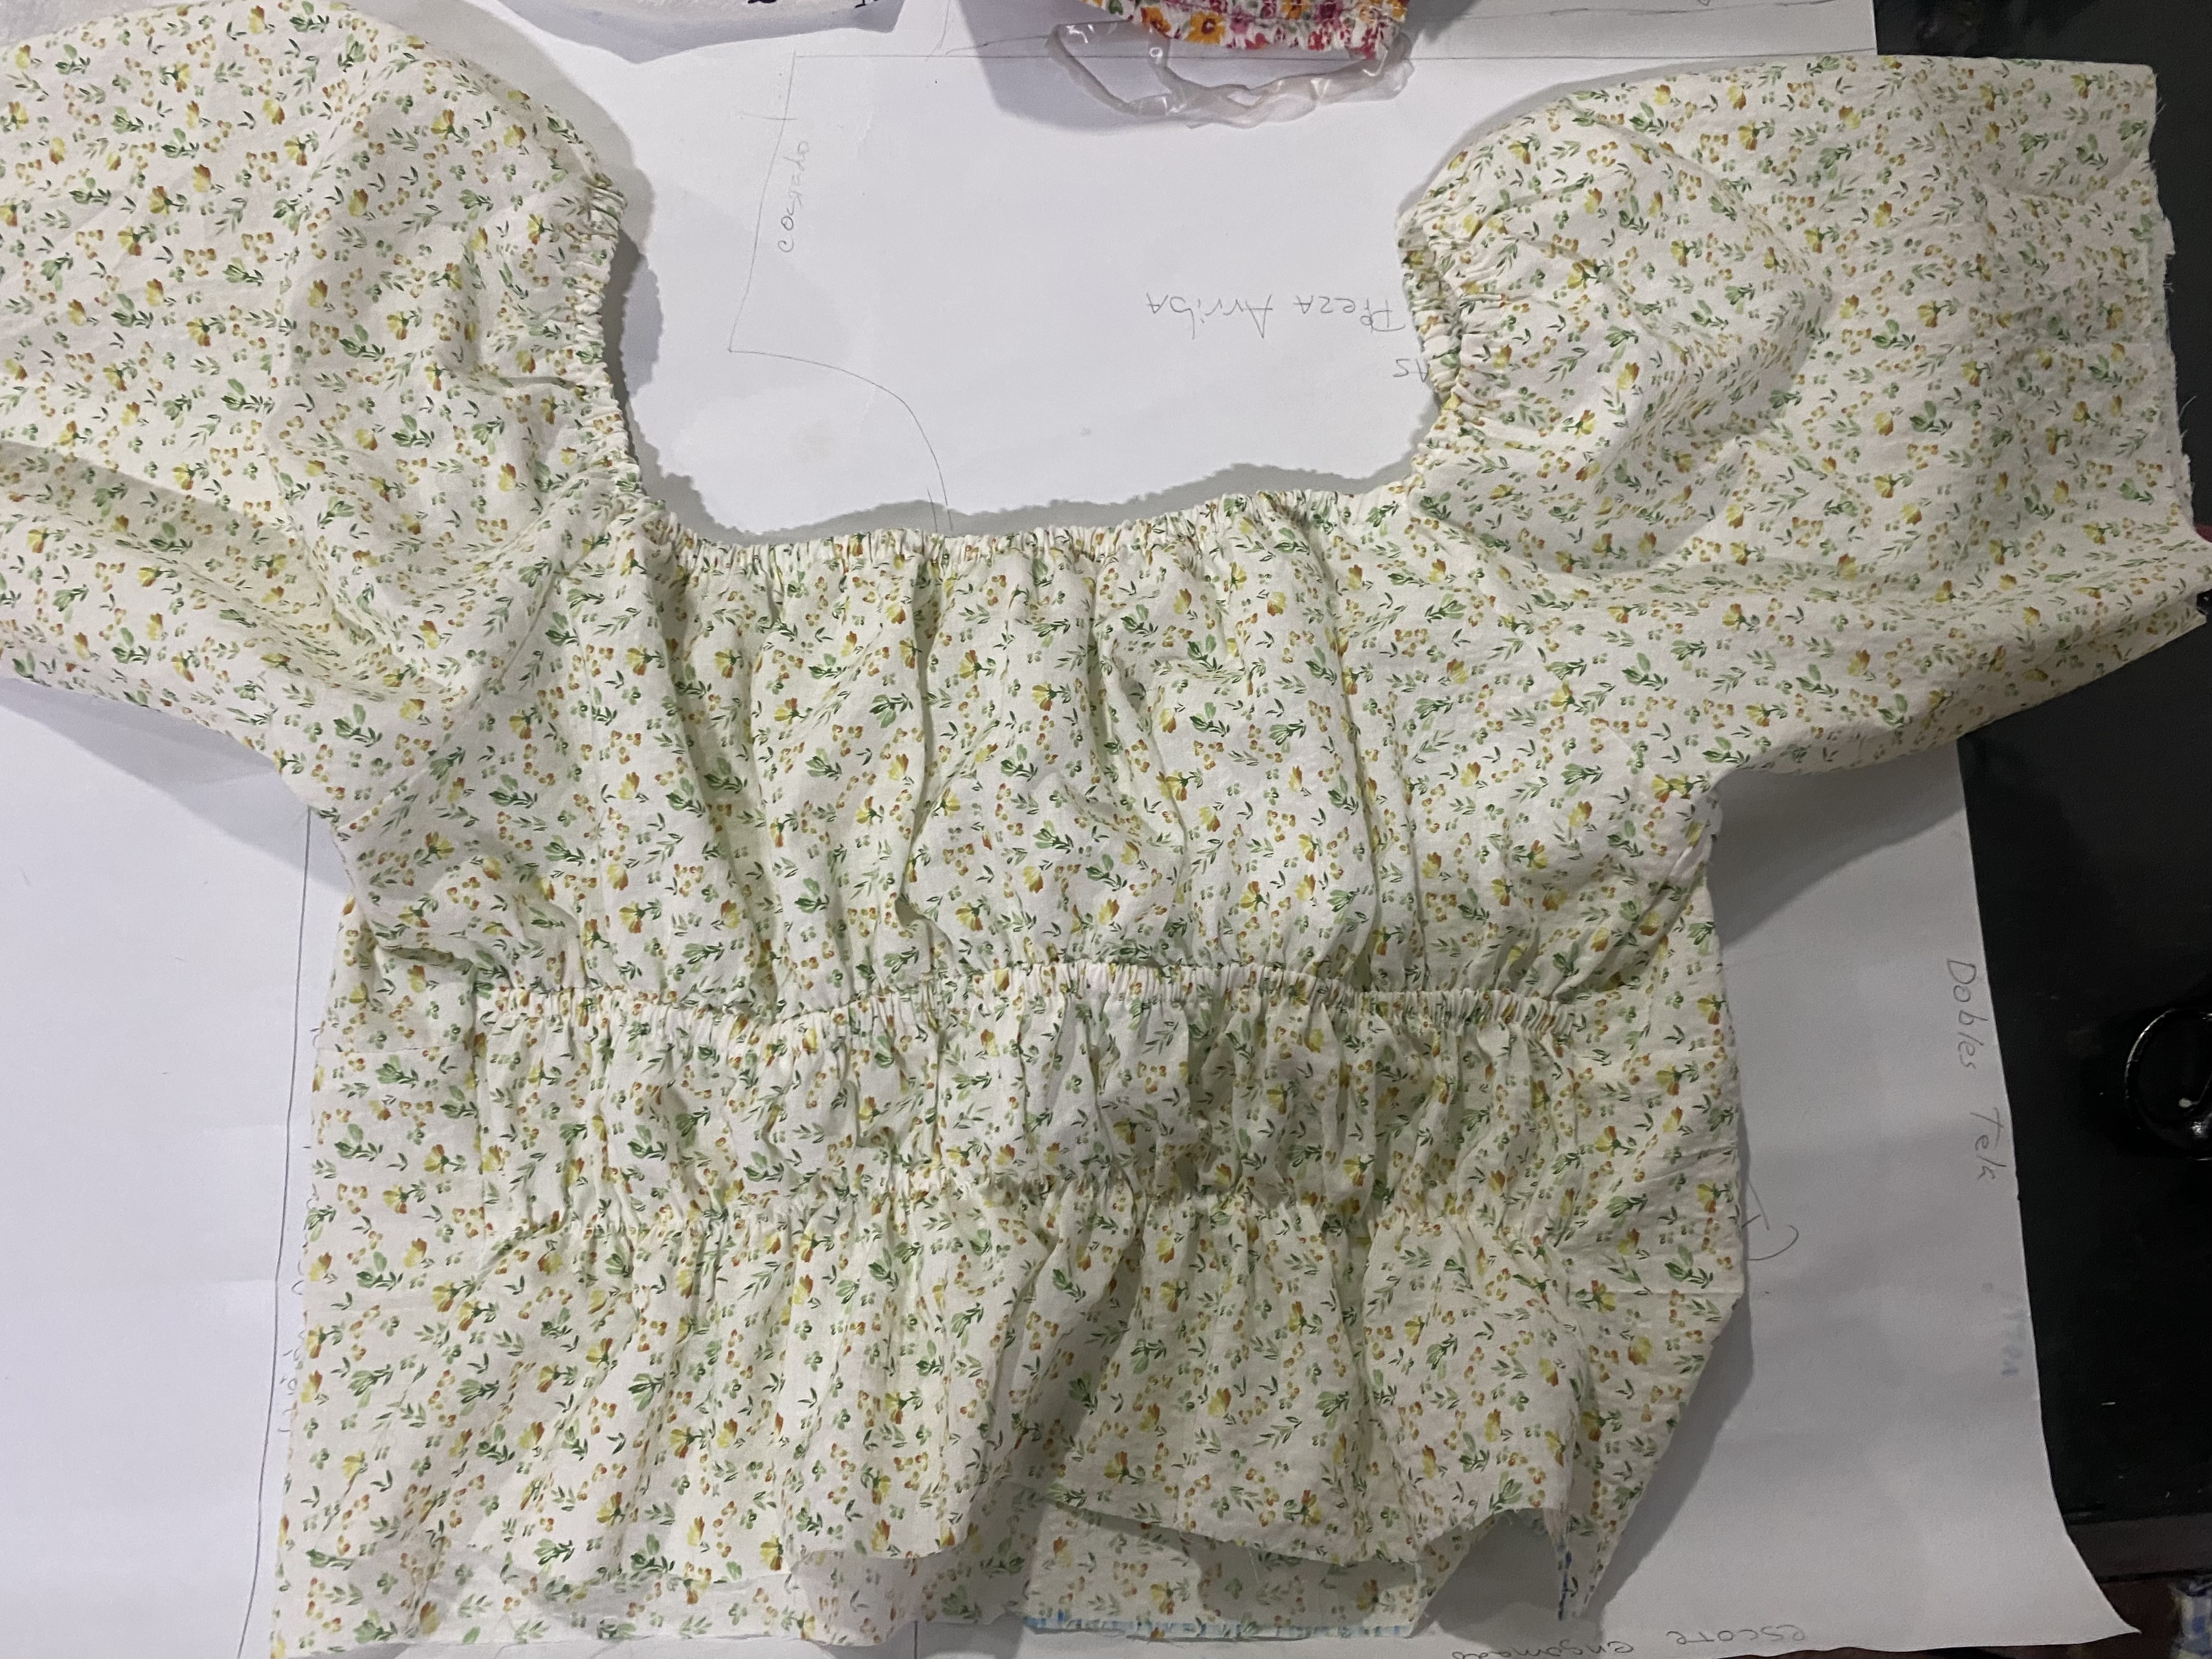
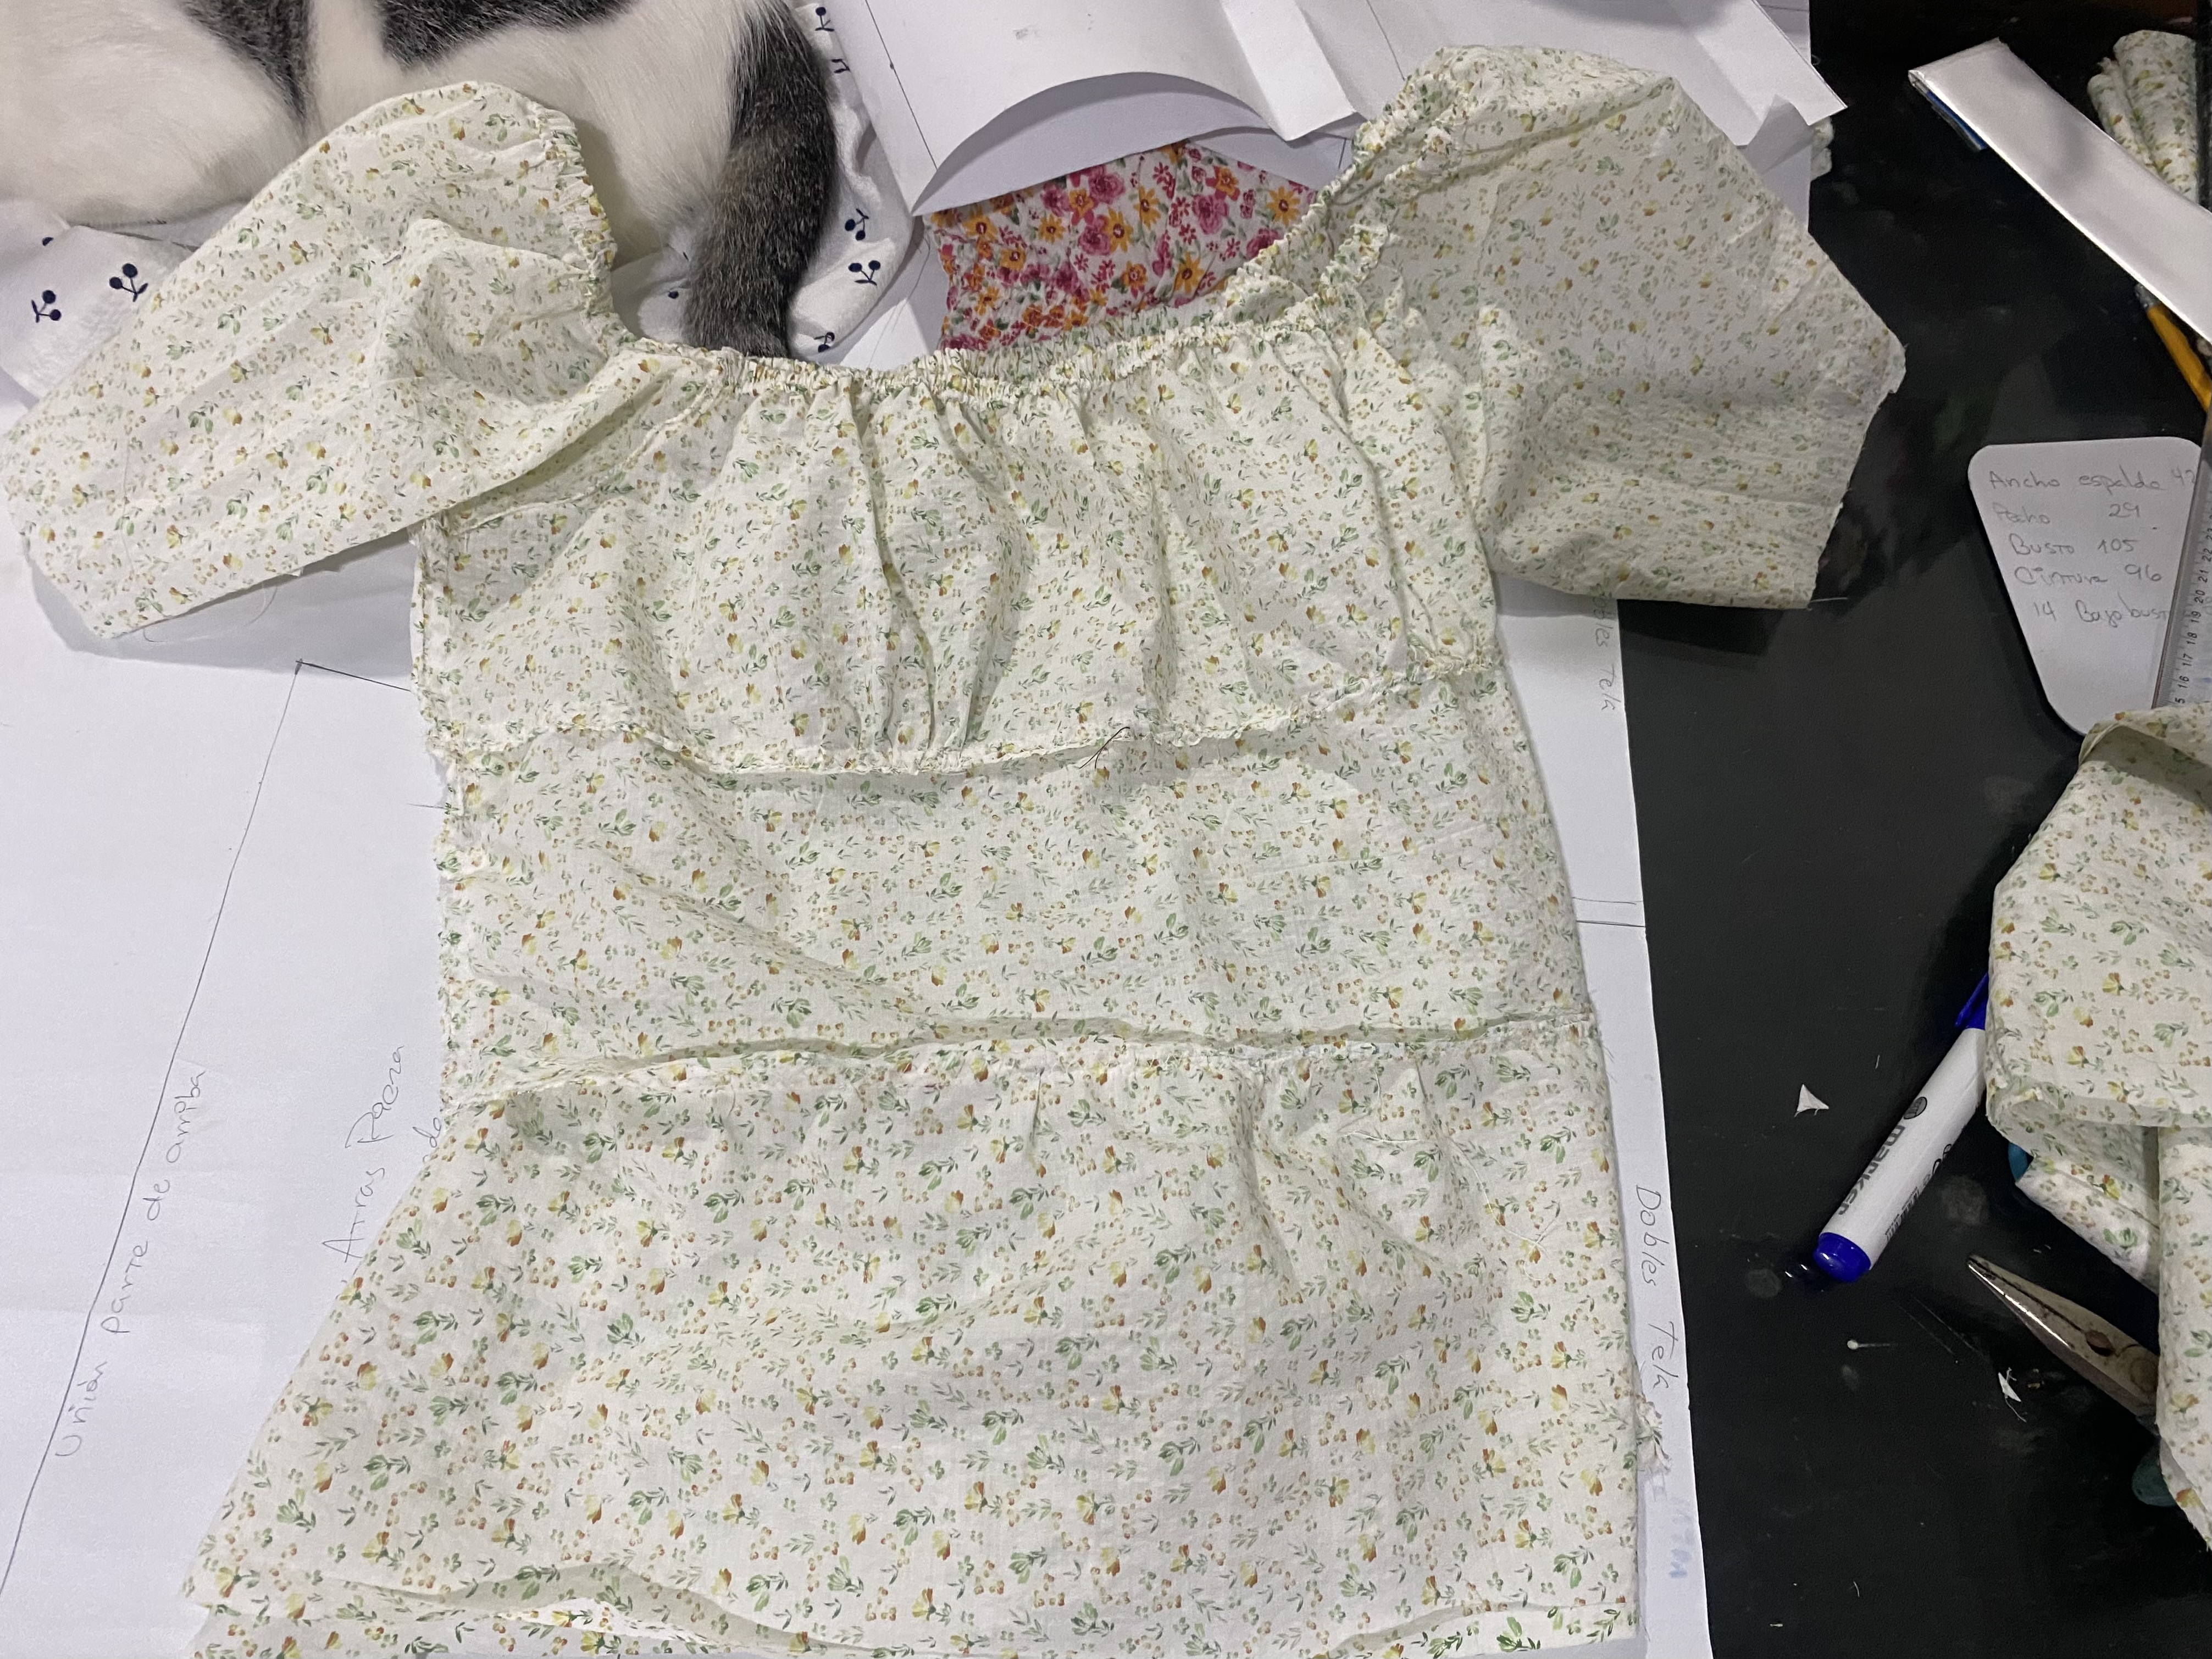
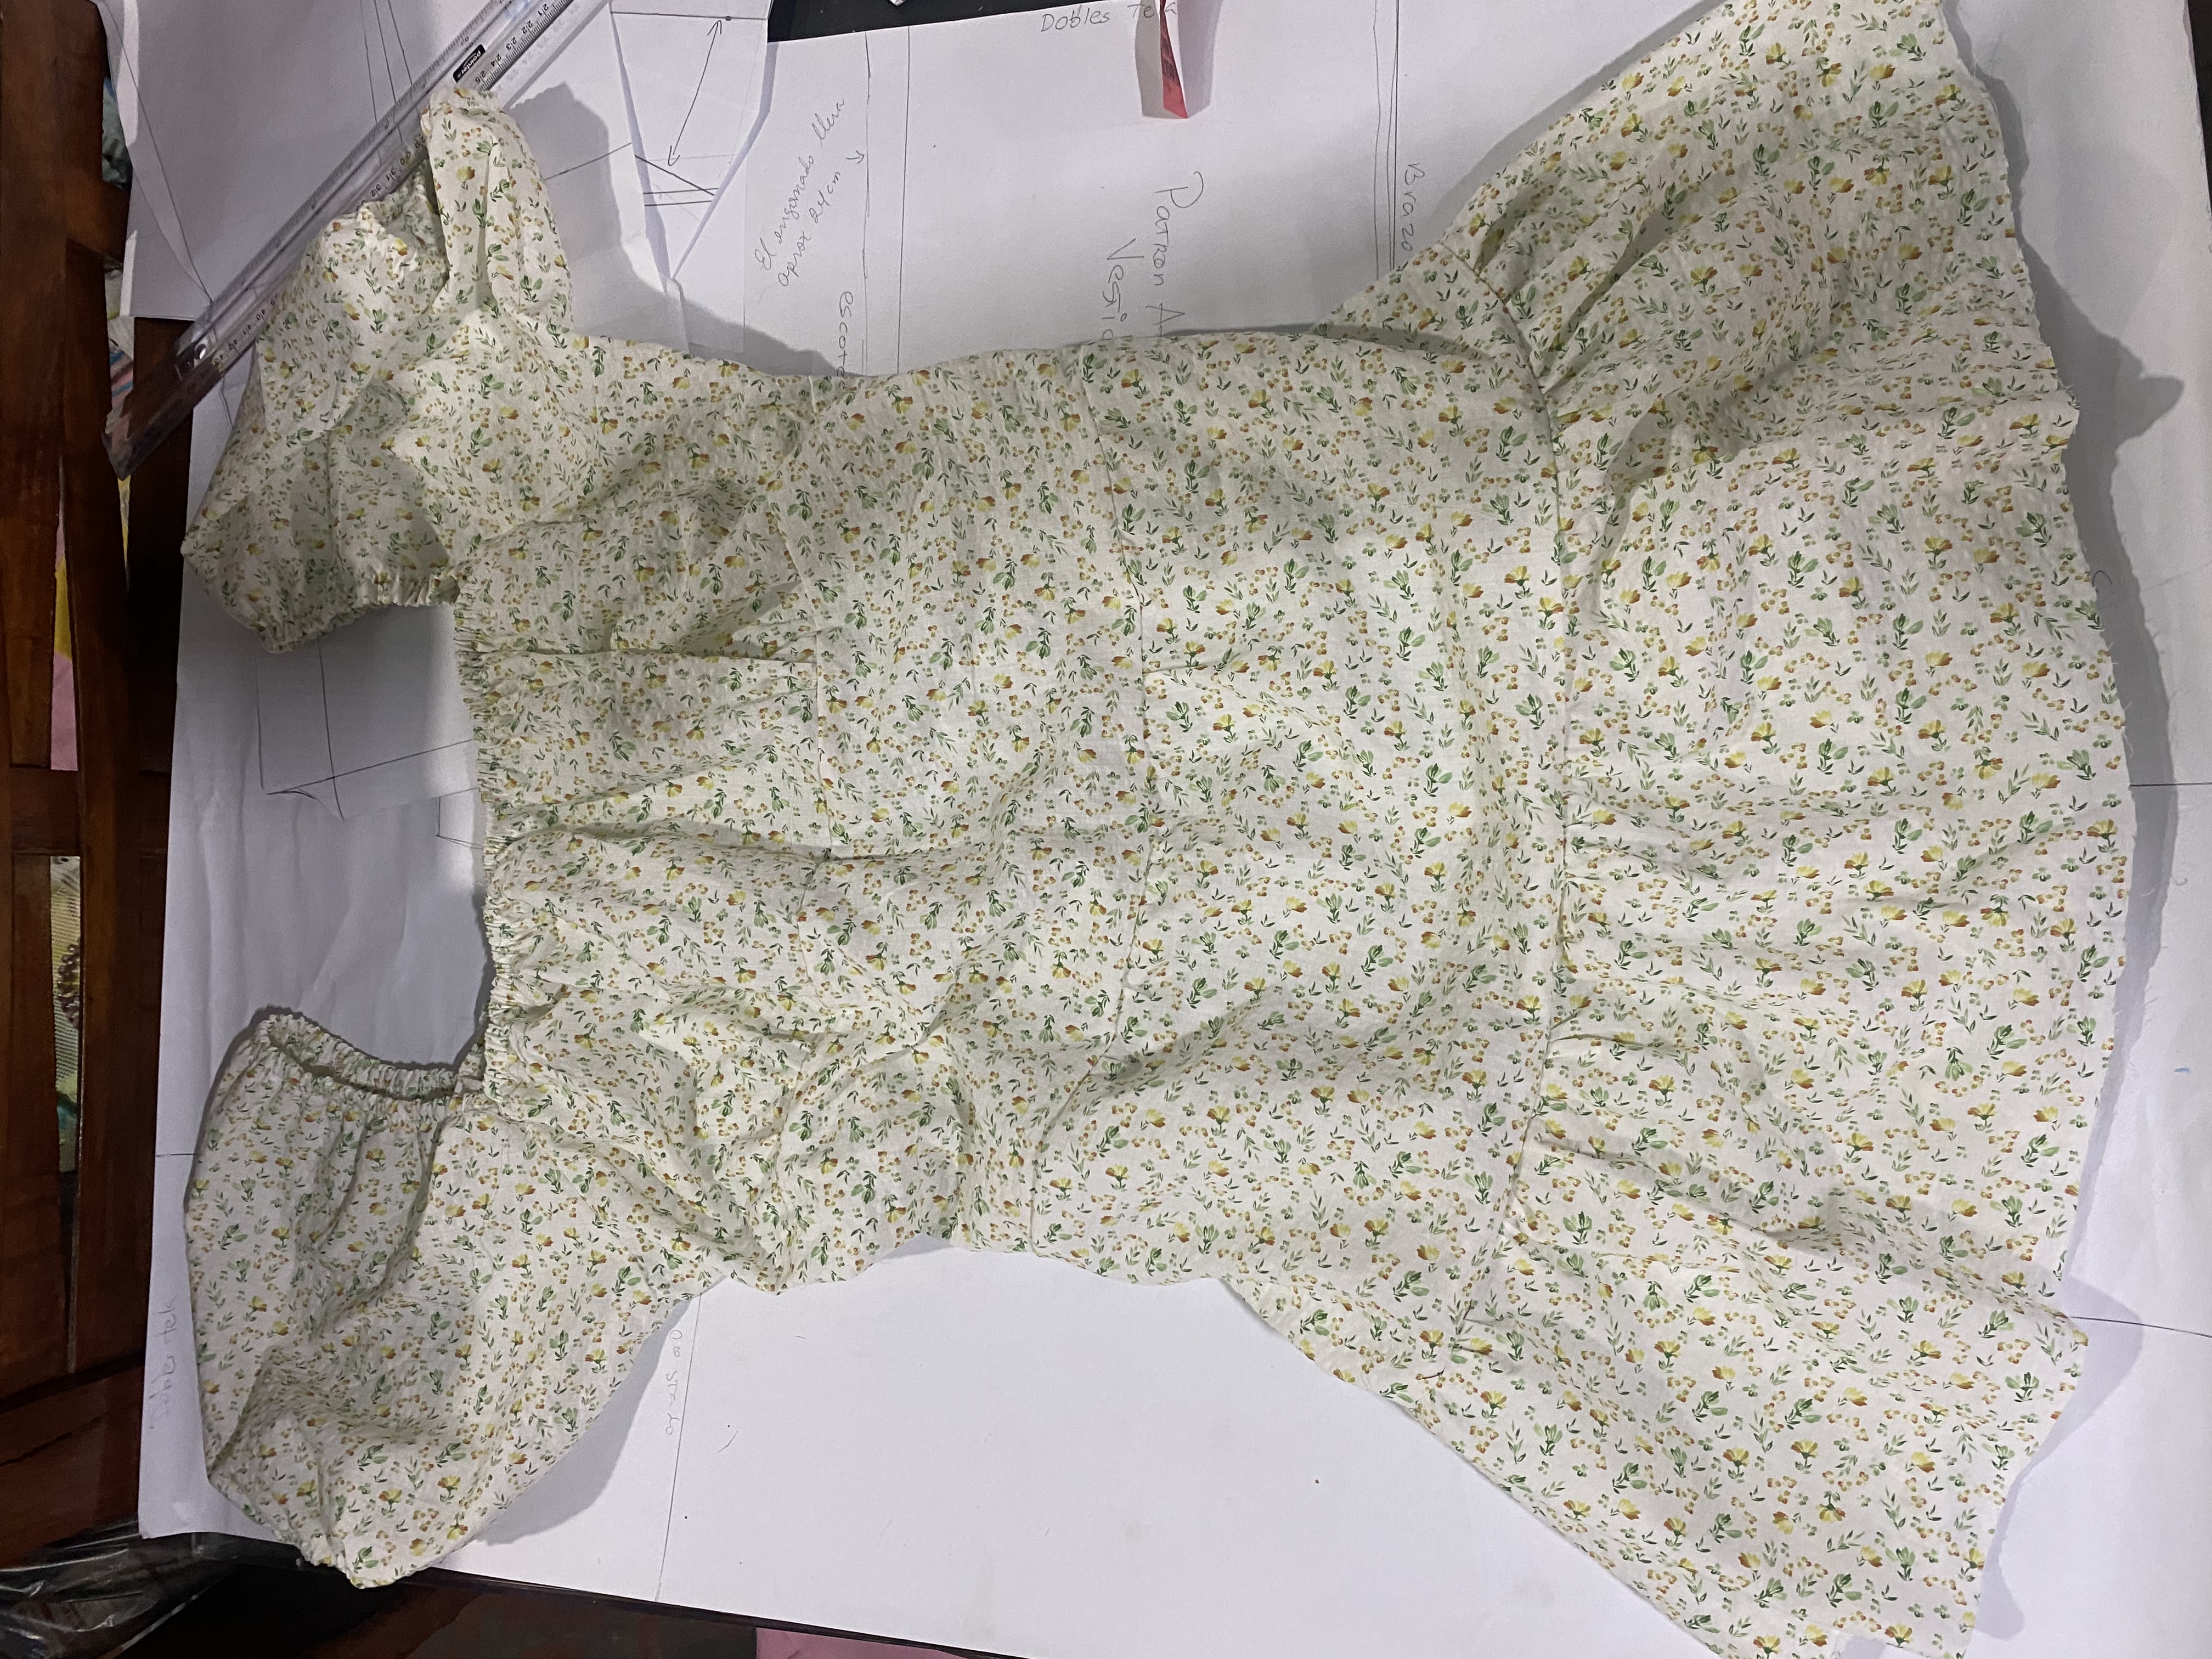
Para la falda cortaremos tiras de 20 cm de alto y de largo serán las siguientes medidas : La primera falda tiene 1,50 m de largo, la segunda falda tiene 2 m , el bolero inferior tiene un aproximado de 3 metros de largo por 10cm de alto.
Para unirlas a nuestro vestido vamos a bastear con costura en las orillas superiores y vamos uniendo de una en una en mi imagen les muestro como debe ir quedando
For the skirt we will cut strips 20 cm high and the following lengths will be: The first skirt is 1.50 m long, the second skirt is 2 m long, the lower bolero is approximately 3 meters long by 10 cm high.
To join them to our dress we will hem the upper edges and join them one by one. In my image I show you how it should look.
 |  |
|---|---|
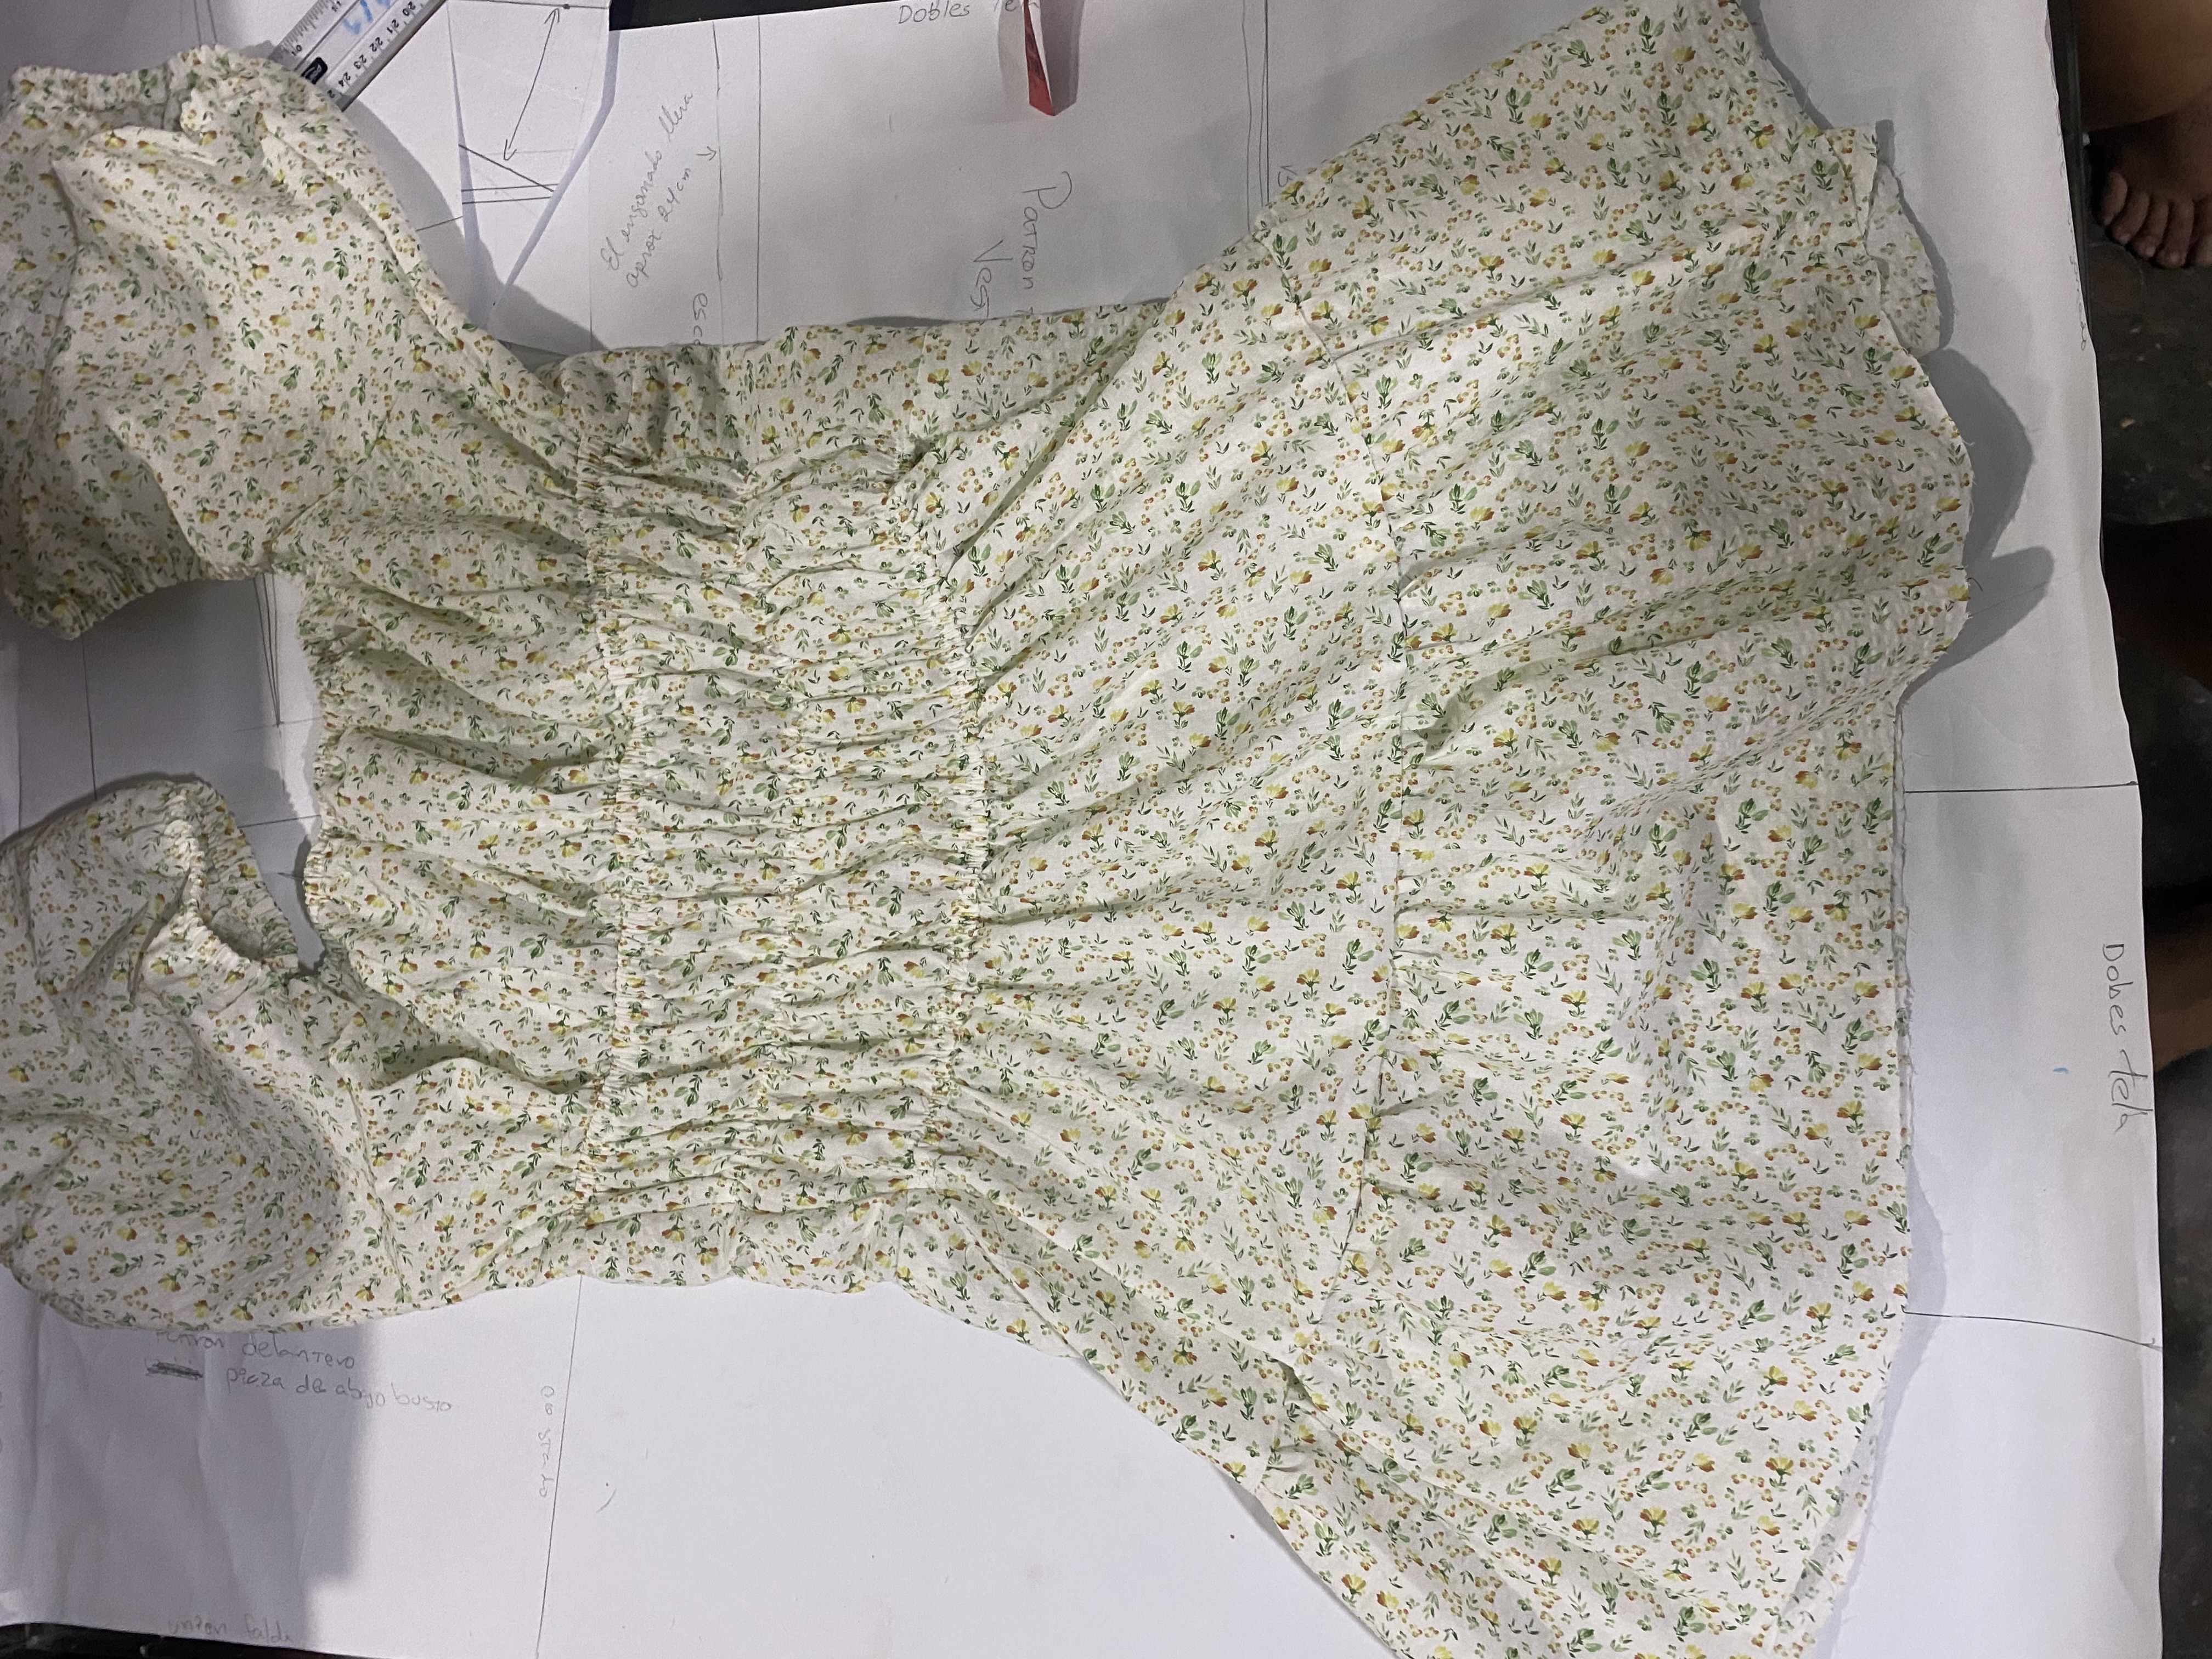 |
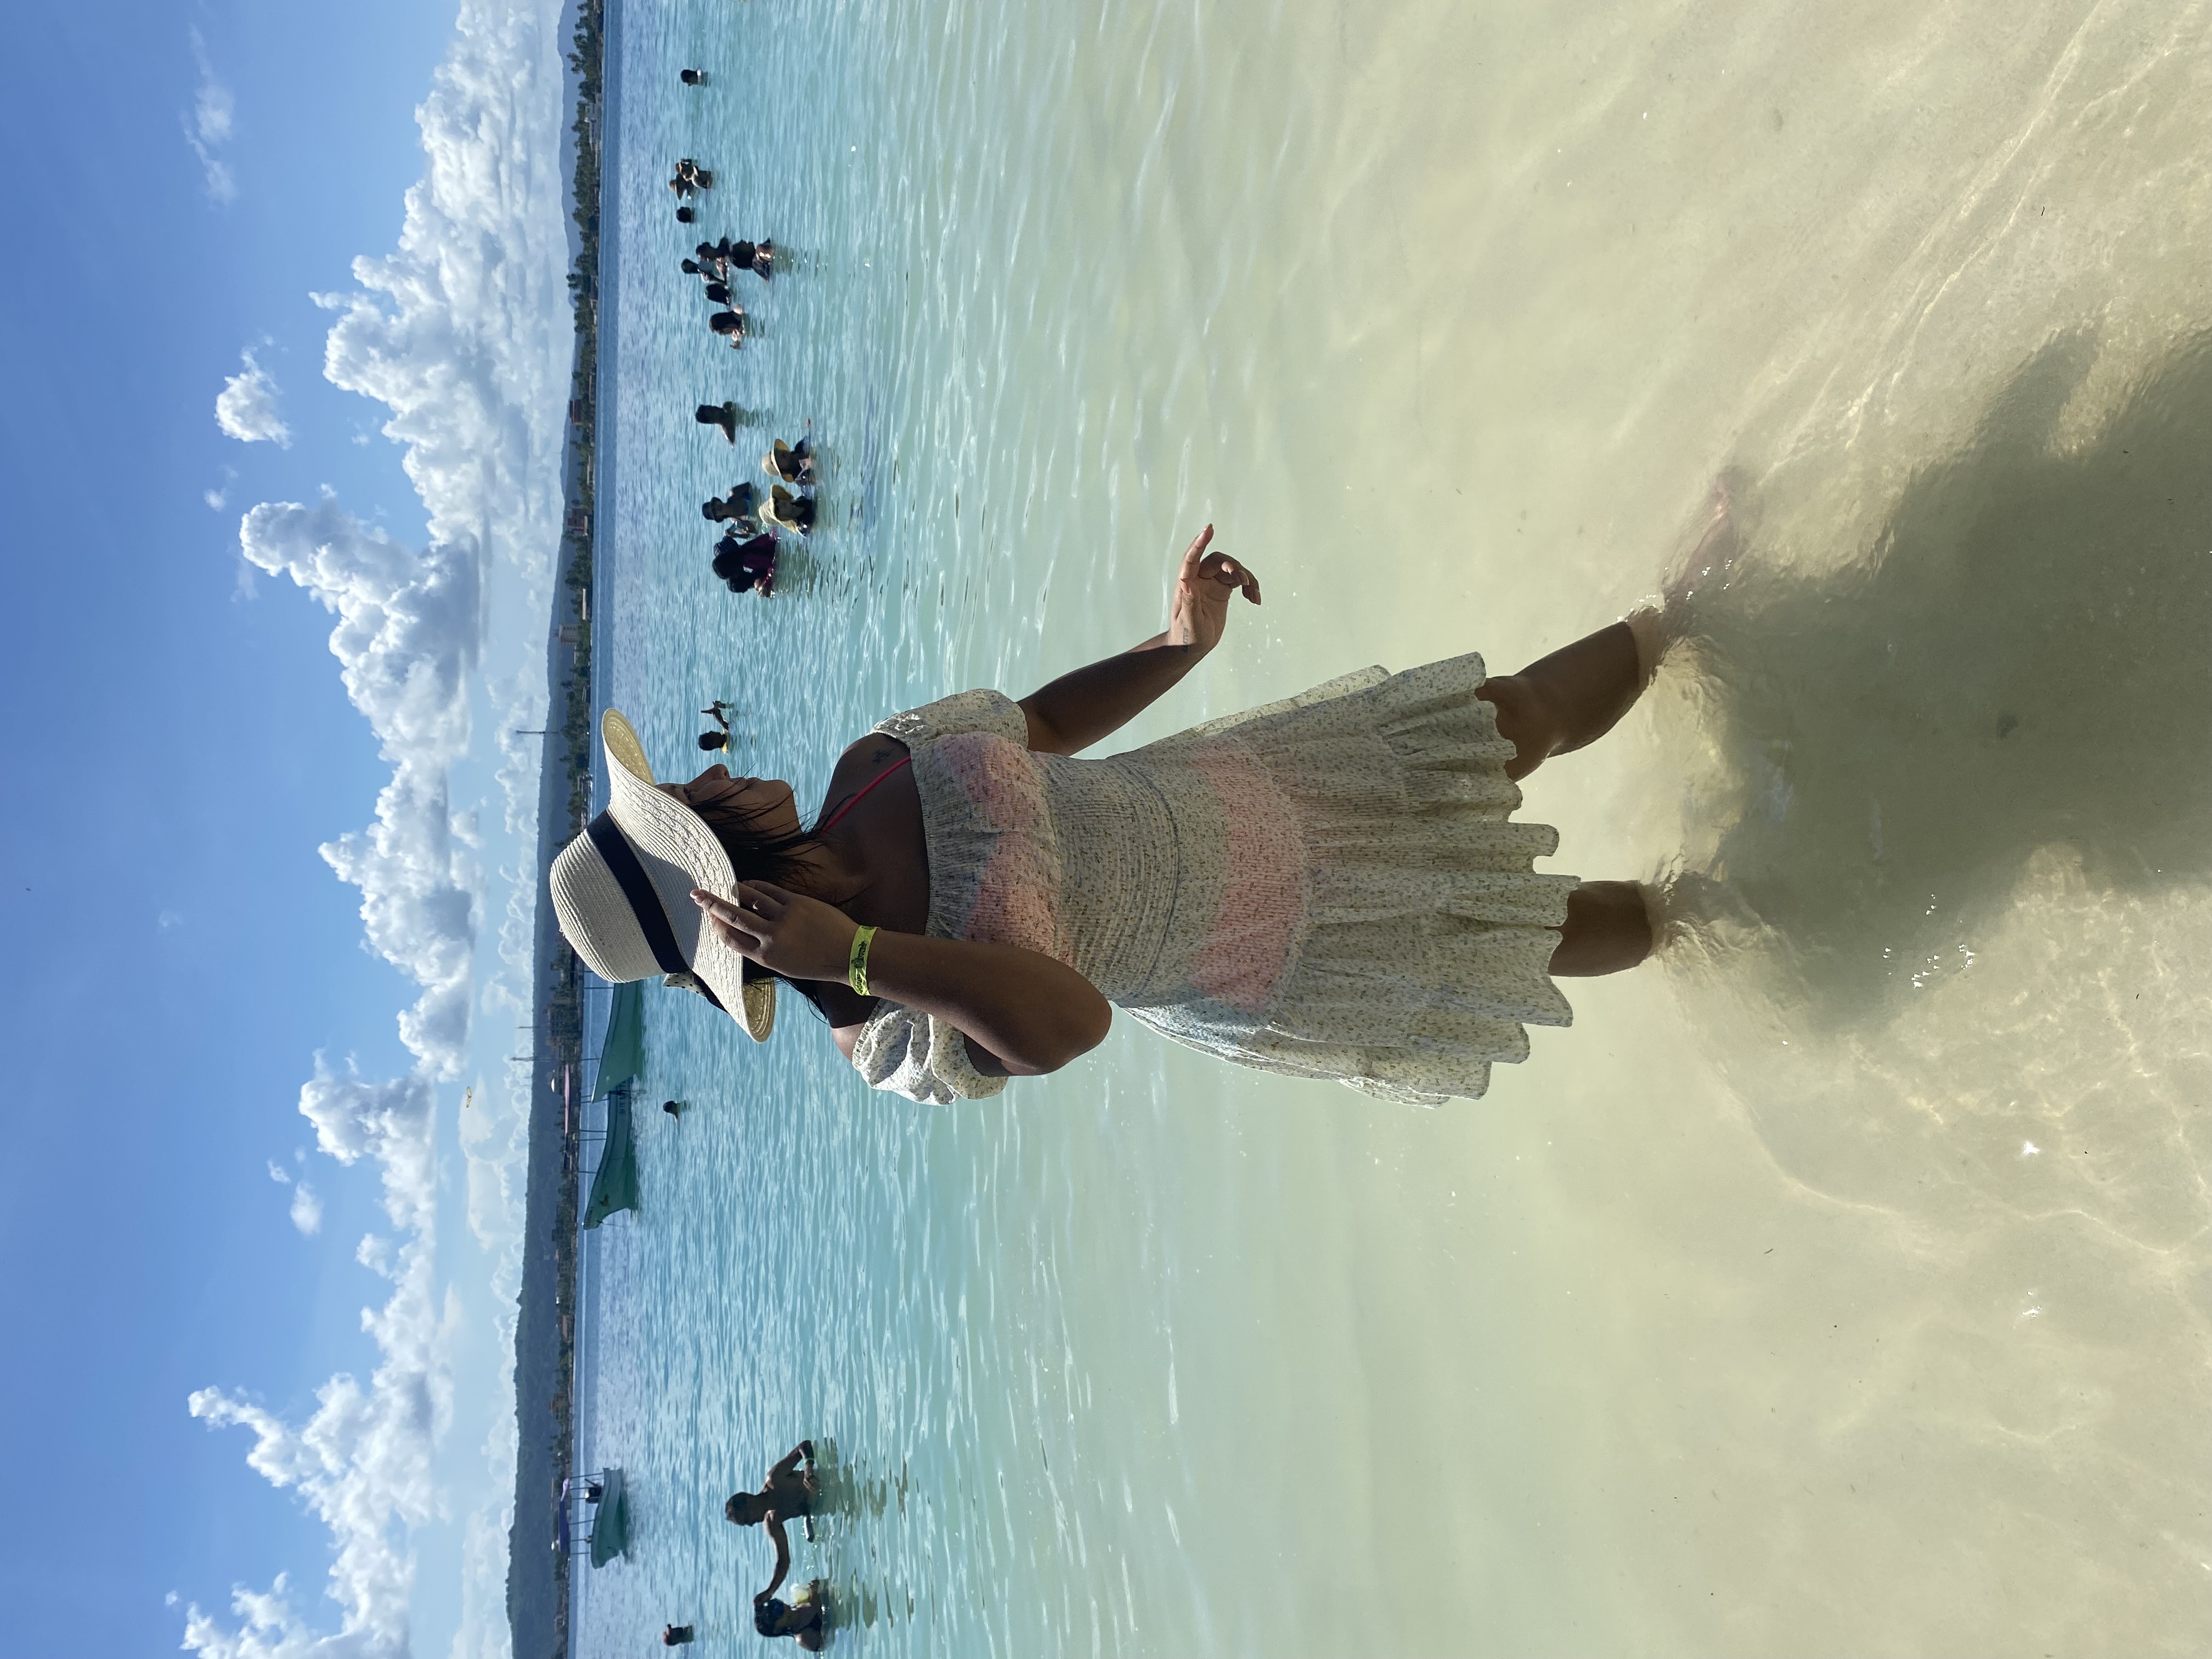
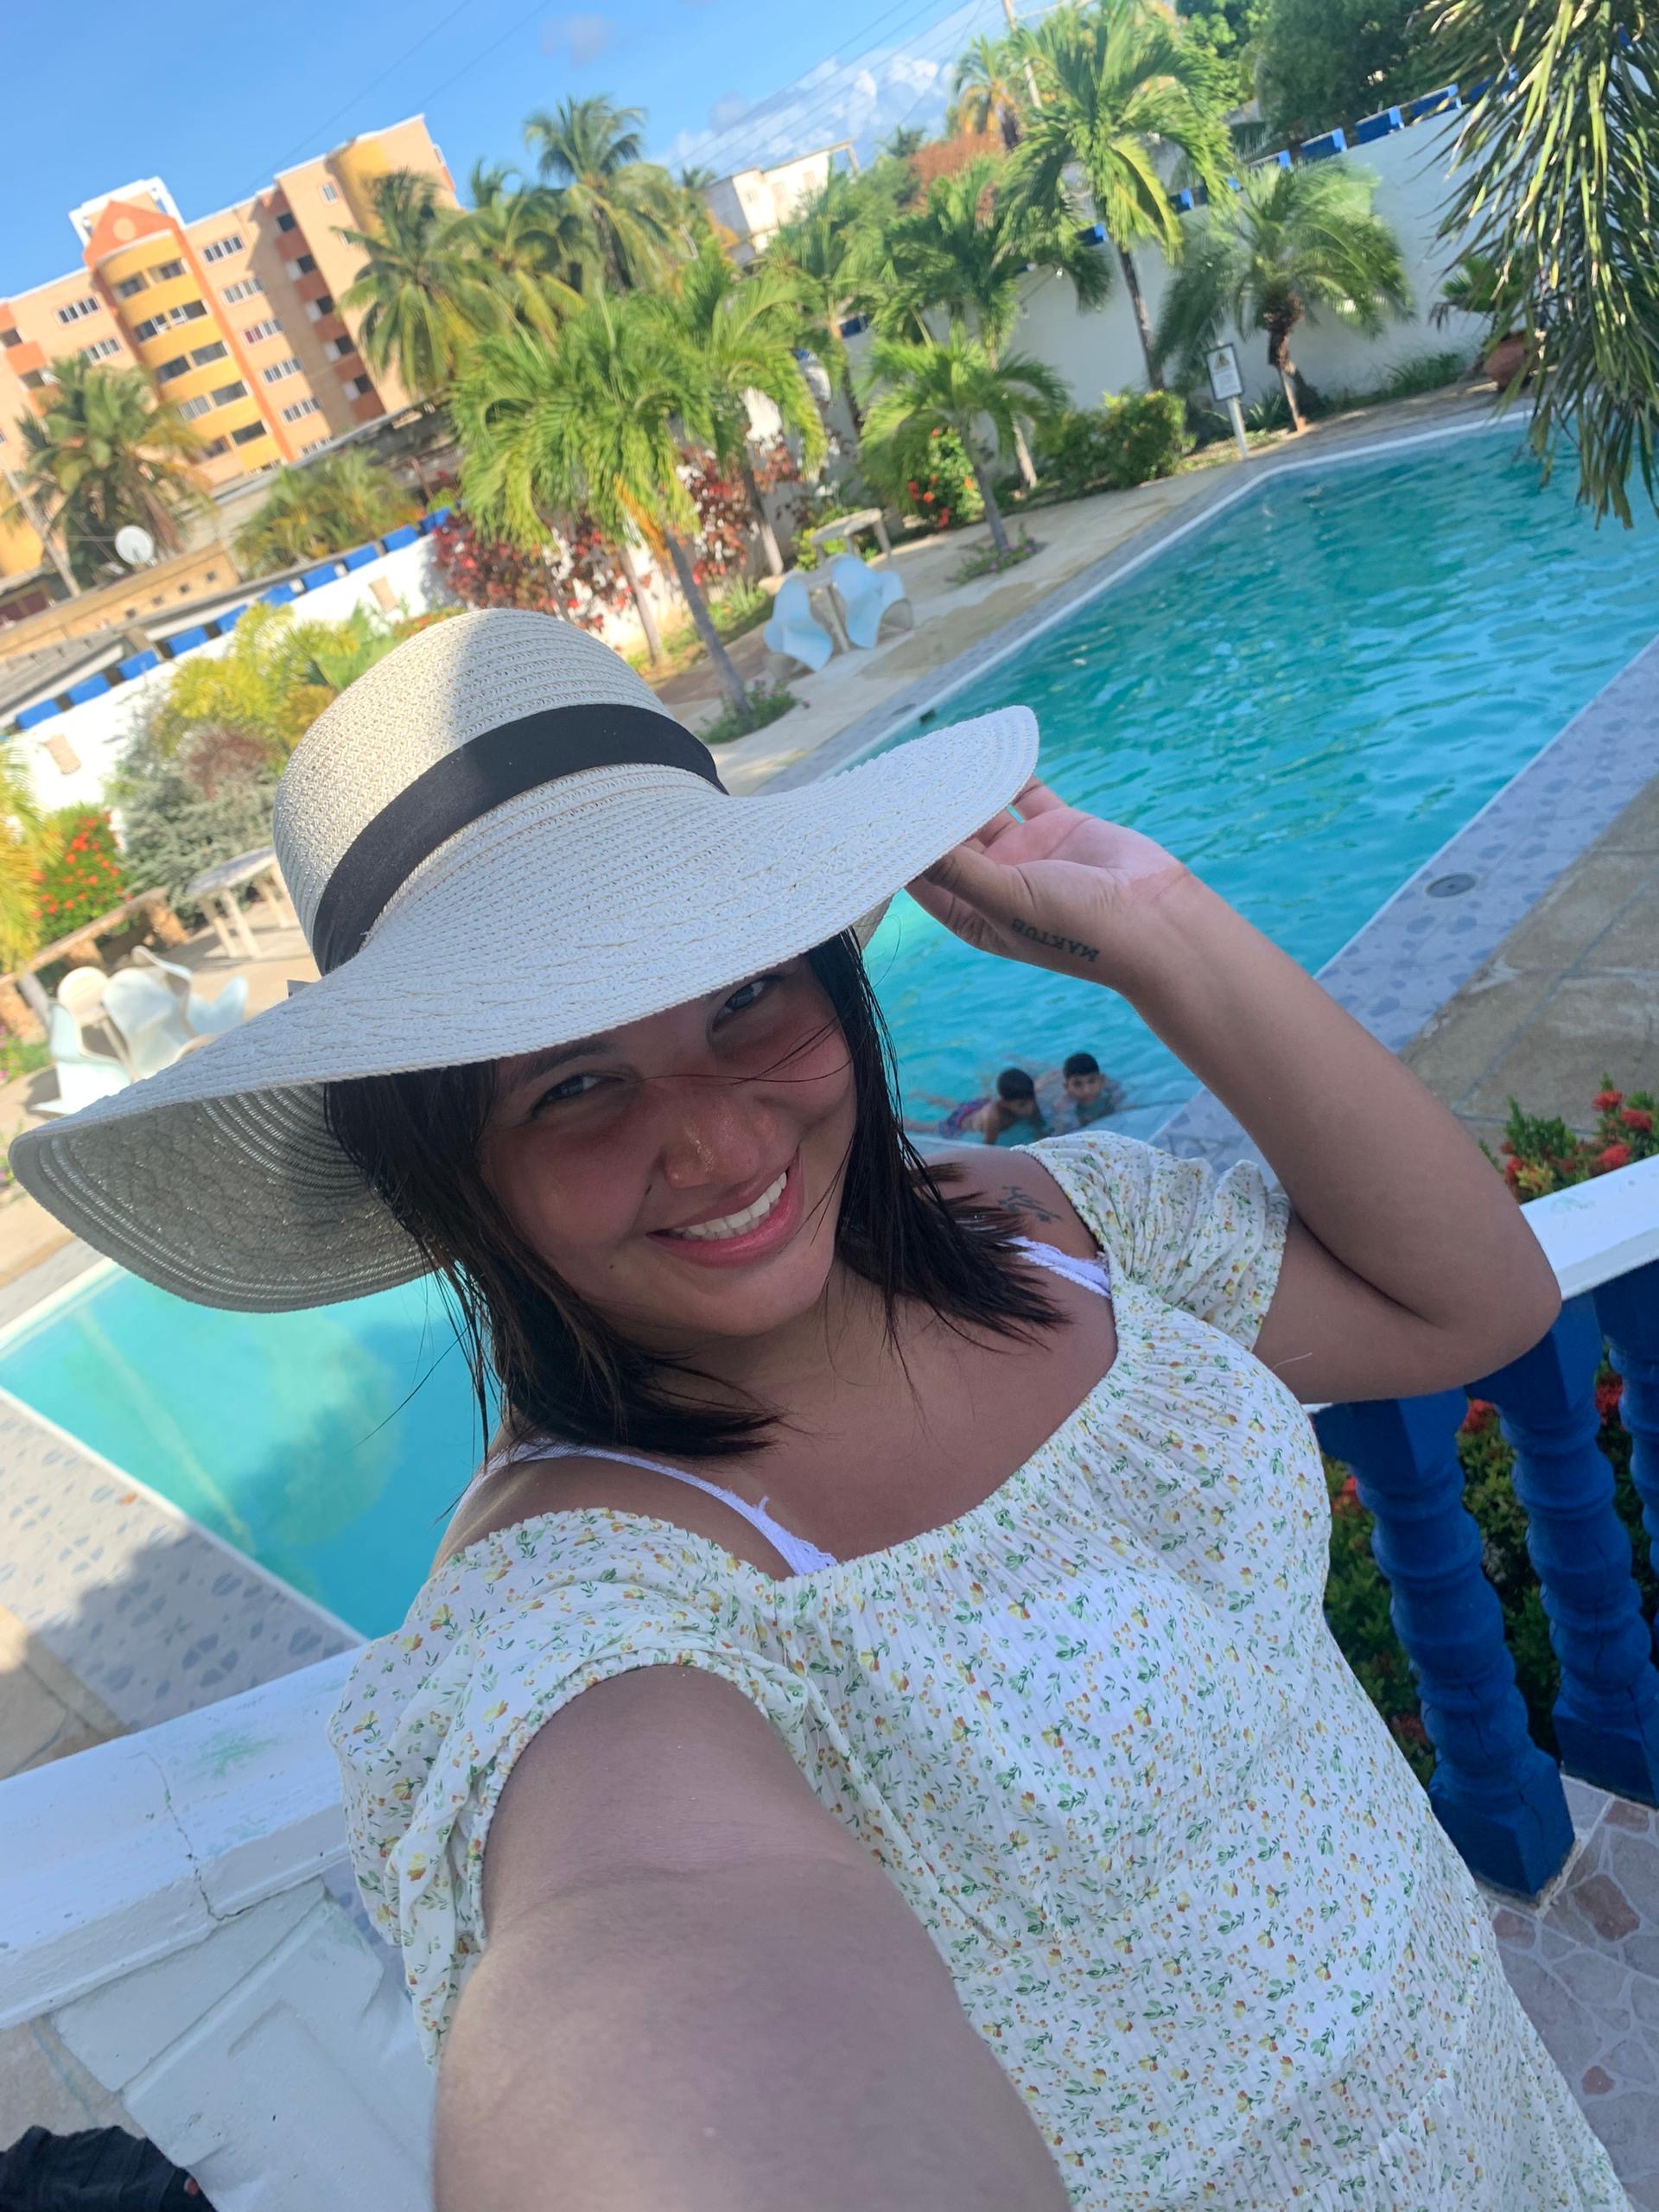
Al tener el bolero ya unido a nuestro vestido le hacemos un pequeño ruedo, le colocamos el elástico en las mangas y así ya estará listo este lindo vestido para utilizar en cualquier ocasión, espero les haya gustado el resultado, les puedo decir que mi hija quedó encantada con su vestido nuevo
Once the bolero is attached to our dress, we make a small hem, place the elastic on the sleeves and this beautiful dress will be ready to be used on any occasion. I hope you liked the result. I can tell you that my daughter was delighted with her new dress.
 |  |
|---|---|
 |
Me gustaría conocer tu opinión acerca de la confección de este vestido, puedes dejarme tu comentario y con gusto lo leeré, si llegaste hasta aquí estoy muy agradecida porque hayas visitado mi Publicación, me despido deseándoles muchos éxitos y bendiciones, hasta otra oportunidad
I would like to know your opinion about the making of this dress, you can leave me your comment and I will gladly read it, if you got this far I am very grateful for having visited my publication, I say goodbye wishing you many successes and blessings, until another opportunity
Wow que fresco se ve ese vestido, realmente ideal para un día de playa o Campo, te felicito
Gracias 🥰
Feliz día
Igual amiga 🥰
It is nice and beautiful. It's comfortable to wear. And it looks amazing. You did a great job! Keep it up!
Thank you 🥰