Feliz día queridos amigos de NEEDLEWORKMONDAY 🪡🧵💙
Hoy quiero salir un poco de lo cotidiano y hacer unas modificaciones en un modelo de pijama corta para dama y quiero mostrarles esta idea para hacer una linda pijama especial para esos días de calor y además con un toque sexy, ven y te muestro cómo confeccionar está hermosa pijama:
Happy day dear friends of NEEDLEWORKMONDAY! 🪡🧵💙
Today I want to get out of the ordinary a little and make some modifications to a short pajama model for women and I want to show you this idea to make a nice pajama special for those hot days and also with a sexy touch, come and I will show you how to make this beautiful pajama:
MATERIALES
MATERIALS
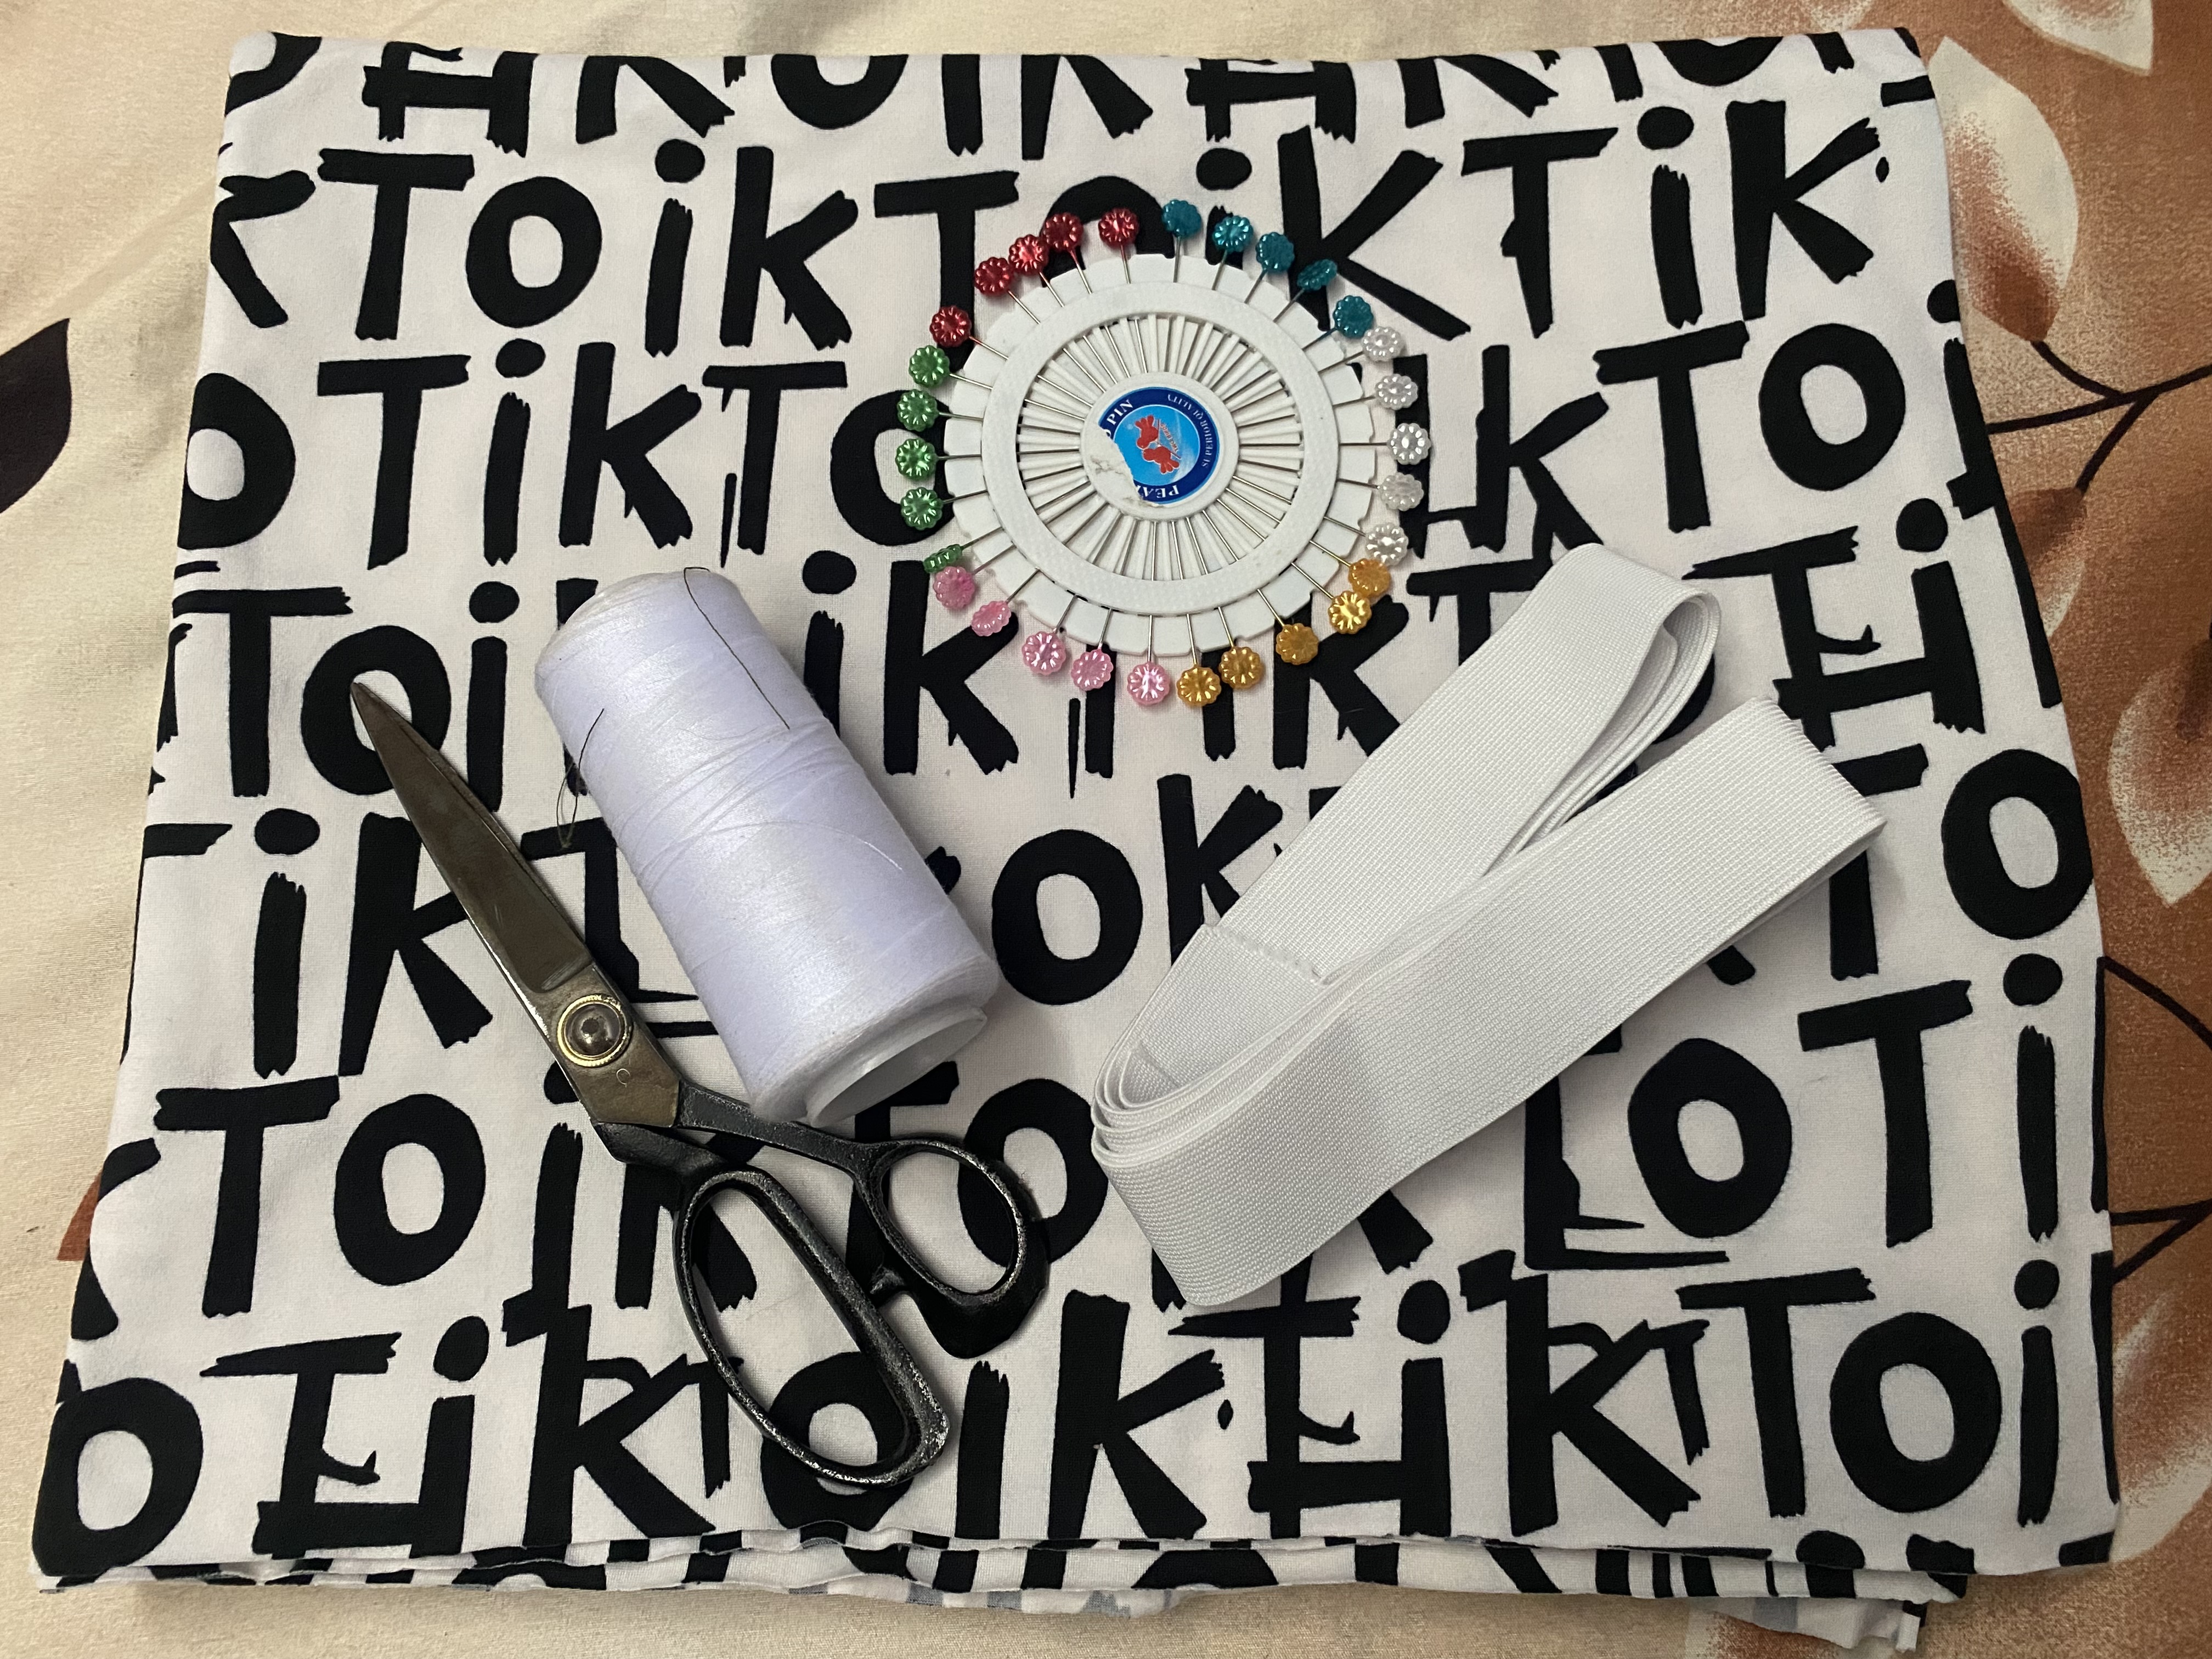
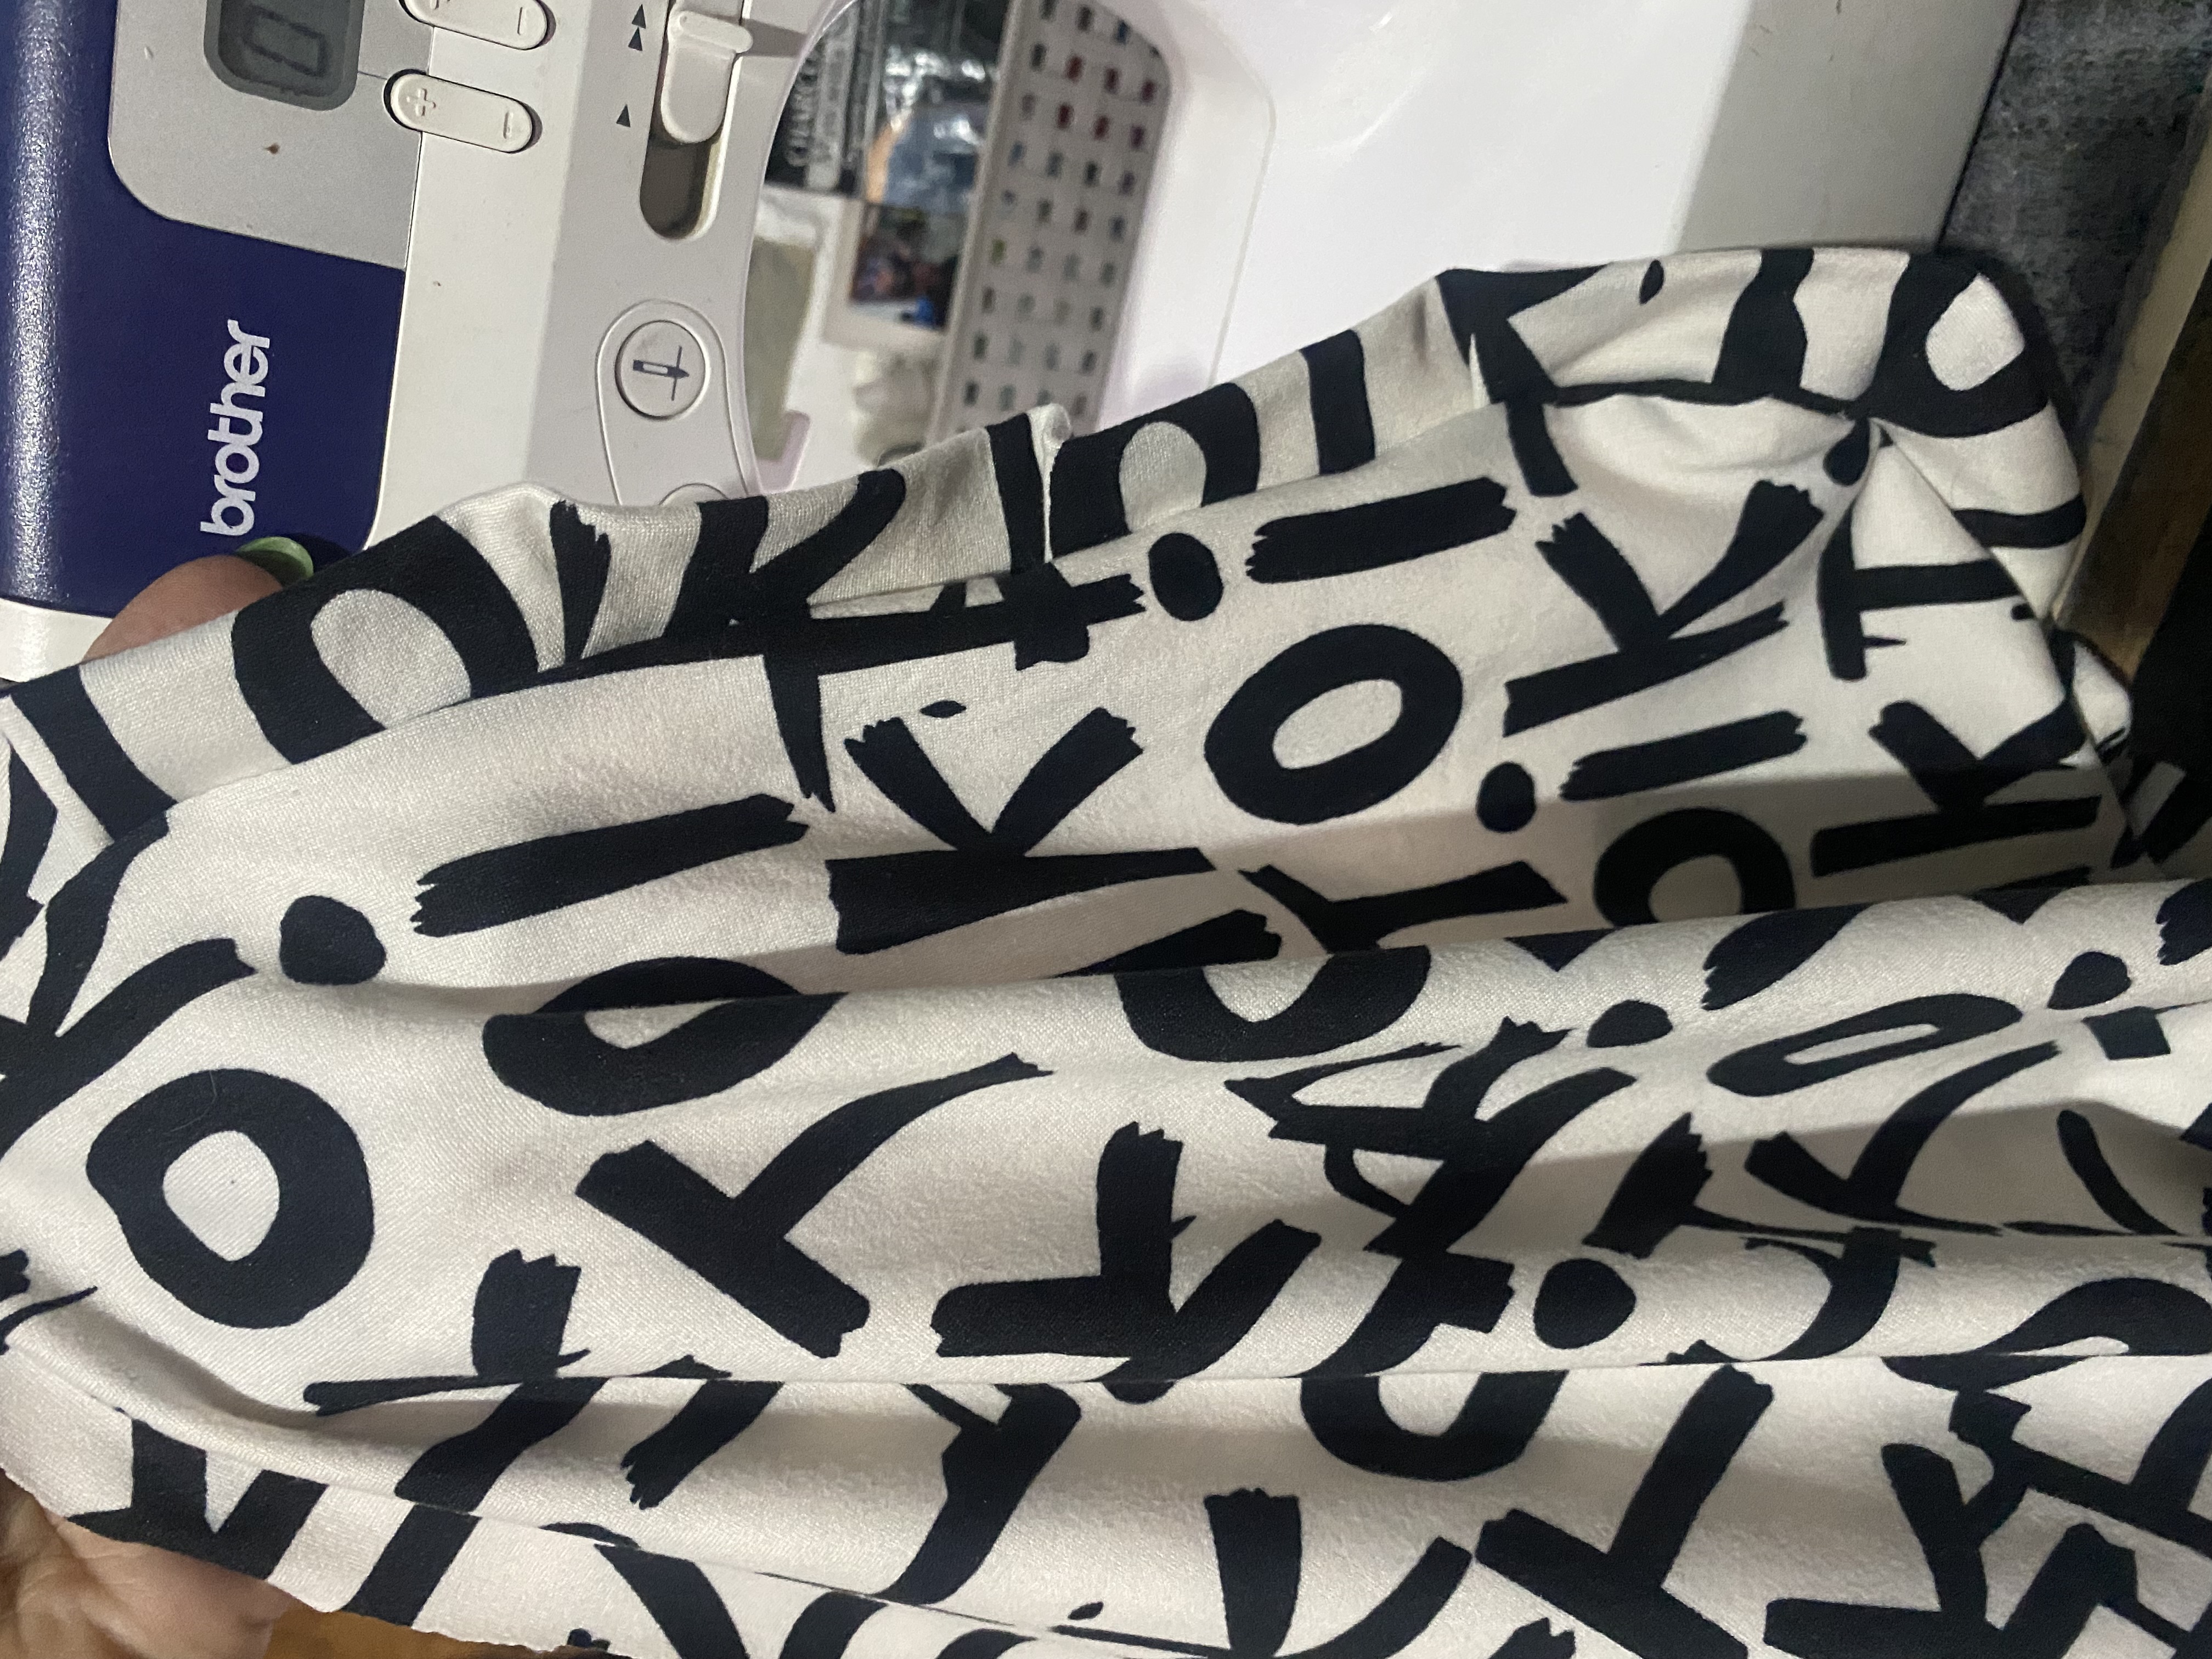
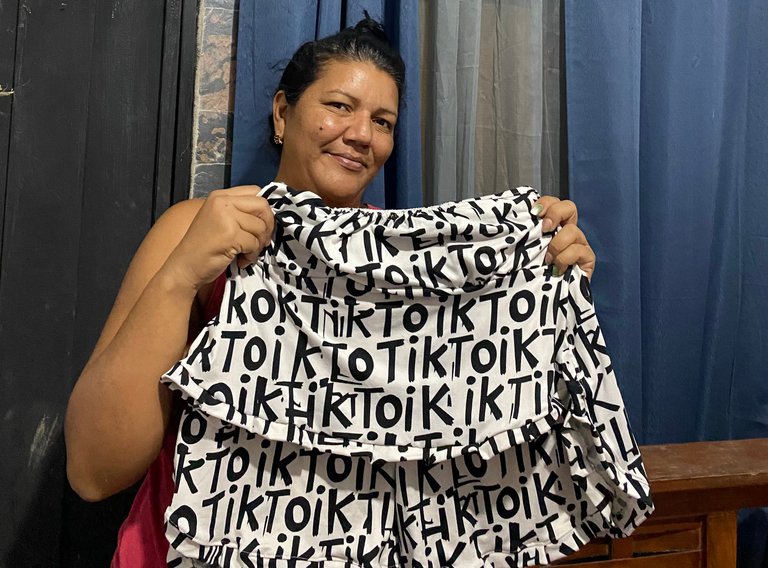
En la tienda de telas famosa de mi ciudad llamada del Castillo siempre podemos conseguir variedad de ofertas en telas, en mi caso cuando se trata de pijamas no me importa el diseño así que escogí de estas telas bastante económicas con un diseño de letras de la famosa Red social TikTok.
Al llegar a casa comencé a pensar en qué modelo hacerme de pijama, ya que quería salir de la rutina y hacer algo un poco diferente, en mi caso soy muy calurosa y me gustan las pijamas de Short y blusa de tirantes, así que busqué una de mis pijamas para guiarme con el tamaño y le haré unas pequeñas modificaciones, aquí te dejo la lista de materiales a utilizar:
- 1 m de tela micro durazno
- 1 m de elástico de 4 cm de grosor
- tijeras
- Tiza o lo que tengas a la mano para marcar
- Hilo
- Máquina de coser
In the famous fabric store in my city called del Castillo we can always get a variety of offers on fabrics, in my case when it comes to pajamas I don't care about the design so I chose these fairly inexpensive fabrics with a letter design from the famous TikTok social network.
When I got home I started to think about what model of pajamas to make, since I wanted to get out of the routine and do something a little different, in my case I am very hot and I like pajamas with shorts and a tank top, so I looked for one of my pajamas to guide me with the size and I will make some small modifications, here is the list of materials to use:
- 1 m of micro peach fabric
- 1 m of 4 cm thick elastic
- scissors
- Chalk or whatever you have on hand to mark
- Thread
- Sewing machine
PASO A PASO
STEP BY STEP
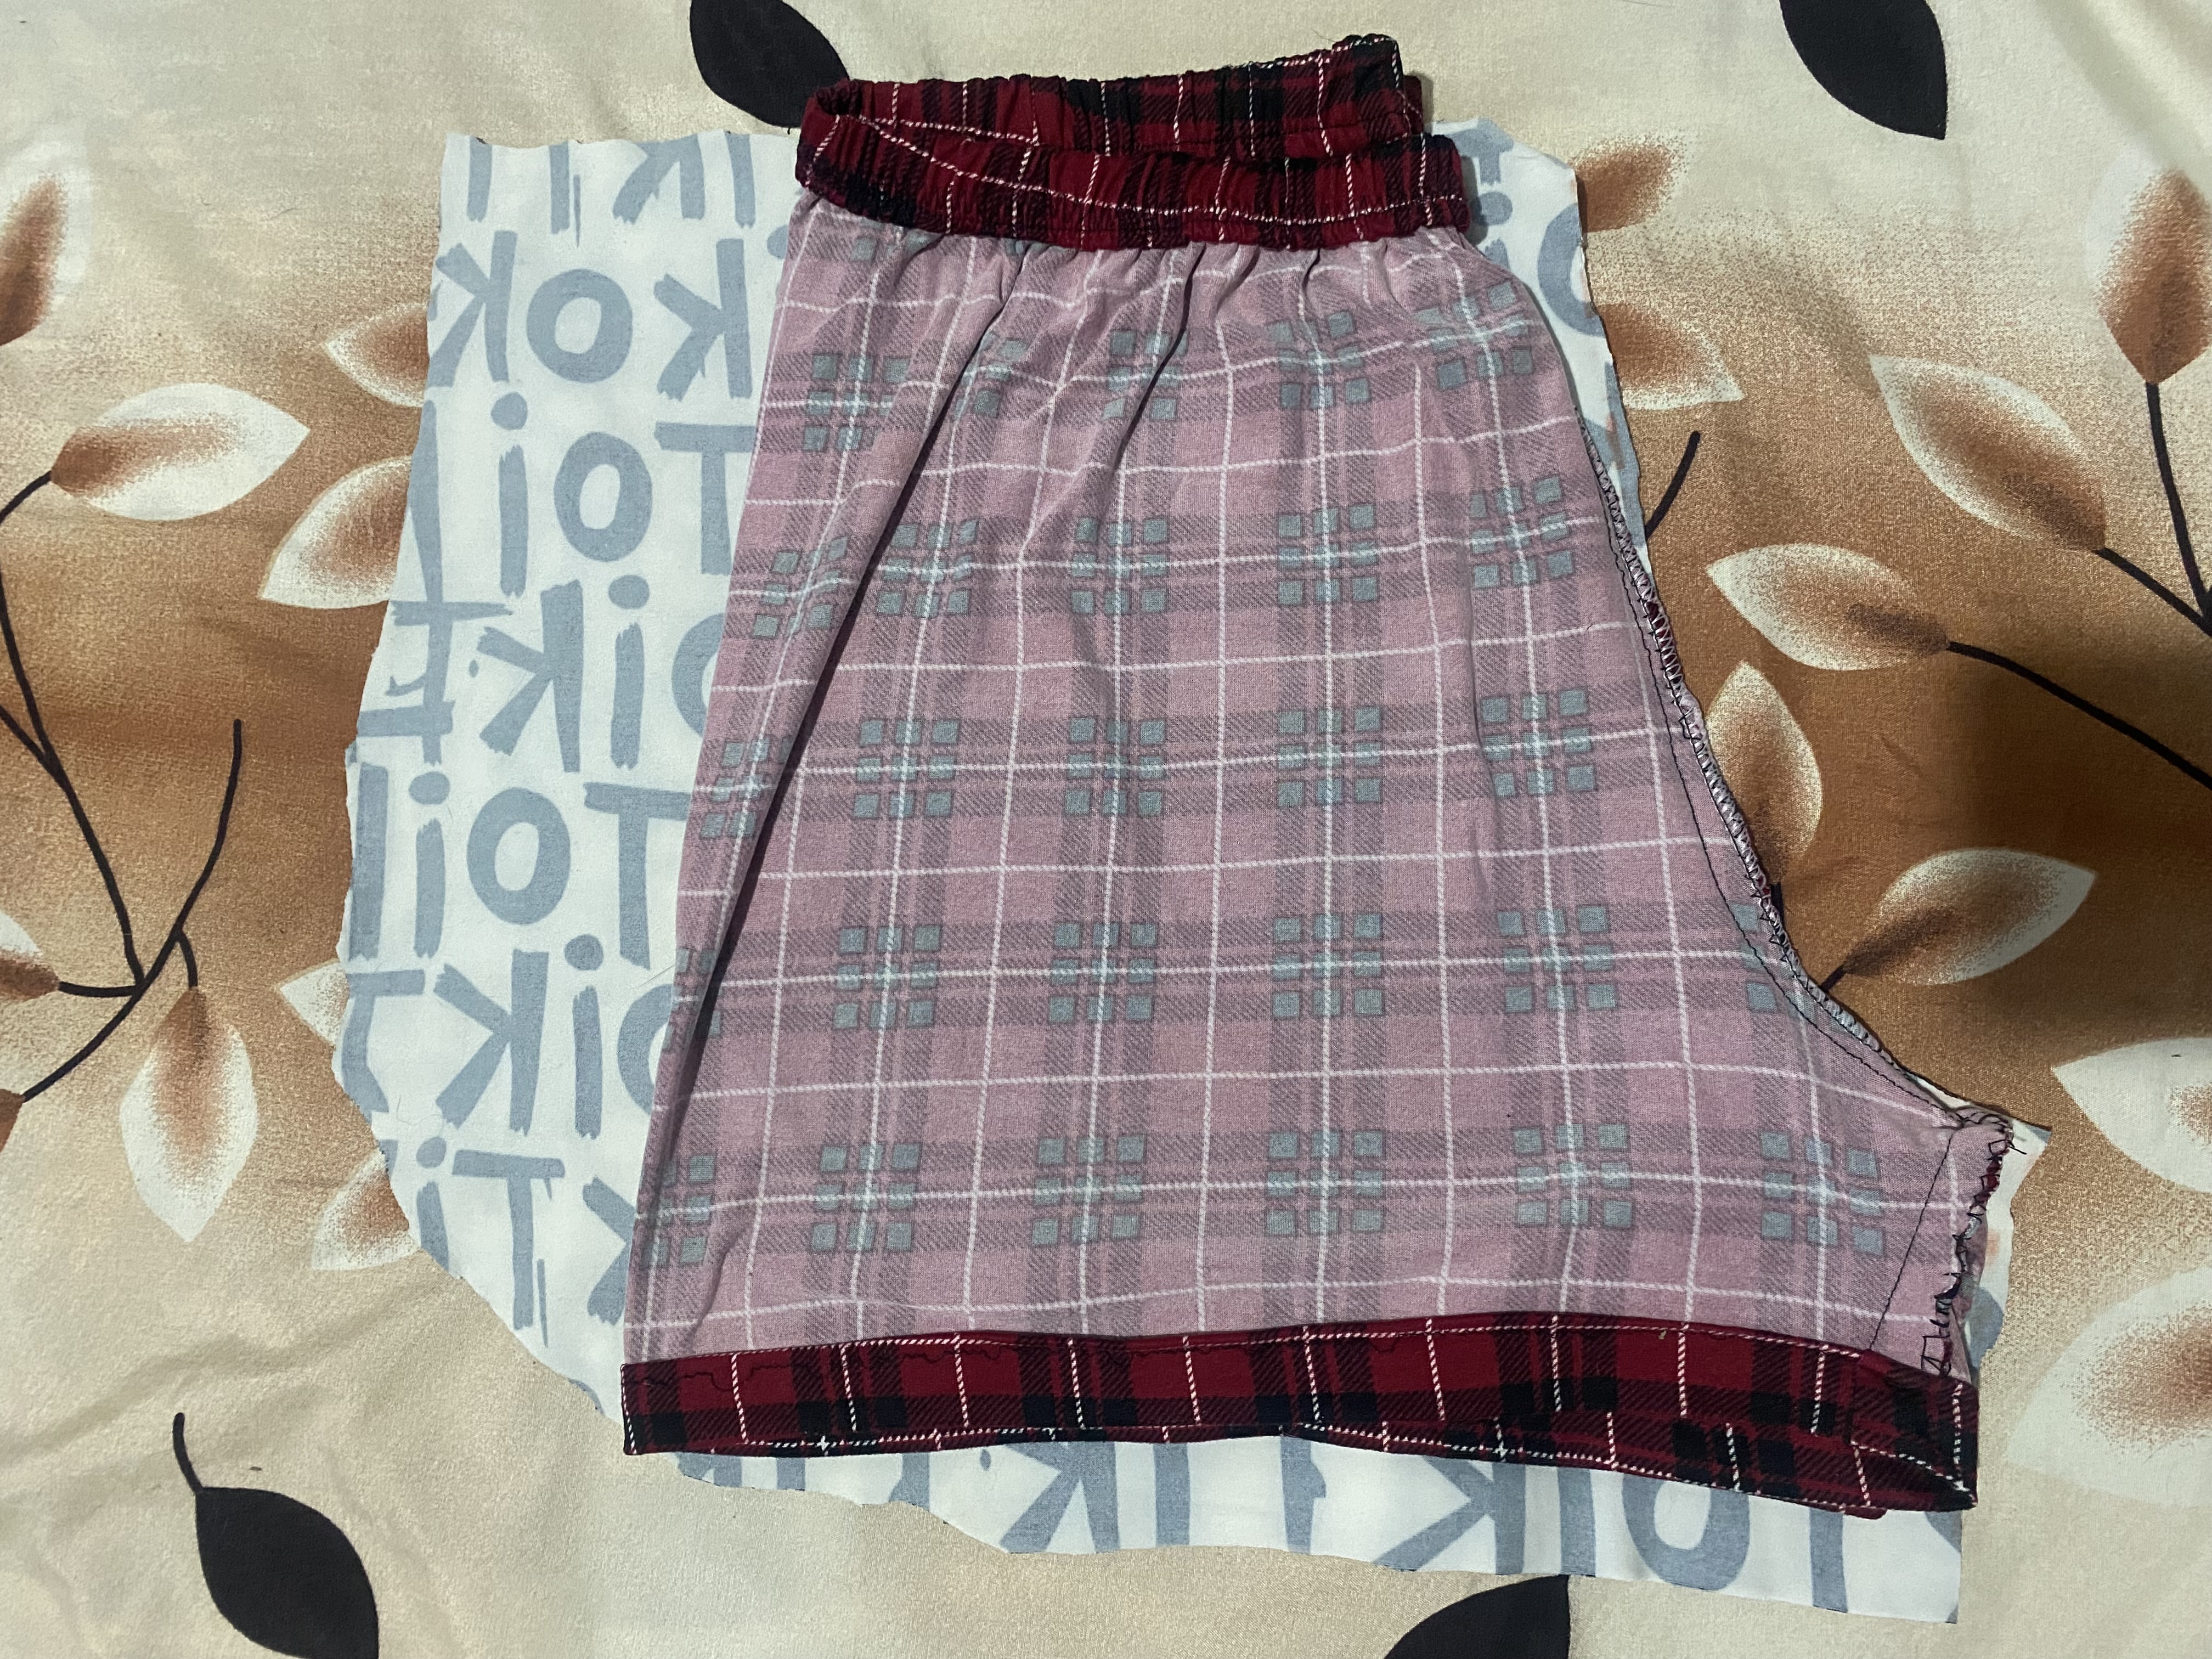
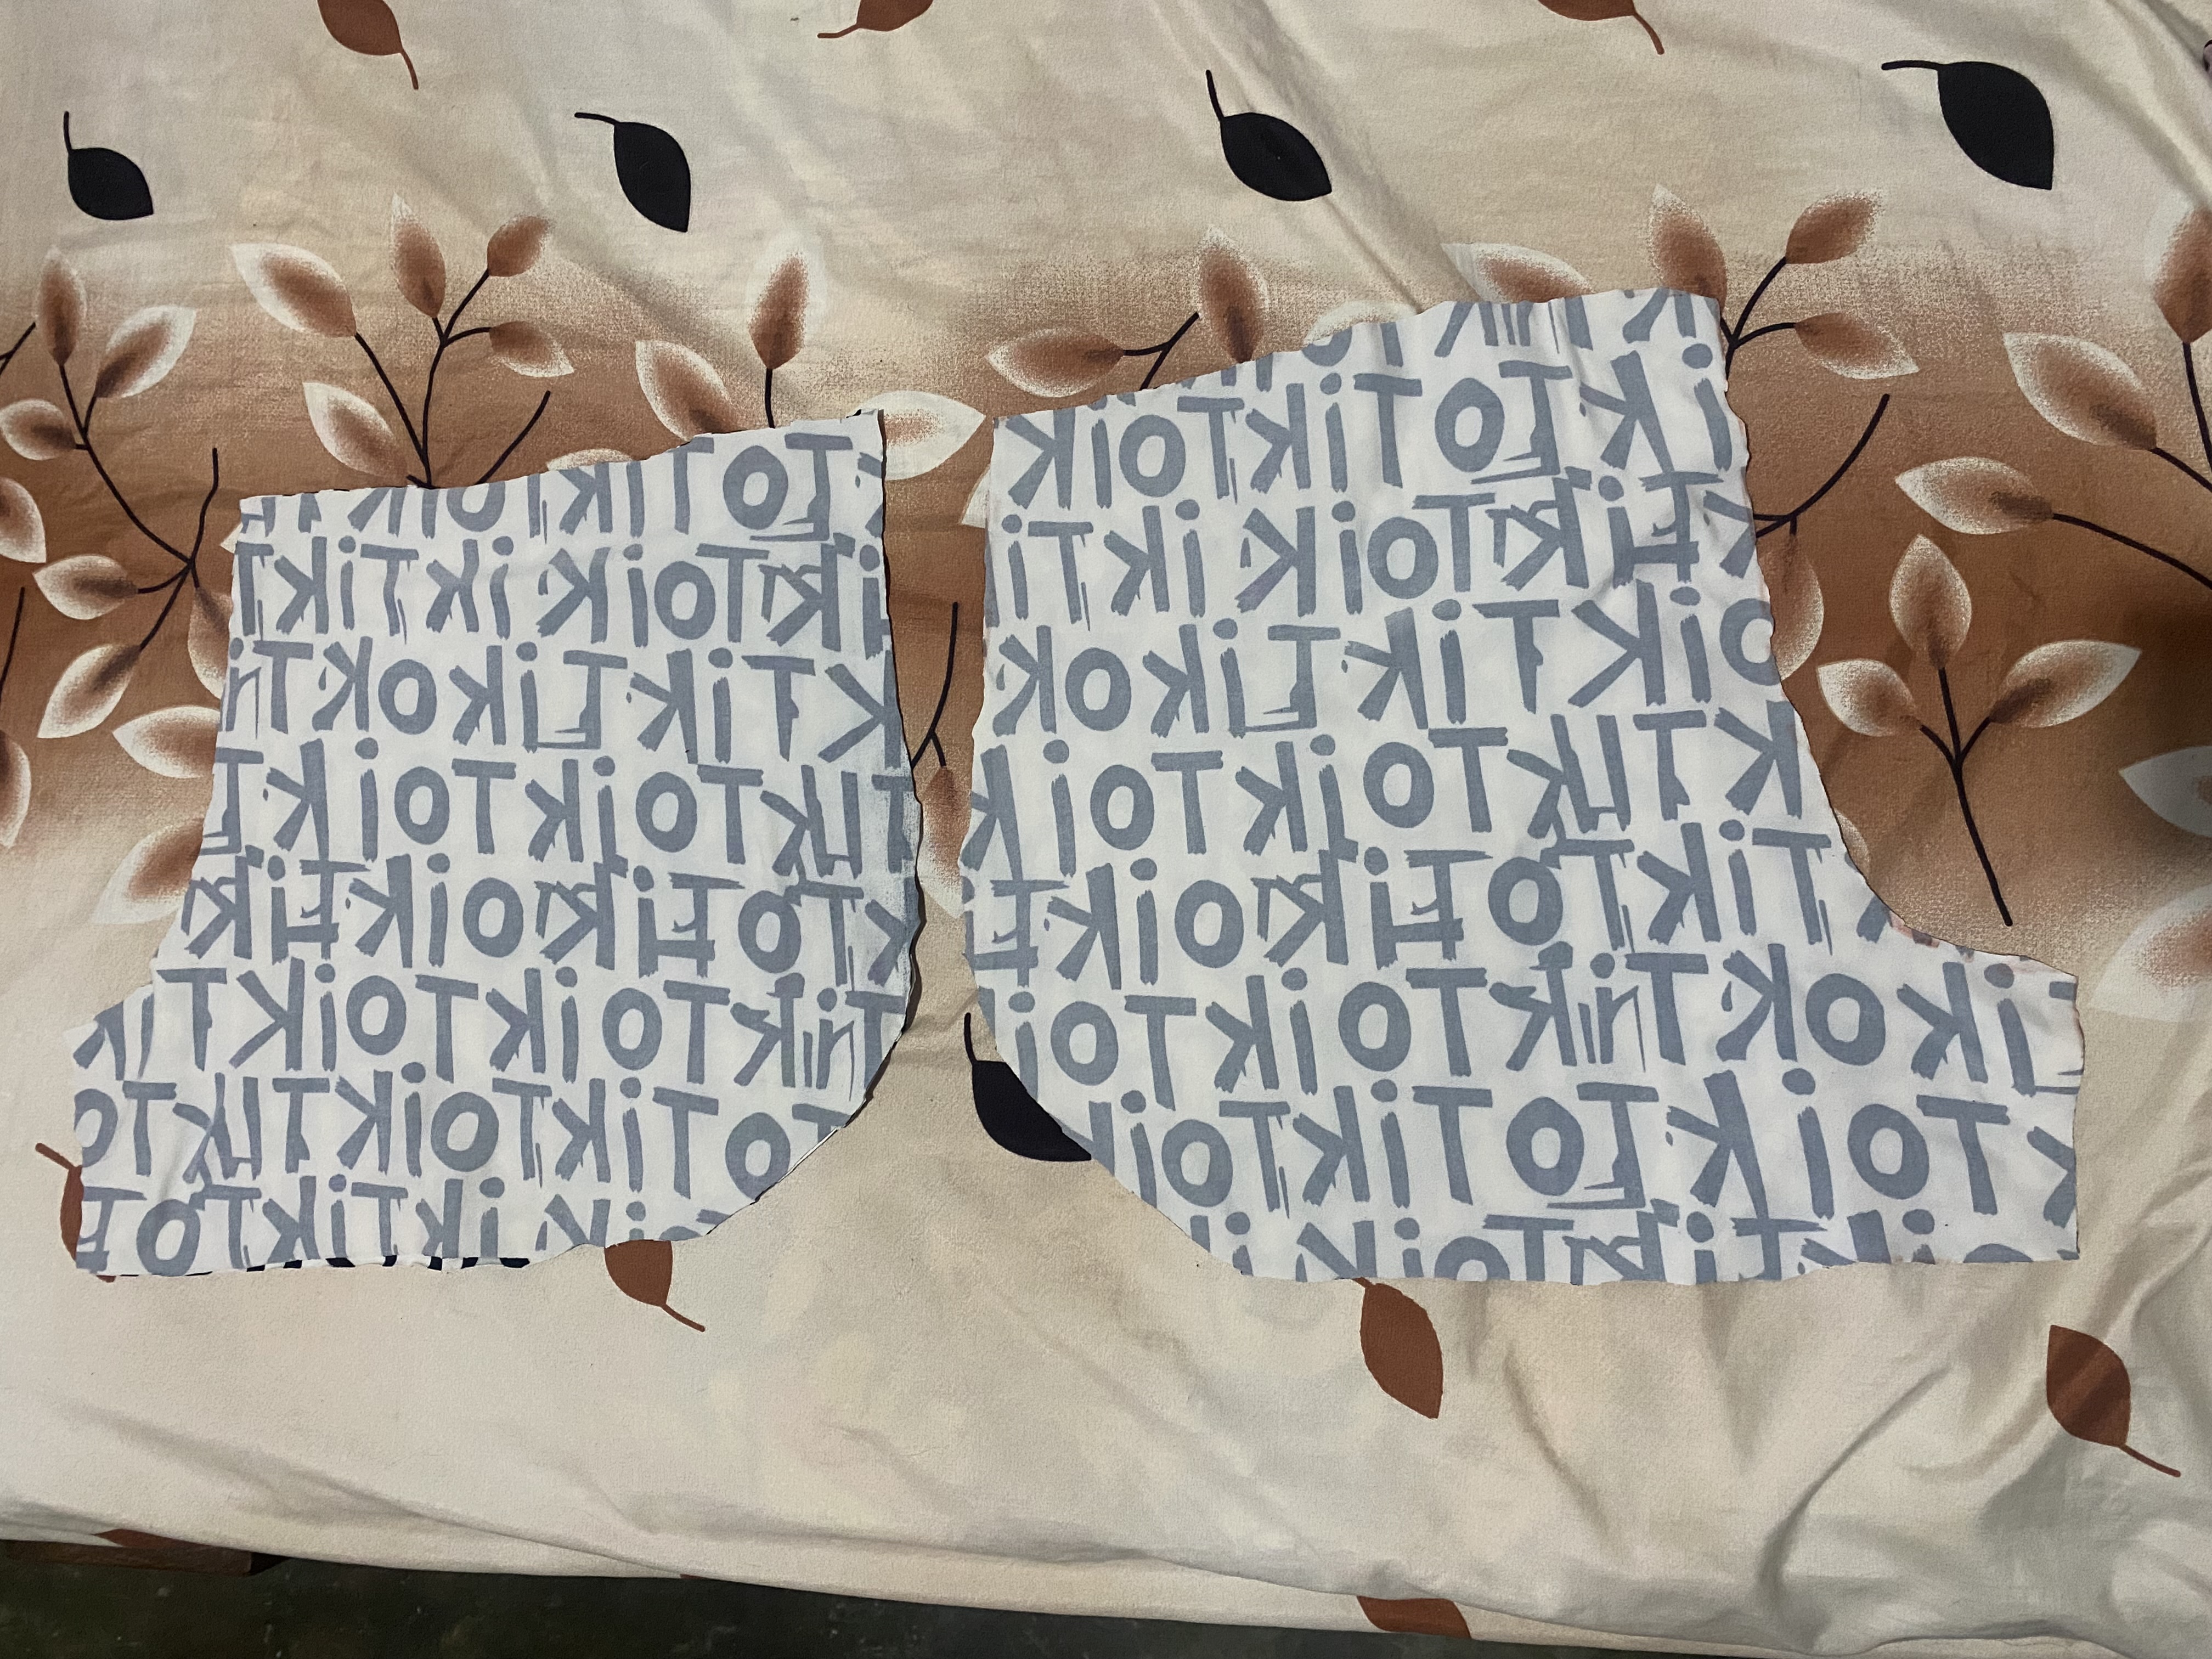
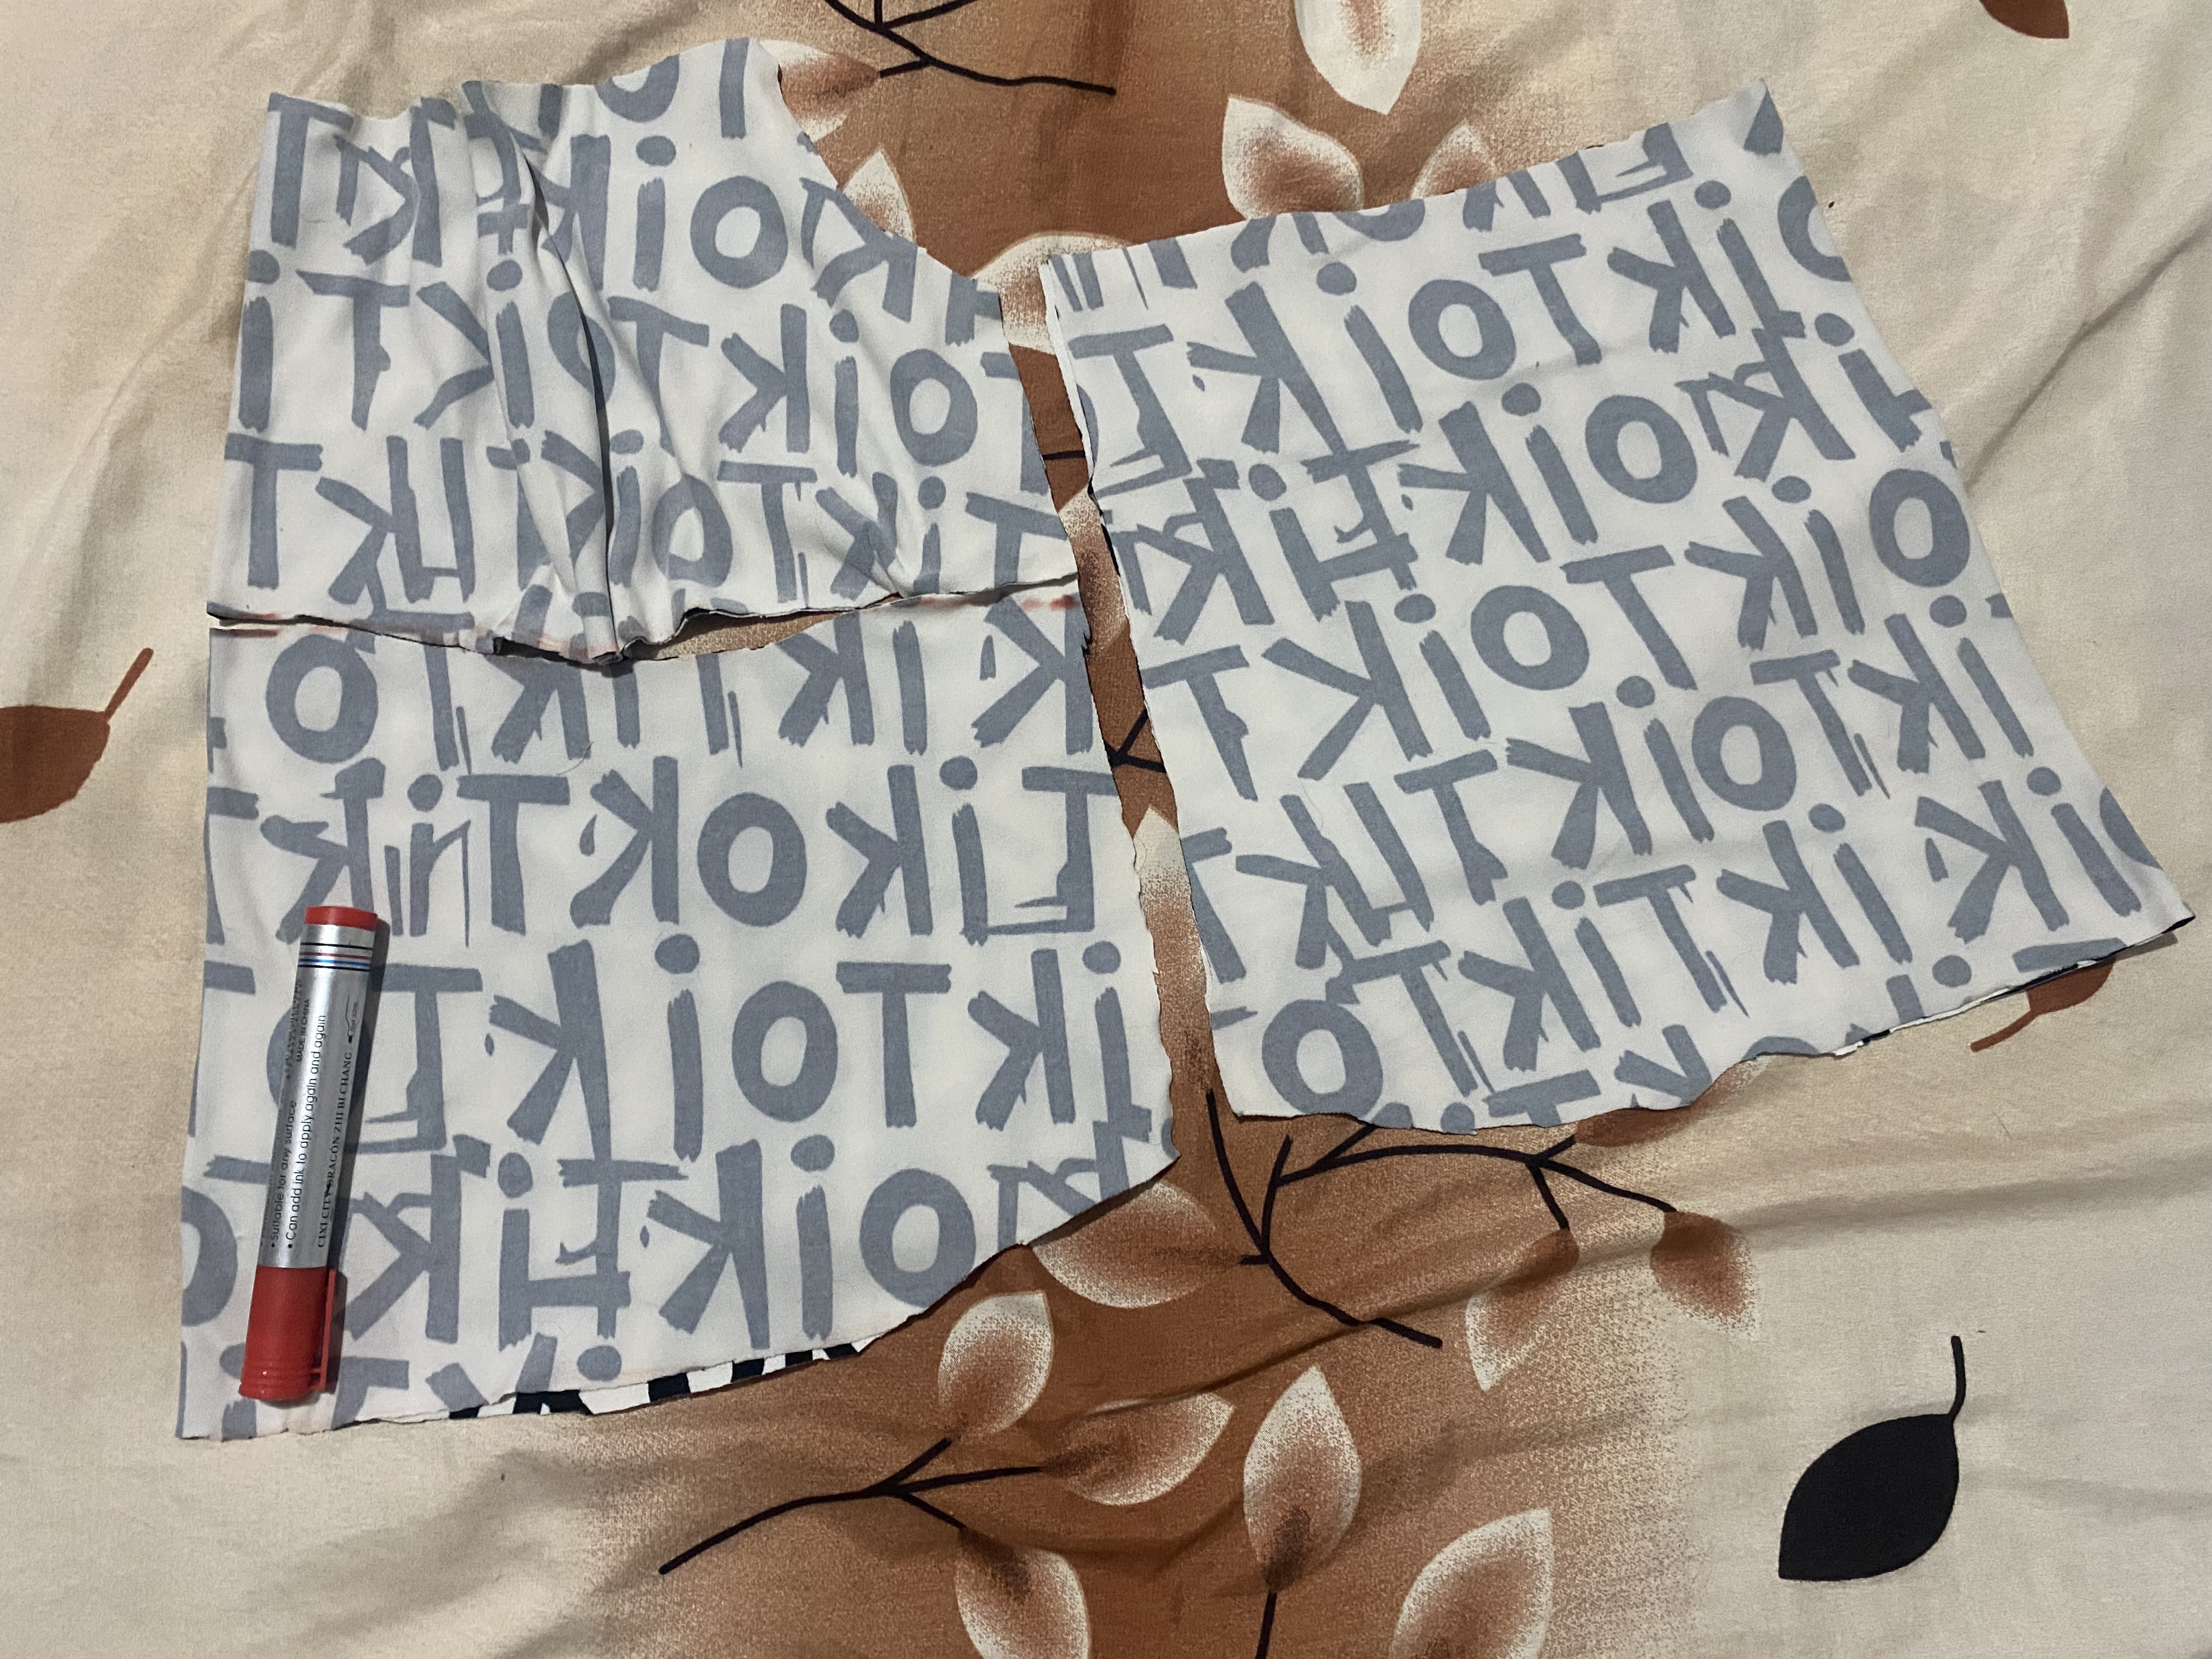
La pijama que voy a usar de guía es bastante sencilla el Short es cortado en dos partes al igual que la blusa y esta es de sesgo haciéndole tirantes, comenzaremos con las modificaciones del Shorts, este lo dóblanos a la mitad y colocamos sobre la tela doble, vamos a dibujar por todo el contorno, el tiro delantero se lo haremos al ras de la orilla de la goma y en el lateral vamos a hacerle la punta redondeada, cortaremos nuestro Short en 4 partes, primero dibujamos la parte delantera, a esta le vamos a dejar un excedente de aproximadamente 4 cm y redondeamos en el borde.
The pajamas that I am going to use as a guide are quite simple. The shorts are cut in two parts like the blouse and these are biased making straps. We will begin with the modifications to the shorts, we will fold them in half and place them on the double fabric, we will draw all around the outline, we will make the front hem flush with the edge of the elastic and on the side we will make the rounded tip. We will cut our shorts into 4 parts, first we draw the front part, we will leave a surplus of approximately 4 cm and round off the edge.
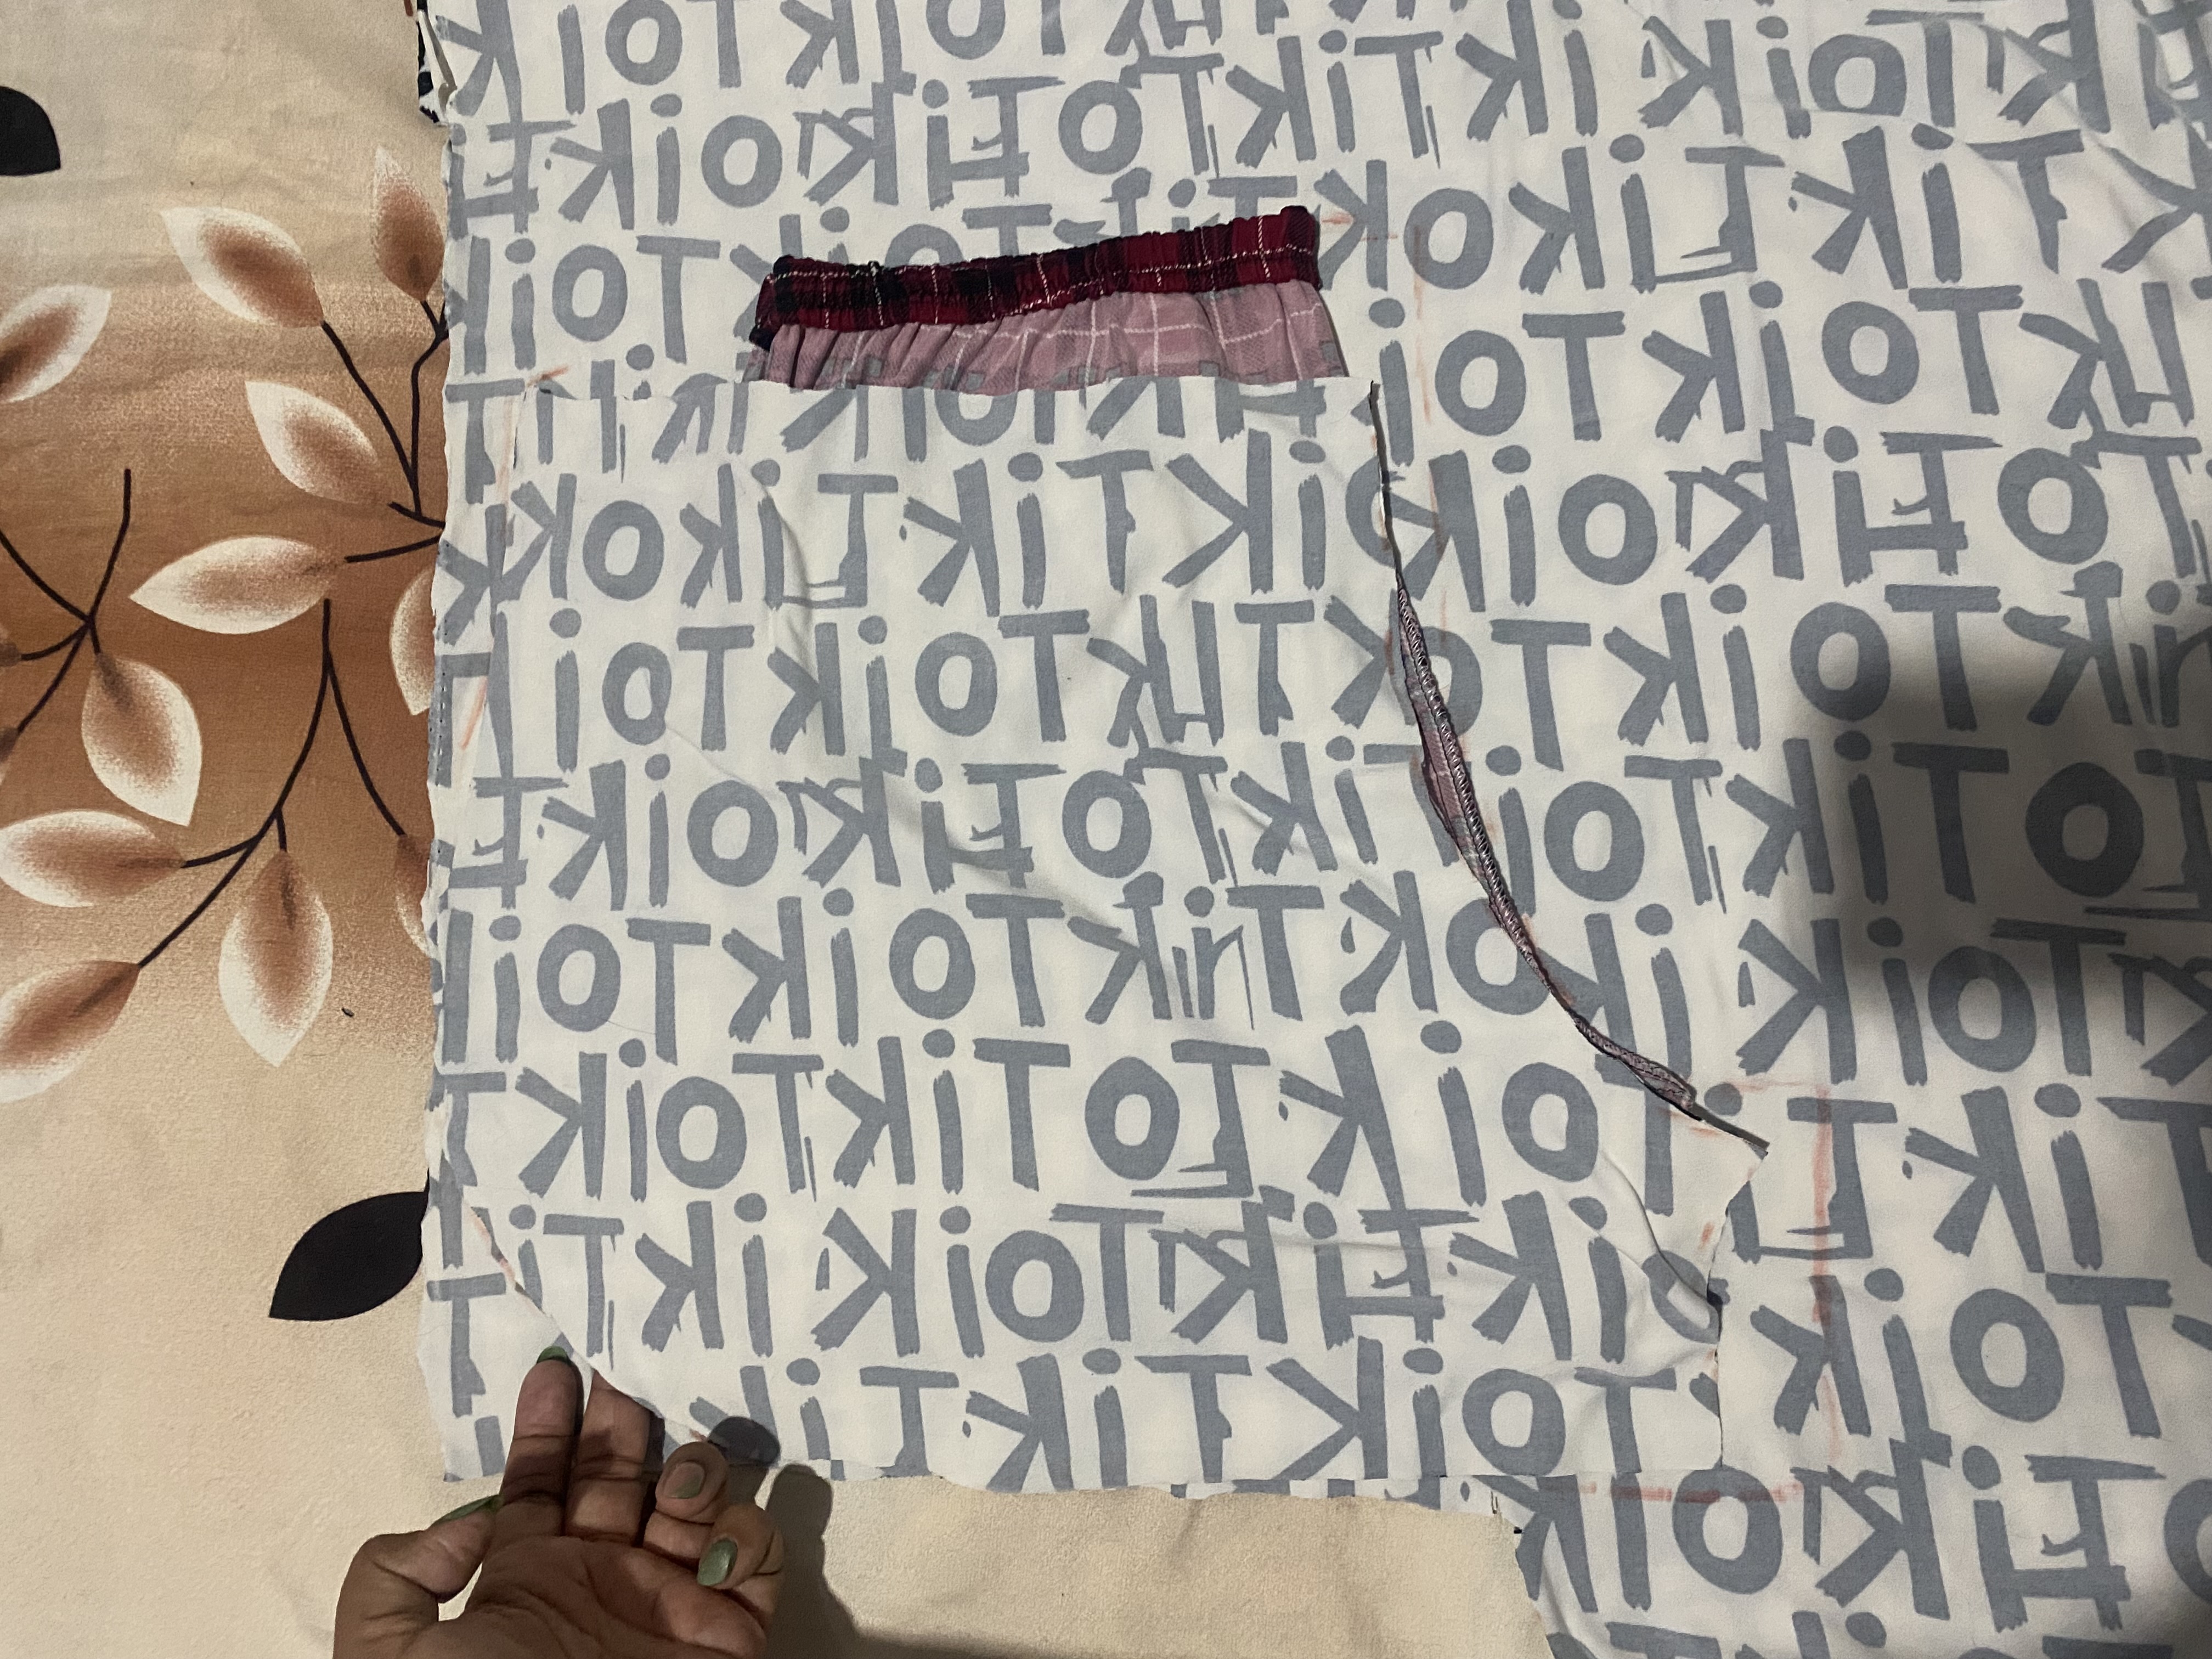
Luego hacemos el mismo procedimiento para la parte de atrás, colocamos la parte de adelante comparándola con la de atrás y le hacemos el borde redondeado para que nos quede igual, luego vamos a cortar una tira de tela de 10 cm de ancho esto será para hacerle la cintura a nuestro Short, también cortaremos una tira de tela de 4 cm de ancho aproximadamente esta para hacerle un pequeño borde en las orillas a nuestro shorts.
Then we do the same procedure for the back, we place the front part comparing it with the back and we make the rounded edge so that it looks the same, then we are going to cut a strip of fabric 10 cm wide this will be to make the waist of our Shorts, we will also cut a strip of fabric approximately 4 cm wide this to make a small border on the edges of our shorts.
 |  |
|---|
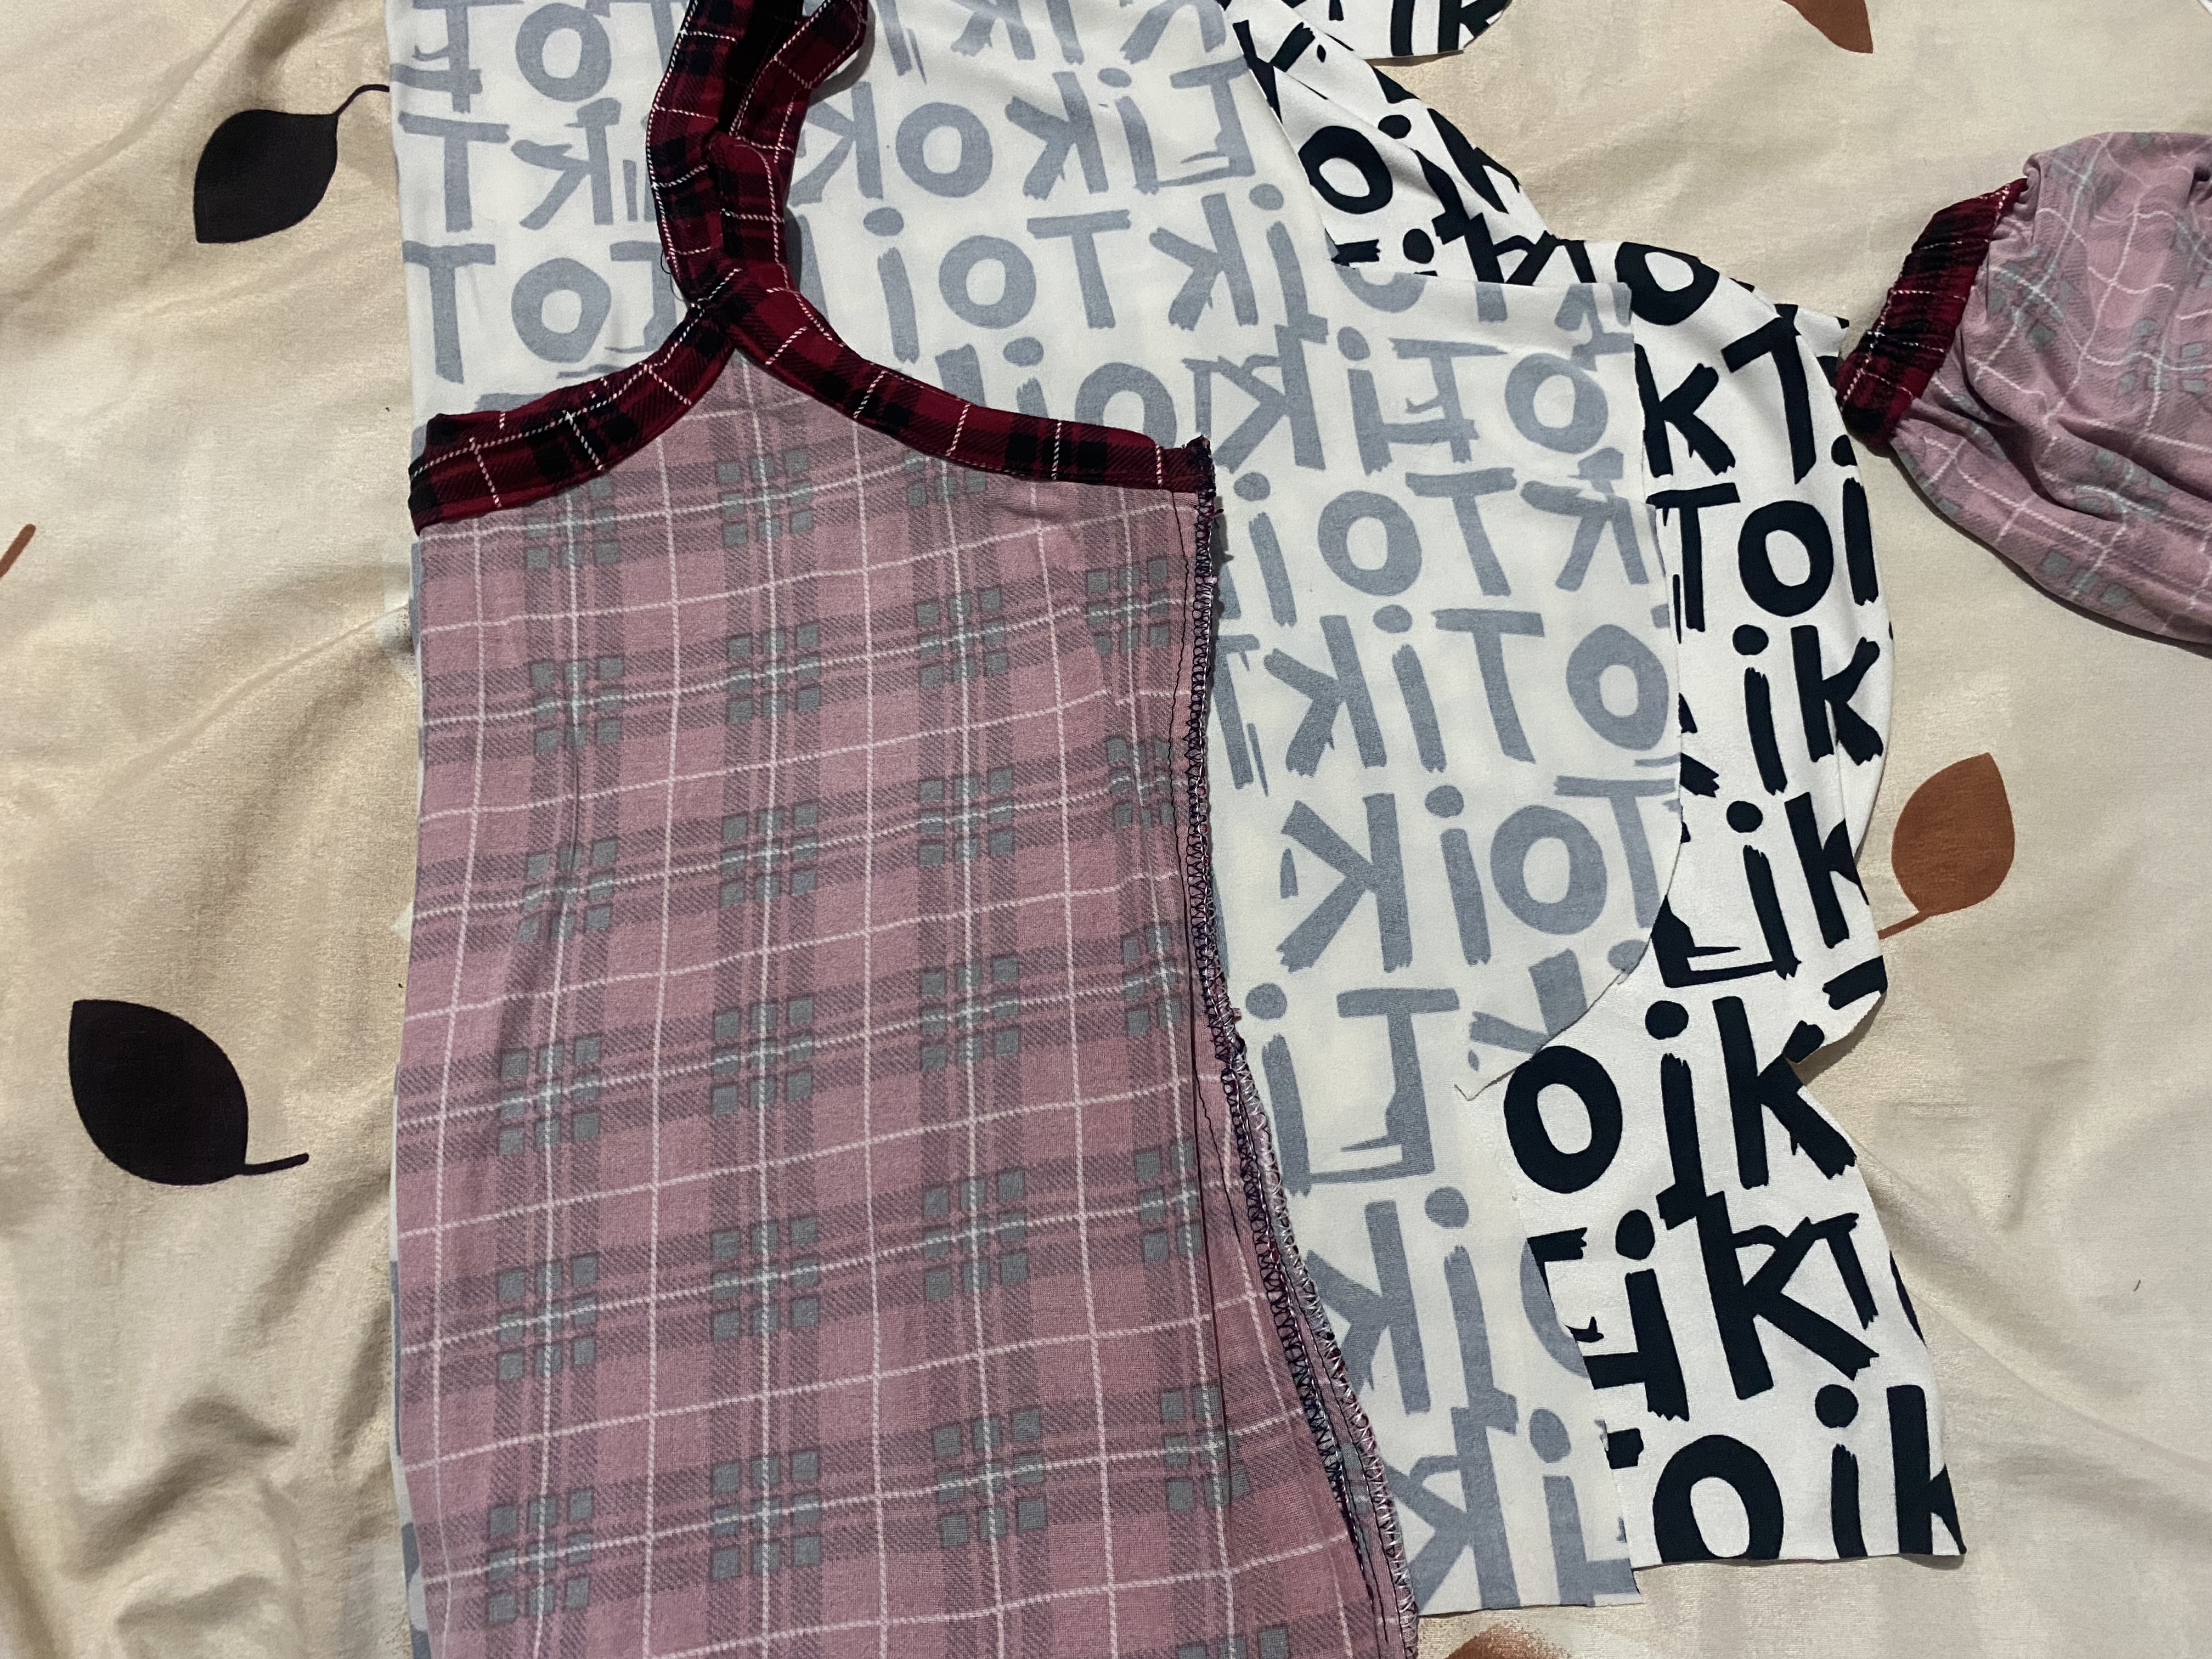
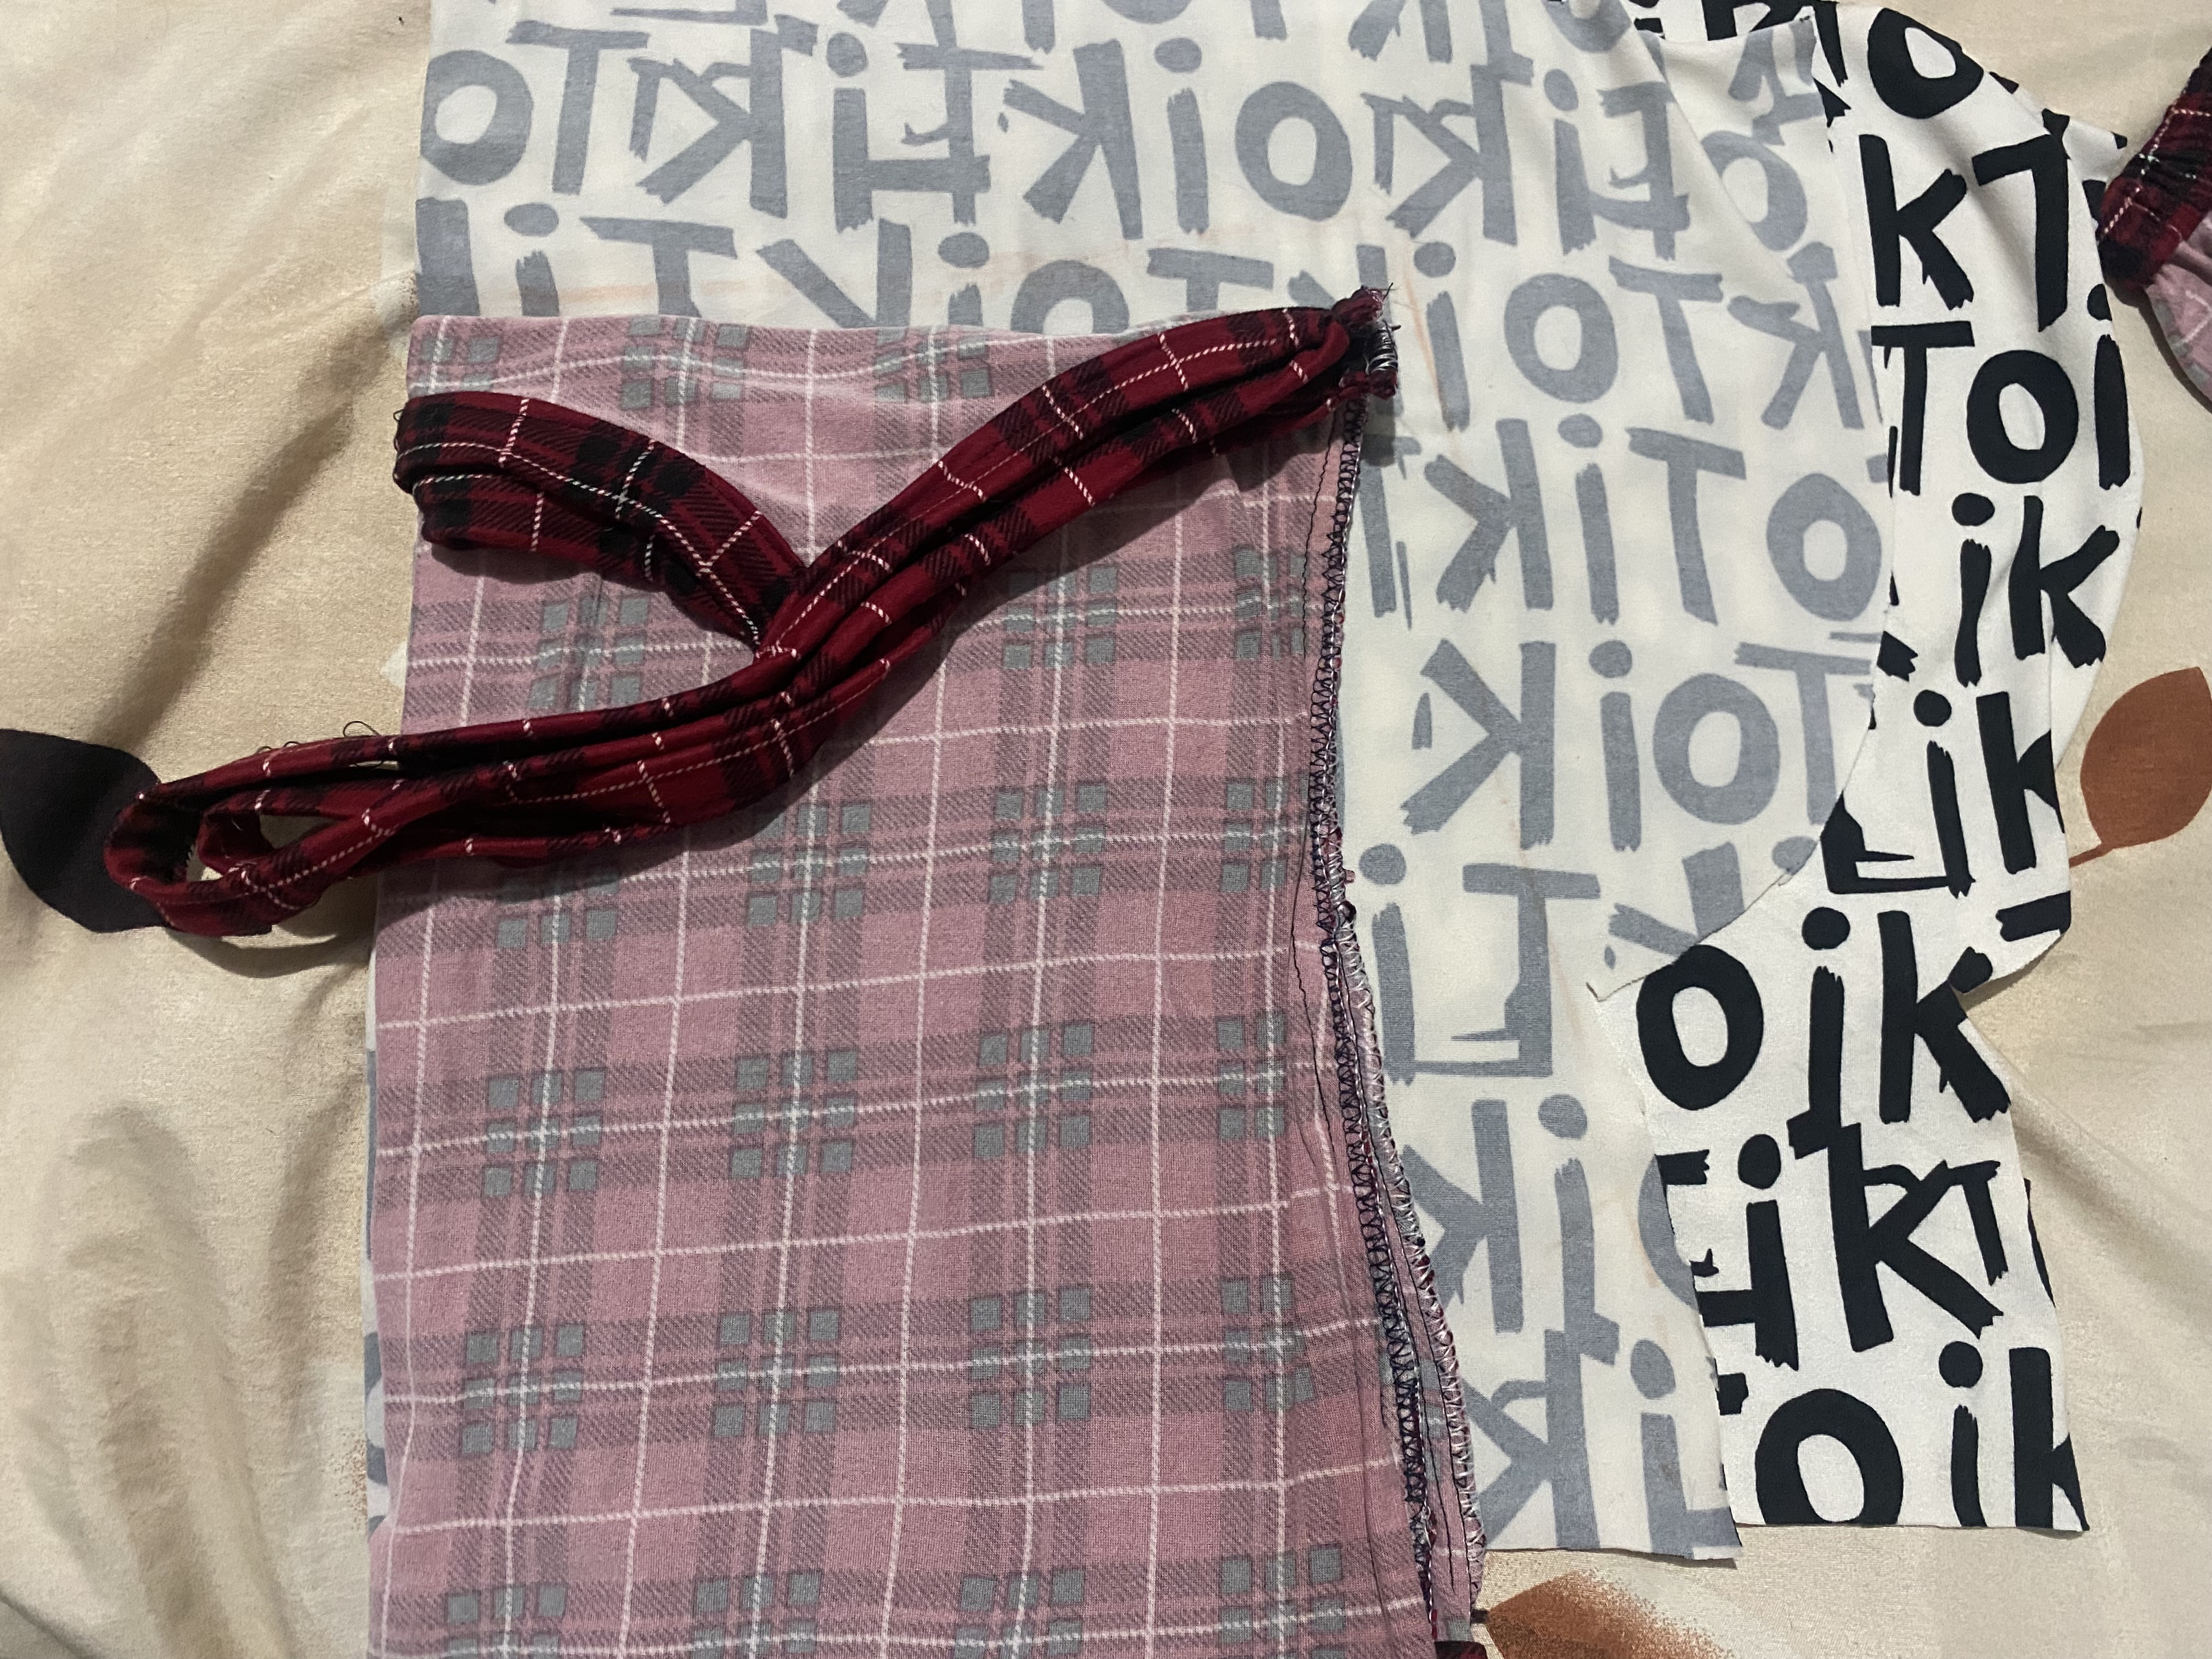
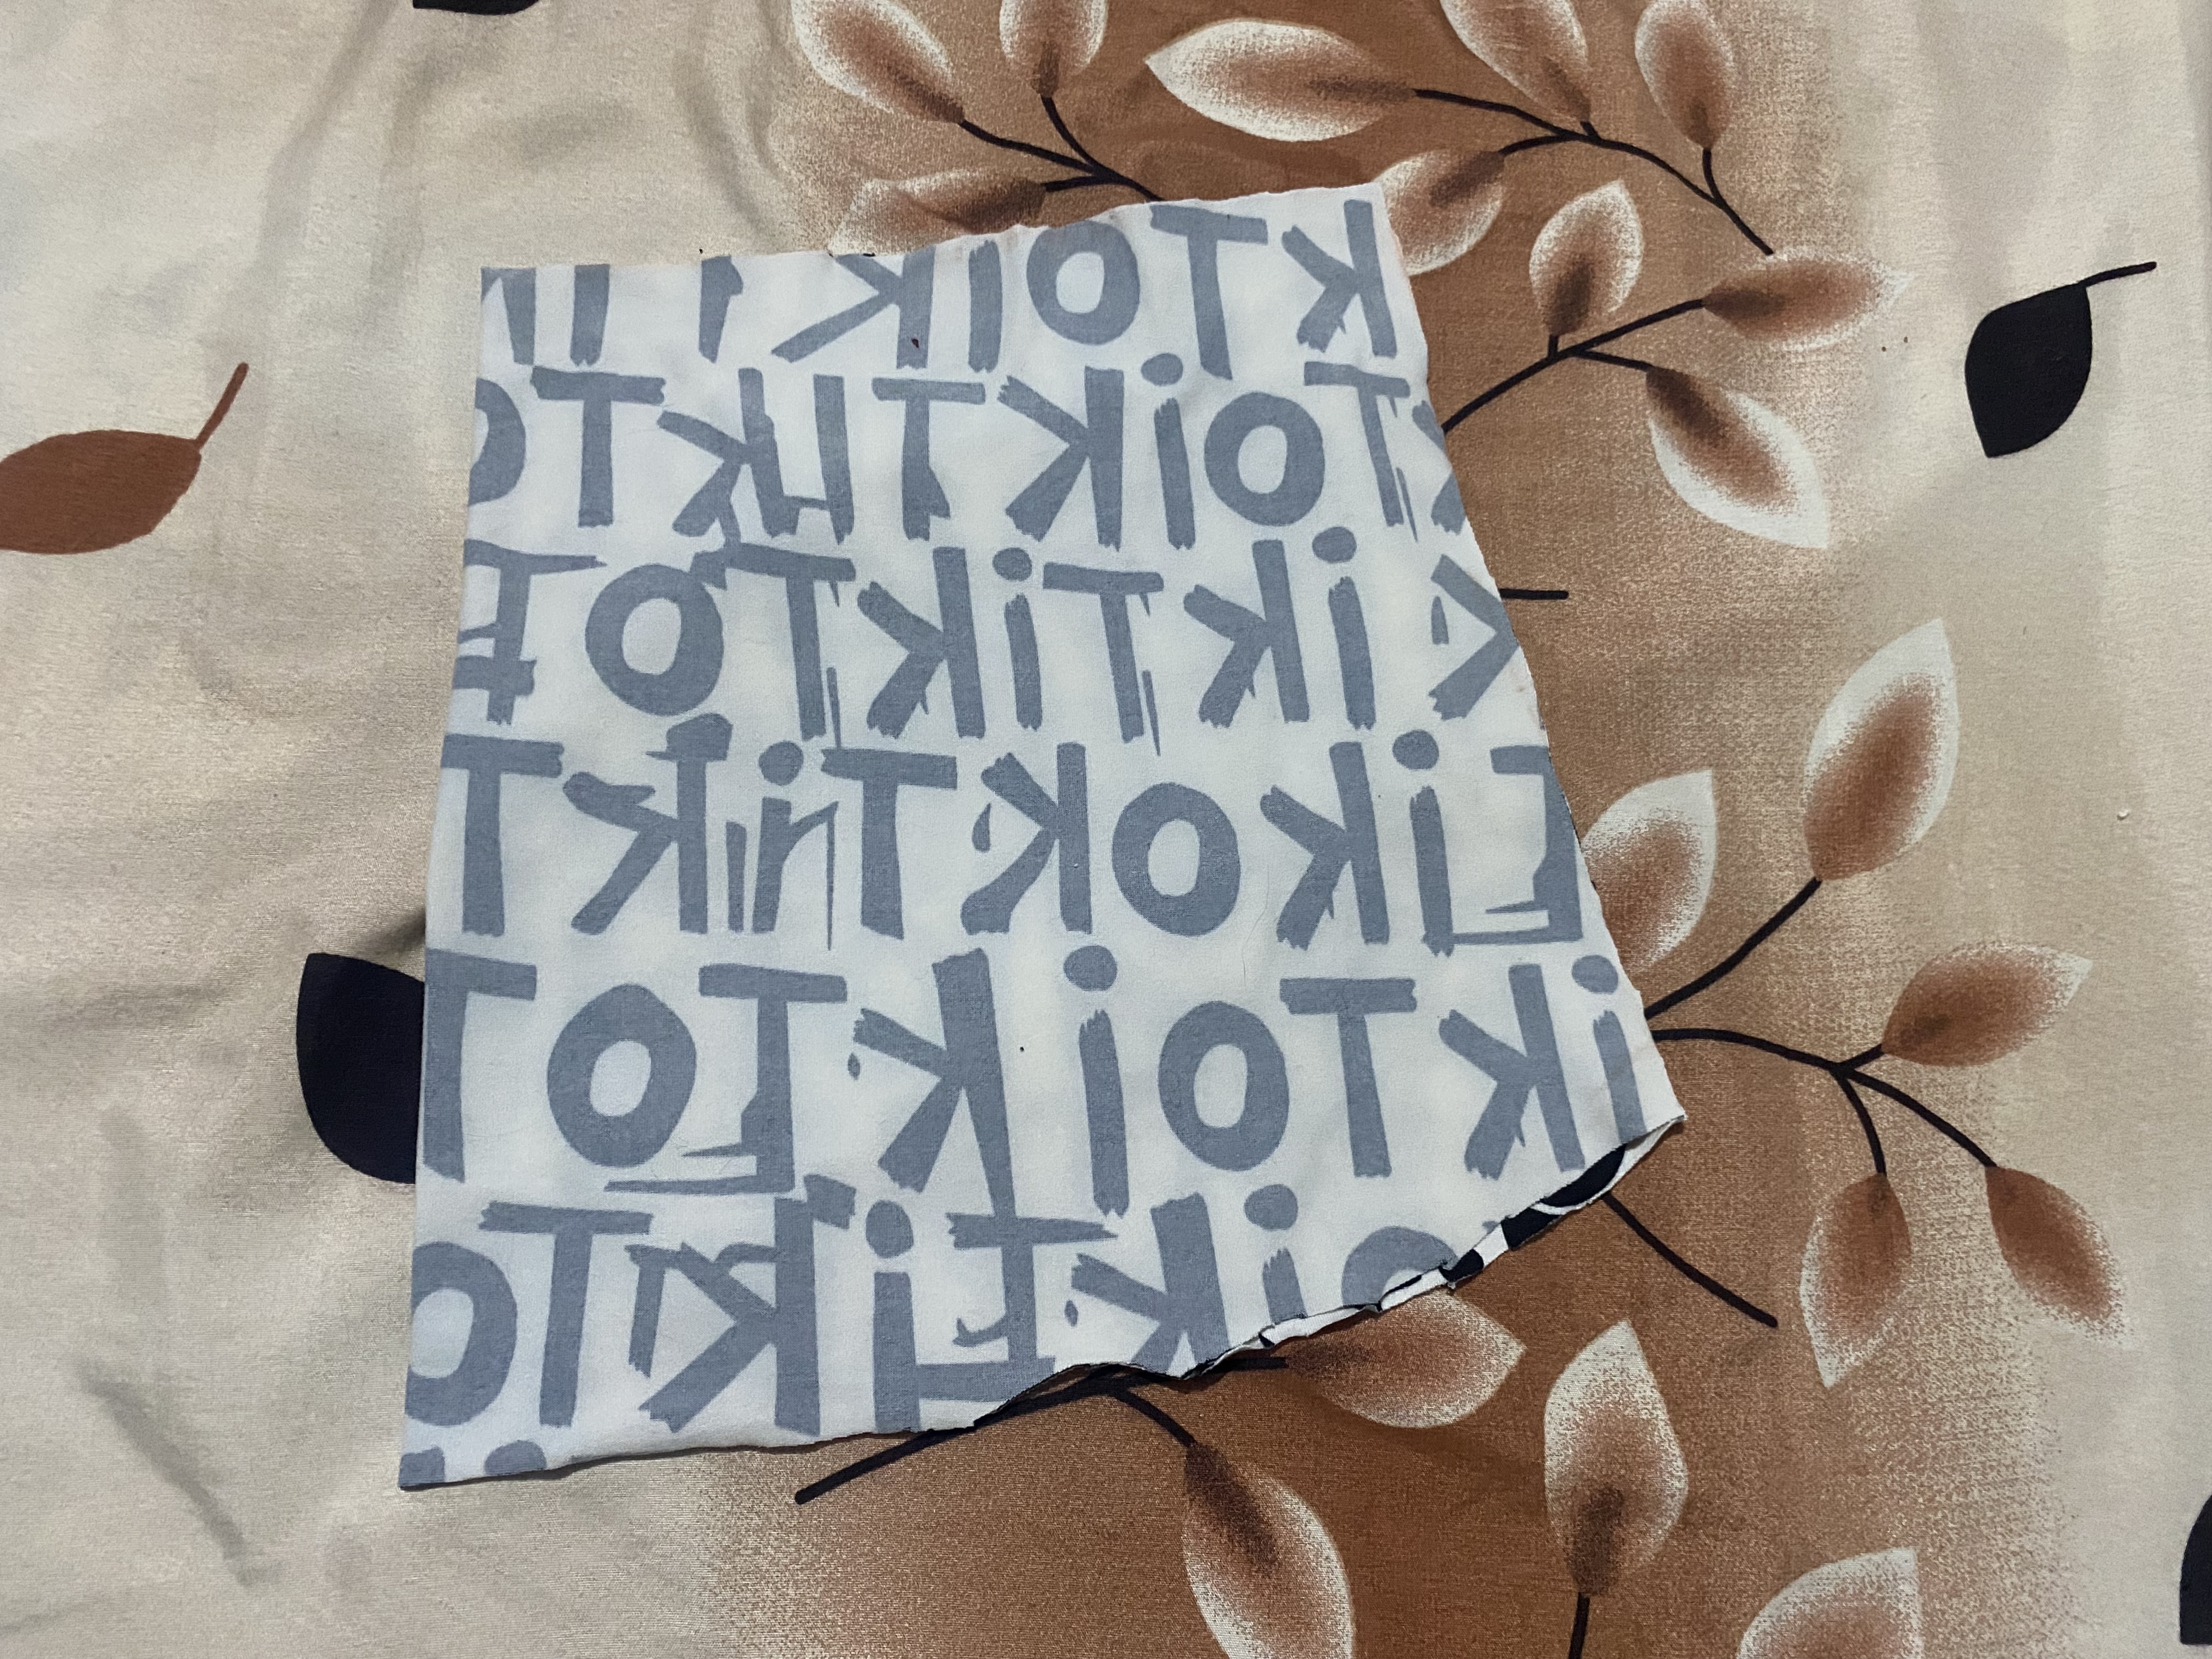
En este paso vamos a continuar con la confección de la blusa, a esta le haremos varias modificaciones, comenzaremos con la parte de atrás, vamos a hacer 3 modificaciones: en la parte del ruedo la cortaremos un poco más corta que mi blusa guía y lo vamos a redondear en el lateral, el lateral lo vamos a cortar en forma diagonal y la espalda la vamos a cortar con escote curvo, le damos una mínima curva así como les muestro en mi imagen:
In this step we will continue with the making of the blouse, we will make several modifications to it, we will start with the back, we will make 3 modifications: in the hem part we will cut it a little shorter than my guide blouse and we will round it on the side, we will cut the side diagonally and the back we will cut with a curved neckline, we will give it a minimal curve as I show you in my image:
 |  |
|---|---|
 |
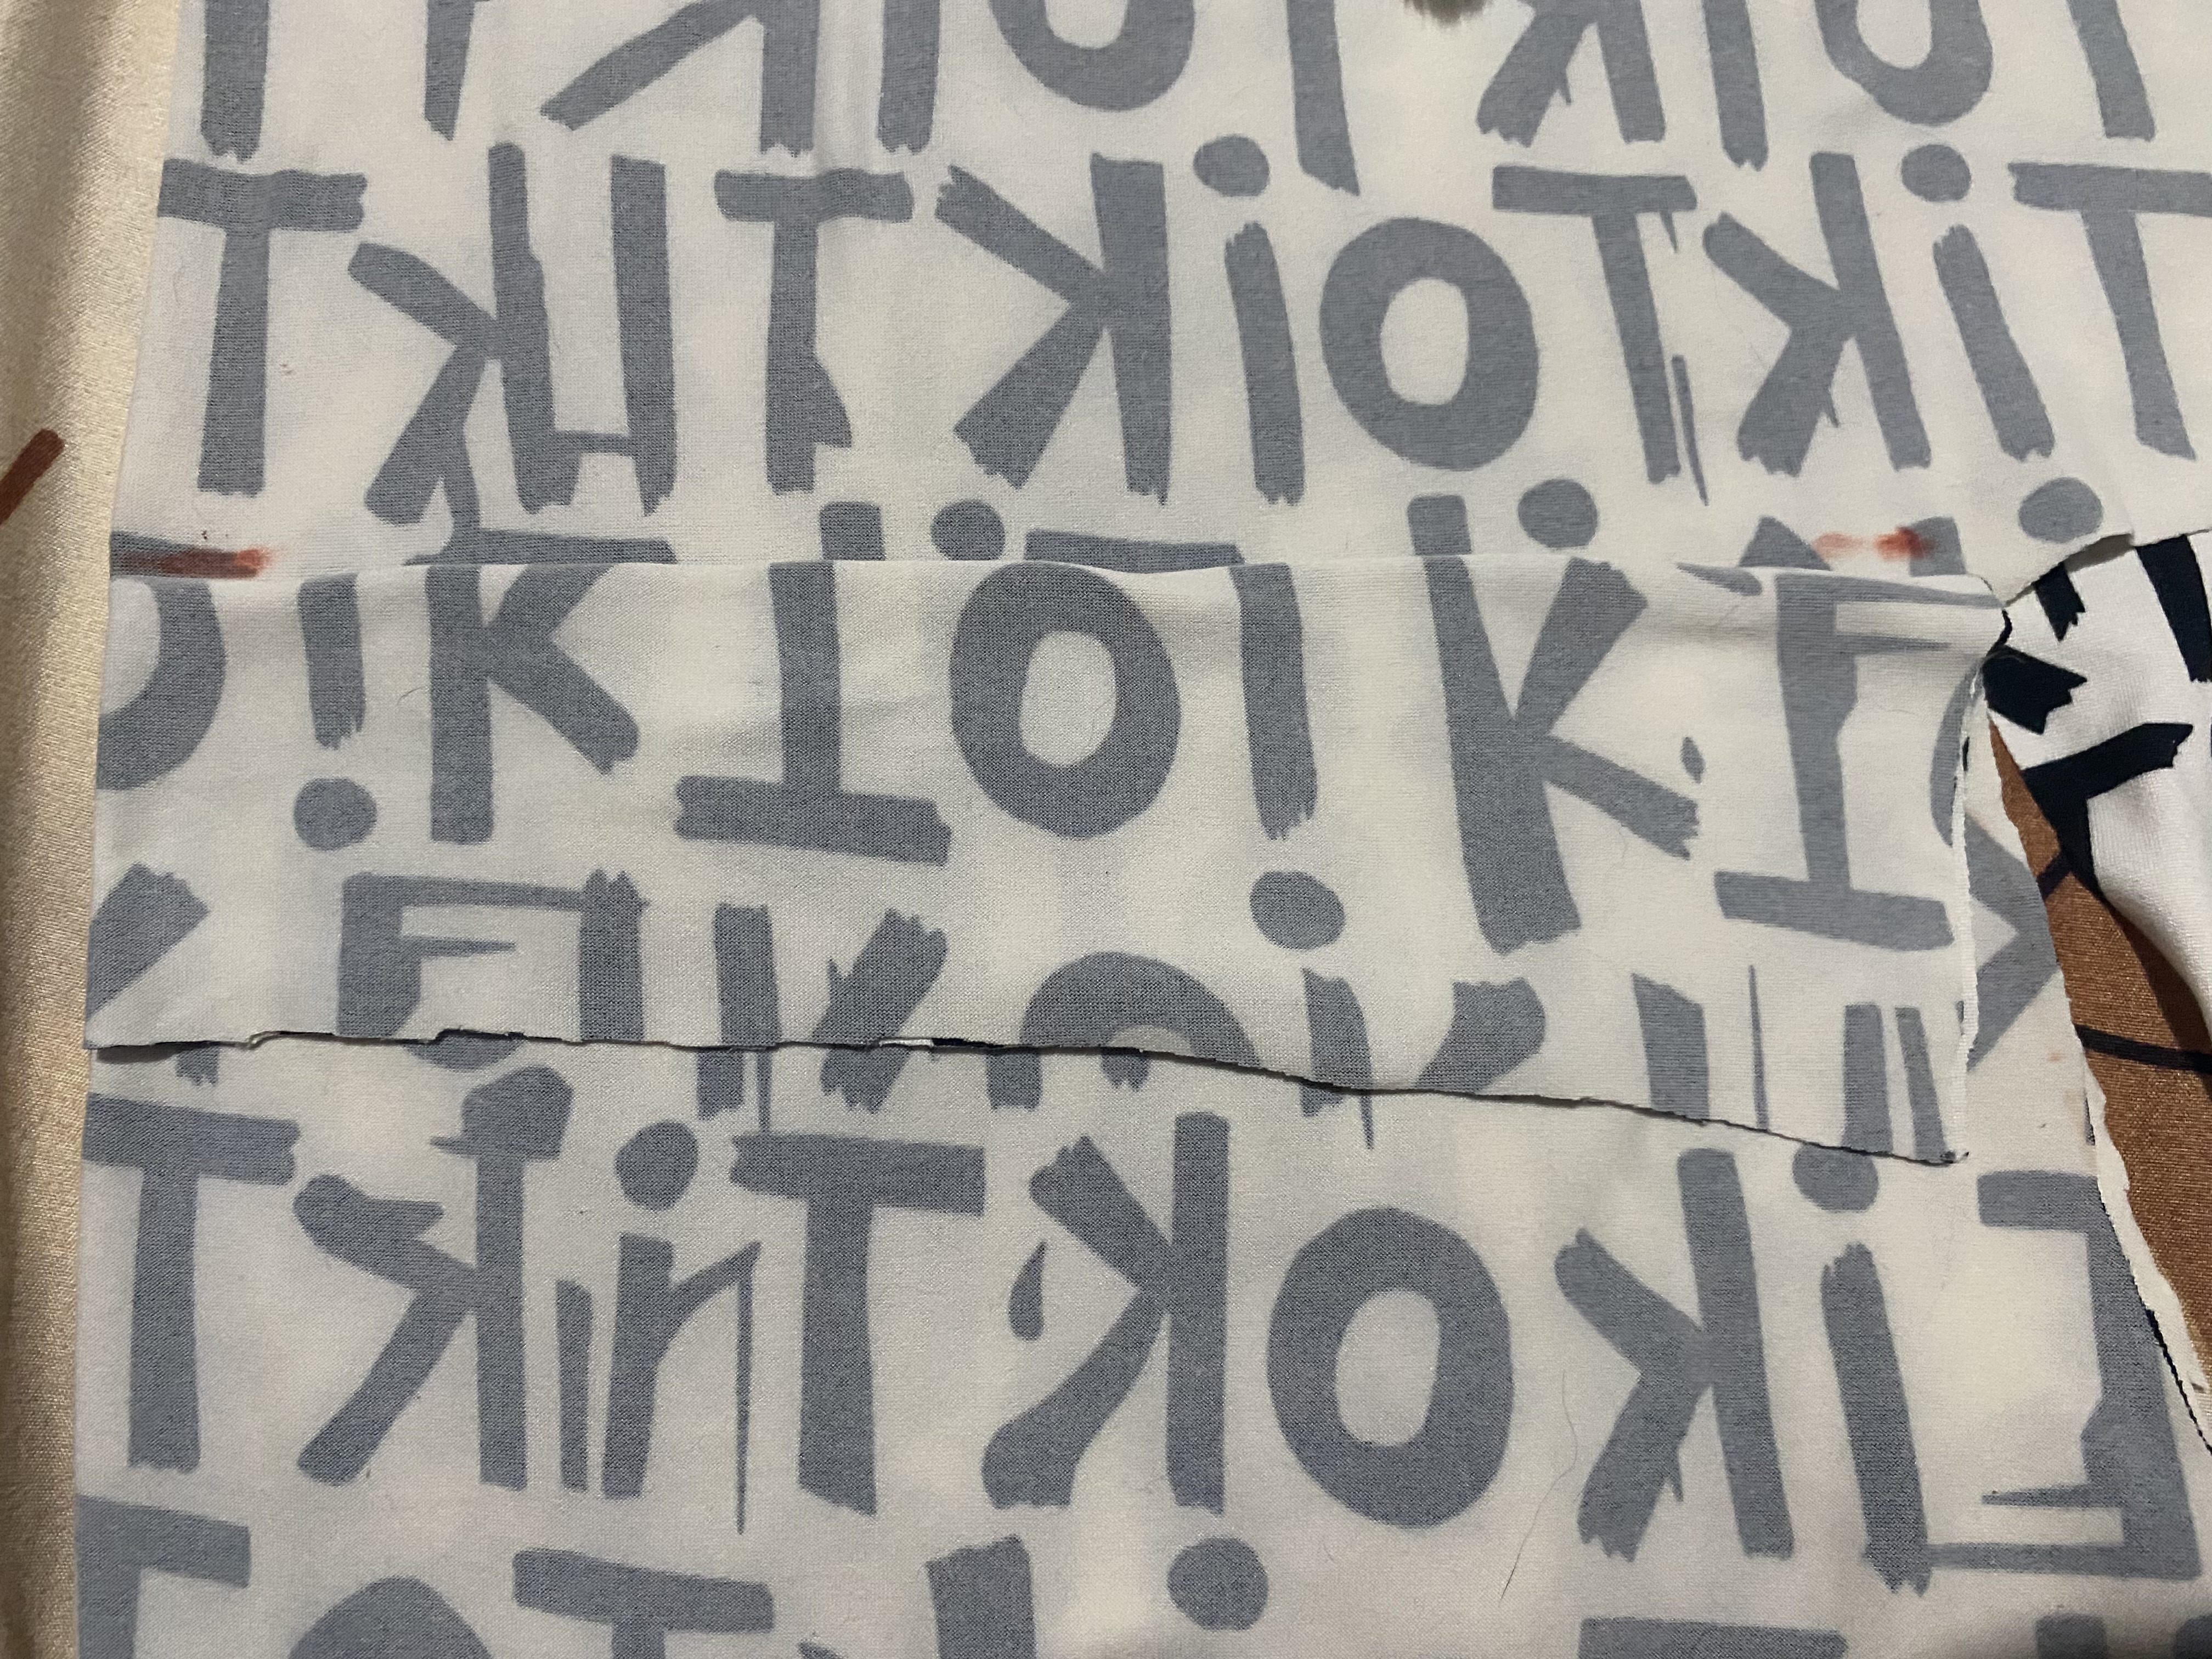
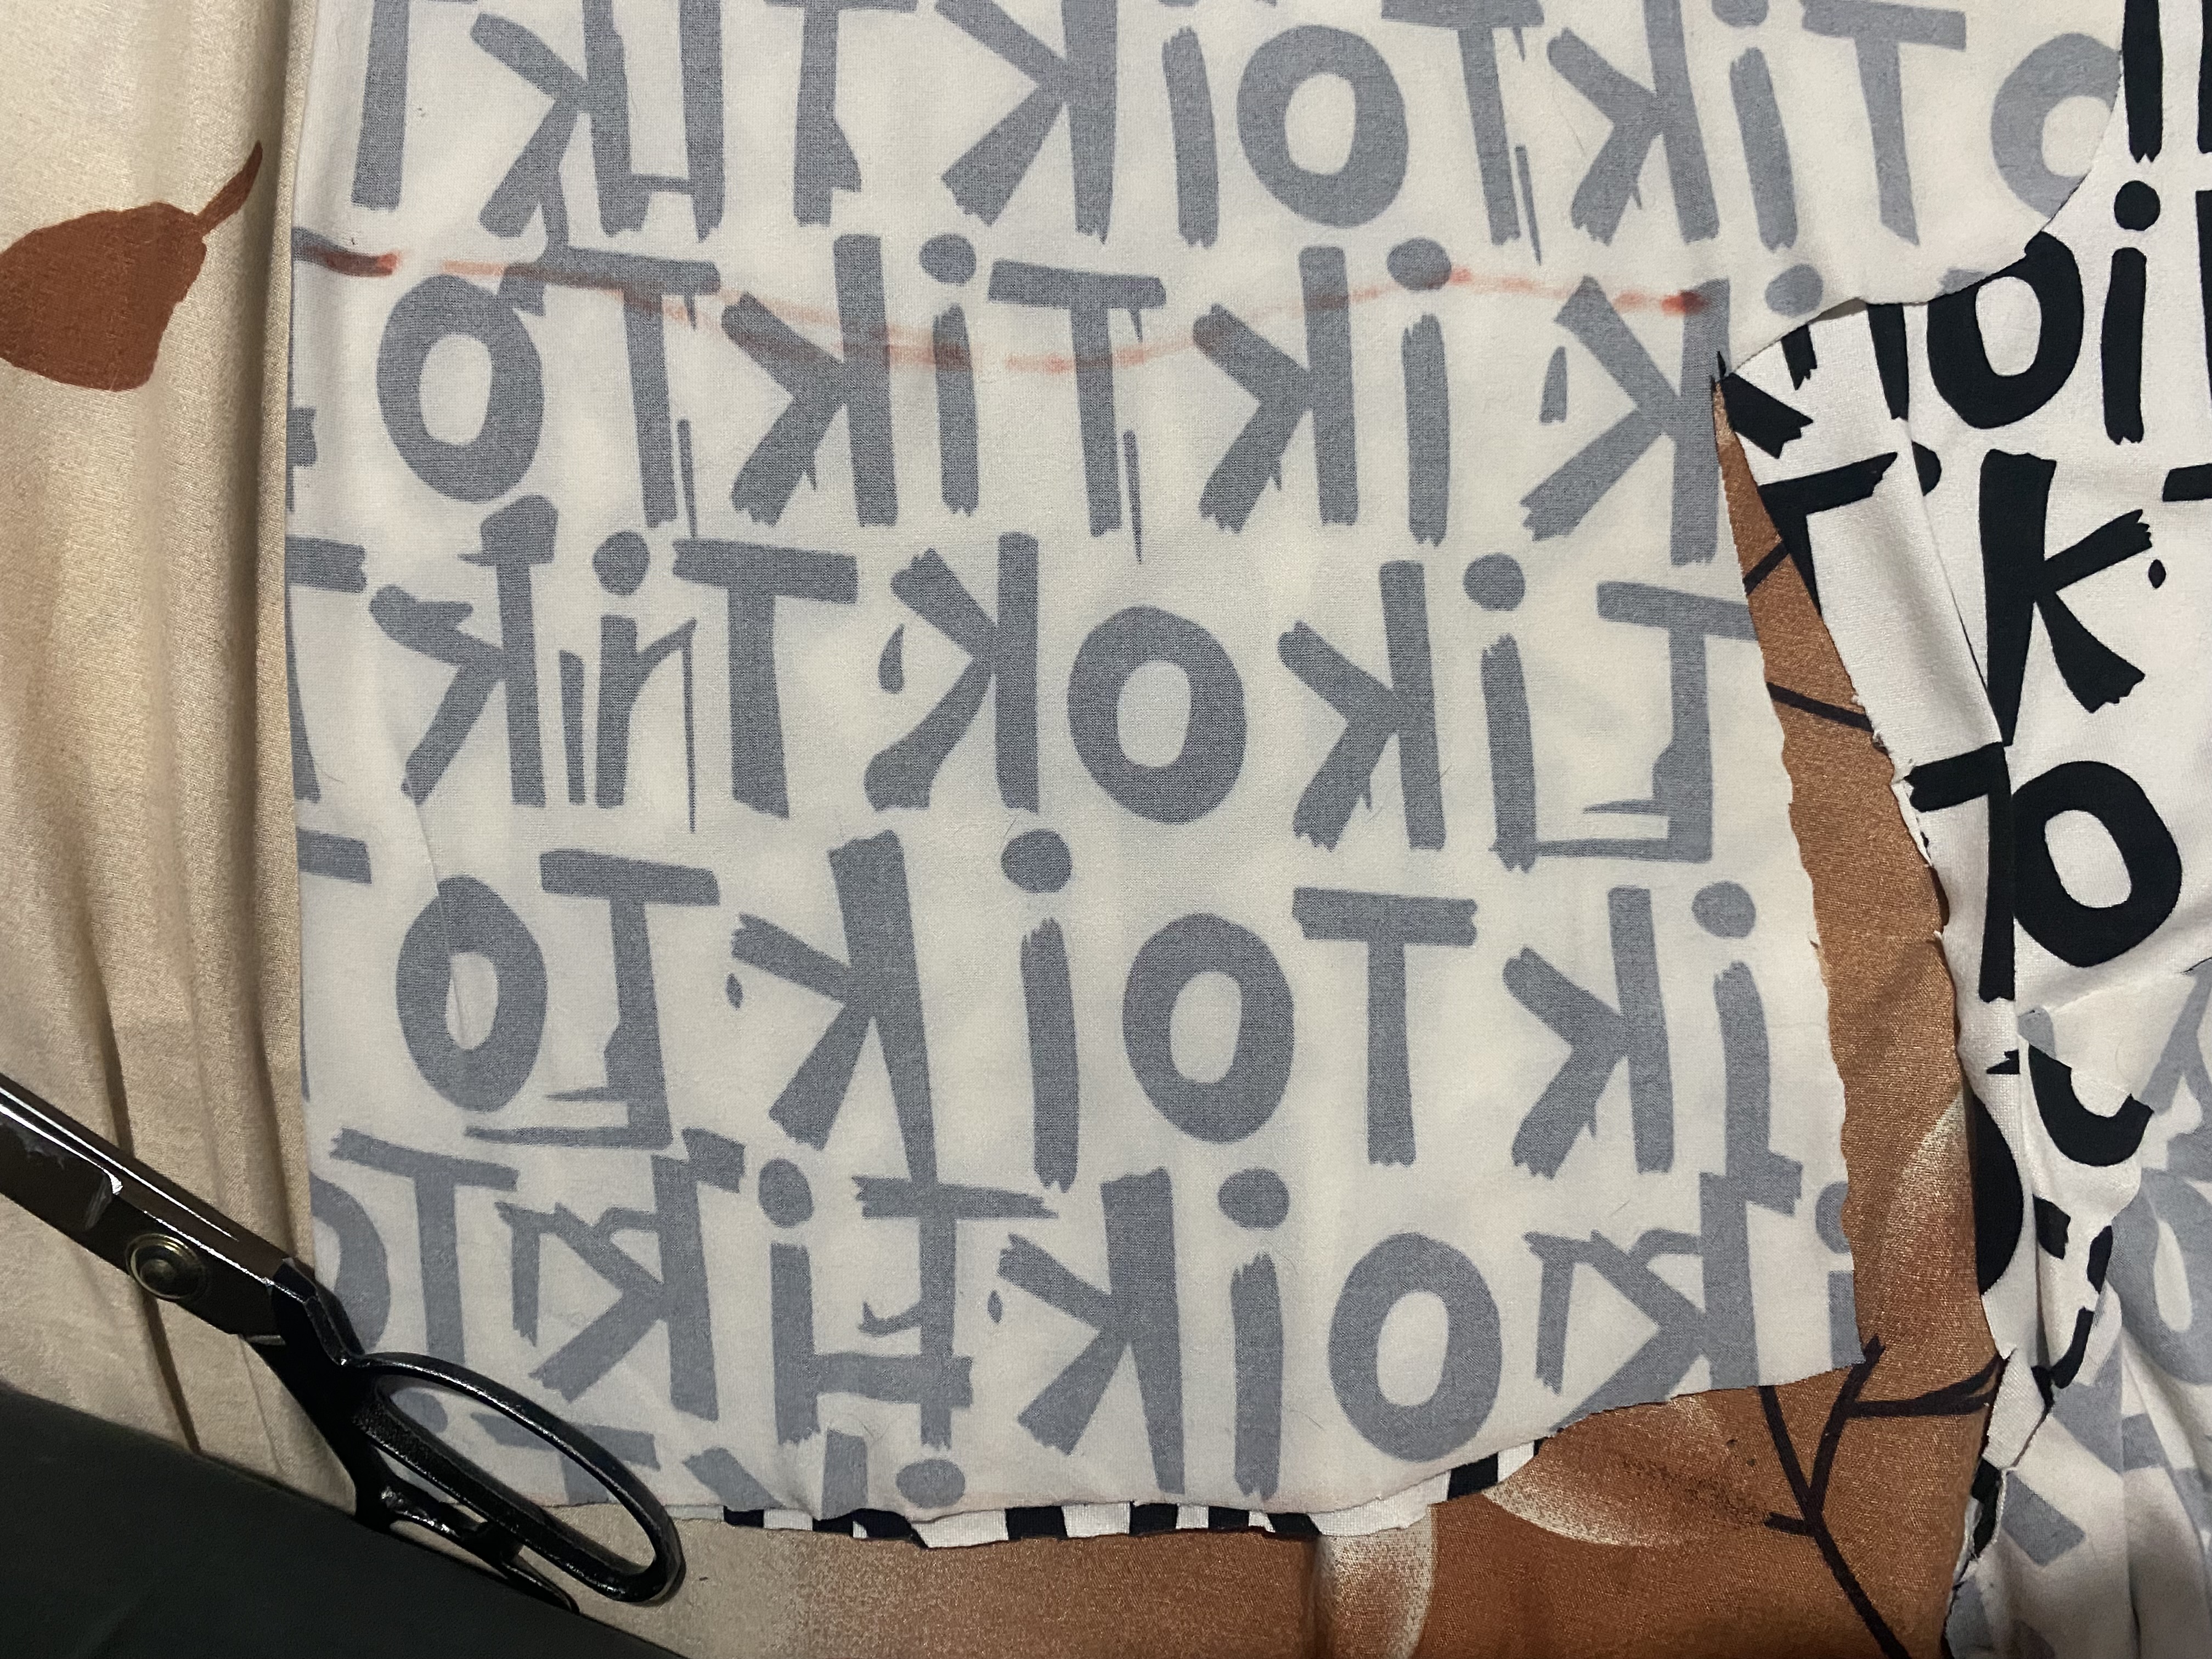
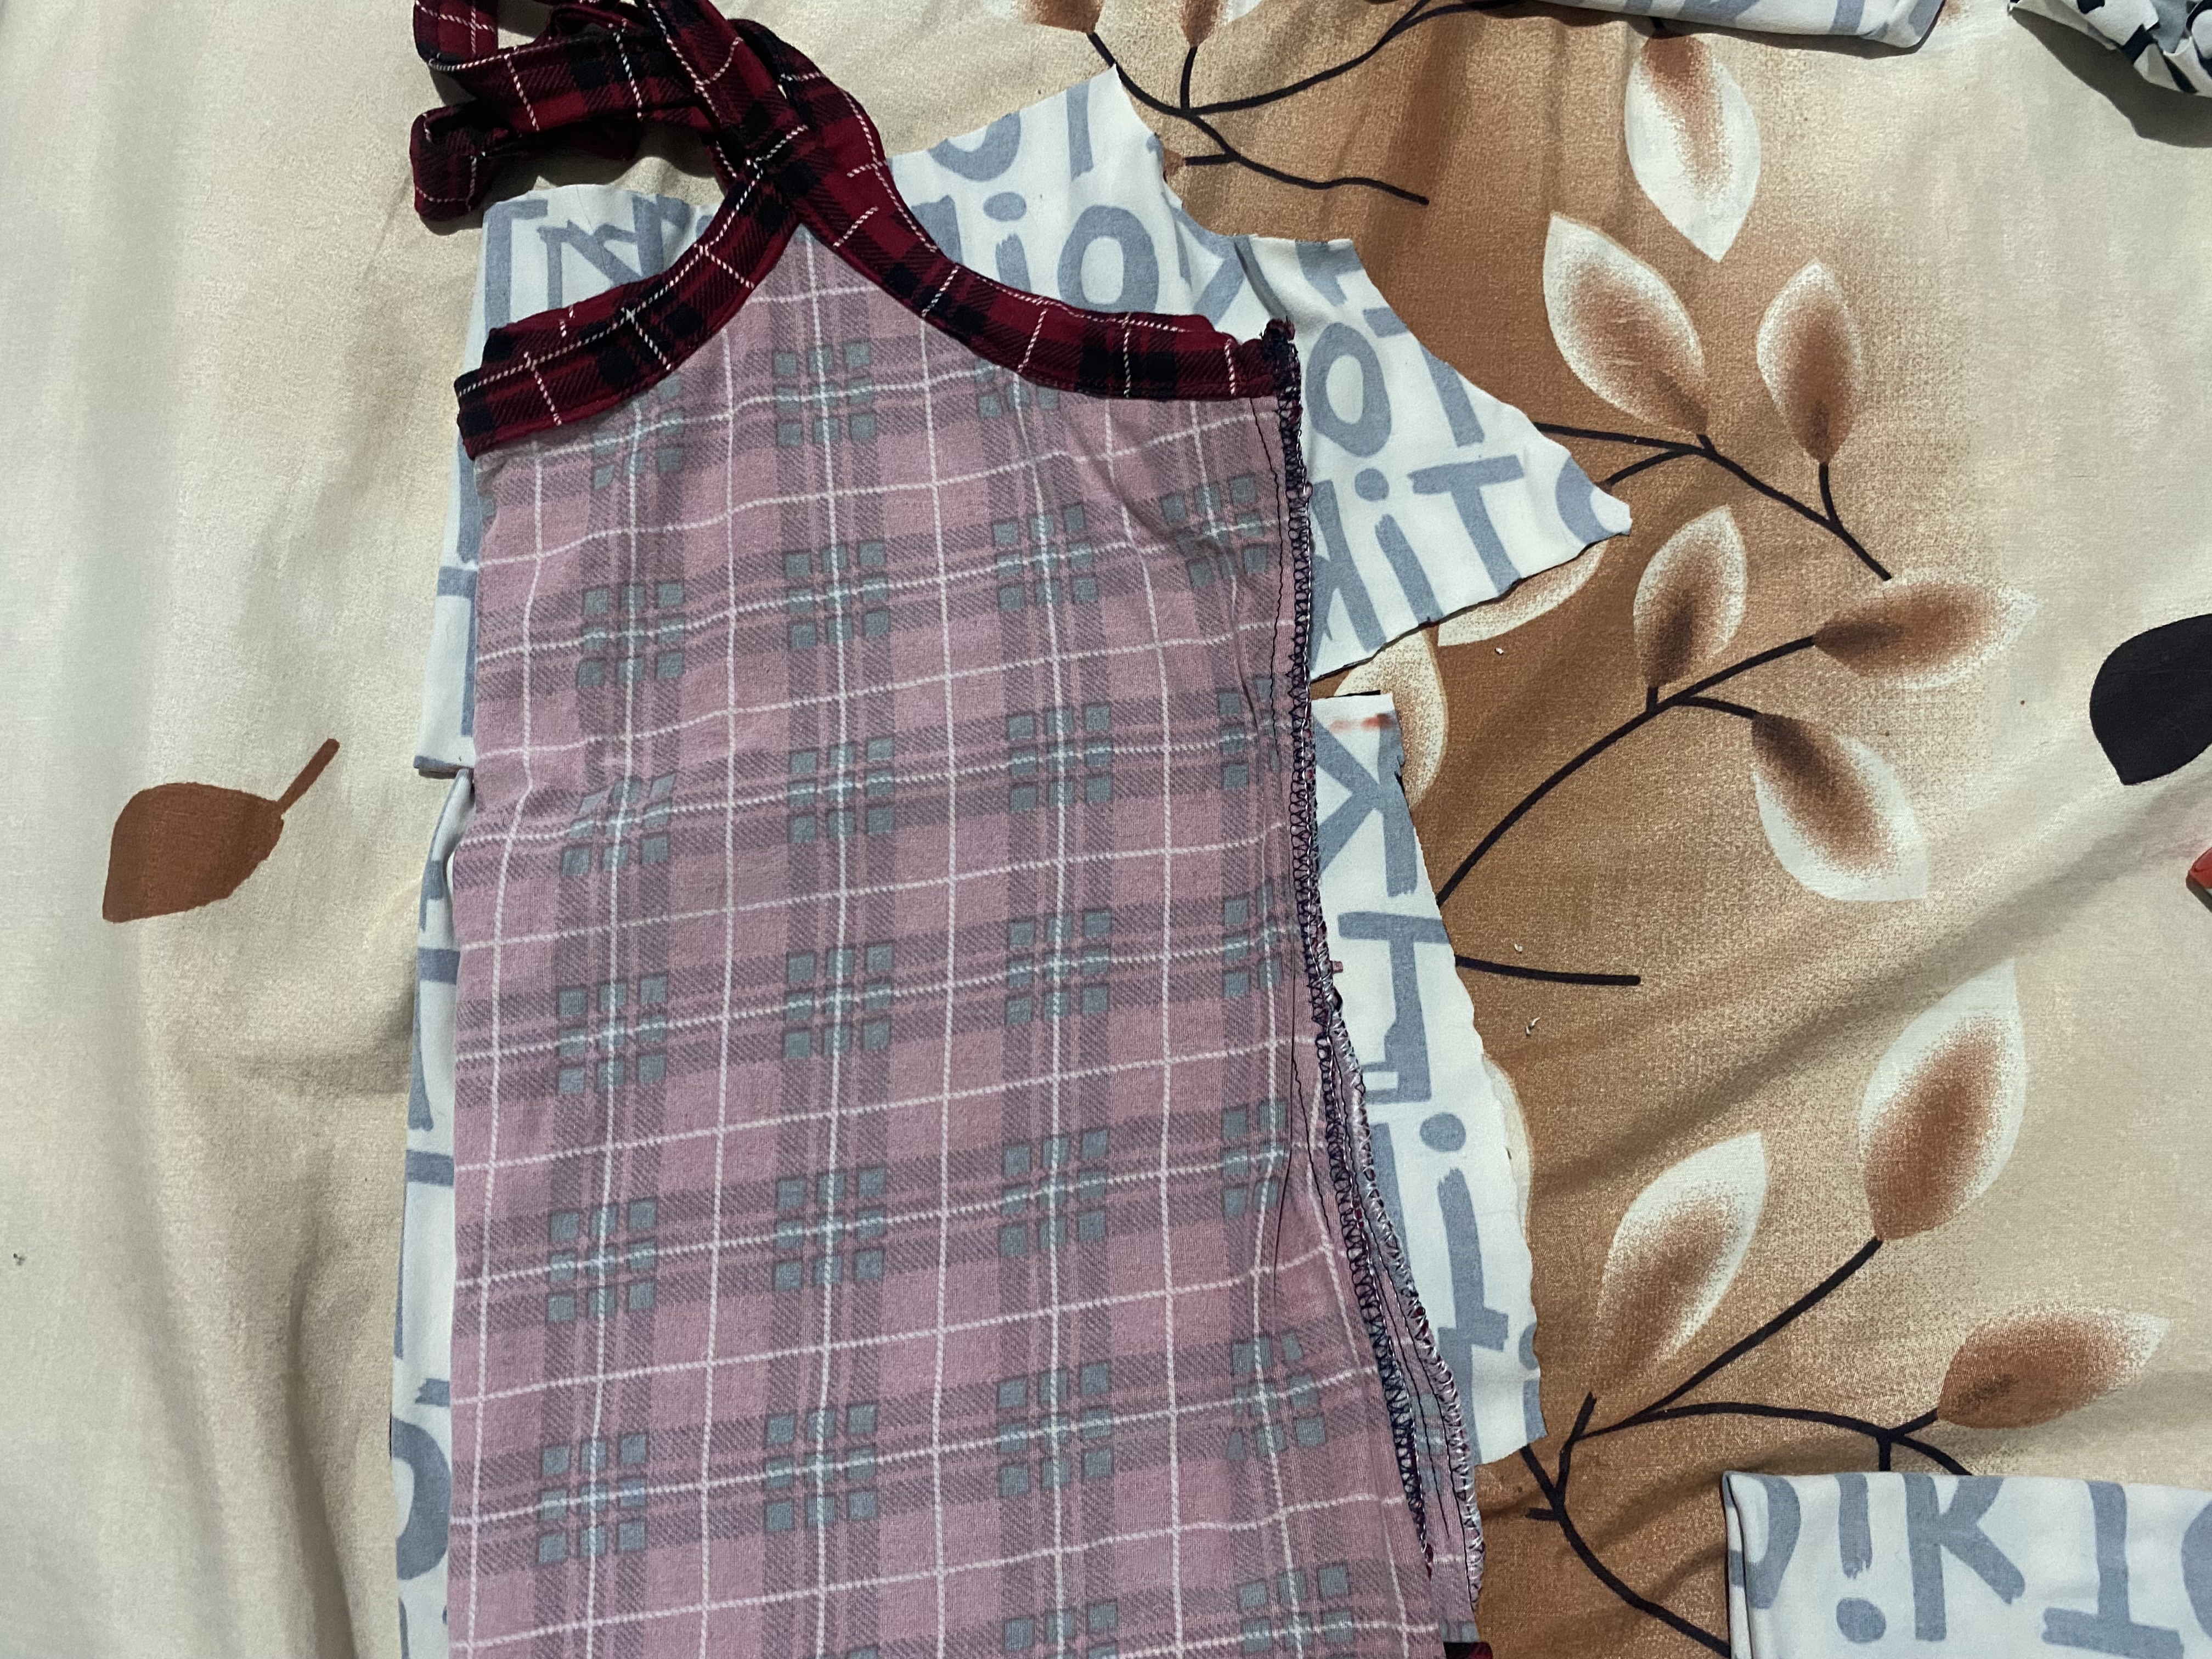
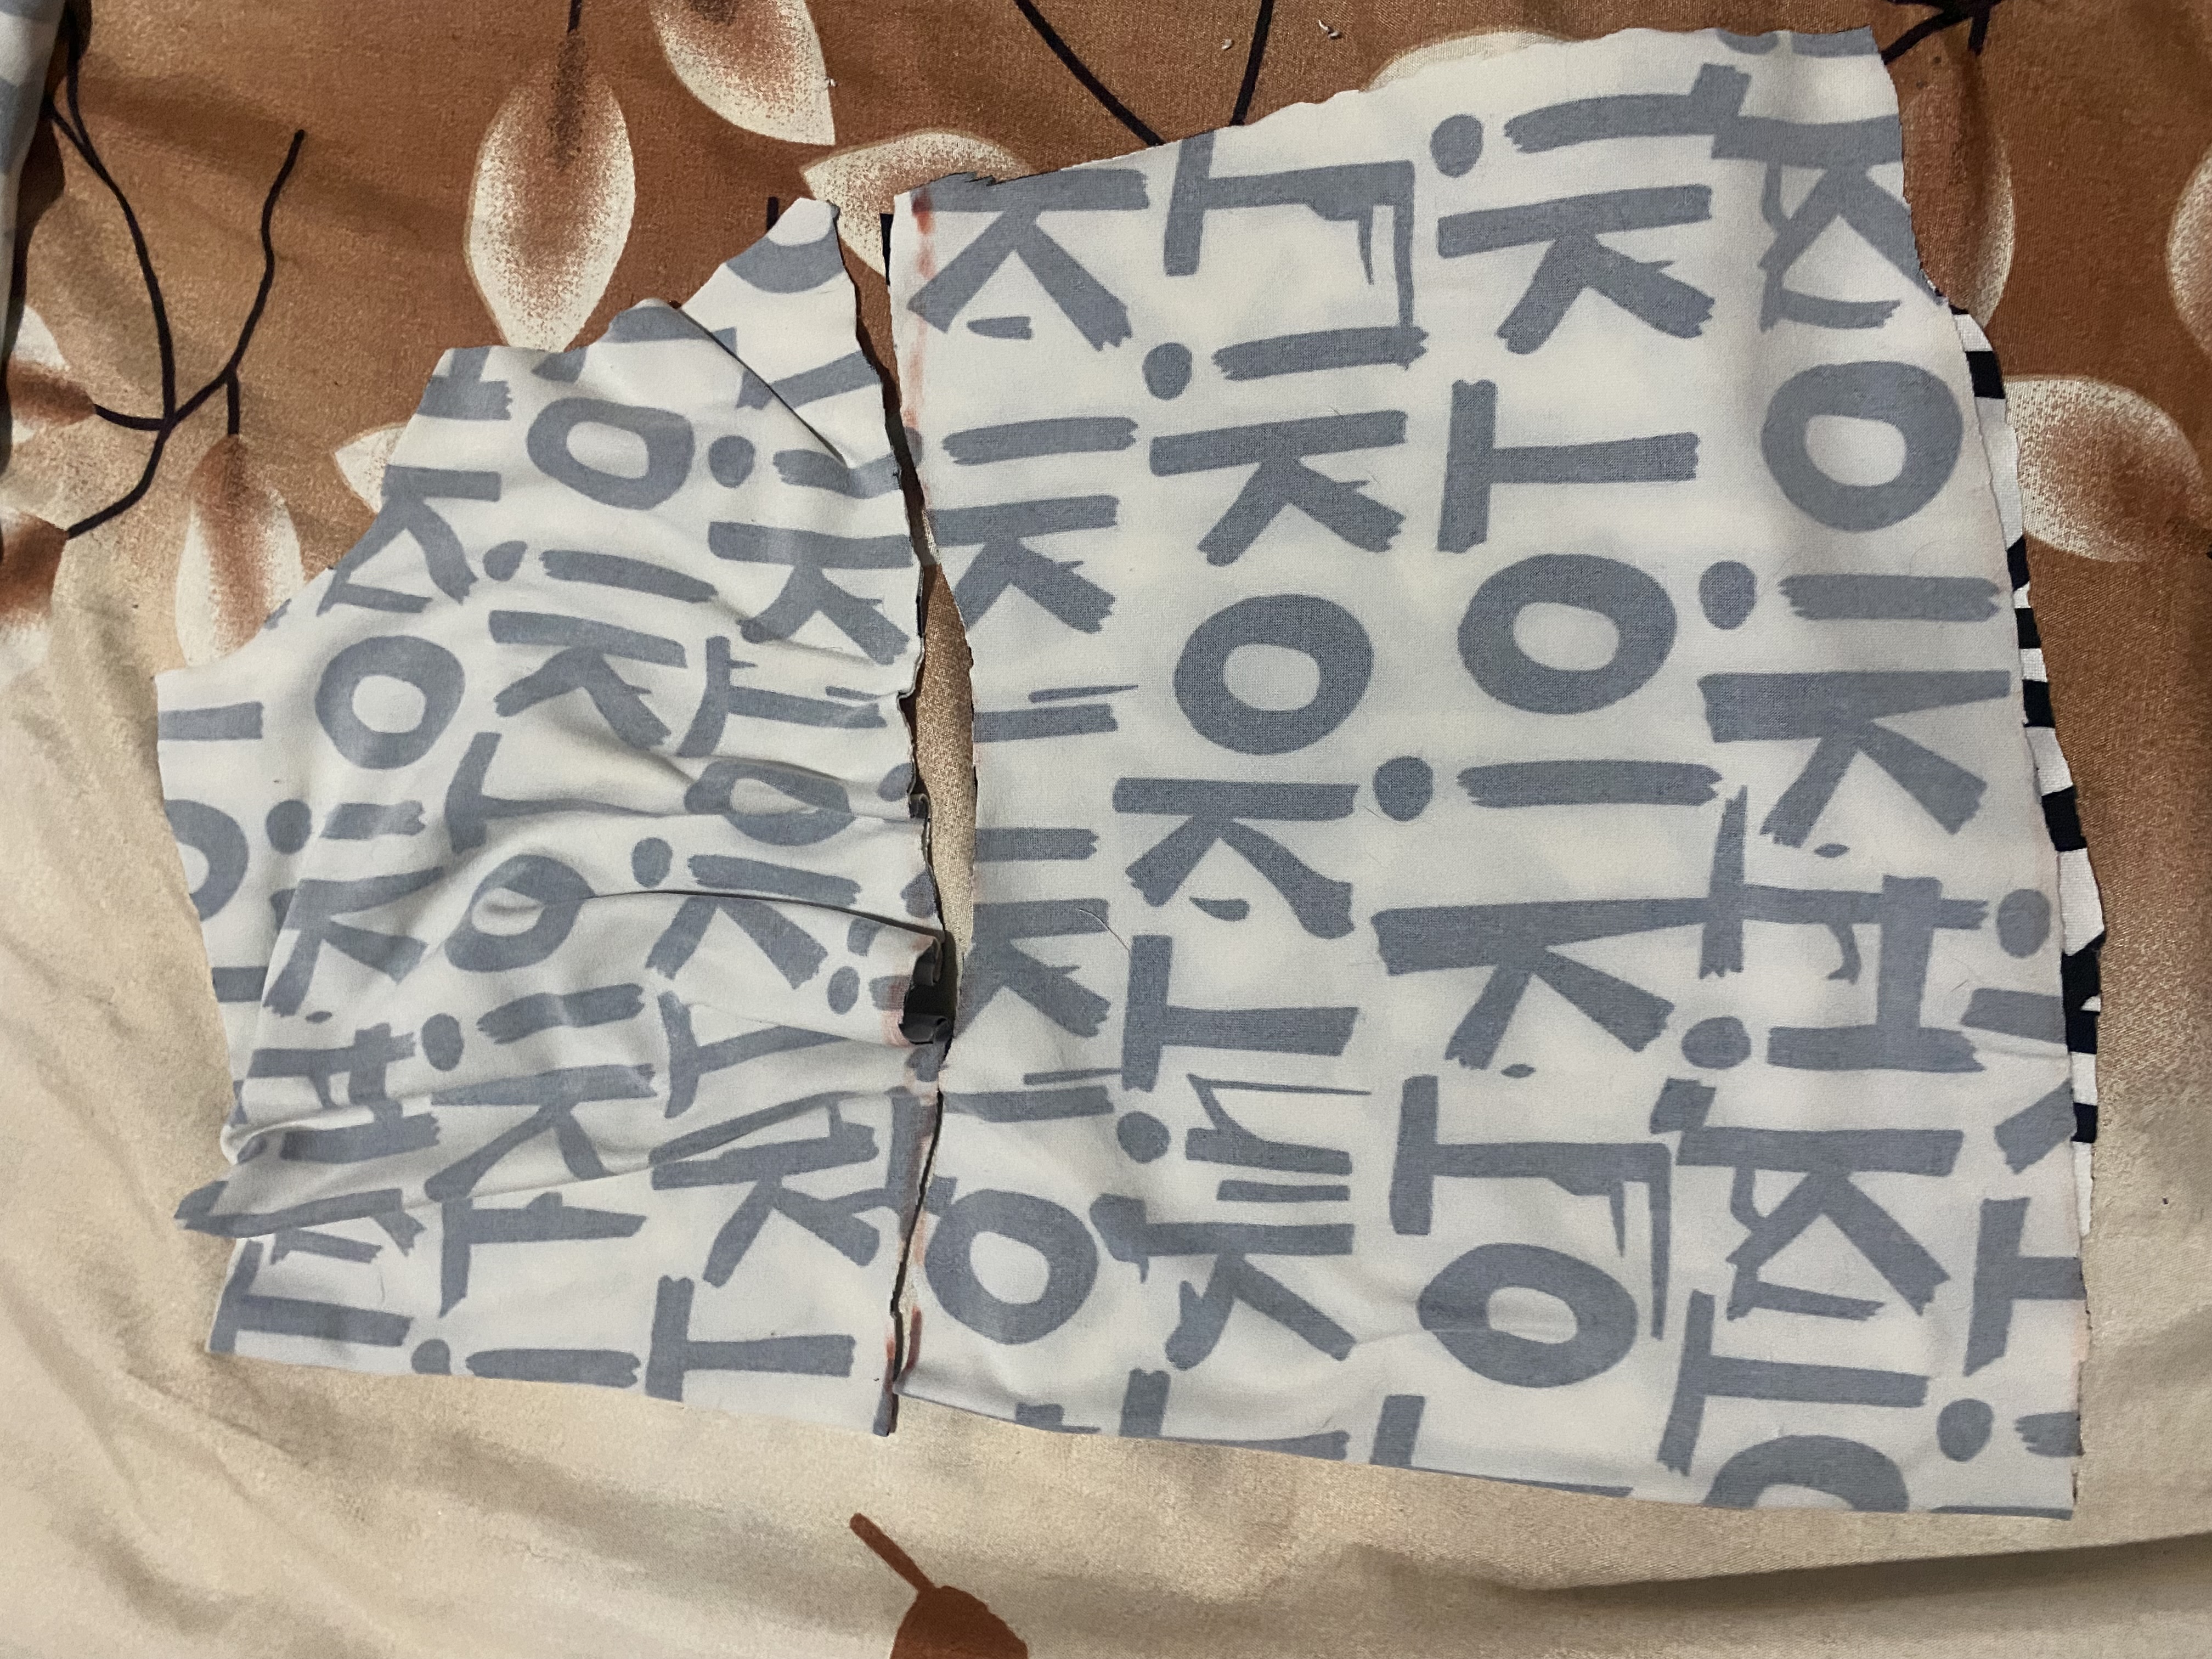
Para la parte delantera la vamos a cortar de la siguiente forma: colocamos la parte de atrás y vamos a dibujar el ruedo igual y cortamos en forma diagonal el lateral dejando en la parte superior -9 cm, esta será la parte baja del busto a esta le vamos a dar una forma un poco redondeada , en mi imagen les muestro como debe quedar.
Luego cortaremos la parte del busto esta le vamos a dar casi el mismo redondez que le dimos a la parte de abajo de nuestra blusa pero mas largo y en la parte superior podemos hacerle diferentes figuras en mi caso la voy a hacer que quede un poco recta en el escote.
para el corte de la parte del busto podemos aprovechar el mismo redondez de la tela que ya cortamos, solo que cortaremos un poco más largo, el ancho será de 9 a 10 cm dependiendo el ruedo que vayas a hacerle, le damos la forma redondeada en el contorno de brazo y una curva en bajada muy poco pronunciada para la parte delantera o escote del busto.
For the front part we are going to cut it in the following way: we place the back part and we are going to draw the same hem and we cut the side diagonally leaving at the top -9 cm, this will be the lower part of the bust, we are going to give it a slightly rounded shape, in my image I show you how it should look.
Then we will cut the part of the bust, we are going to give it almost the same roundness that we gave to the lower part of our blouse but longer and in the upper part we can make different shapes, in my case I am going to make it a little straight at the neckline.
To cut the part of the bust we can take advantage of the same roundness of the fabric that we already cut, only we will cut it a little longer, the width will be 9 to 10 cm depending on the hem that you are going to make, we give it the rounded shape in the arm contour and a very slight downward curve for the front part or neckline of the bust.
| |
| |
| |
|
|---|---|
| |
| |
|
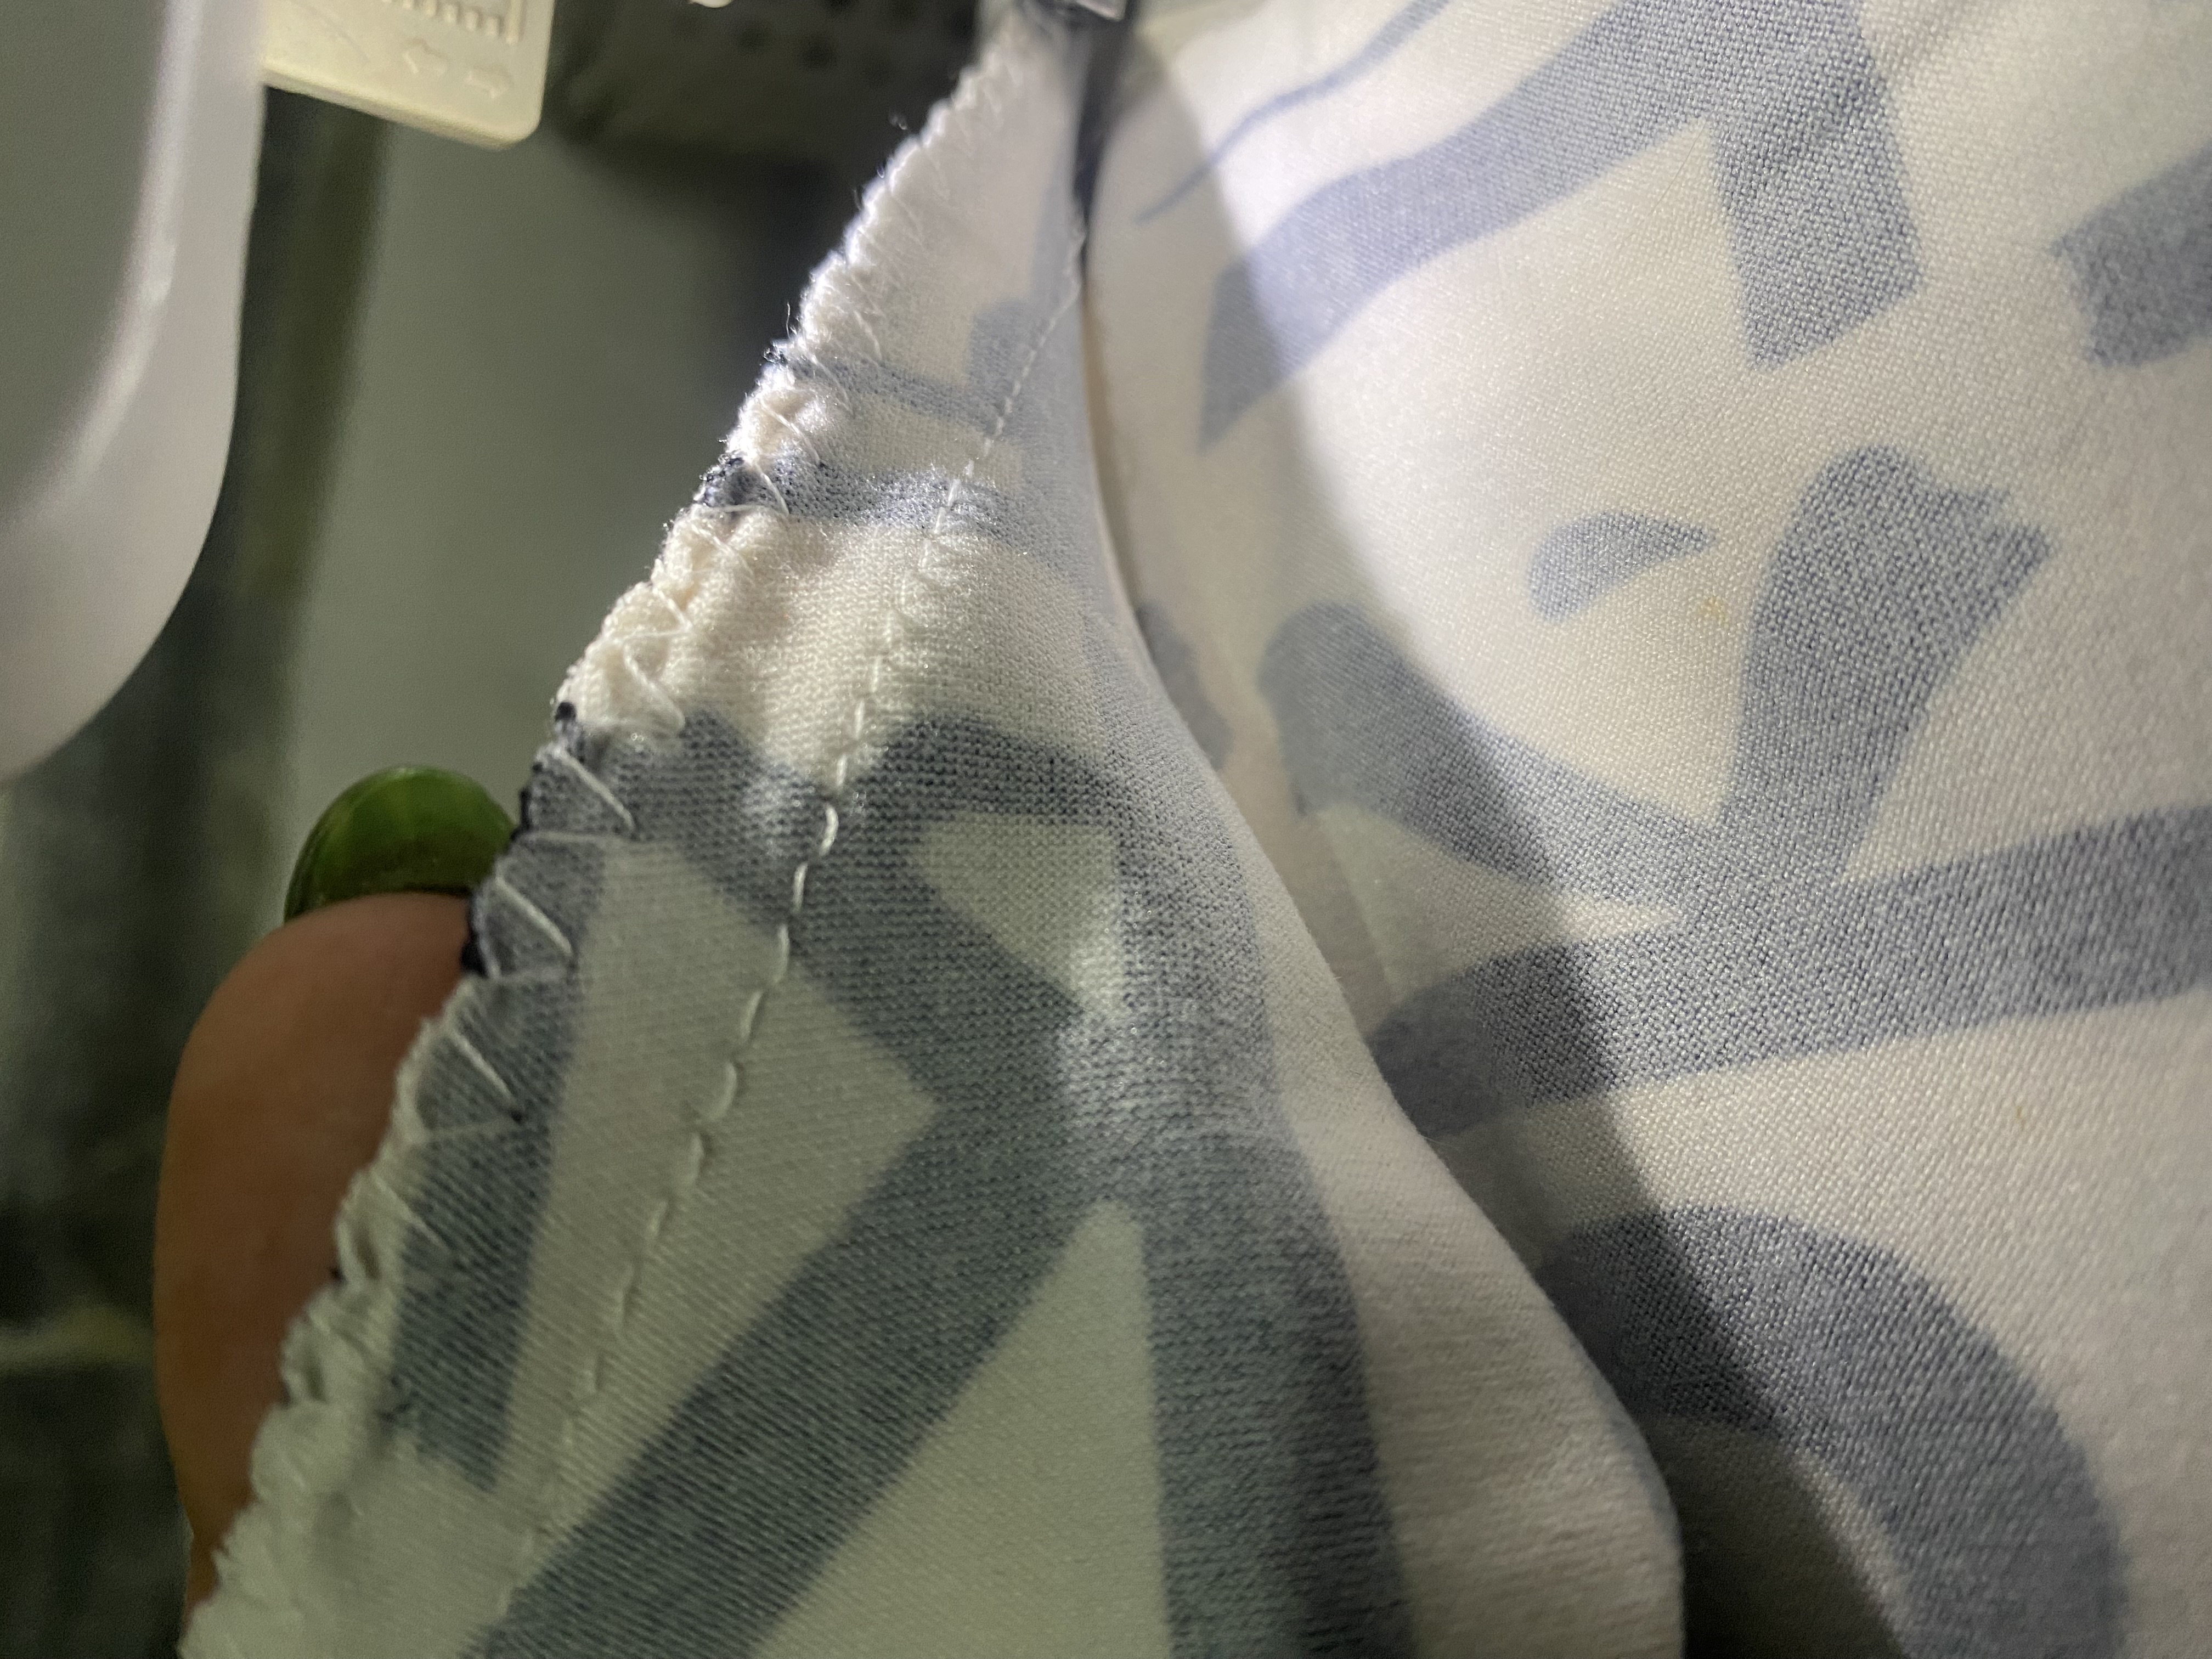
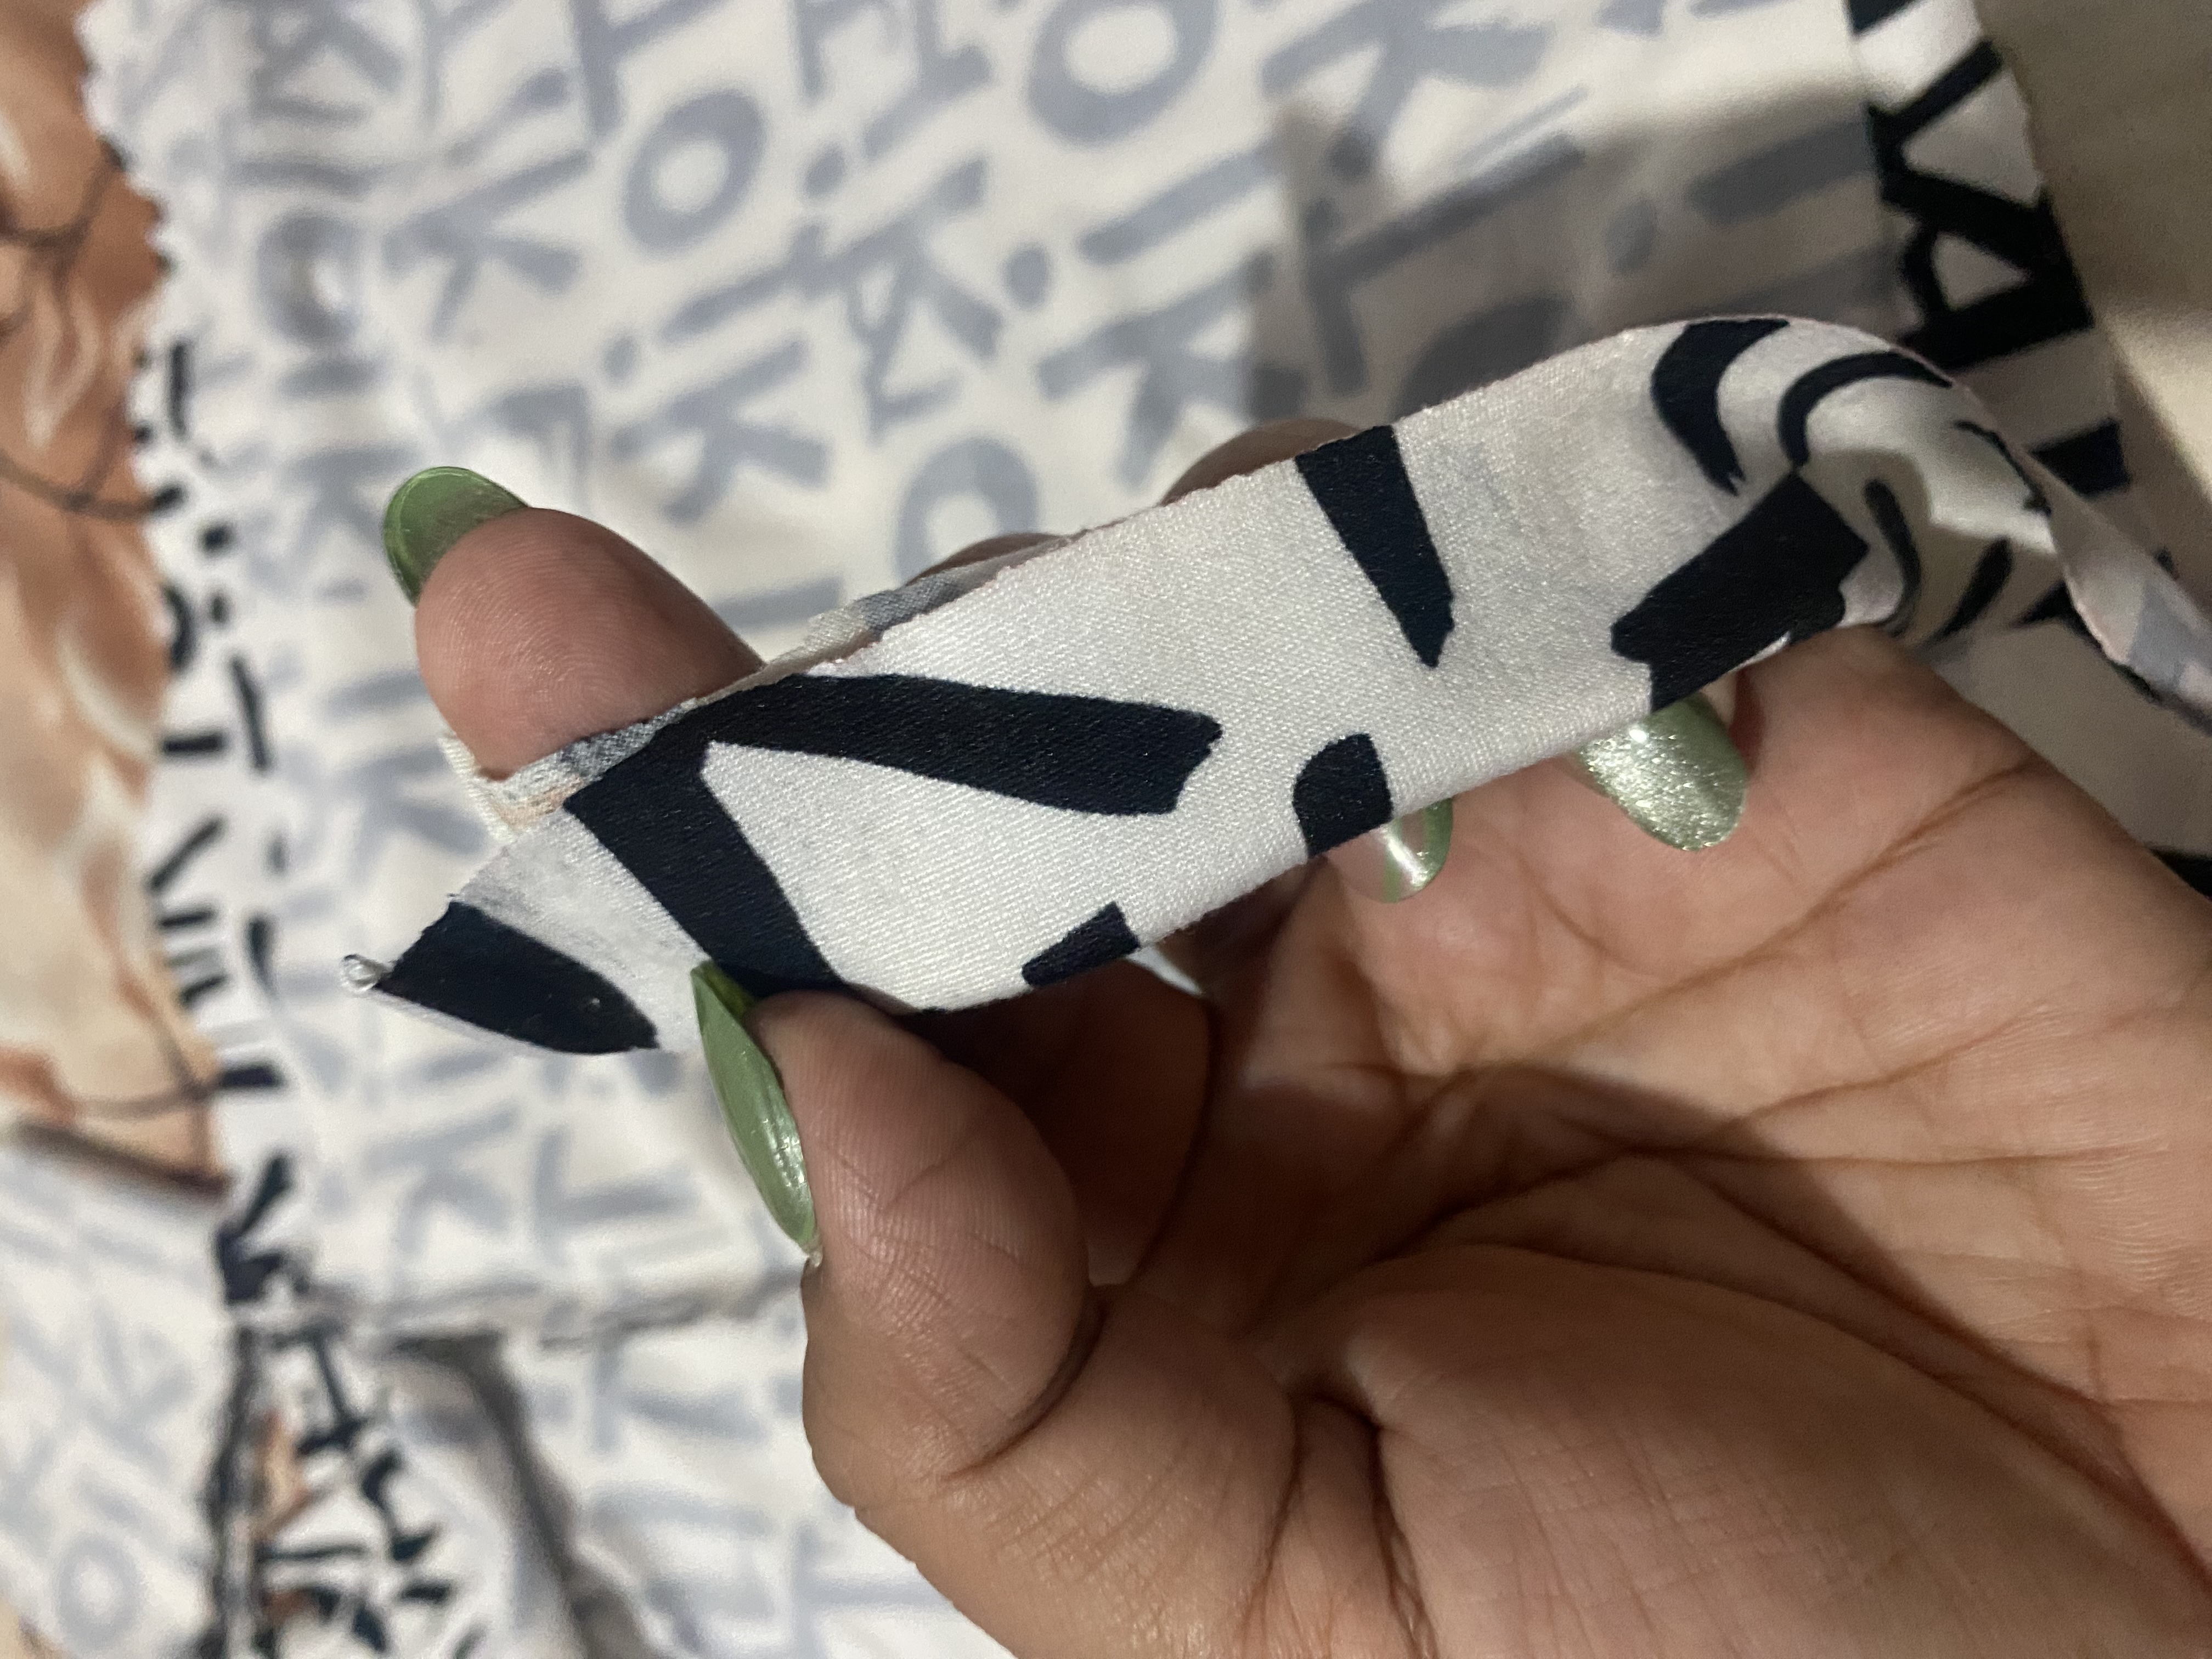
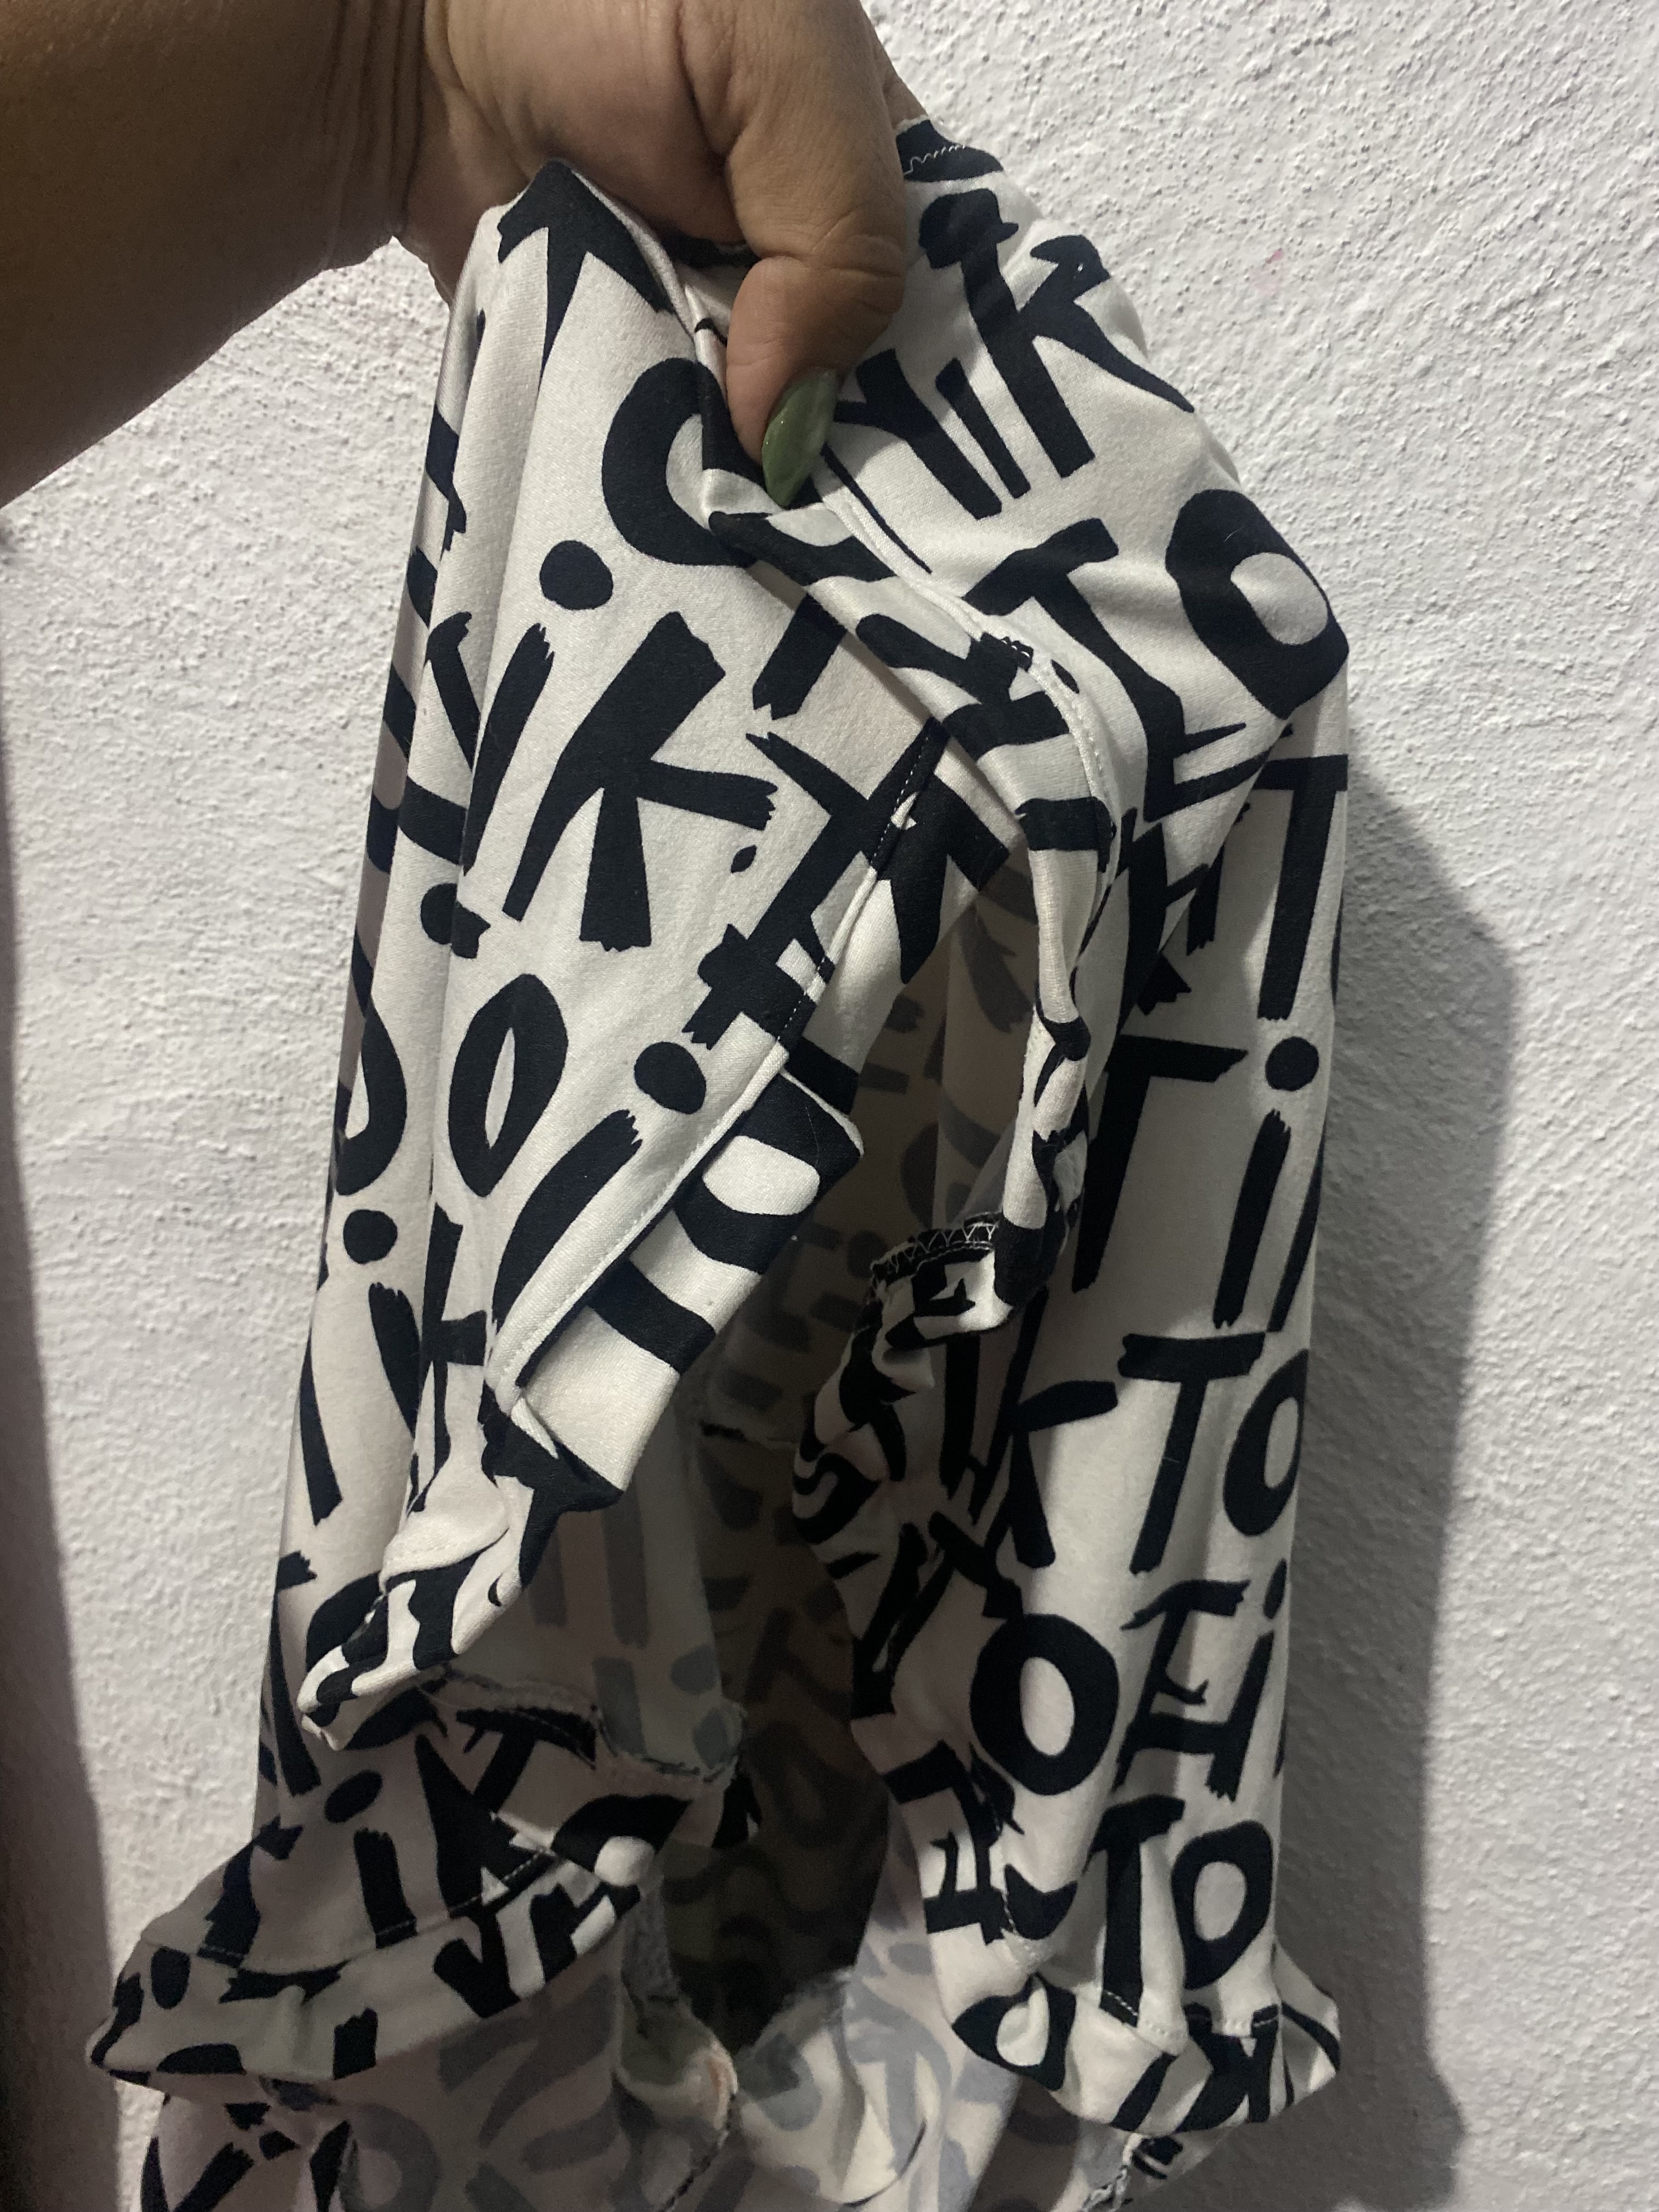
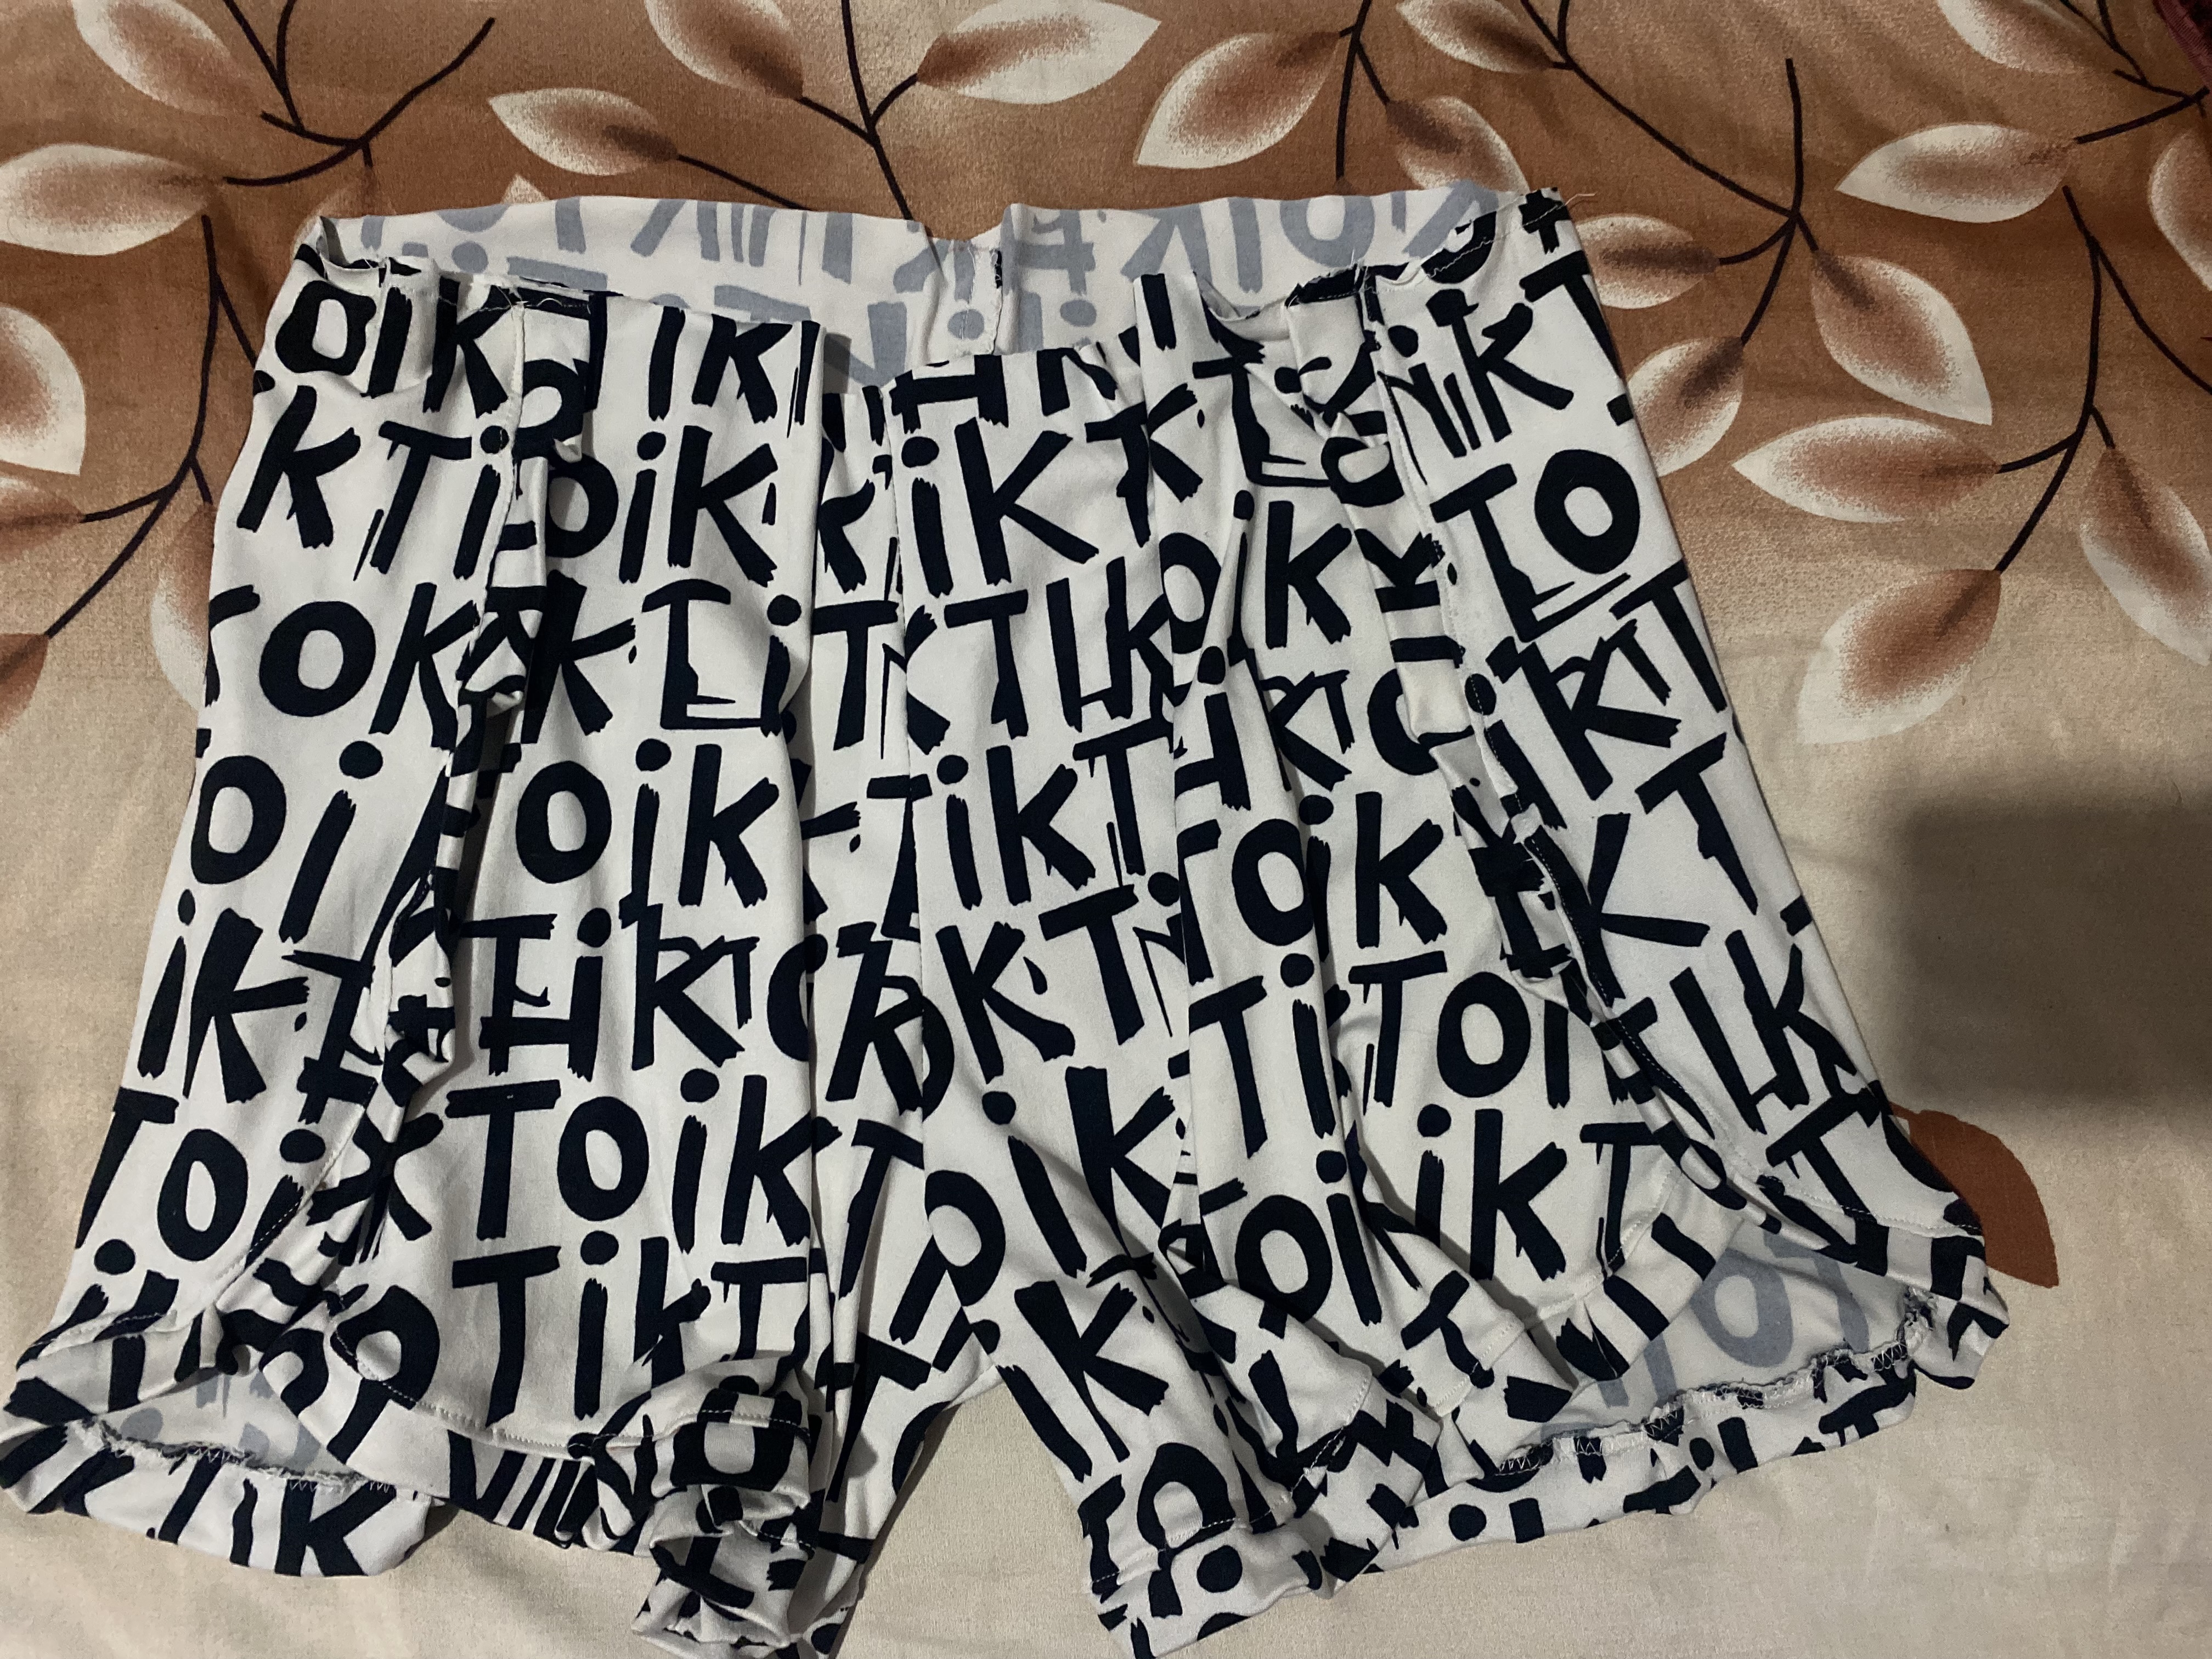
En este paso vamos a comenzar con las costuras, casi siempre comienzo por el Shors ya que me resulta más sencillo, vamos a pasar costura recta y zig zag en el tiro delantero y en el tiro de atrás, luego unimos en el fundillo , luego vamos a colocarle la tira de adorno en las orillas, comenzaremos desde la parte delantera, dóblanos la tira a la mitad y le vamos haciendo pliegues hasta culminar cada lado, esto lo vamos a hacer por toda la orilla de los laterales del Short.
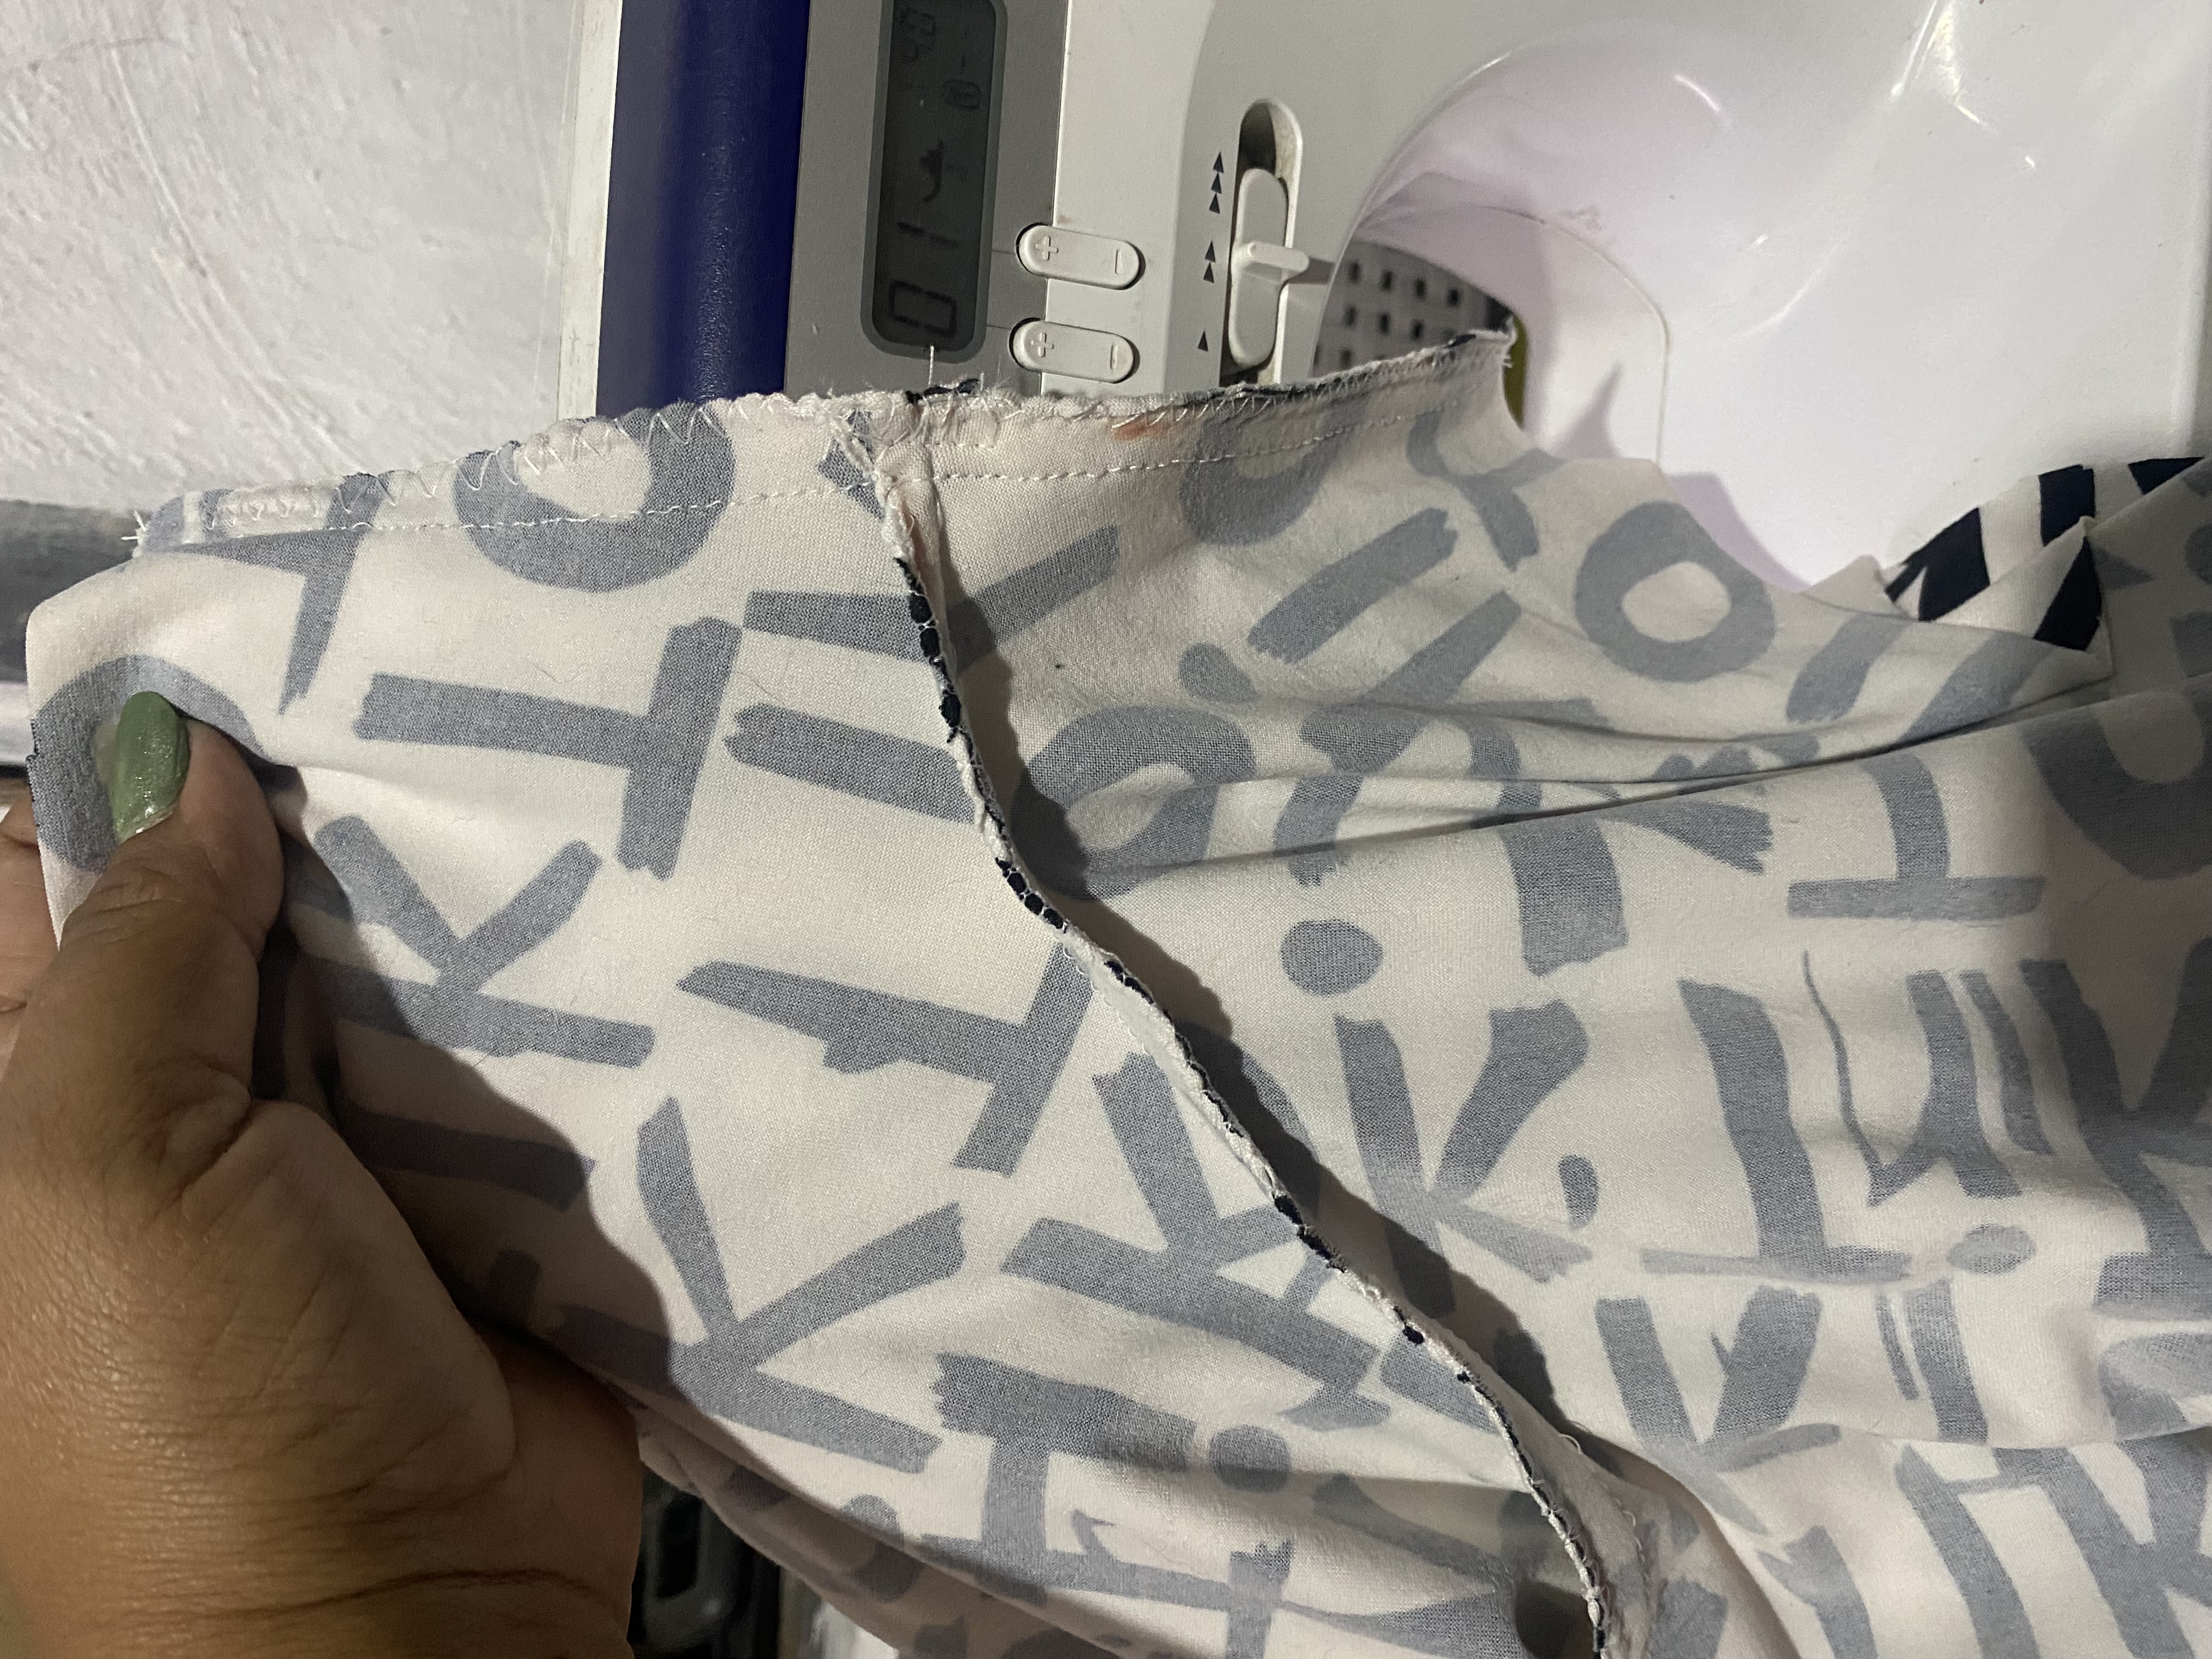
Al tener lista toda la orilla vamos a unir los laterales montando la parte de atrás sobre la parte de adelante , dejando aproximadamente 8 cm de unión esta será la única costura que llevará en los laterales
In this step we are going to start with the seams, I almost always start with the shorts since it is easier for me, we are going to do a straight and zig zag stitch on the front and back hem, then we join the bottom hem, then we are going to place the decorative strip on the edges, we will start from the front, fold the strip in half and we will make folds until we finish each side, we are going to do this along the entire edge of the sides of the shorts.
Once we have the entire edge ready, we are going to join the sides by placing the back part on the front part, leaving approximately 8 cm of joining, this will be the only seam that will be on the sides.
 |  |
|---|---|
 |  |
| --- | --- |
 |  |
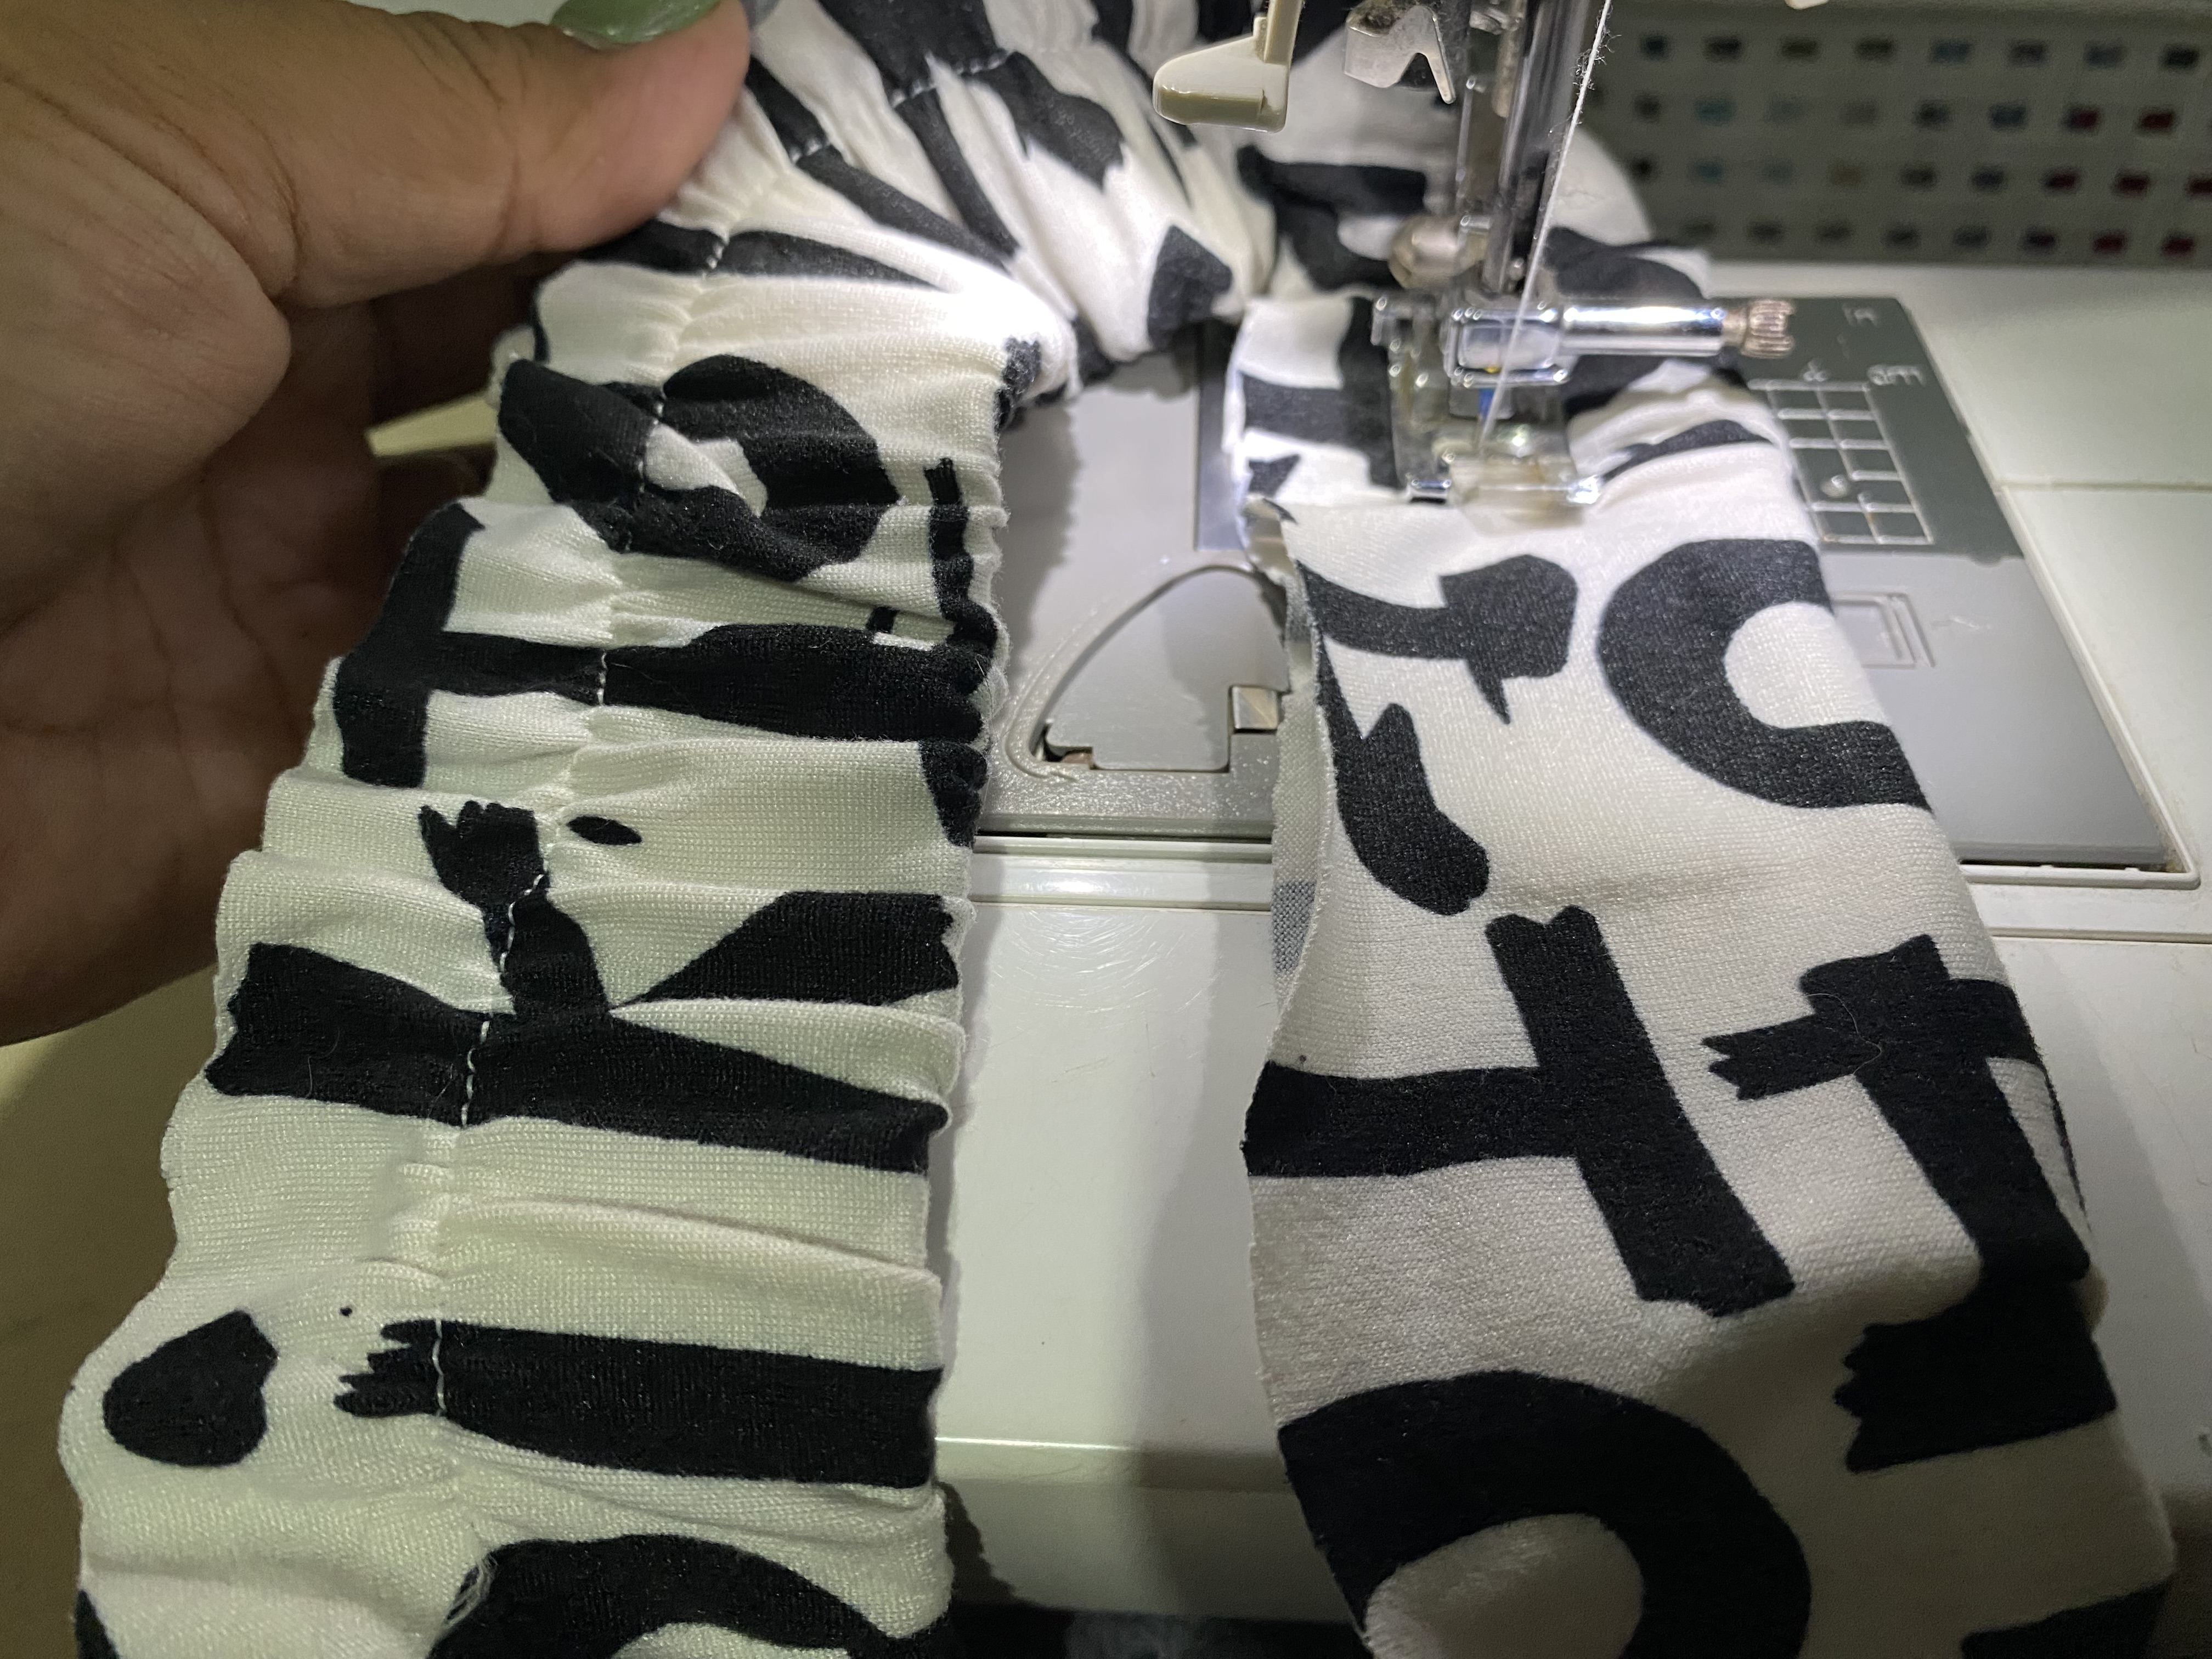
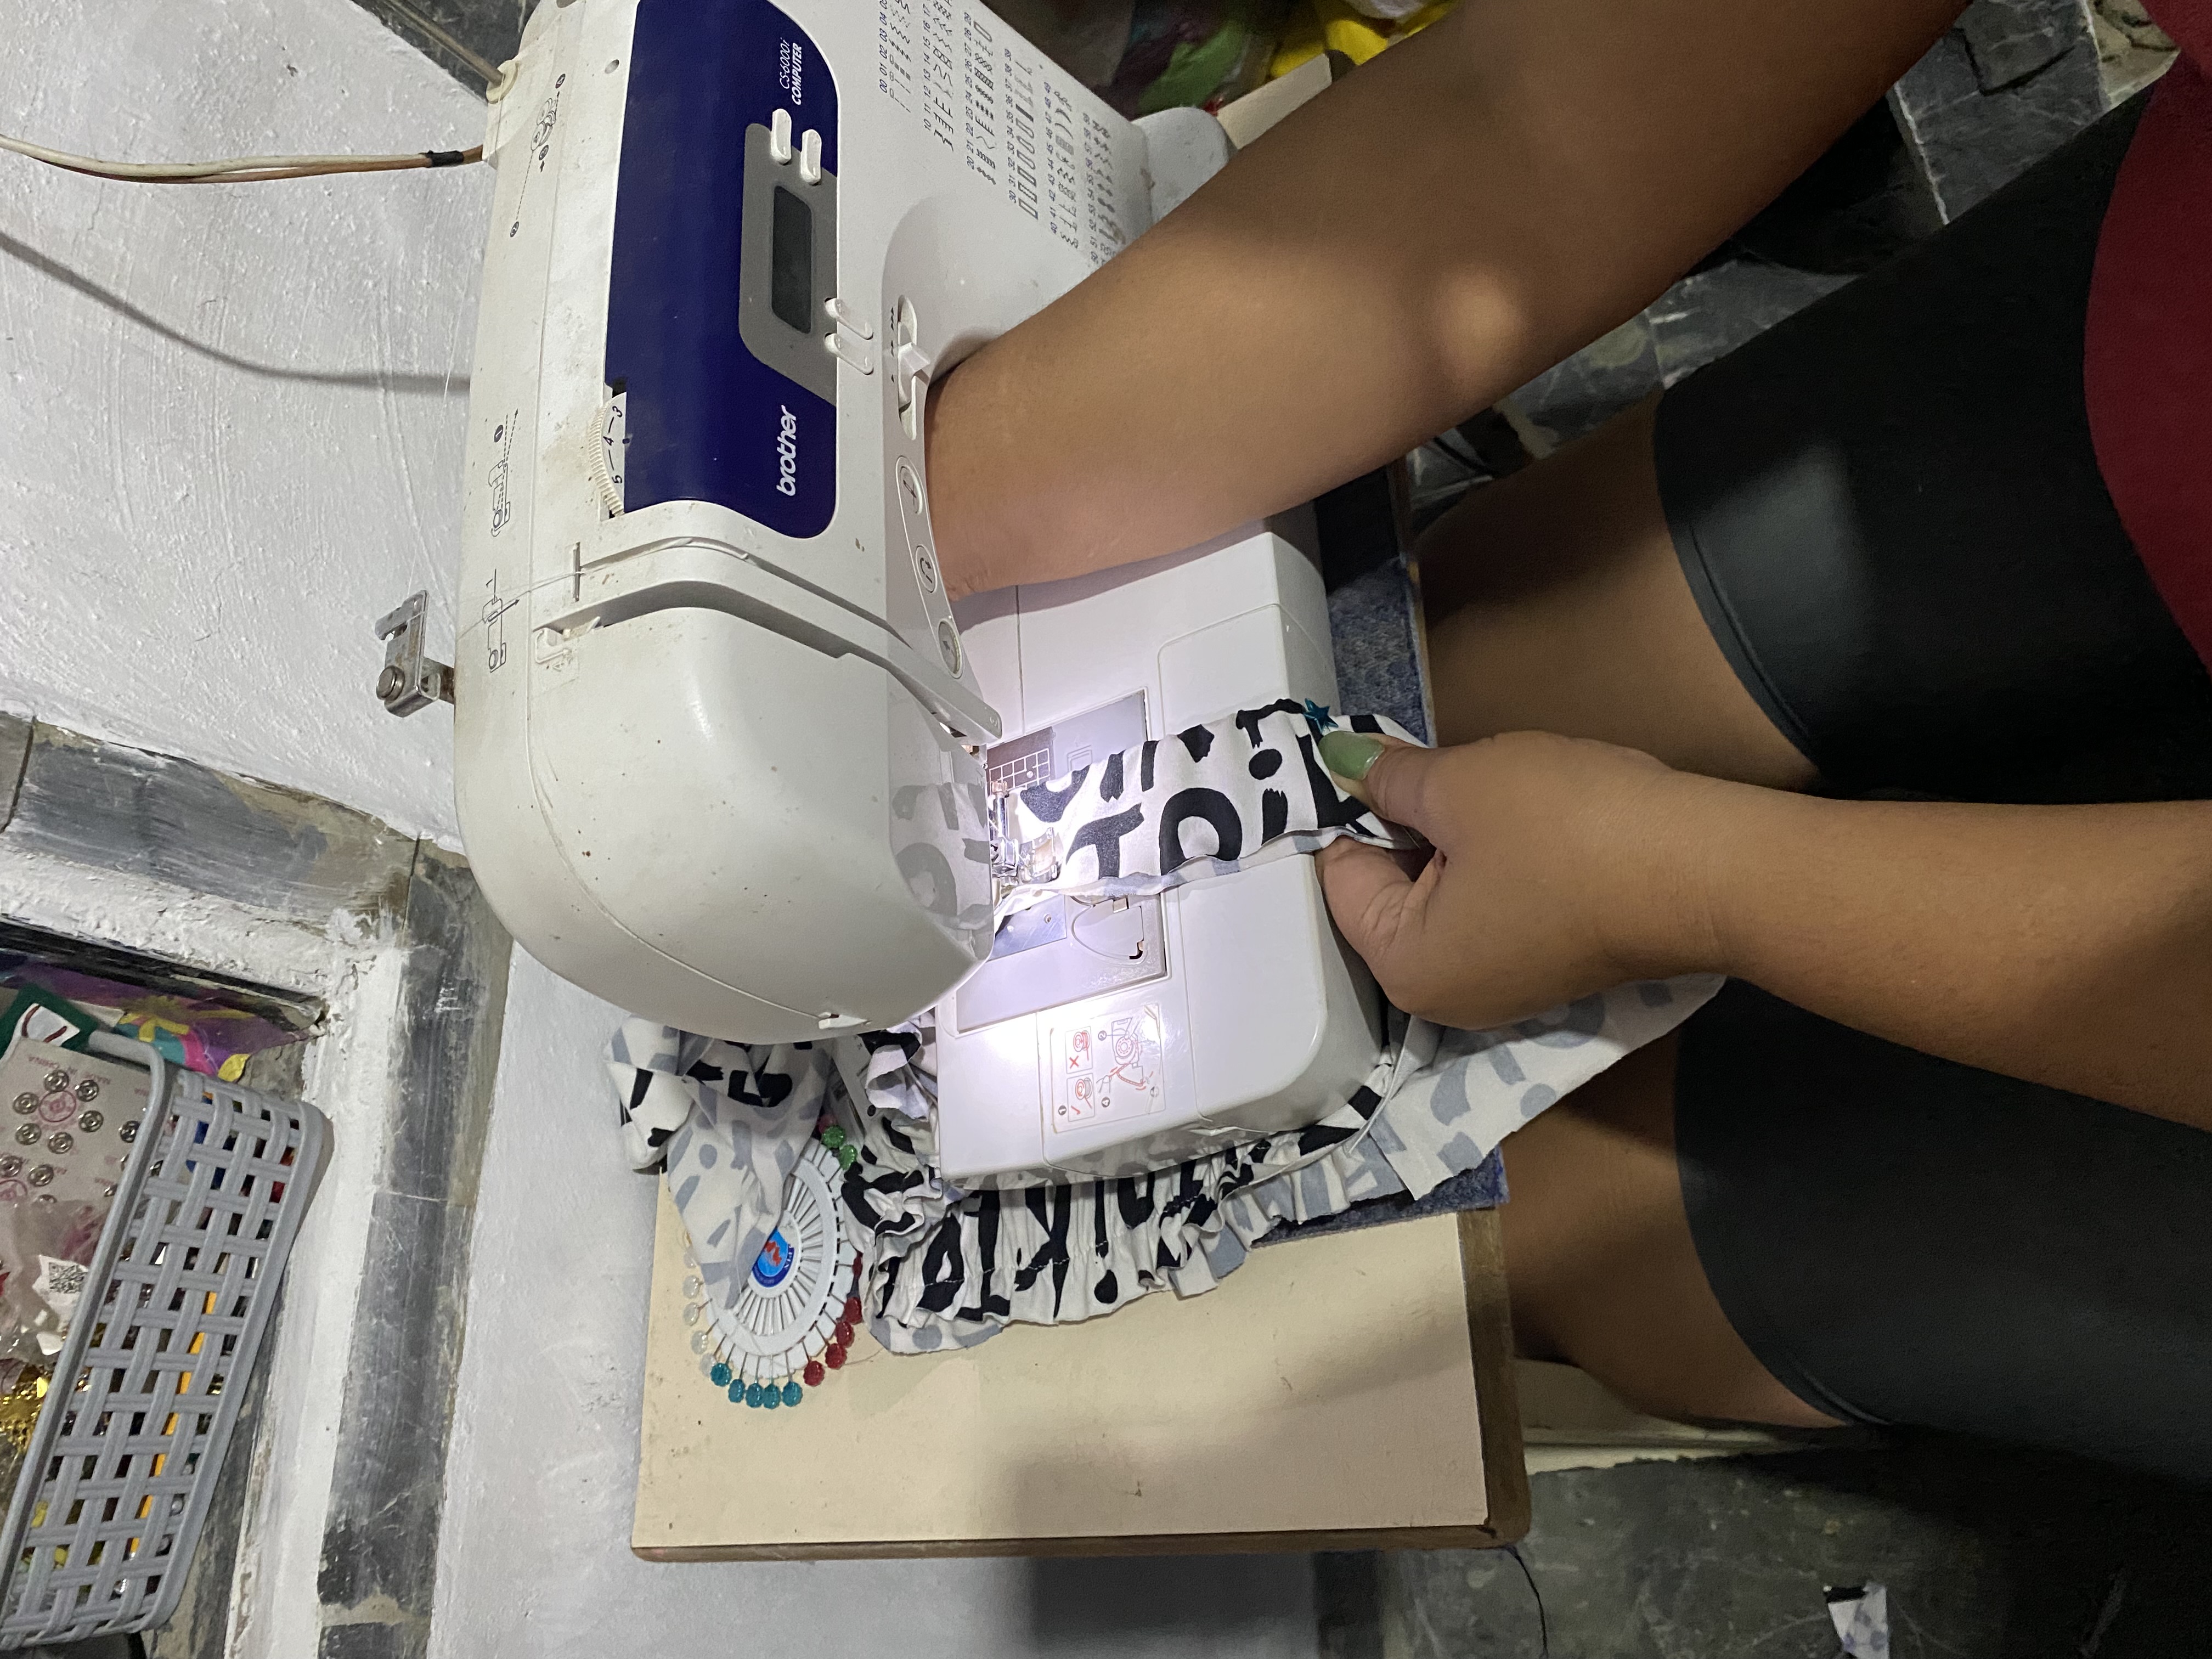
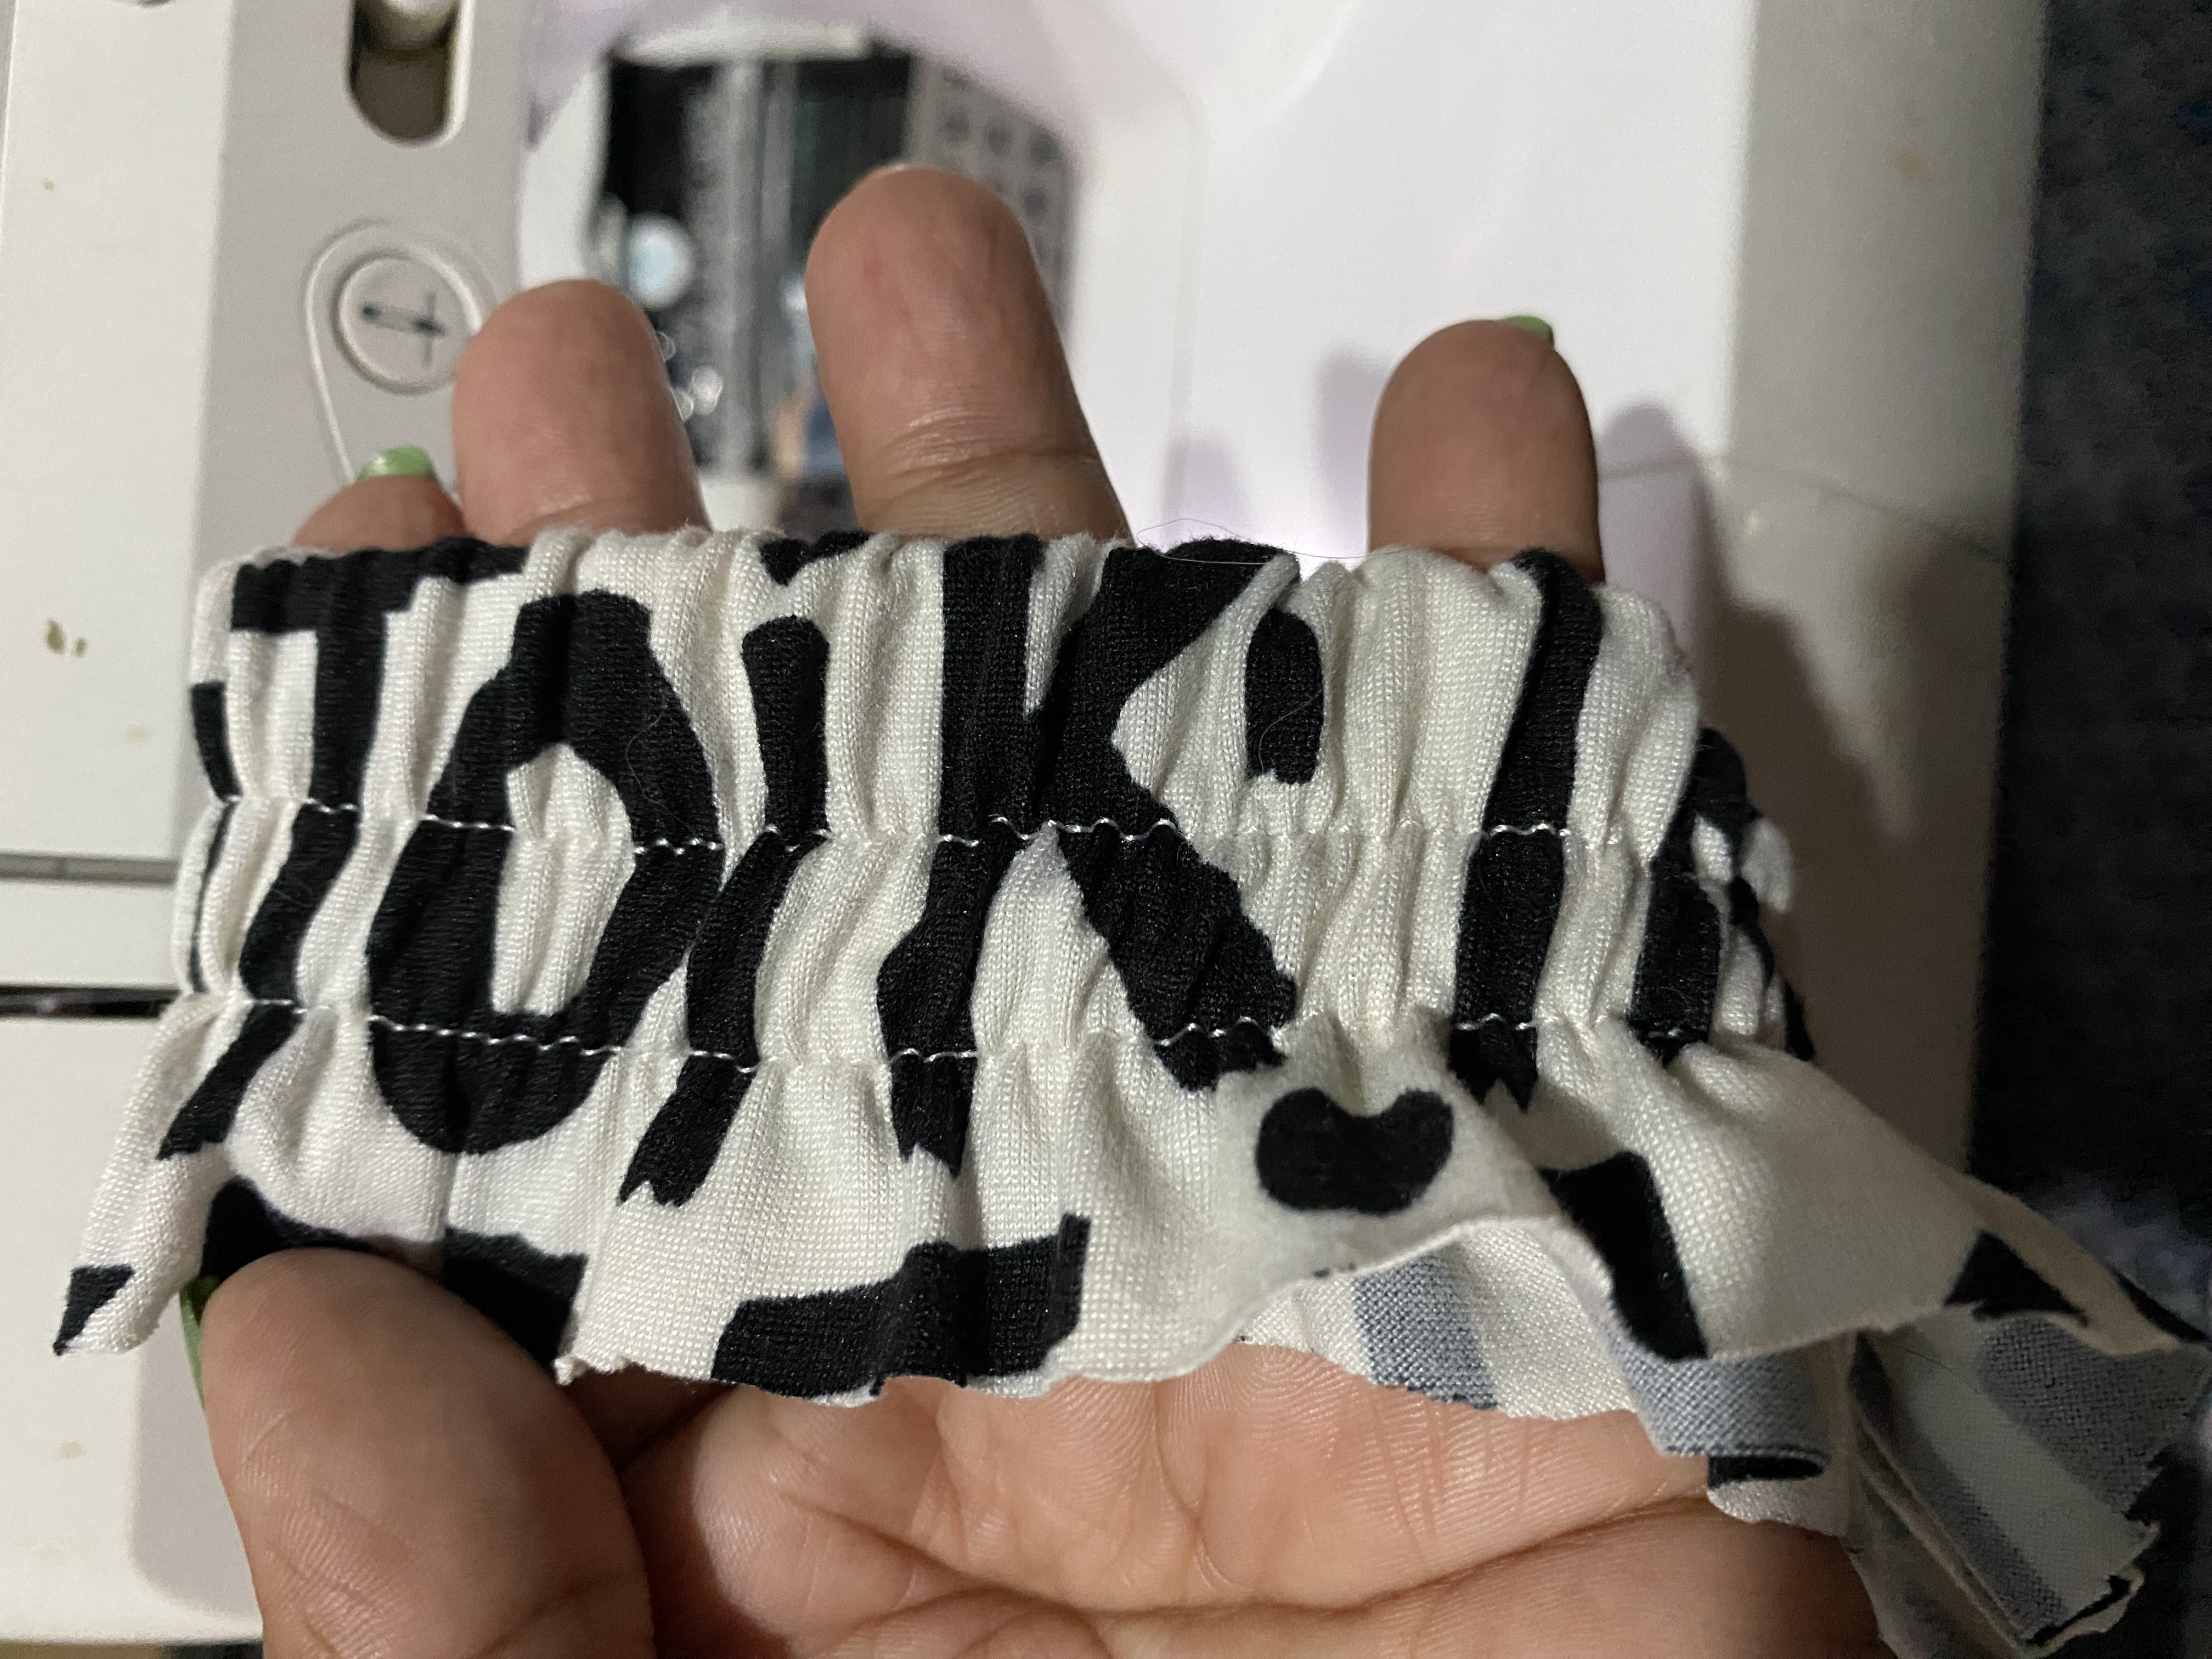
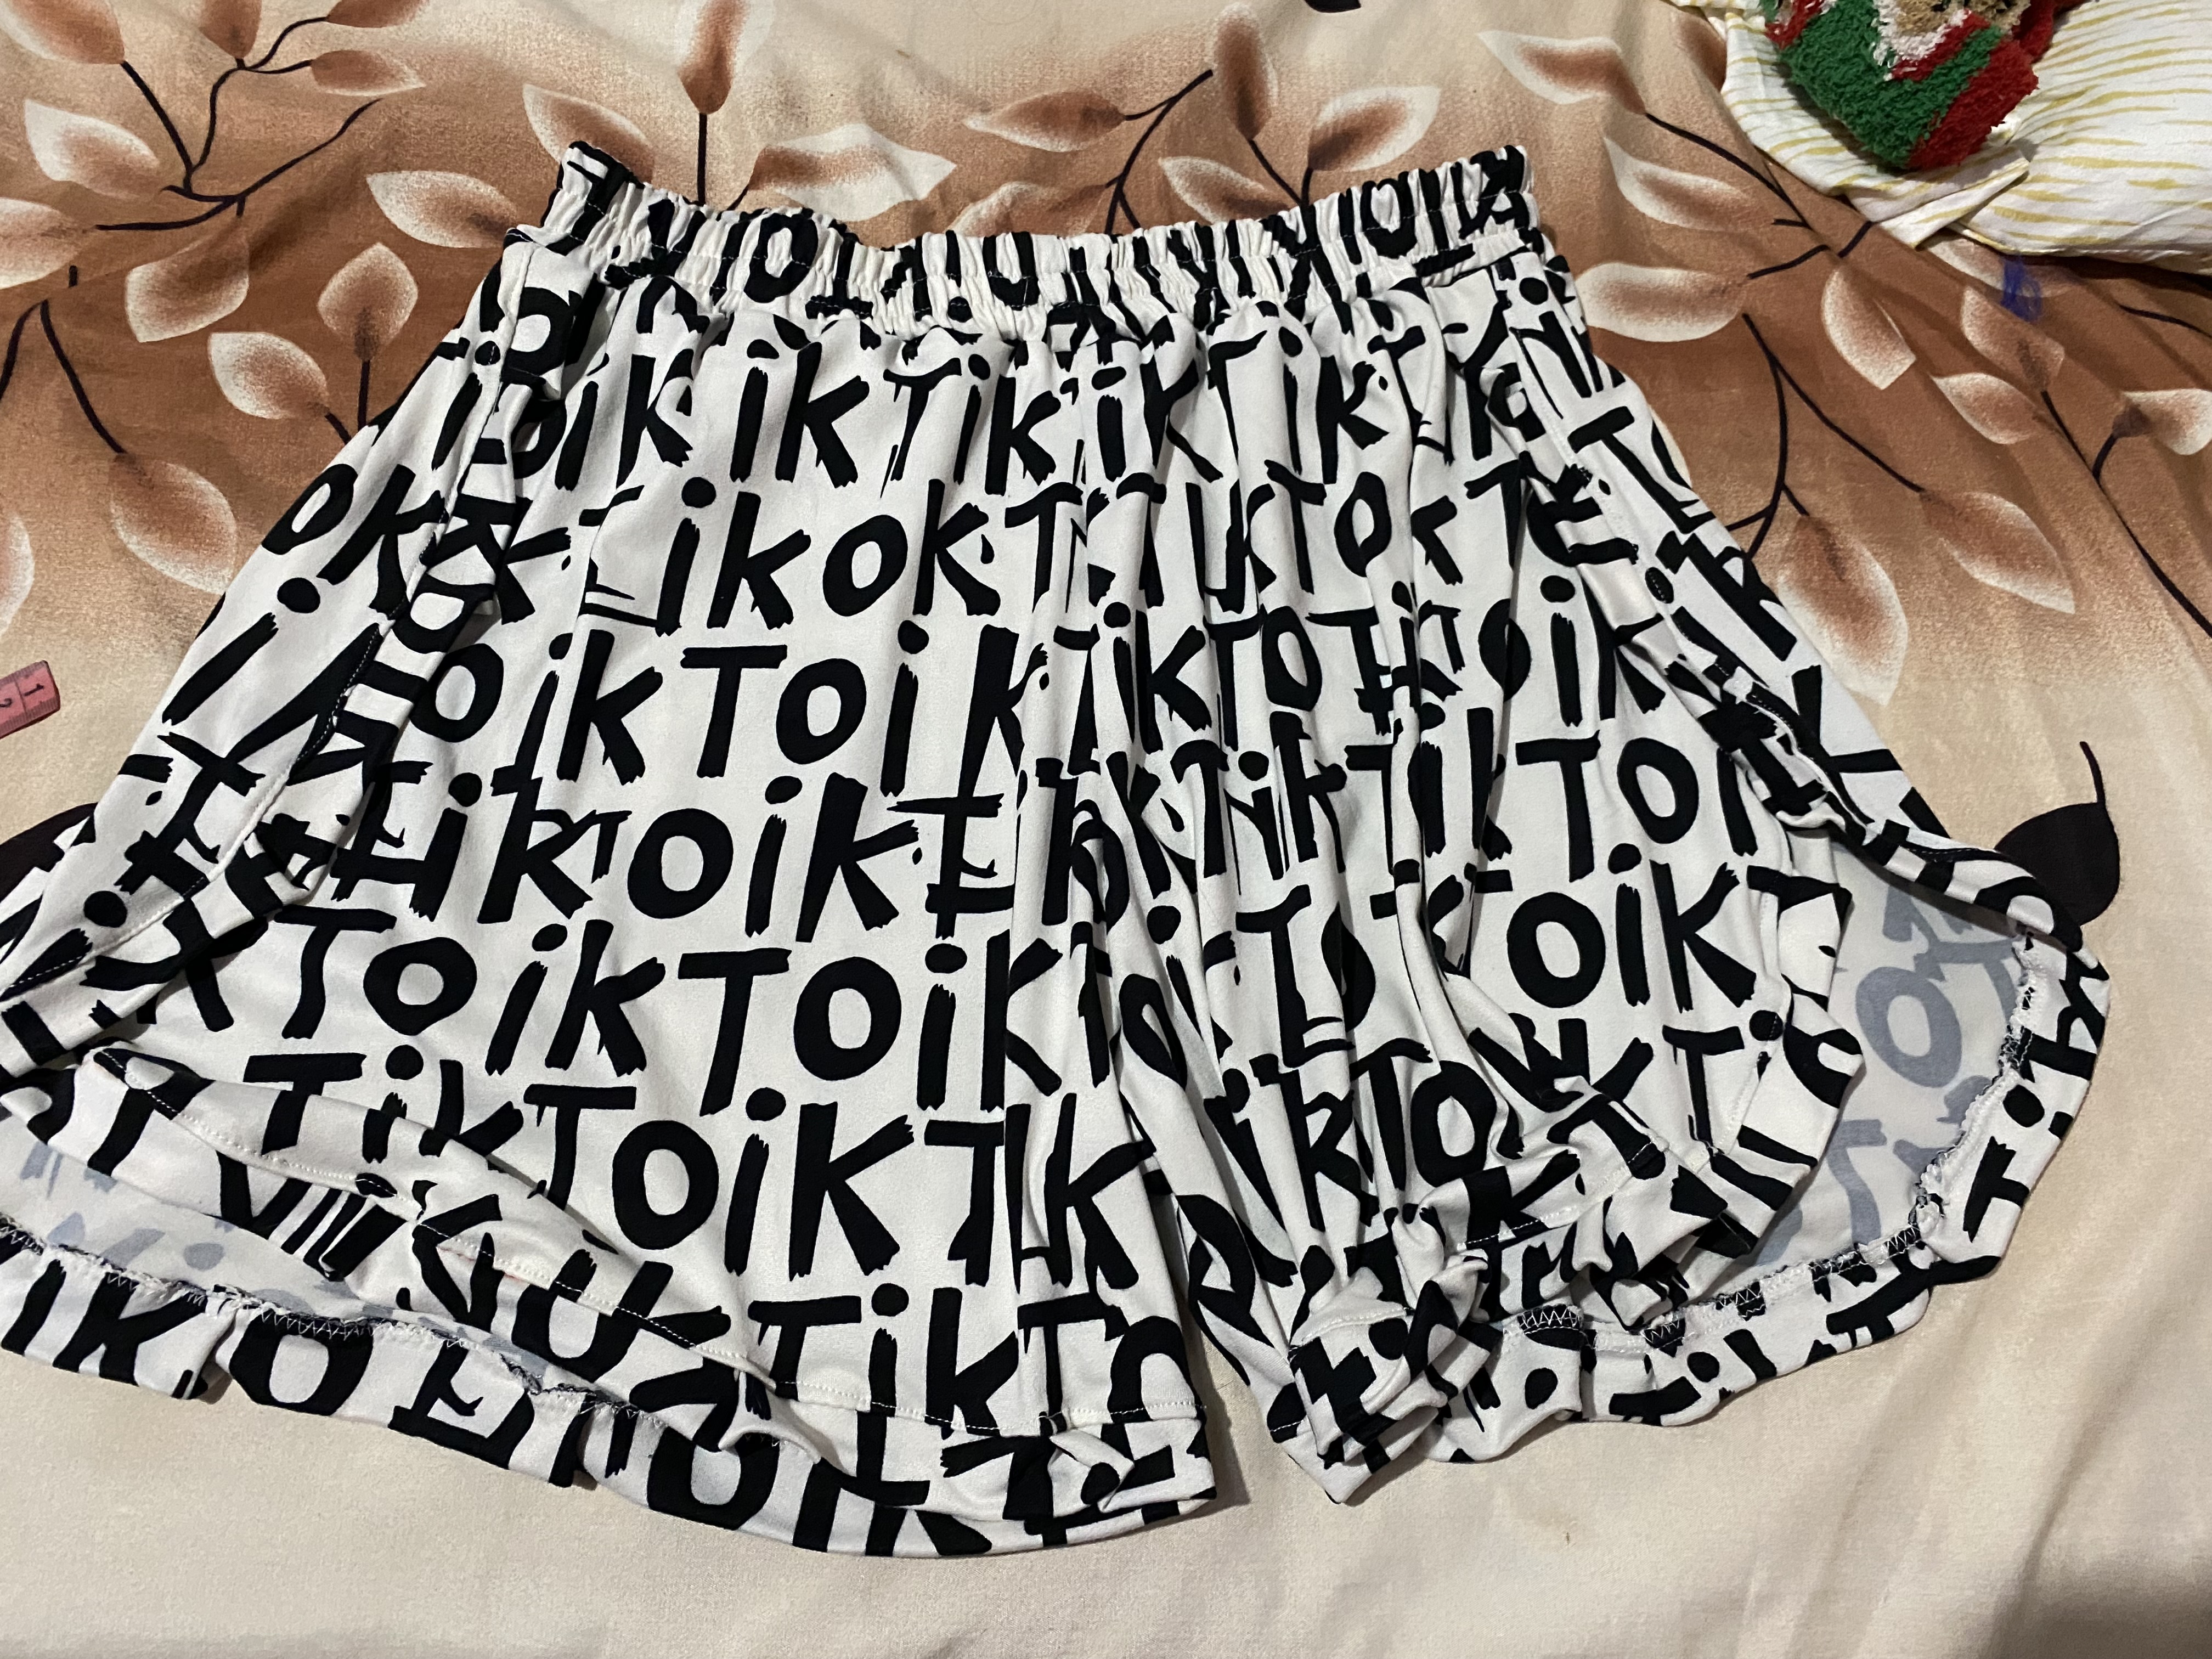
la cintura de nuestro Short se la haremos aparte, mediremos el contorno de cintura en mi caso es de 120 cm, cortamos una tira de tela de 10 cm de ancho por el largo del contorno de cintura, el elástico será de 72 cm este lo cerramos y lo unimos a la tira de tela cubriéndolo completamente , me gustó esta idea de hacerle la cintura aparte ya que lo hará un modelo diferente, luego de coser el elástico lo vamos a unir a nuestro Short y así ya estará listo el Short de nuestra pijama.
We will make the waist of our Shorts separately, we will measure the waist circumference in my case it is 120 cm, we cut a strip of fabric 10 cm wide by the length of the waist circumference, the elastic will be 72 cm we close it and join it to the strip of fabric covering it completely, I liked this idea of making the waist separately since it will make a different model, after sewing the elastic we will join it to our Shorts and thus the Shorts of our pajamas will be ready.
 |  |
|---|---|
 |  |
| --- | --- |
 |
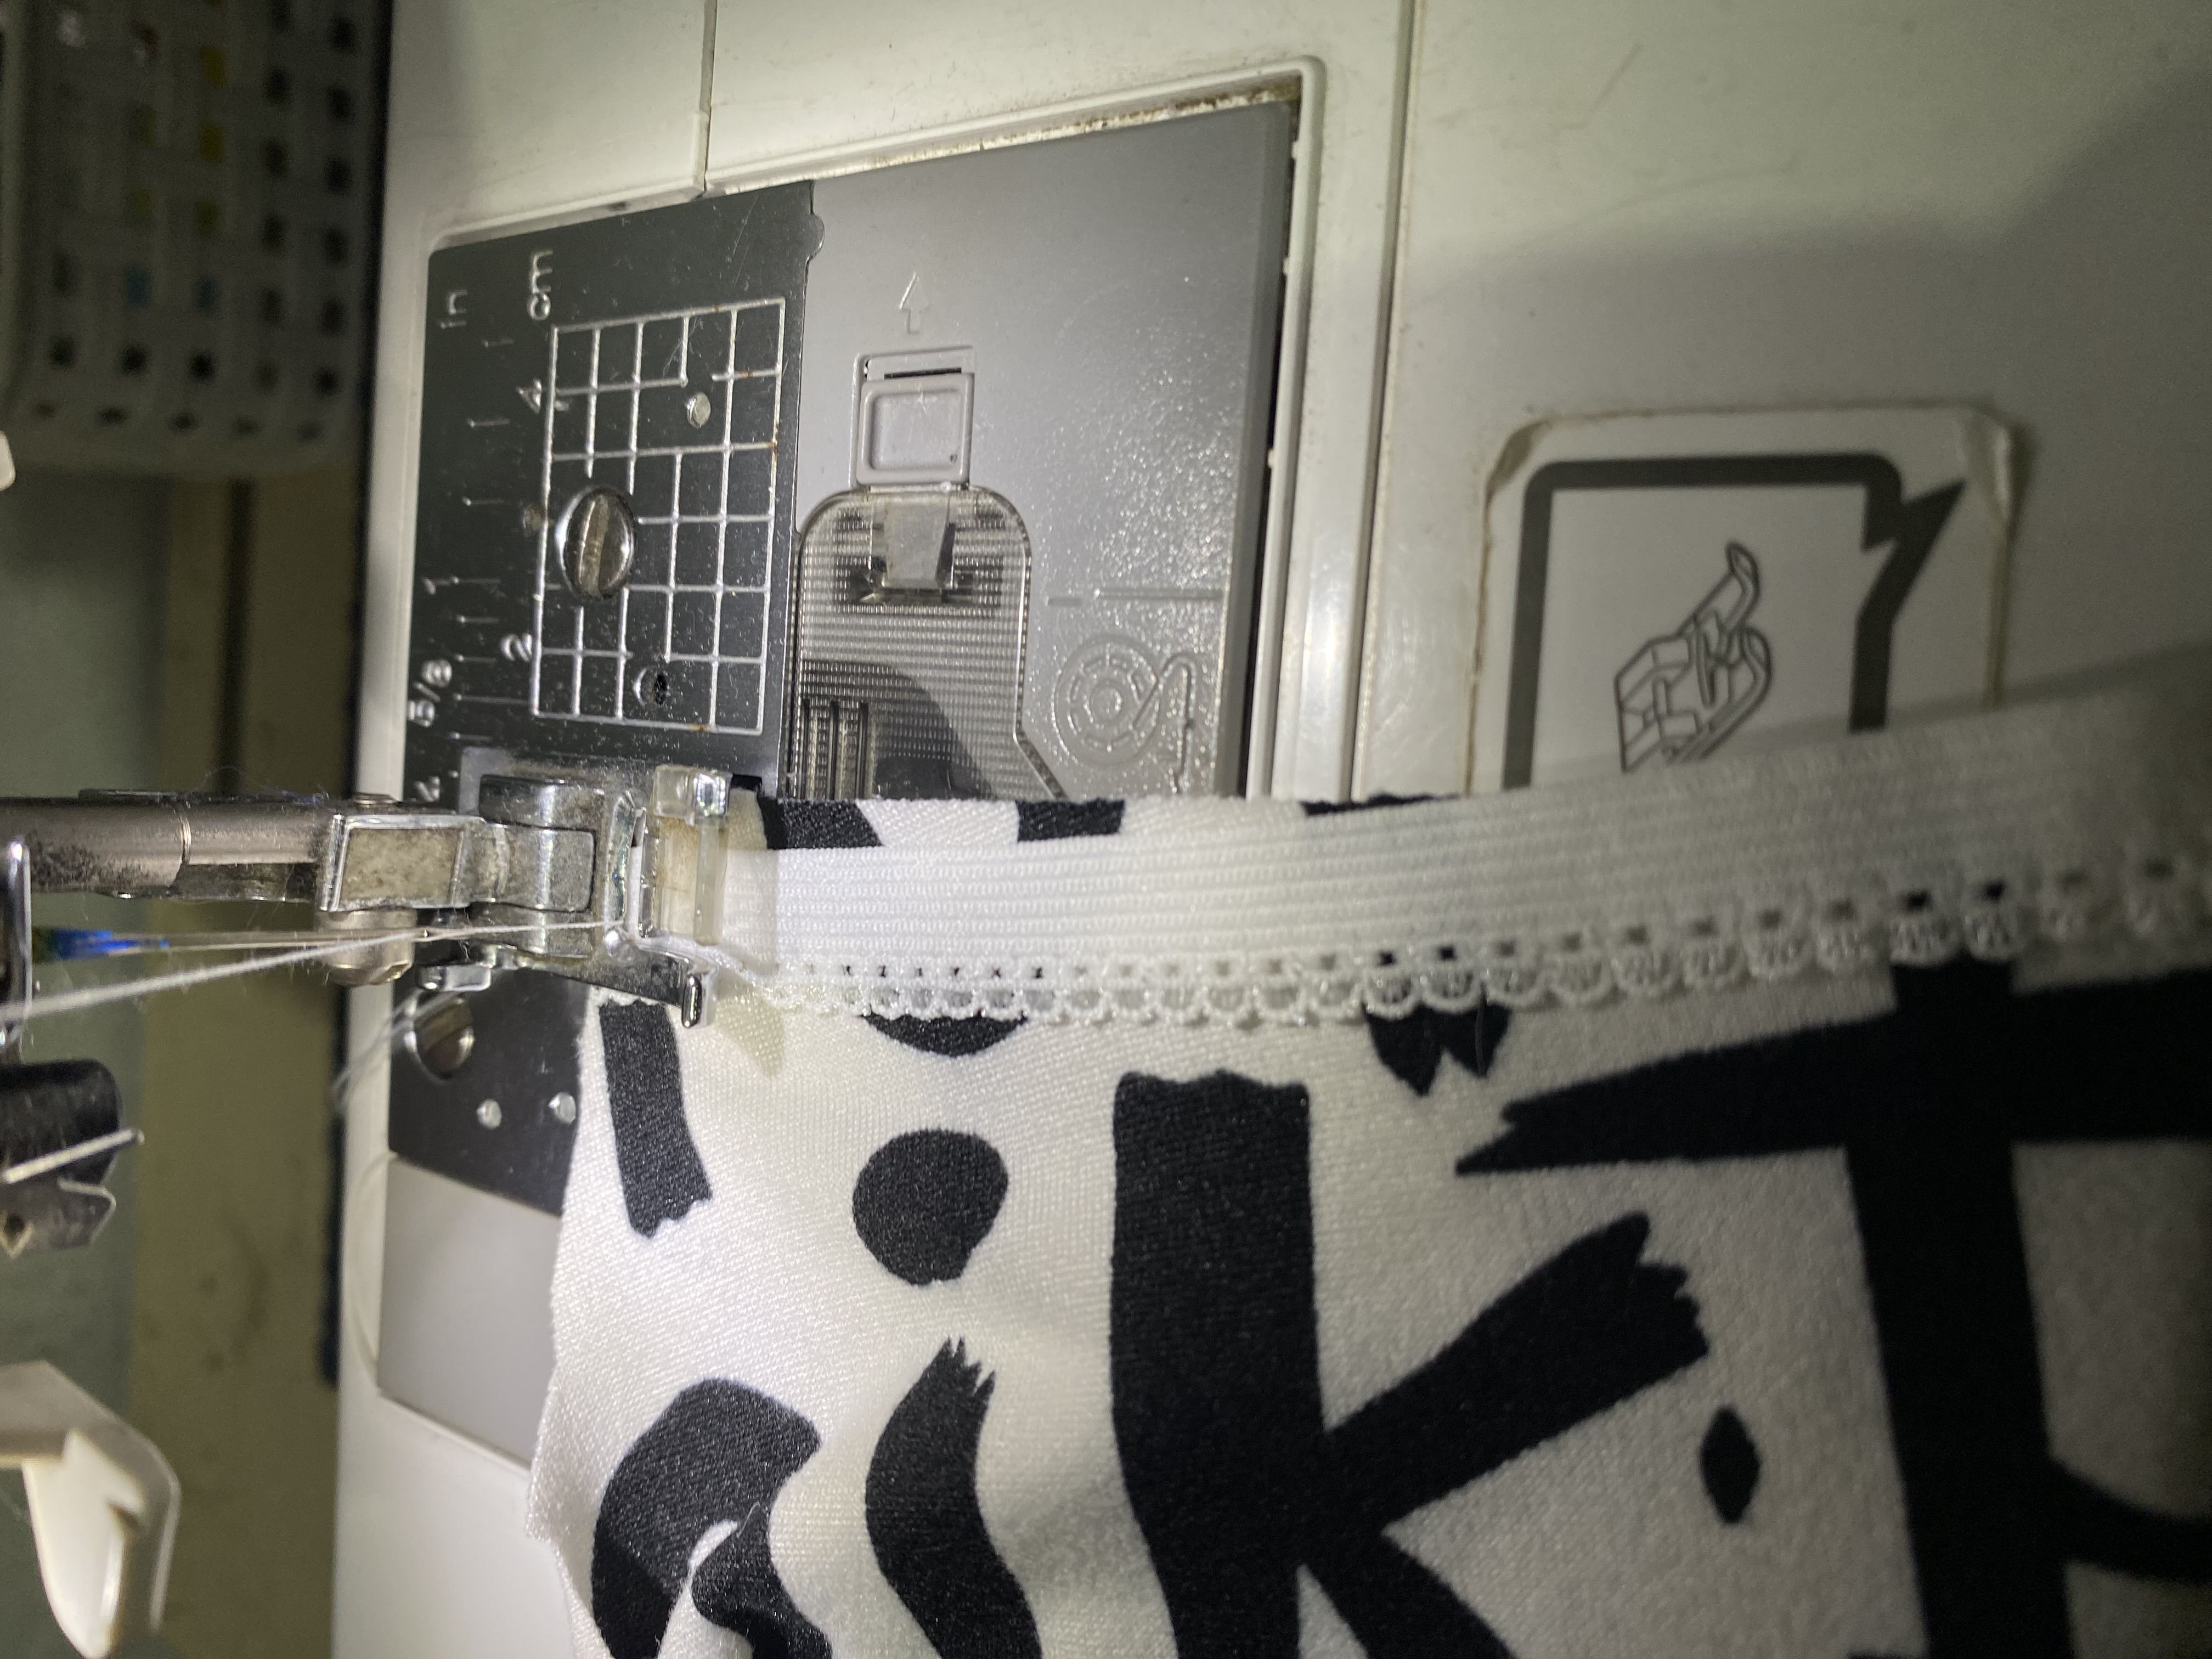
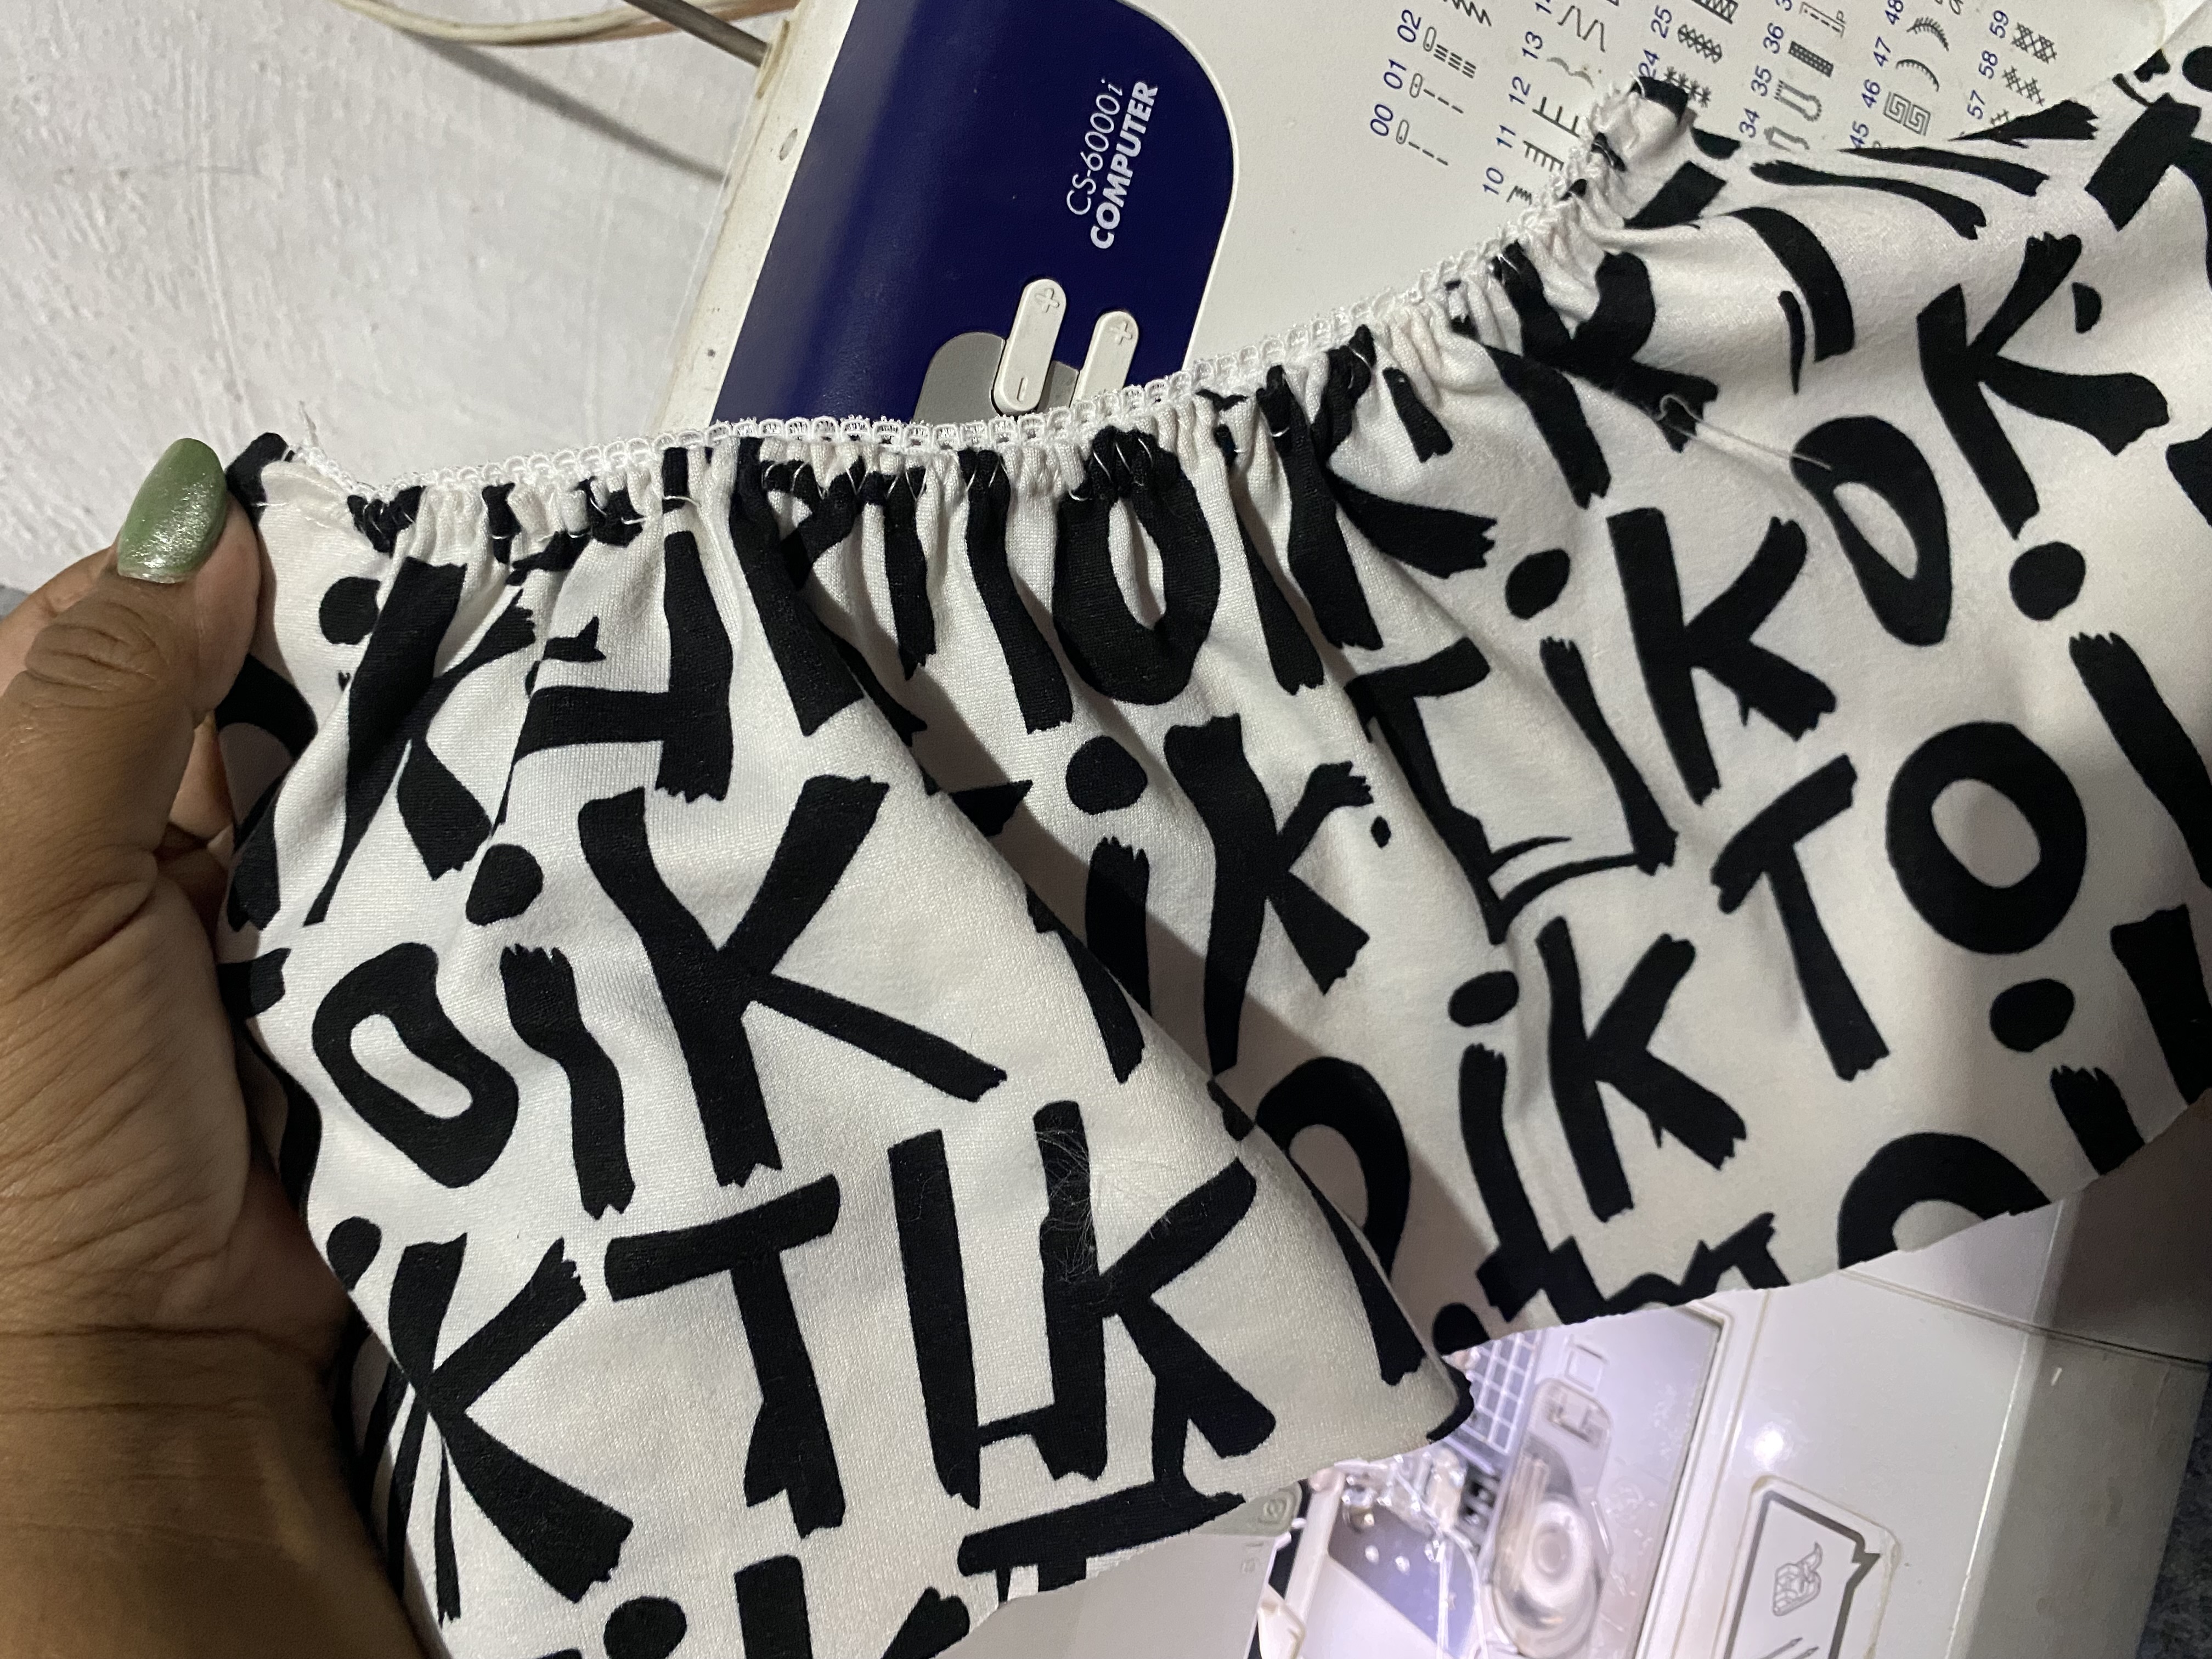
Ahora comenzaremos con nuestra blusa, a la orilla del escote le colocaré elástico del que se utiliza para las Pantys, y utilizaré la misma técnica para coser este elástico,, luego voy a unir las dos piezas de la blusa en la parte baja del busto.
Una técnica para unir las dos piezas delanteras de la blusa es pasarle costura a los lados y luego en el Centro, continuamos atruchando el sobrante y pasamos costura completa, así lograremos que nos quede bien en ambos lados, luego unimos a la parte de atrás por los laterales.
Now we will start with our blouse, at the edge of the neckline I will place elastic like the one used for tights, and I will use the same technique to sew this elastic, then I will join the two pieces of the blouse at the lower part of the bust.
One technique to join the two front pieces of the blouse is to sew along the sides and then in the center, we continue to tuck in the excess and sew the entire seam, this way we will get it to look good on both sides, then we join it to the back by the sides.
 |  |
|---|---|
 |
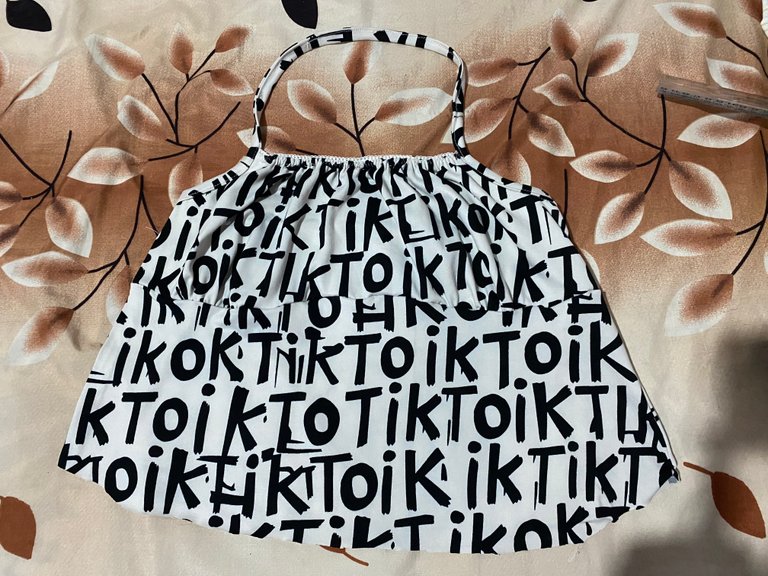
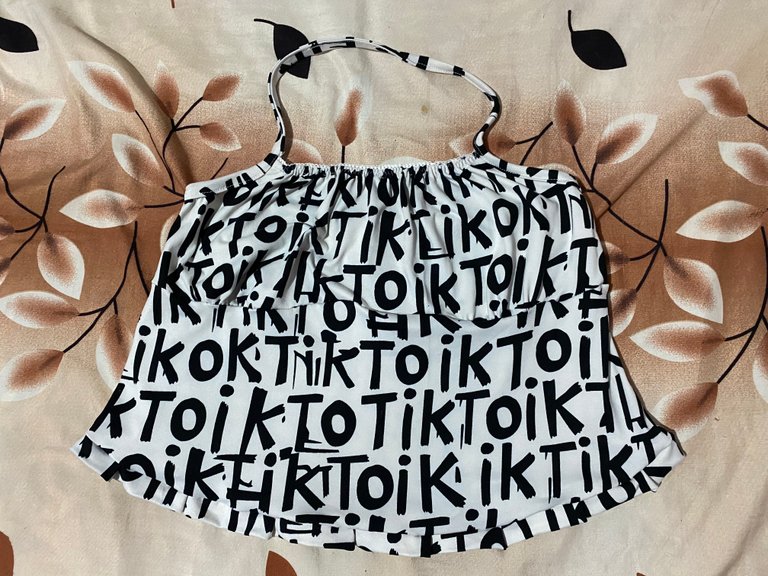
Para el ruedo de mi blusa voy a cortar otra tira de 4 cm y le haré la orilla con pliegues igual como se la hice al Shorts, para la orilla superior voy a colocarle la tira del mismo ancho en forma de sesgo y la cerraste en la parte del cuello y así será completamente escotada en la espalda y con esto finalizamos nuestra blusa.
For the hem of my blouse I'm going to cut another 4 cm strip and I'll make the edge with pleats just like I did for the shorts. For the upper edge I'm going to place the strip of the same width in a bias shape and close it at the neckline so that it will be completely low-cut at the back and with this we finish our blouse.
 |  |
|---|
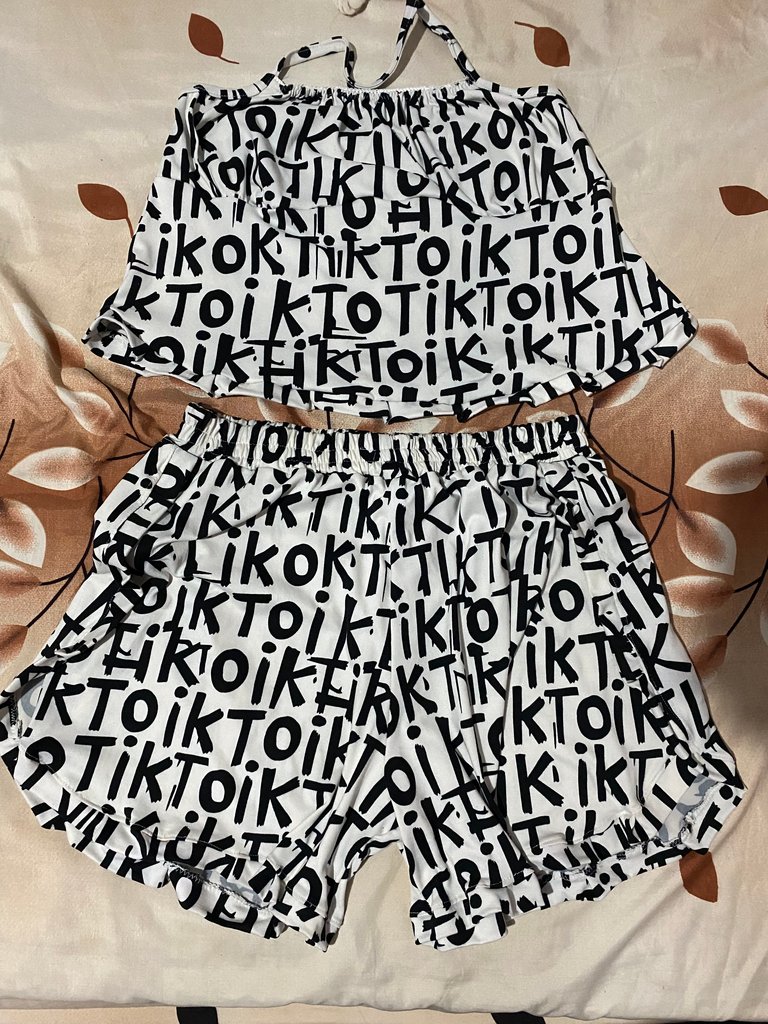
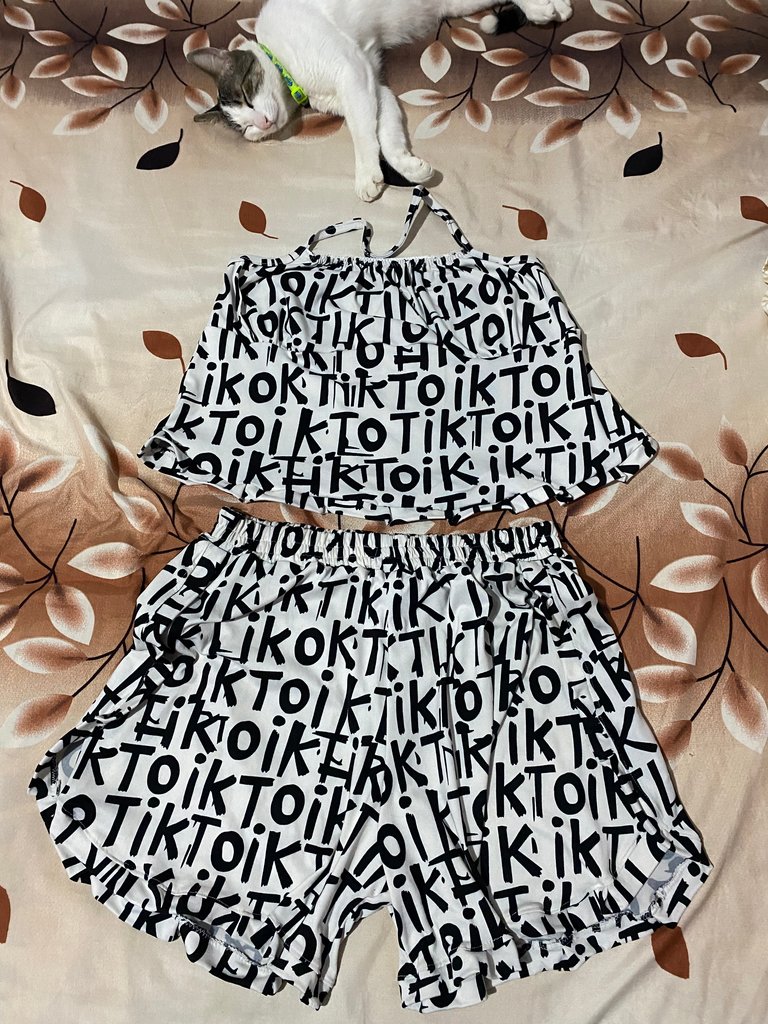
Es emocionante cuando inventamos en la costura, aquí les muestro el resultado completo de esta linda pijama, en lo personal me encantó el resultado, me gustaría conocer sus opiniones, de antemano estoy muy agradecida de qué hayas visitado mi Publicación, me despido deseándoles muchos éxitos y bendiciones
It's exciting when we invent in sewing, here I show you the complete result of this cute pajamas, personally I loved the result, I would like to know your opinions, in advance I am very grateful that you have visited my publication, I say goodbye wishing you many successes and blessings

!PIZZA
This is so beautiful and unique
Thank you 😊
$PIZZA slices delivered:
(5/15) @ydaiznfts tipped @marlynmont
Es una tela muy cómoda para pijamas y el modelo te ha quedado muy bien. Felicidades.
Gracias 🥰
Thanks for showing us the steps involved in the making of a pajama, this was so helpful. Well done and thanks for sharing.
El modelo la camisa lo ame. Gracias por compartir
Hi @marlynmont, love that idea looks great