Buenas tardes queridos amigos Hoy les voy a enseñar Cómo hacer un cómodo Y portátil organizador fácil para transportar.
Good afternoon dear friends Today I am going to show you how to make a comfortable and portable organizer easy to carry.

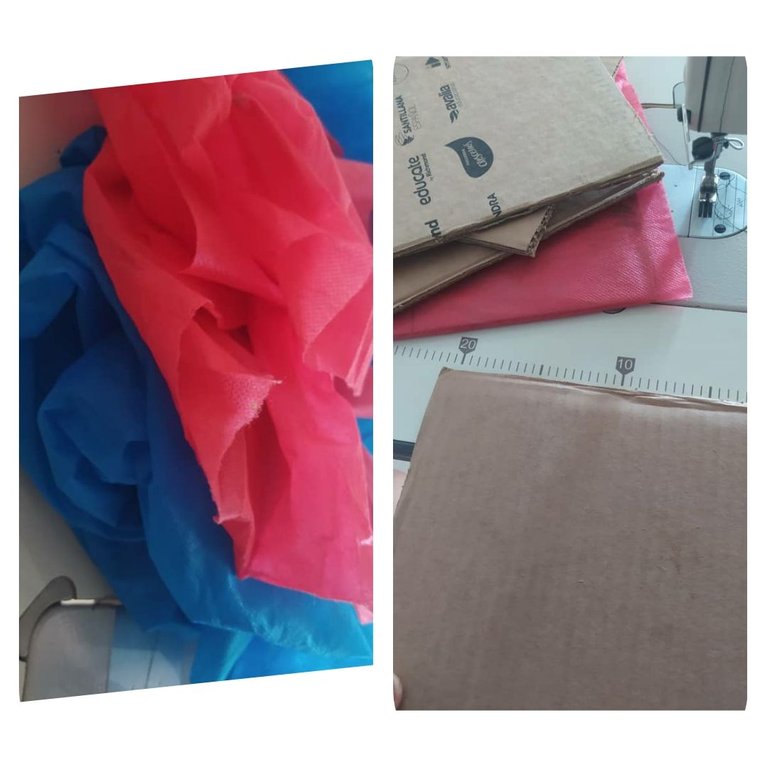
Materiales:
✓ Un metro de tela unicolor.
✓ 80 cm de tela estampada o de su color favorito.
✓ Cartón.
✓ Hilo.
✓ Tijera.
✓ Metro
✓ Máquina de coser.
Materials:
✓ One meter of unicolor fabric.
✓ 80 cm of printed fabric or your favorite color.
✓ Cardboard.
✓ Spun yarn.
✓ Scissors.
✓ Metron.
✓ Sewing machine.

Primer paso:
Se cortan tres rectángulos de un metro 10 cm de alto y 22 cm de ancho se unen haciendo una costura de aproximadamente 2 cm de manera que uno de los rectángulos se al fondo del organizador y los otros dos sean los laterales quedando así realizado el cuerpo de nuestro organizador.
First step:
Cut three rectangles of one meter 10 cm high and 22 cm wide and join them together making a seam of approximately 2 cm so that one of the rectangles is at the bottom of the organizer and the other two are the sides, thus making the body of our organizer.
Segundo paso:
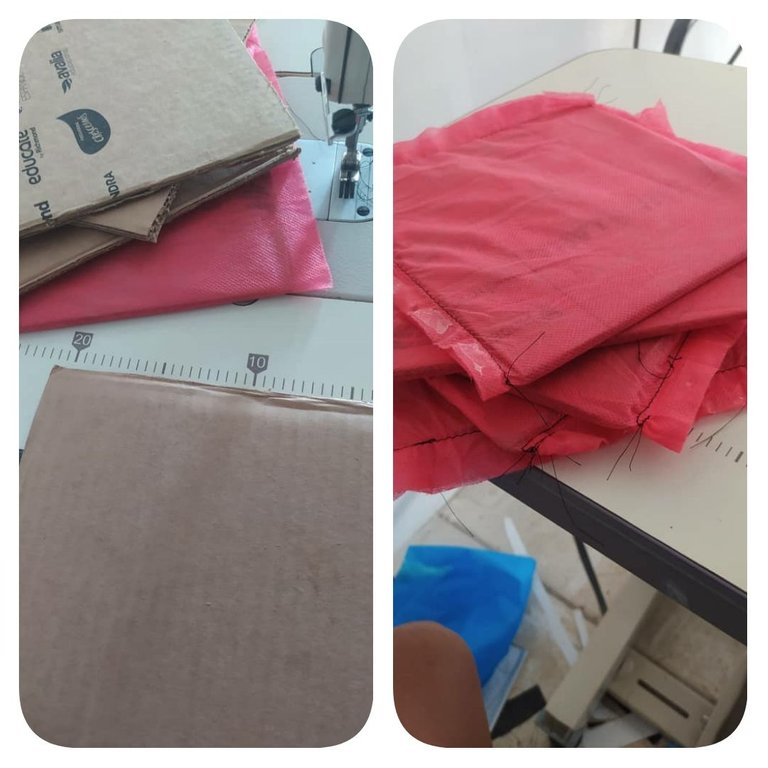
Se cortan cinco cuadrados de cartón los cuales deben medir 20 cm por cada lado de igual manera cortaremos 10 cuadrados de tela los cuales deben medir 22 cm por cada lado en este caso la tela roja .seguidamente poseemos dos de ellos por tres de sus lados damos vuelta Es decir volteamos para que la costura quede en la parte interna introducimos un pedazo de cartón y sellamos la abertura haremos este procedimiento con los otros cartones formando así nuestros travesaños los cuales se unen siendo el primero en la parte inferior del cuerpo del organizador y el siguiente dejando 20 cm de espacio continuamos y de este mismo modo colocamos los demás luego cocemos la parte alta o Superior colocamos un lazo y así tenemos nuestro trabajo culminado.
Second step:
We cut five squares of cardboard which should measure 20 cm on each side in the same way we will cut 10 squares of fabric which should measure 22 cm on each side in this case the red fabric. Then we have two of them by three of its sides we turn over that is to say we turn over so that the seam is on the inside we introduce a piece of cardboard and seal the opening we will do this procedure with the other cardboard thus forming our crossbars which are joined being the first at the bottom of the body of the organizer and the following leaving 20 cm of space we continue and in this same way we place the others then we cook the top or Top we place a loop and so we have our work completed.

Amigos Este es mi tutorial de hoy fácil y práctico espero lo reciba con el mismo cariño con que yo lo realice bendiciones y hasta un nuevo tutorial.
Friends This is my tutorial today easy and practical I hope you receive it with the same affection with which I made it blessings and until a new tutorial.

si que está muy práctico este organizador, gracias por compartirlo :D
Muchas a ti por leerme @irenenavarroart!
Wow this is so lovely I must admit such creative mind you have there to be able to create something of this nature weldon and thanks so much for sharing
I'm glad you liked it, thanks for visiting my post.... This organizer is easier to make than we thought. Regards @smilestitches!
Well I’ll only find out when I try it 😂 thanks again for sharing