Hello Hive
With a heart full of joy and fulfilment I have come to the end of the road satisfied and glad that this wasn't ruined after all.
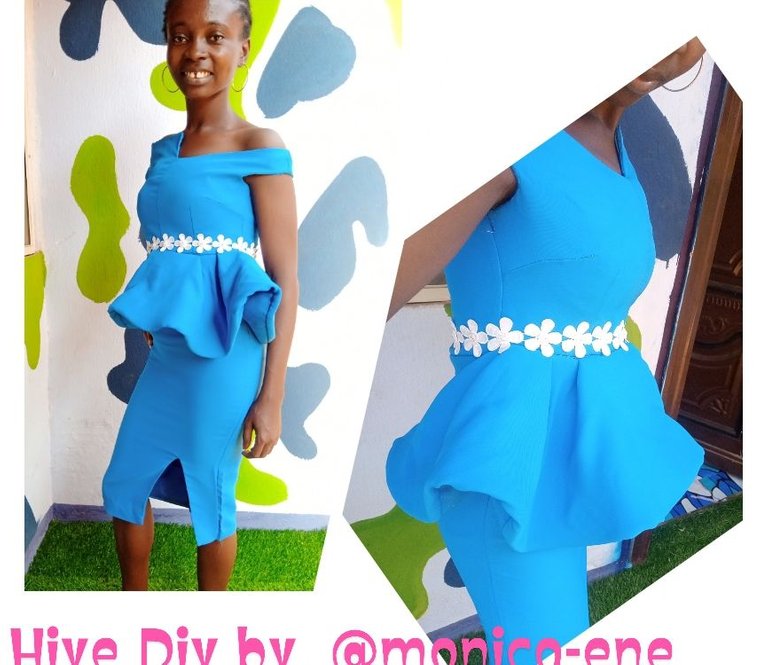
My assignment and diy dress was really tasking.
I started the process for making the dress here and kept lamenting over some things I wasn't familiar with.
I wasted fabrics and was pained but it paid in the end and now that I have made my dress.
The sleeve was the major challenging part, one side was cut together with the cloth and easy to achieve with pattern while the other was to be cut and joined. That was where the problem was.
It had an opening that needed to be turned in nicely.
To cut the story short, you may just want to know how I achieved the sleeve.
An off shoulder sleeve.
- Get your perfect Armhole depth measurement with this method.
Shoulder measurements/2 plus 0.5inches = 14/2 + 0.5 for me its 7.5
Or
Bust C/2 minus 1inch.
34/2 - 1 which is 7.5
Measure your Armhole line and come down by 3 inches to measure your cap sleeve circumference.
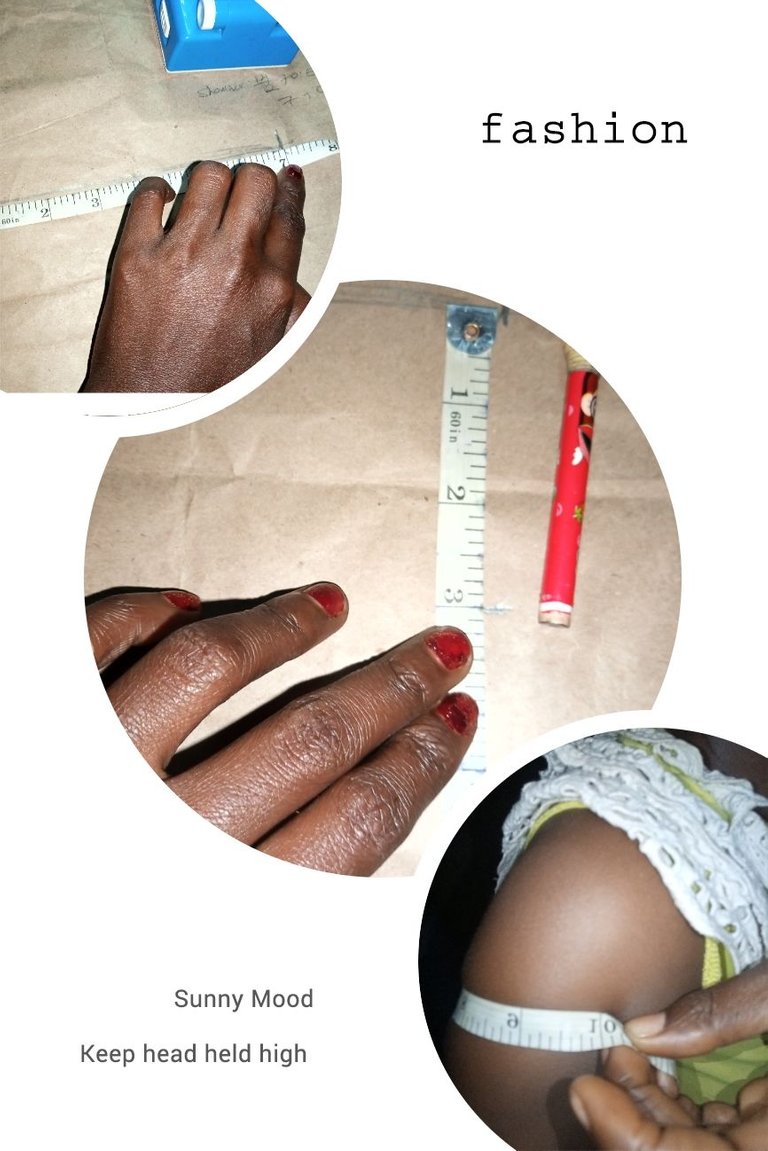
That's where to get a cap sleeve measurements just about 3inches below the Armhole.
Next you measure out your cap sleeve circumference and the circumference of your desired length.
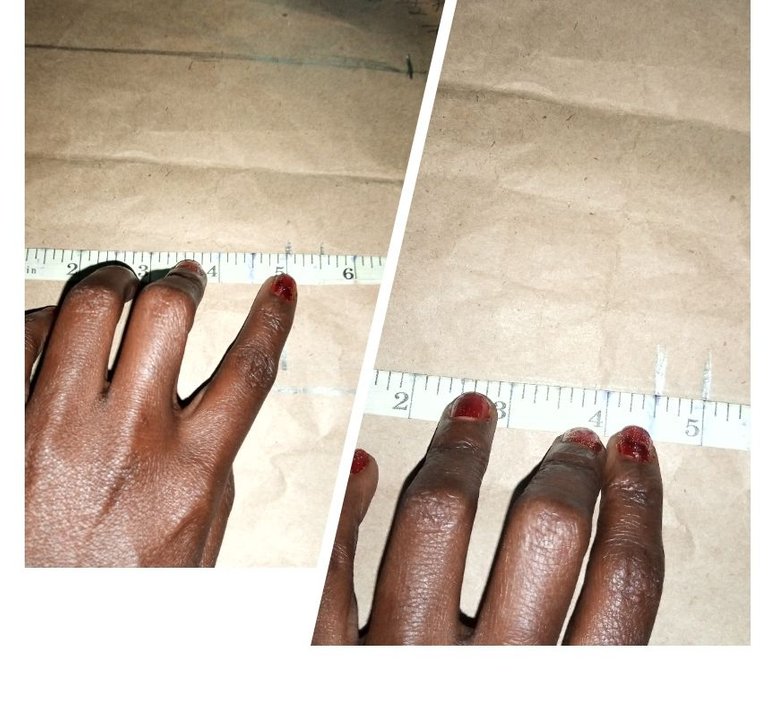
My cap is 10 so I measured 5 since its on fold while my round sleeve is 9 and I measured 4.5.. Each with 0.5inch seam.
Next you connect your Armhole to the cap with a curve like this.
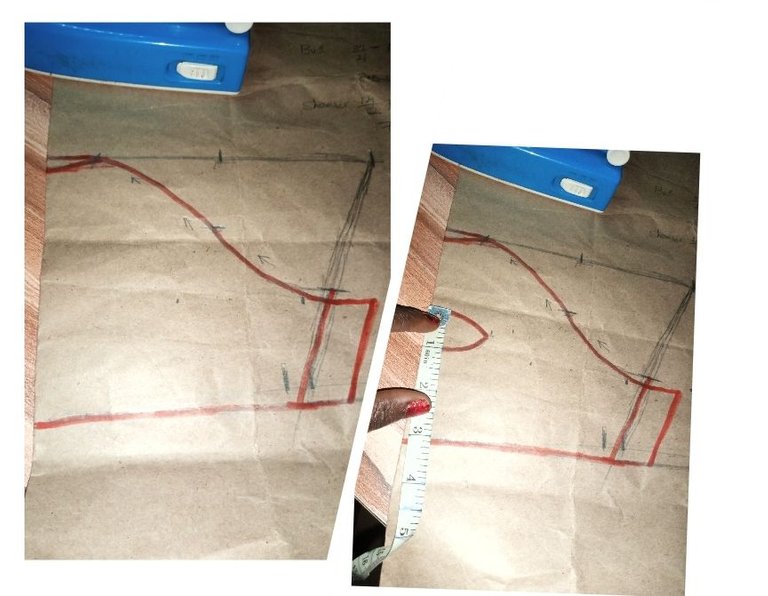
Incase you don't know how to get a curve.
Just divide your 7.5inches armhol depth by two and at that mid point come down by 1.5inches. Draw the curve outward to that point and then inward down to your cap.
Create an opening of desired length, mine is 1inche.
Note this important part.
In order to make your sleeve sit well with your dress. You have to compare the both Armhole of dress and sleeve then cut off the sleeve at the top to create the off shoulder part just like in the dress.
To do this.
Measure the round sleeve of dress for both front and back...
Take the measurements on your pattern and the remaining not needed part of the sleeve at the top is then cut out.
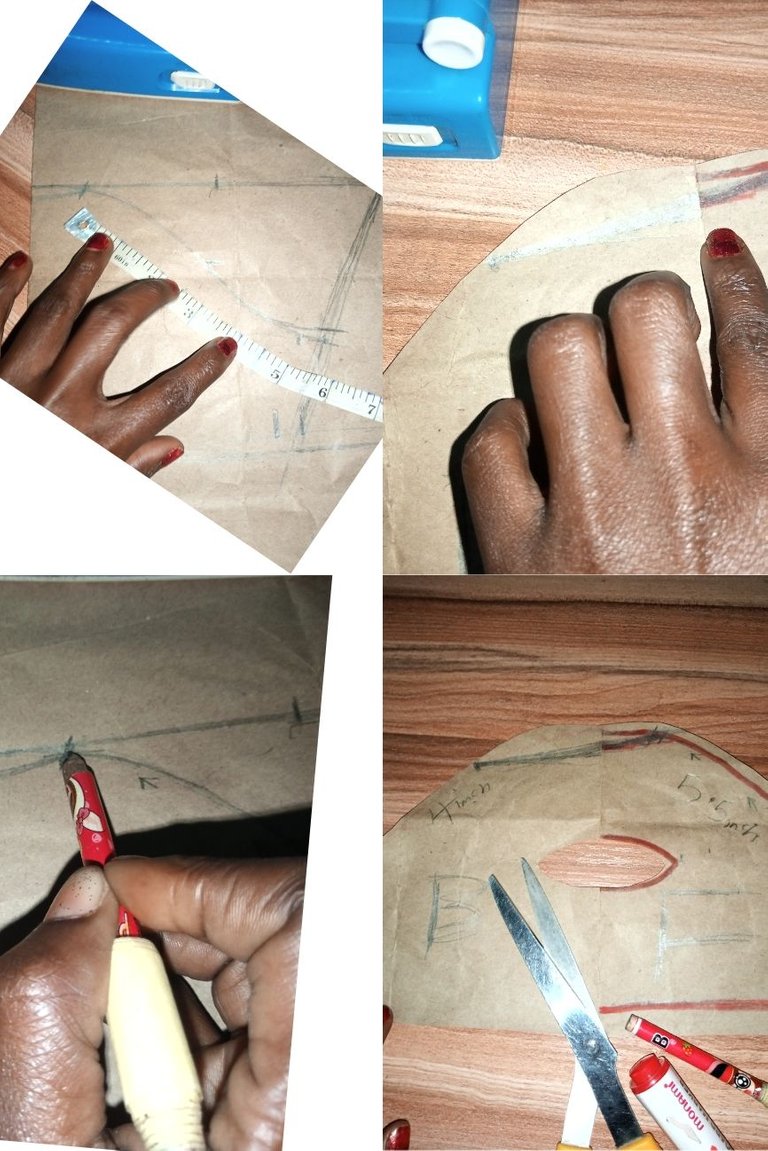
Front Armhole 5.5 inches
While back was 4inches.
I took both measurements from the end of cap sleeve and the.
front and back piece were connected in a straight line then cut the upper part off.
This was my sleeve Armhole will be exact size of the dress Armhole
And this is how to sew and turn in the sleeve
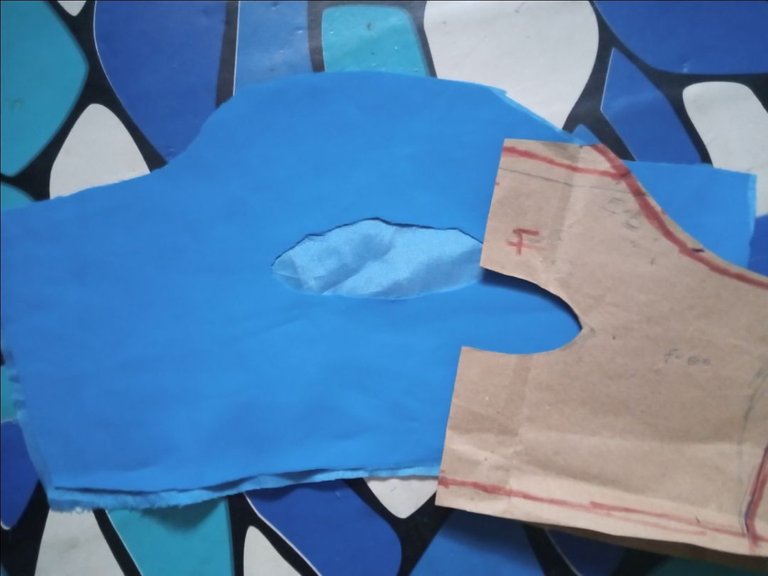
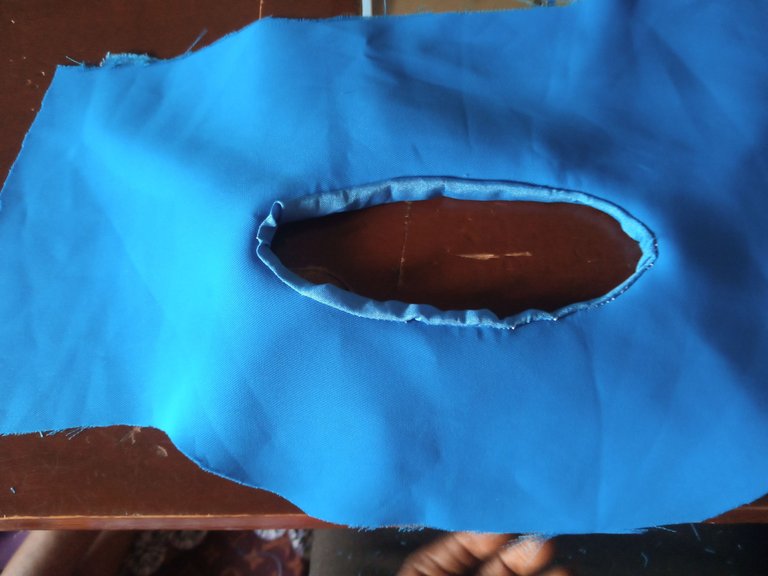
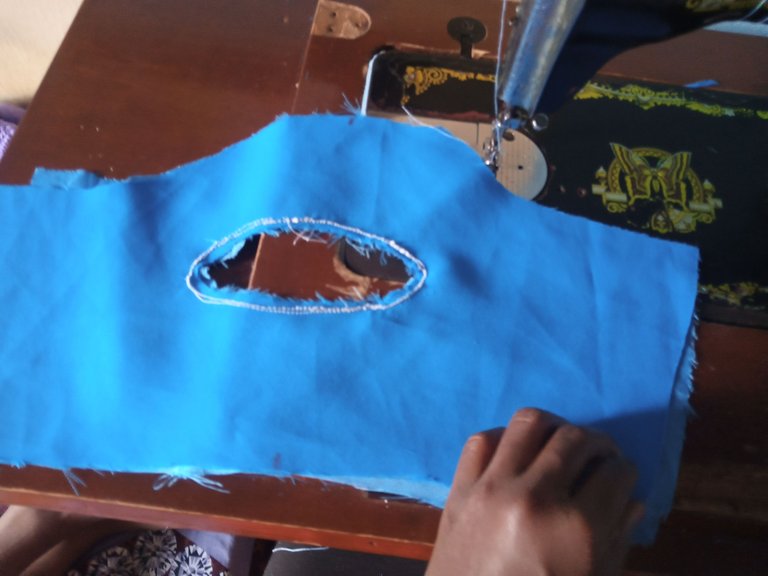
First cut and sew in the middle opening, turn it out before closing the cap and base else you will find this technical as well.
That's how best I can explain this but a video tutorial would have presented this better.
Well I have come to the end of my assignment. Am to drycleaning and package the dress for submission even though I couldn't model the dress beautifully just yet.
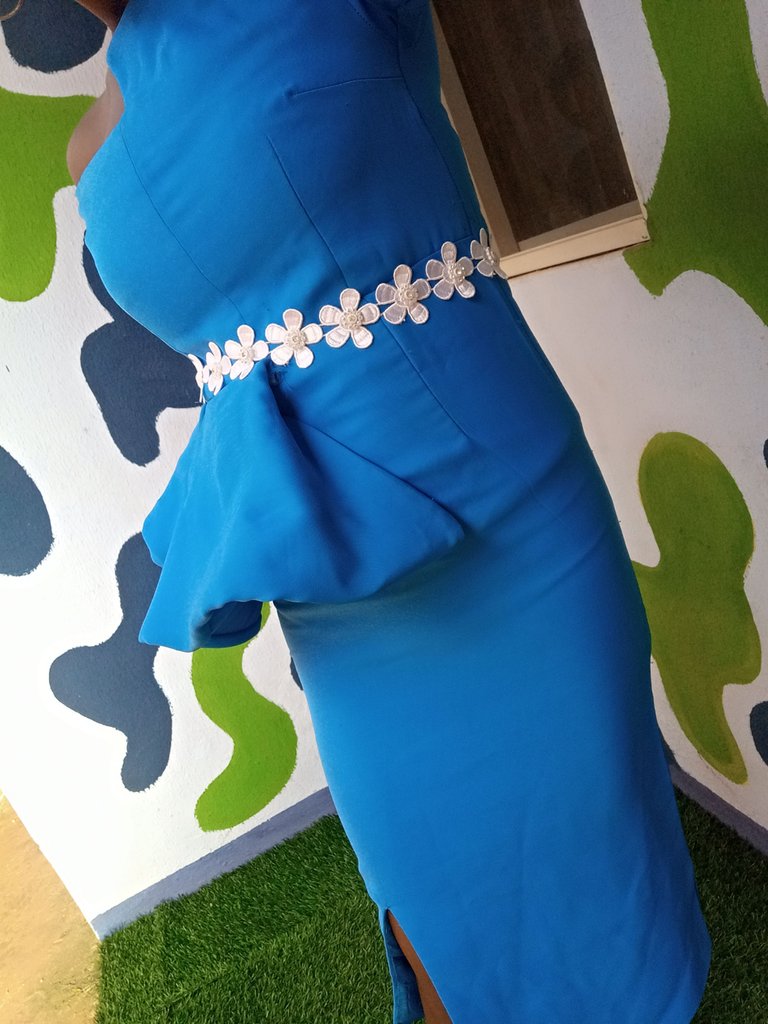
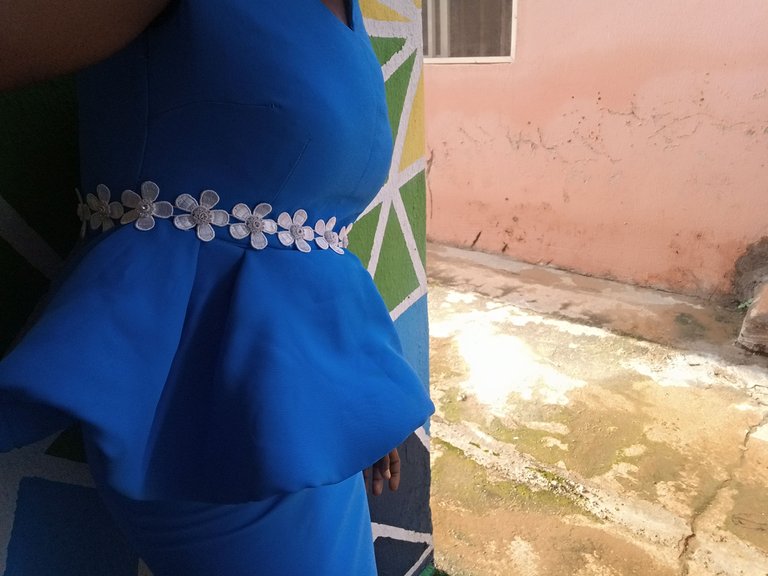
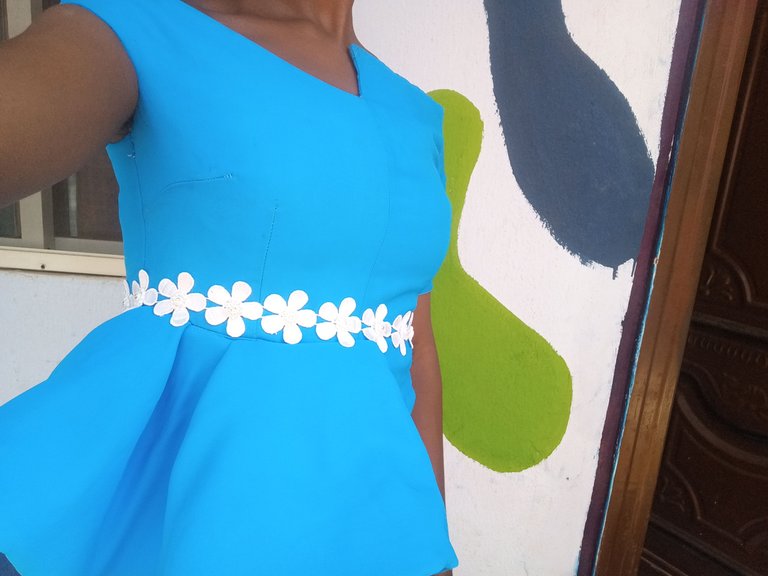
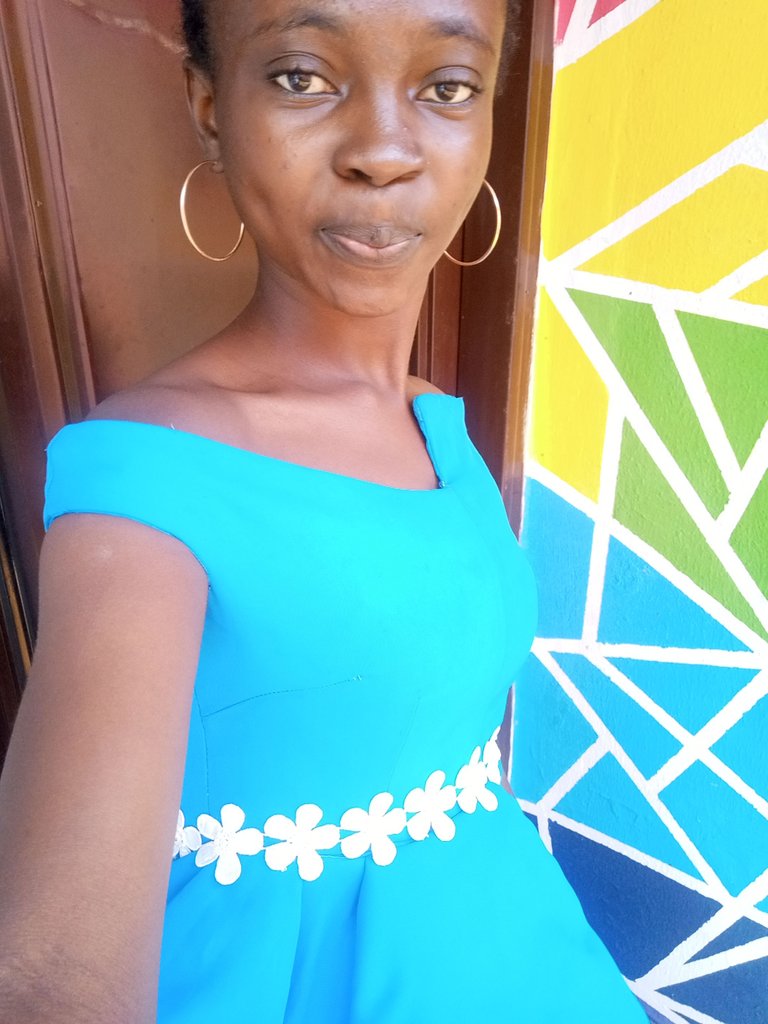
Its the blue for me, I love the blue fabric and that touch of white roses made me feel fulfilled.
Congratulations @monica-ene! You have completed the following achievement on the Hive blockchain and have been rewarded with new badge(s) :
Your next target is to reach 29000 upvotes.
You can view your badges on your board and compare yourself to others in the Ranking
If you no longer want to receive notifications, reply to this comment with the word
STOPTo support your work, I also upvoted your post!
The dress came out beautiful, thank God you did not give up at least now you have added this to the previous knowledge you had. I love that white rose you added to it.
Thanks alot dear
It’s such a beautiful design!! Kudos to you for not giving up! Very nice work ~
Thank you so much 🌷
Of course ~ 😊😘
Thank you for sharing this amazing post on HIVE!
non-profit curation initiative!Your content got selected by our fellow curator @stevenson7 & you just received a little thank you via an upvote from our
You will be featured in one of our recurring curation compilations and on our pinterest boards! Both are aiming to offer you a stage to widen your audience within and outside of the DIY scene of hive.
Join the official DIYHub community on HIVE and show us more of your amazing work and feel free to connect with us and other DIYers via our discord server: https://discord.gg/mY5uCfQ !
If you want to support our goal to motivate other DIY/art/music/homesteading/... creators just delegate to us and earn 100% of your curation rewards!
Stay creative & hive on!
My dear your cloth is so lovely weldone
Thanks dear
Your welcome @monica-ene