Do you like a one-of-a-kind clothing piece? Don't you love that feeling of wearing a garment custom-made for you? That's why sewing my clothes gives me a lot of gratification - from the customisation, having a piece of clothes that is tailormade for me, and knowing it will be just me having it. I also find the process of making my garment to be therapeutic and cathartic.
THE PROCESS
My process when making a new garment can be broken down like this.
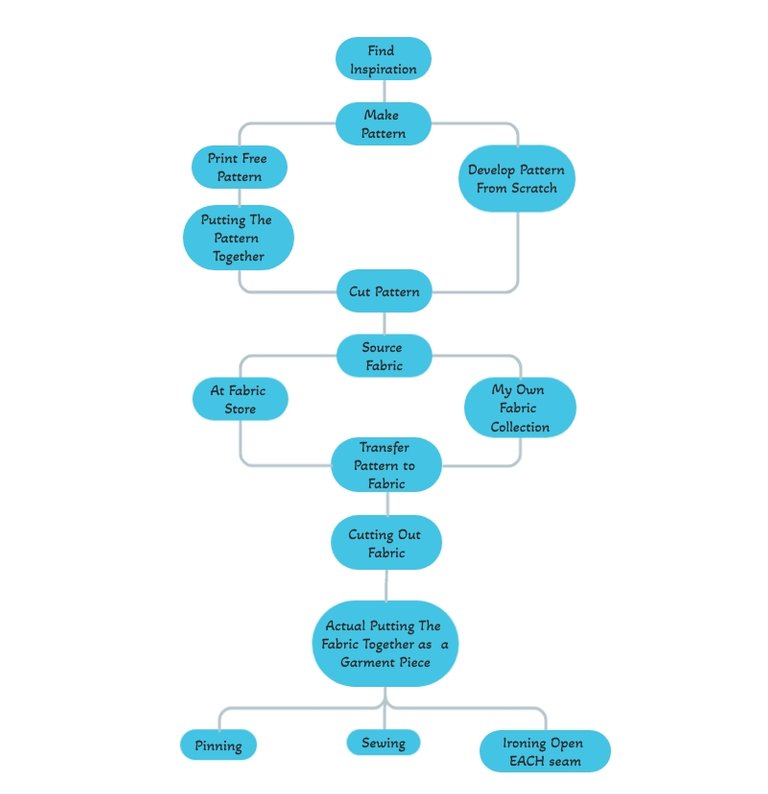
made using visme.com
So you can see there are multiple steps that take place before the actual sewing happen!
I have a much DEEPER appreciation when purchasing well-made clothes these days.
For 2022 I wanted to start the year with this project.
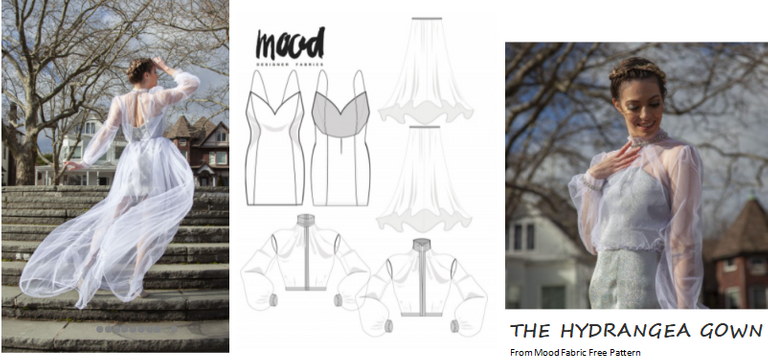
I came across this pattern on Mood Fabric last year but haven't had the chance to get around it. I am making the hydrangea gown, with some alterations to suit my liking as I am aiming to dress more modestly.
For this particular project, I aim to document the process and the time it took me.
| Activity steps | Date done | time taken |
|---|---|---|
| 1. Find inspiration | Sometime in Nov 2021 | |
| 2. Print pattern - assemble pattern and/or develop a pattern. Cut the pattern | 3 Jan 2022 | 1.5h |
| 3. Source fabric - I went to the fabric store | 3 Jan 2022 | this can vary depending on if I am on browsing mode or laser focus mode - 0.5h |
| 4. transfer pattern to fabric and cut out the fabric | 5, 11 Jan 2022 | honestly, I lost track of time 😅 I was truly in my zone to care about how much time passed |
| 5. actual putting the fabric together | 26 Jan, 1 Feb, 5 Feb 2022 | again, the same thing happens as last time, but I pretty much spend half of my off-day with my sewing machine |
Step 1
Step 1 was done last year. I stumbled on Moodfabric while researching to source fabric for a different project. When I discovered they have ABUNDANCE of gorgeous free patterns, I narrowed down and downloaded "potential future" projects.
Step 2
For step 2, I printed all of the patterns using paper recycled from work, i:e those papers that were only printed on one side and no longer being used. I try to be mindful of making as little waste as possible while indulging in my hobby.
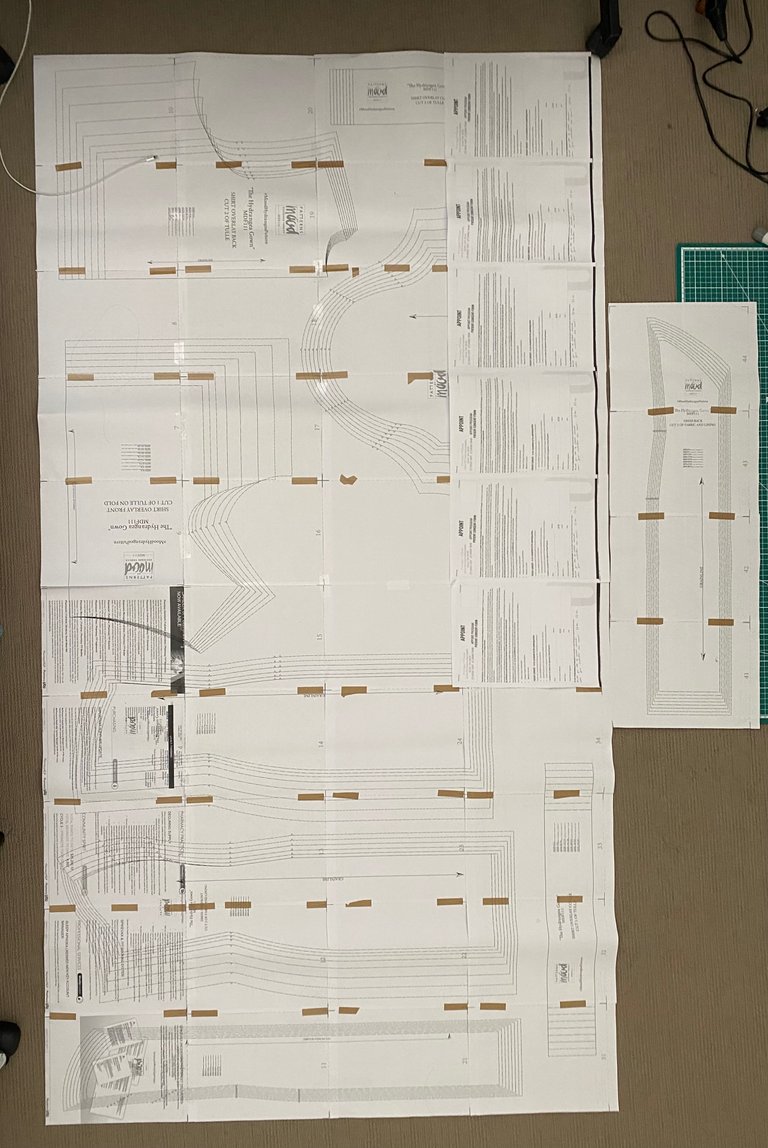
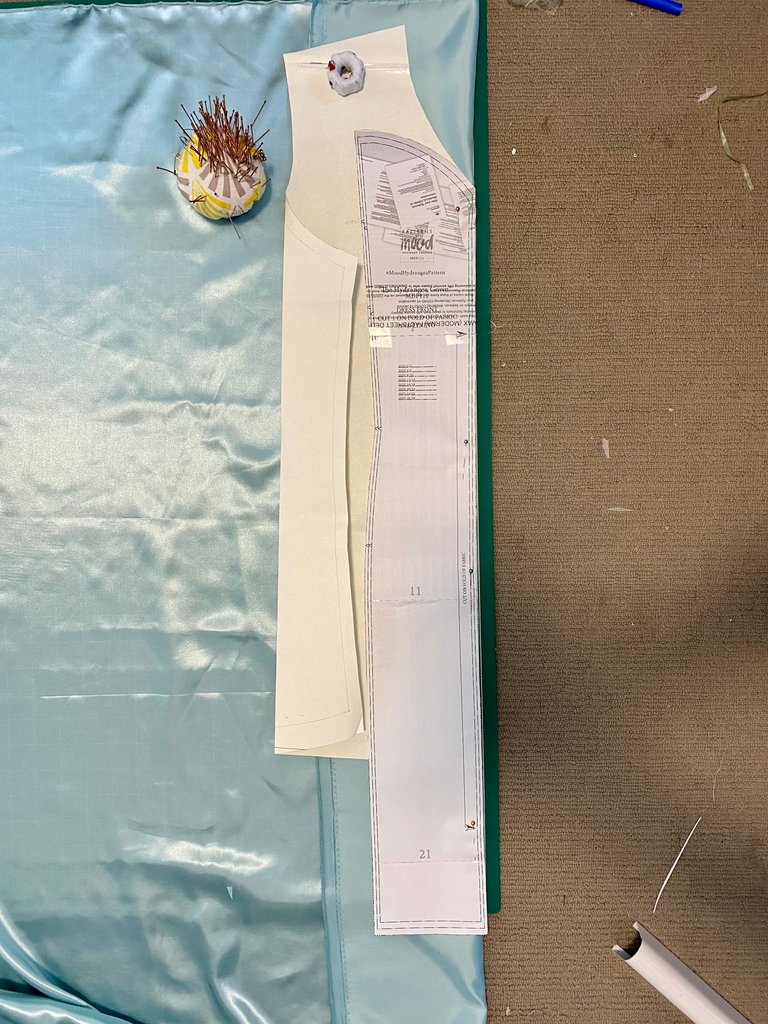
The pattern came out to like below. To ease my process of putting the pattern together as accurately as possible, I cut out the access using a paper cutter and A4 cutting board before taping it. Boy, I tell you, even this was a process since the pattern totaled up to 50 pages 😲 . I do this while watching some telly.
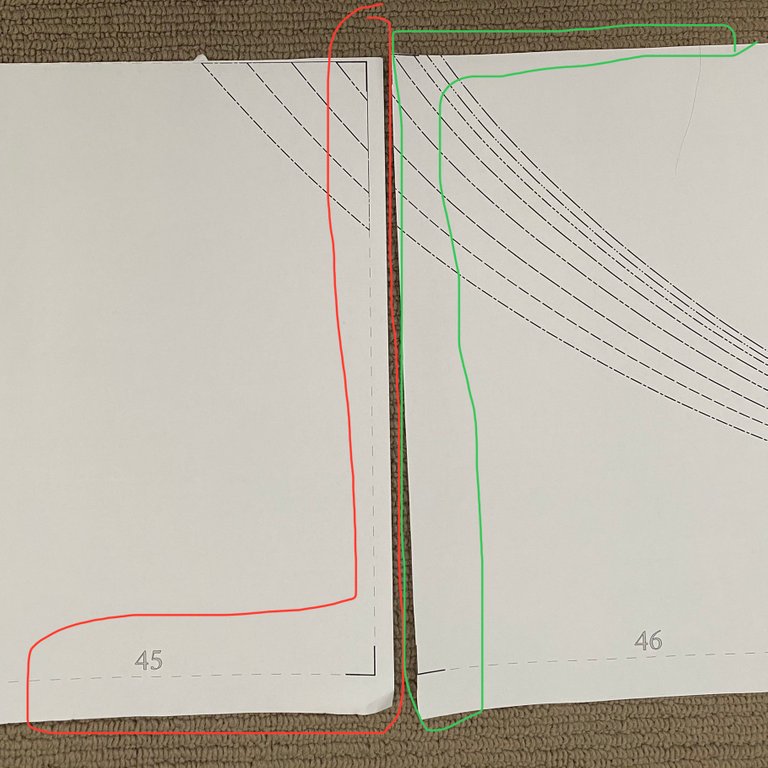
The next step is putting the pattern together. Since I have limited space in my room, I thought it would be smart for me to attach them in rows of 5 rather than assembling them all together.
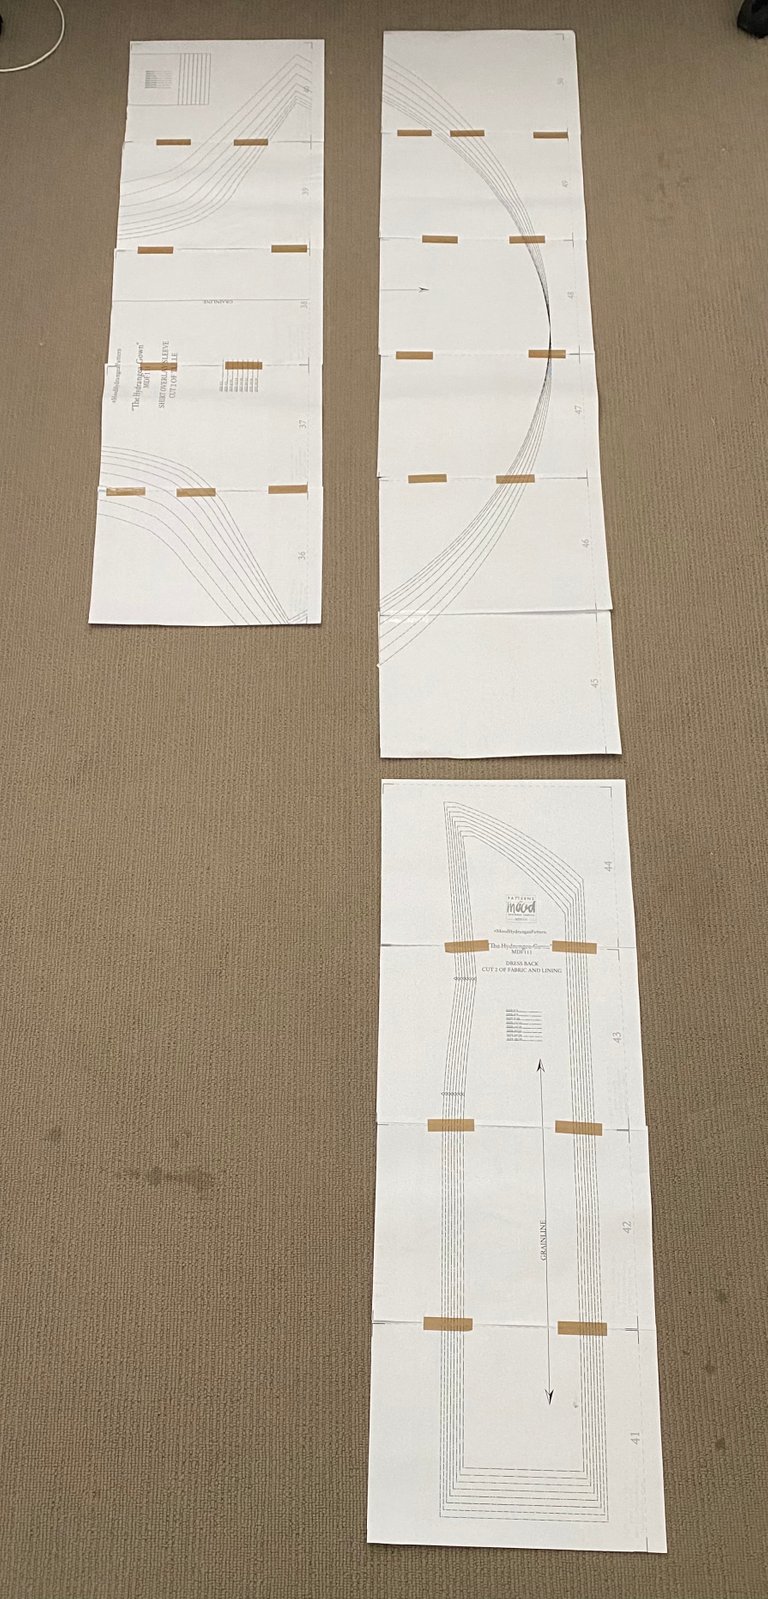
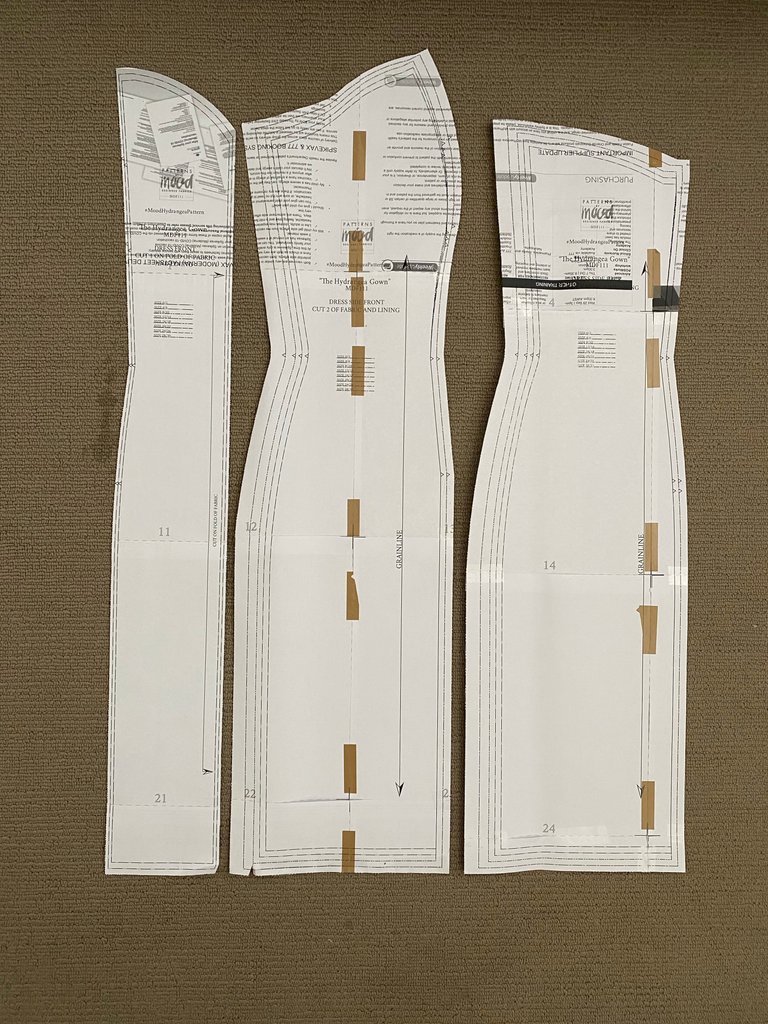
And ta-da! The pattern cut out. I cut it in size 10 as that fits me at my largest area based on the sizing chart on their website. I do bear in mind I will have to fine-tune the end garment to fit me better since I have a small shoulder and shorter arms #asianbuild #petiteproblem
Step 4
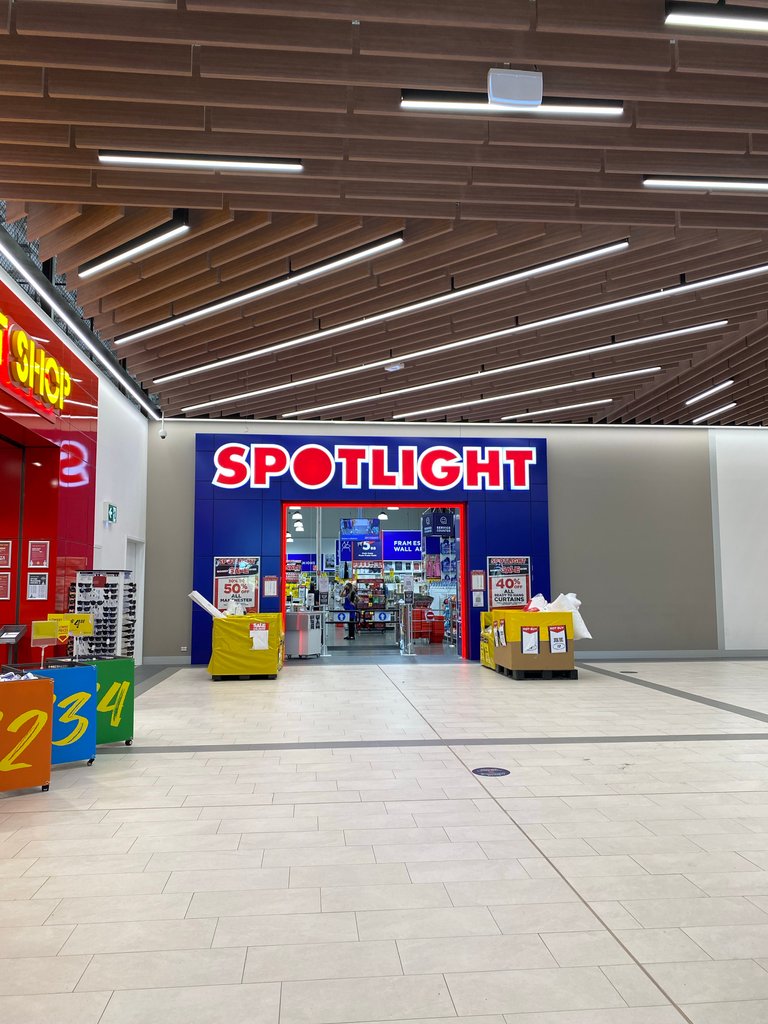
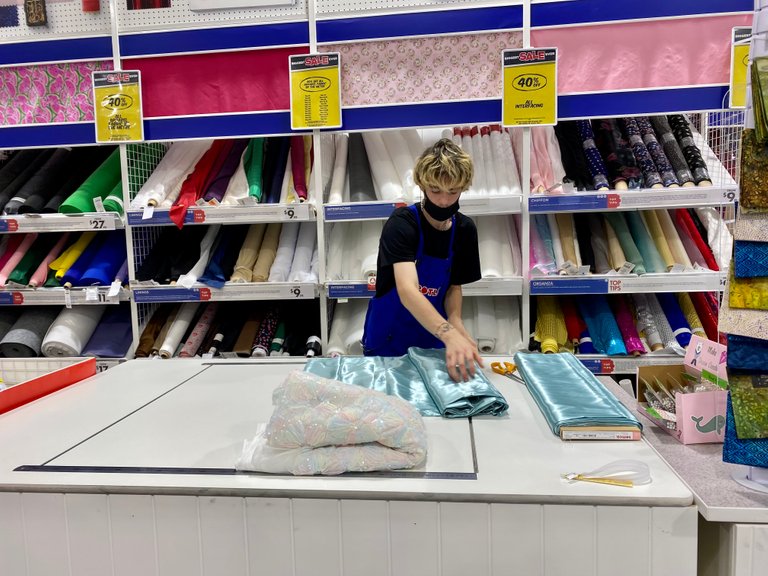
This is my local fabric/art supplies store. I try to only go here if only needed, if not there wouldn't be much left in my bank account 😂😂😂
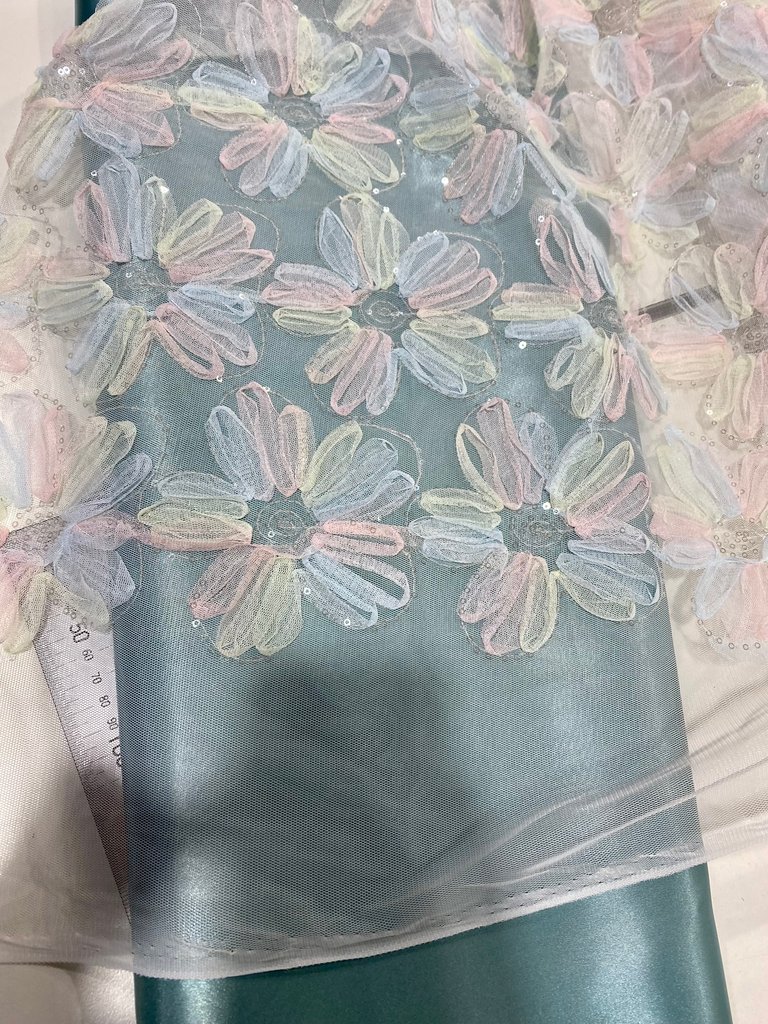
I picked out the tulle first since that will be the focus point, then I looked for a suitable background/inner fabric to make the dress. Truthfully, I would have liked a light pastel green, but this is the closest they have. I did contemplate making the inner white, but quickly change my mind when I thought about the extra work of making the lining, etc (i.e all the thing one need to consider when making a white dress.)
I needed to take this photo as this was the first time ever I was served by a male shop assistant. He agreed most of the time the male staffs are at the back of the store and he shared with me he is a fellow sewist too!
Baring in mind I wanted the final look to be long sleeve.
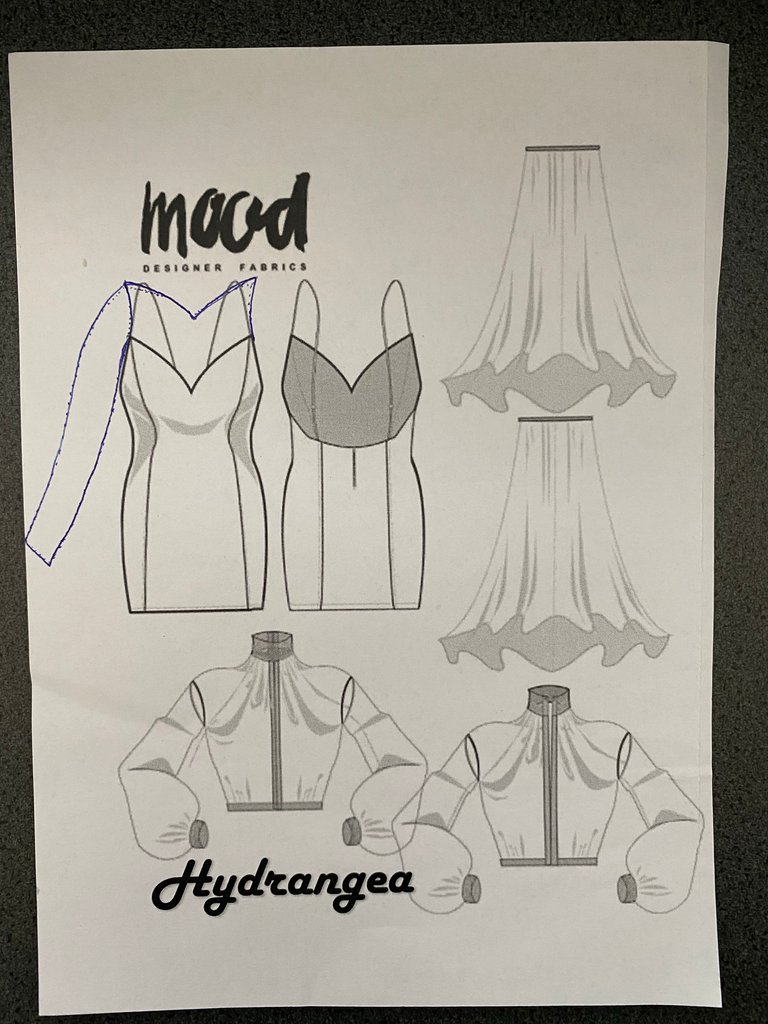
Therefore I had to put the knowledge I've gathered to change the pattern.
I begin with looking into my block pattern collection and selecting the style I want. After that, I superimposed my block pattern on the MoodFabric's to make a "hybrid" of them.
The tricky part for me was experimenting on the spot with how to combine both patterns for the front of the dress, as I still want to keep the princess line.
So I began folding, re-lining, and cutting the paper as to what makes sense in my head.
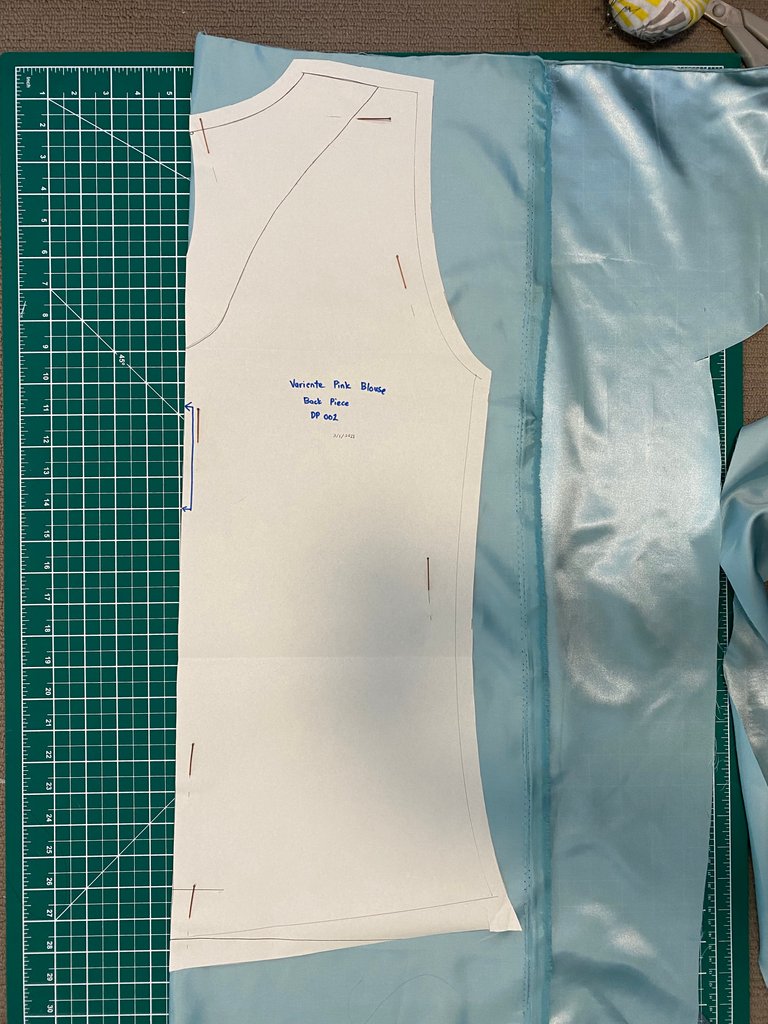
For the back of the dress, I was mentally fatigue by this point, so I took a shortcut and only use my block pattern without making any changes.
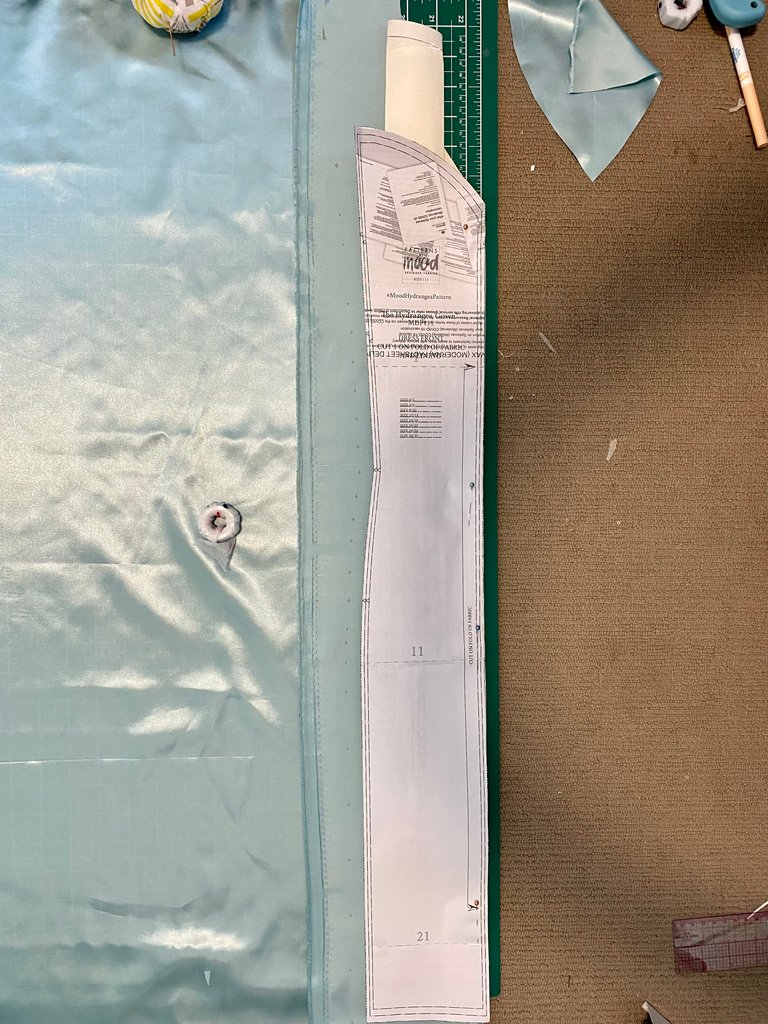

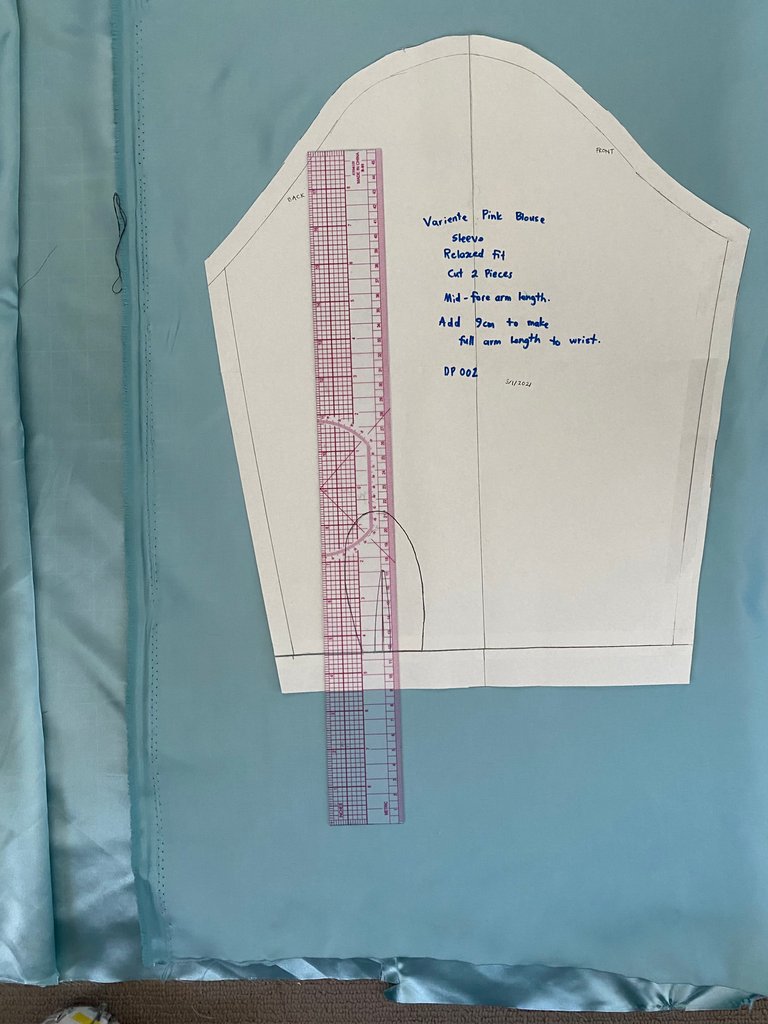
The block sleeve pattern is a 3/4 sleeve. I added 9cm to make it full length.
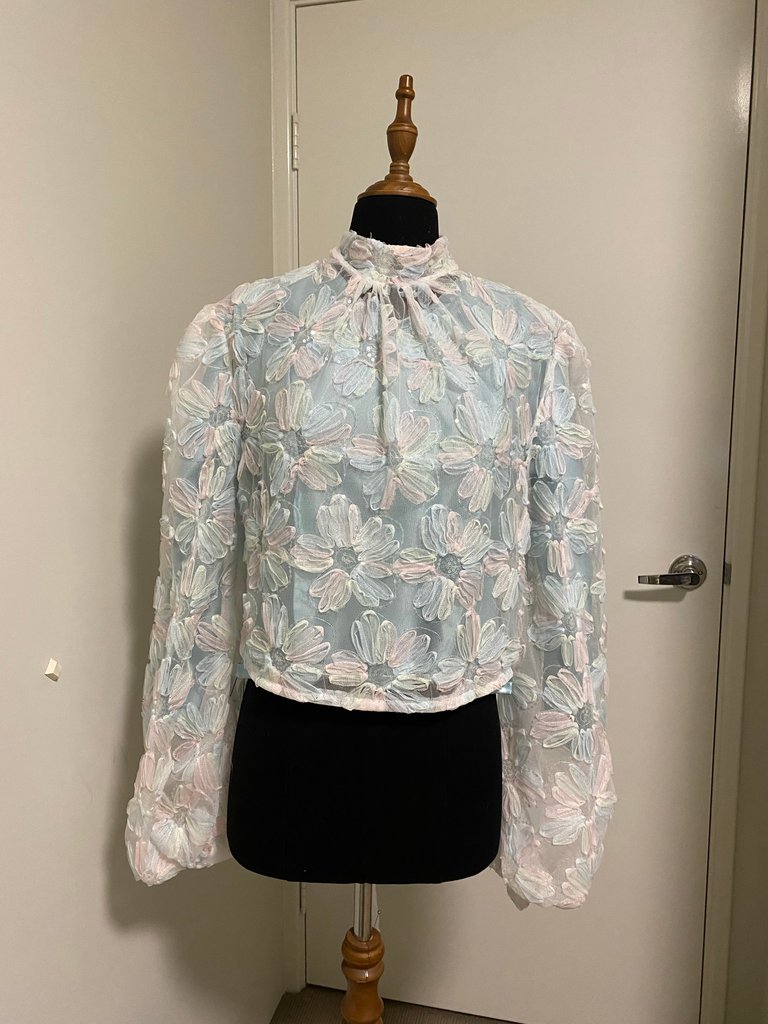
Here's the dress finished. Whew! that's 50% of the project completed. I planned to be wearing the dress for a long time, even ambitioned to pass it on to my future generation, therefore I choose to only use French seam in constructing this project. It did make the whole process longer, but I find it to be very satisfying the inside looks as neat as the outside.
I finished the neckline using the bias tape enclosure technique.
There is a hidden zipper on the left side of the dress. Up until this project, I haven't need to do this. I turned to Youtube "university" to learn how to install invisible zipper in a French seam
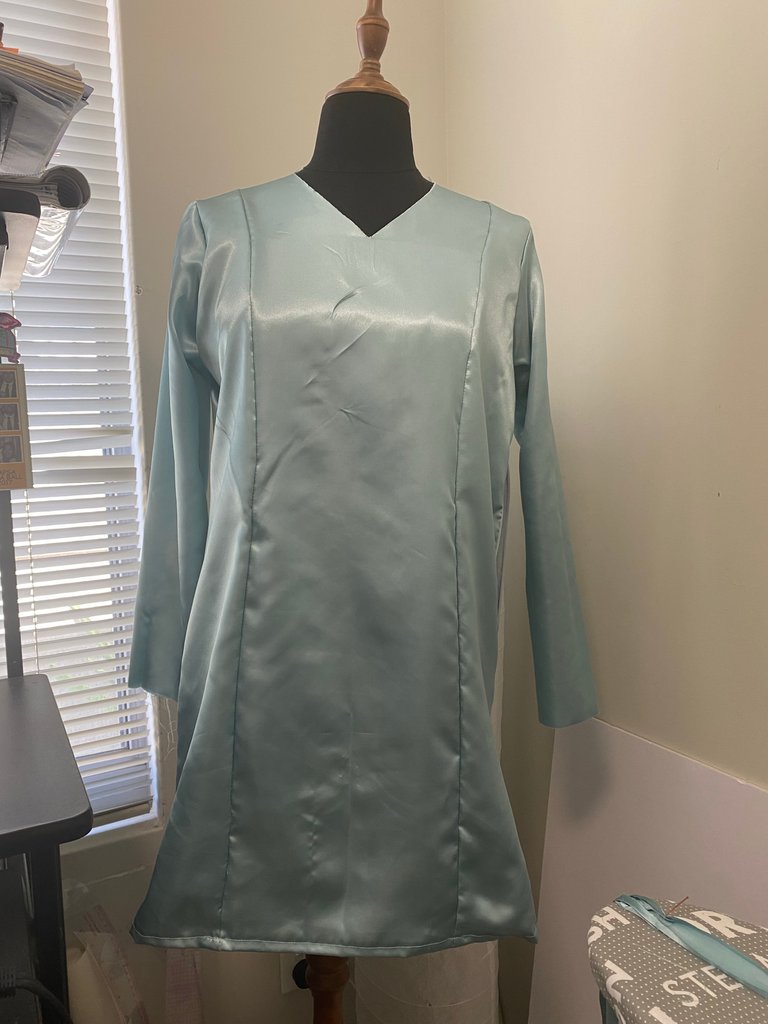
I took the photo before ironing it all out. Fellow sewist, I'm mindful not to commit the cardinal sins of not ironing out your seams 😆
MAKING THE TULLE SHIRT
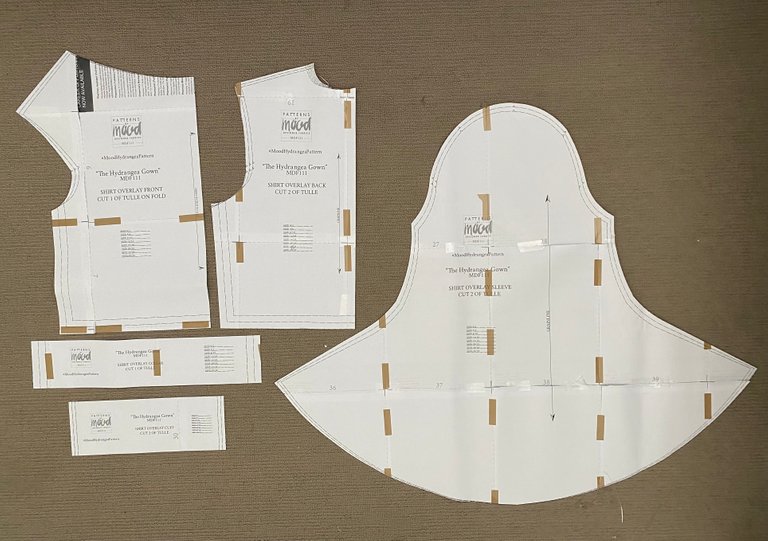
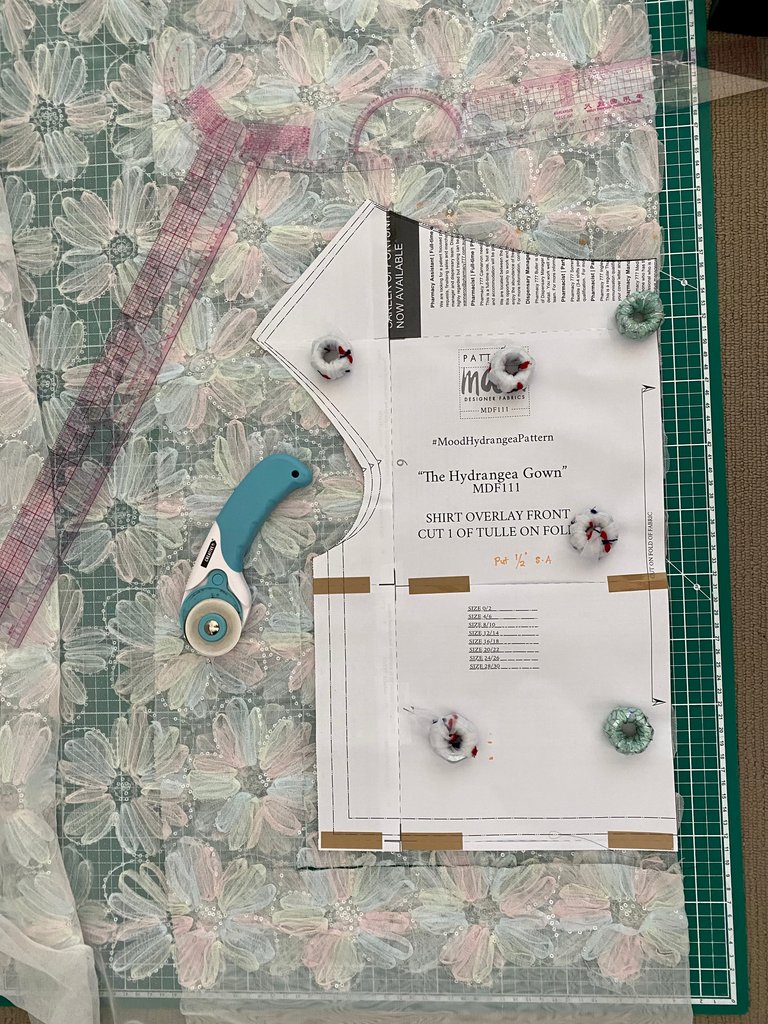
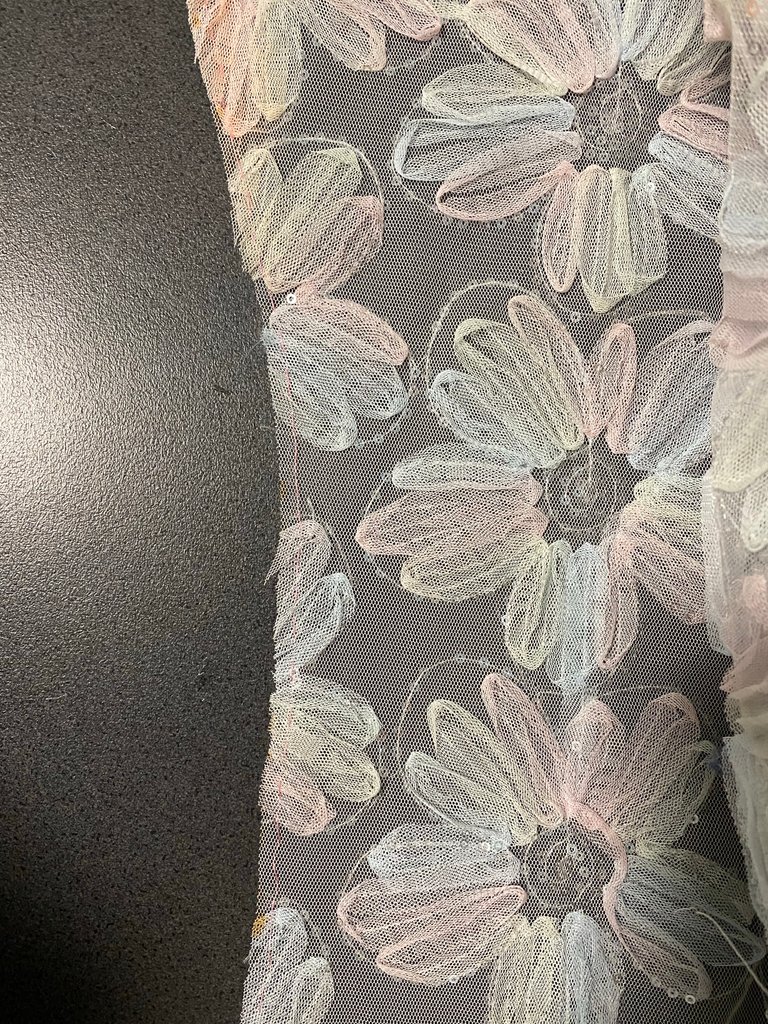
As per the flowchart, I start with cutting out the pattern for the tulle shirt. Since I picked out a tulle with a big flowers design, I constantly had to re-position my pattern to fit the design. It was quite a mental exercise to ensure where I'm cutting and how it will affect the end result.
Let's take the shirt overlay front piece for example. The pattern has instructions to cut it on a fold (which will be at the center of my torso), thus need to make sure I make a fold on the fabric where it will also half the flower - which will give me a full flower going down bang on the center of my torso.
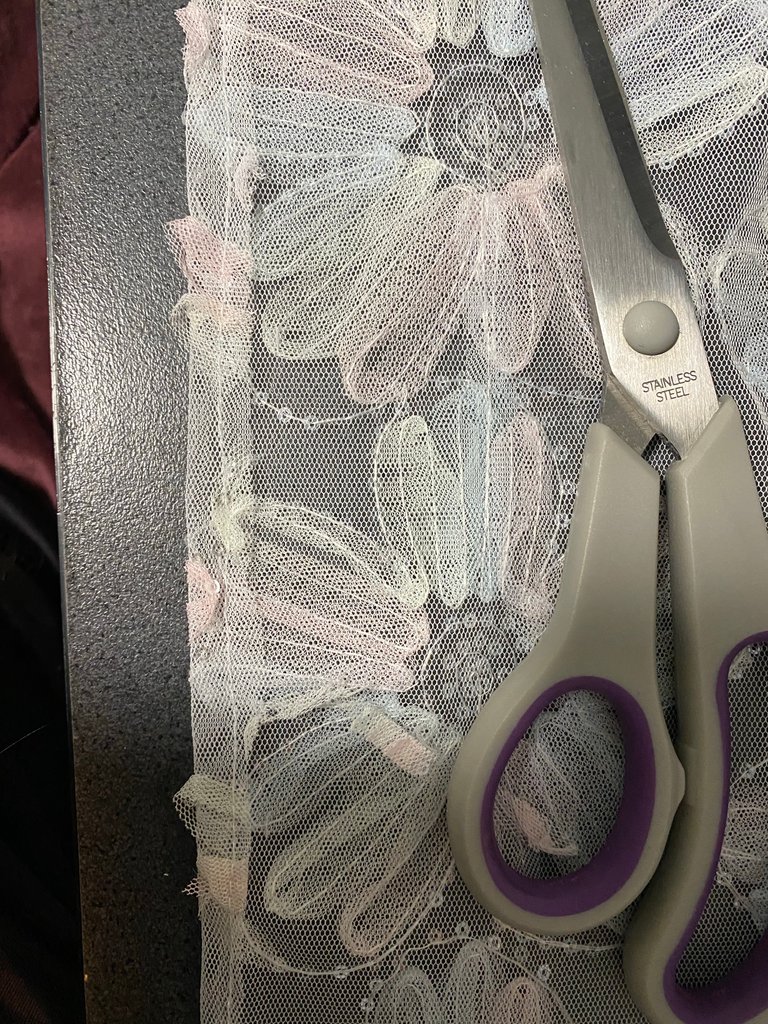
I went through the same thought processes for cutting out the bell shape sleeves, the back, the collar, and the handcuffs.
In MoodFabric blog post , they gathered the bottom of the shirt and used ribbons. I chose a different route.
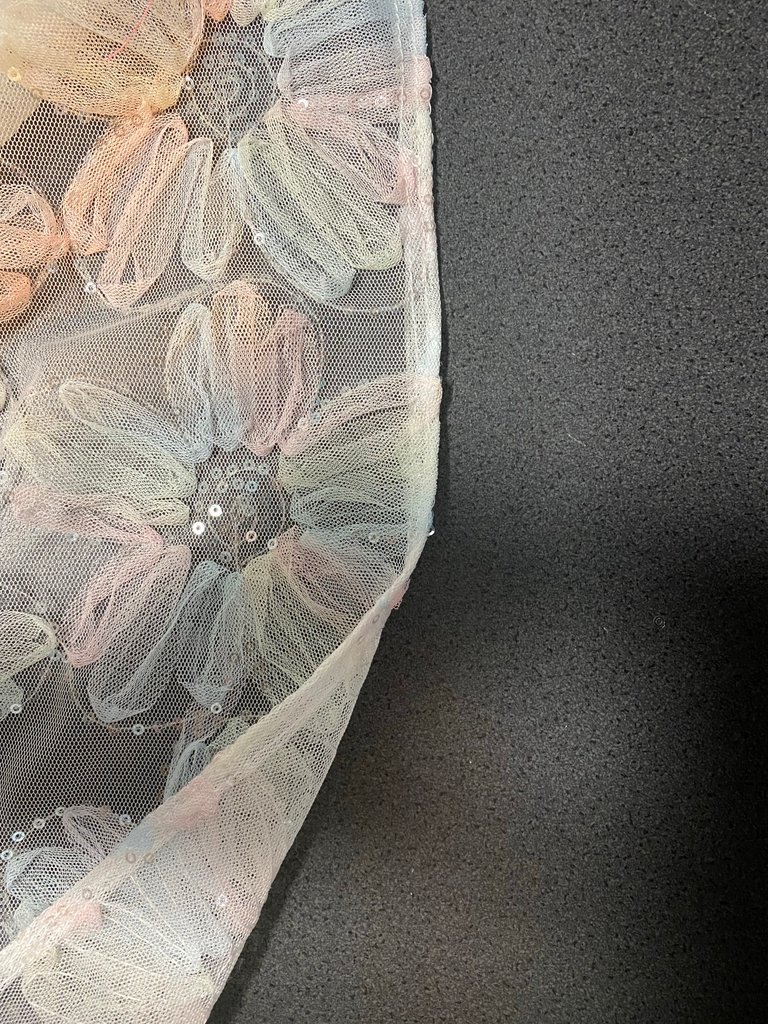
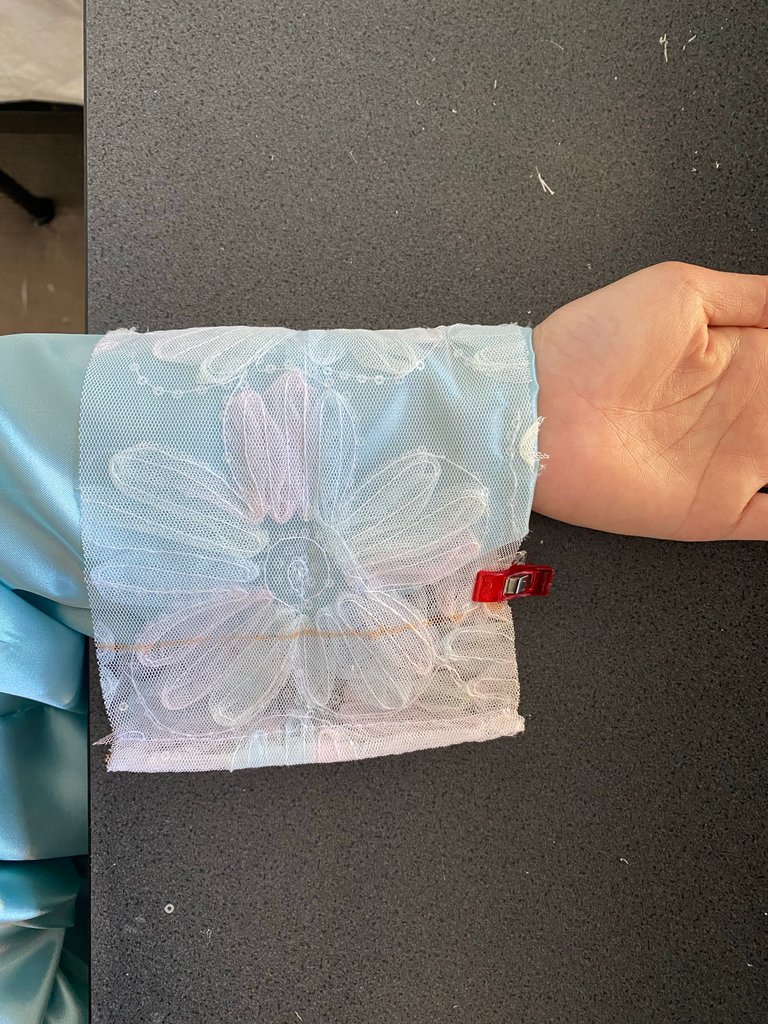
I first do a long stitch on the edge to stabilize the hem.
Then I applied rolled hem technique. I had to it manually as this tulle fabric construction make it harder to use my rolled hem presser foot.
Roll hemmed end completed
One of them was the handcuff. I had to cut out a good 1 inch from the folded length to make it fits. I also had to adjust the shoulder length, but for the love of life, I can't seem to recall how I did it as I'm writing this post. 😅😅Again, having #asianbuild body, I knew there will be adjustments needed from the pattern.
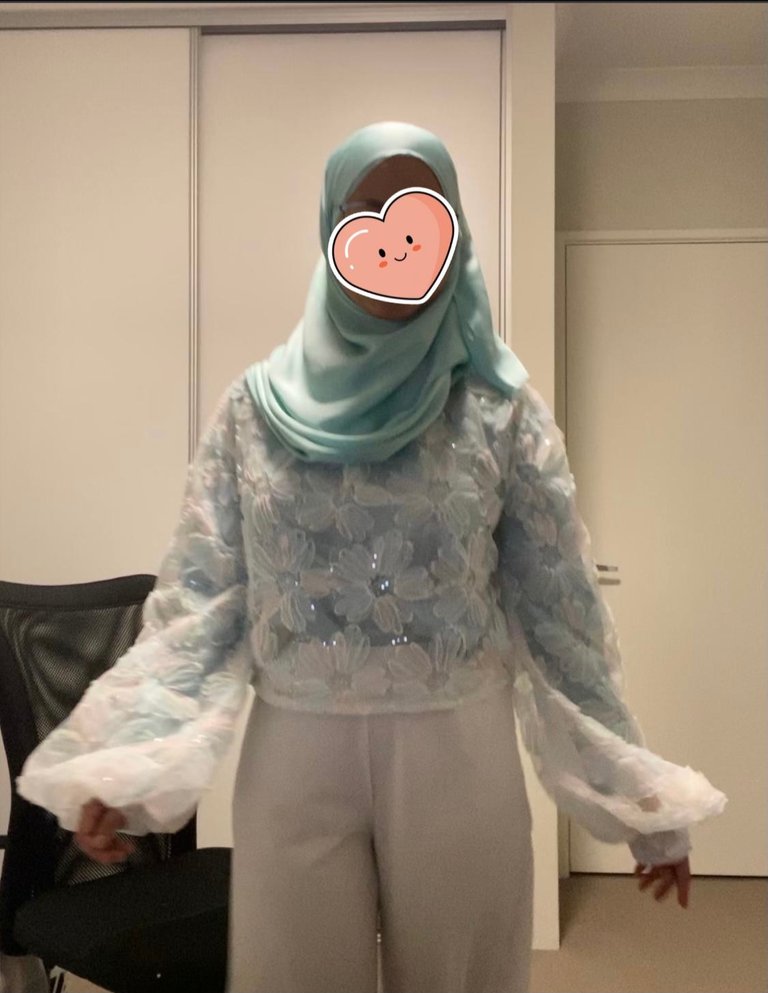
Finished garment
After finishing the tulle shirt, I notice a blind spot - I am not wearing it with a knee-length dress I made earlier! It will have to be as a two-piece with the inner green layer at the same length as the tulle shirt. I'm glad it wasn't a difficult task to shorten it. I would have just slept and continued the following week if I had to lengthen a garment project. Phew...
I managed to finish the project just in time to wear it on a Zoom Gathering with my AA Plus ladies and paired it with a chiffon white culottes.
In the near future when I finish constructing the skirt element to complete this look, I would like to share it here too.
This is a first for me to be documenting my sewing hobby in this manner. I welcome any constructive comments, criticisms, and any positive engagement for all of you.
That's all from me, folks. Until then, keep following the crumbs of @mysterycrumb 😄😄
Very lovely @mysterycrumb!
Wow this so beautiful so creative and lovely on you thanks for sharing and you even have a pattern too wow
Cheers for checking out my work. The other pattern was a copy from a RTW dress that I love.
I took 3 weekends to write, edit this post! Need to put more practice in writing to make the process more streamlined
Congratulations @mysterycrumb! You have completed the following achievement on the Hive blockchain and have been rewarded with new badge(s):
Your next target is to reach 200 upvotes.
You can view your badges on your board and compare yourself to others in the Ranking
If you no longer want to receive notifications, reply to this comment with the word
STOPCheck out the last post from @hivebuzz:
Support the HiveBuzz project. Vote for our proposal!