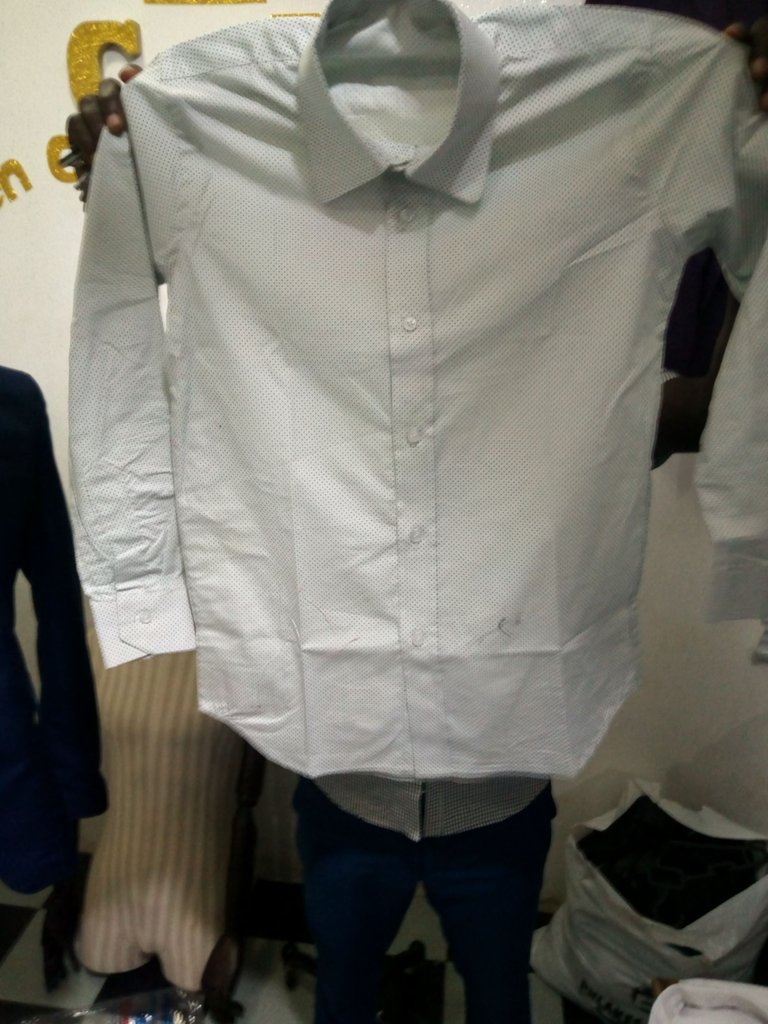
Hello Hivers 💖 I believe we all had a nice weekend. This morning I will be sharing with you how I made a beautiful office shirt.
Sewing of shirt isn't that hard but requires paying attention to every details and to make sure it's very neat.
Fixing the curve and collar is the most sensitive part to really pay a serious attention to.
I will be showing us this morning, how to cut and sew a shirt, and to fix the collar properly and perfectly.
MATERIALS USED
- fabric (shirt material)
- collar stay
- chest gum
- thread
CUTTING PROCESS
I once explained this in one of my previous post, so I will just show us the pictures of how I cut the shirt.
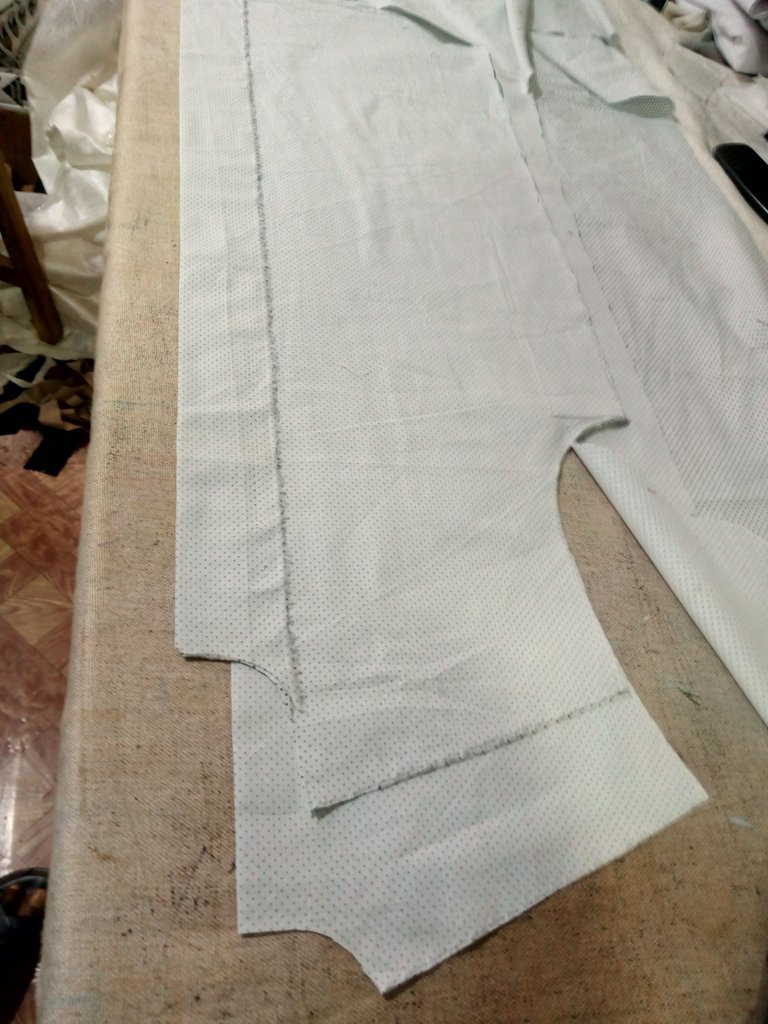
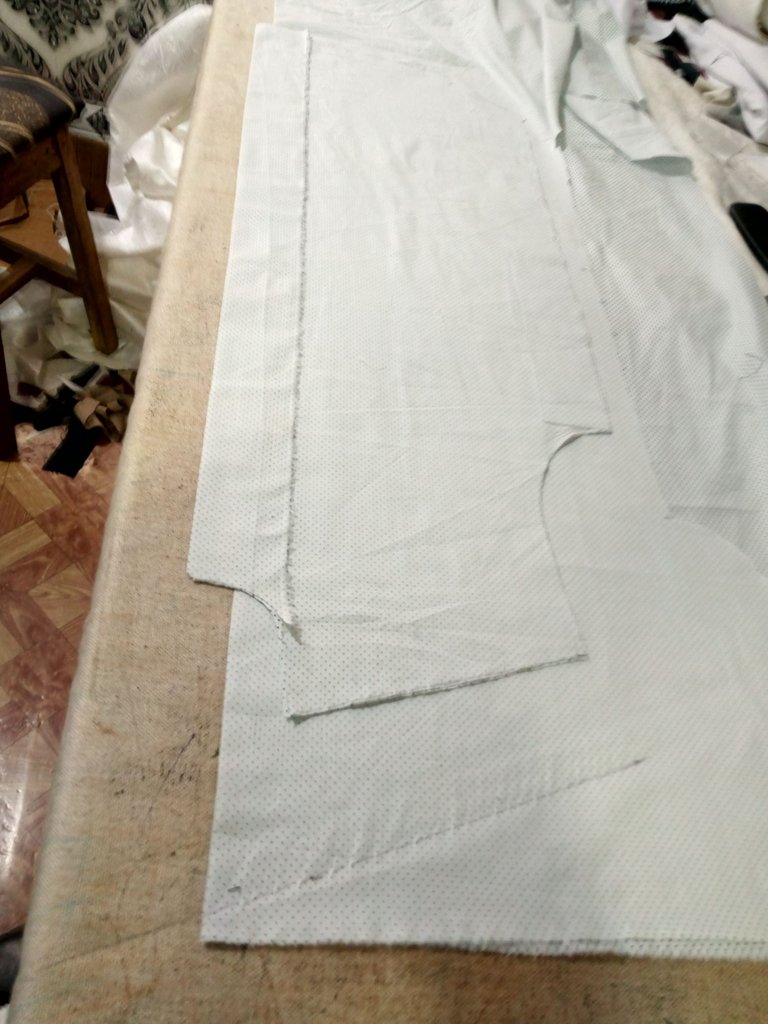
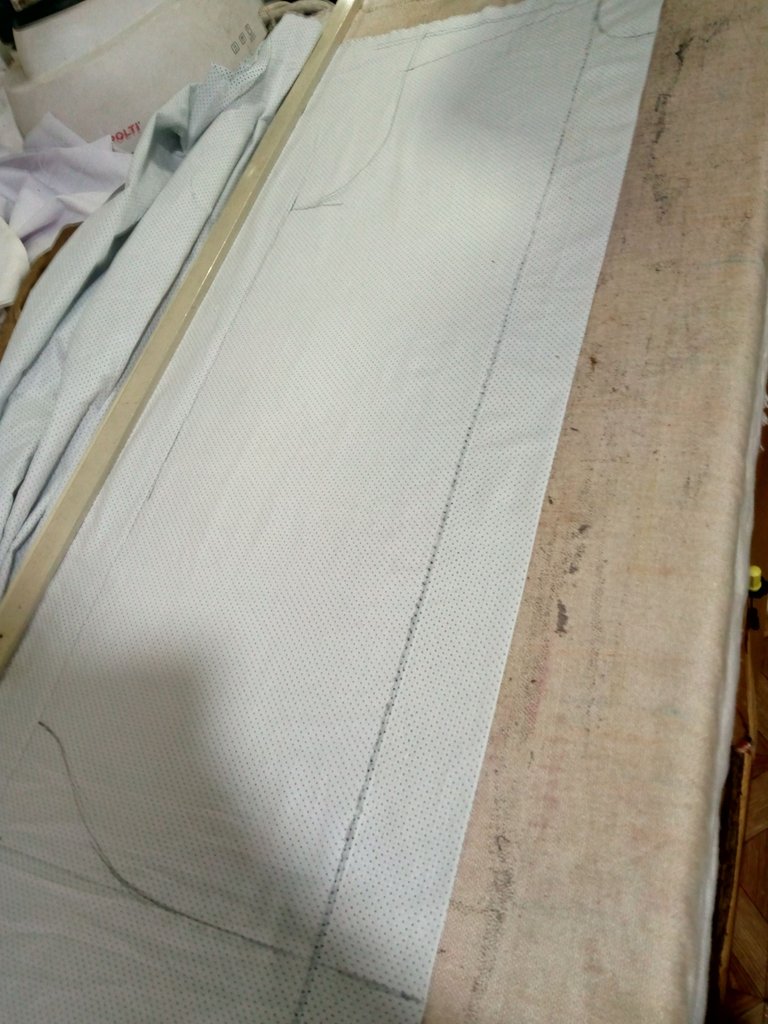
SEWING PROCESS
firstly I applied the chest gum where it's needed I.e where the button holes will be done, then I sew.
After that, I joined the shoulders, the front and the back with the back landing.
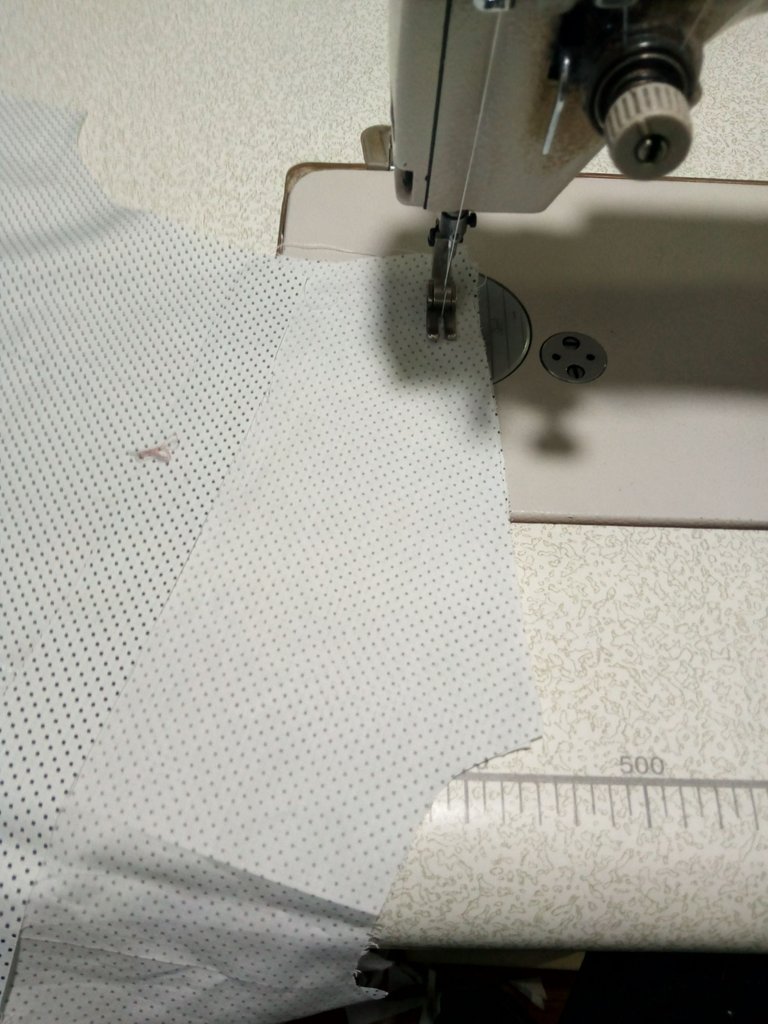
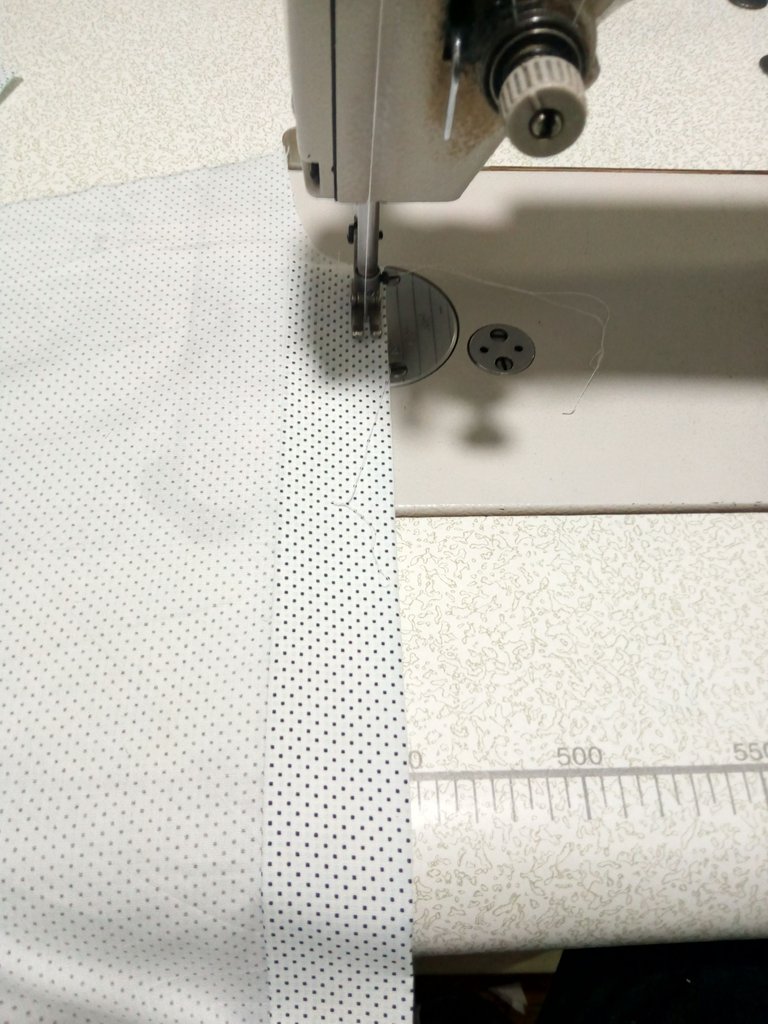
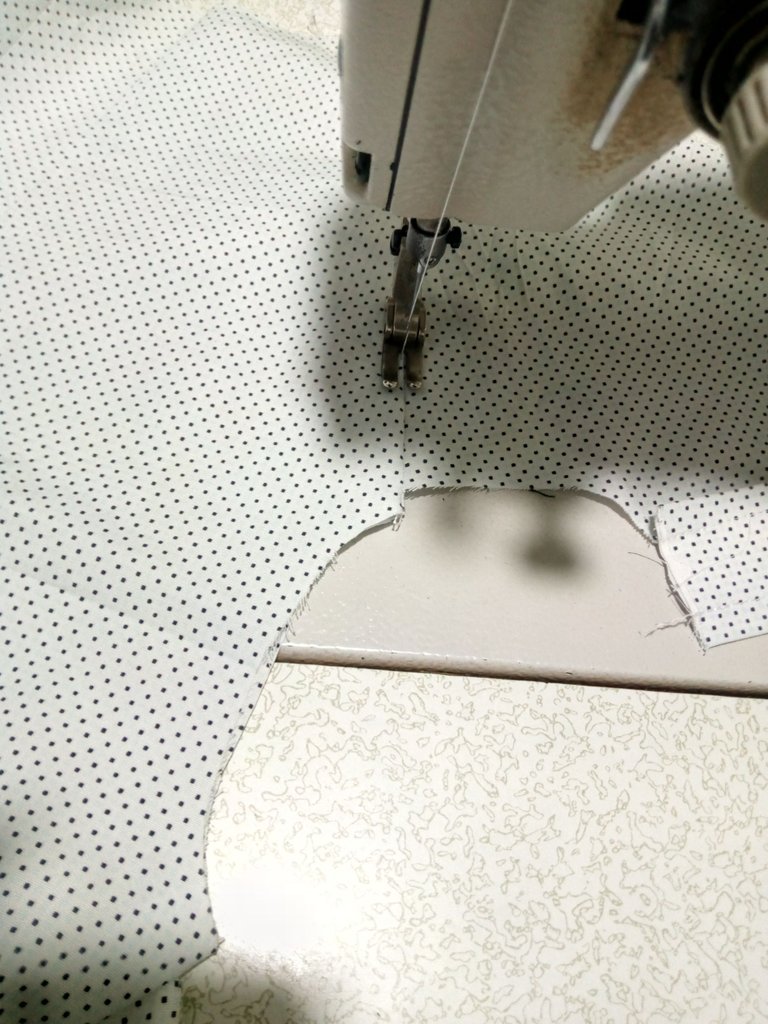
Thereafter I fixed the sleeve placket and joined the sleeve to the body, then I closed the body using piping method.
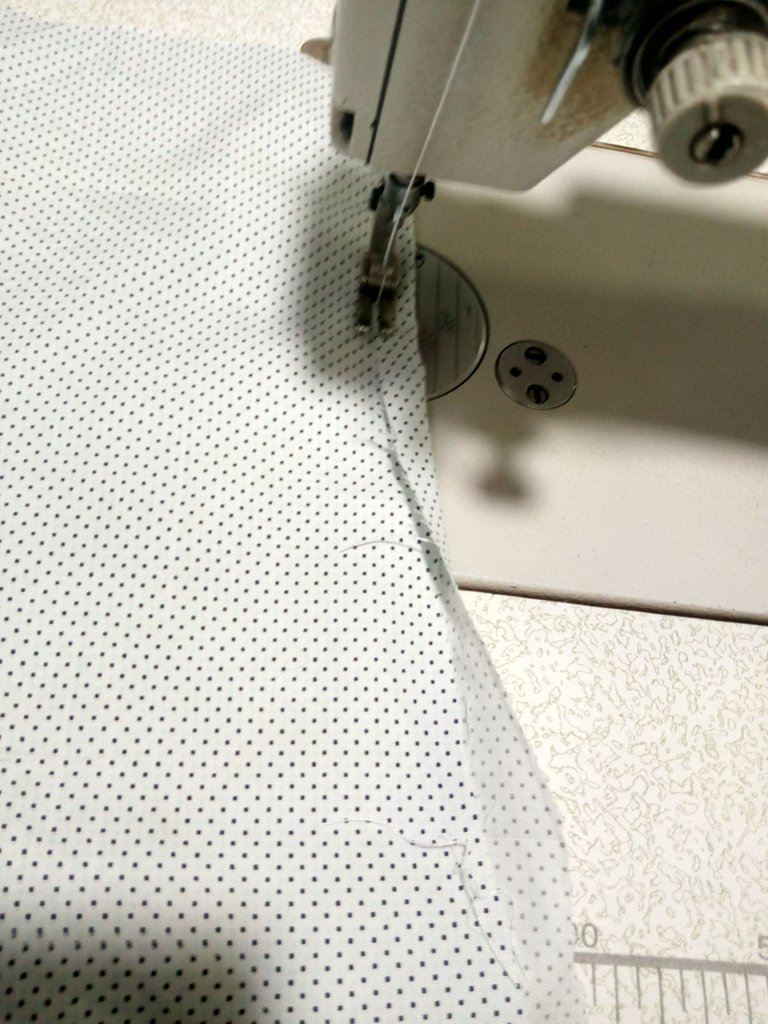
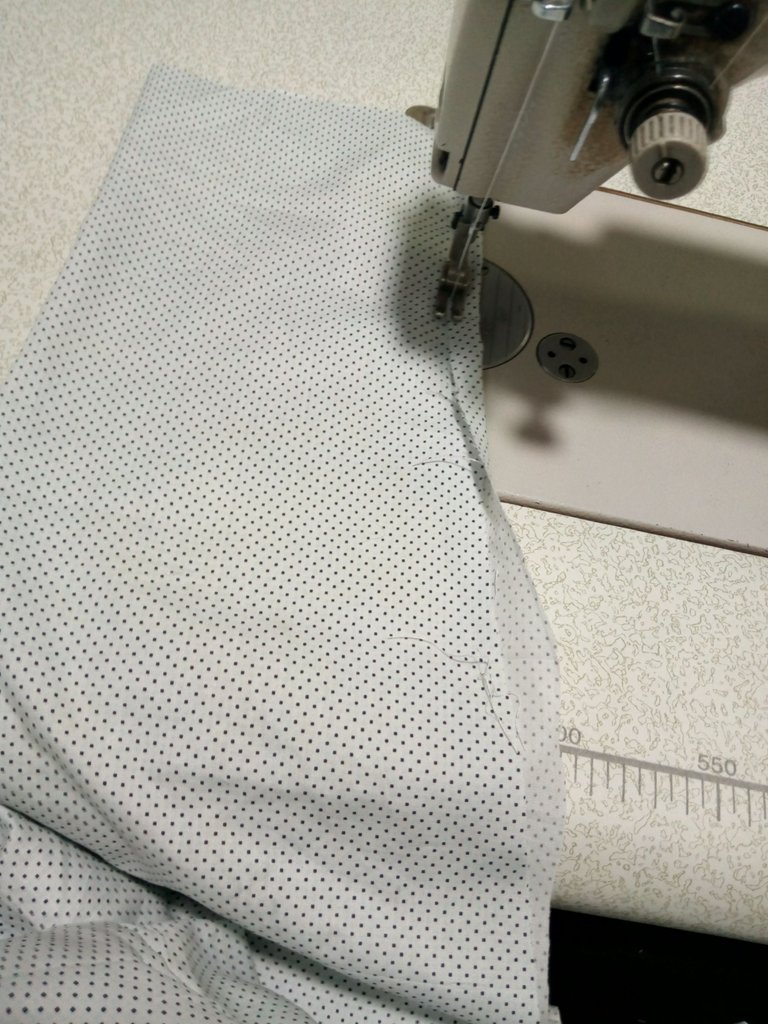
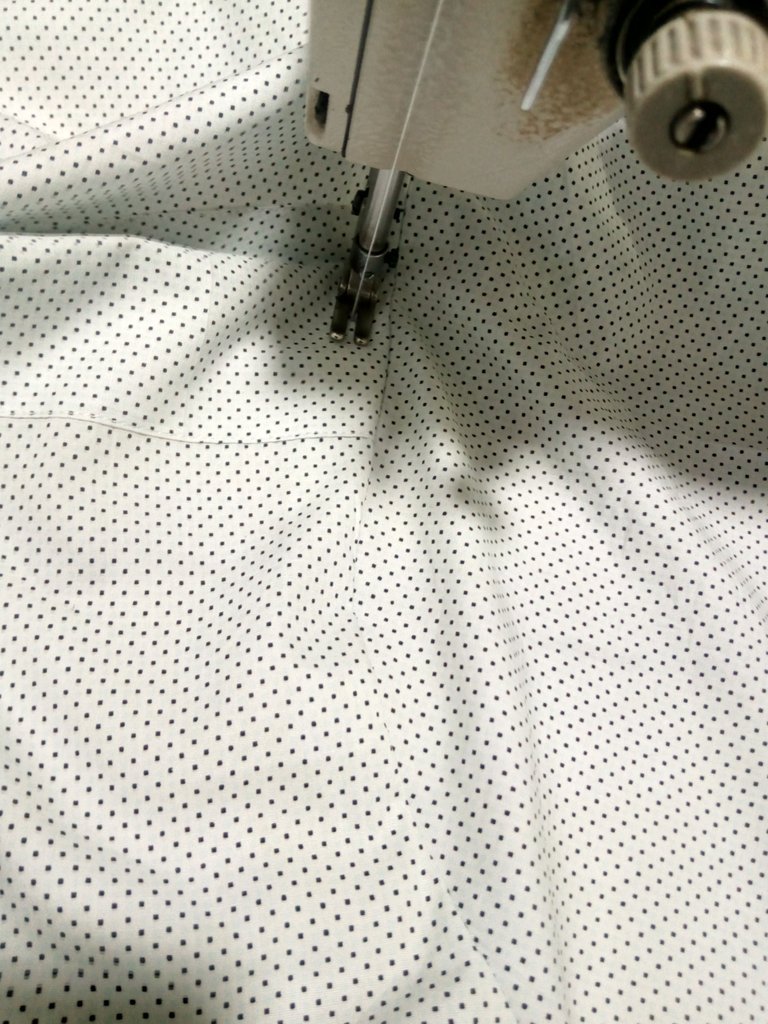
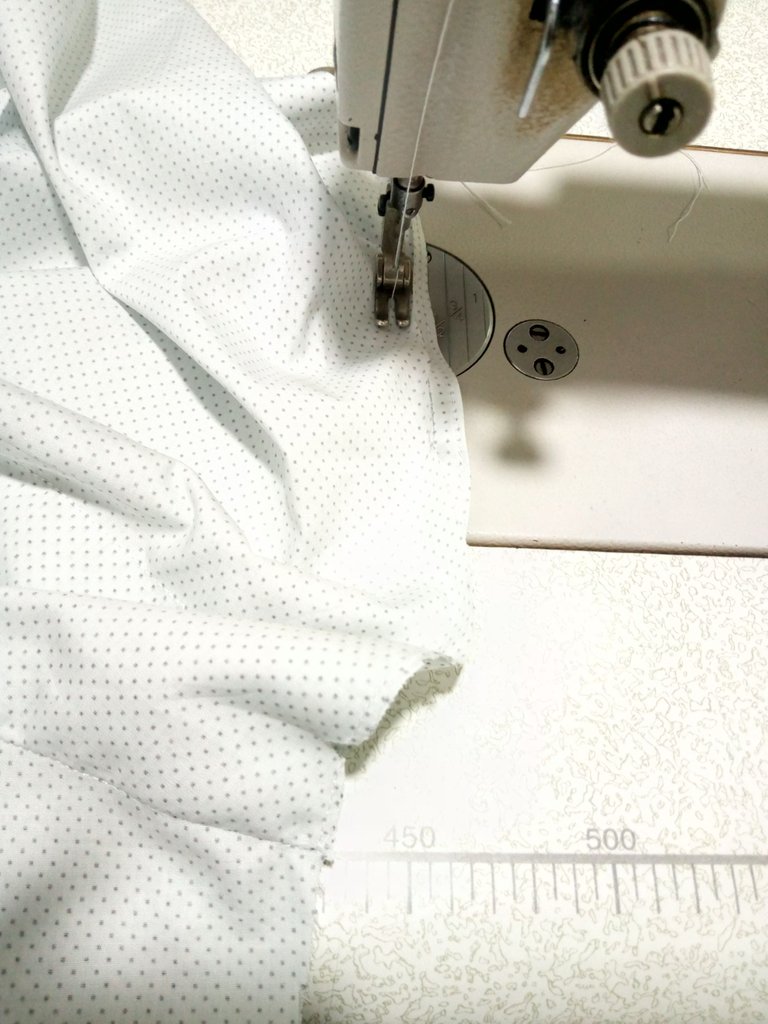
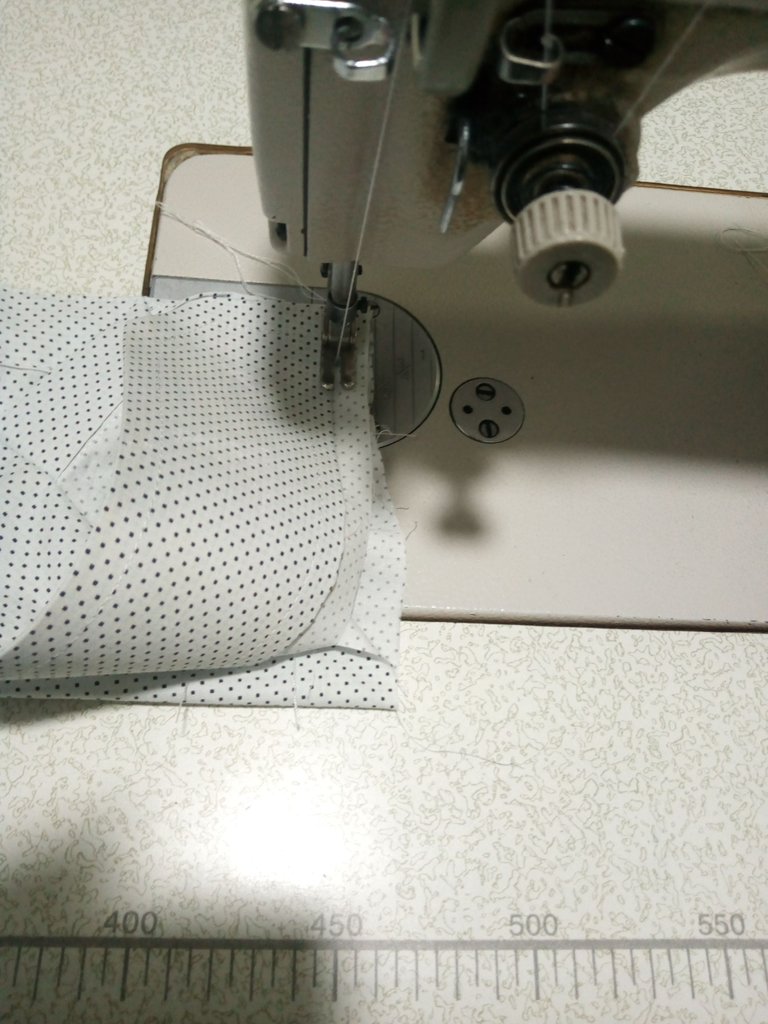
Then I go by creating the collar and the curve.
After you've known the neck measurements, then you cut the collar stay to the exact measurements, then you gum to the fabrics and create your collar and sleeve curve.
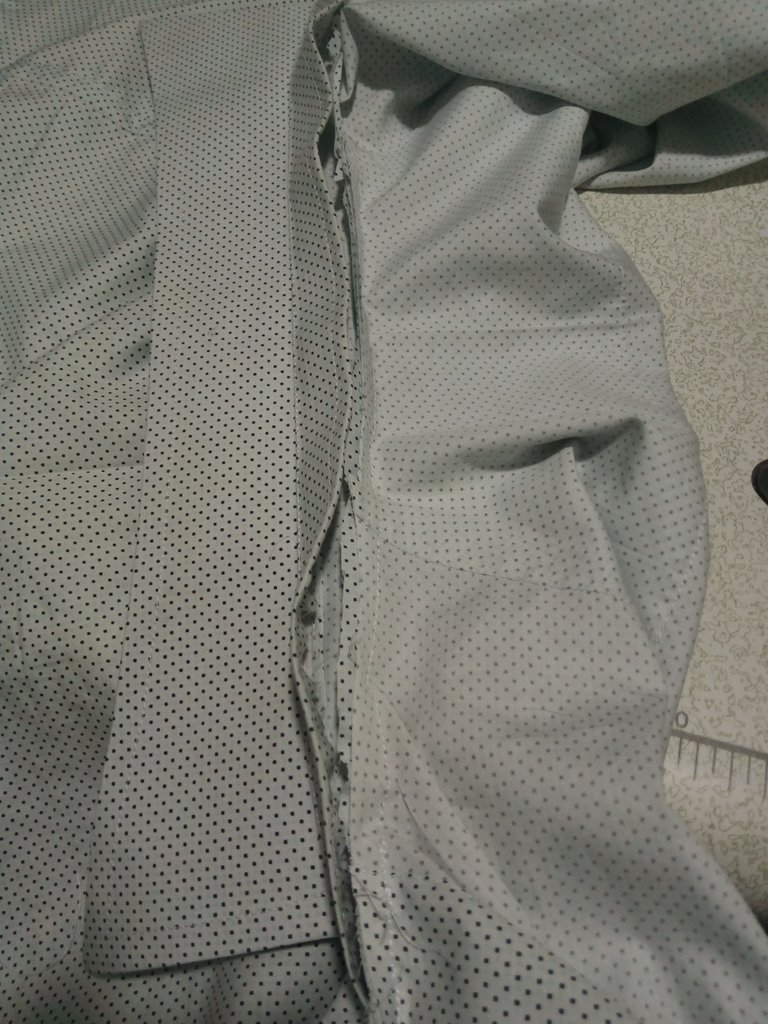
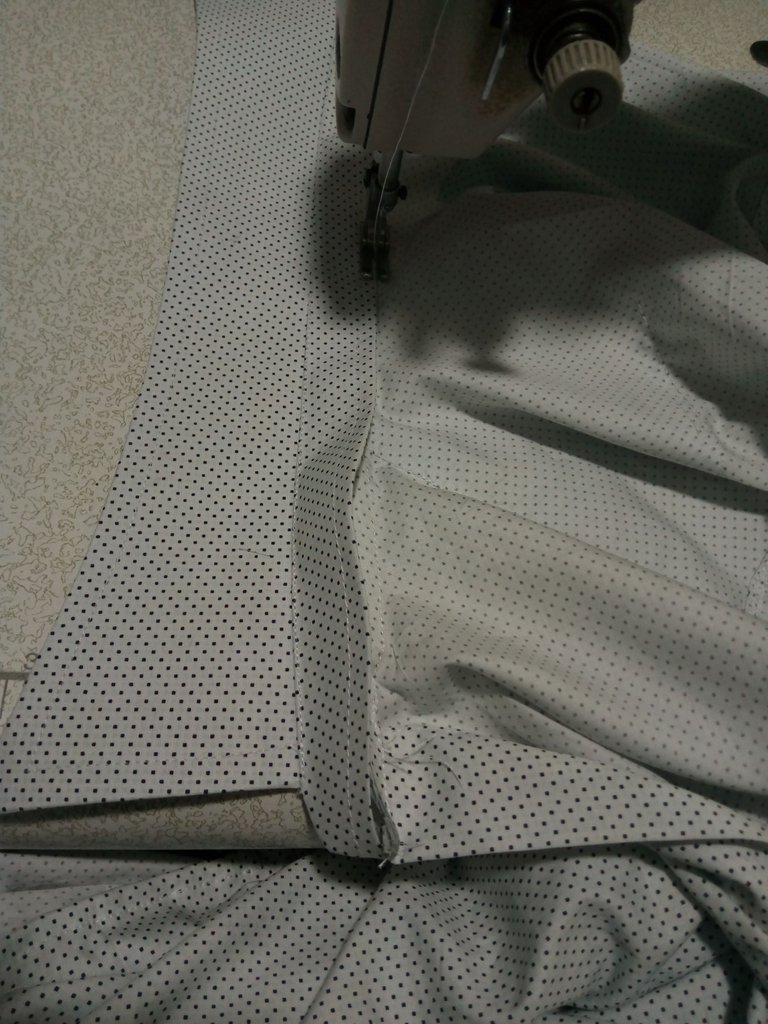
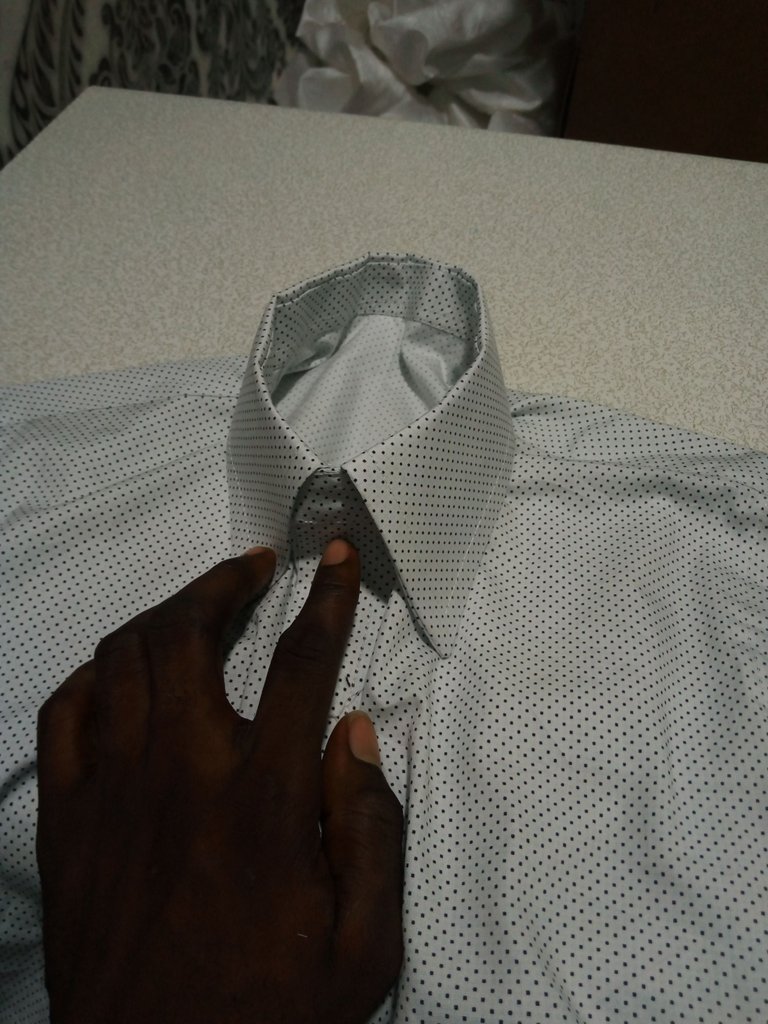
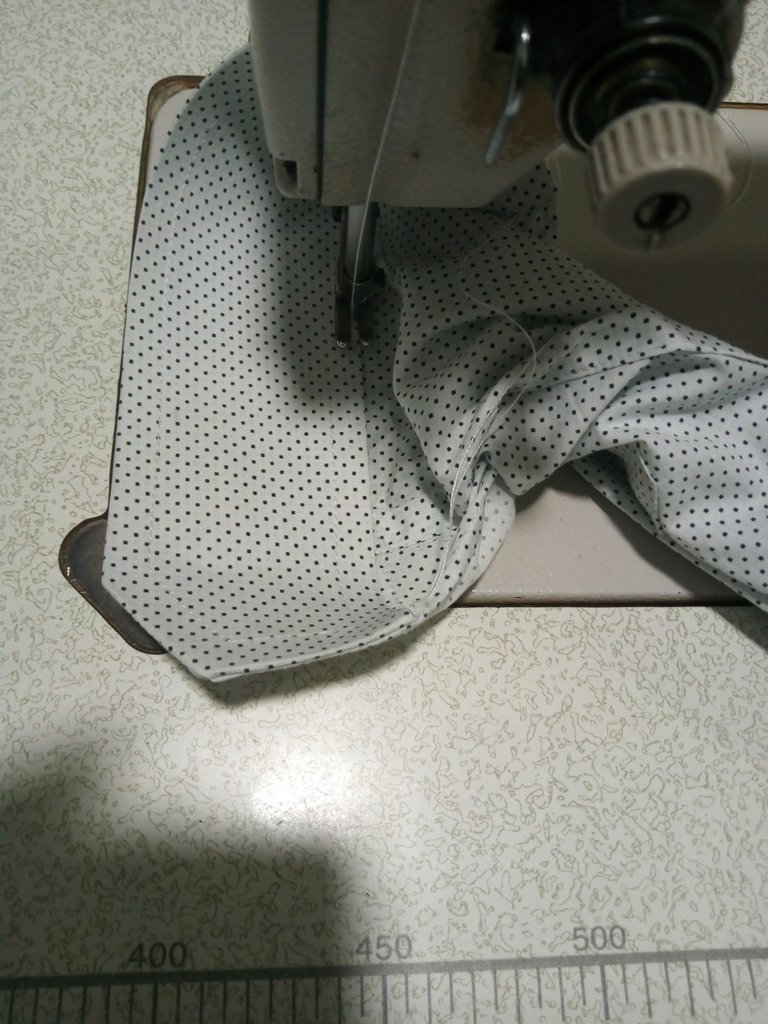
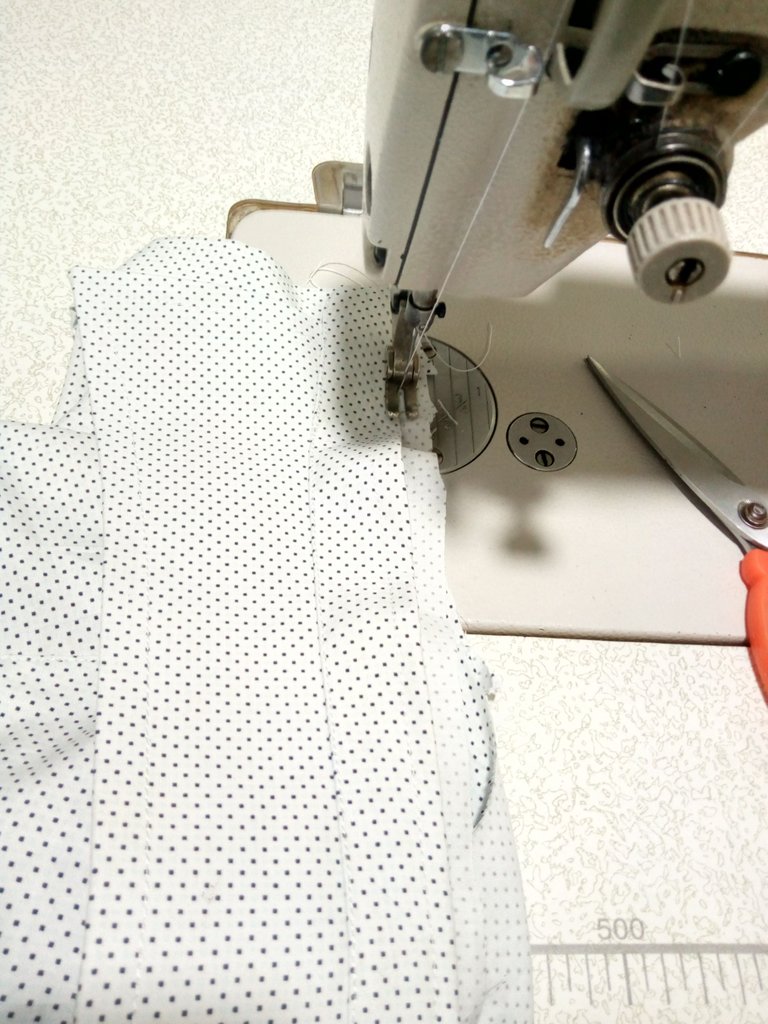
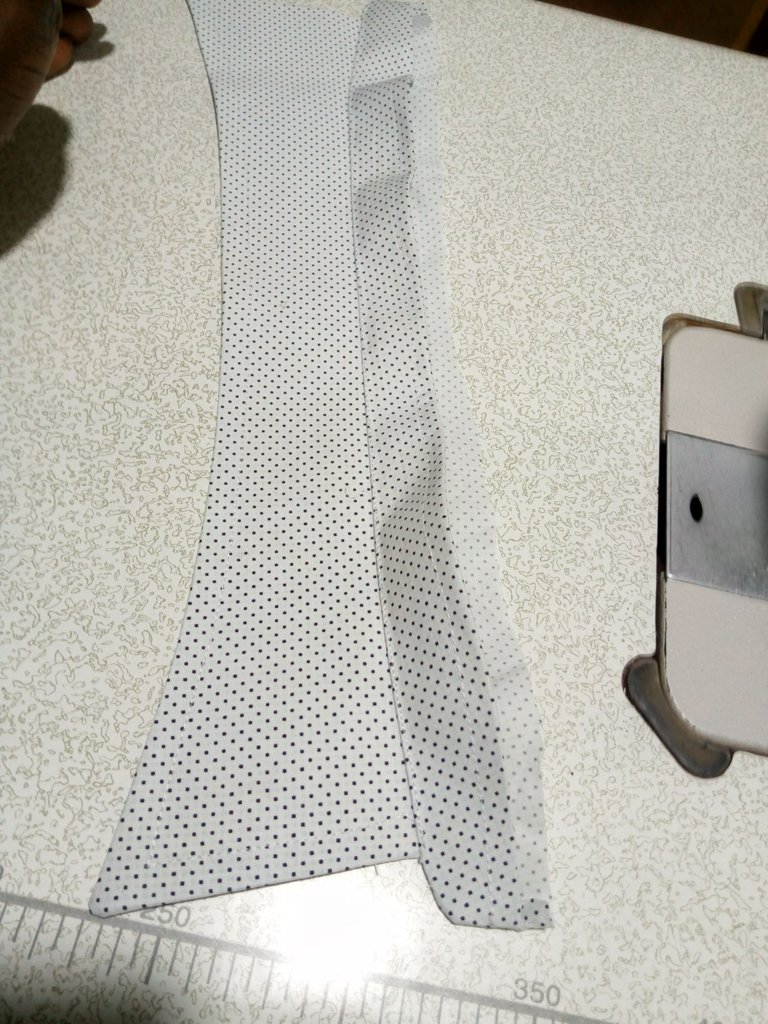
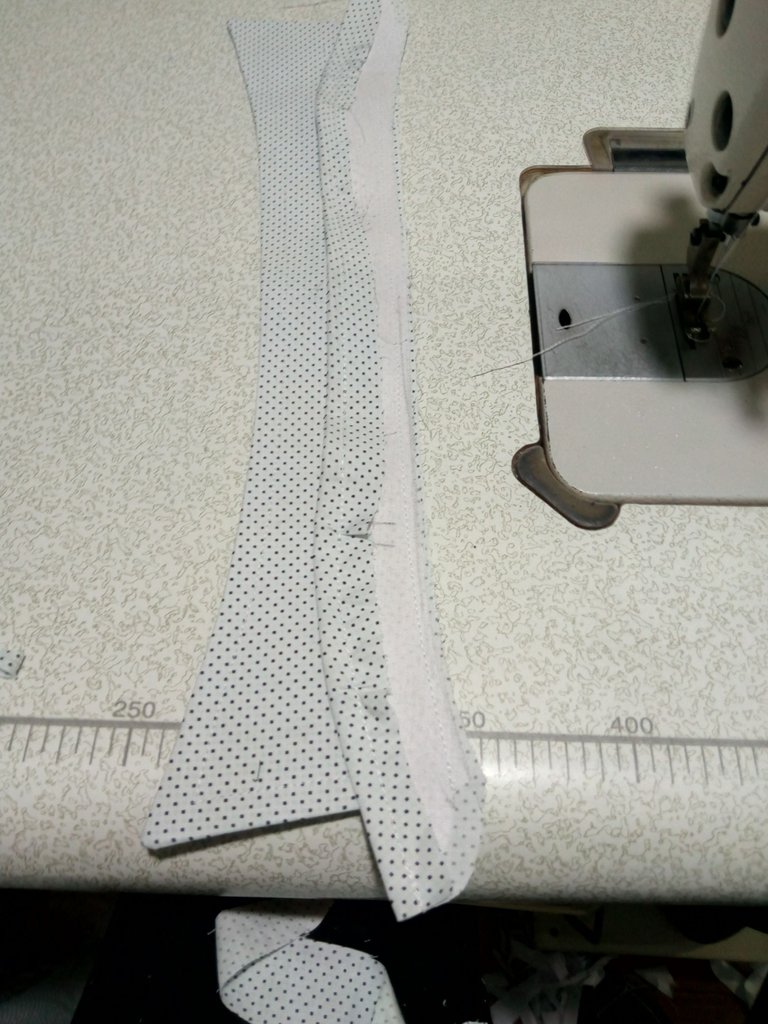
That's how I made this beautiful office shirt and Here is the final look.
FINAL LOOK

Thank you for sharing this amazing post on HIVE!
Your content got selected by our fellow curator @rezoanulvibes & you just received a little thank you via an upvote from our non-profit curation initiative!
You will be featured in one of our recurring curation compilations and on our pinterest boards! Both are aiming to offer you a stage to widen your audience within and outside of the DIY scene of hive.
Join the official DIYHub community on HIVE and show us more of your amazing work and feel free to connect with us and other DIYers via our discord server: https://discord.gg/mY5uCfQ !
If you want to support our goal to motivate other DIY/art/music/homesteading/... creators just delegate to us and earn 100% of your curation rewards!
Stay creative & hive on!