Greetings!
Hope you are doing well I am back with another creative idea. Today I am going to show you all the dress which I have made for myself. As our Eid is coming we are going to wear very very fancy dresses on that Eid but like around afternoon time due to hot weather we have to change those fancy dresses and we are willing to wear some normal some comfortable dresses. In the morning when we are going to relative houses and when we are going for outing we are wearing fancy dresses but after coming home we want to wear like easy dresses so for that also we need a new dress, so that's why today I will show you all the comfortable dress which I have stitched for myself for Eid.
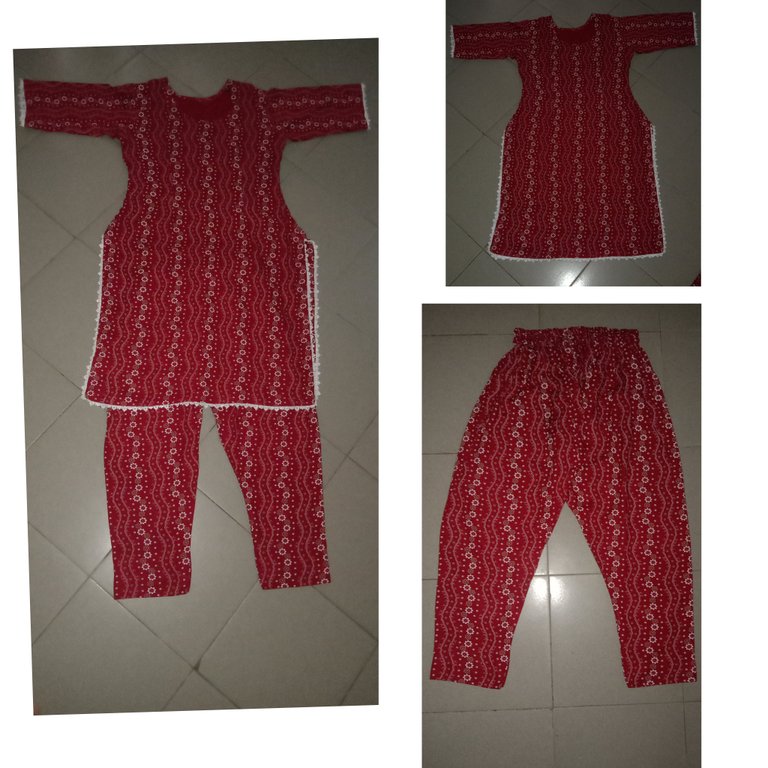
I have taken the material of 3 metre same fabric. That trouser and shirt both are same. So let's start the procedure.
Firstly I have got the trouser with the length of 40 inches. The weight of the bottom part is 10 inches and from the above it's 23 inches. And I have cut it according to the shape of the trouser.
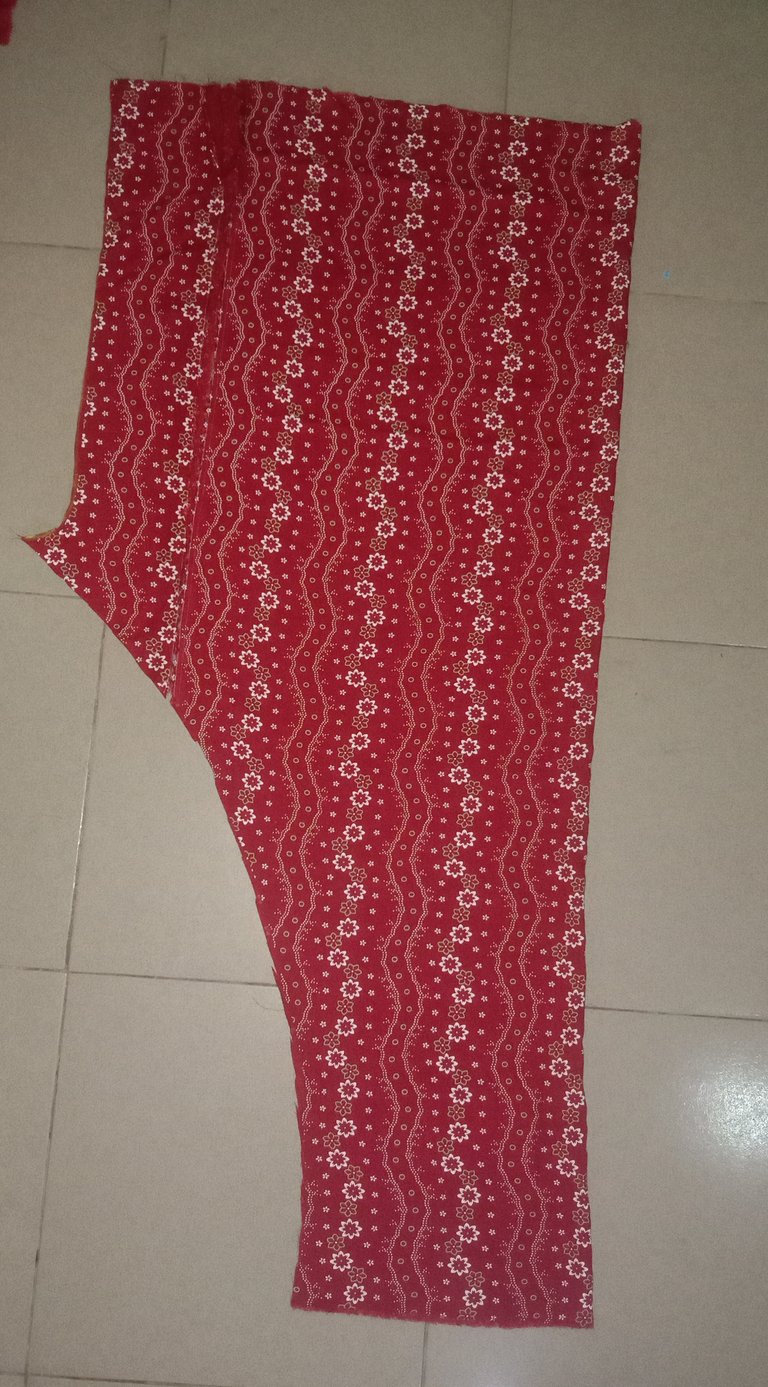
And that is the shape of it while opening it .
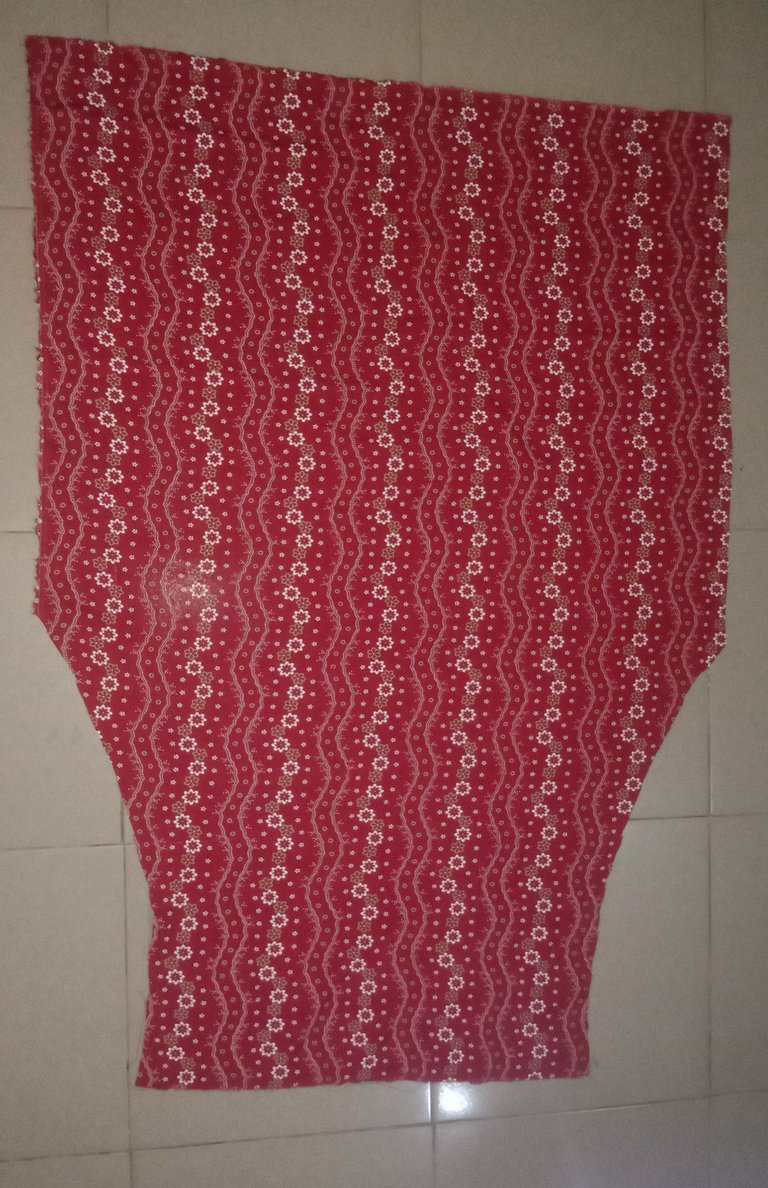
We have to join both of the pieces with each other from the middle point. That's how we have to join from the middle.

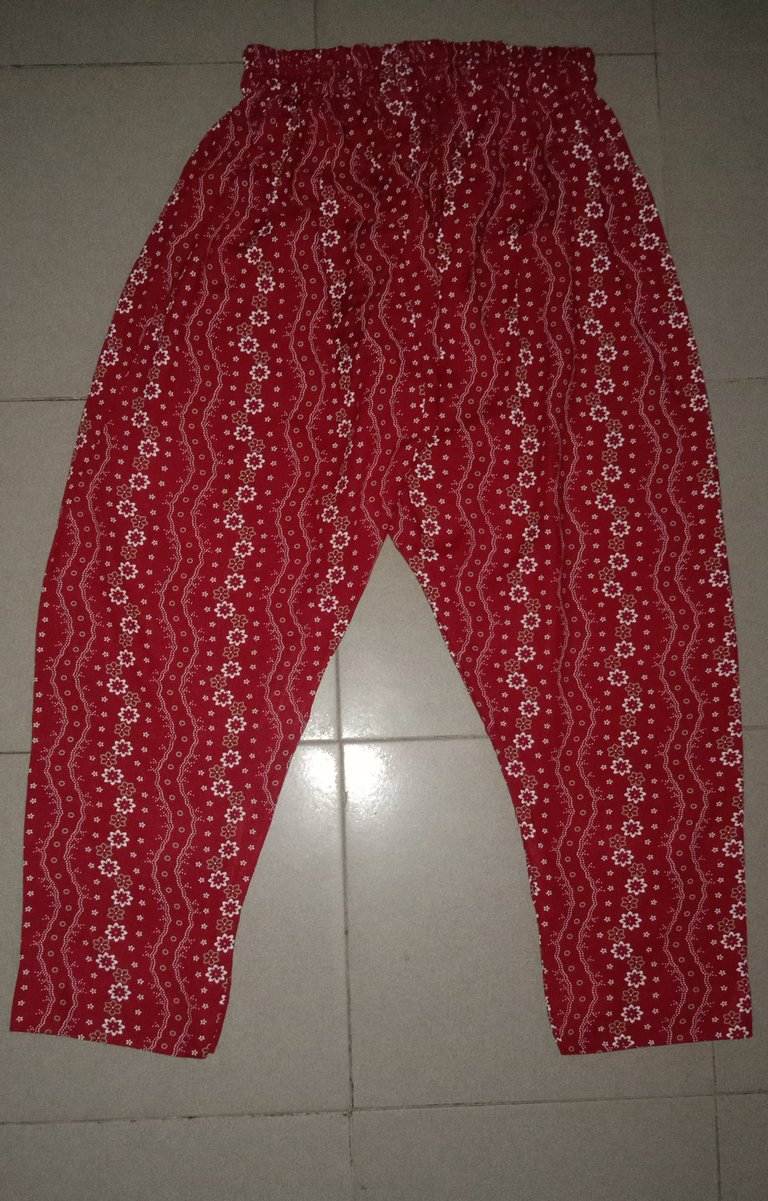
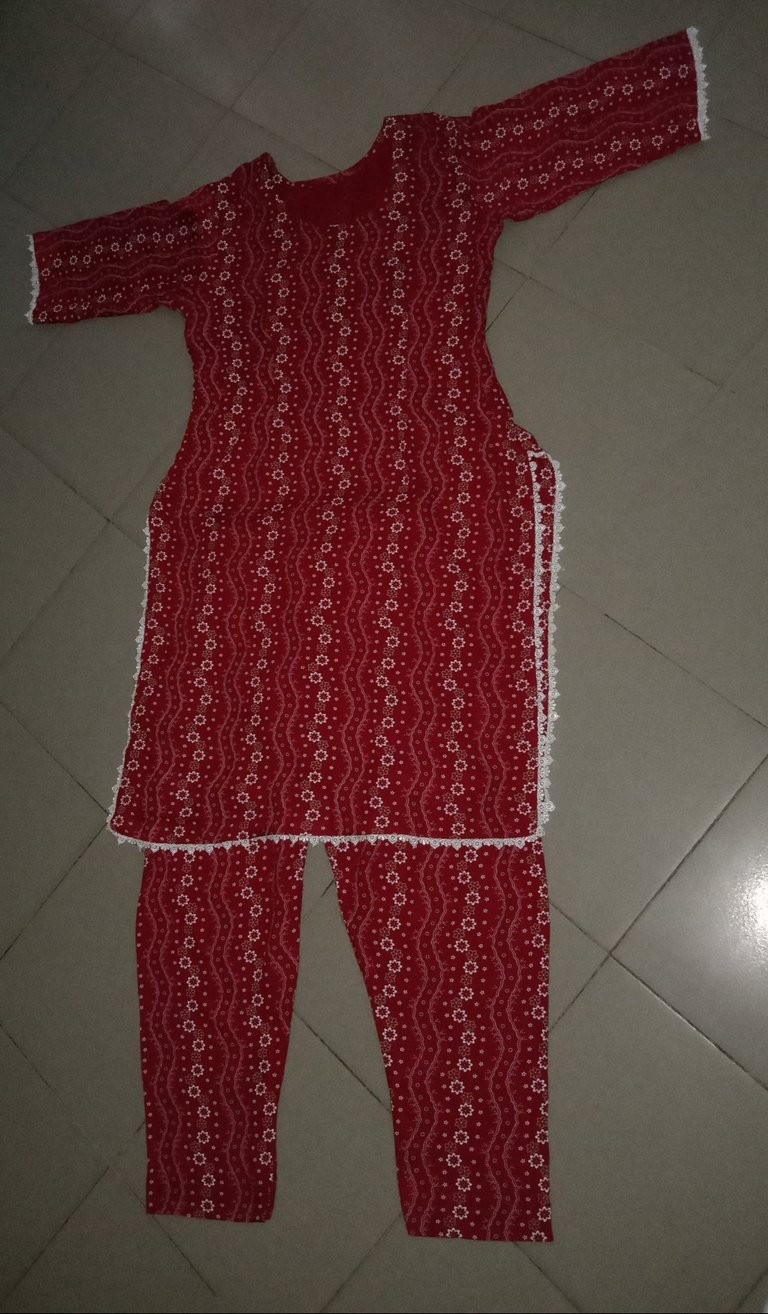
At last part of the trouser we have to join the length line and we have to attach the last take on the top of the trouser. And here is the final result of my trouser.
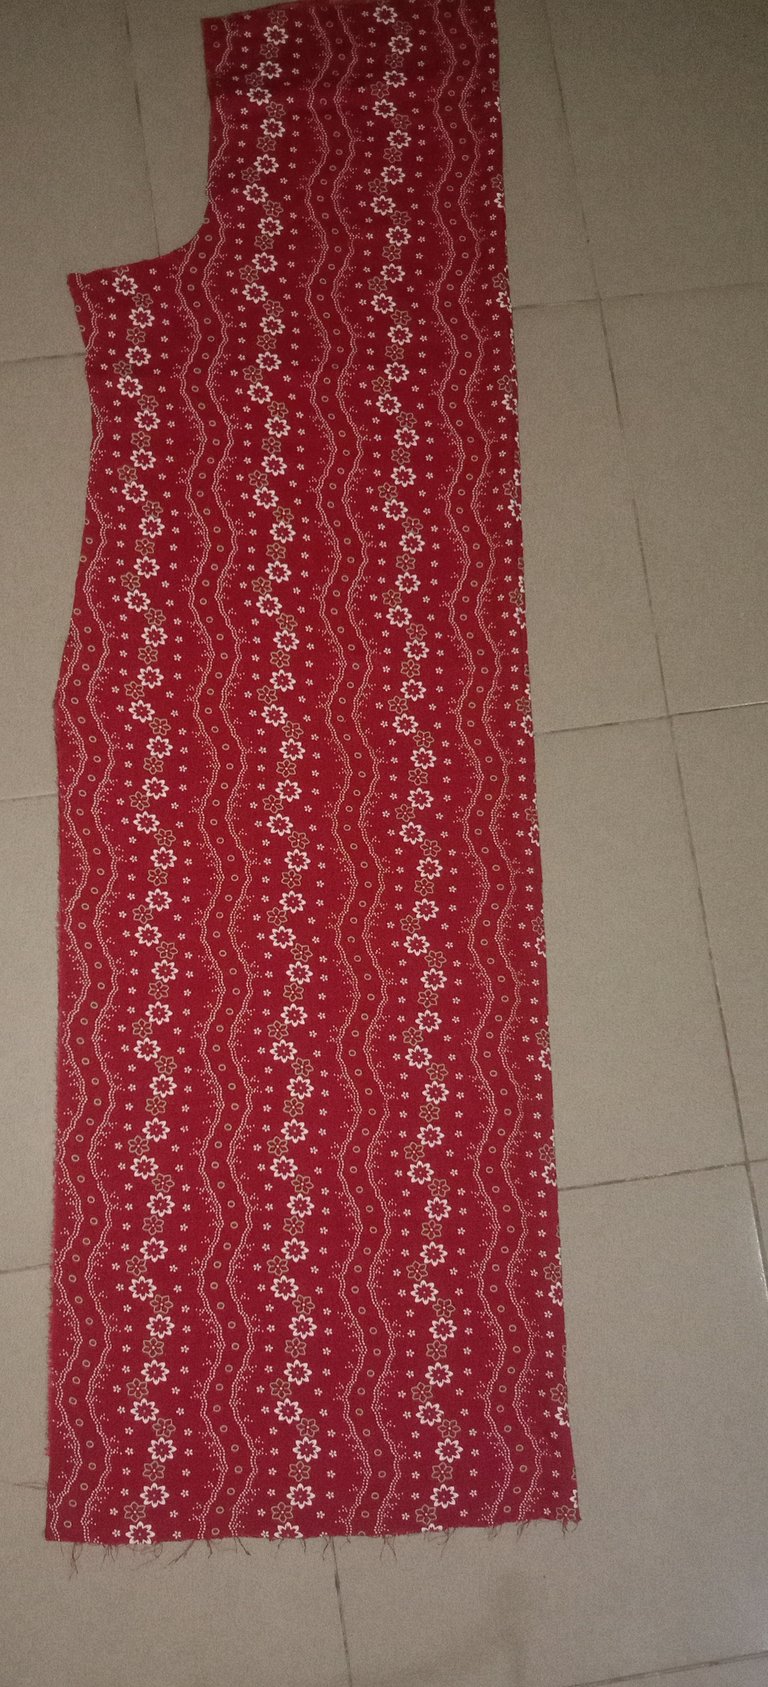
For for the shirt, we usually don't say shirt we usually say kameez so for the kameez I have taken the length 40 inches and the width of the kameez is 21 inches from the chest which is like 22 or something and we can change according to our size as well.
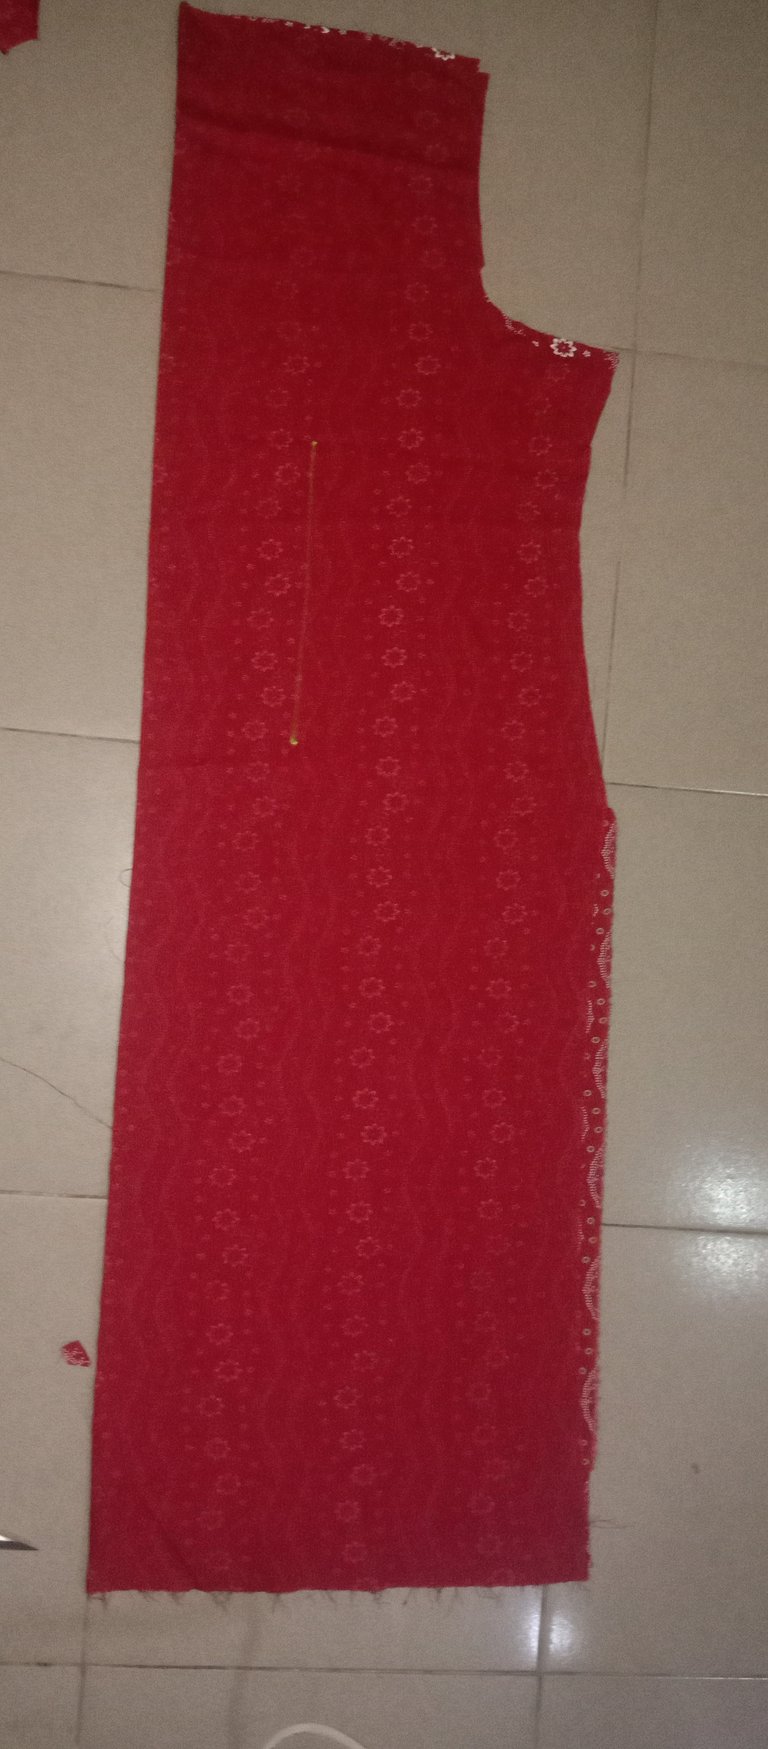
Then I have turned it the other side and inside it I have mark 2 dots 1 above and one downside that is for the plates.
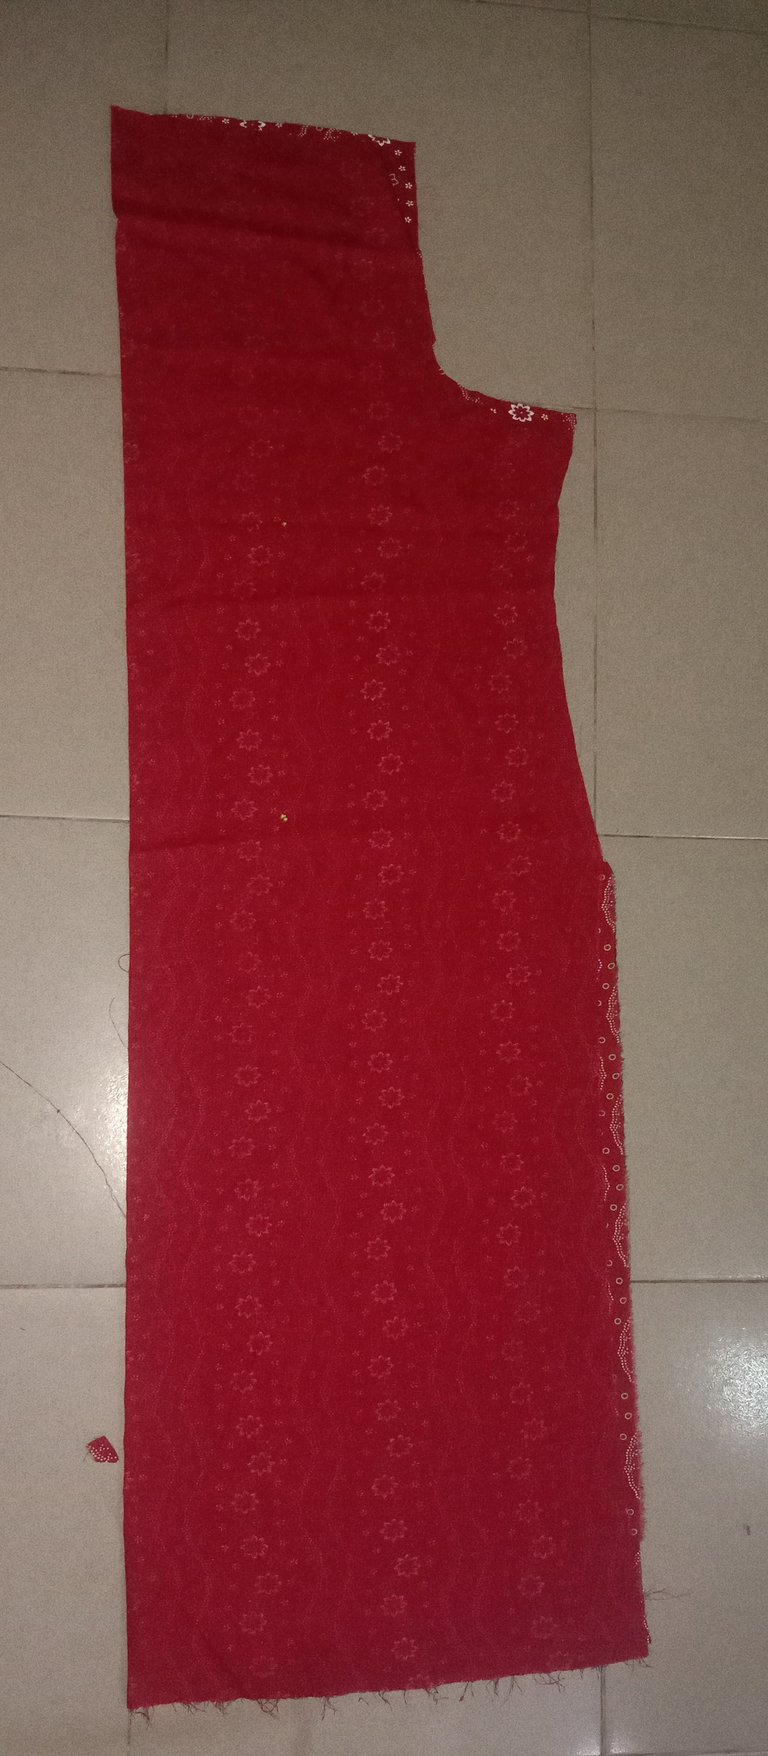
And then I have join both of the dots with the help of the chalk as you all can see.
For the arm I have taken the length of 15 Inches and width 12 inches. And I have taken it according to the shape of arm.

Cutting was finished so I have started to stitch it. Started with the plates of the shirt. I have stitched it with only one inch distance.

It's not clearly visible from the outer side cloth but when we are wearing the shirt it is clearly seen mostly.

For the neck I have cut the bukram of 6 inches in round shape. And attached it with the piece of cloth suing iron.
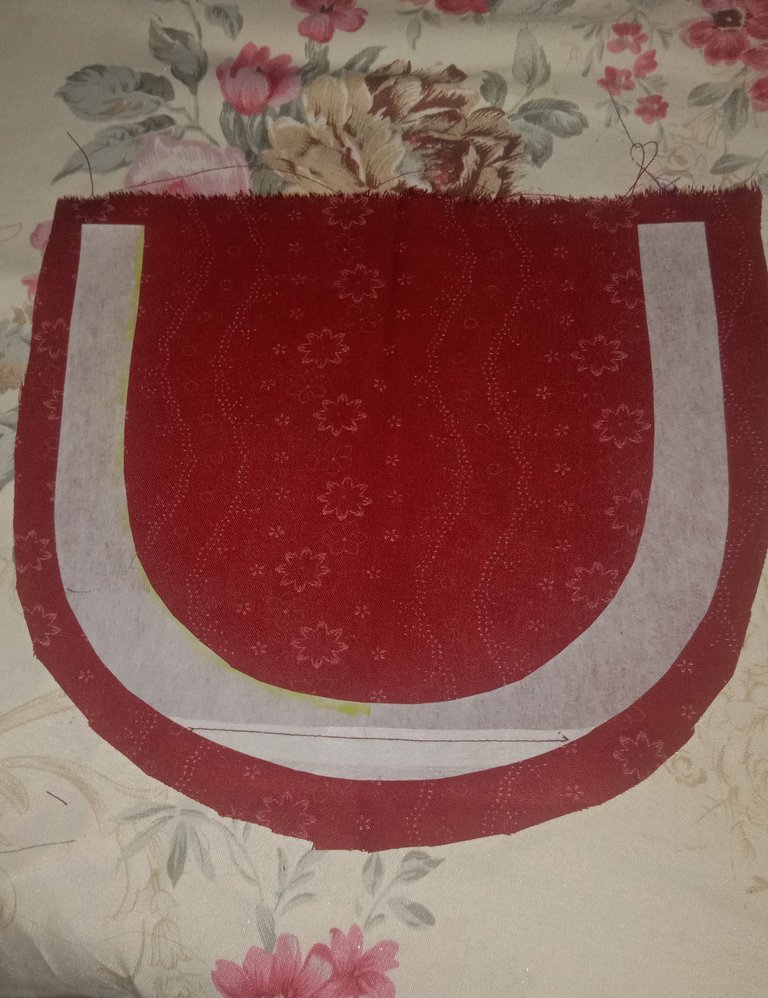
And then cut it and attached it to the front piece of cloth.

After that we have to attach both of the front and back side of cloth with each other using one Stitch there.

For the bottom width part i have attached the lais there, White color lais. Using double cloth.

That's how we get from the above. It's looking really pretty and neat. Also it gives new look to the dress.

For the arm also I have attached the lais with the same method.

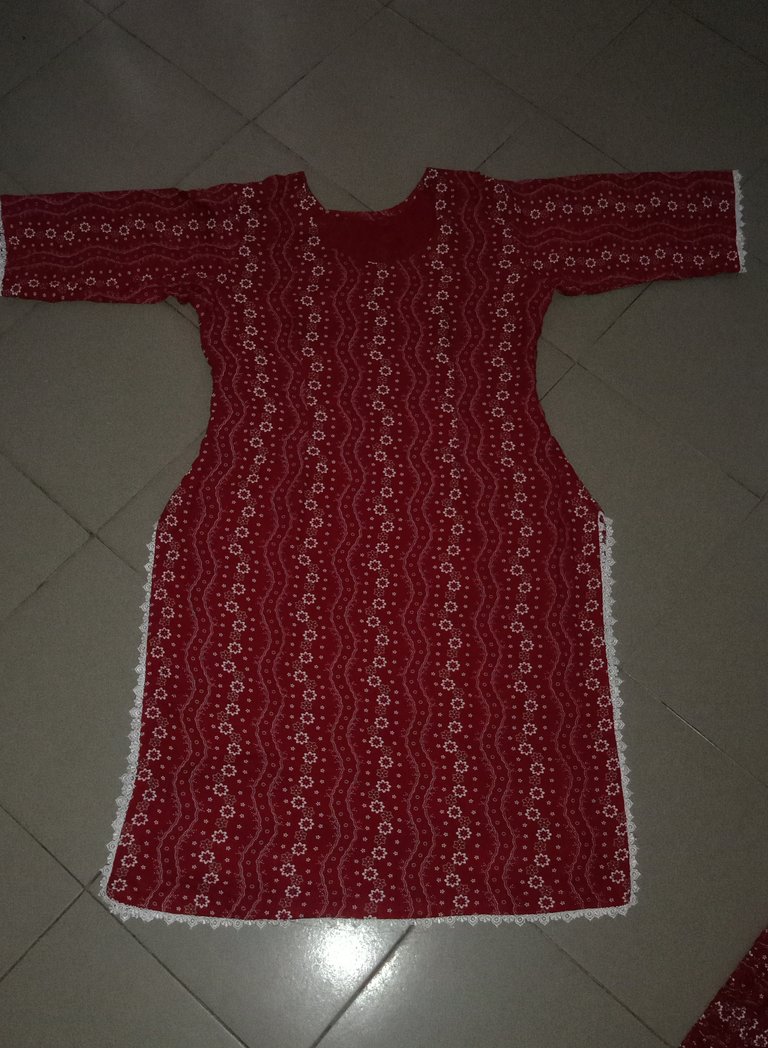
After completing everything we have to attach the front and back side of shirt to each other. And here is the shirt without sleeves.
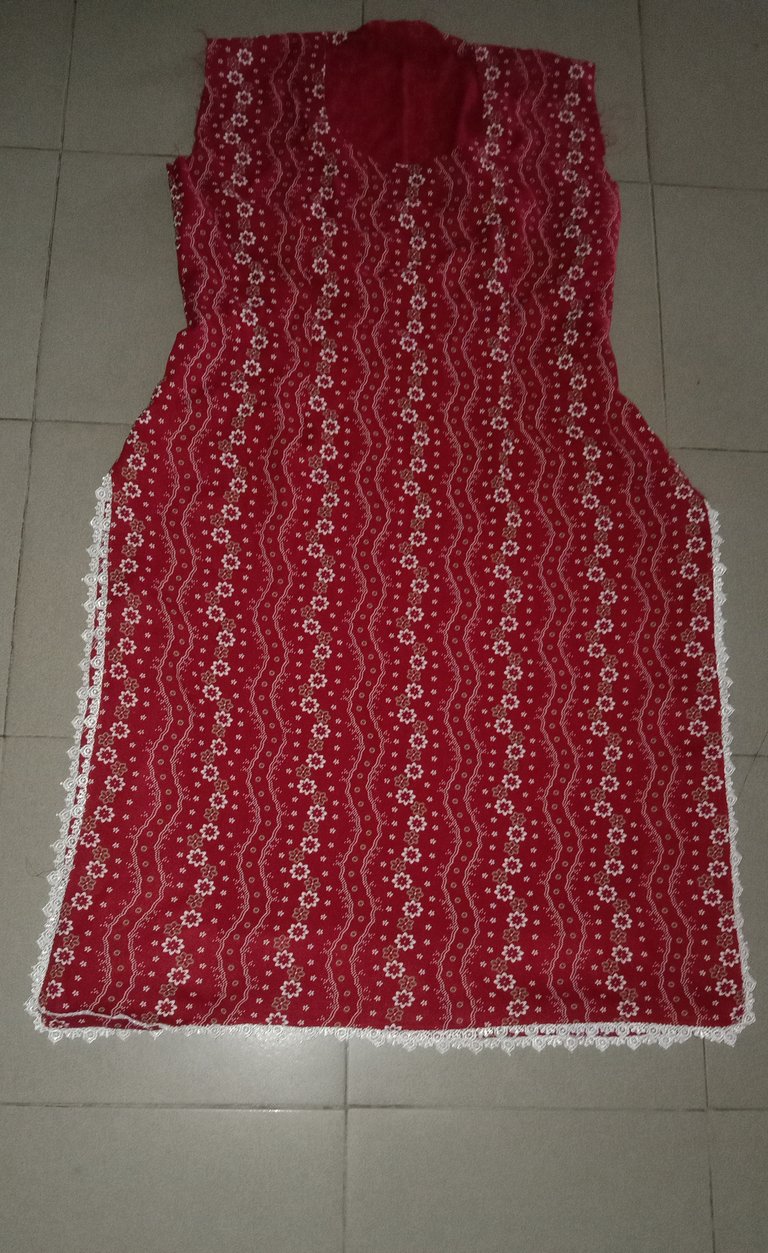
At last we have to attach the sleeves to the shirt. Here is the final result of my shirt.
Hope you all love it. I will be back with another Creative idea soon. Bye for now.
View or trade
LOHtokens.@parveenn, You have received 1.0000 LOH for posting to Ladies of Hive.
We believe that you should be rewarded for the time and effort spent in creating articles. The goal is to encourage token holders to accumulate and hodl LOH tokens over a long period of time.
It is so beautiful, charming, and lovely. It looks great. You did a great job! Love it. Keep it up!