Hello Guys
Happy and blessed day to you all and a big new month wishes to you again, how are you all doing today, I hope everything is going very well, it is my first time posting on this amazing community, and I hope I'm deeply welcome, it a pleasure to be here with you all, I want to share with you all the step by step process of 5-minute headband for a friend as a birthday gift, with the color to match her dress.
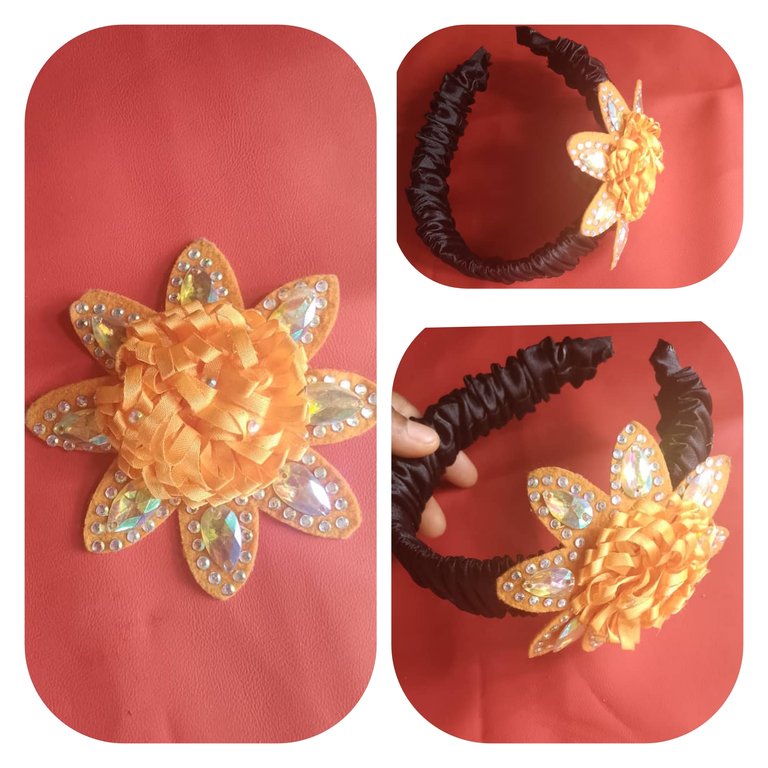
I received a call from my friend yesterday, telling me to come around her place, I was so worried about what happened that she sounded so worried and urgent, I rushed to her place to check if there was something that happened when I rushed to her she was so excited, then o asked her what happened she told me it's her birthday, I calm myself and asked her again she still repeated that her birthday is that yesterday, I forgot that her birthday was on 3rd September, she told me to go and come to that occasion will be started by the evening time, she showed me her birthday cloth that she bought, I weñt home and start thinking on a kind of gift I will be given to her, so this headband came to my mind and I her birthday dress is orange color with black shoes and black handbag, so I decided to make the headband in black color with orange star rose.
Let's get to the procedure
The material used
Black doll face satin
Gum
The star headband rose
Scissors
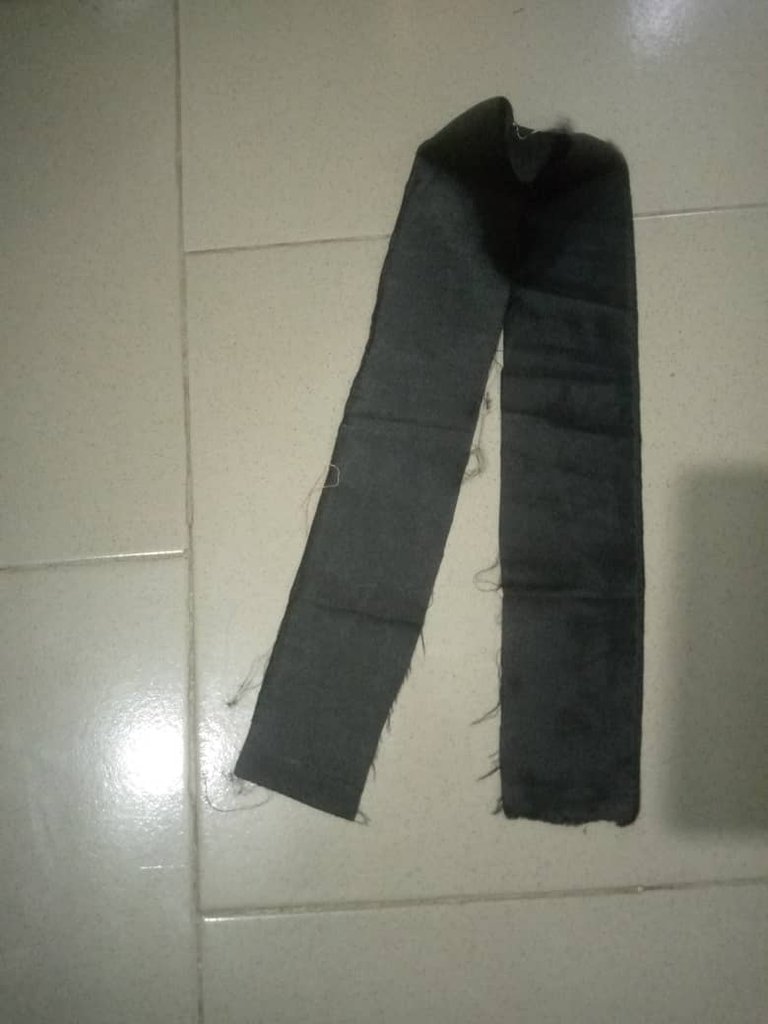
I first cut out the satin material by 29 inches in length, then 4 inches in width; now for the long length, I used the length so that the gathers shift would be enough.
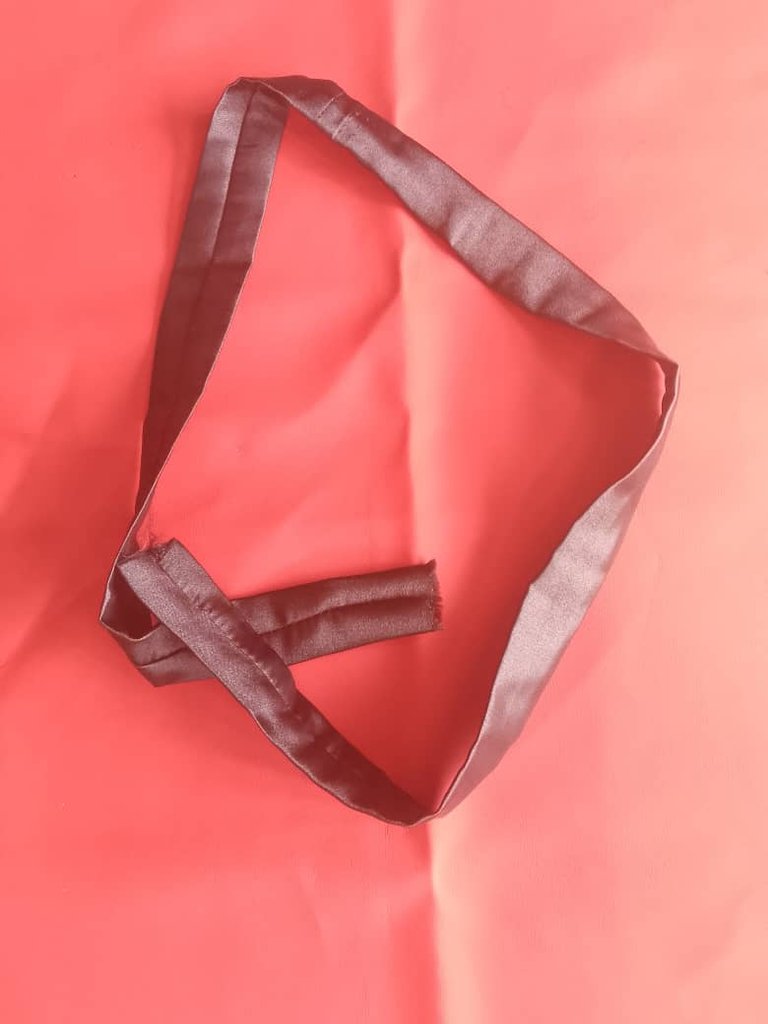
After cutting out the satin material, I folded it in two; then I sewed the wrong side of the material by half inches, then removed the main side of the material and ironed it down.
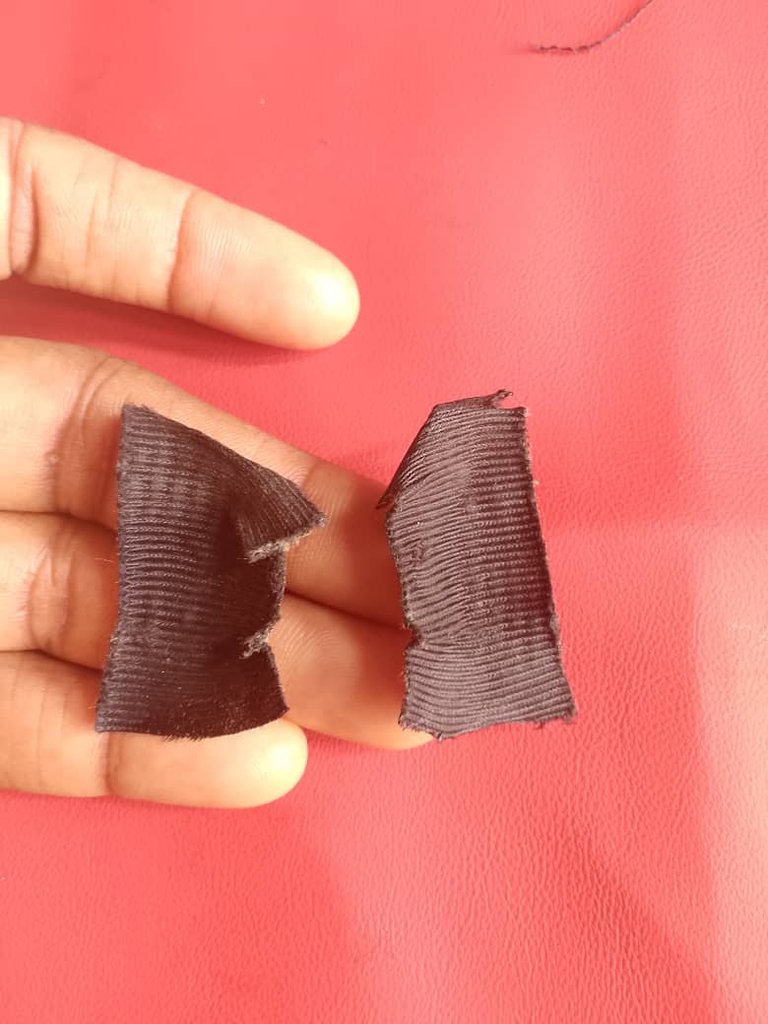
After ironing it out, I first cut out another vintage material by 2 inches in length and width, then I used my gum and gummed them down.

After that, I started inserting the satin material into the headband strip, then I with the little material with gum and gum the hem of the headband strip with the satin material I was inserting.
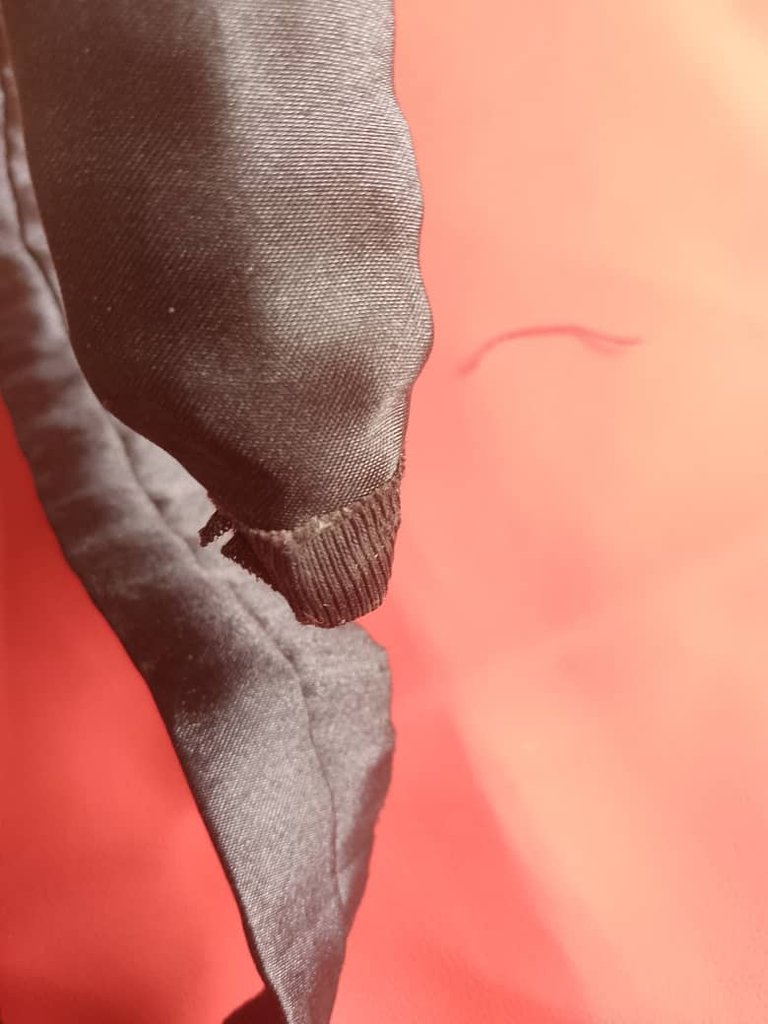
Then, in the process of inserting the satin on it, the gathers now start coming out nicely.
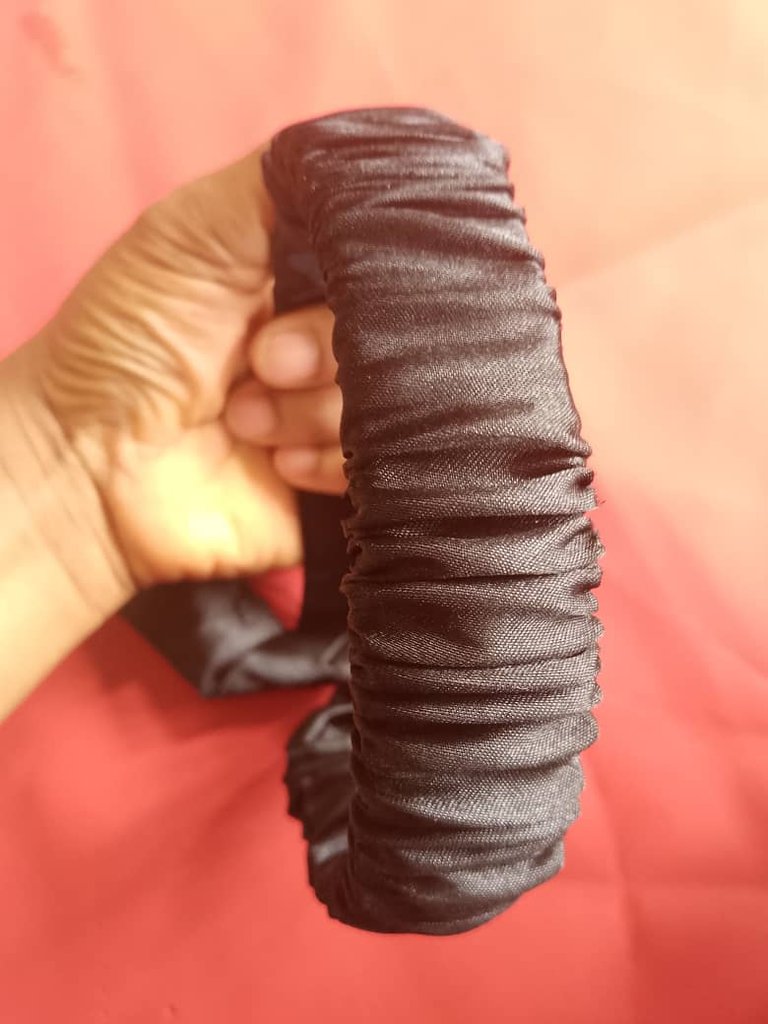

I am now finished with the inserting process; this is what it looks like.
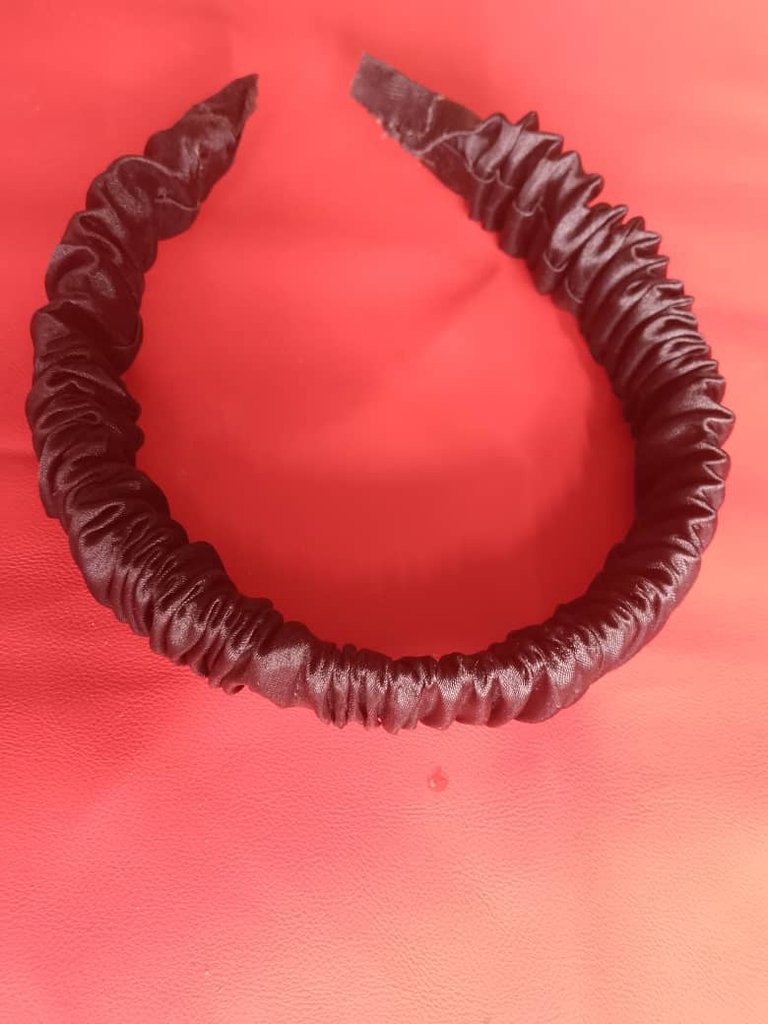
After finishing that, I gagged the last hem of it so that it would not run out. Then I brought out the headband rose and poured gum on it.

After pouring out the gum I placed it on the left side of the headband stip.
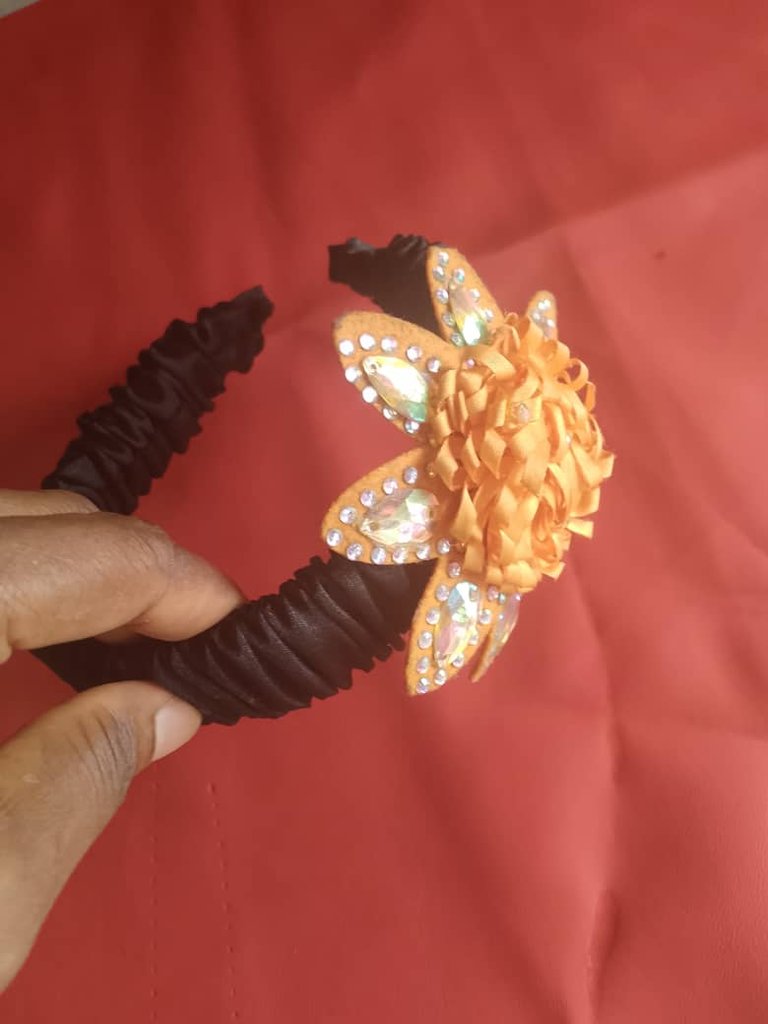
Here is the outcome of the headband
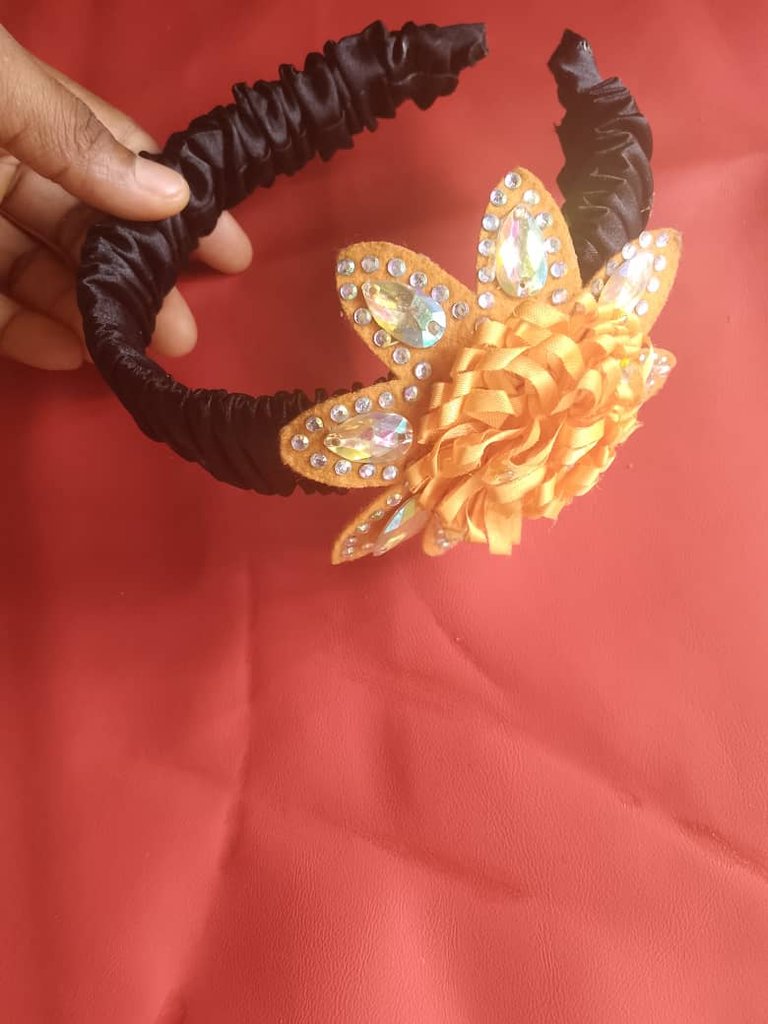
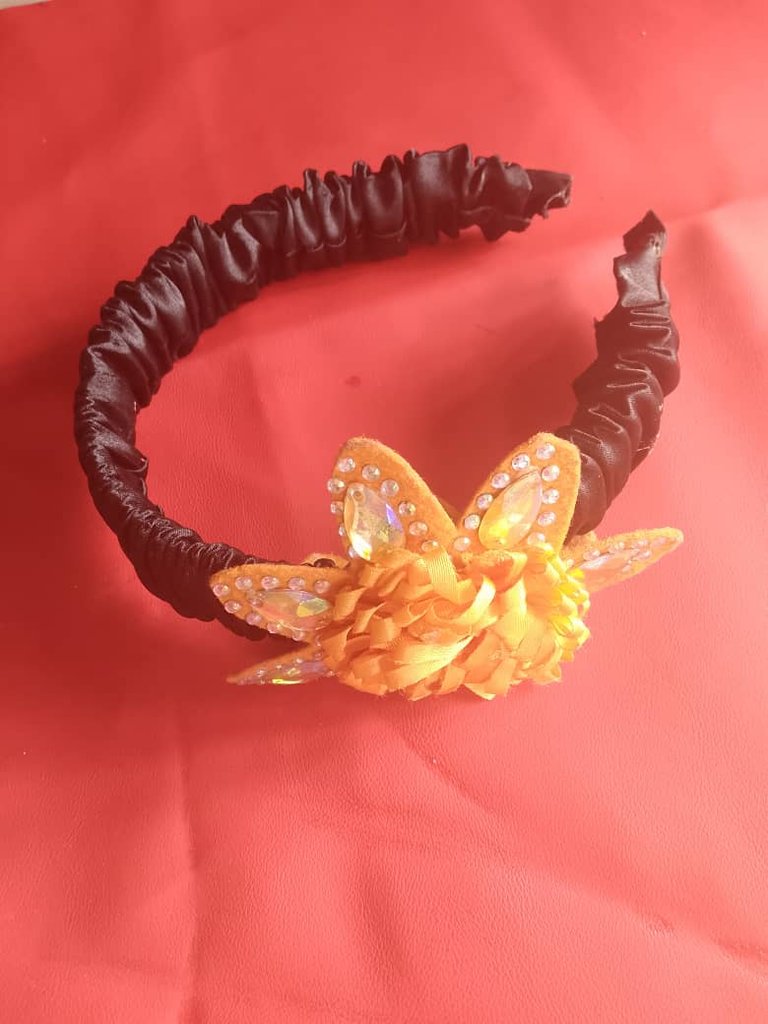
This is so beautiful, I was so excited to make this simple headband for my friend, well I didn't have any other gift to give to her, and her birthday came unarrived because I didn't remember, giving my friend this she was so surprised asking me when I did it I told her I did that same day, she was so happy seeing it because she didn't have any headband to use.
Thank you so much for passing through.
I really love this
Thanks for sharing with us
Wow! This is so pretty. I never knew this is how hairbands were made. You make it seem so easy. I'm sure your friend will love it. It's a very thoughtful birthday present
5 minutes you say? that's super fast for this lovely piece. This is wonderful, thank you for sharing it with the community.
Wow I congratulate you dear, that was a gift made in 5 minutes but that will last forever, thank you for sharing, oh I forgot that headband was beautiful.
Congratulations @pepefashion! You have completed the following achievement on the Hive blockchain And have been rewarded with New badge(s)
Your next target is to reach 1500 comments.
You can view your badges on your board and compare yourself to others in the Ranking
If you no longer want to receive notifications, reply to this comment with the word
STOPCheck out our last posts:
This is a lovely gift.
I should replicate this
That’s beautiful. Thank you for the explanation