This post was meant to be for the Needlework your bucket list challenge, but I didn’t complete it before the challenge ended, so here it is in my ‘What did I Crochet?’ series.
I finally worked on an amigurumi project, needleworkers, and the result is satisfying! I know it’s a small project actually — it’s not a full bunny — but even at that, I’m quite pleased with myself.
Since I discovered amigurumi, I’ve been yearning to crochet cute dolls, animals… I don’t know why I waited till now, but I’m glad I added it to my needlework bucket list because it made me get down to it sooner than I would have. Although I missed posting it for the Needlework your bucket list challenge, I still get to share it with you guys.
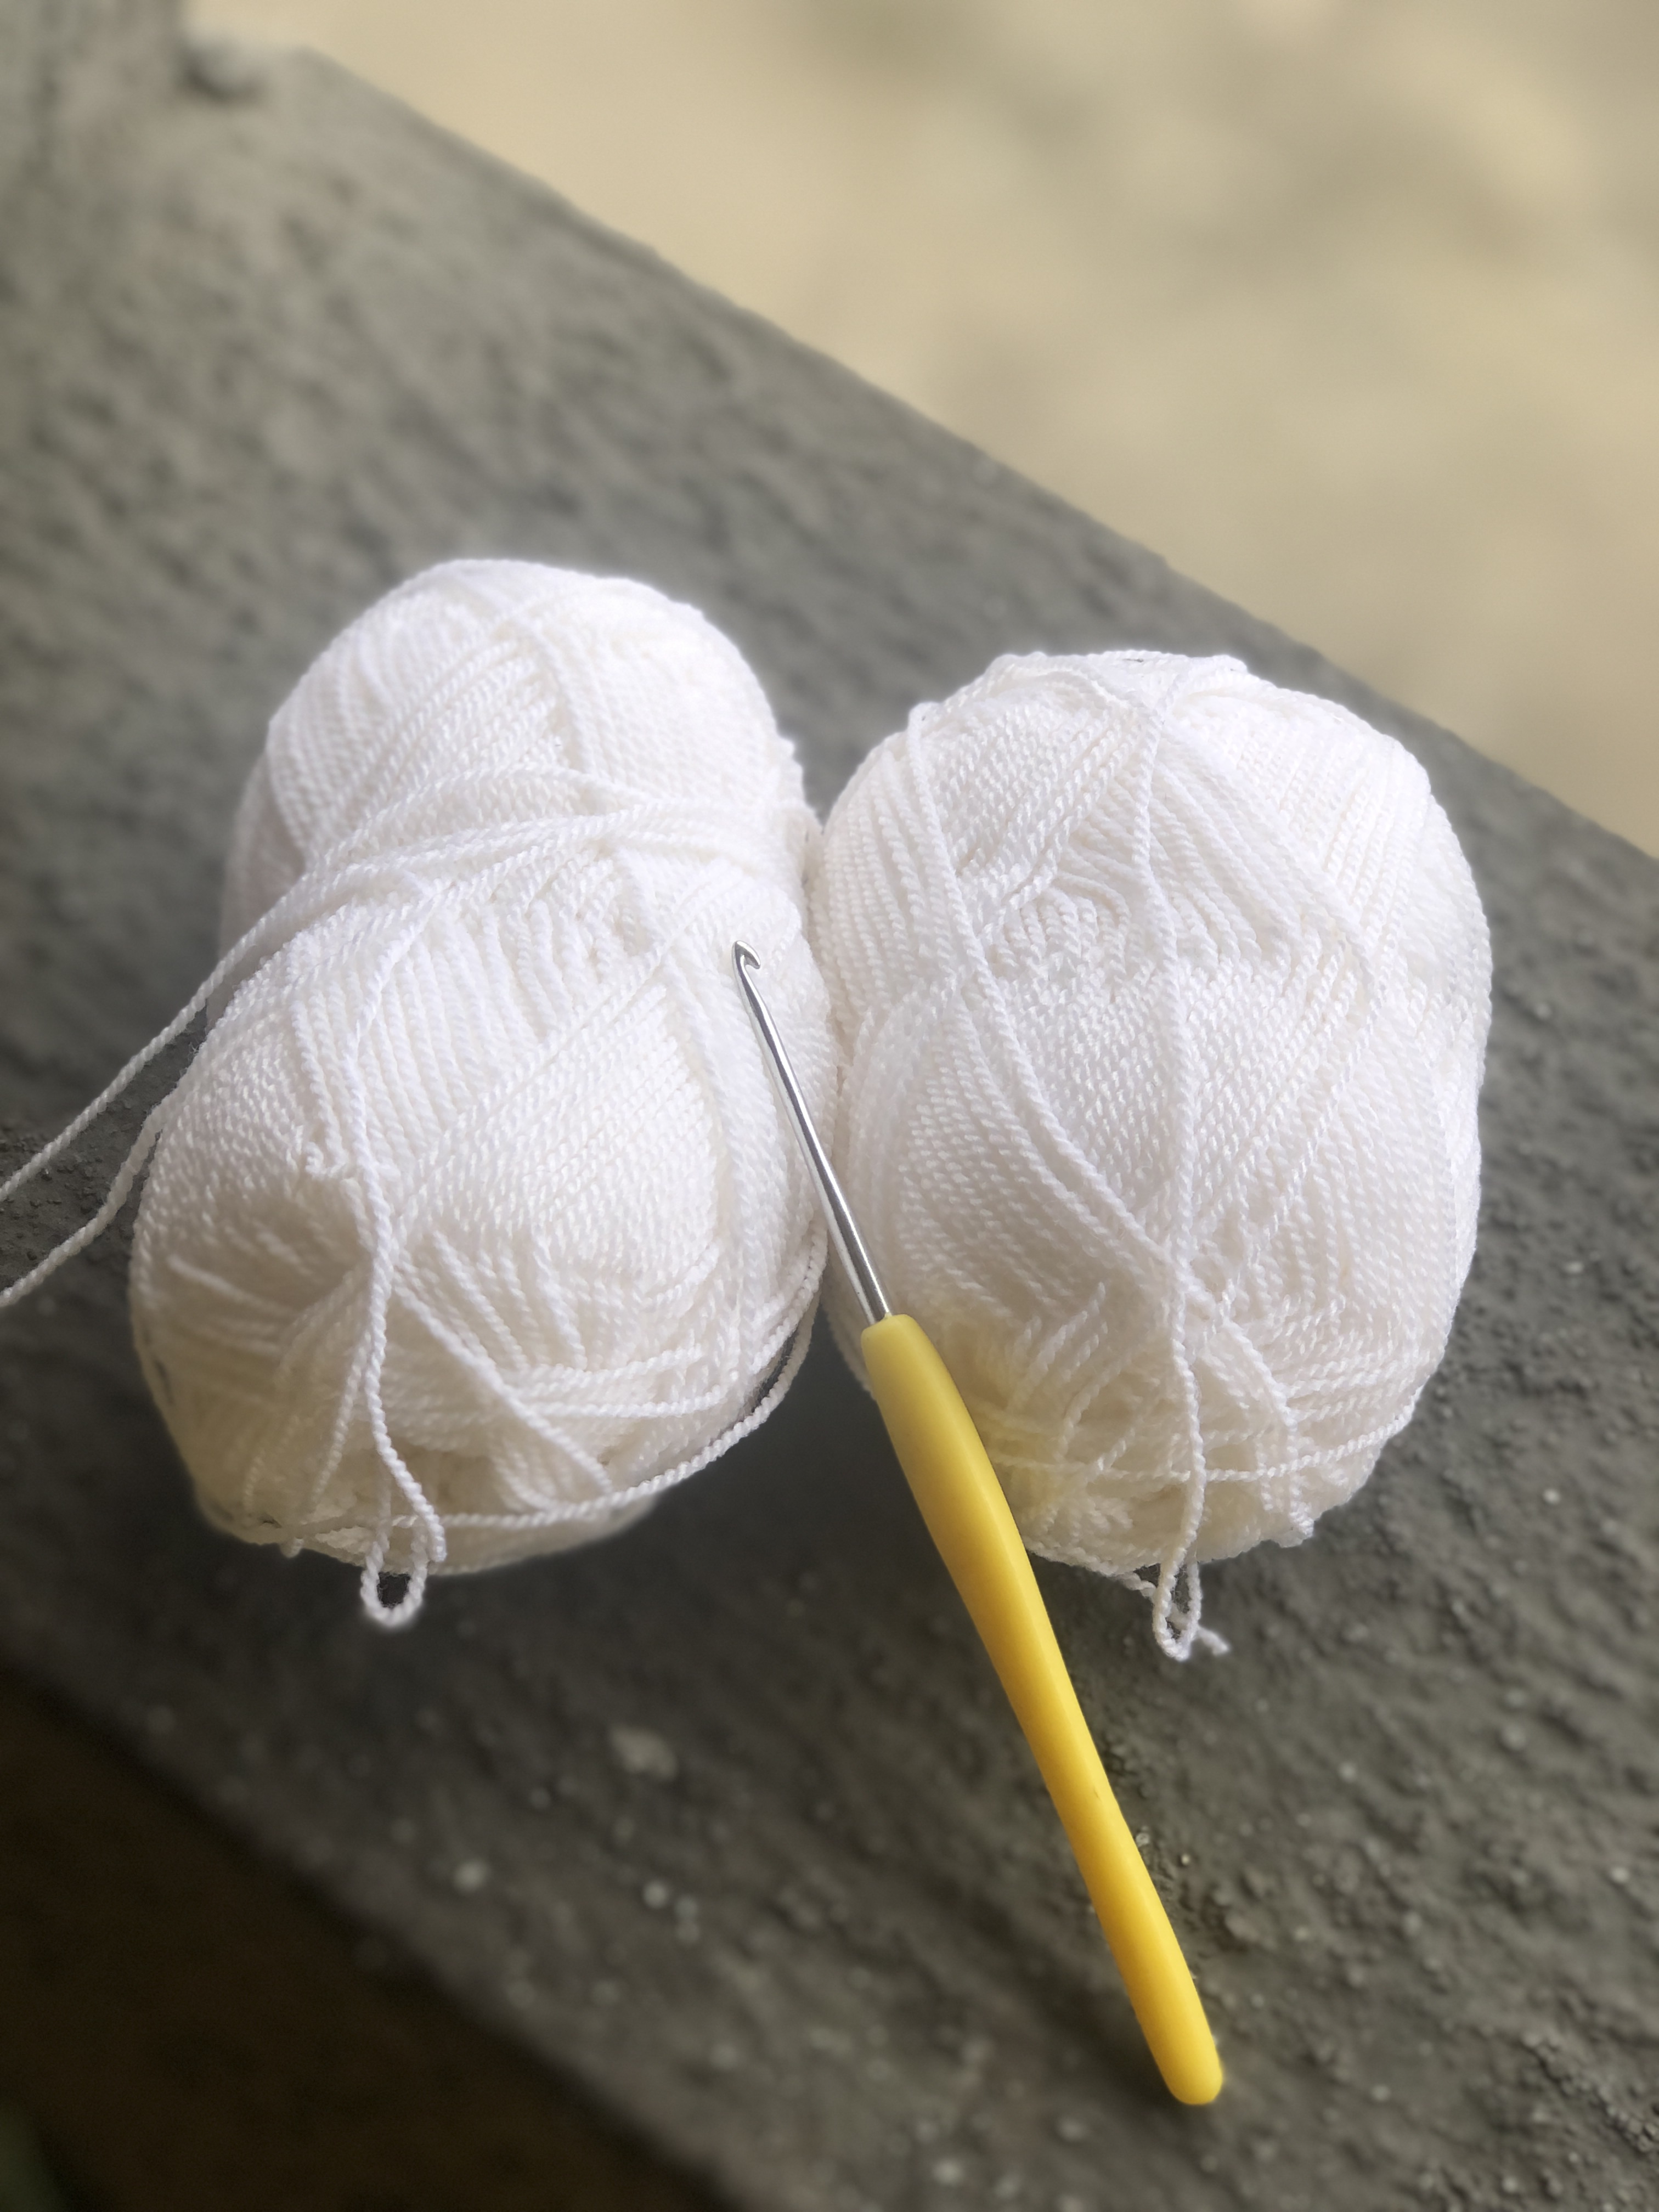
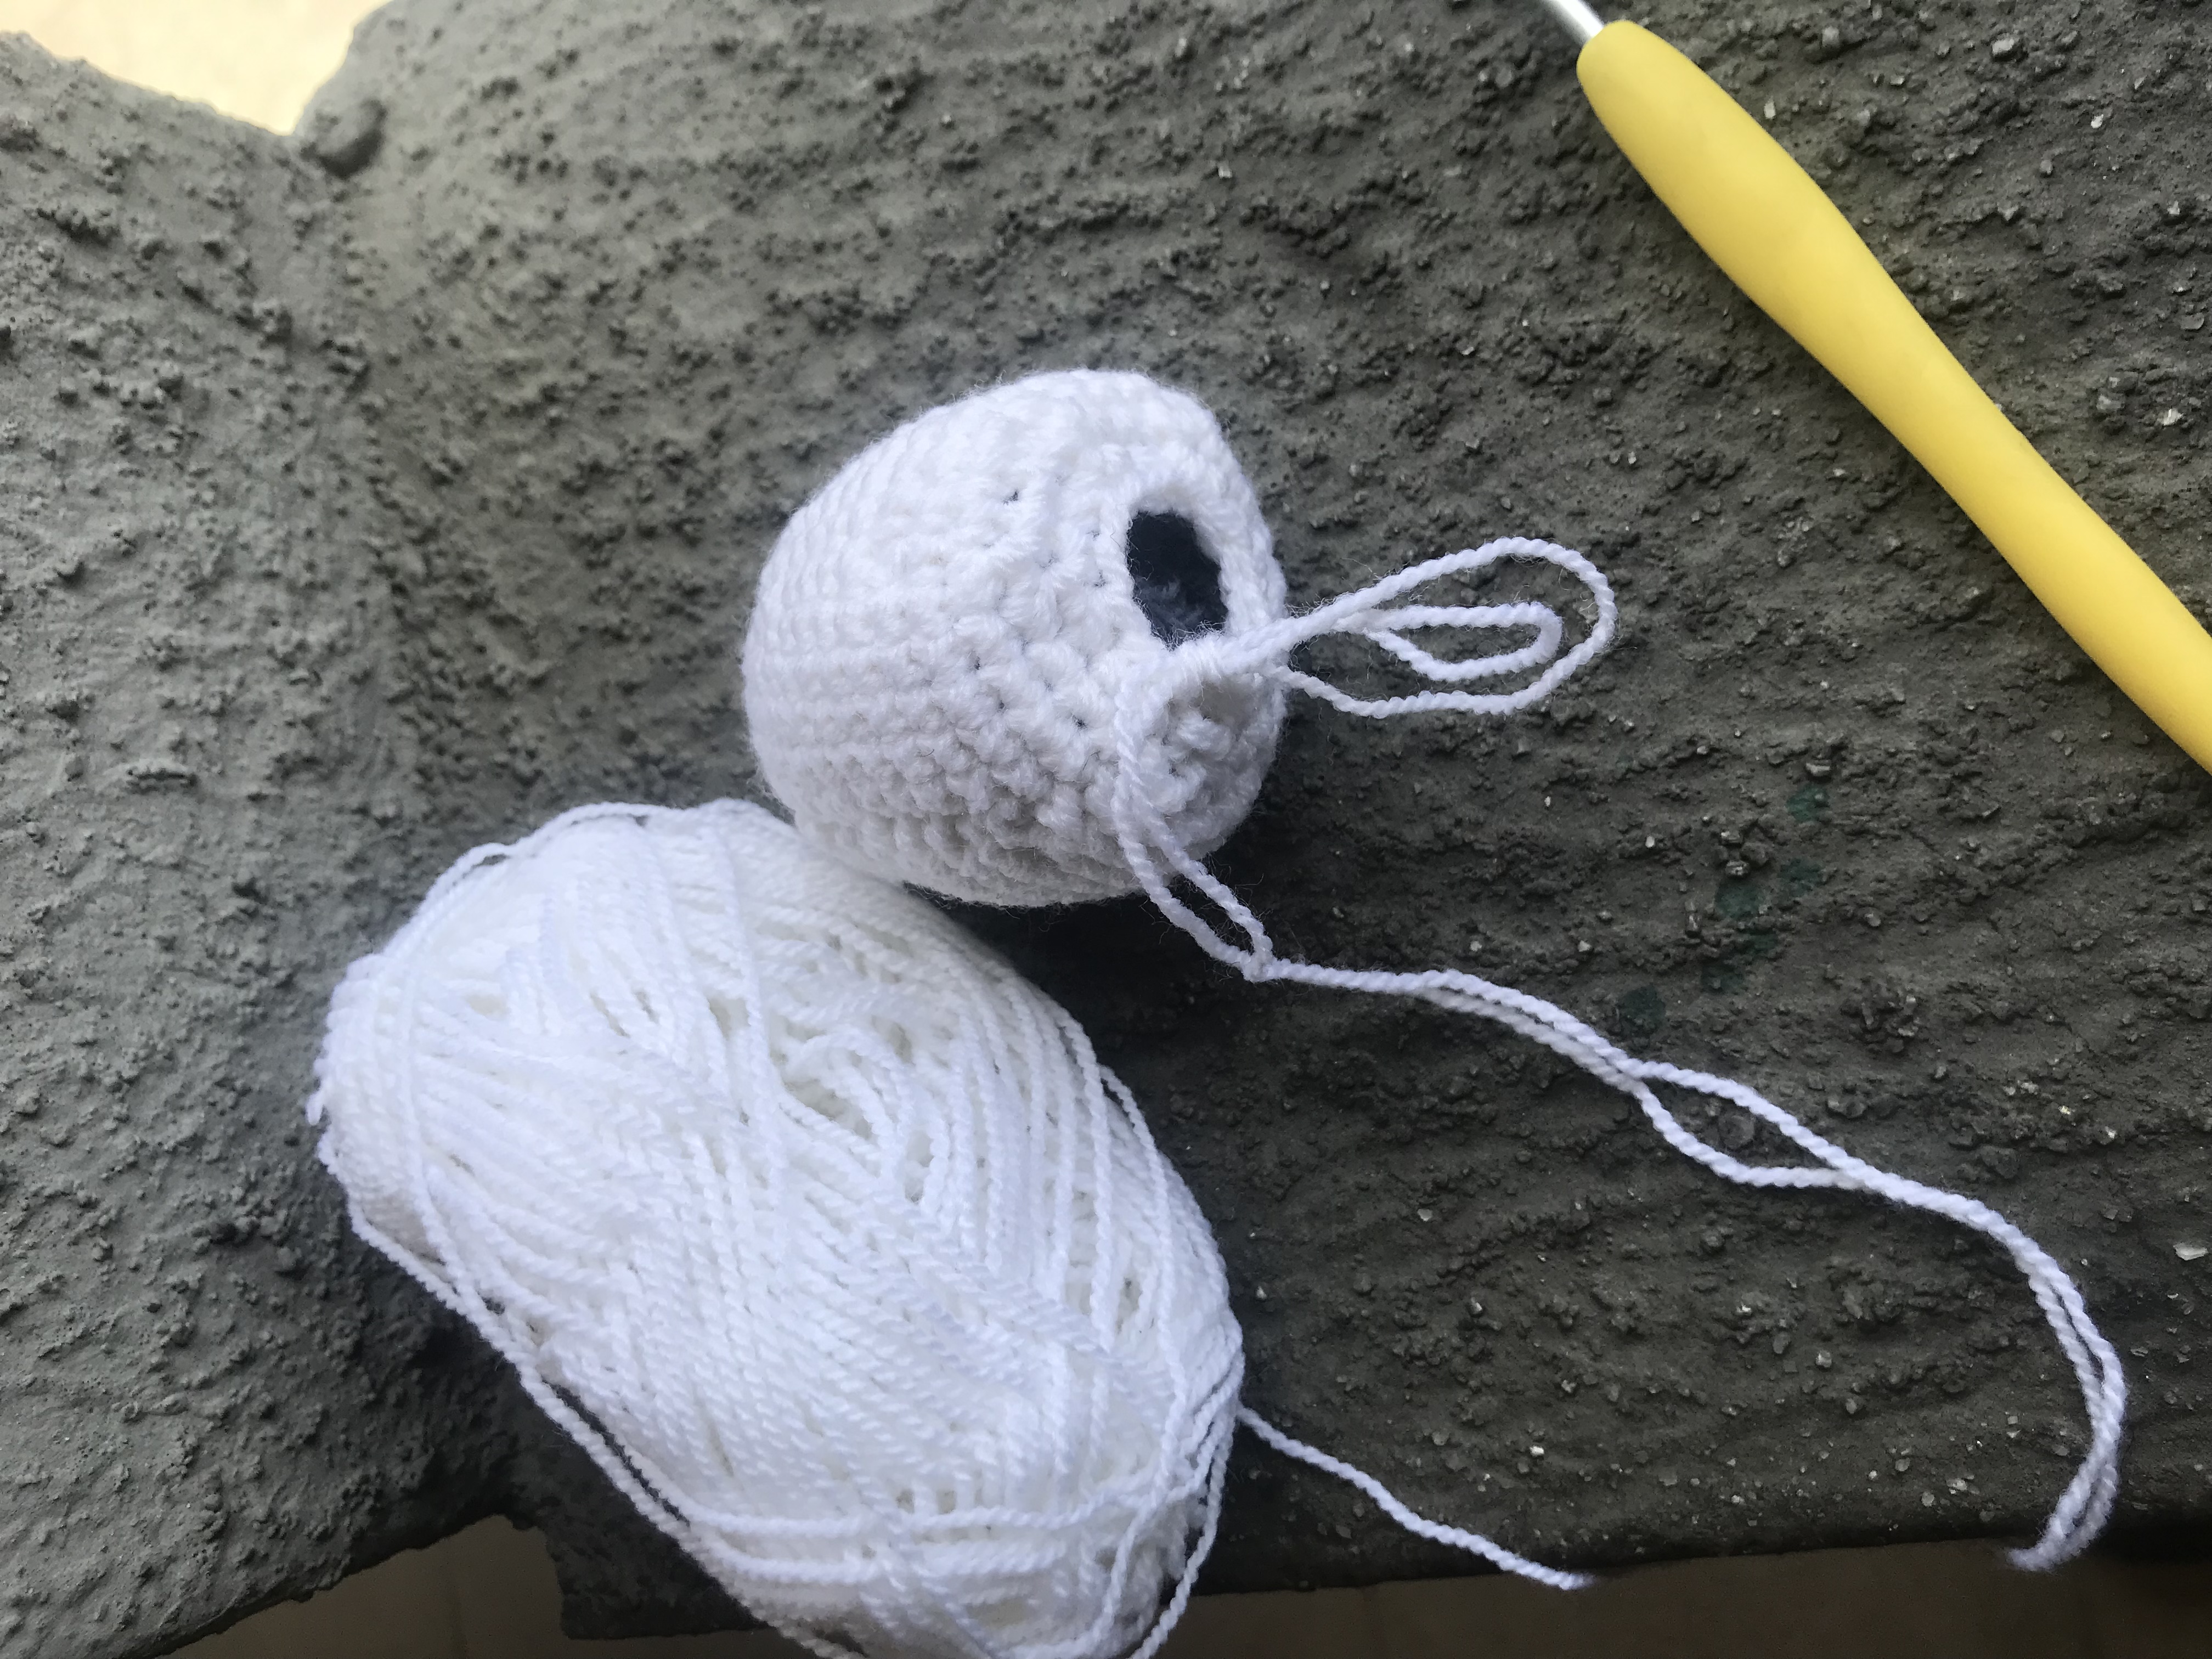
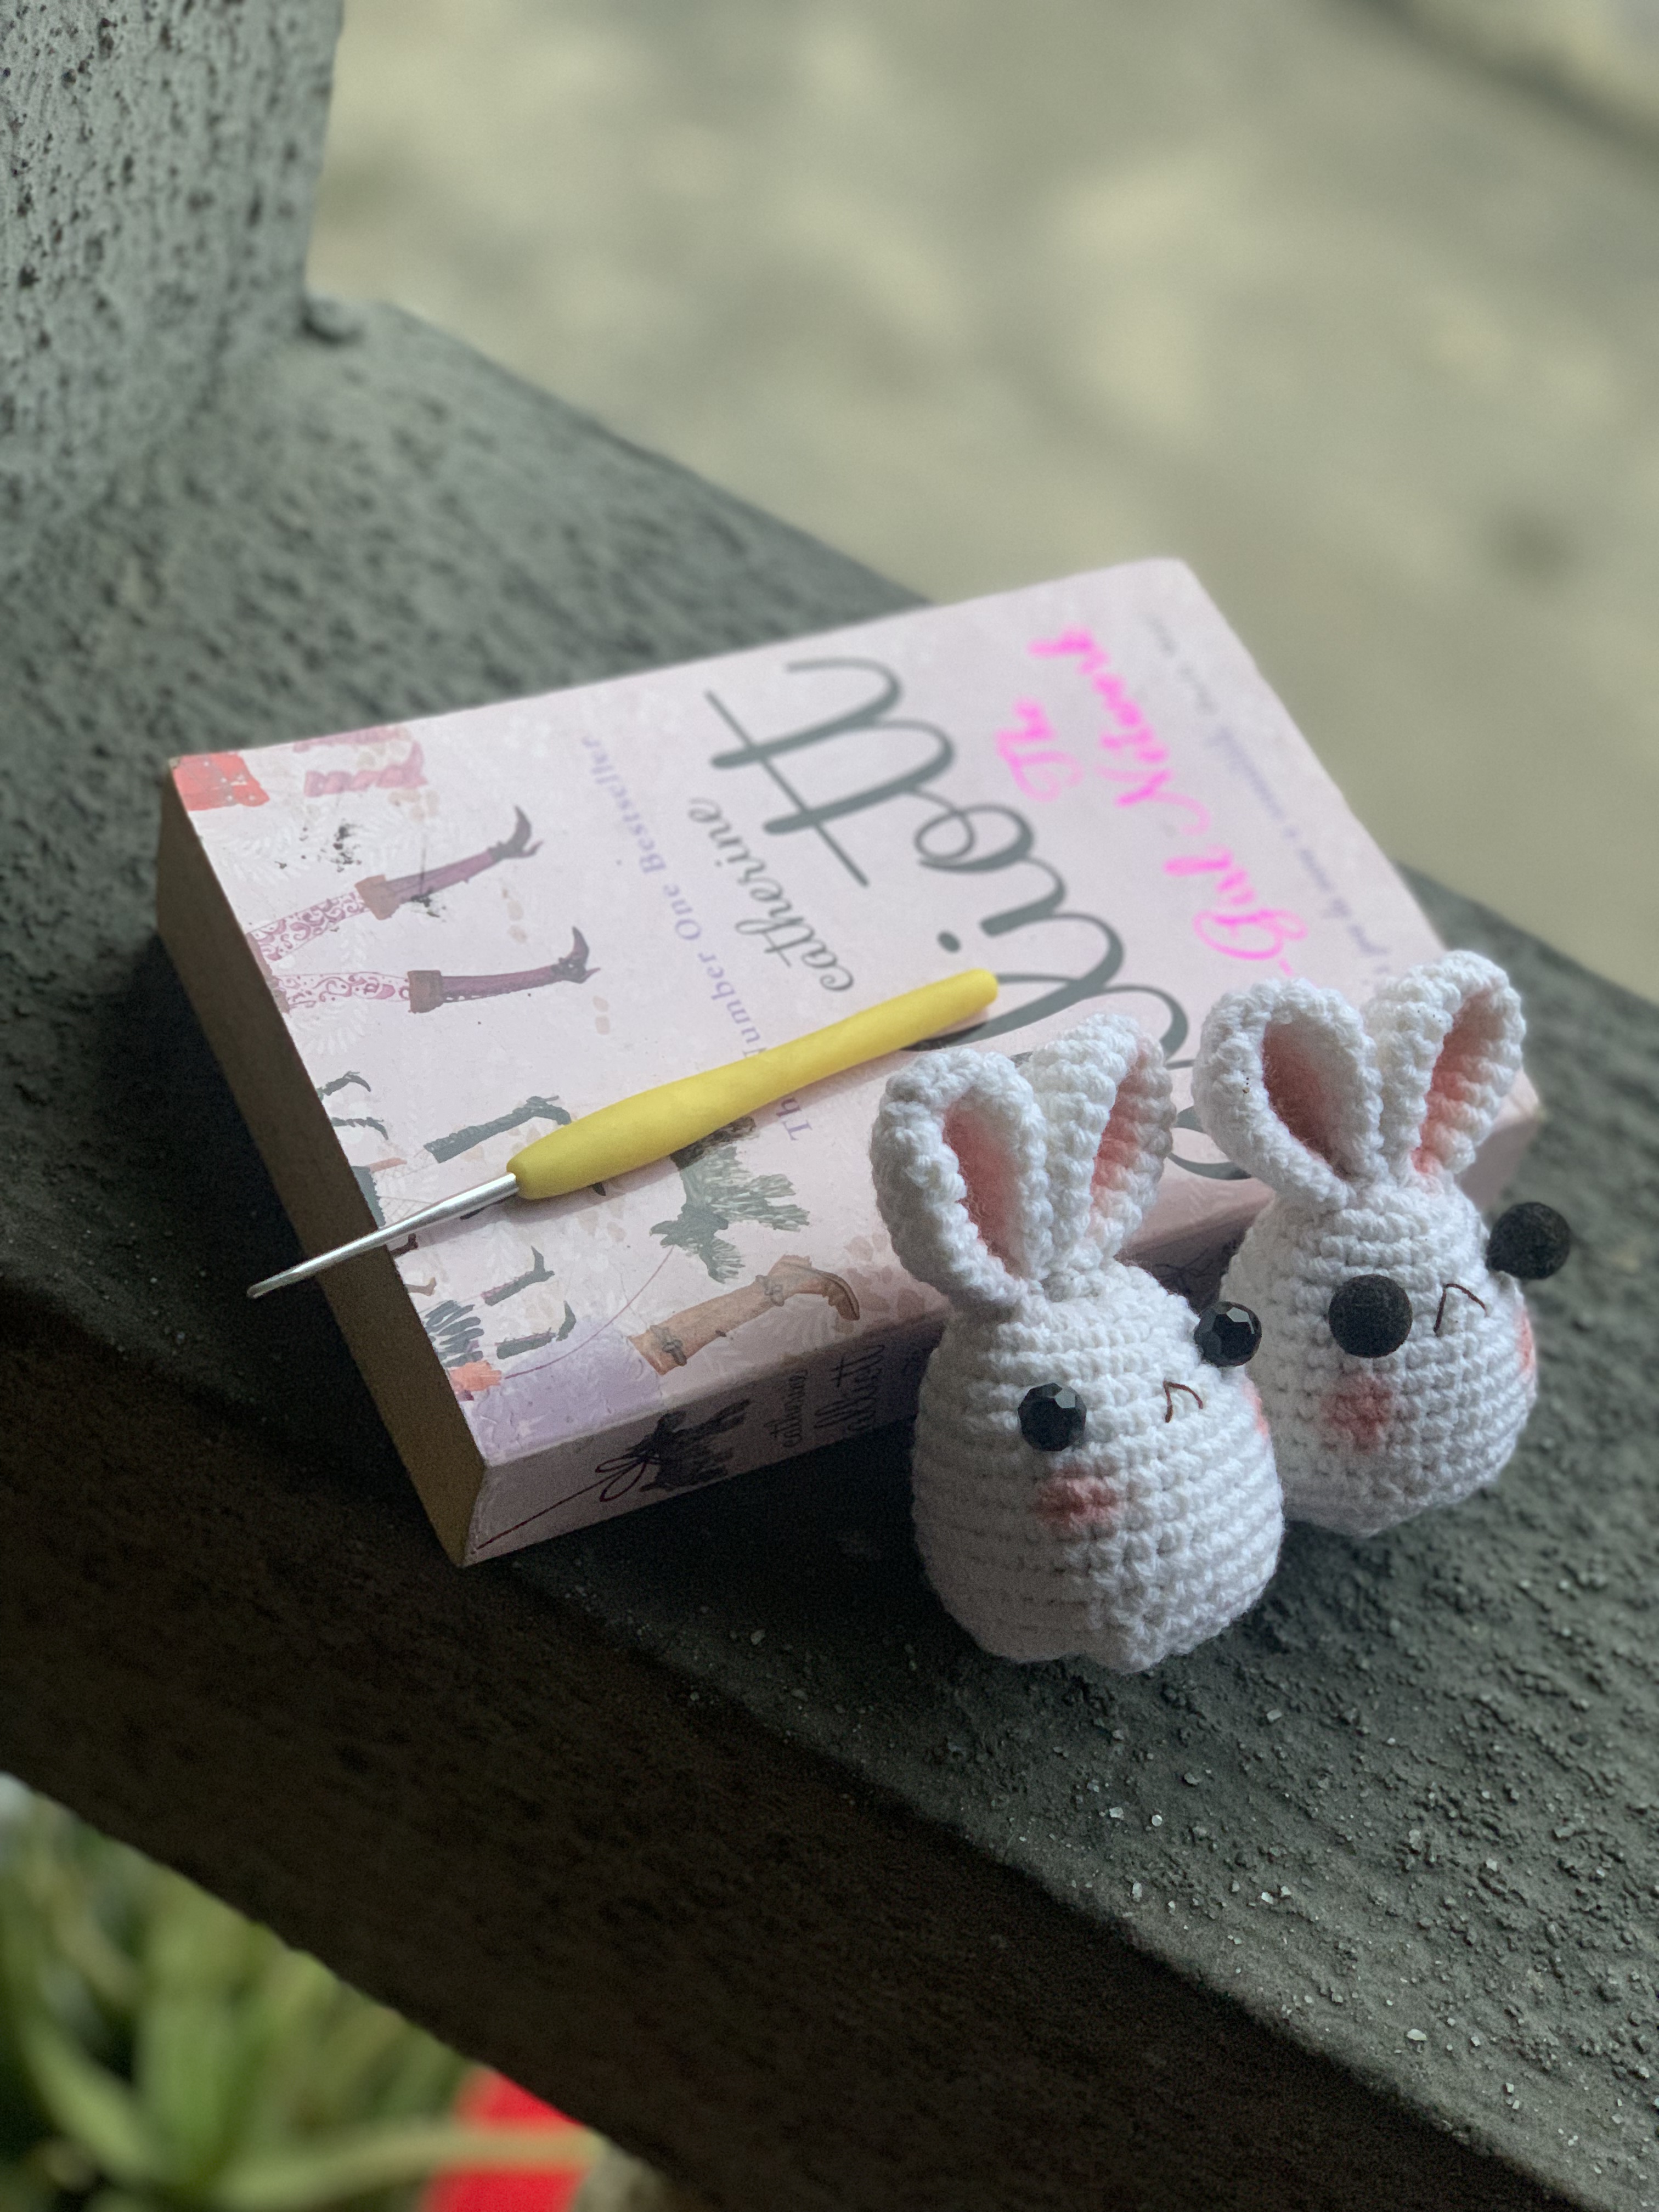
I made two bunnies, following a tutorial I saw on YouTube. Luckily, I had enough white yarn for the project — perfect! I didn’t know where I’d get the buttons for the eyes, but I was just going to go on and see what I find later. So I got my 2.5mm hook, my ball of yarn and got started.
I started with a magic ring, then chained one, did 6 single crochets, and after pulling the loose yarn tight to close the ring, ended with a slip stitch in the back loop of the first stitch.
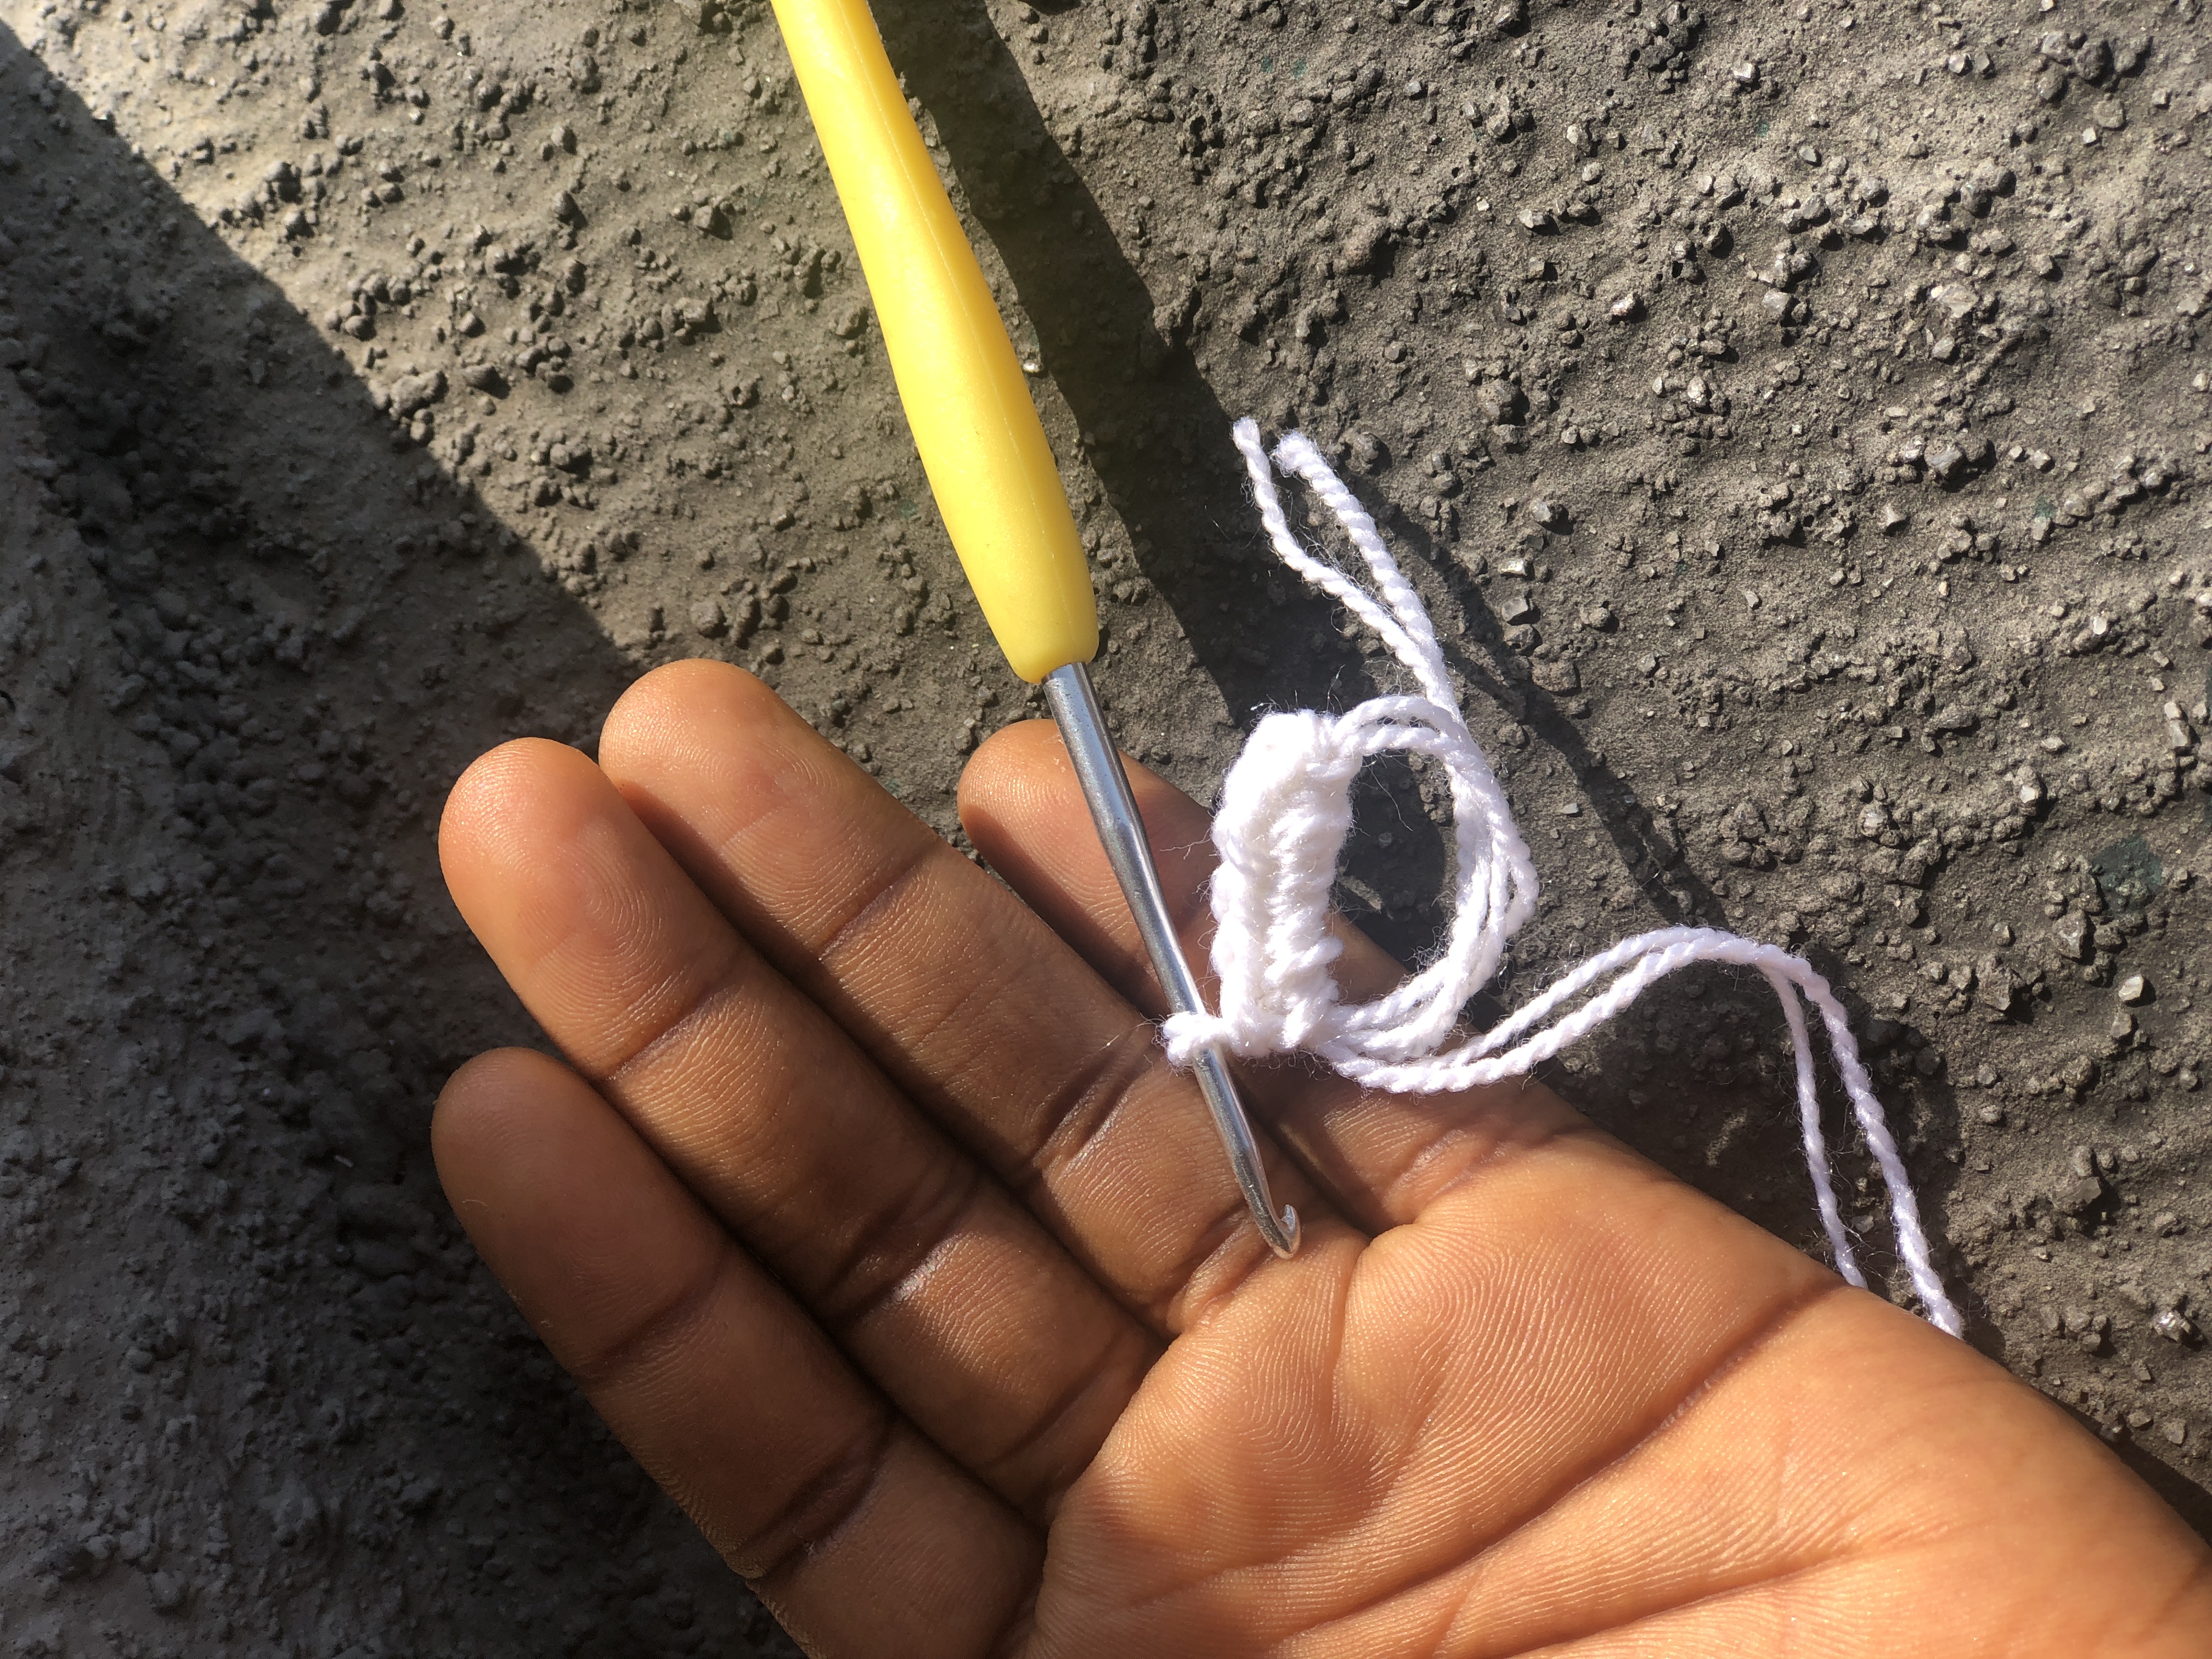

For the next round, I started with a chain one also, then did an increase in each of the 6 stitches before ending with a slip stitch in the back loop of the last stitch. With this, I arrived at 12 stitches. To easily keep track of where I did the slip stitch, I put a stitch marker there because that is where I’d always end with a slip stitch.
Here’s the tutorial I followed.
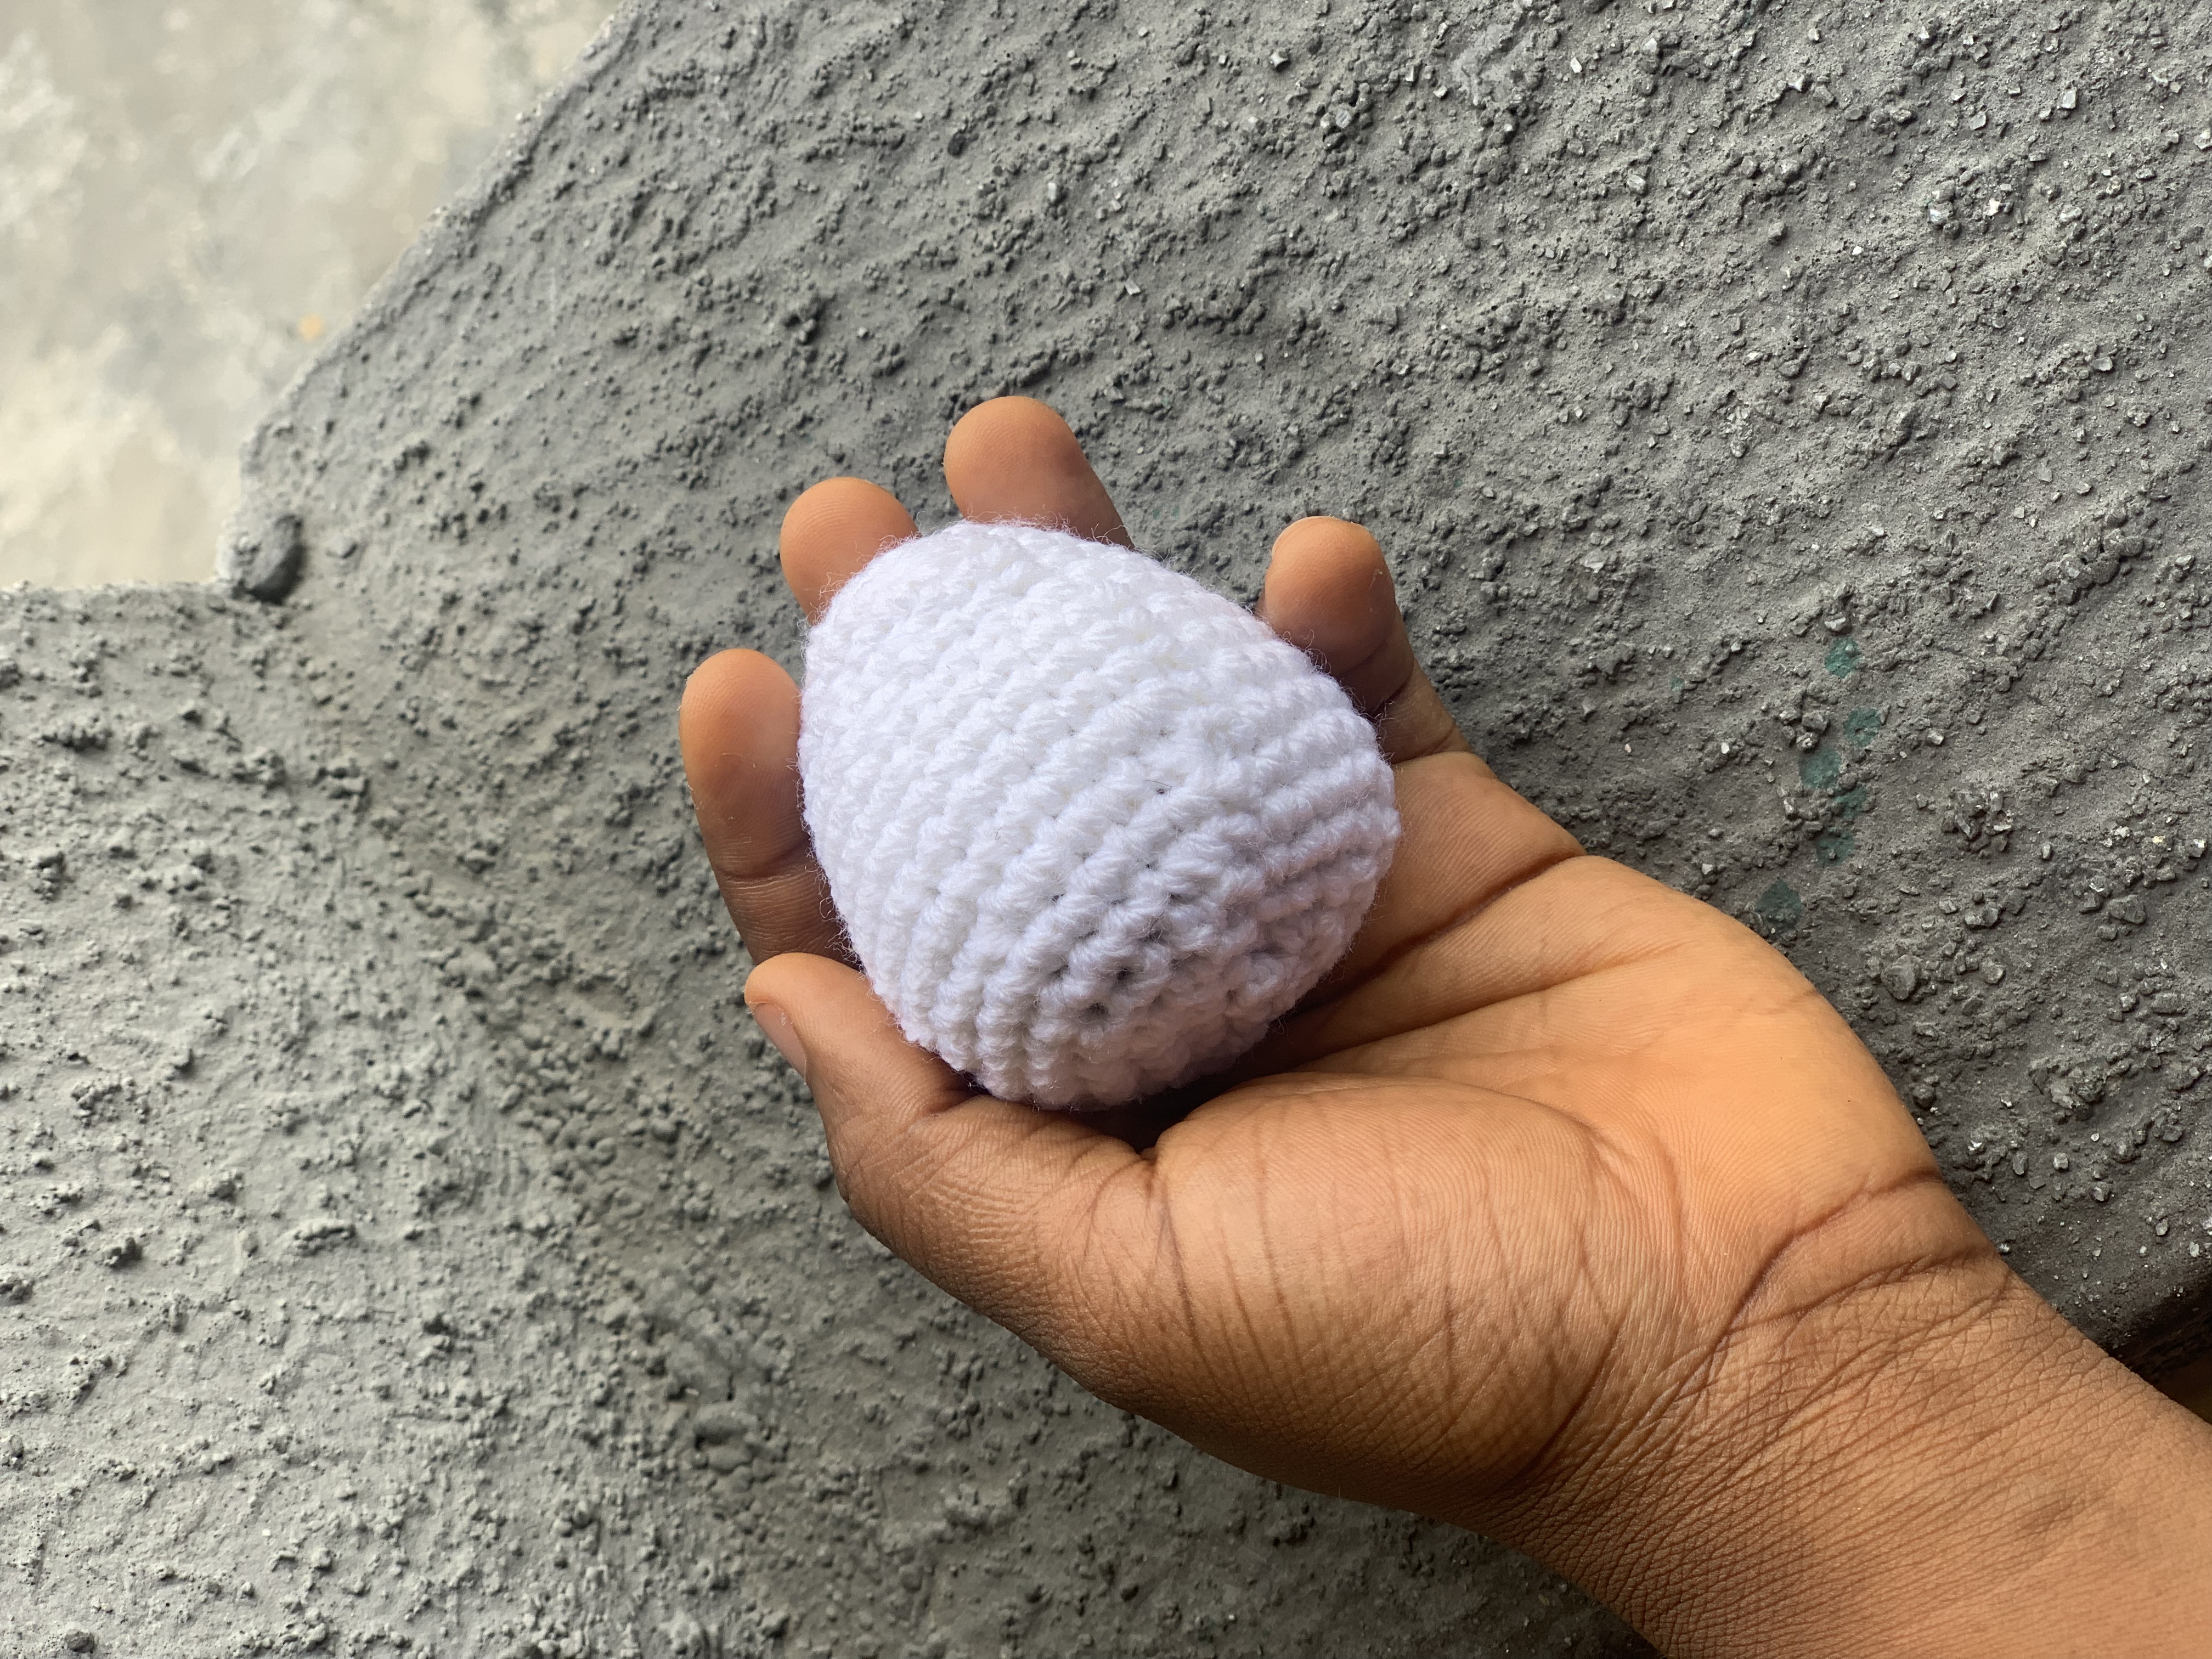
Till round 12, I increased to make the body wider. I increased in rounds 3, 5, 8, and 12. From round 13, I began to decrease to make the body narrower. I decreased in rounds 13, 15, 16, 17, and 18. Before the hole would get too small to stuff it, I decided to do it. This was after round 17. I didn’t have the stuffing usually used for amigurumi, so I used this rubbery yarn that I do not usually use for my crochet projects.
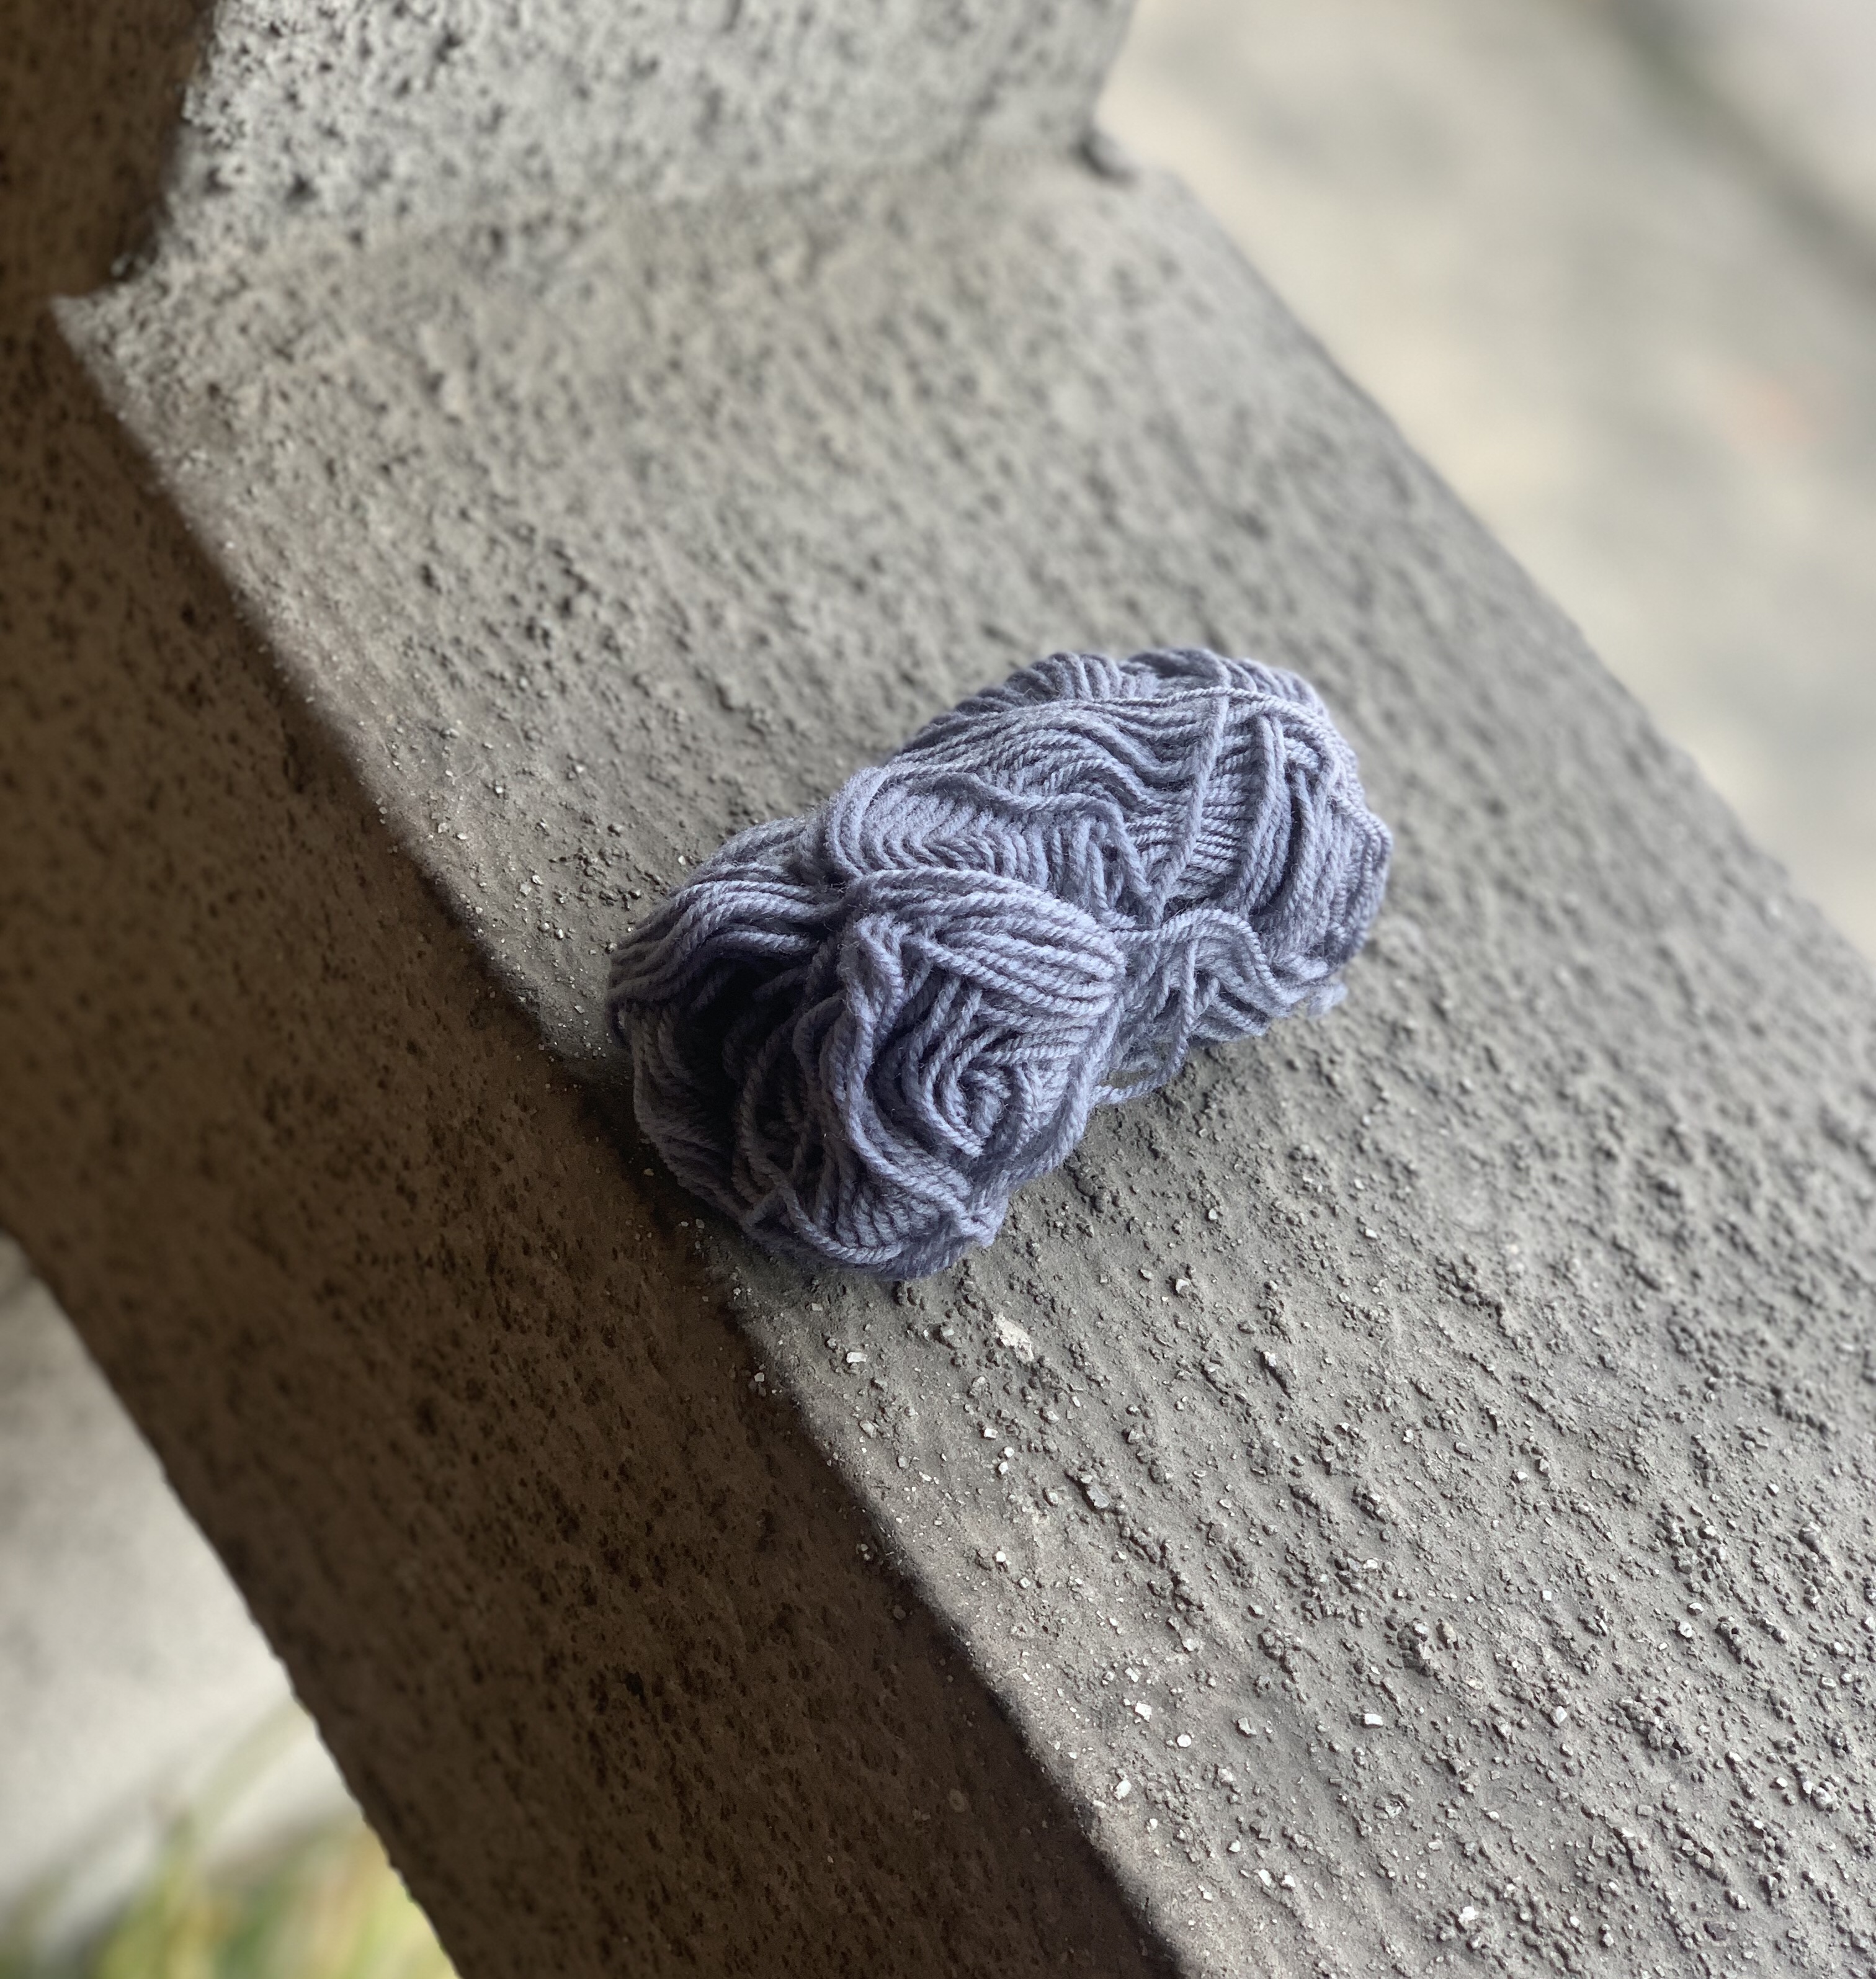
I just grabbed as much as could fit in and stuffed it into the hole until I was okay with the outcome.
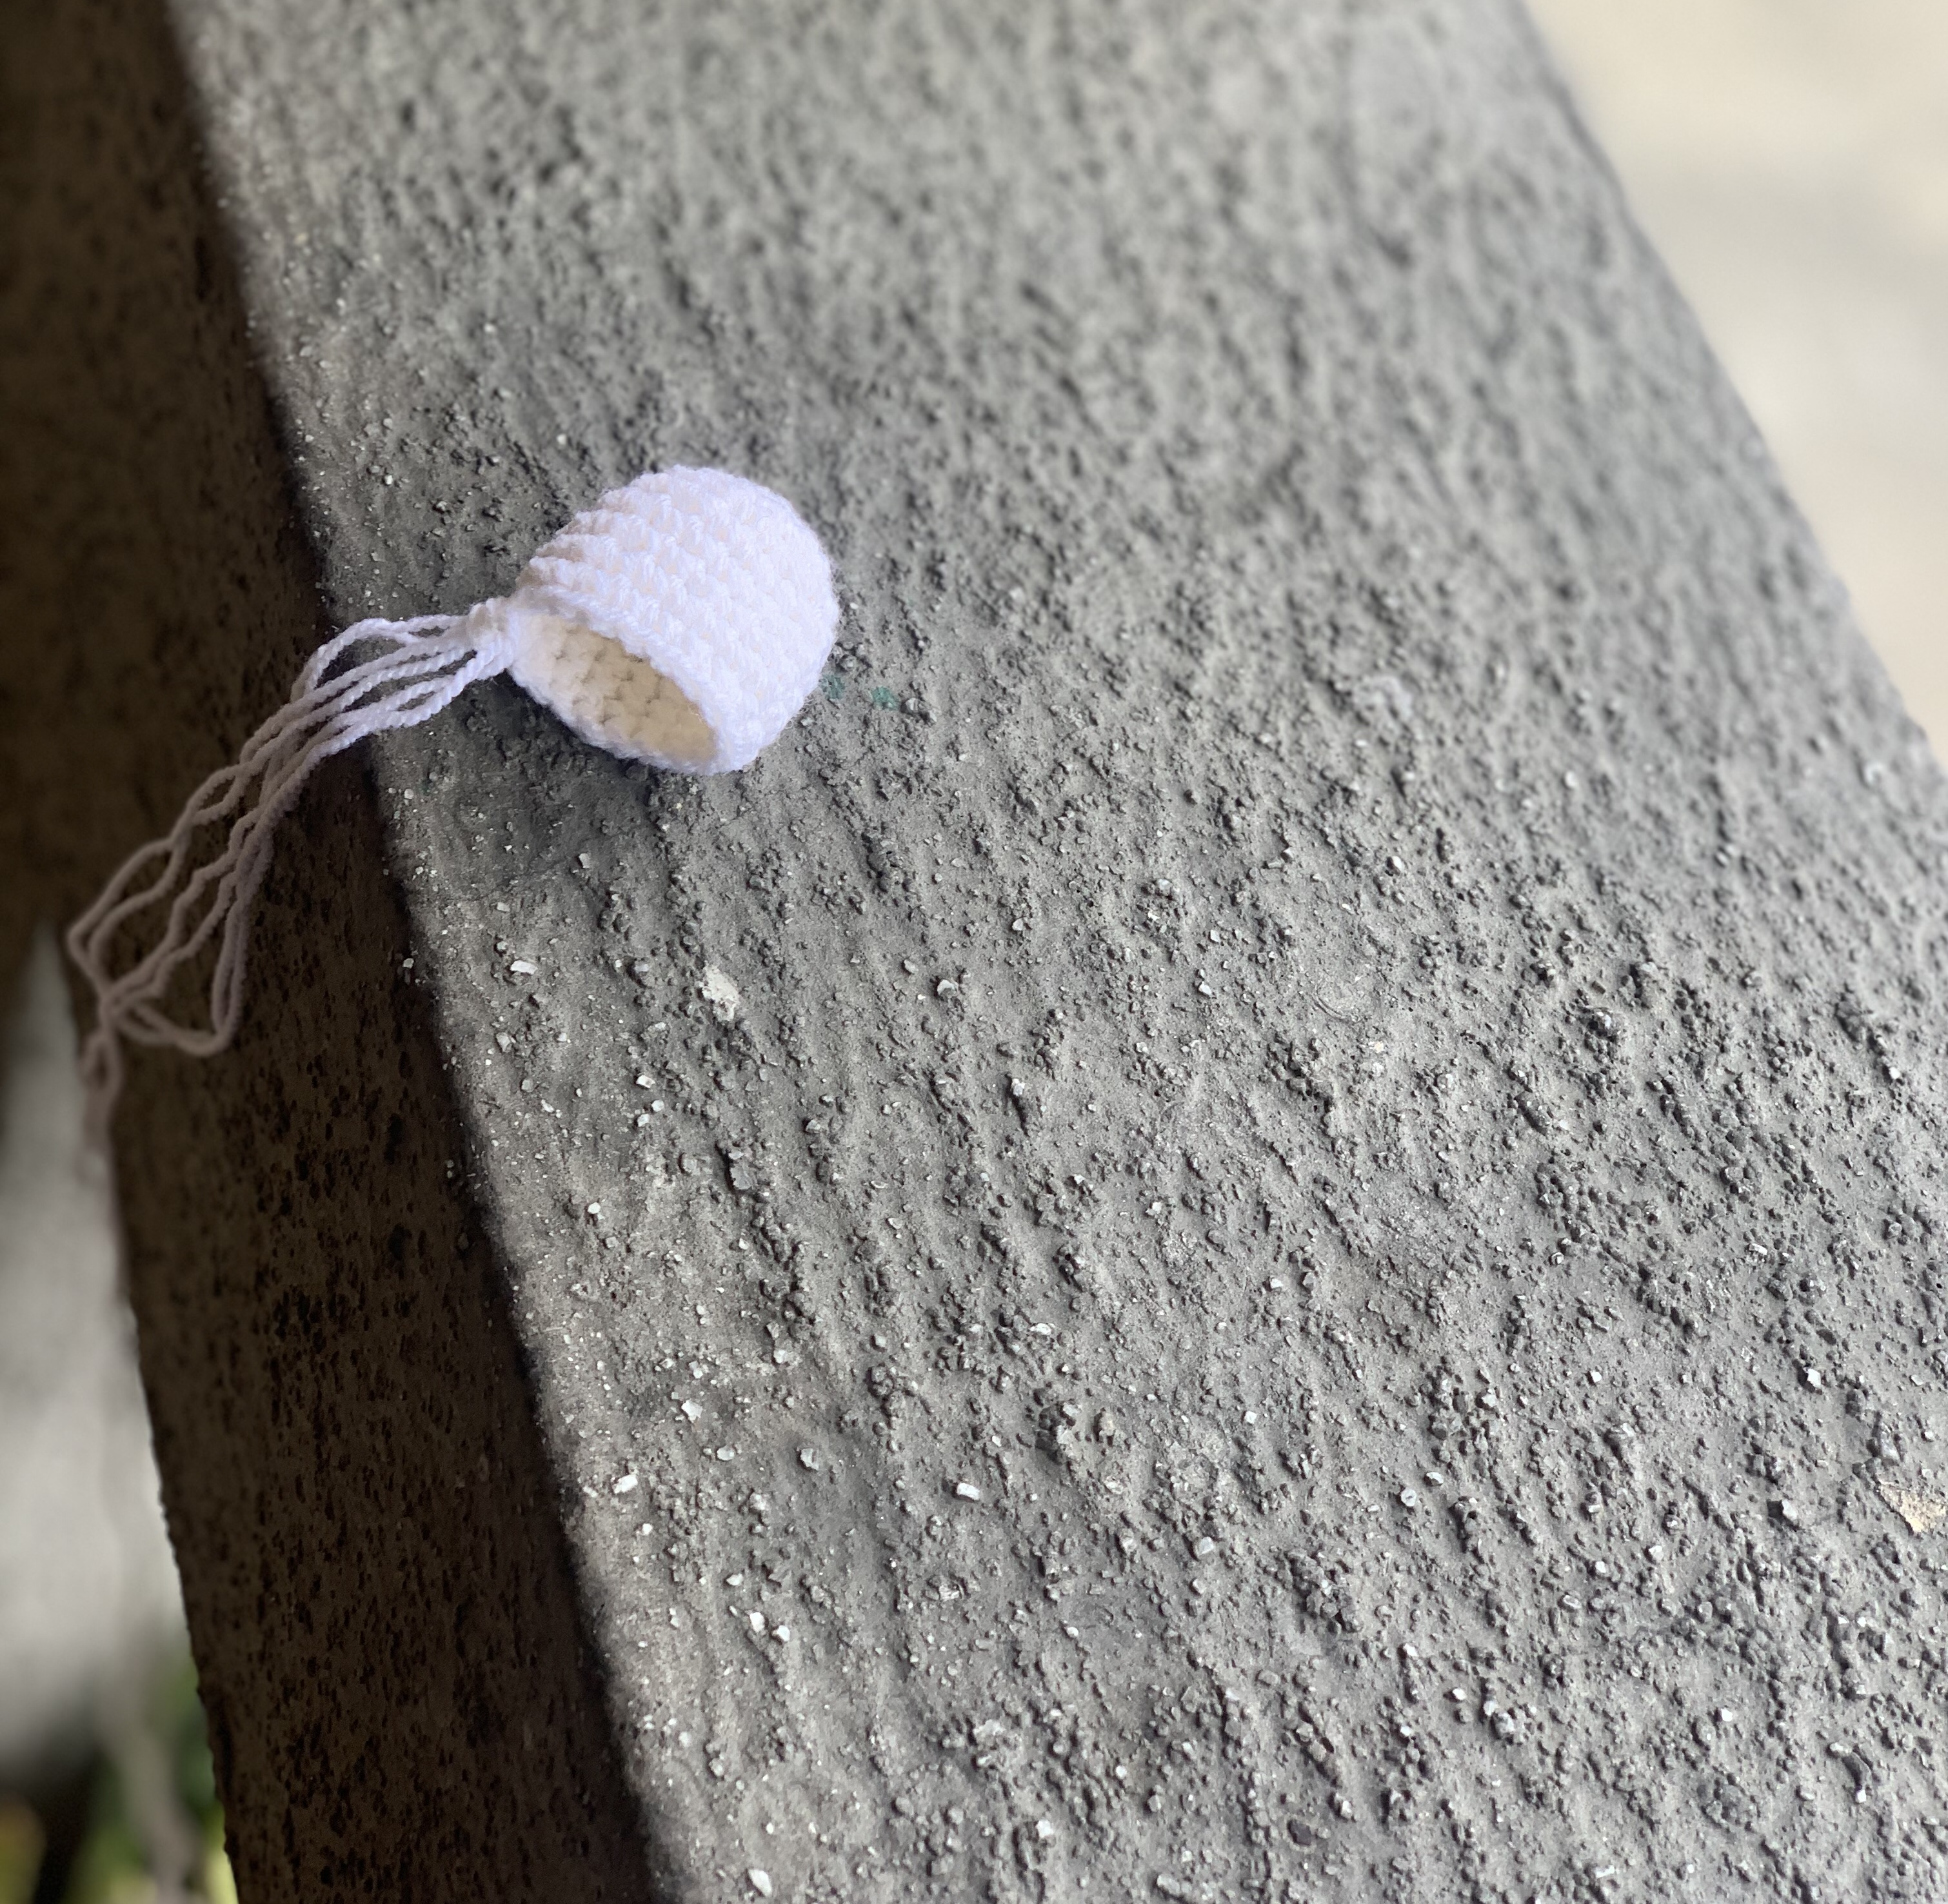
Then, after round 18, I cut the yarn and sewed the small hole left to close it.
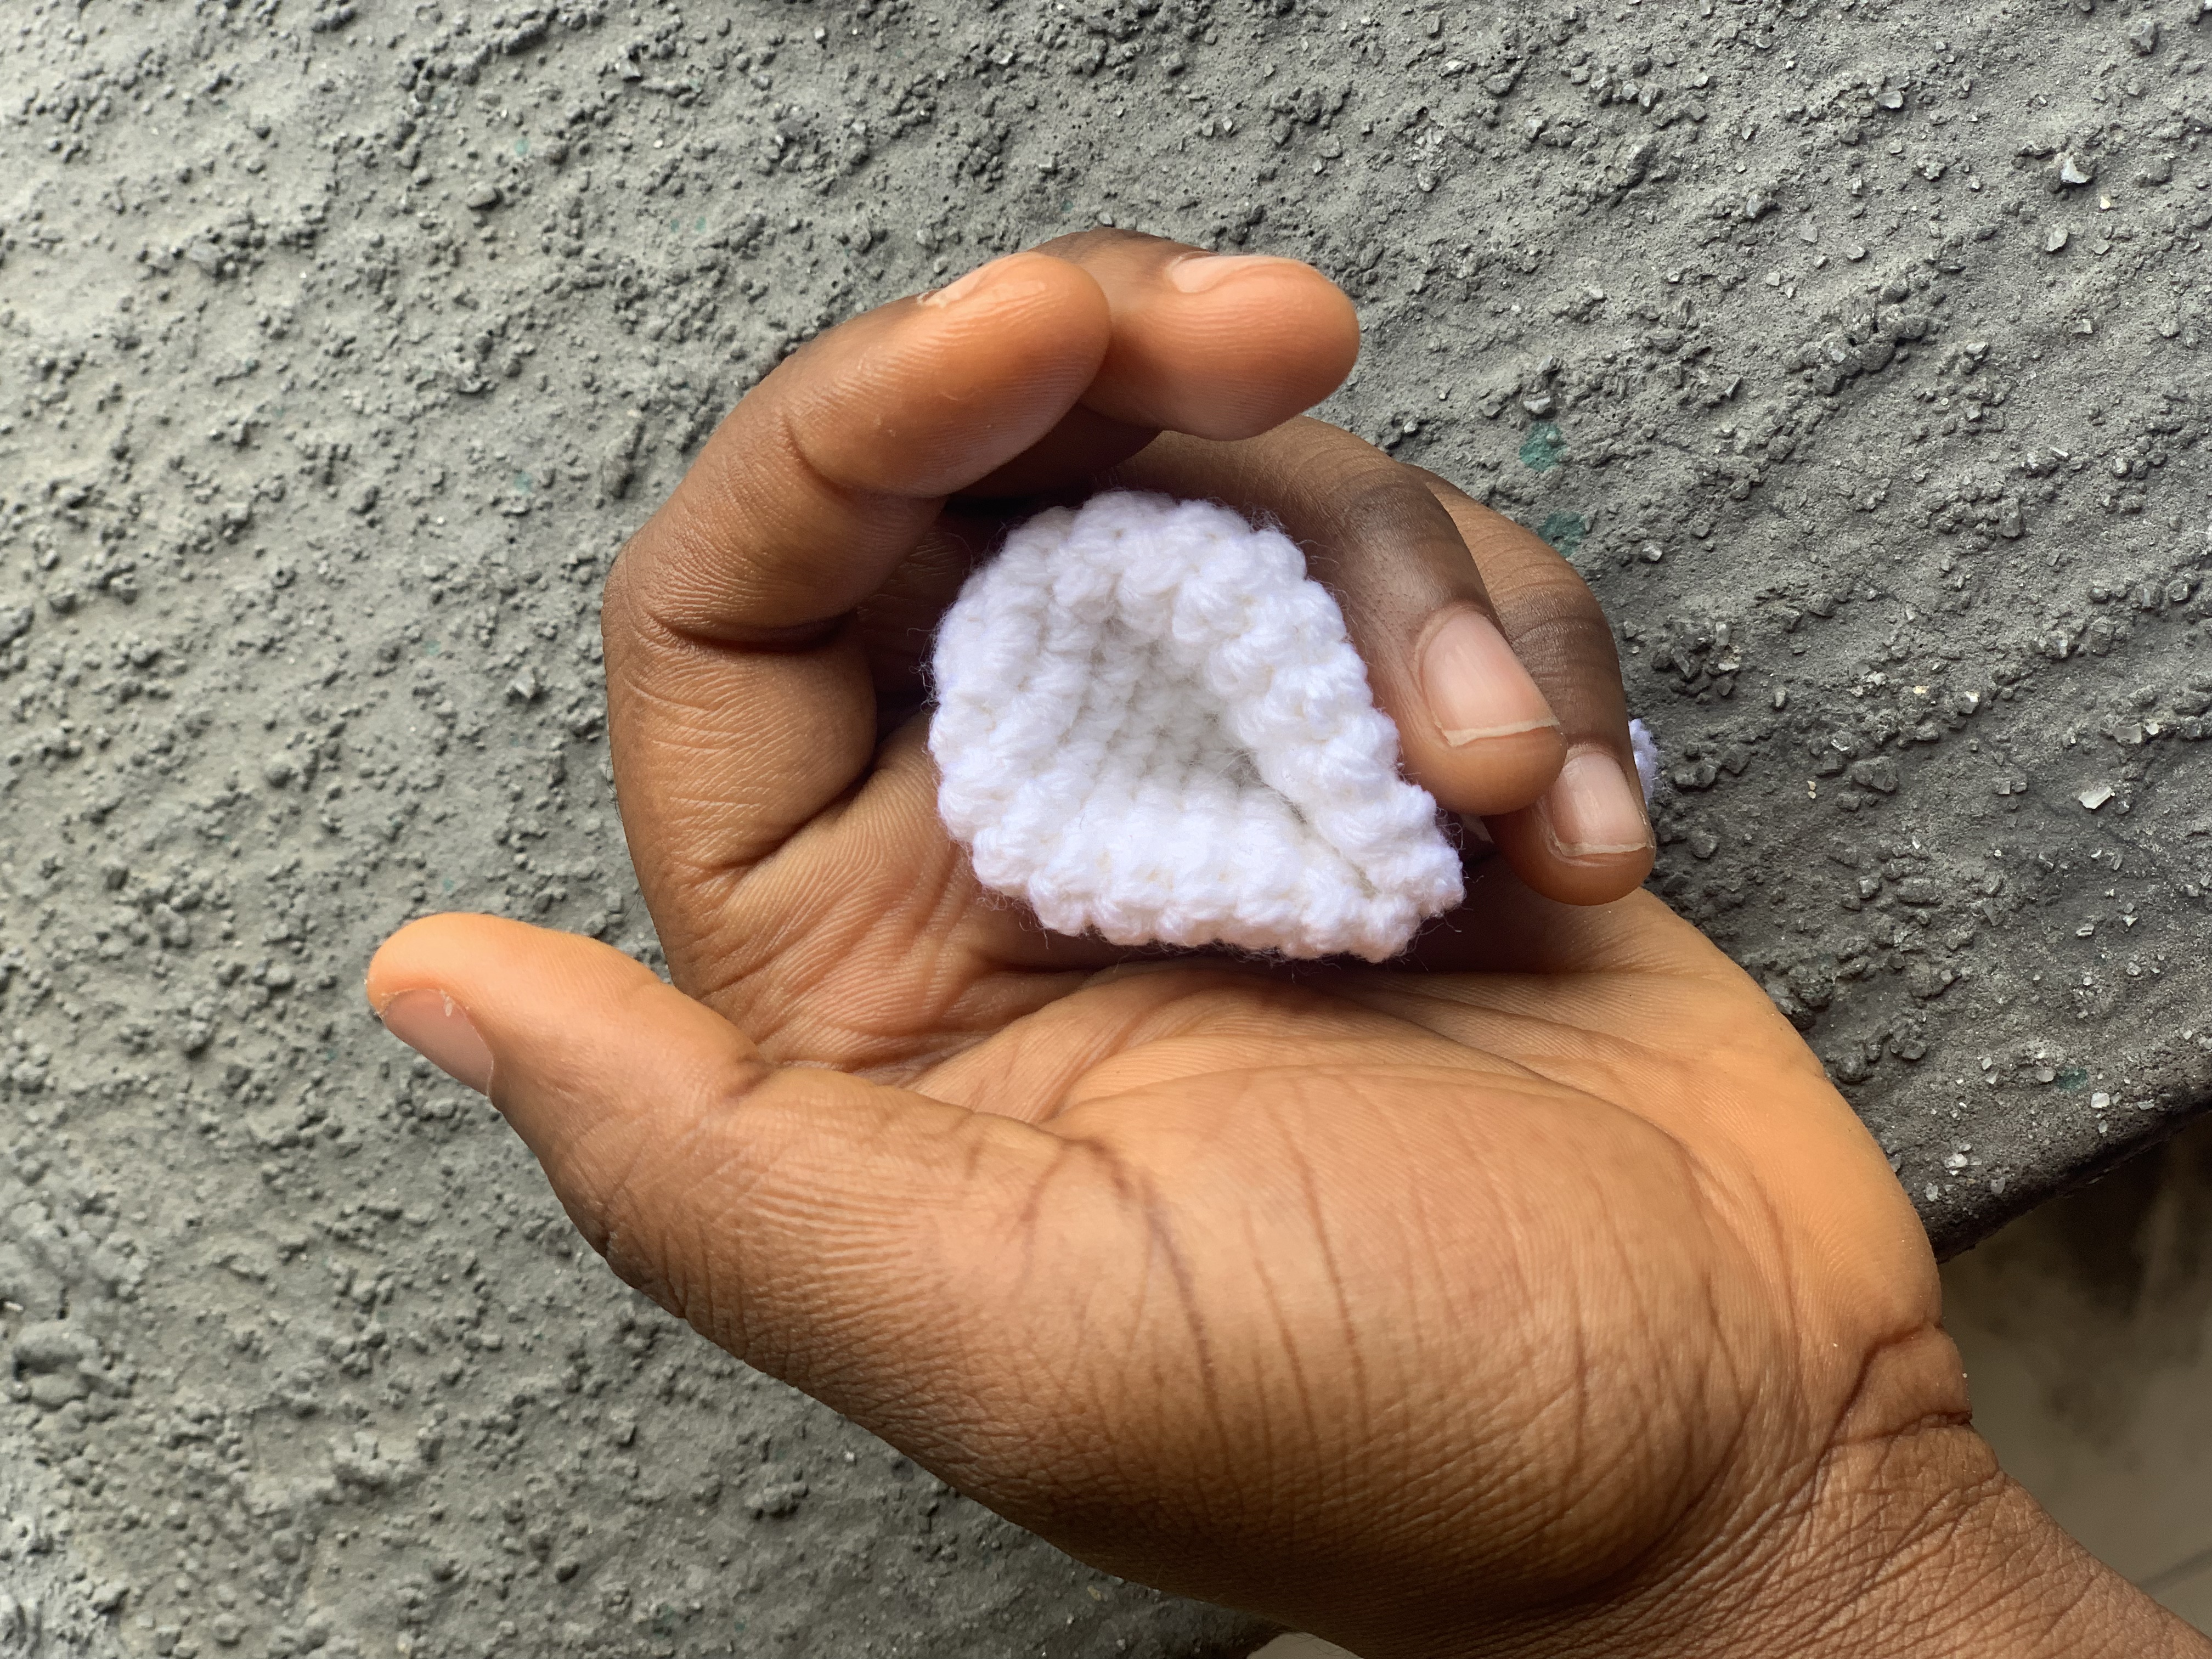
My body was complete at this point. It was time for the ears. I started with a magic ring like I did with the body. I crocheted rounds 1 to 4 the same way I crocheted the head. For rounds 5 to round 9, I did a repeat of round 4.
After round 9, I did a chain one, then flattened the work and joined both sides with a single crochet, closing it. Next, I folded it into half and sewed both sides with a single crochet. Voila, one ear was done!

When I had my two bunny ears, I opened up the tops that weren’t sewn before I began to attach them to the head of the bunny by sewing them with a darning needle.
What was left was to add the eyes and mouth, so almost done, I made the second bunny.
At this point, I needed to get buttons for eyes. I didn’t see buttons I wanted to use, but I decided to rummage in my old jewellery container and see what I’d find. Luckily, I found these round black stud earrings that were like little balls. I couldn’t be happier! It was perfect. I had only one pair though, so I had to get something else for the second bunny.
This time, I checked my bead jar and fished out two round black beads. For the earrings, I simply stuck them in without gluing them, but for the beads, I glued them where I wanted the eyes to be. I encountered another issue; I couldn’t find the black thread in the house! Rather than waste time trying to get black thread, I settled for brown and sewed the upside down v that would make up the bunny mouth for each of the bunnies.
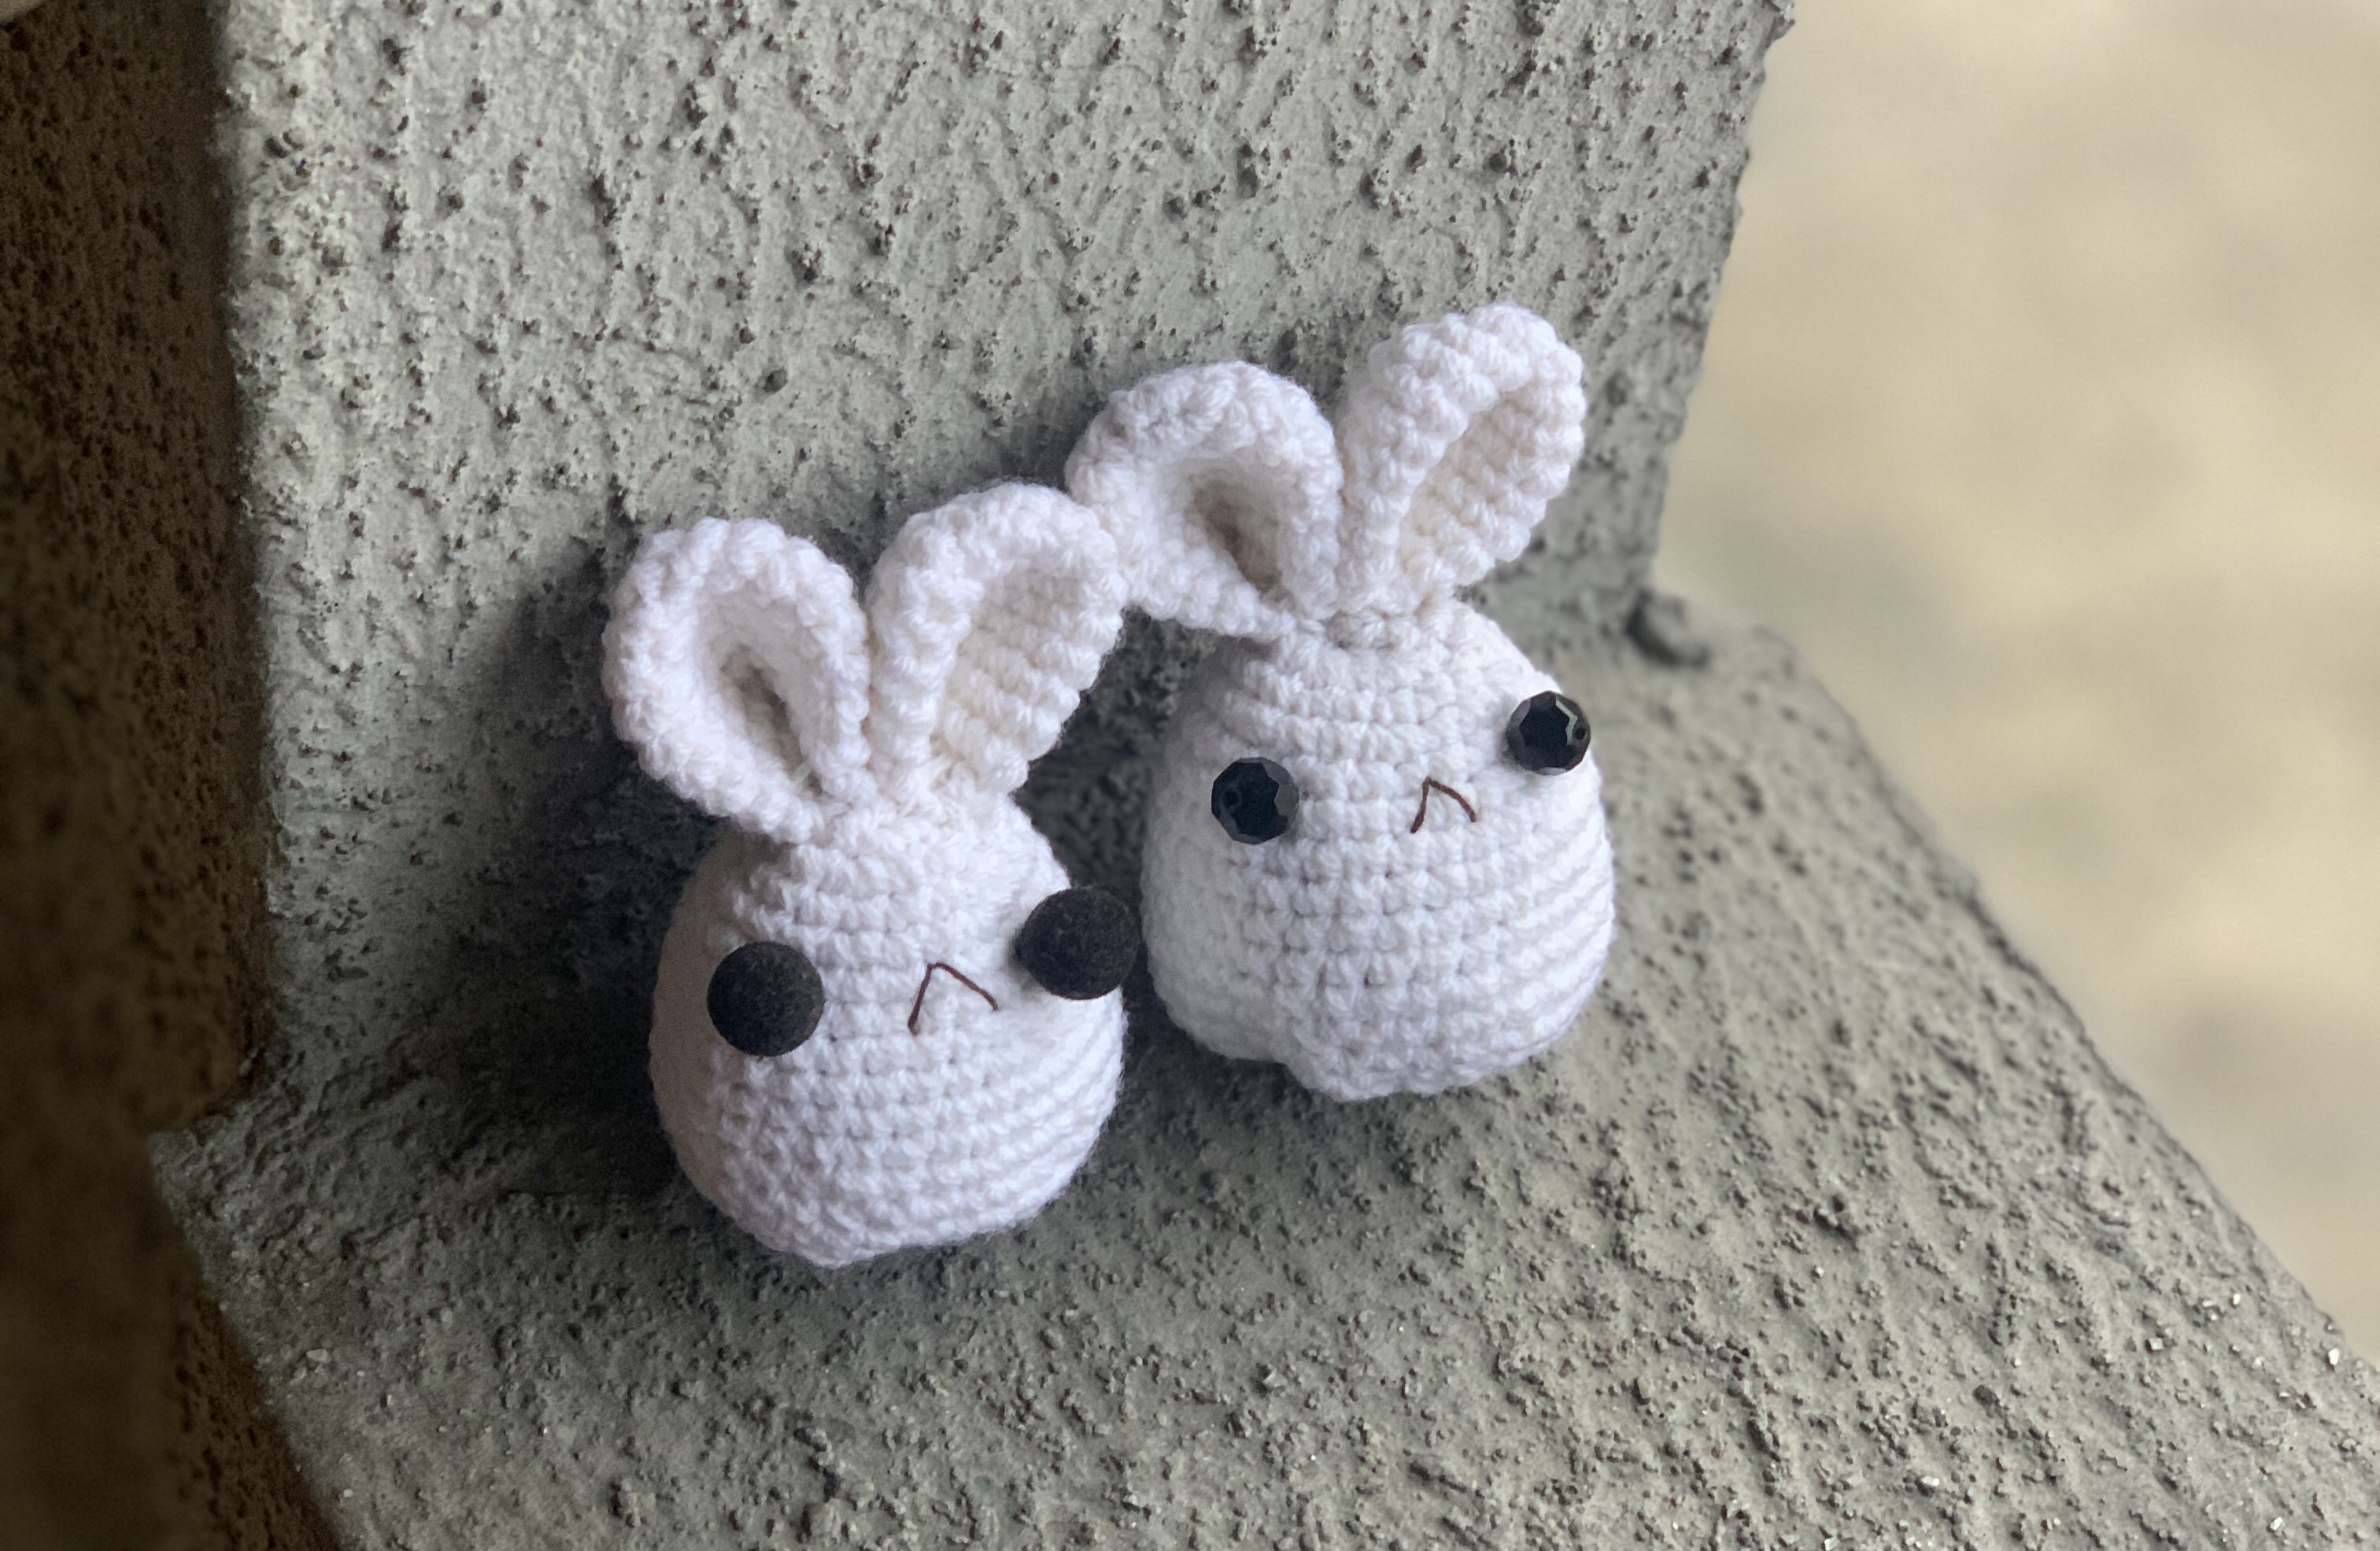
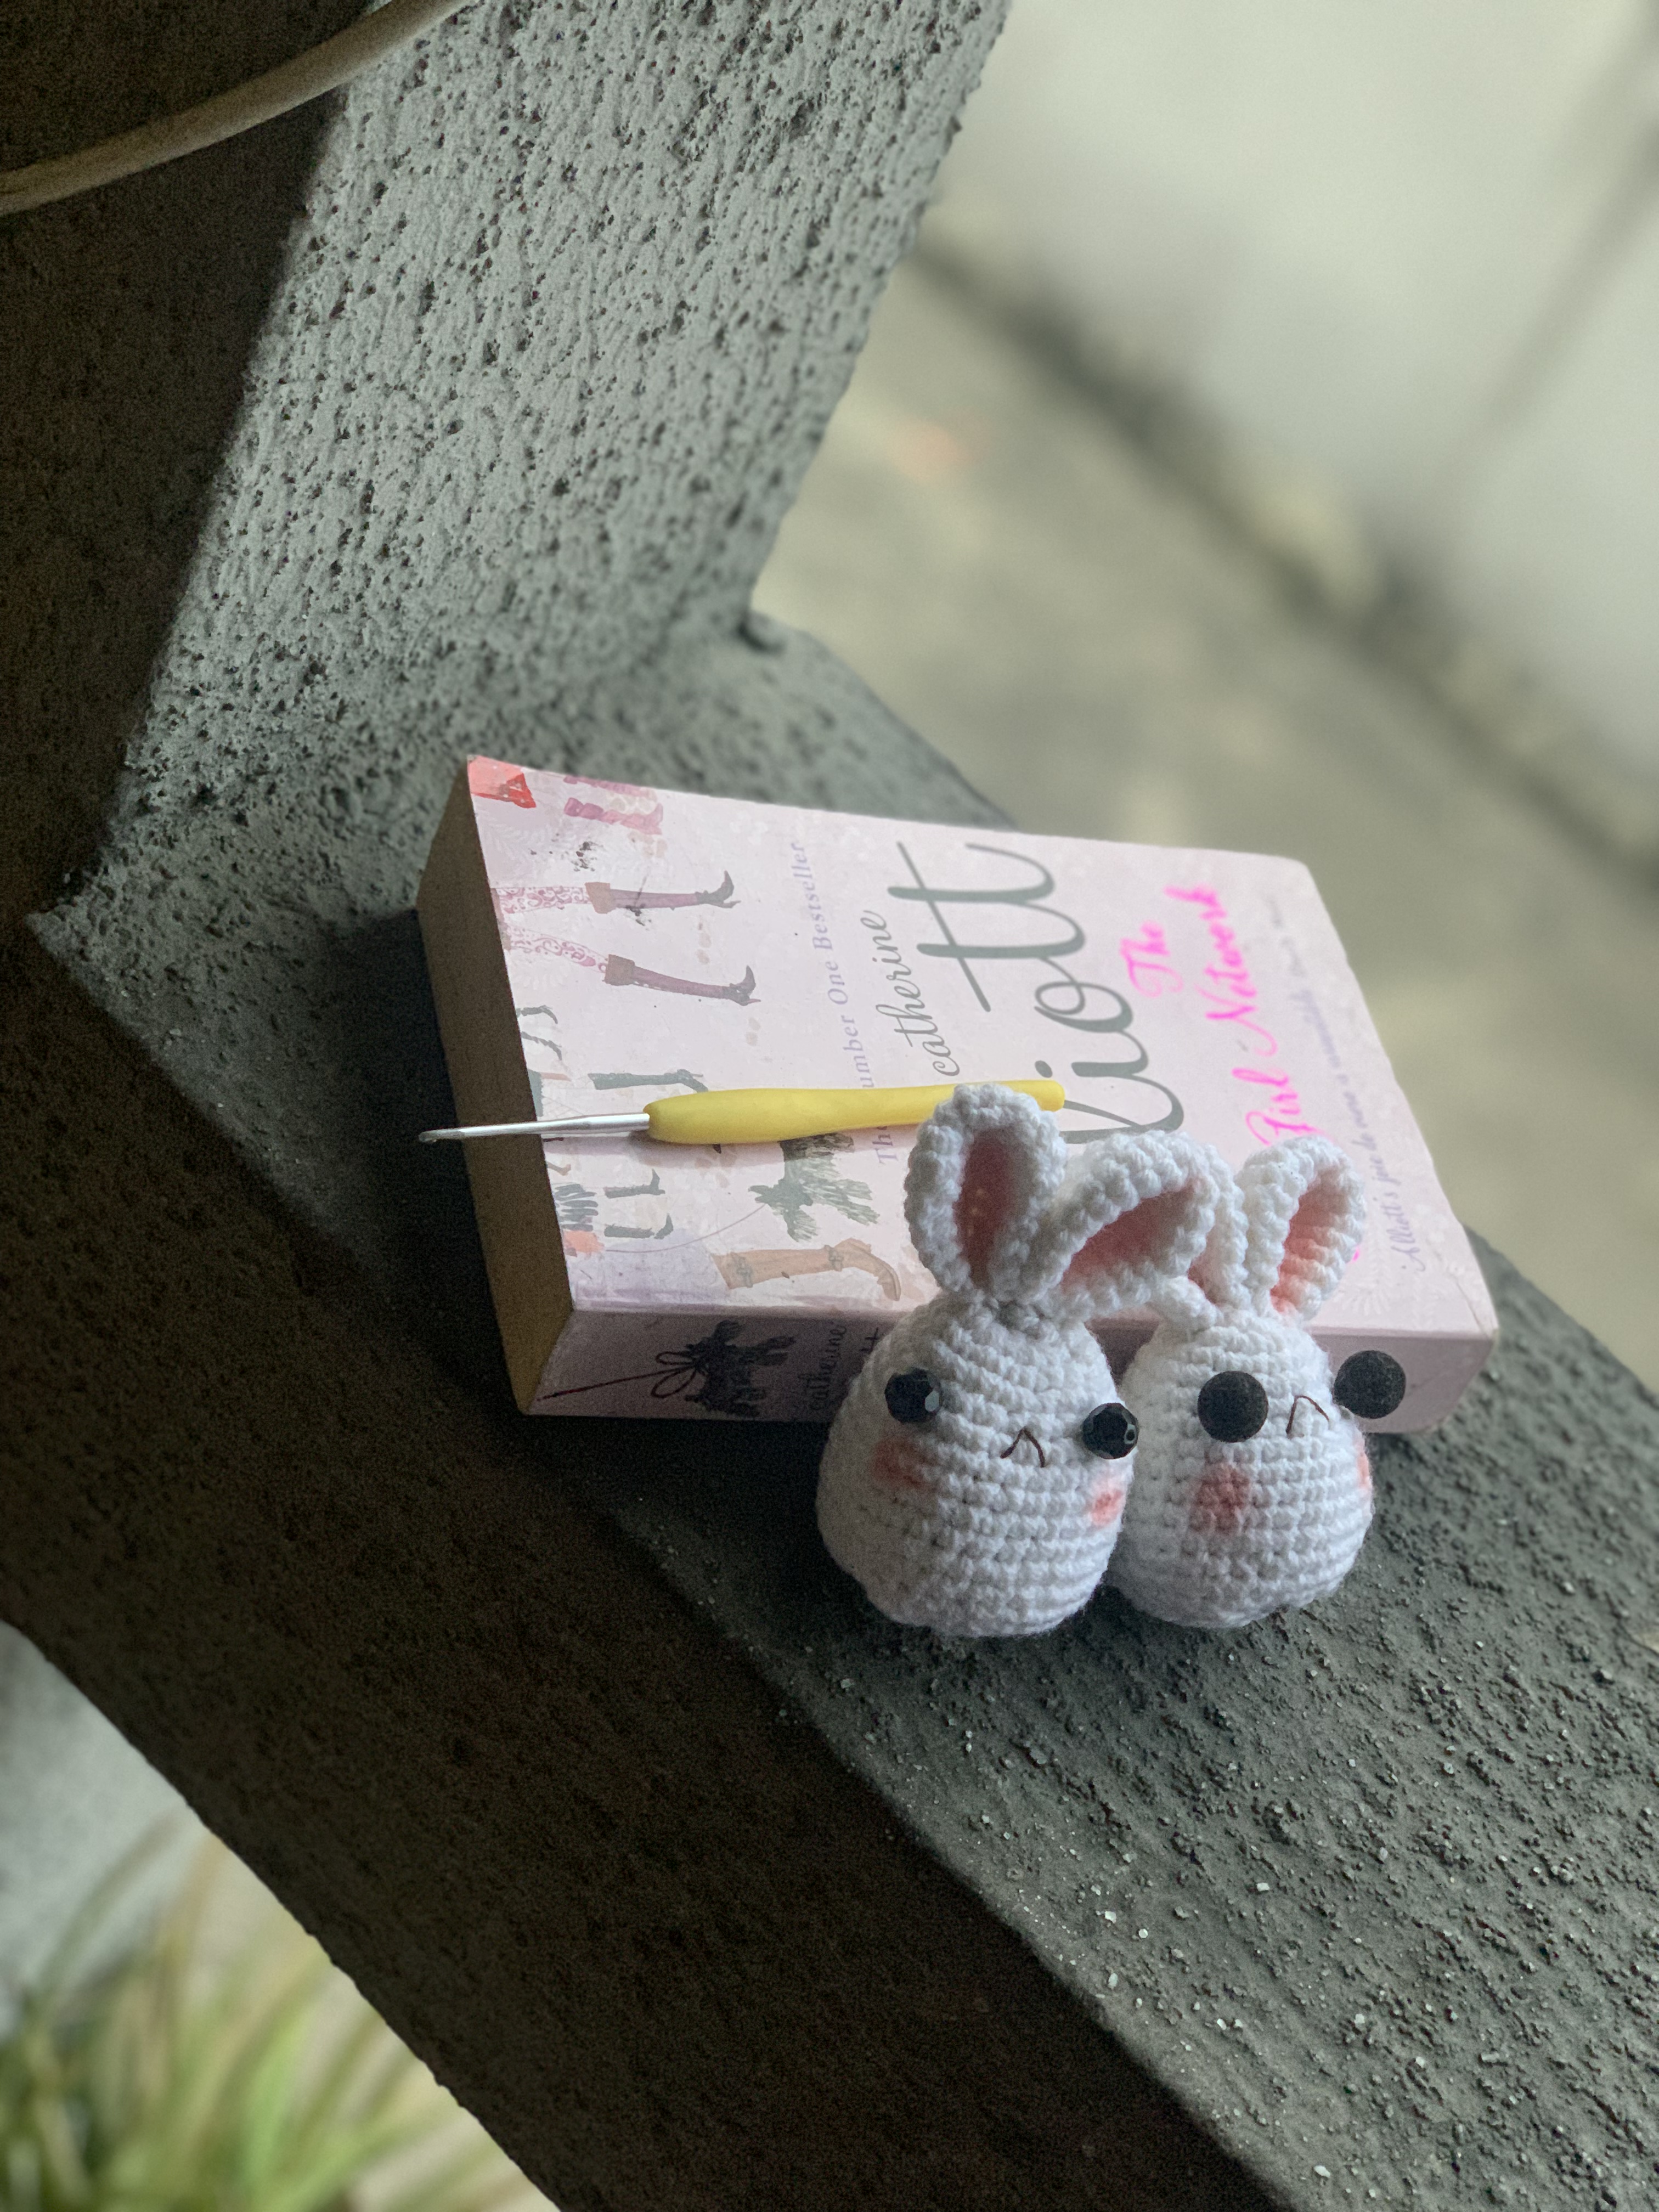
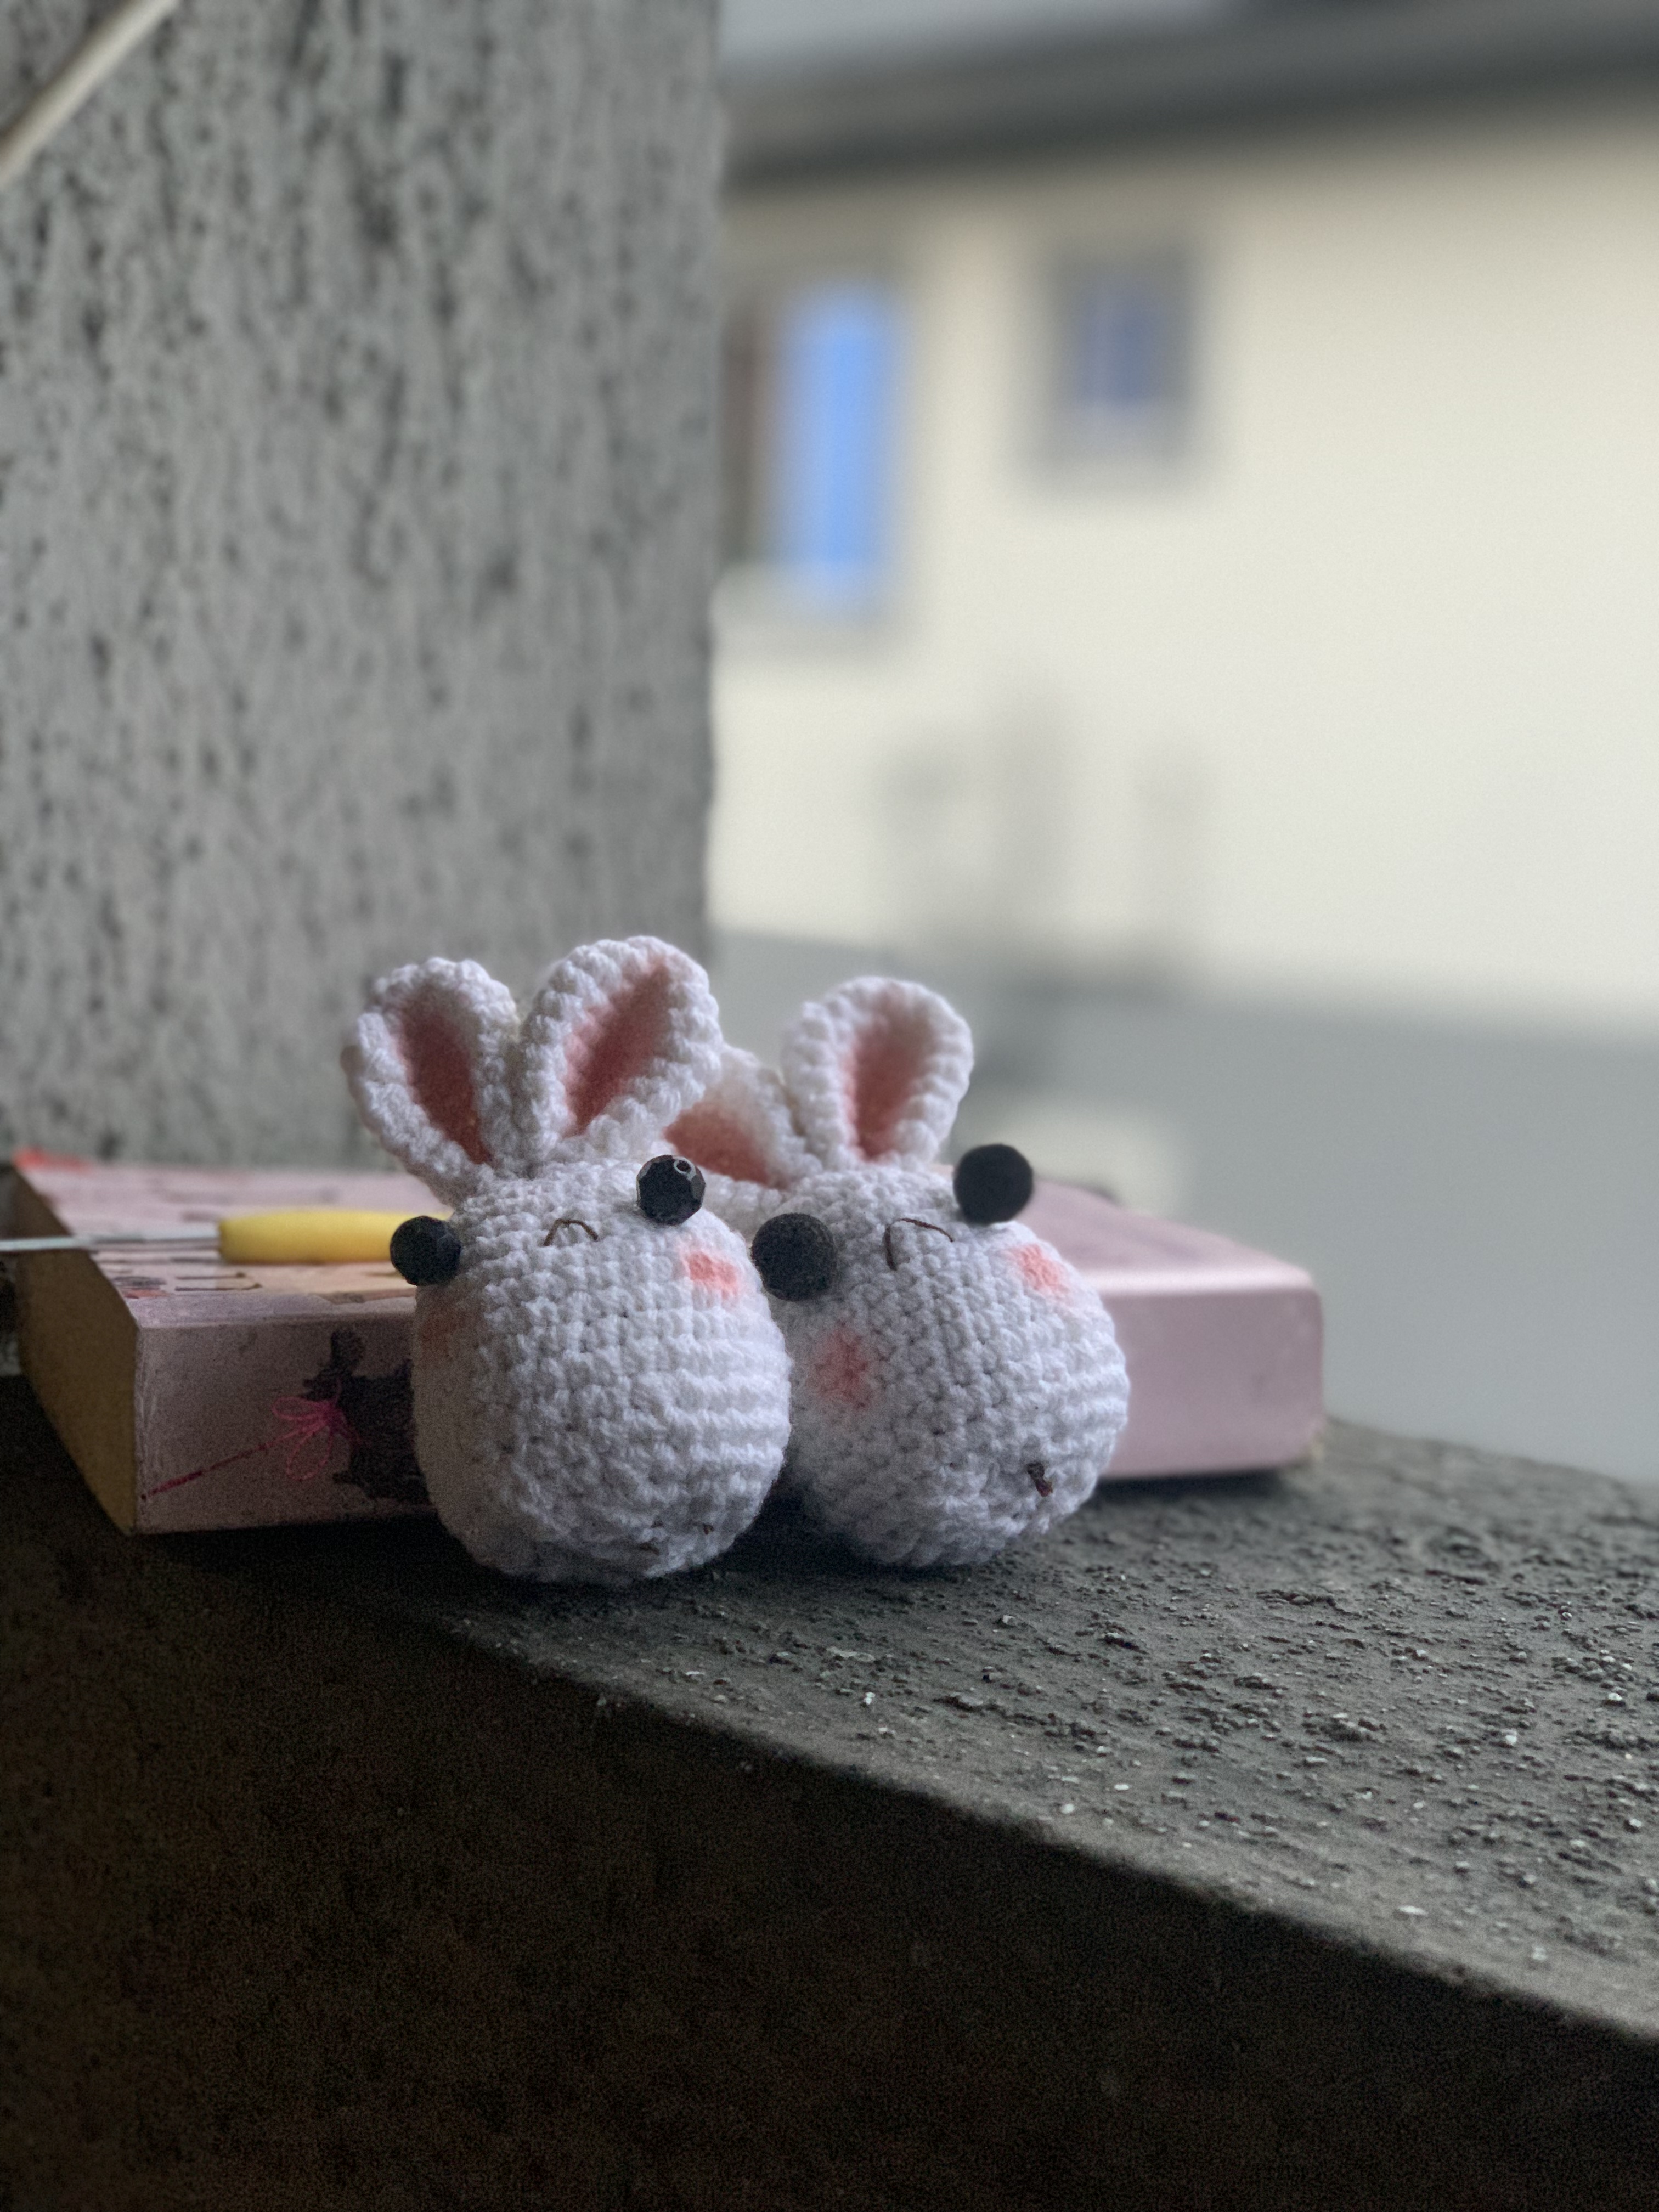
I was almost done at this point. All I needed to do was to add a bit of colour inside the ears and to the cheeks. I got my sisters’ old make-up bag, found a perfect brush for the job and an old eyeshadow palette and got working. I touched peach and dusted them inside the ears, then touched the cheeks lightly. Finally, my bunnies came to life.

My friend says they look cute but angry. I think they do too when you look at them at eye level or from above; however, when you look at them from the side and they seem to be looking away or when they are slightly facing upwards, they do not look sad at all. Check it out, guys.
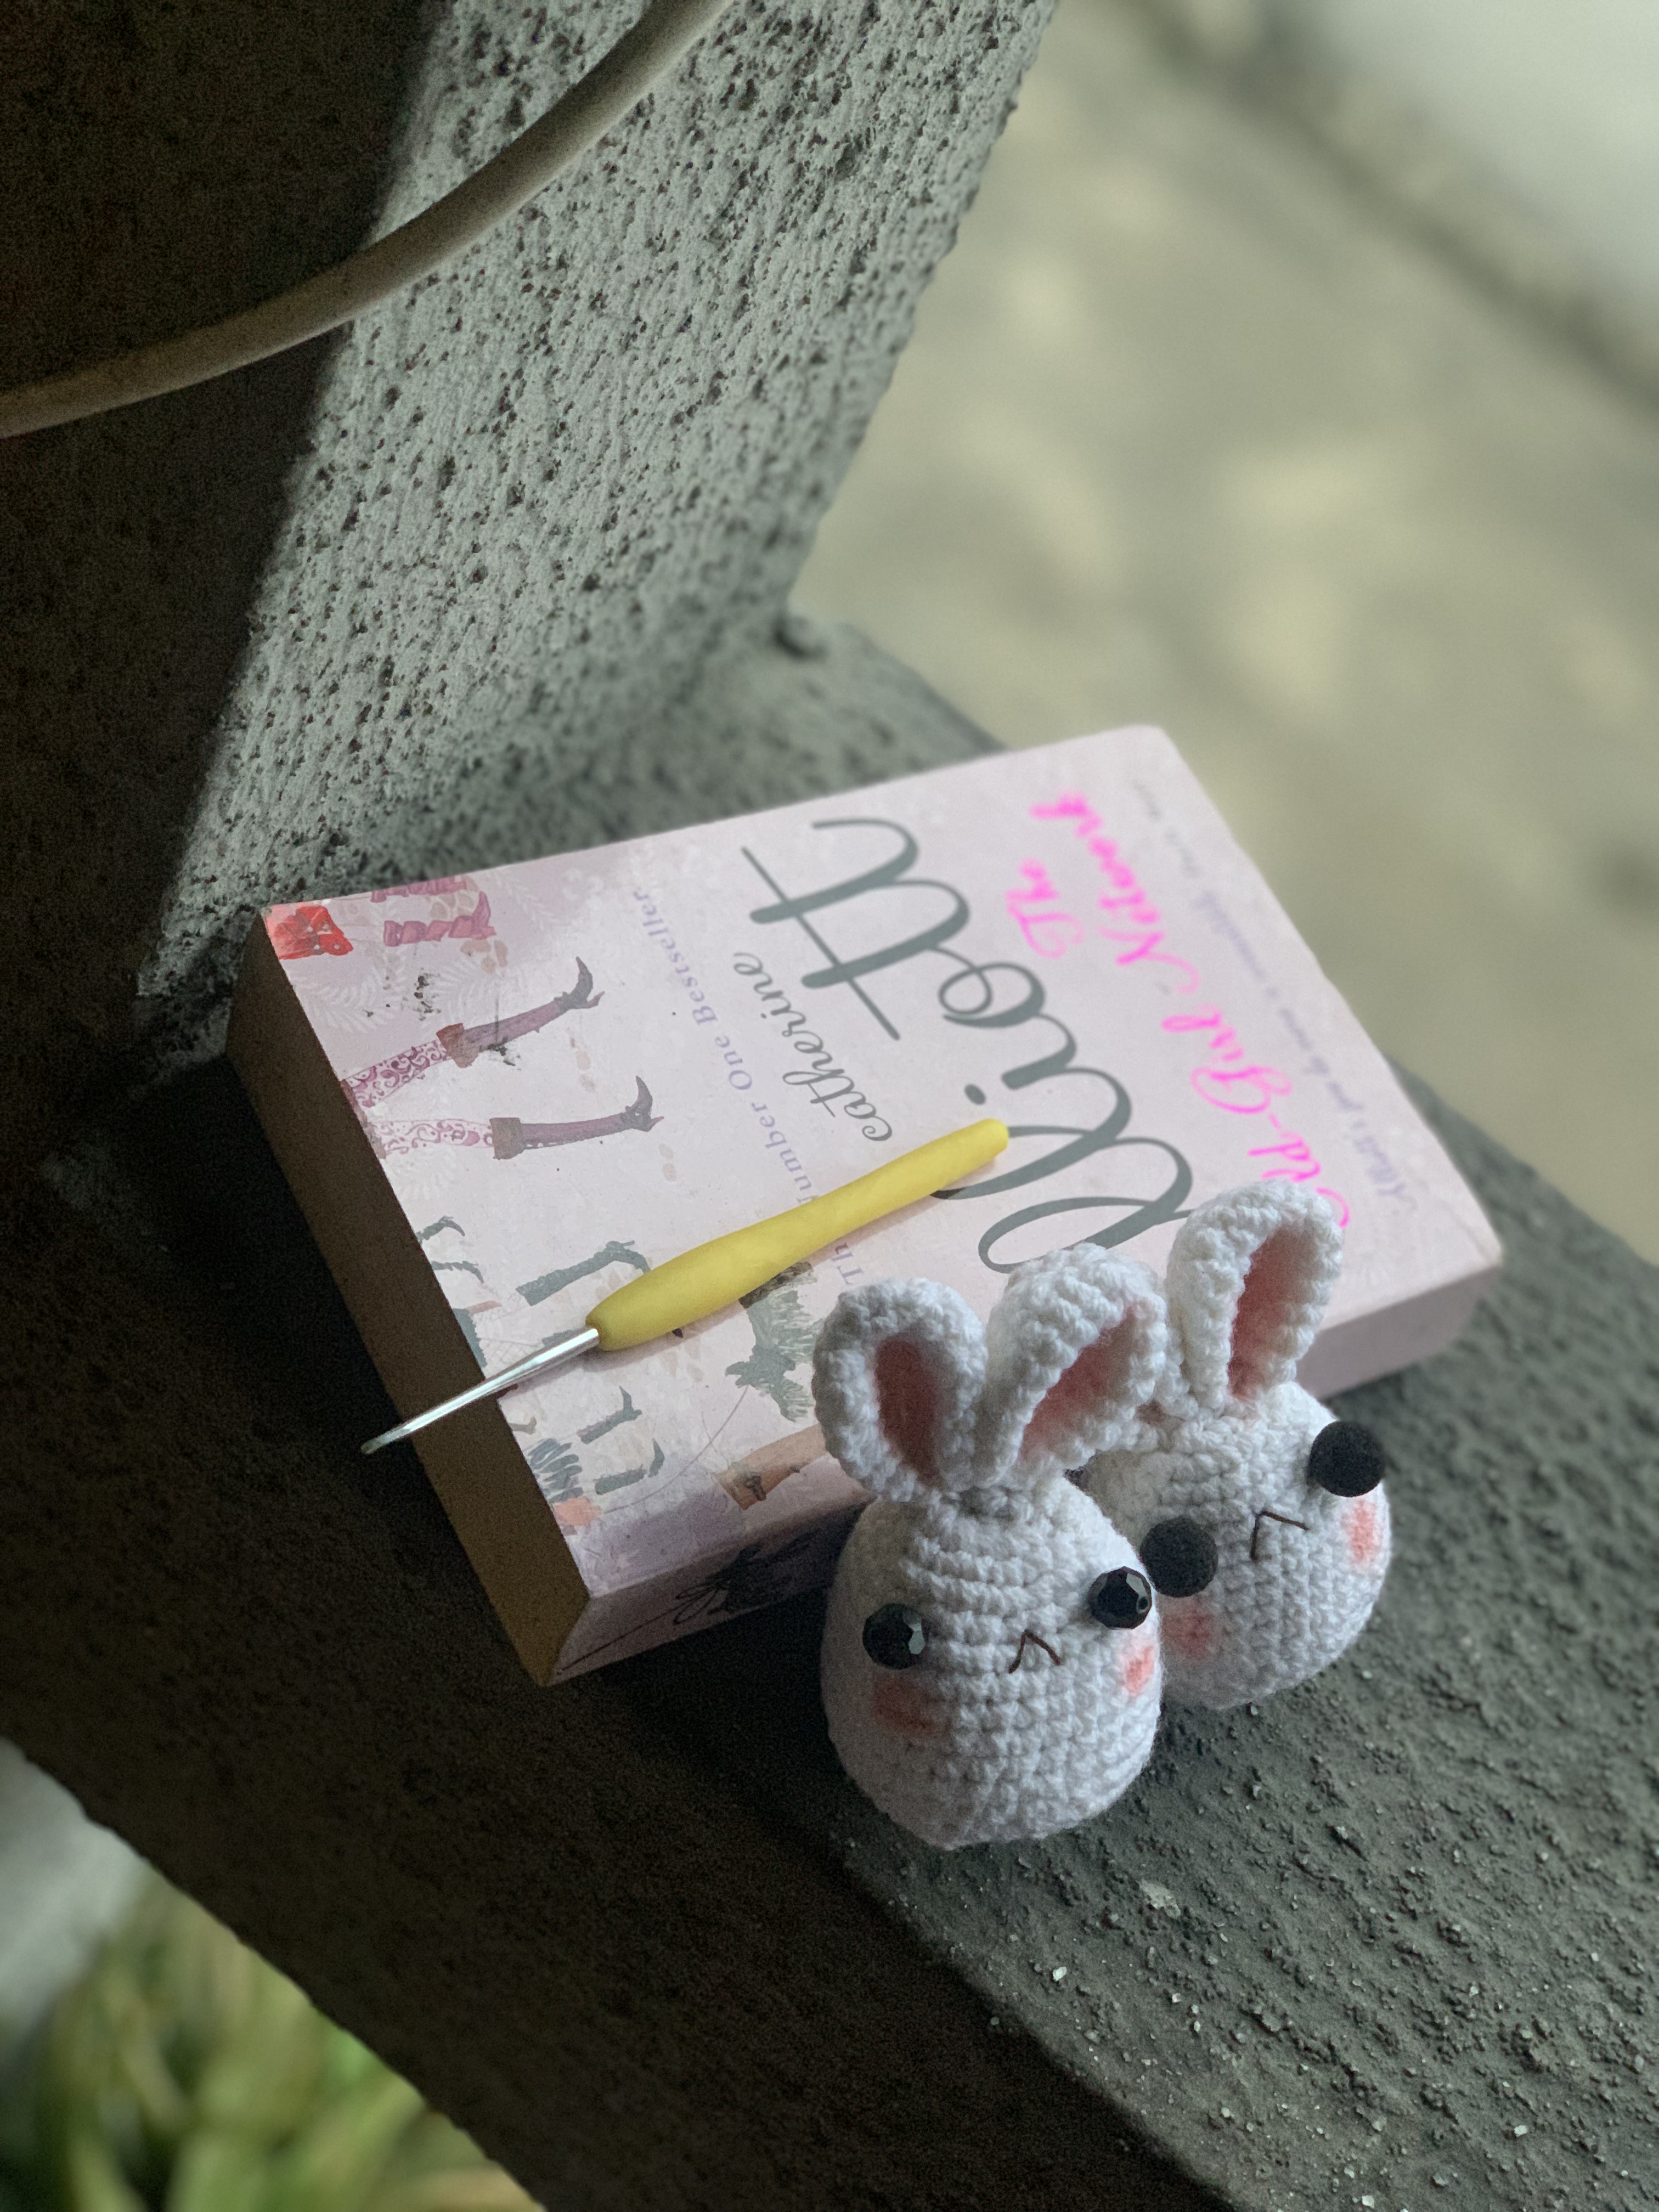
What do you think?
All images are mine, unless stated otherwise.
I think you chose a great project to start in the world of amigurumis, it is simple and beautiful. The bunnies look very cute, you did a beautiful job. Congratulations!
☺️Thank you so much @kattycrochet!
This is a beauty, I loved it.
Awn, thank you @linita.
The project is amazing. I love the outcome
😊Thank you so much!
Great job @philomenob! I agree with your friend, they don't look like the happiest bunnies but they are so cute all the same.
Love the idea to fill them with wool you won't use! Genius
☺️Awn, thank you!
😁
You've got some cool skills. Keep at it👍
😊Thank you so much, @maxwellmarcusart! I appreciate.
You are welcome.