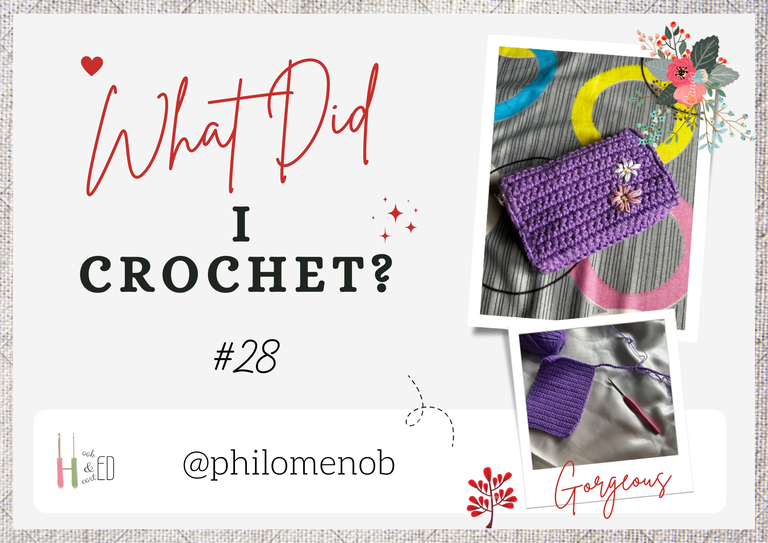
Hi, beautiful people of Hive. How’s the new month going? I’m here with another project I did some weeks ago. I made crochet wallets/cardholders!
I had a conference to attend and paid for a vendor’s stand so I made a number of items to sell. These wallets were one of them. The plan was to do some flower embroidery for done of them, while the others would have wooden ‘handmade’ tags. Unfortunately, I didn’t get to complete them (the coupling after making the L shape) before the conference so I’ll be posting about the one I completed.
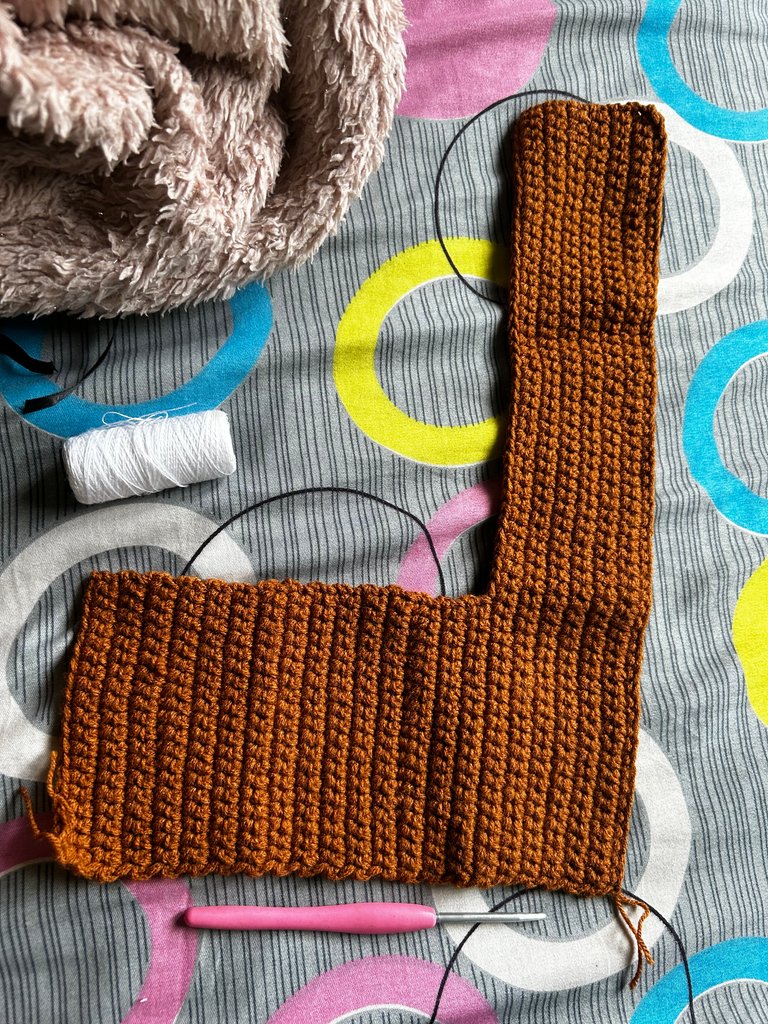
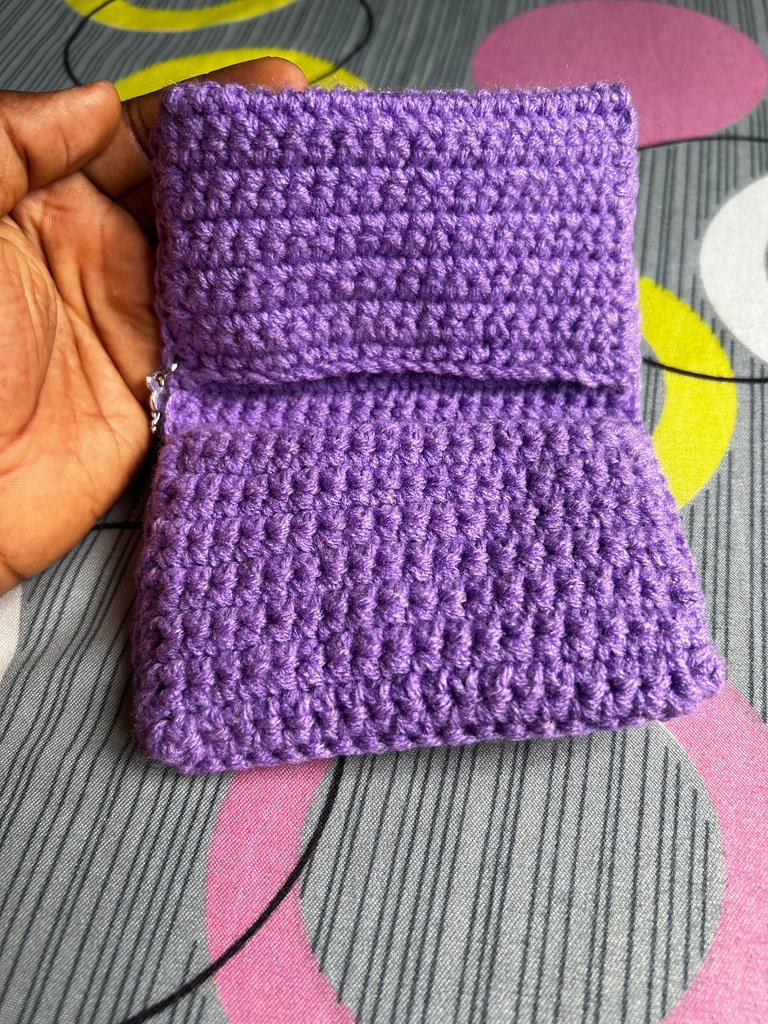
The wallet was going to be in an L shape with the horizontal (the bottom) longer than the vertical (the top) because I would fold the vertical once to form one pocket, then fold the horizontal twice to form 2 pockets with a little space (about 3 rows) between the top and the bottom.
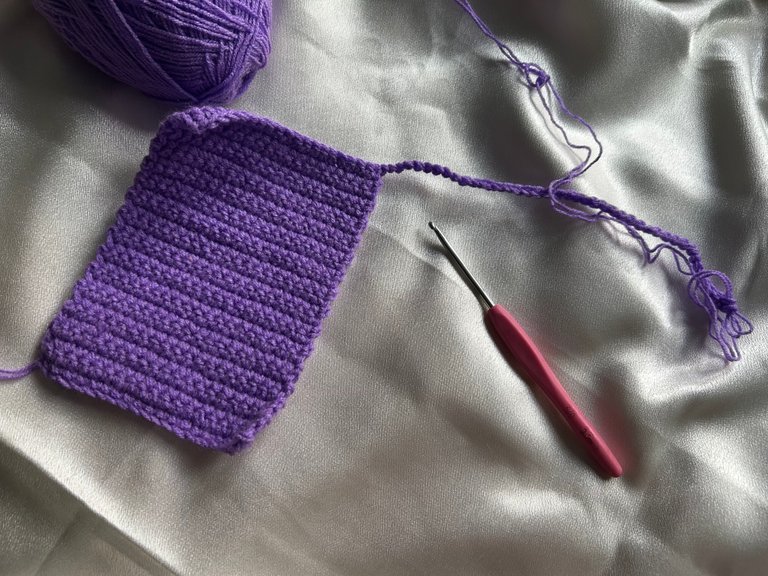
I worked with single crochets and a 3.5mm hook size. The pockets were going to be 20 stitches each. There were two ways of achieving the L shape. The first wallet I made was done by starting at the top. I began with 20 chains and an extra for turning. Then, I kept crocheting row after row until I had 26 rows that would be 13 rows after folding down and an extra 3 rows to form the space between the top and bottom pockets.
Next, to begin the bottom that is horizontal, I would chain 40 from the end of the row (together with the 20 stitches I already had is 60 stitches), then chain 1, turn my work and single crochet back to the beginning of the row. I’d do that till I have 13 rows.
The other process would have me starting from the bottom where I’ll chain 60 then do 13 rows of single crochets.
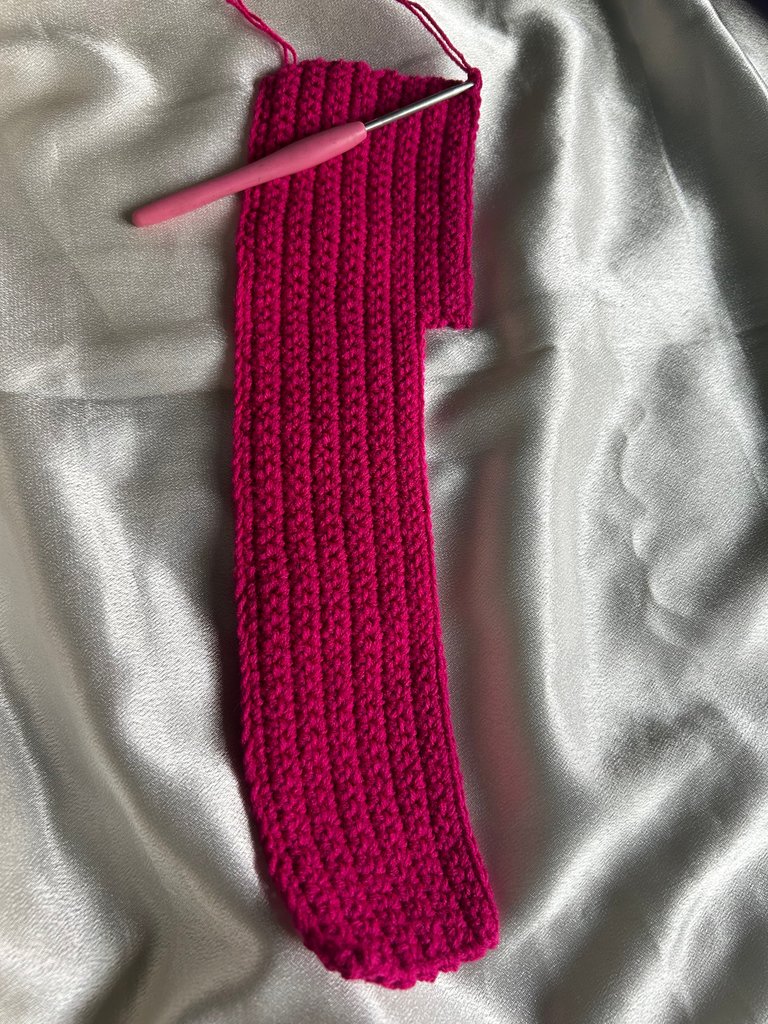
When I have the 13 rows, I’ll then only single crochet for 20 stitches and continue that way till I have 26 rows and extra 3 rows to form the space between the top and bottom pockets.
The first wallet I did was the only one I crocheted using the first method. The others were all done using the second. I actually preferred it for its more straightforward process.
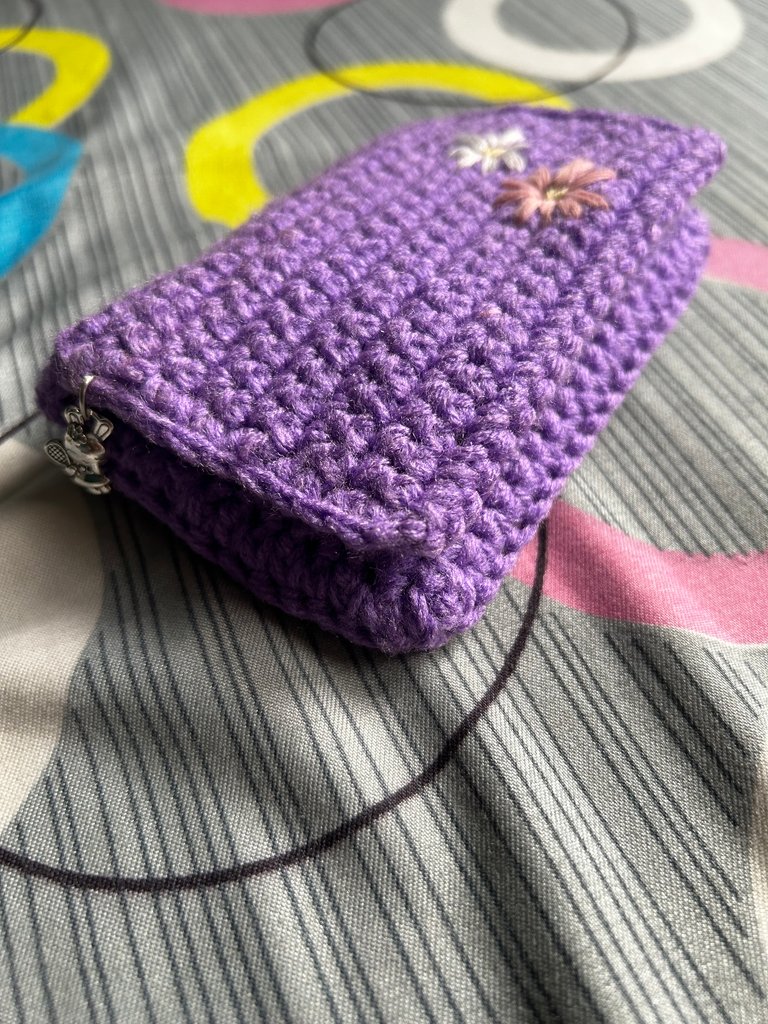
At this point, what’s left is to fold and sew. The top is folded down once while the bottom is folded to the left or the right twice. You can use a darning needle or the crochet hook to do this. I prefer the crochet hook. After sewing, this is what your cardholder will look like.

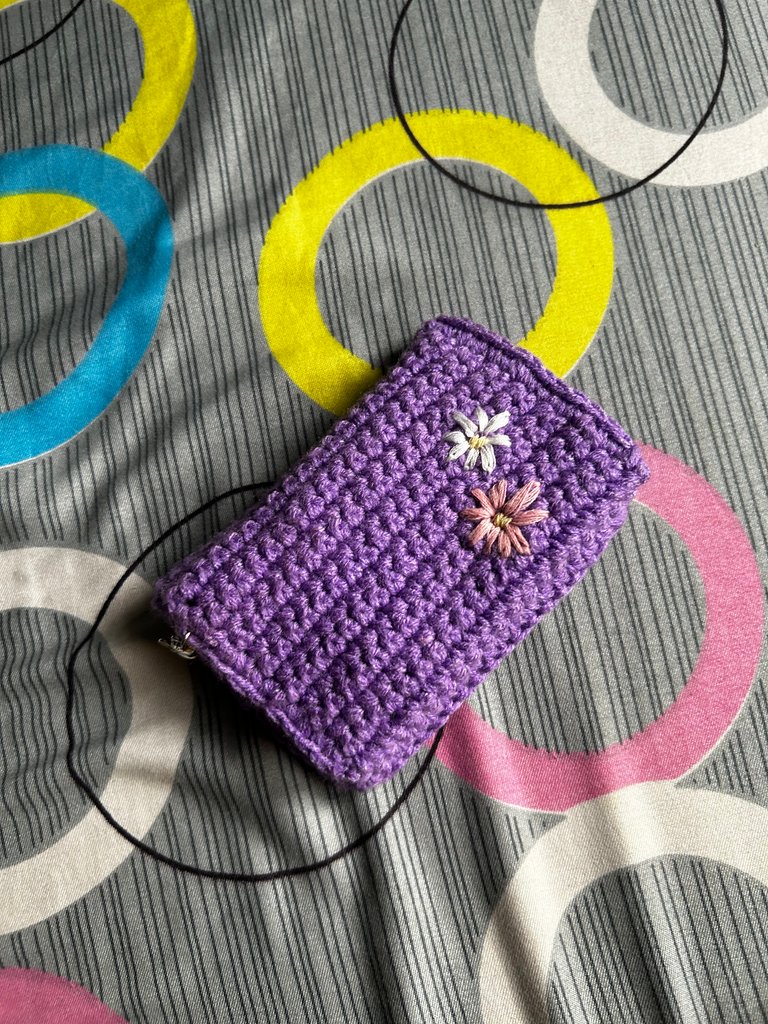
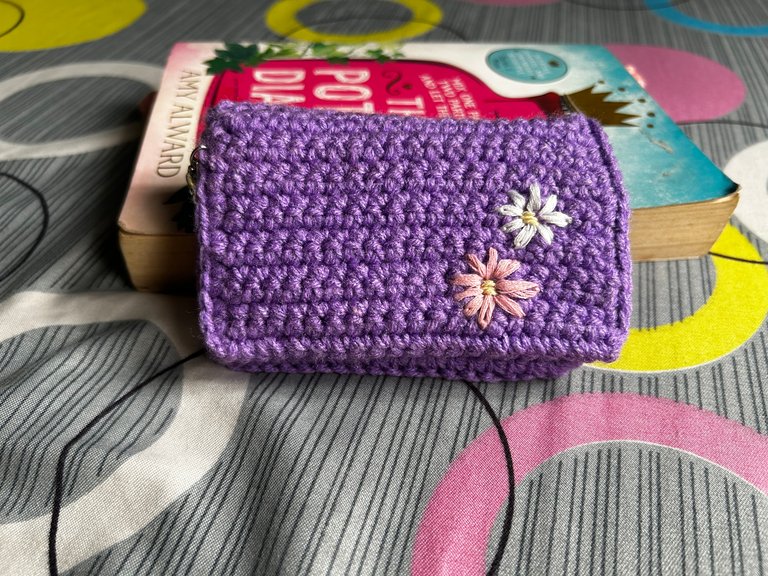
For this purple, I added some flower embroidery instead of the ‘handmade’ tags. What do you think about the finished look?
This is so nice and beautiful made
Am a fan of crotchet but unfortunately I don't know how to crotch
Thank you! You can always learn. Just find tutorials on YouTube and practice.
Very nice realization, I love the final look! Thanks for sharing 😁
Thank you so much!