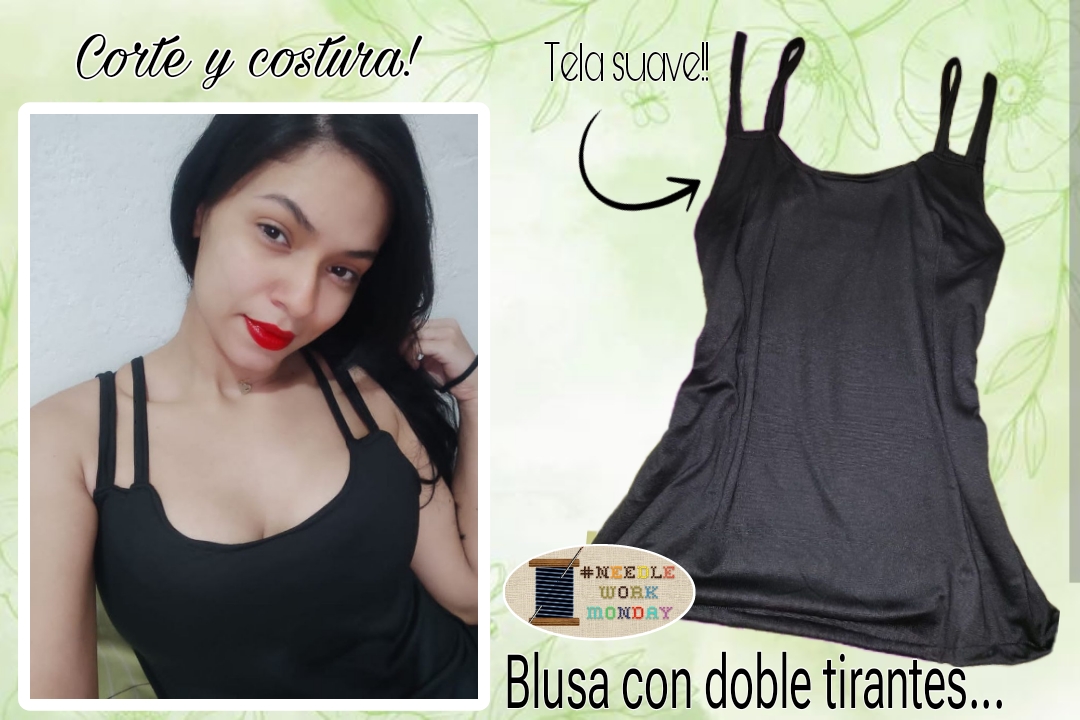
Hola amigos costureros feliz tarde tengan todos!! Espero estén teniendo un gran inicio de semana, sean todos bienvenidos a un nuevo tutorial de corte y costura en esta ocasión para damas.
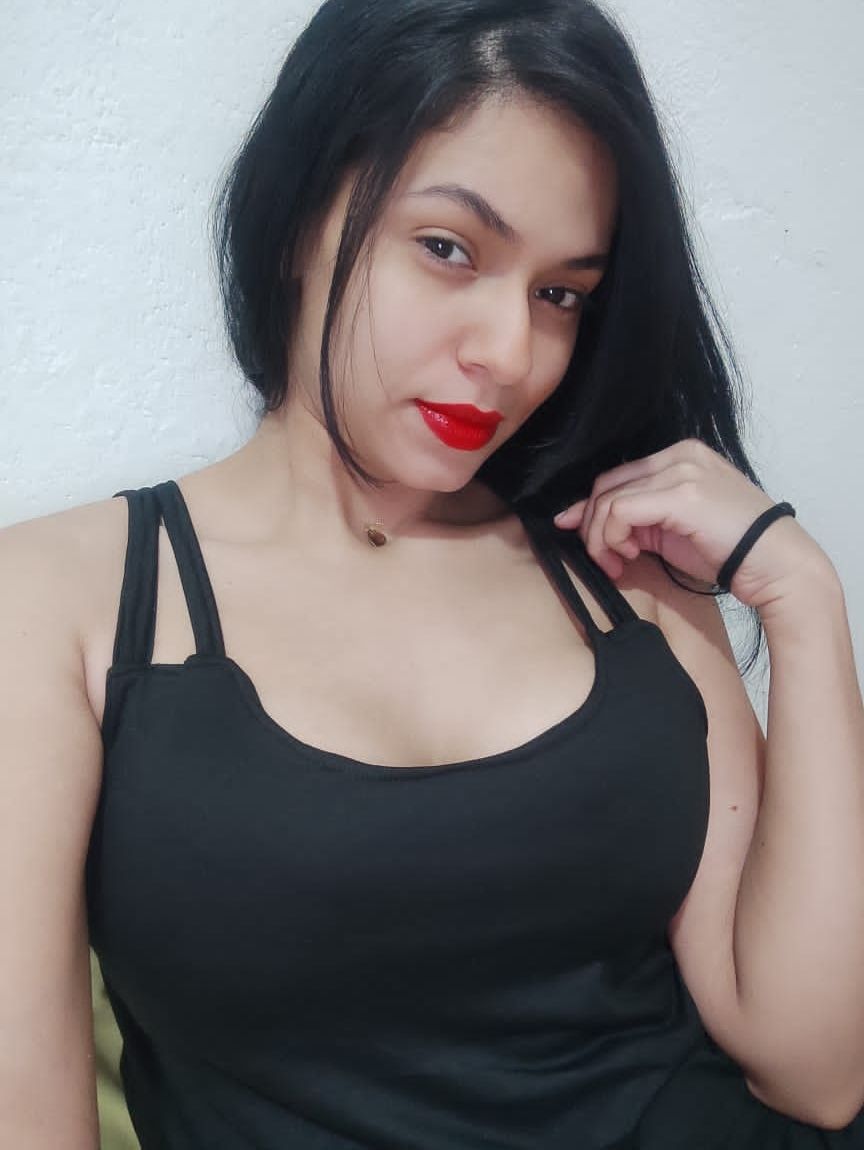
Ya se lo había comentado y es que si hay algo que ama mi hermana es el color negro, me doy por vencida y no intento convencerla más de querer otro color, me siento feliz y muy halagada de ser su costurera personal y por toda la confianza que me tiene al momento de querer que yo le haga una prenda; me gustan sus palabras de motivación, así que no puedo negarme a confeccionarle su ropa.. En realidad está vez su elección fue algo muy sencillo de crear, pero que luce muy sutil y femenino para usar en ocasiones informales. Su suave tela ofrece una caída muy linda y hace que está prenda se convierta en la ideal para sentirnos fresca y cómodas. Sus dobles tirantes y su escote brindan mucha atracción y sensualidad.. Para mí es una pieza con lo que podrías iniciar en este arte de coser si eres principiante..Si te gusta ven te invito a ver su proceso.!
Hello sewing friends, have a nice afternoon everyone!! I hope you are having a great start to the week, welcome to a new cutting and sewing tutorial, this time for ladies.
I had already told you that if there is something that my sister loves, it is the color black. I give up and do not try to convince her anymore to want another color. I feel happy and very flattered to be her personal seamstress and for all the trust she has in me when she wants me to make her a garment; I like her words of motivation, so I can not refuse to make her clothes. In reality, this time her choice was something very simple to create, but that looks very subtle and feminine to wear on informal occasions. Its soft fabric offers a very nice drape and makes this garment become the ideal one to feel fresh and comfortable. Its double straps and neckline provide a lot of attraction and sensuality. For me, it is a piece with which you could start in this art of sewing if you are a beginner. If you like it, I invite you to come see the process!
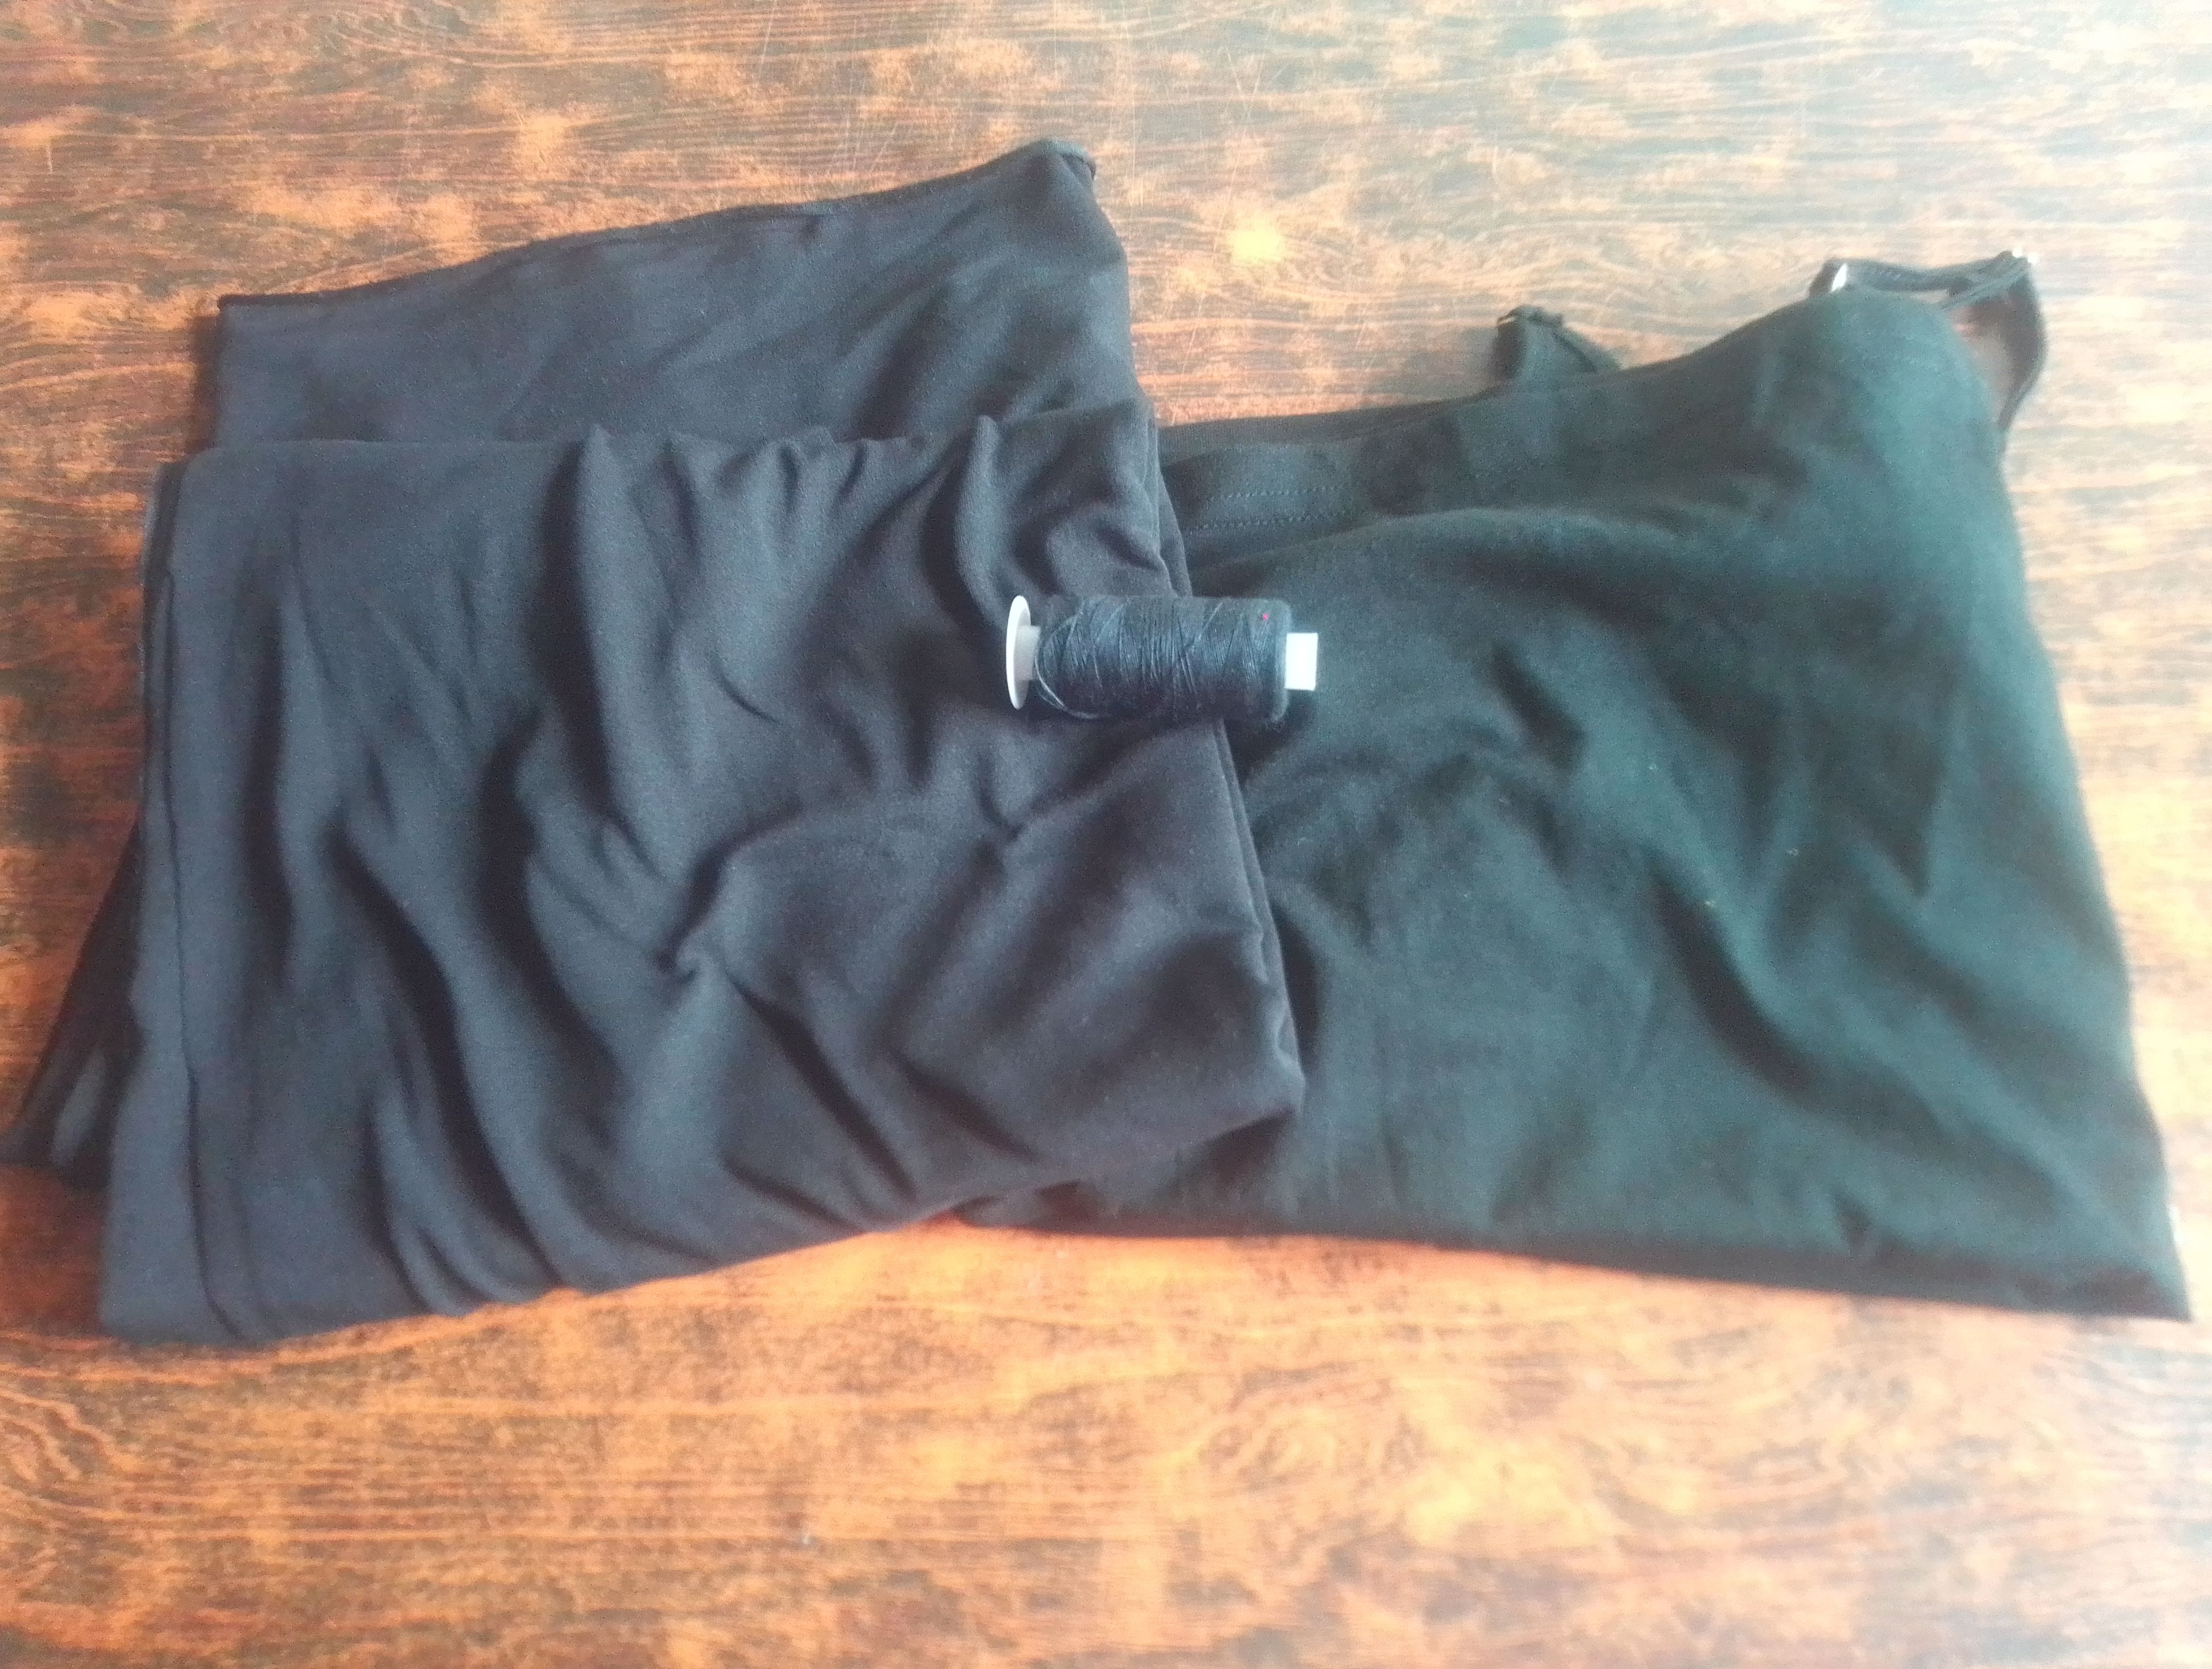
Materiales que necesitas:
Materiales que necesitas:
Materials you need:
- Tela piel de durazno.
- Tijeras.
- Hilo y aguja.
- Alfileres.
- Máquina de coser.
- Peach skin fabric.
- Scissors.
- Thread and needle.
- Pins.
- Sewing machine.
PROCEDIMIENTO
PROCEDIMIENTO
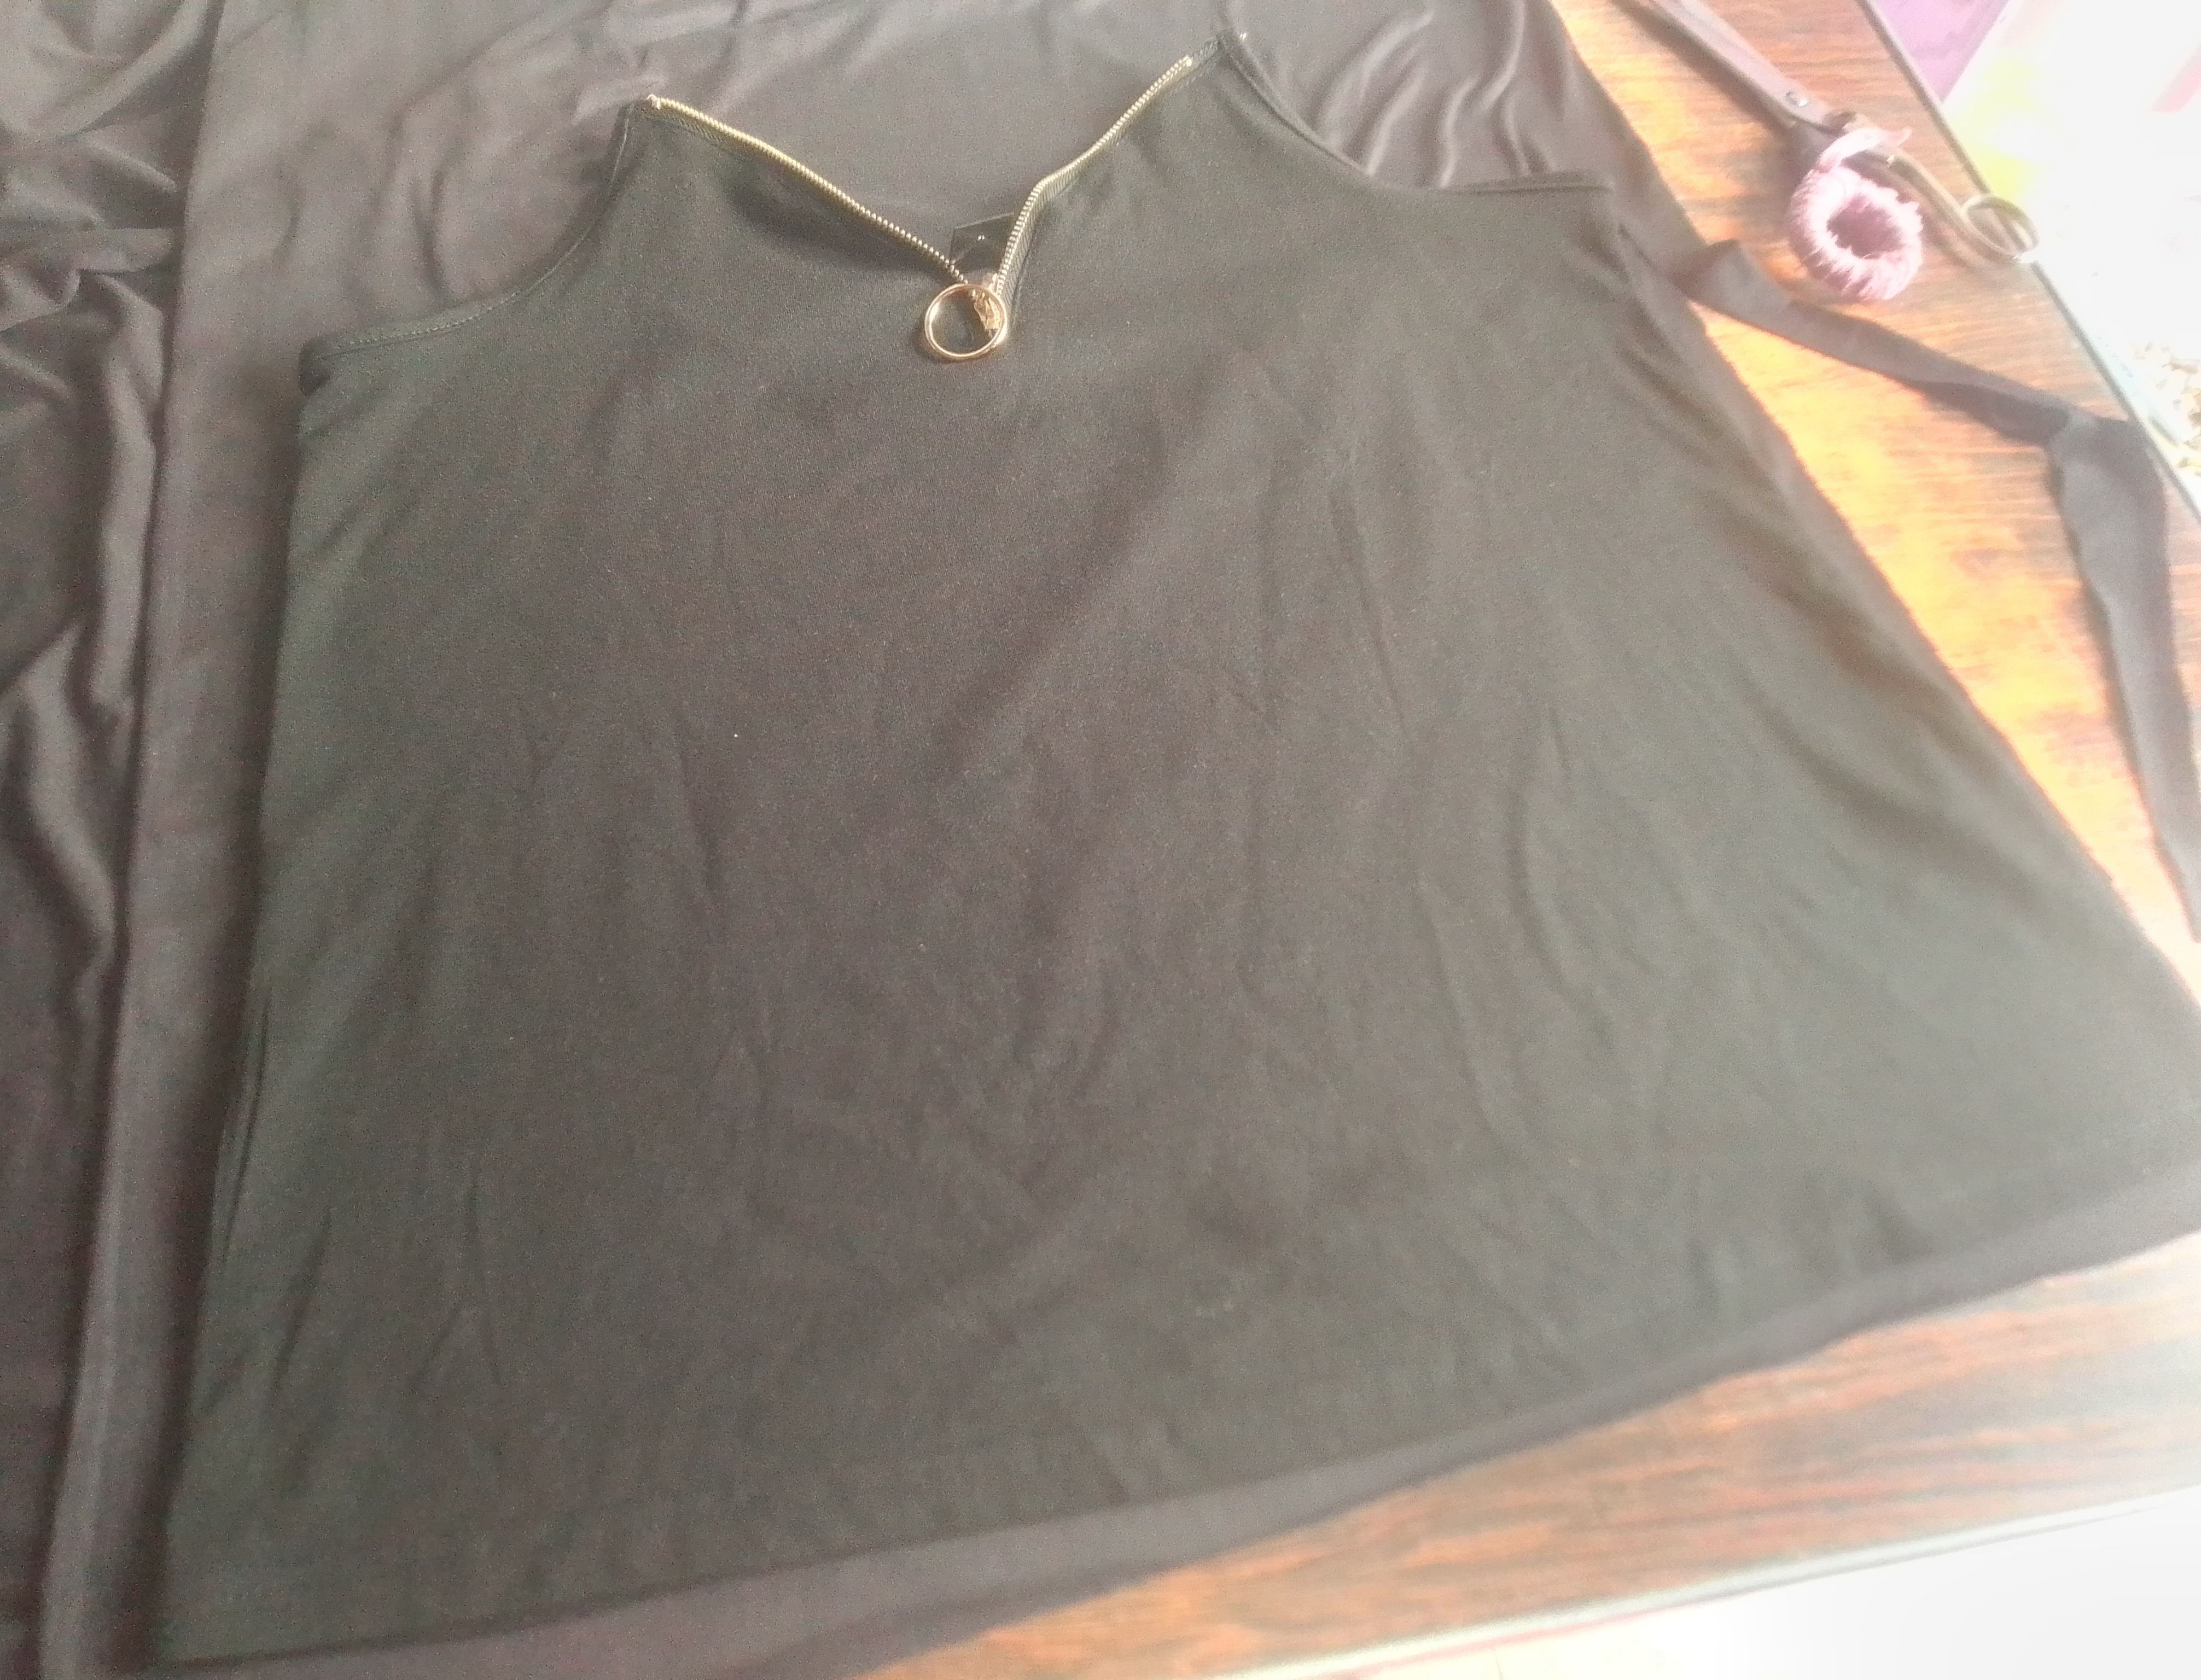
🌟Paso 01
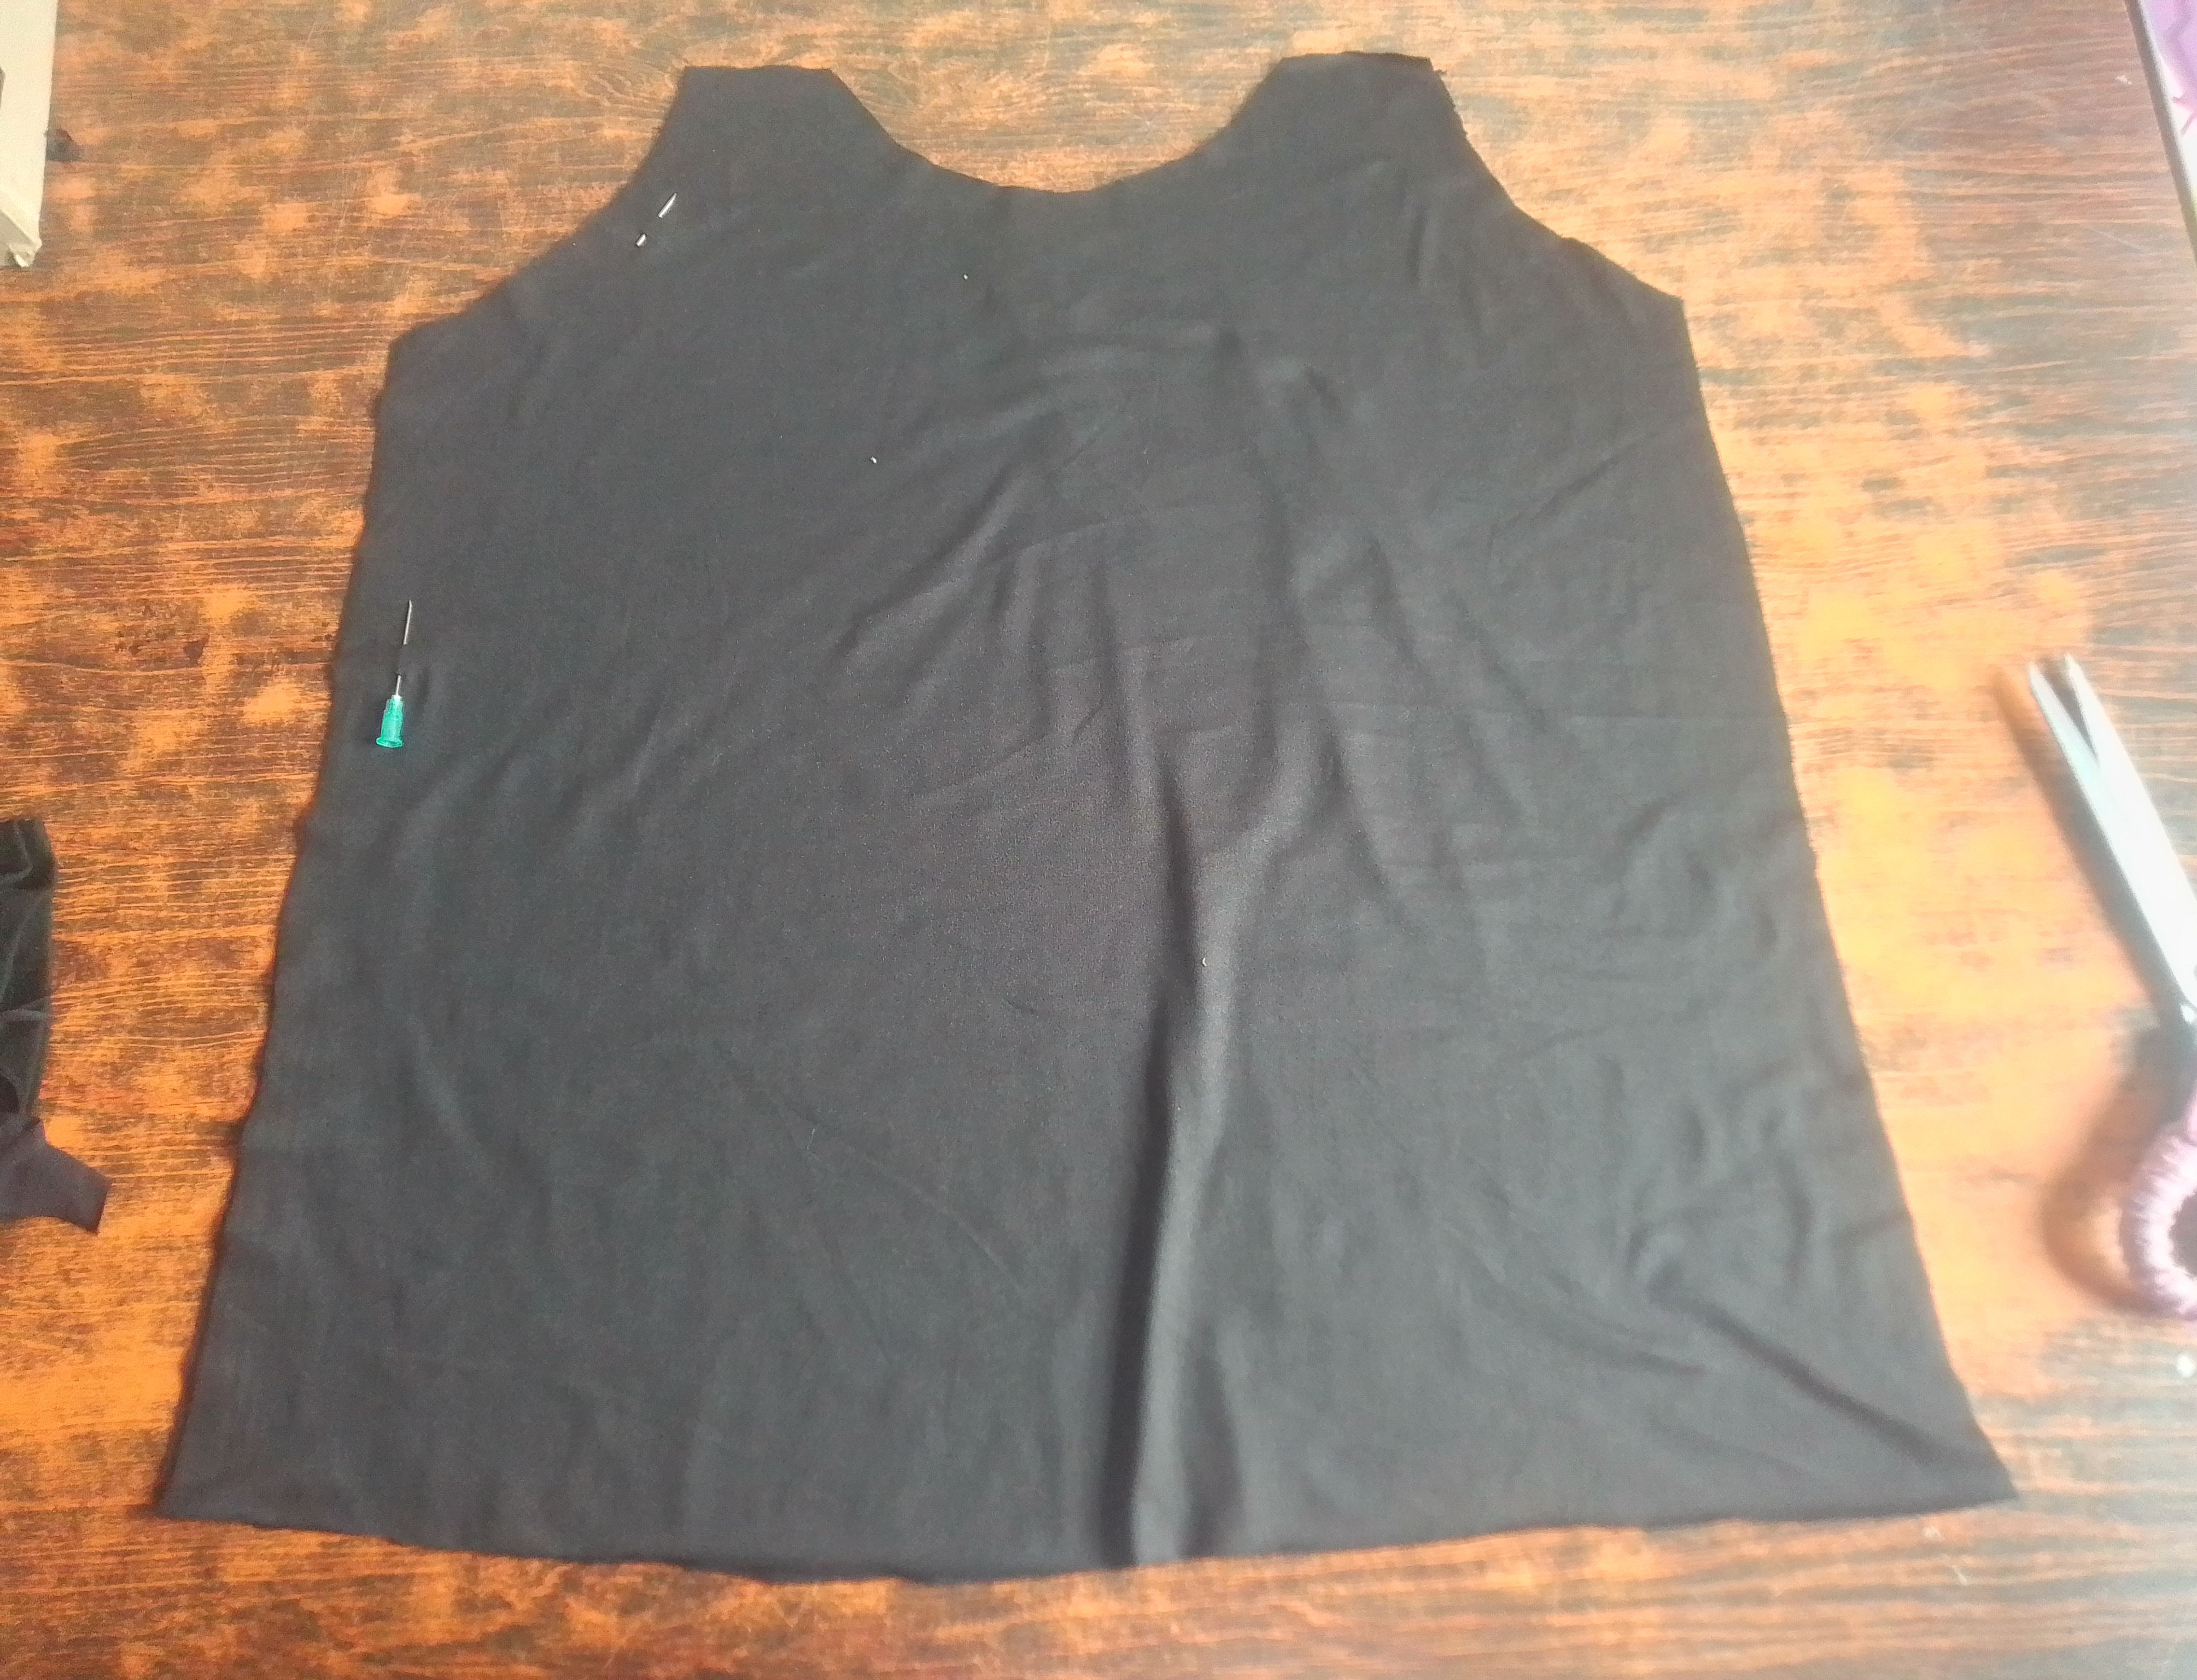
Cuando queremos hacer algo que quede al medida ,para mí lo más factible es una prenda de uso diario como patrón. Está la voy a colocar sobre la tela doblada a la mitad para cortar lo que serían las dos piezas de la camisa ( delantera y trasera), siempre respetando el margen de costura.
🌟Step 01
When we want to make something that fits, for me the most feasible is to use an everyday garment as a pattern. I'm going to place it on the fabric folded in half to cut out what would be the two pieces of the shirt (front and back), always respecting the seam allowance.
🌟Paso 02
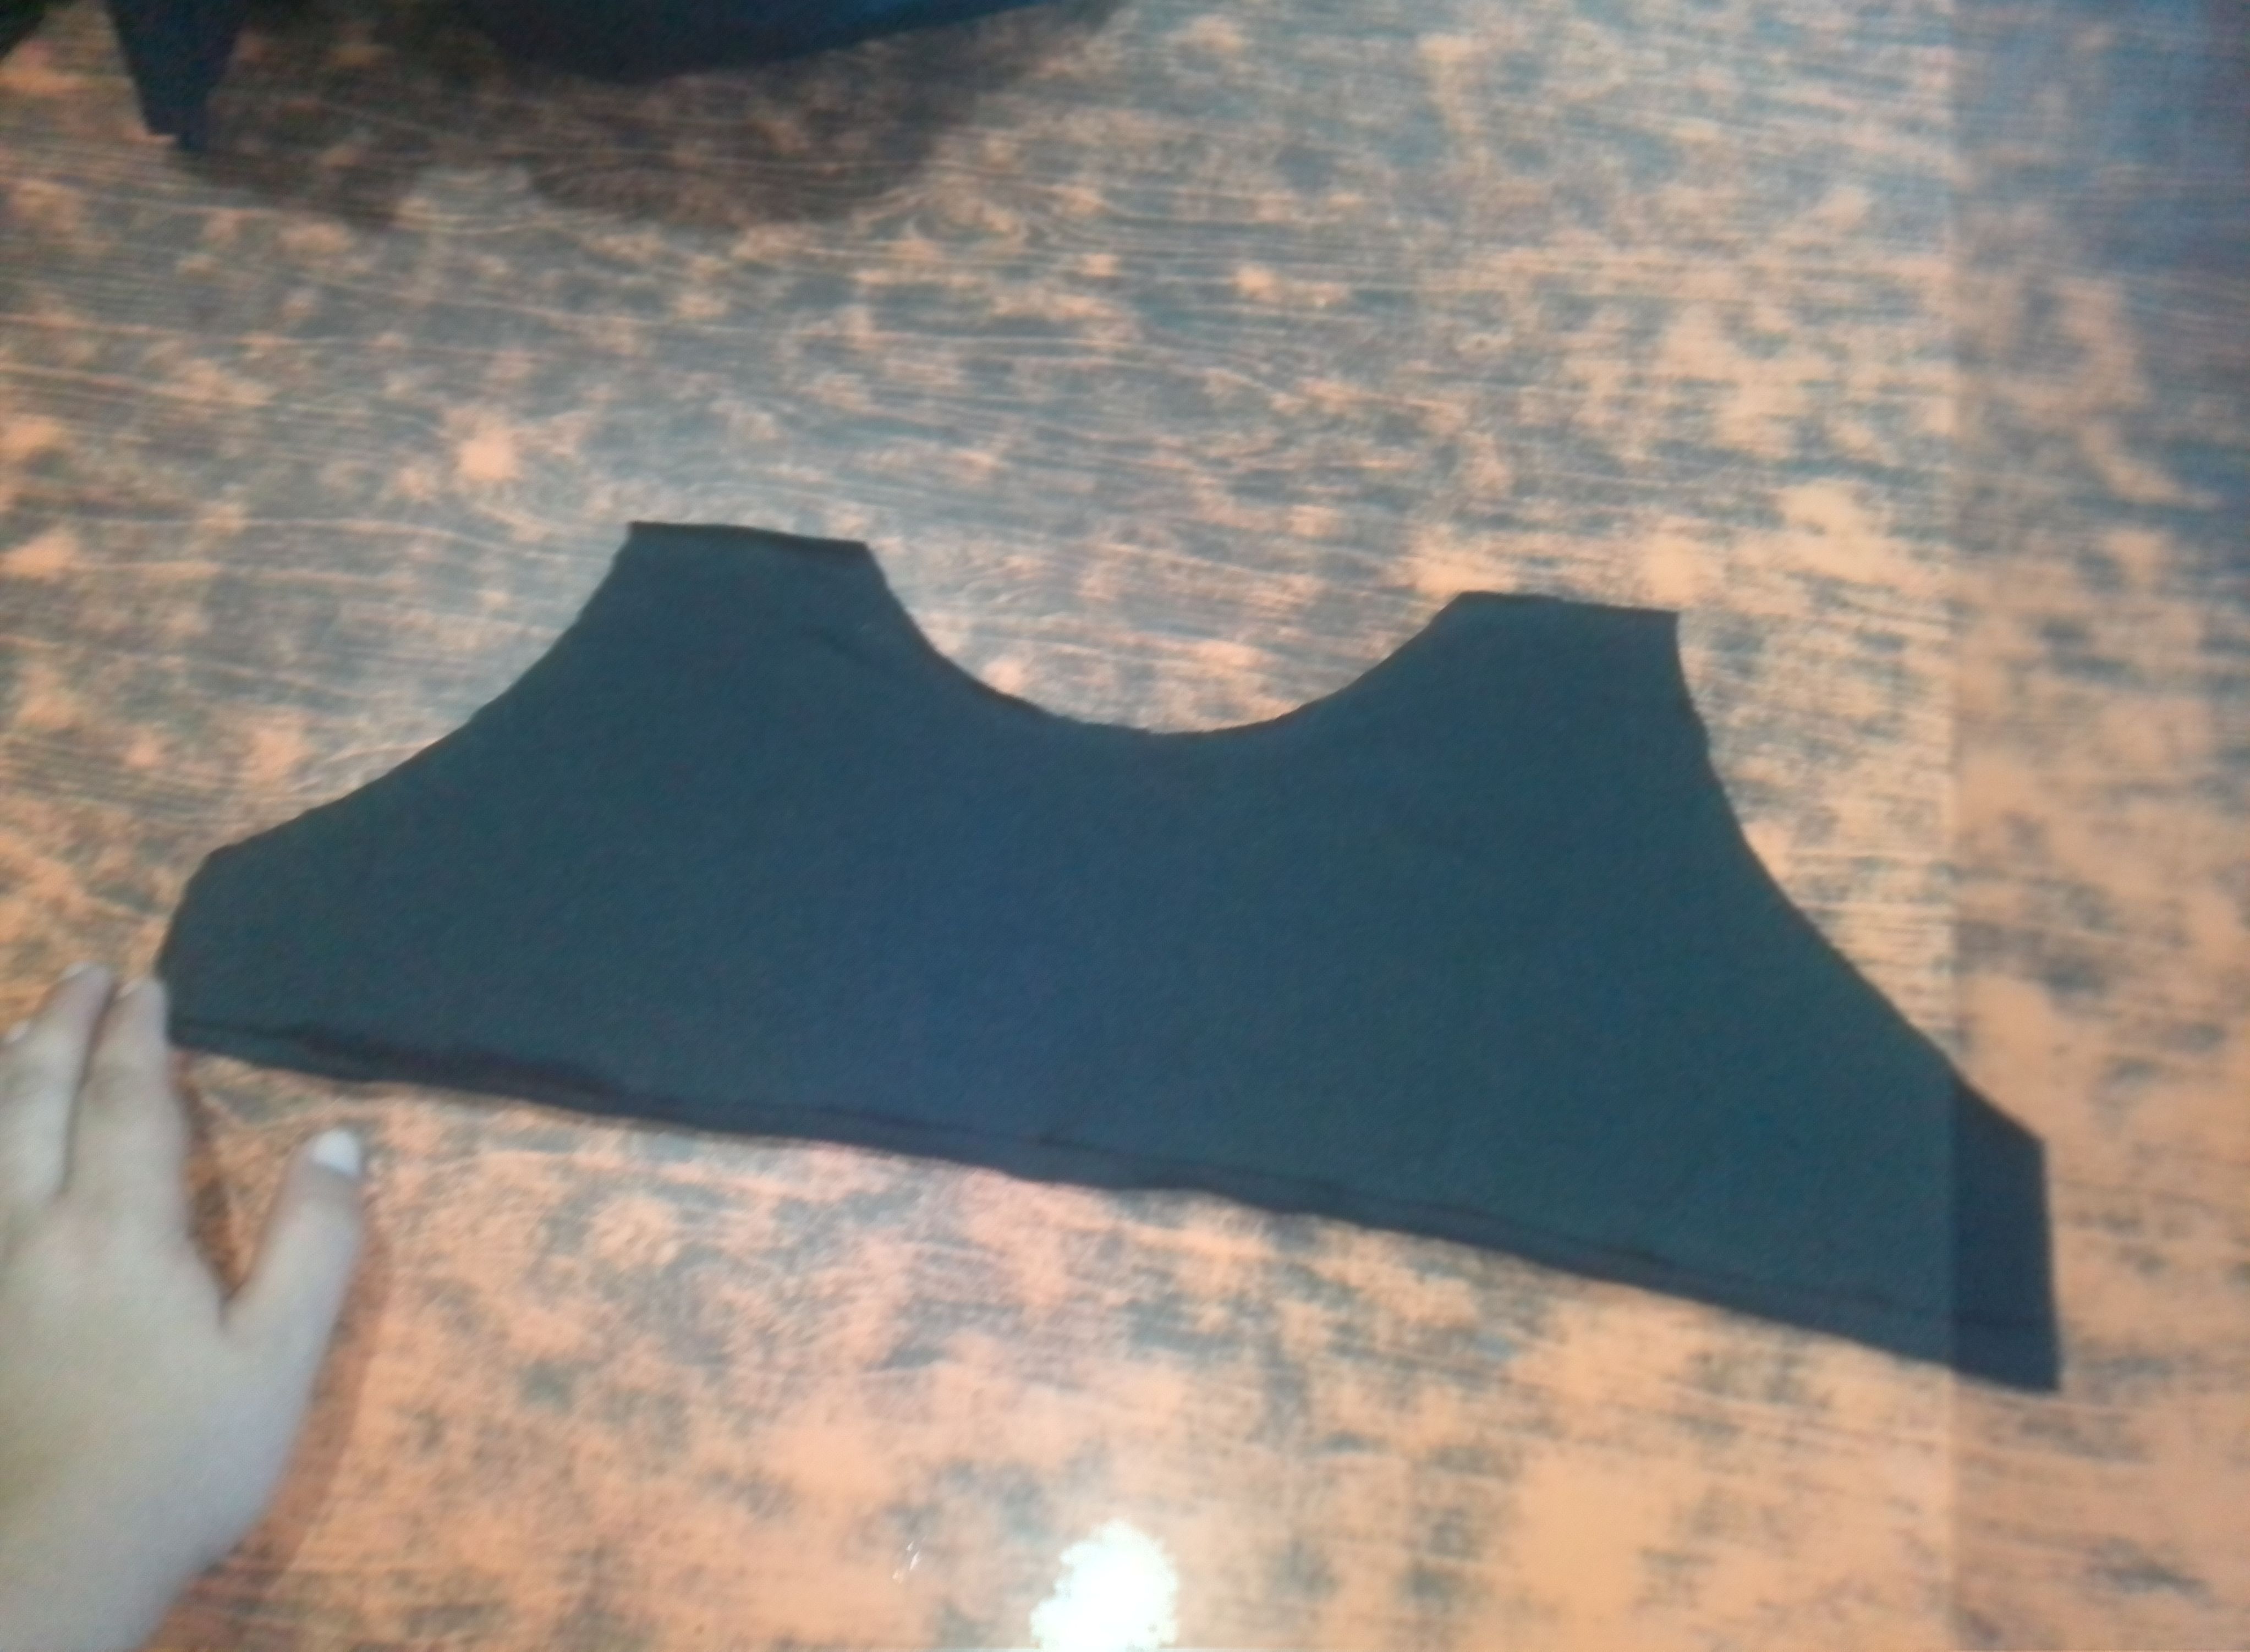
Al tener estás piezas listas las voy a utilizar con patrón para cortar dos piezas a la medida de los hombros y lo que es toda la sisa de la blusa. También voy a cortar una tira larga de la misma tela con un grosor de 3cm y voy a coser doblando a la mitad.. Está la voy a cortar en cuatro partes iguales para hacer los dos tirantes de cada lado de la blusa.
🌟Step 02
Once I have these pieces ready, I'm going to use them with a pattern to cut two pieces to fit the shoulders and the entire armhole of the blouse. I'm also going to cut a long strip of the same fabric with a thickness of 3cm and I'm going to sew it by folding it in half. I'm going to cut it into four equal parts to make the two straps on each side of the blouse.
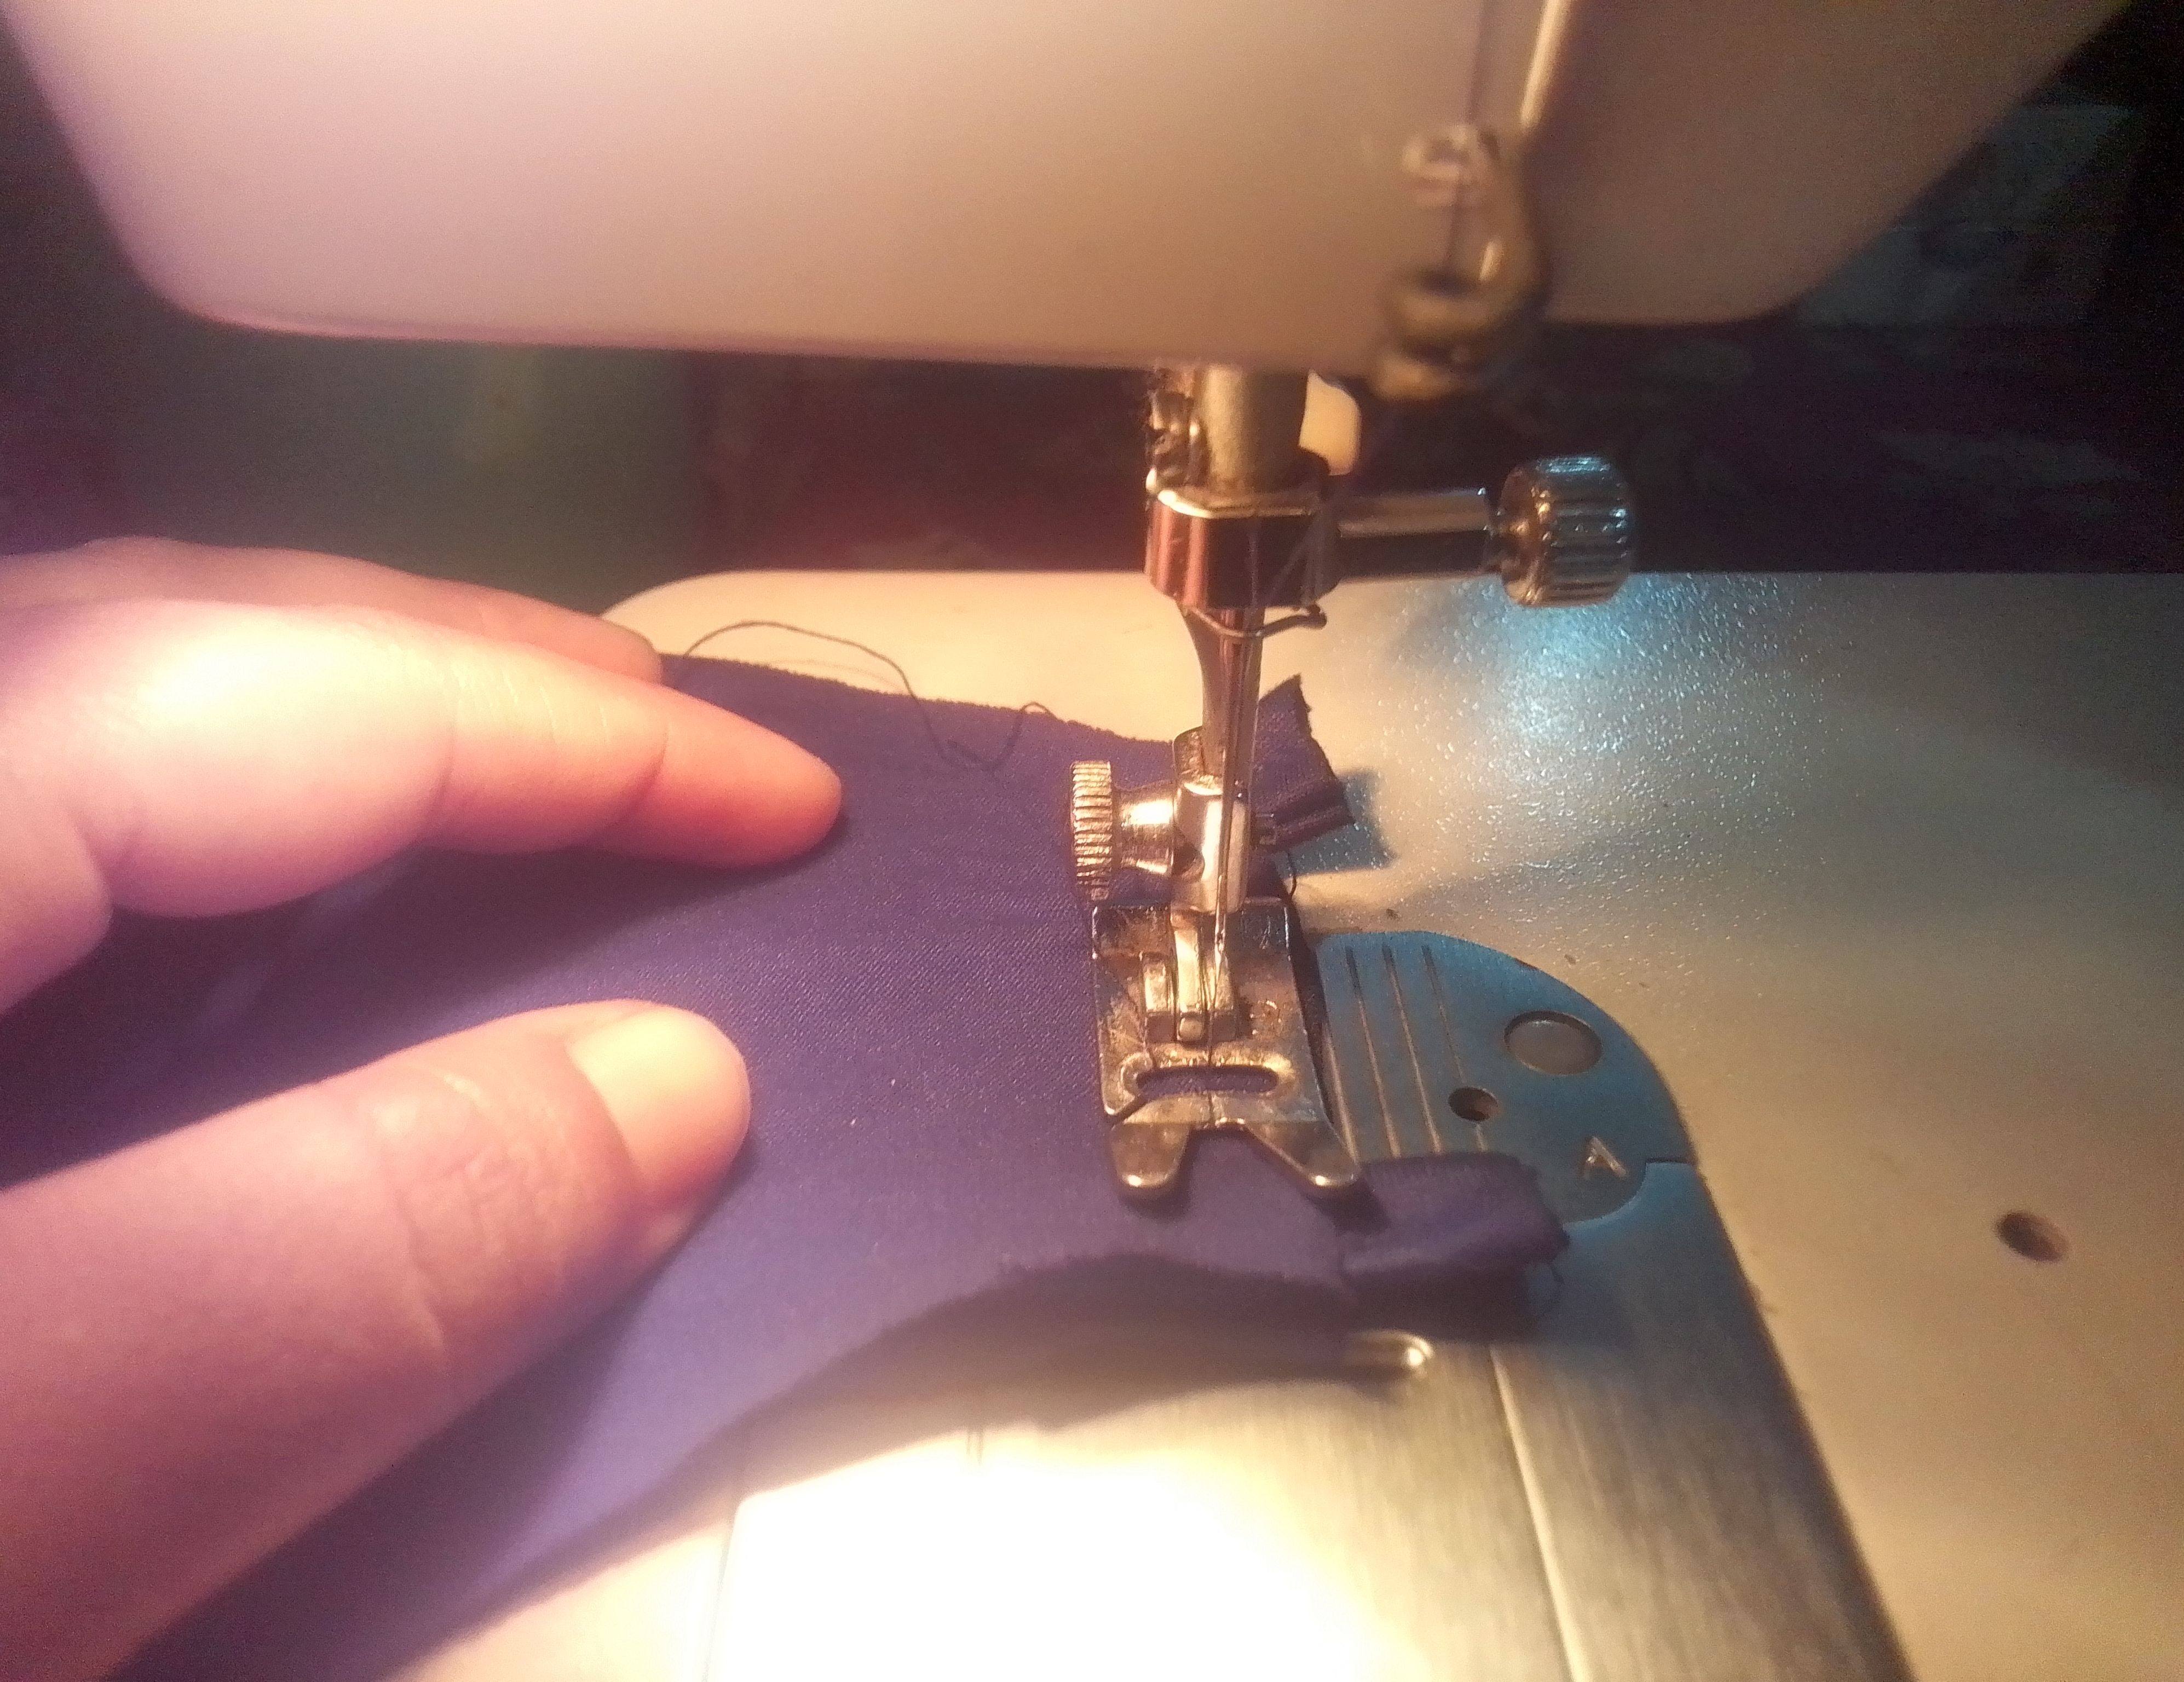
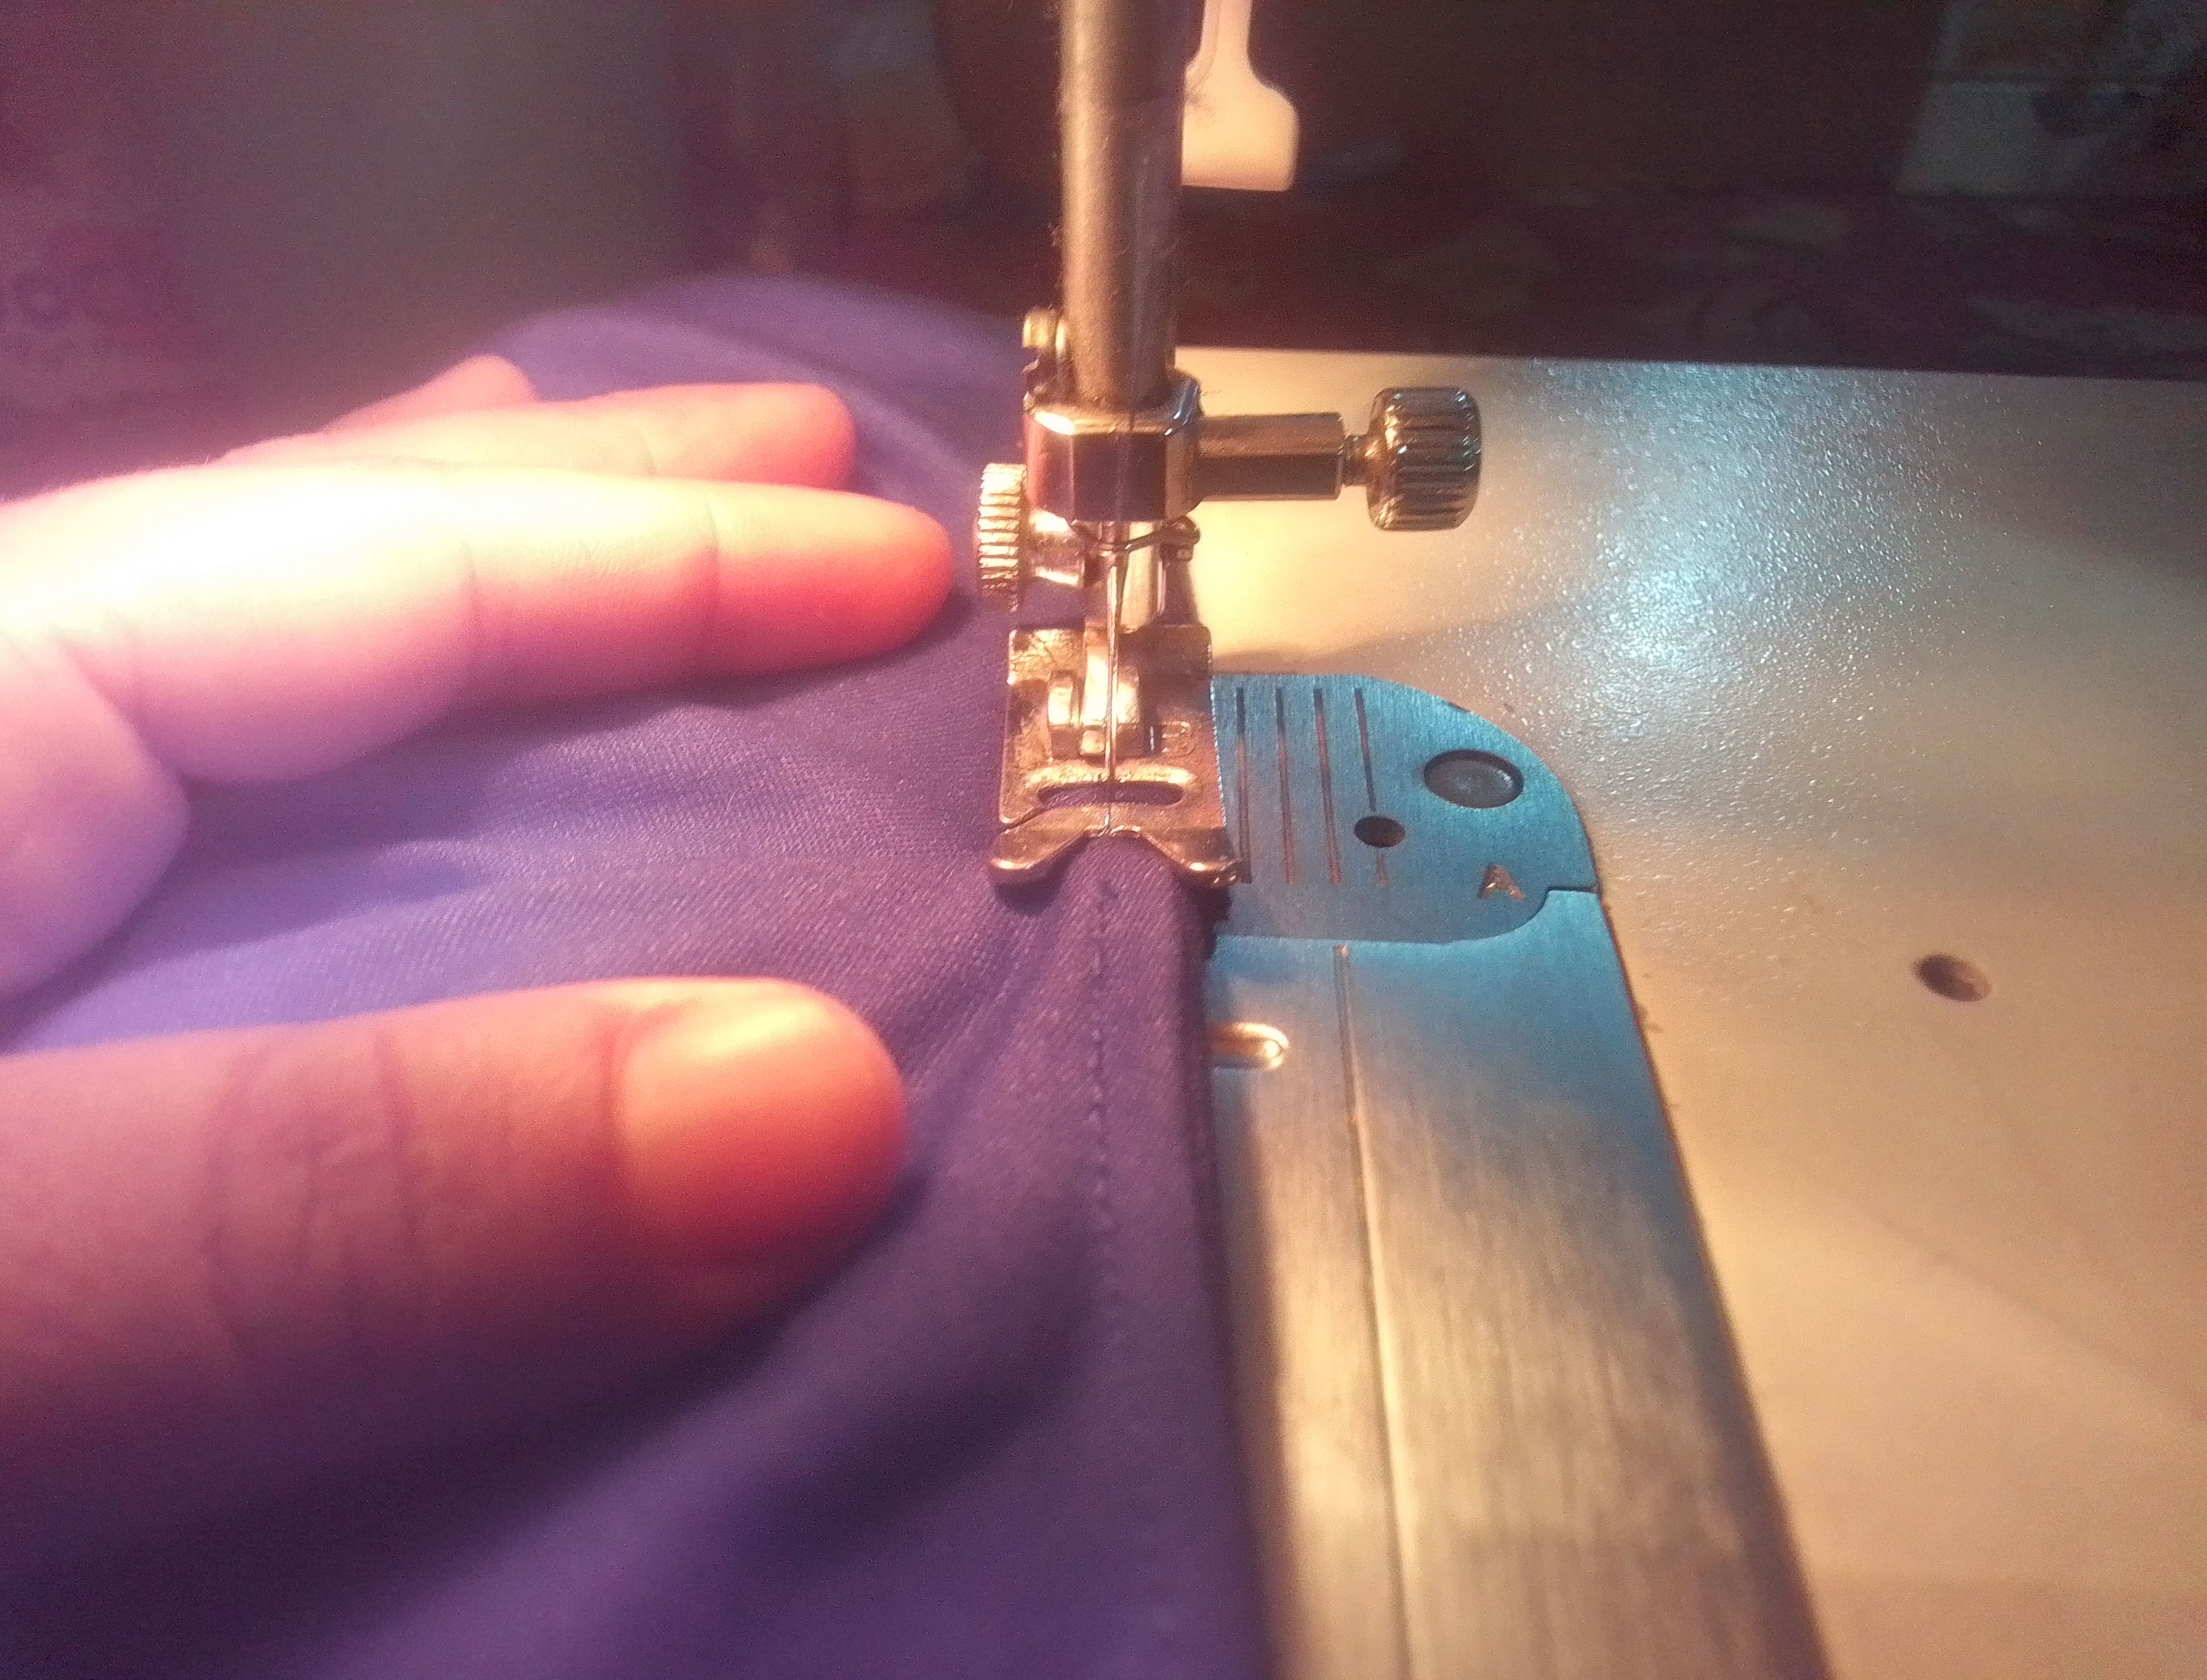
🌟Paso 03
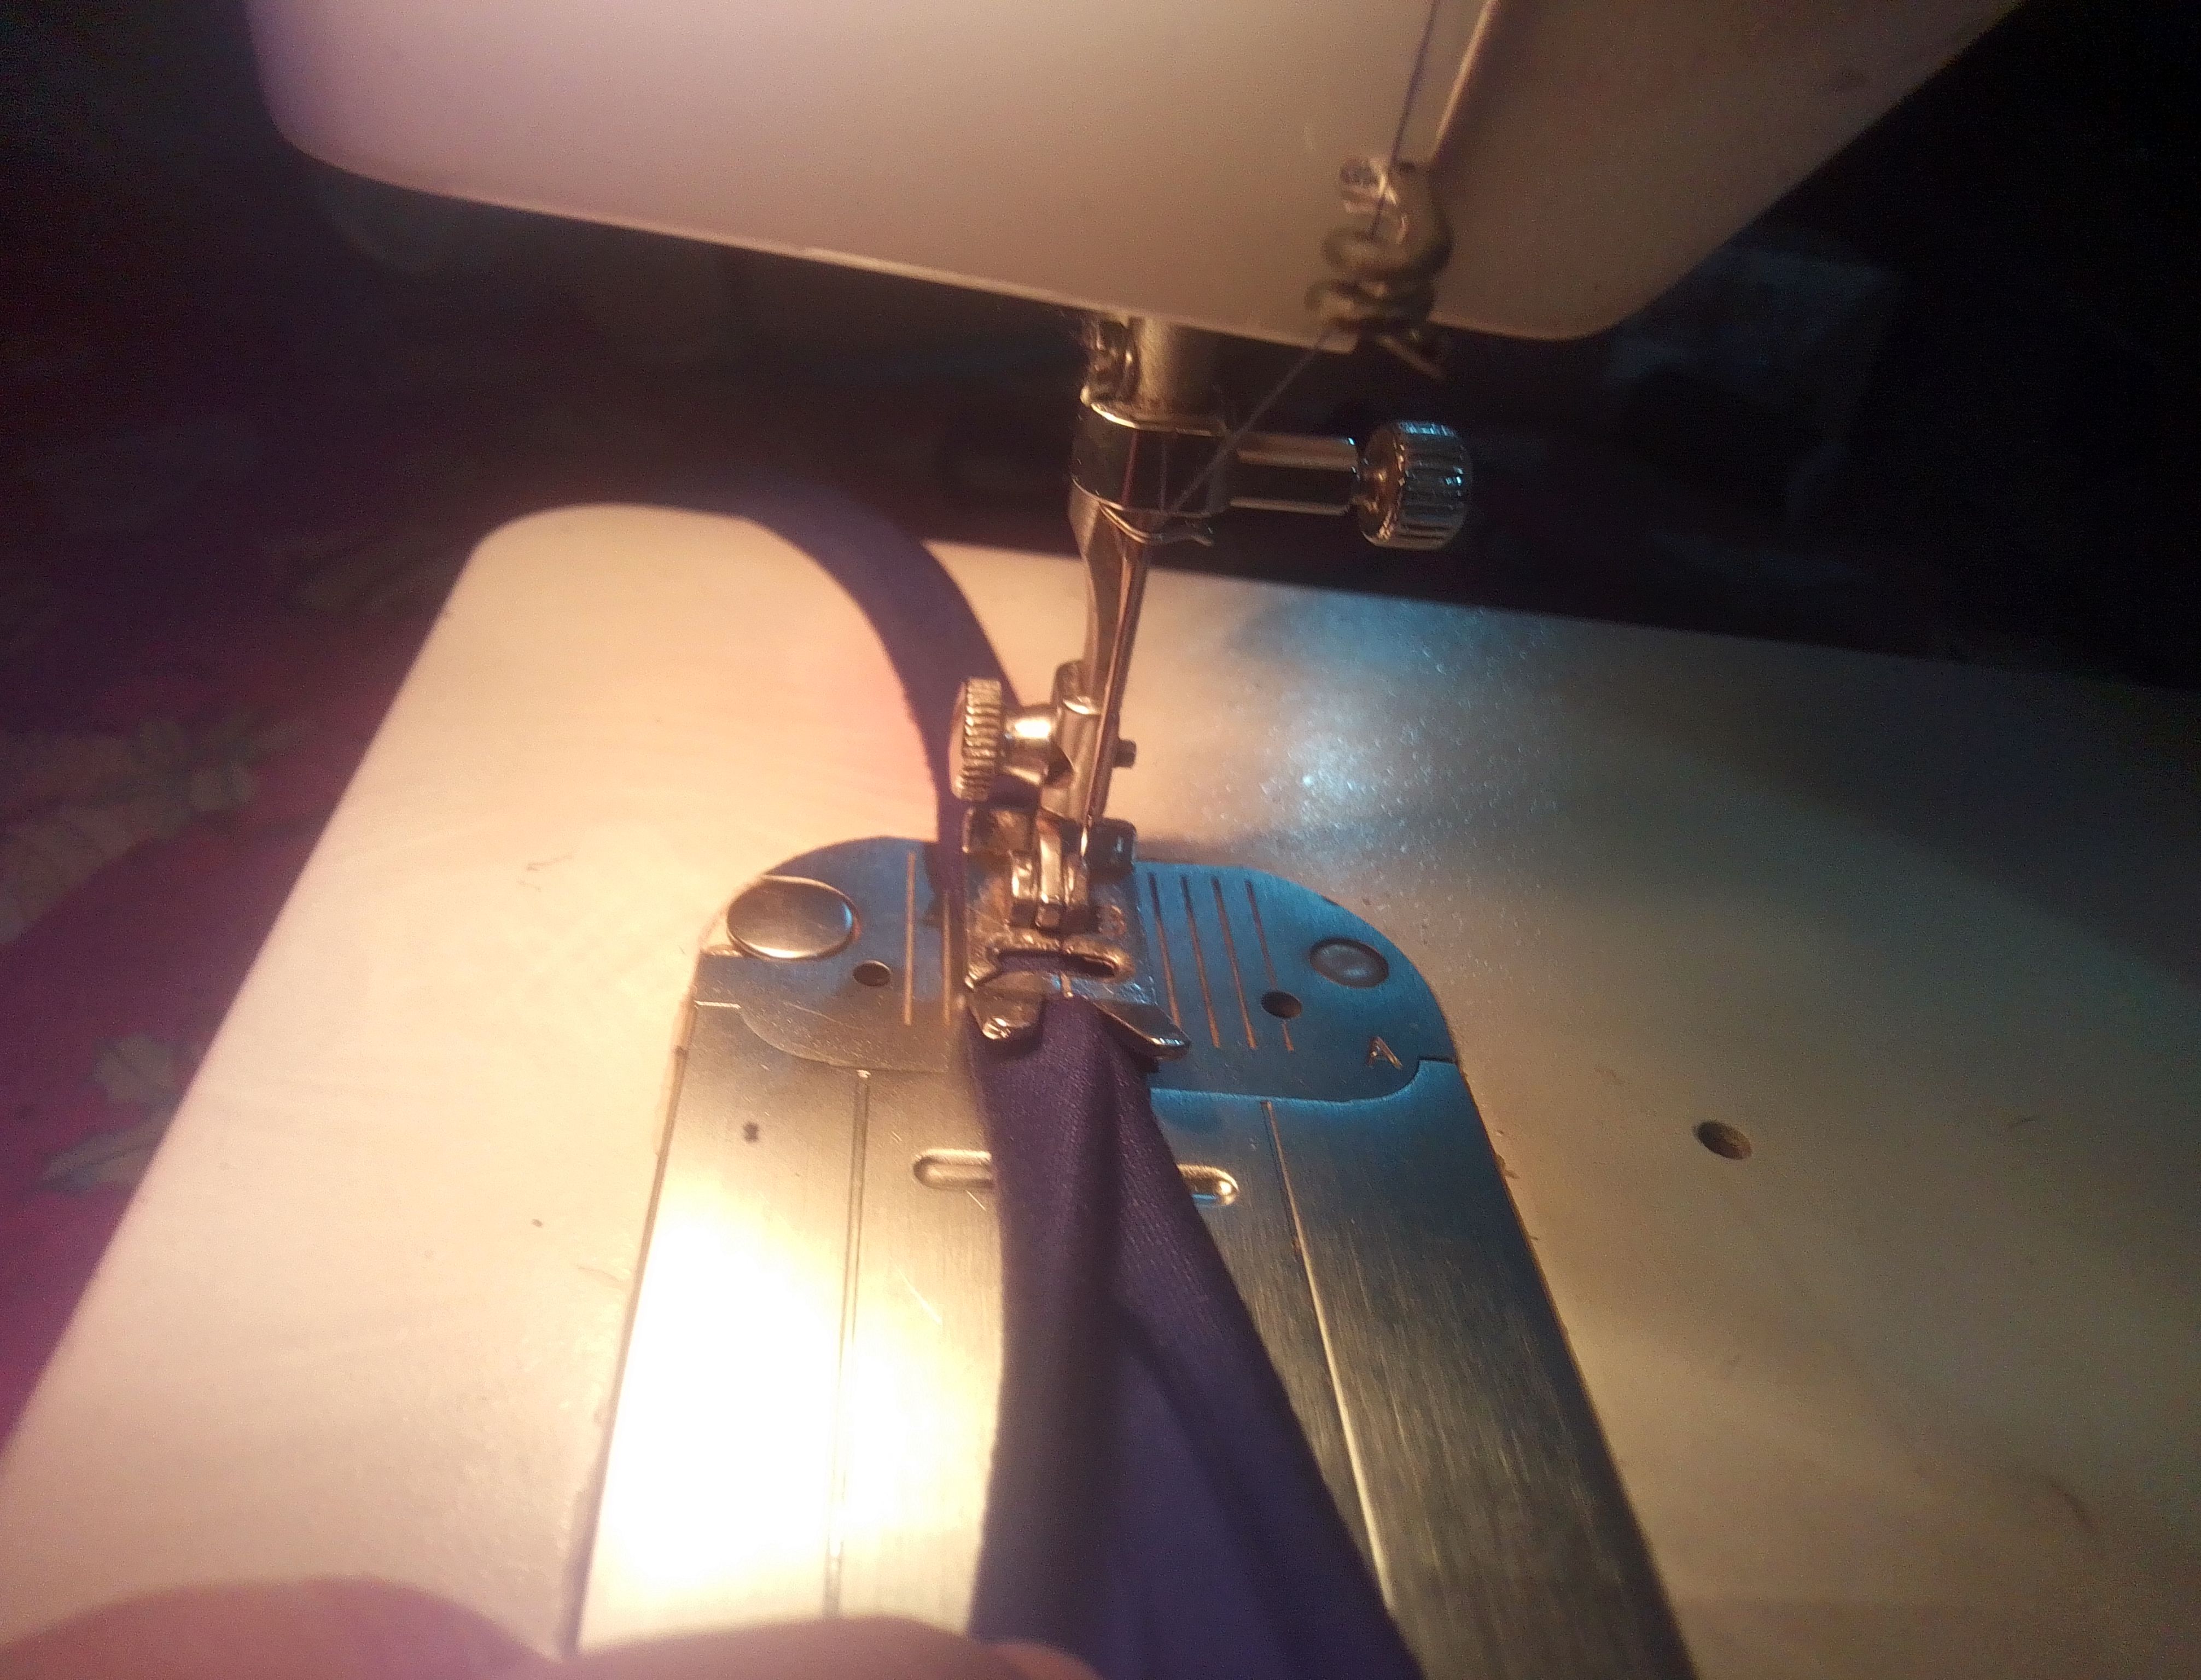
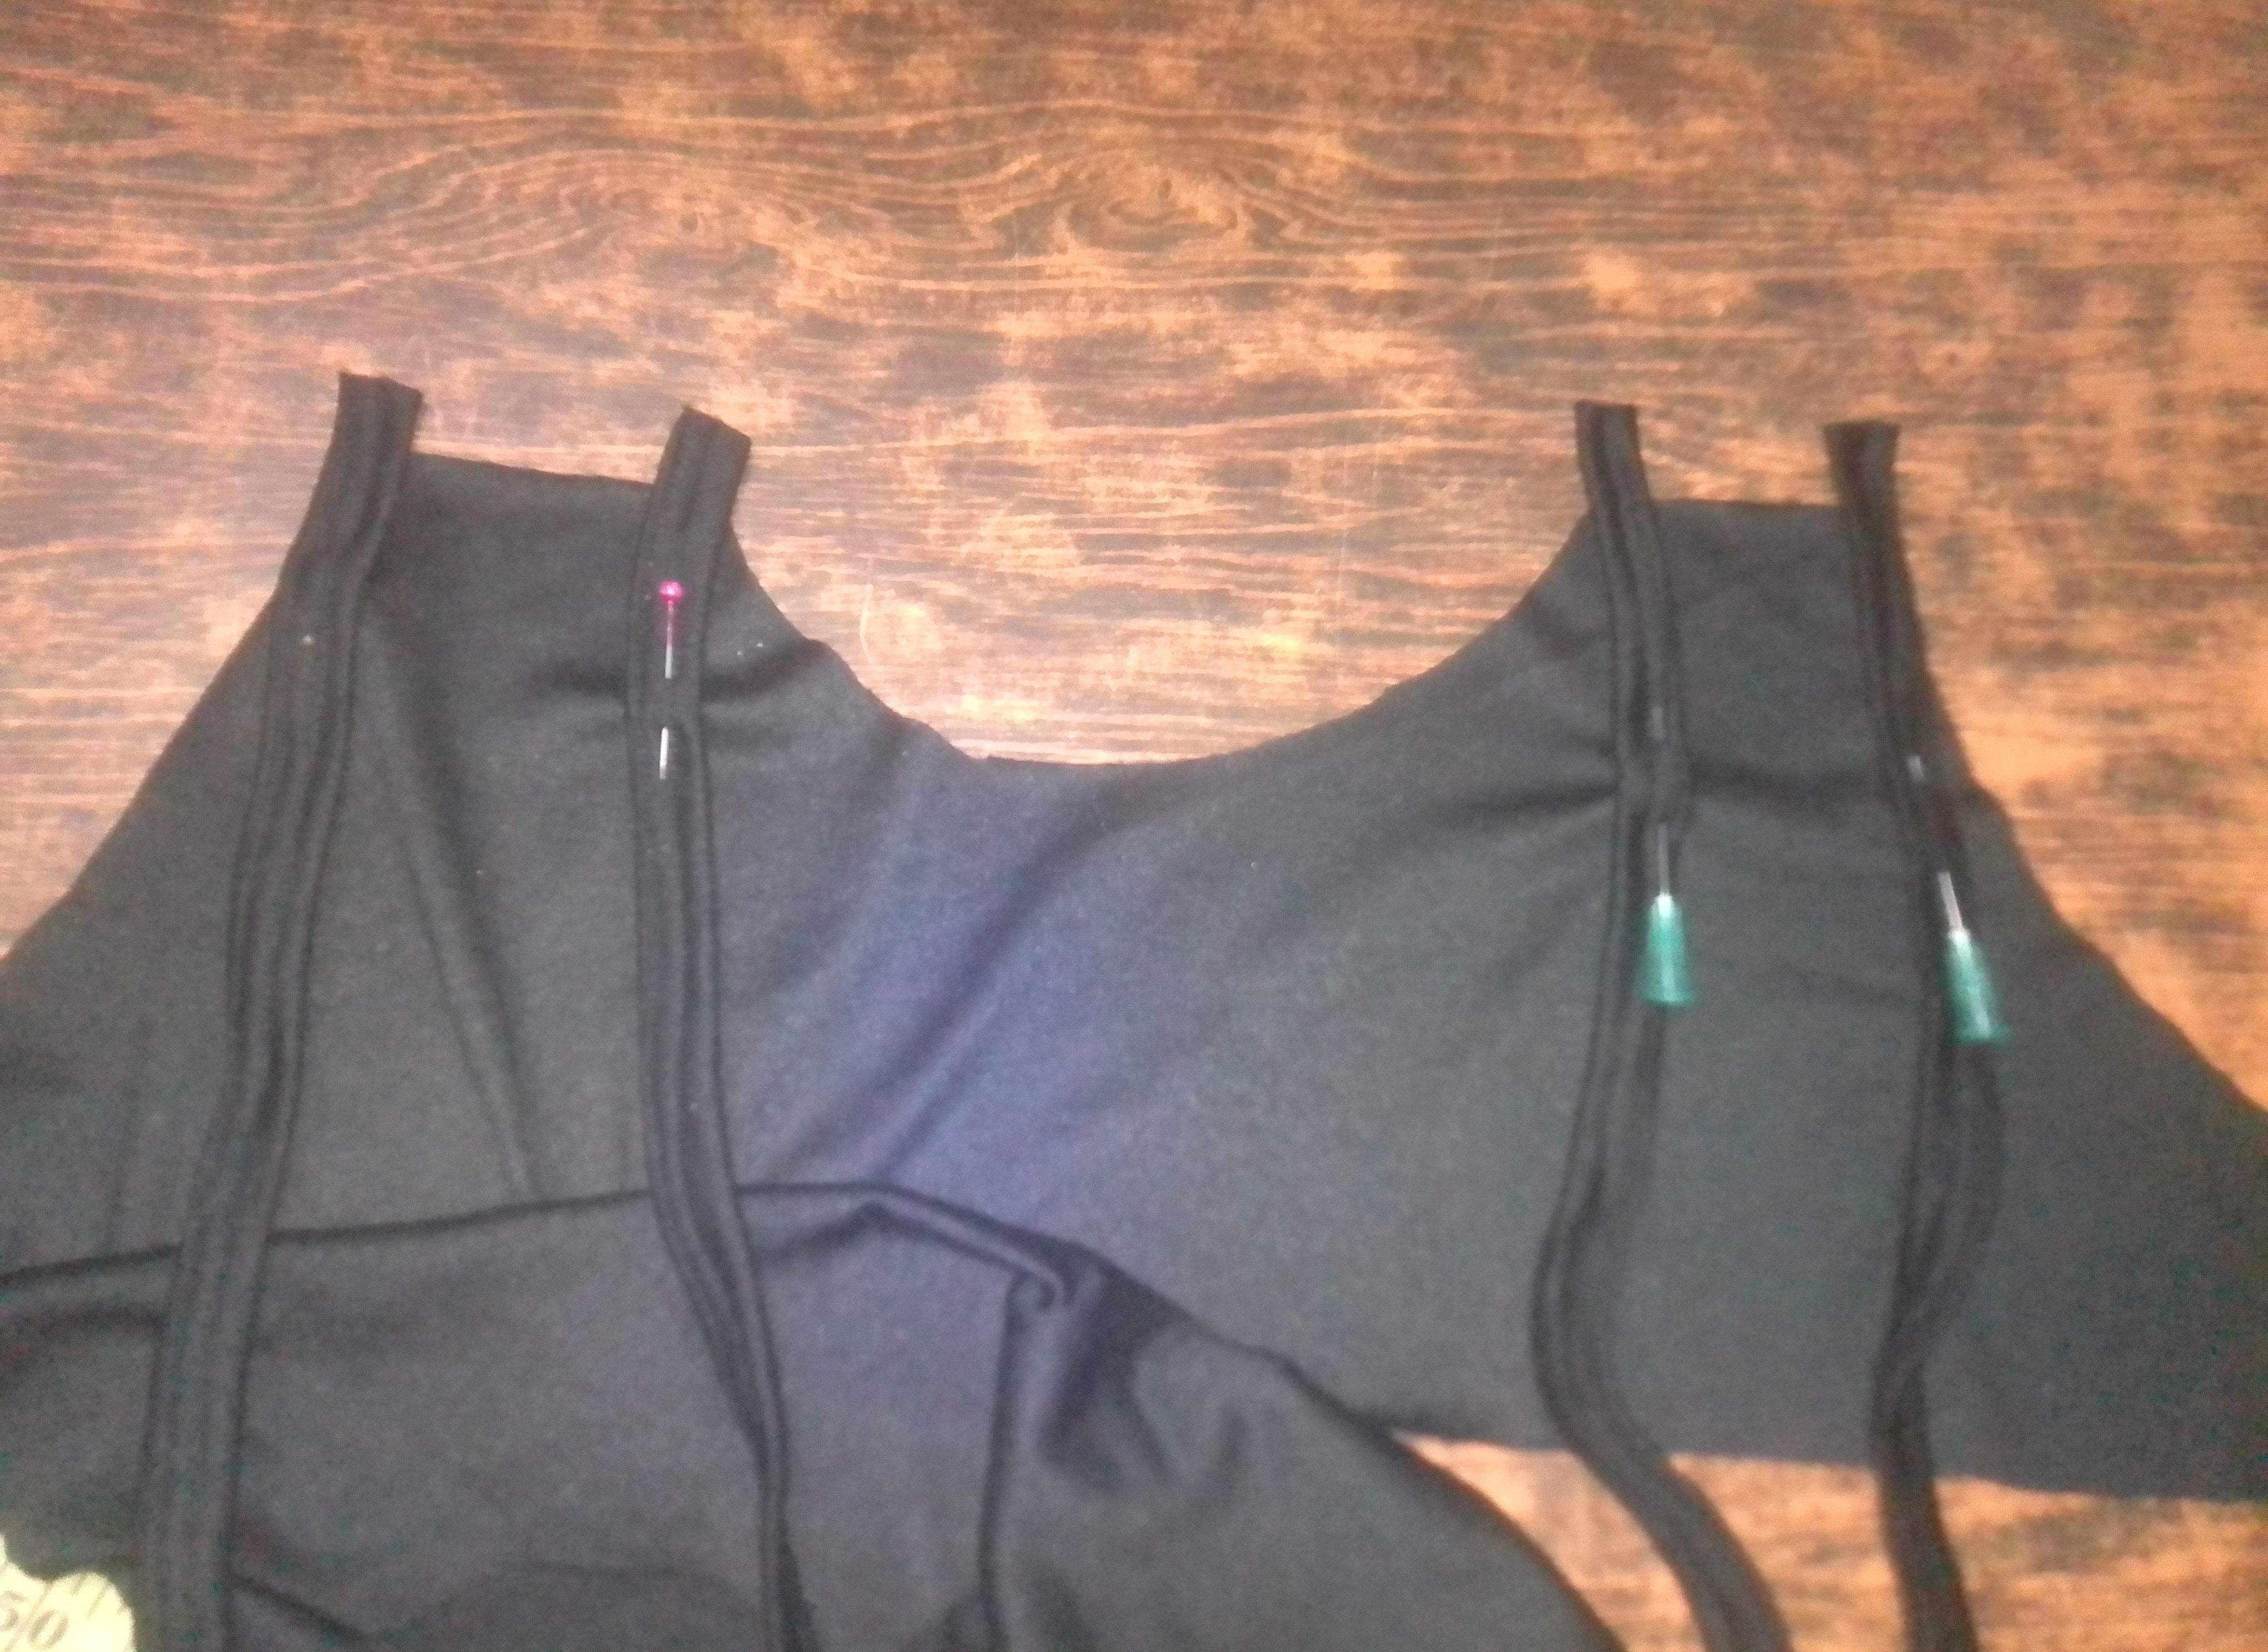
Al tener nuestra partes lista vamos a ubicar las piezas de foto junto a los tirantes por dentro en cada hombro. Utilizo alfileres para que estos no se muevan.. Luego voy hacer costura recta en toda la orilla uniendo la parte delantera al la tela de fondo. Pasamos a unir la parte trasera de la misma forma y volteamos para crear pespunte en el borde.. Terminamos uniendo los laterales y cosiendo el dobladillo inferior de toda la blusa.
🌟Step 03
Once we have our parts ready, we will place the photo pieces next to the straps on the inside of each shoulder. I use pins so that they don't move. Then I will sew a straight seam along the entire edge, joining the front part to the background fabric. We move on to join the back part in the same way and turn it over to create a topstitch on the edge. We finish by joining the sides and sewing the bottom hem of the entire blouse.
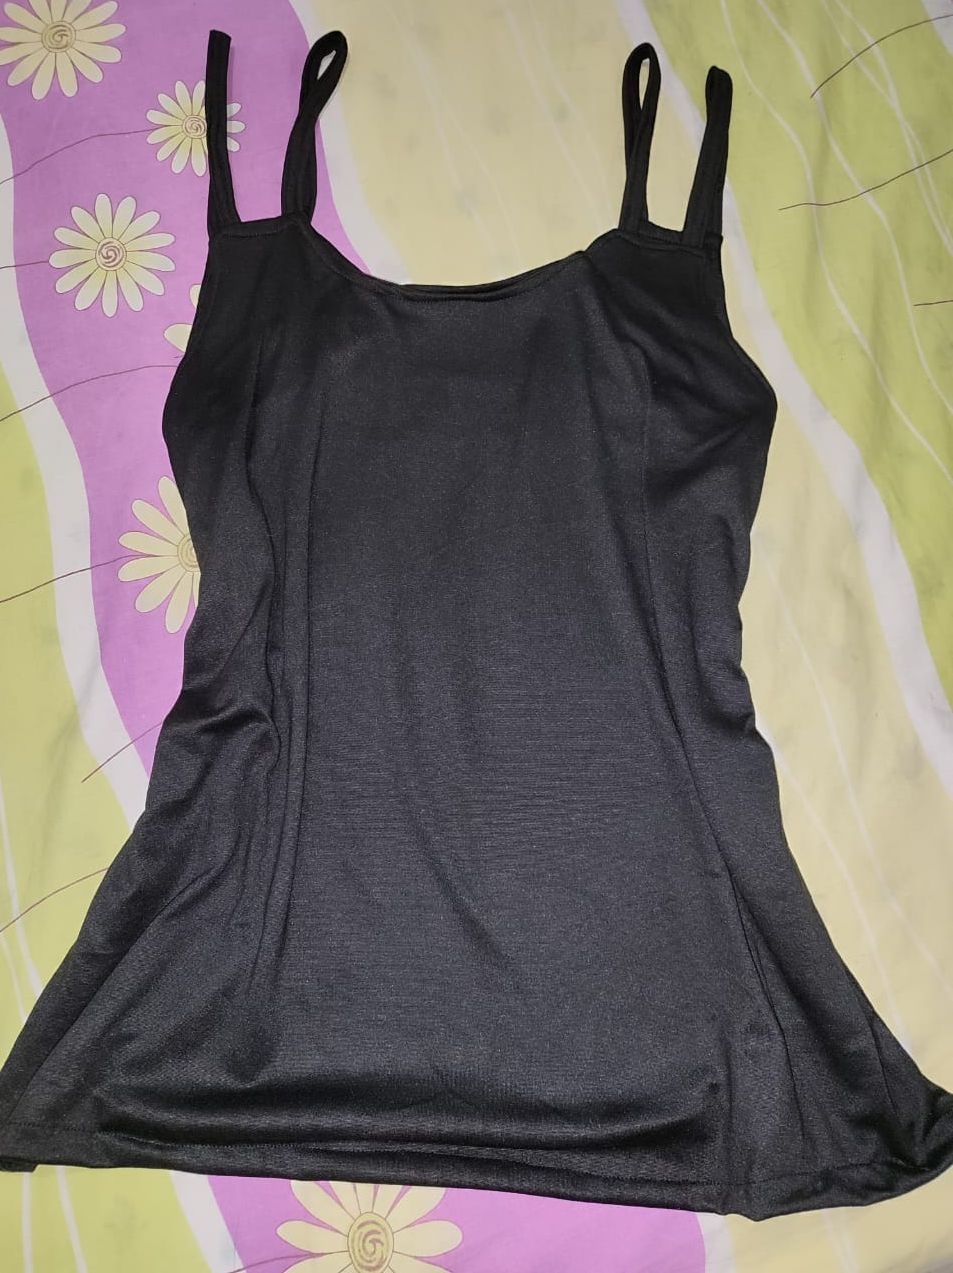
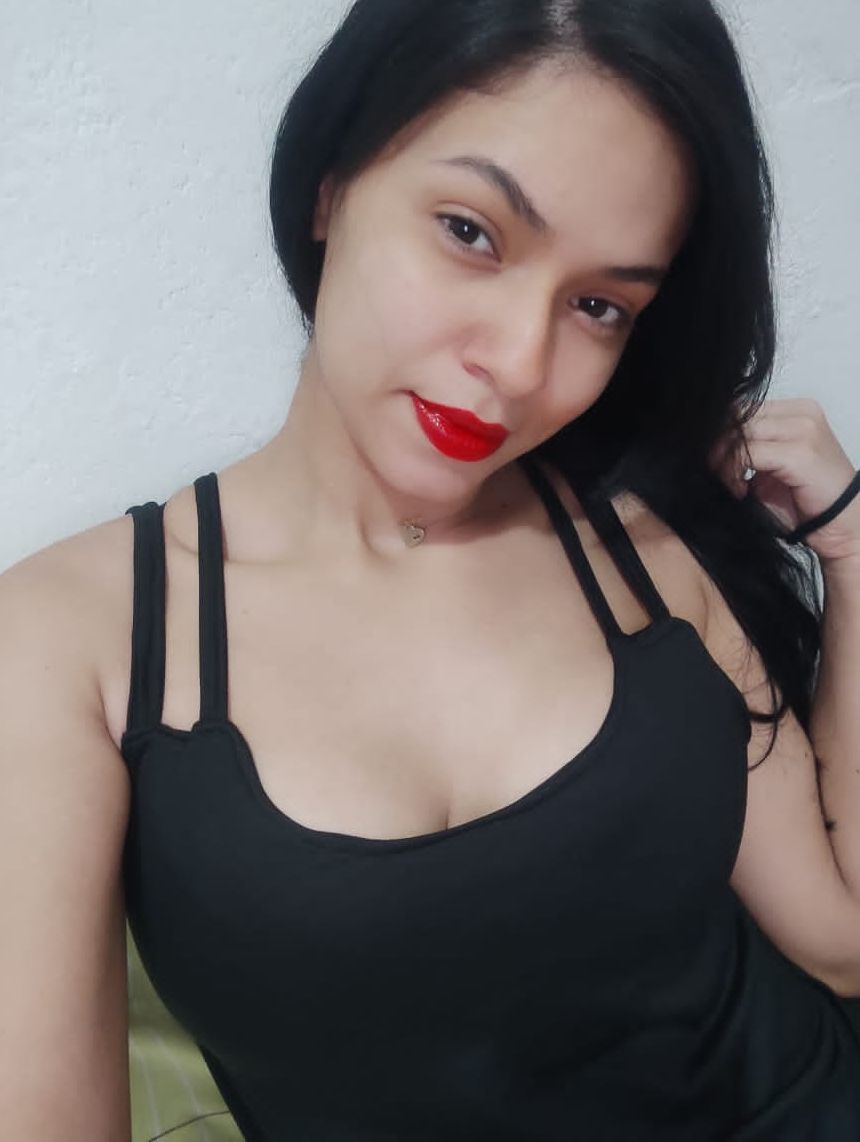
Resultado!
Resultado!
Result!
De esta manera a quedado este trabajo de costura de hoy, espero sea de su agrado y disfruten de el resultado.
This is how today's sewing work turned out, I hope you like it and enjoy the result.
Gracias por tomarte el tiempo de leer, apoyar y comentar.. Te deseo muchas bendiciones y un semana muy feliz.. Hasta pronto!
Thank you for taking the time to read, support and comment. I wish you many blessings and a very happy week. See you soon!

Wow! This is super creative! You are such a genius friend. Everything looks so balanced and beautiful. Thanks for sharing your work with us and cheers to more creative ideas.
Thank you very much for your words. It is a pleasure for me.
I know how pretty this double straps blouse is, some time ago I wanted to make one, but it didn't work out hahahaha now that I have more experience in sewing, I haven't thought of making it to see how it looks.
I'm sure it will be beautiful. Try it.
Oh, thank you very much, I hope so.😊
Oh that's really cute and beautiful. Wow.
Thanks very much.. 🥰😍
Sencilla pero muy bonita ,me gusta la parte de los tirantes 🥰saludos amiga 👋🏻🫂♥️
Gracias amiga.. 🤗🤗🤗