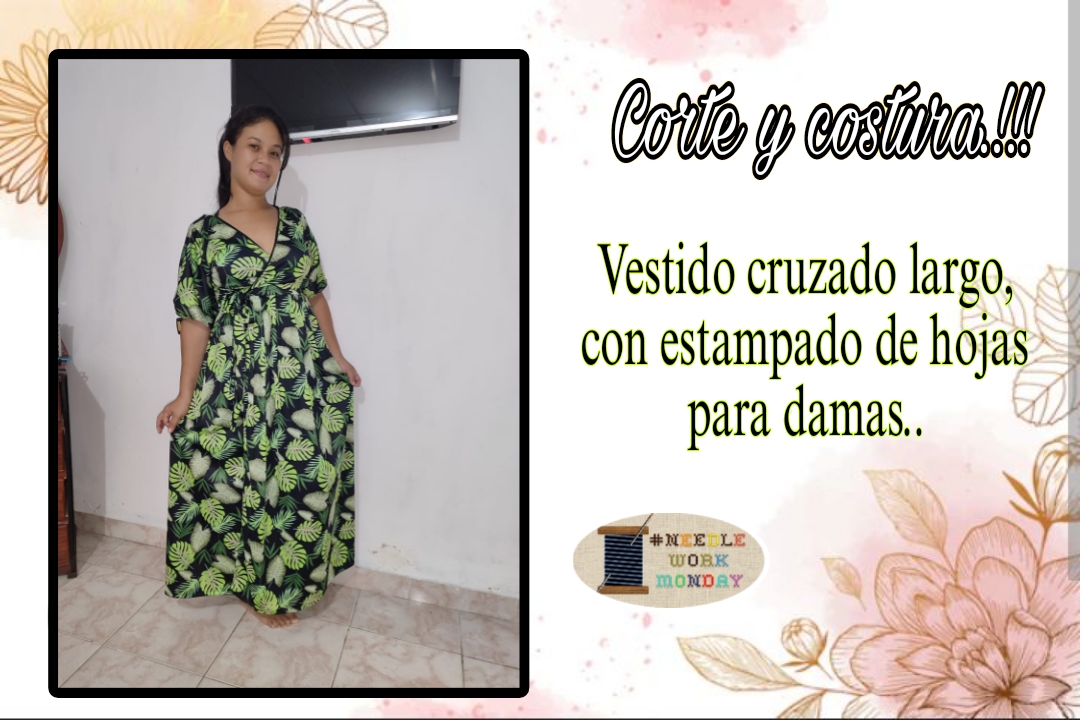
Y de repente llegó el último lunes del año y especialmente este día me siento tan feliz de pertenecer a esta comunidad, dónde puedo siempre mostrar mis trabajos y deleitarme aprendiendo todos los días con los de ustedes. Hoy les mando el más grande de los abrazos, agradeciendo a cada uno de ustedes por todo el cariño y apoyo, sean todos bienvenidos a un nuevo tutorial de corte y costura para damas.
En esta oportunidad les he traído la confección de una pieza bastante hermosa, un vestido largo cuyo escote lo hace su bello corte delantero con amarres de lado a lada, tiene mangas bombachas y y un bueno muy espectacular, de el color ni hablar, este estampado de hojas es súper llamativo y primaveral, ¡Lo amé!....Ya en otra ocasión había realizado un vestido cruzado, pero fué prácticamente una remodelación, debido a que nada más tuve que quitarle tamaño pues era muy grande para mí niña. En esta oportunidad me tocó empezar desde cero uno, y la verdad me encontraba muy nerviosa aunque tenía en claro el diseño para dar cada paso, sin embargo nosotras no dejamos de sentir nervios hasta que no vemos el trabajo finalizado, sobre todo si la pieza se trata de un encargo, gracias a Dios no hubieron percances y todo salió muy bien. Acompañame te muestro el paso a paso.
And suddenly the last Monday of the year arrived and especially this day I feel so happy to belong to this community, where I can always show my work and delight in learning every day with yours. Today I send you the biggest hug, thanking each one of you for all the love and support, everyone welcome to a new cutting and sewing tutorial for ladies.
On this occasion I have brought you the making of a quite beautiful piece, a long dress whose neckline is made by its beautiful front cut with ties from side to side, it has puffy sleeves and a very spectacular well Not to mention the color, this leaf print is super striking and spring-like, I loved it!... On another occasion I had made a wrap dress, but it was practically a remodel, because I just had to take a size down Well it was too big for me little girl. On this occasion I had to start from scratch, and the truth is I was very nervous although I had a clear design to take each step, however we do not stop feeling nervous until we see the finished work, especially if the piece is It is an assignment, thank God there were no mishaps and everything went very well. Come with me, I'll show you step by step.
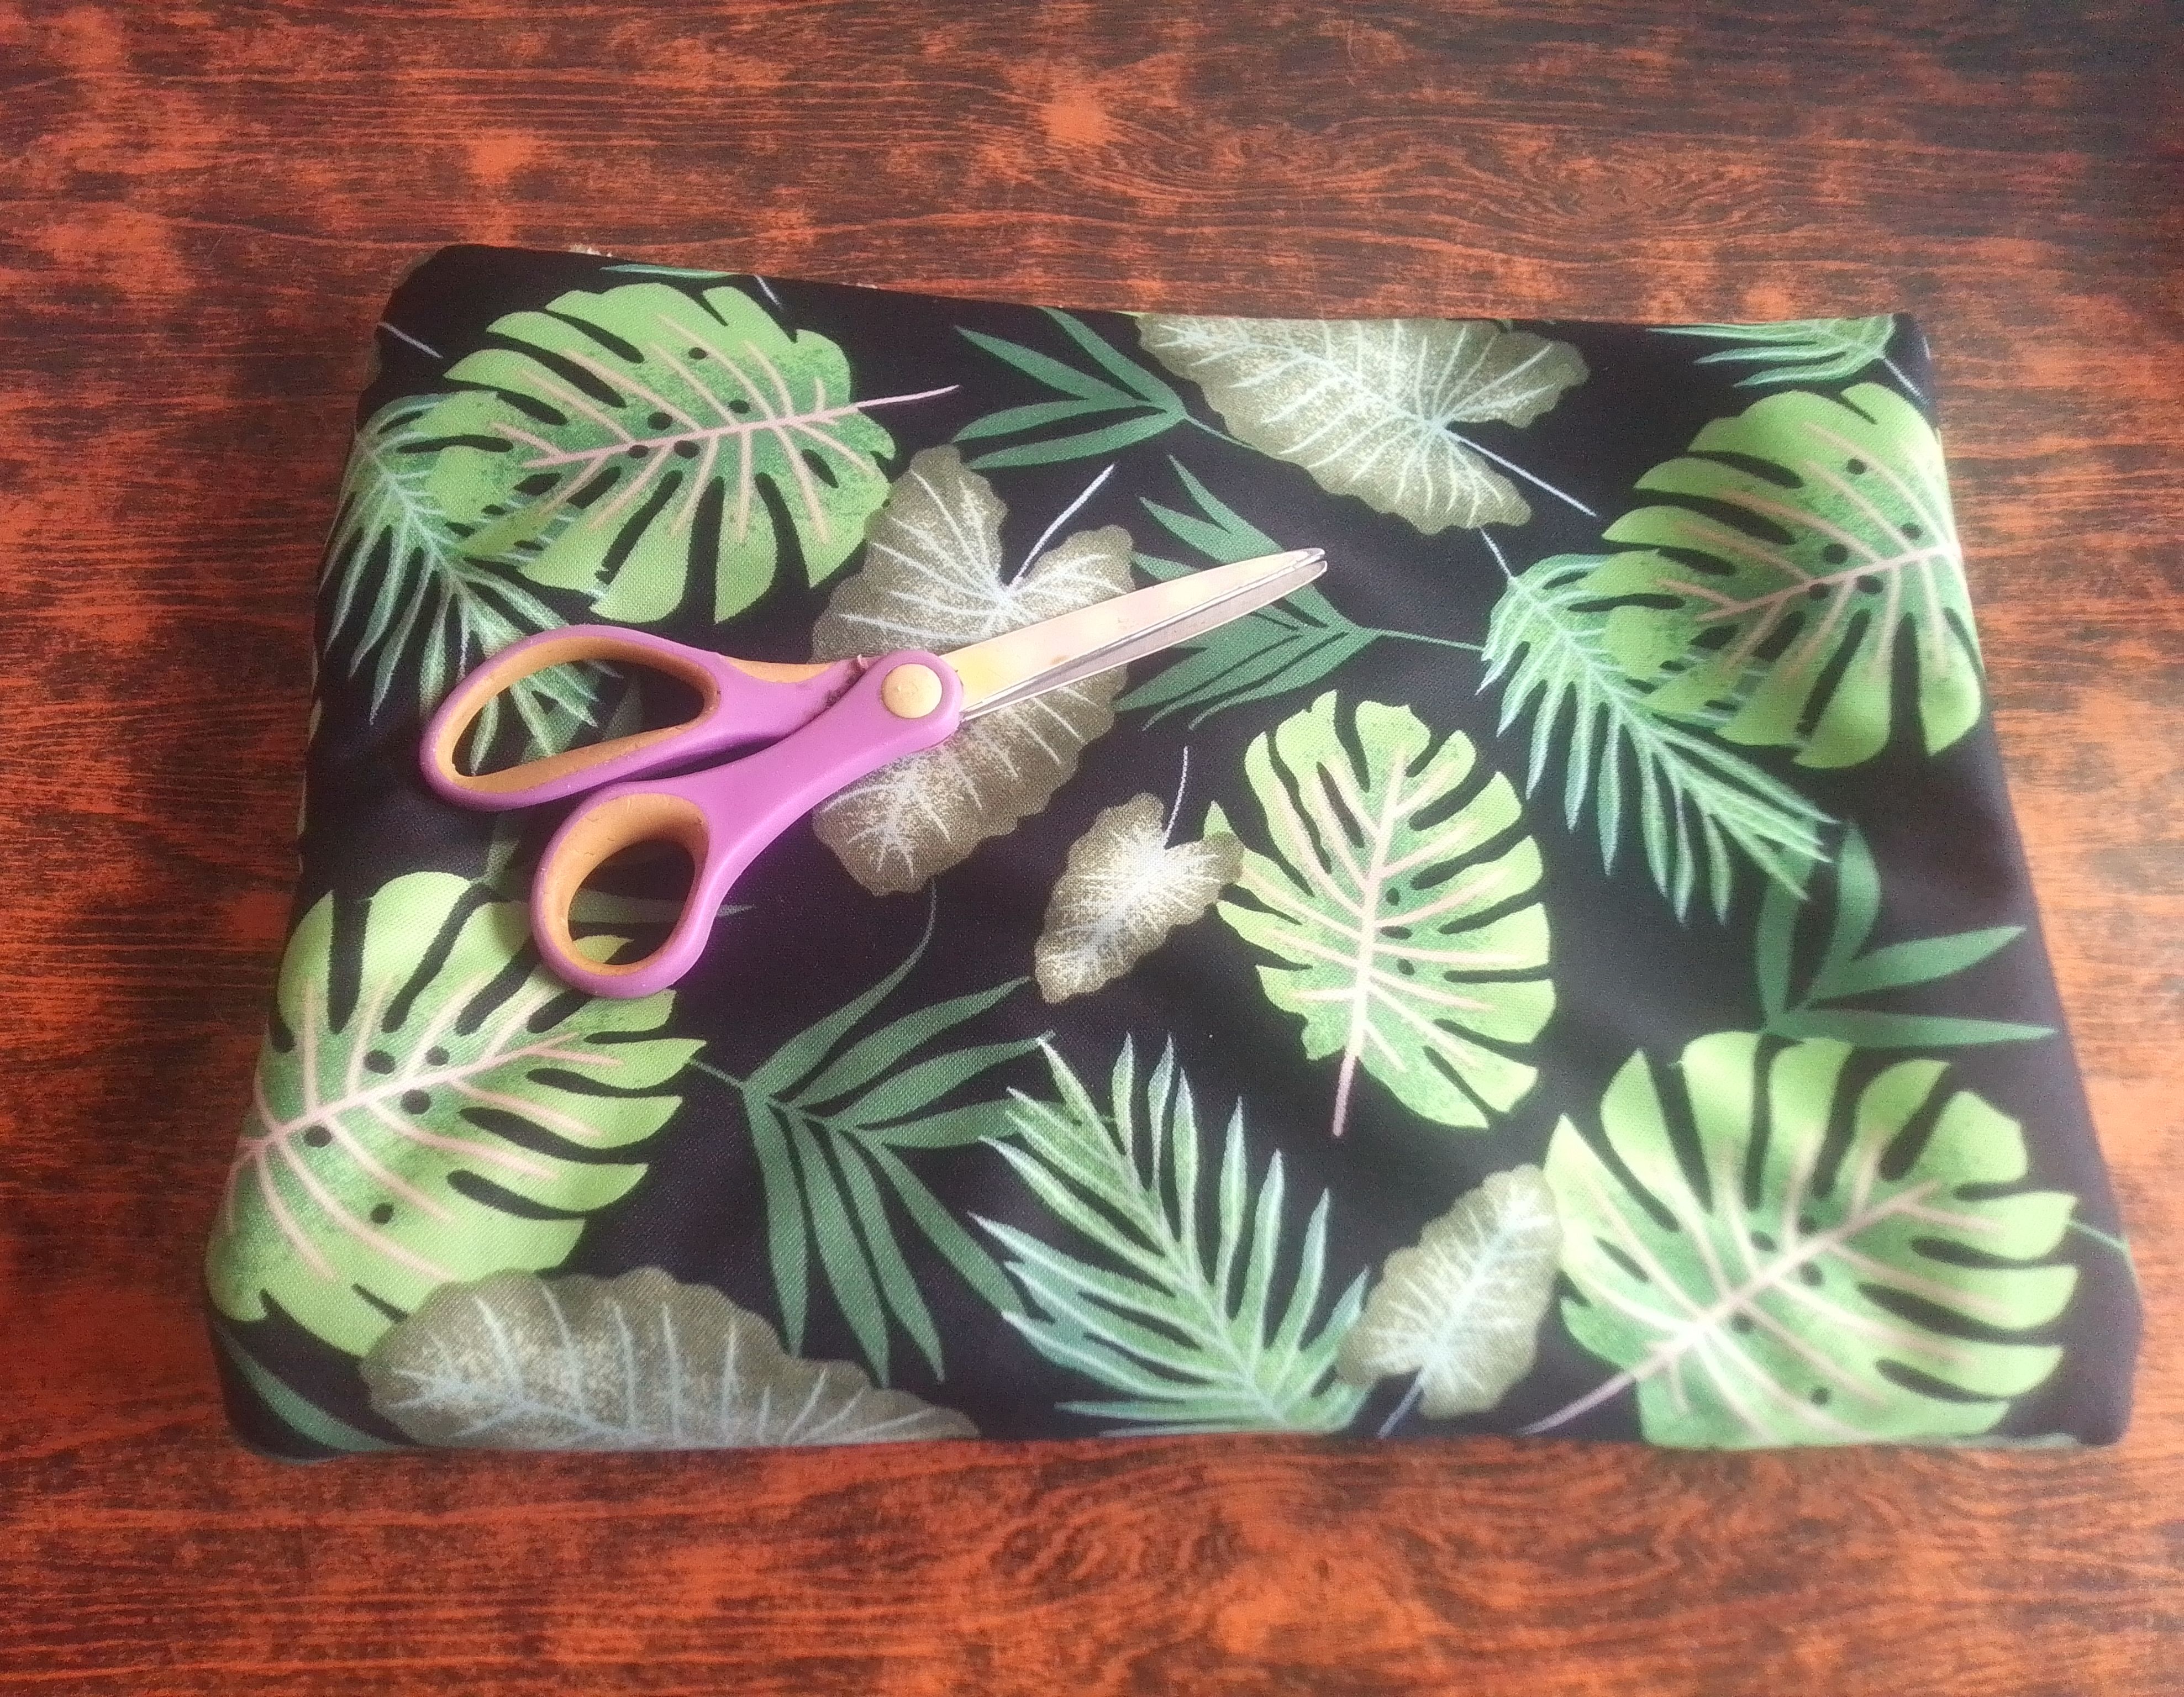
Materiales que necesitas:
- Tela Spandex licra .
- Tijeras.
- Hilo y aguja.
- Máquina de coser.
- Elástica fina.
- Spandex lycra fabric.
- Scissors.
- Thread and needle.
- Sewing machine.
- Fine elastic.
(PROCEDIMIENTO)
Paso 01
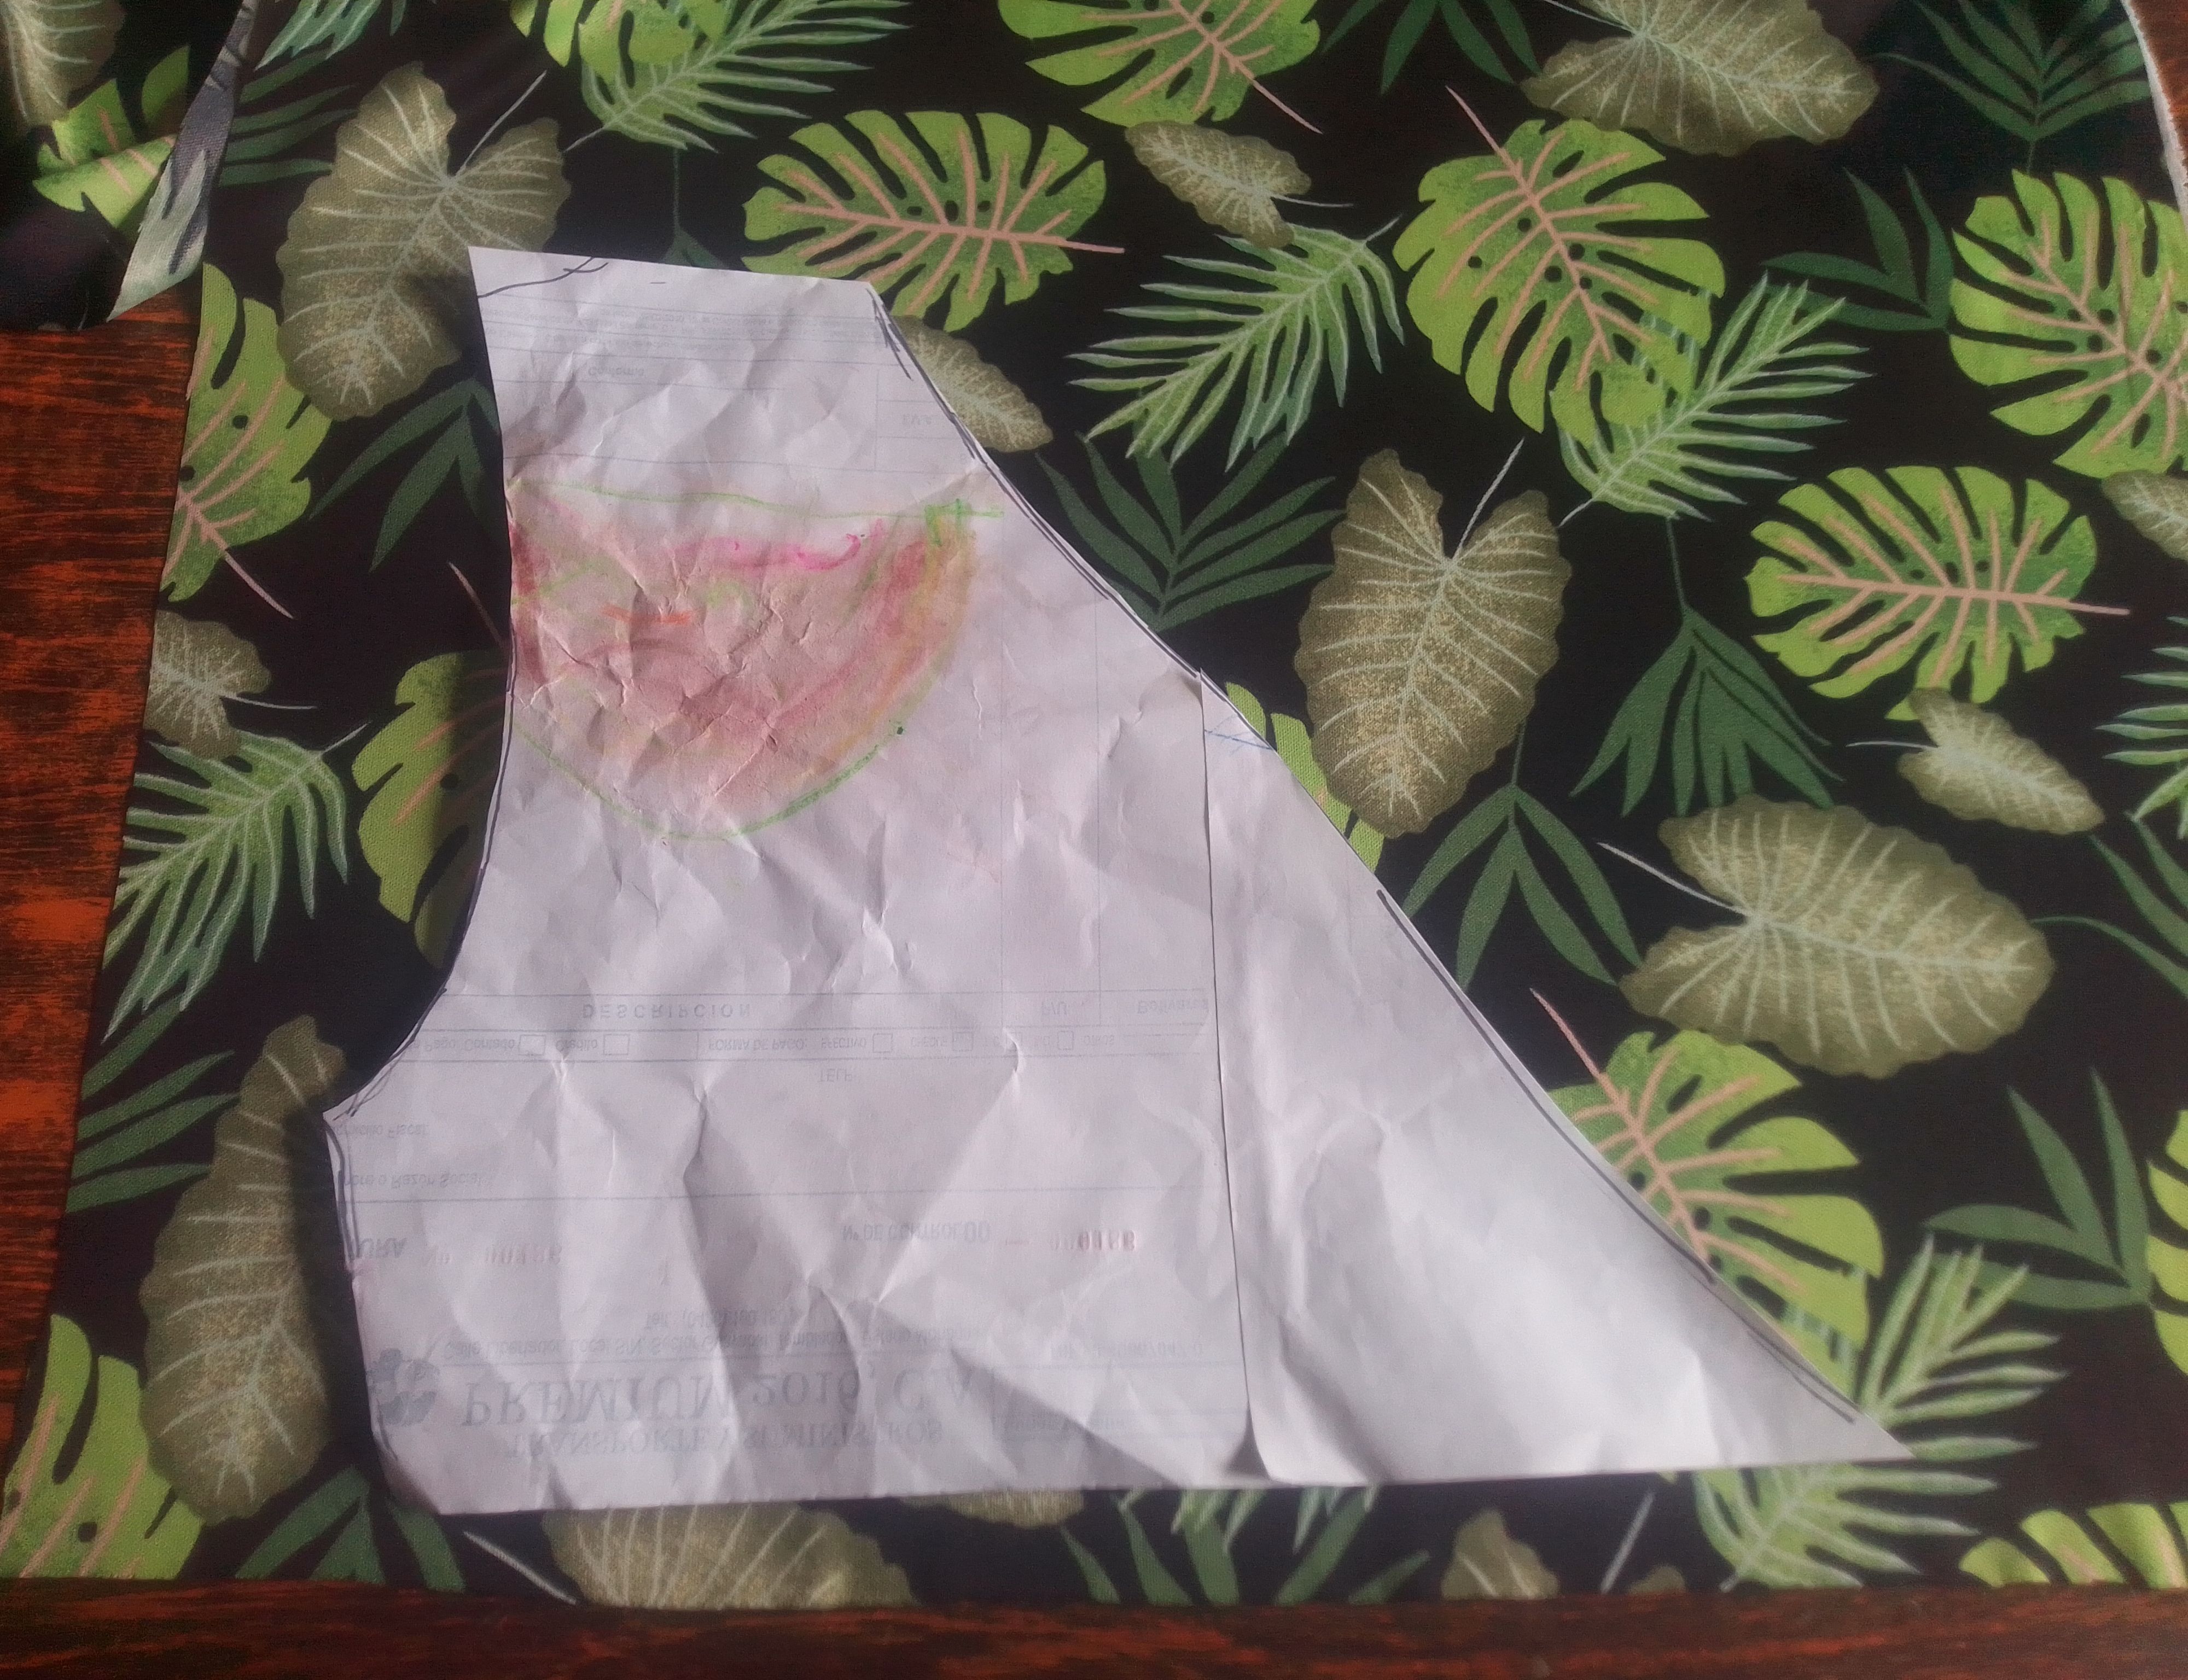
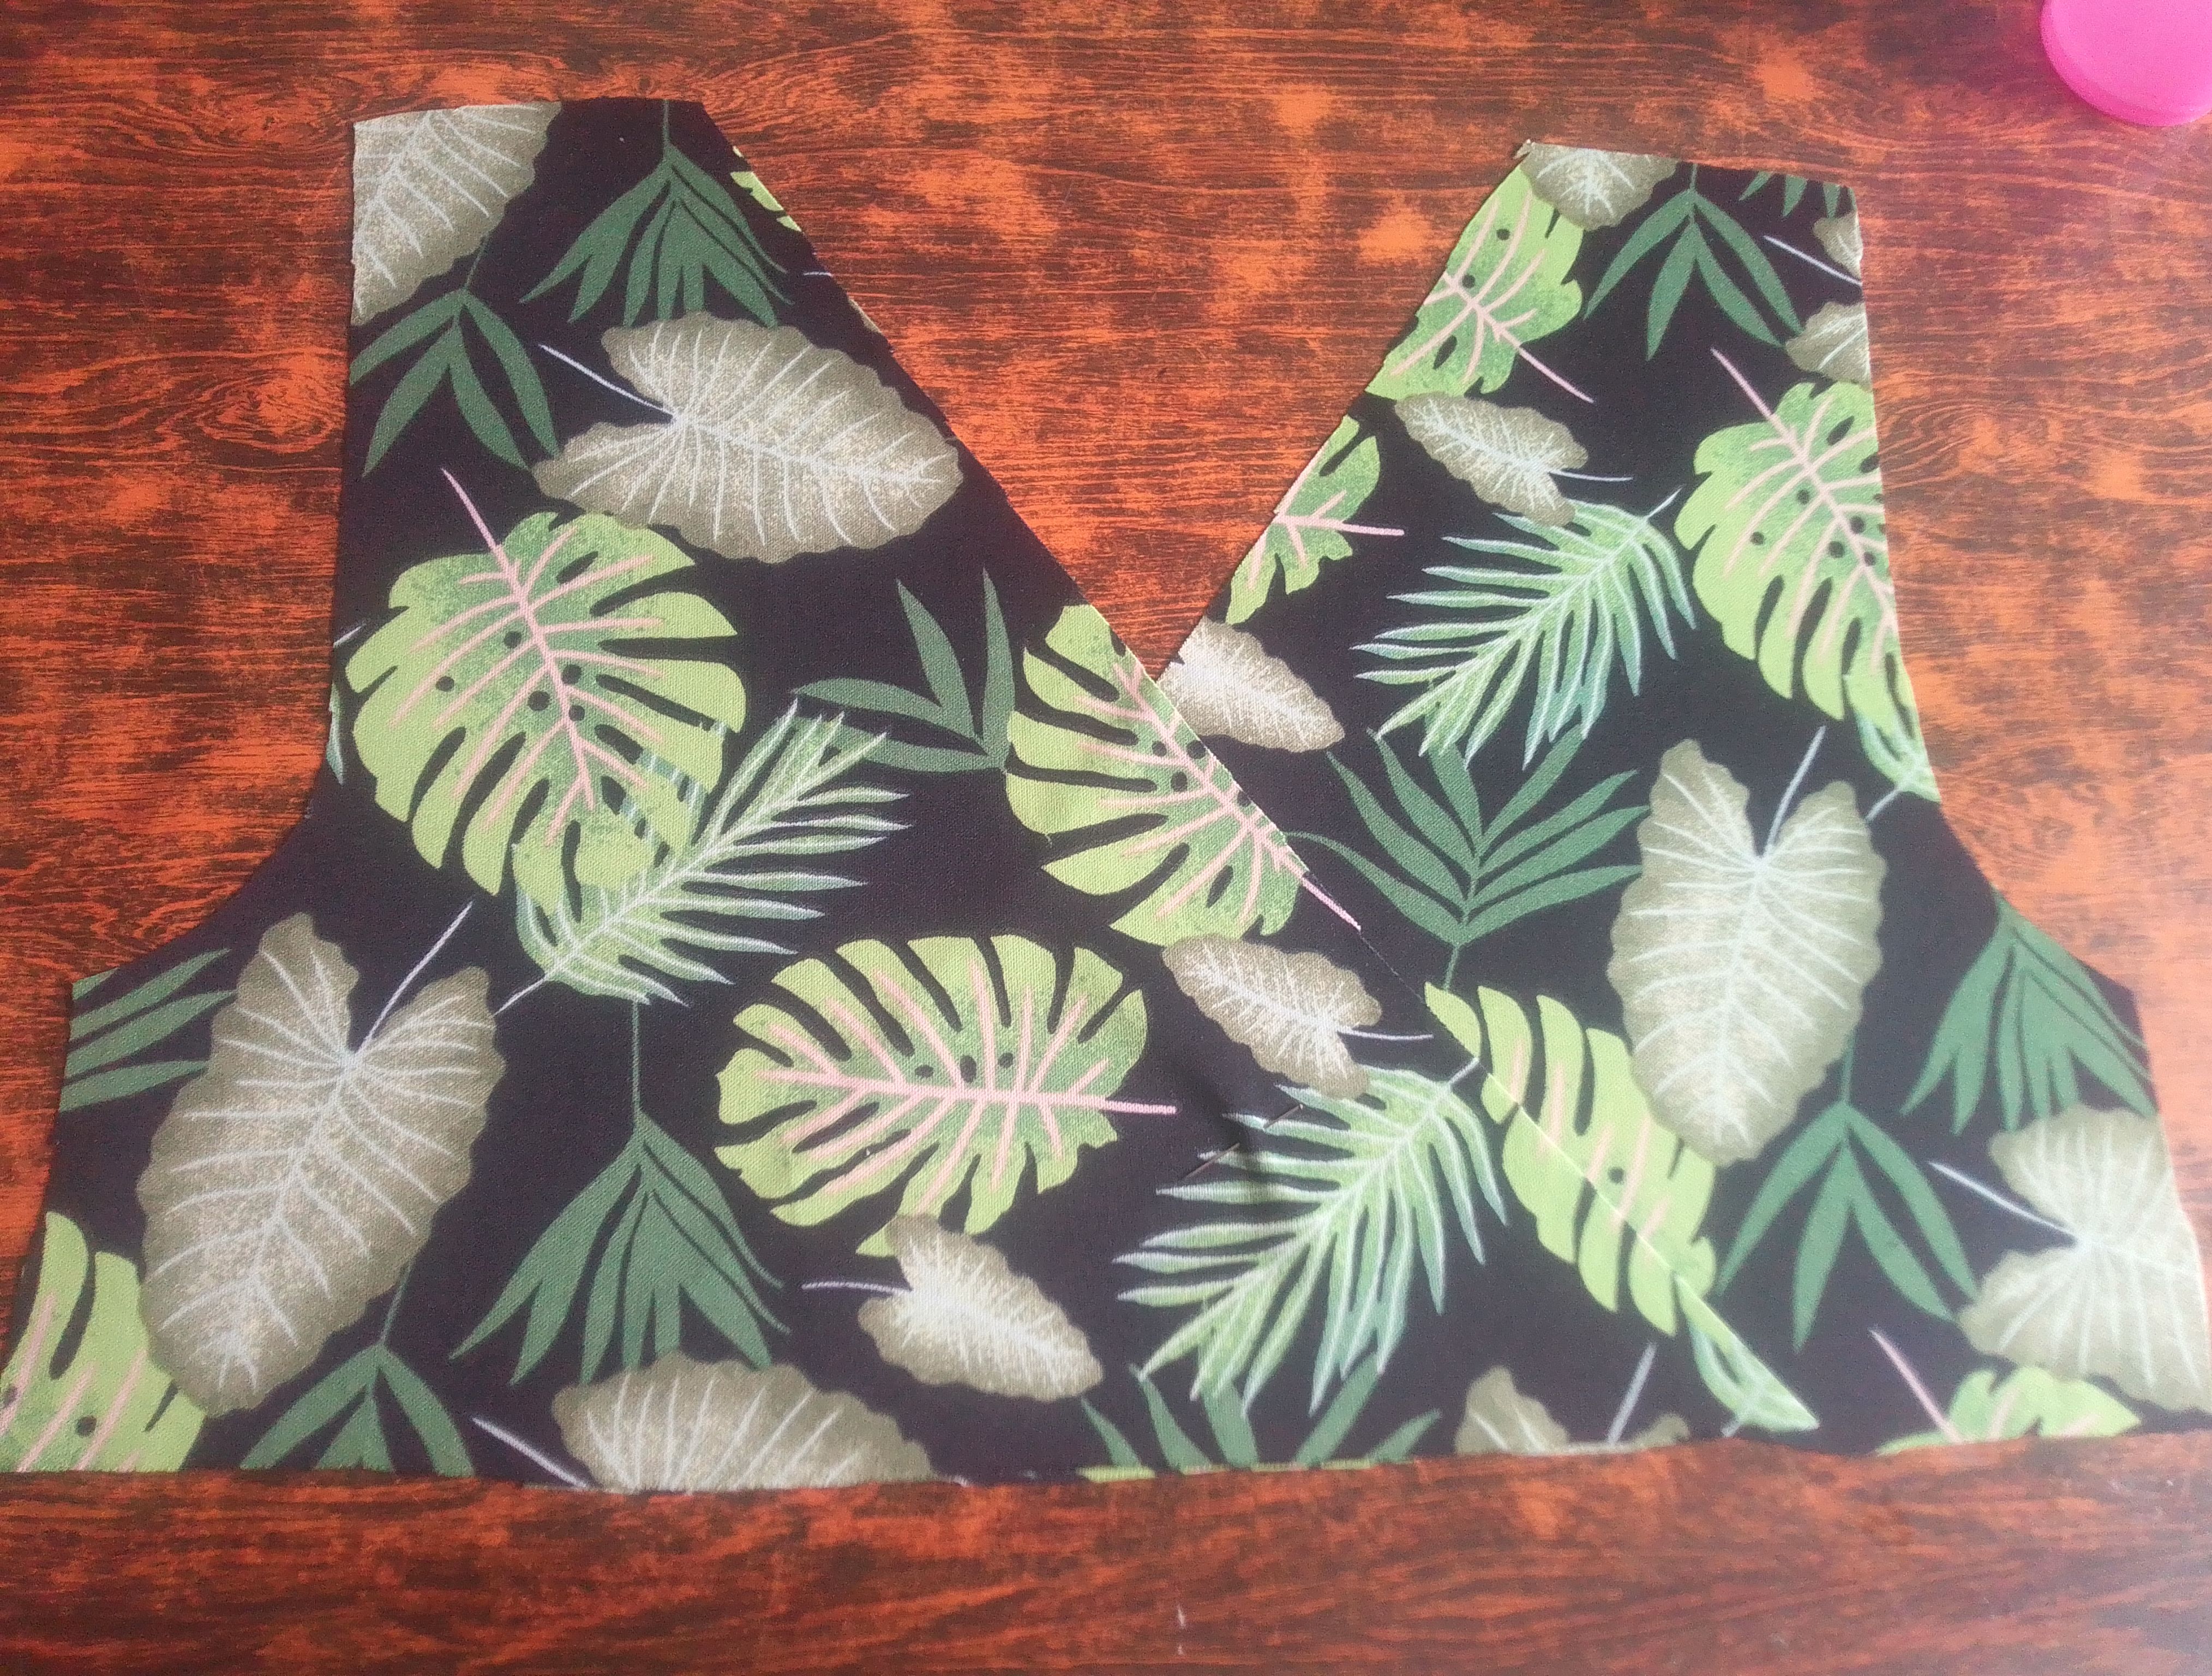
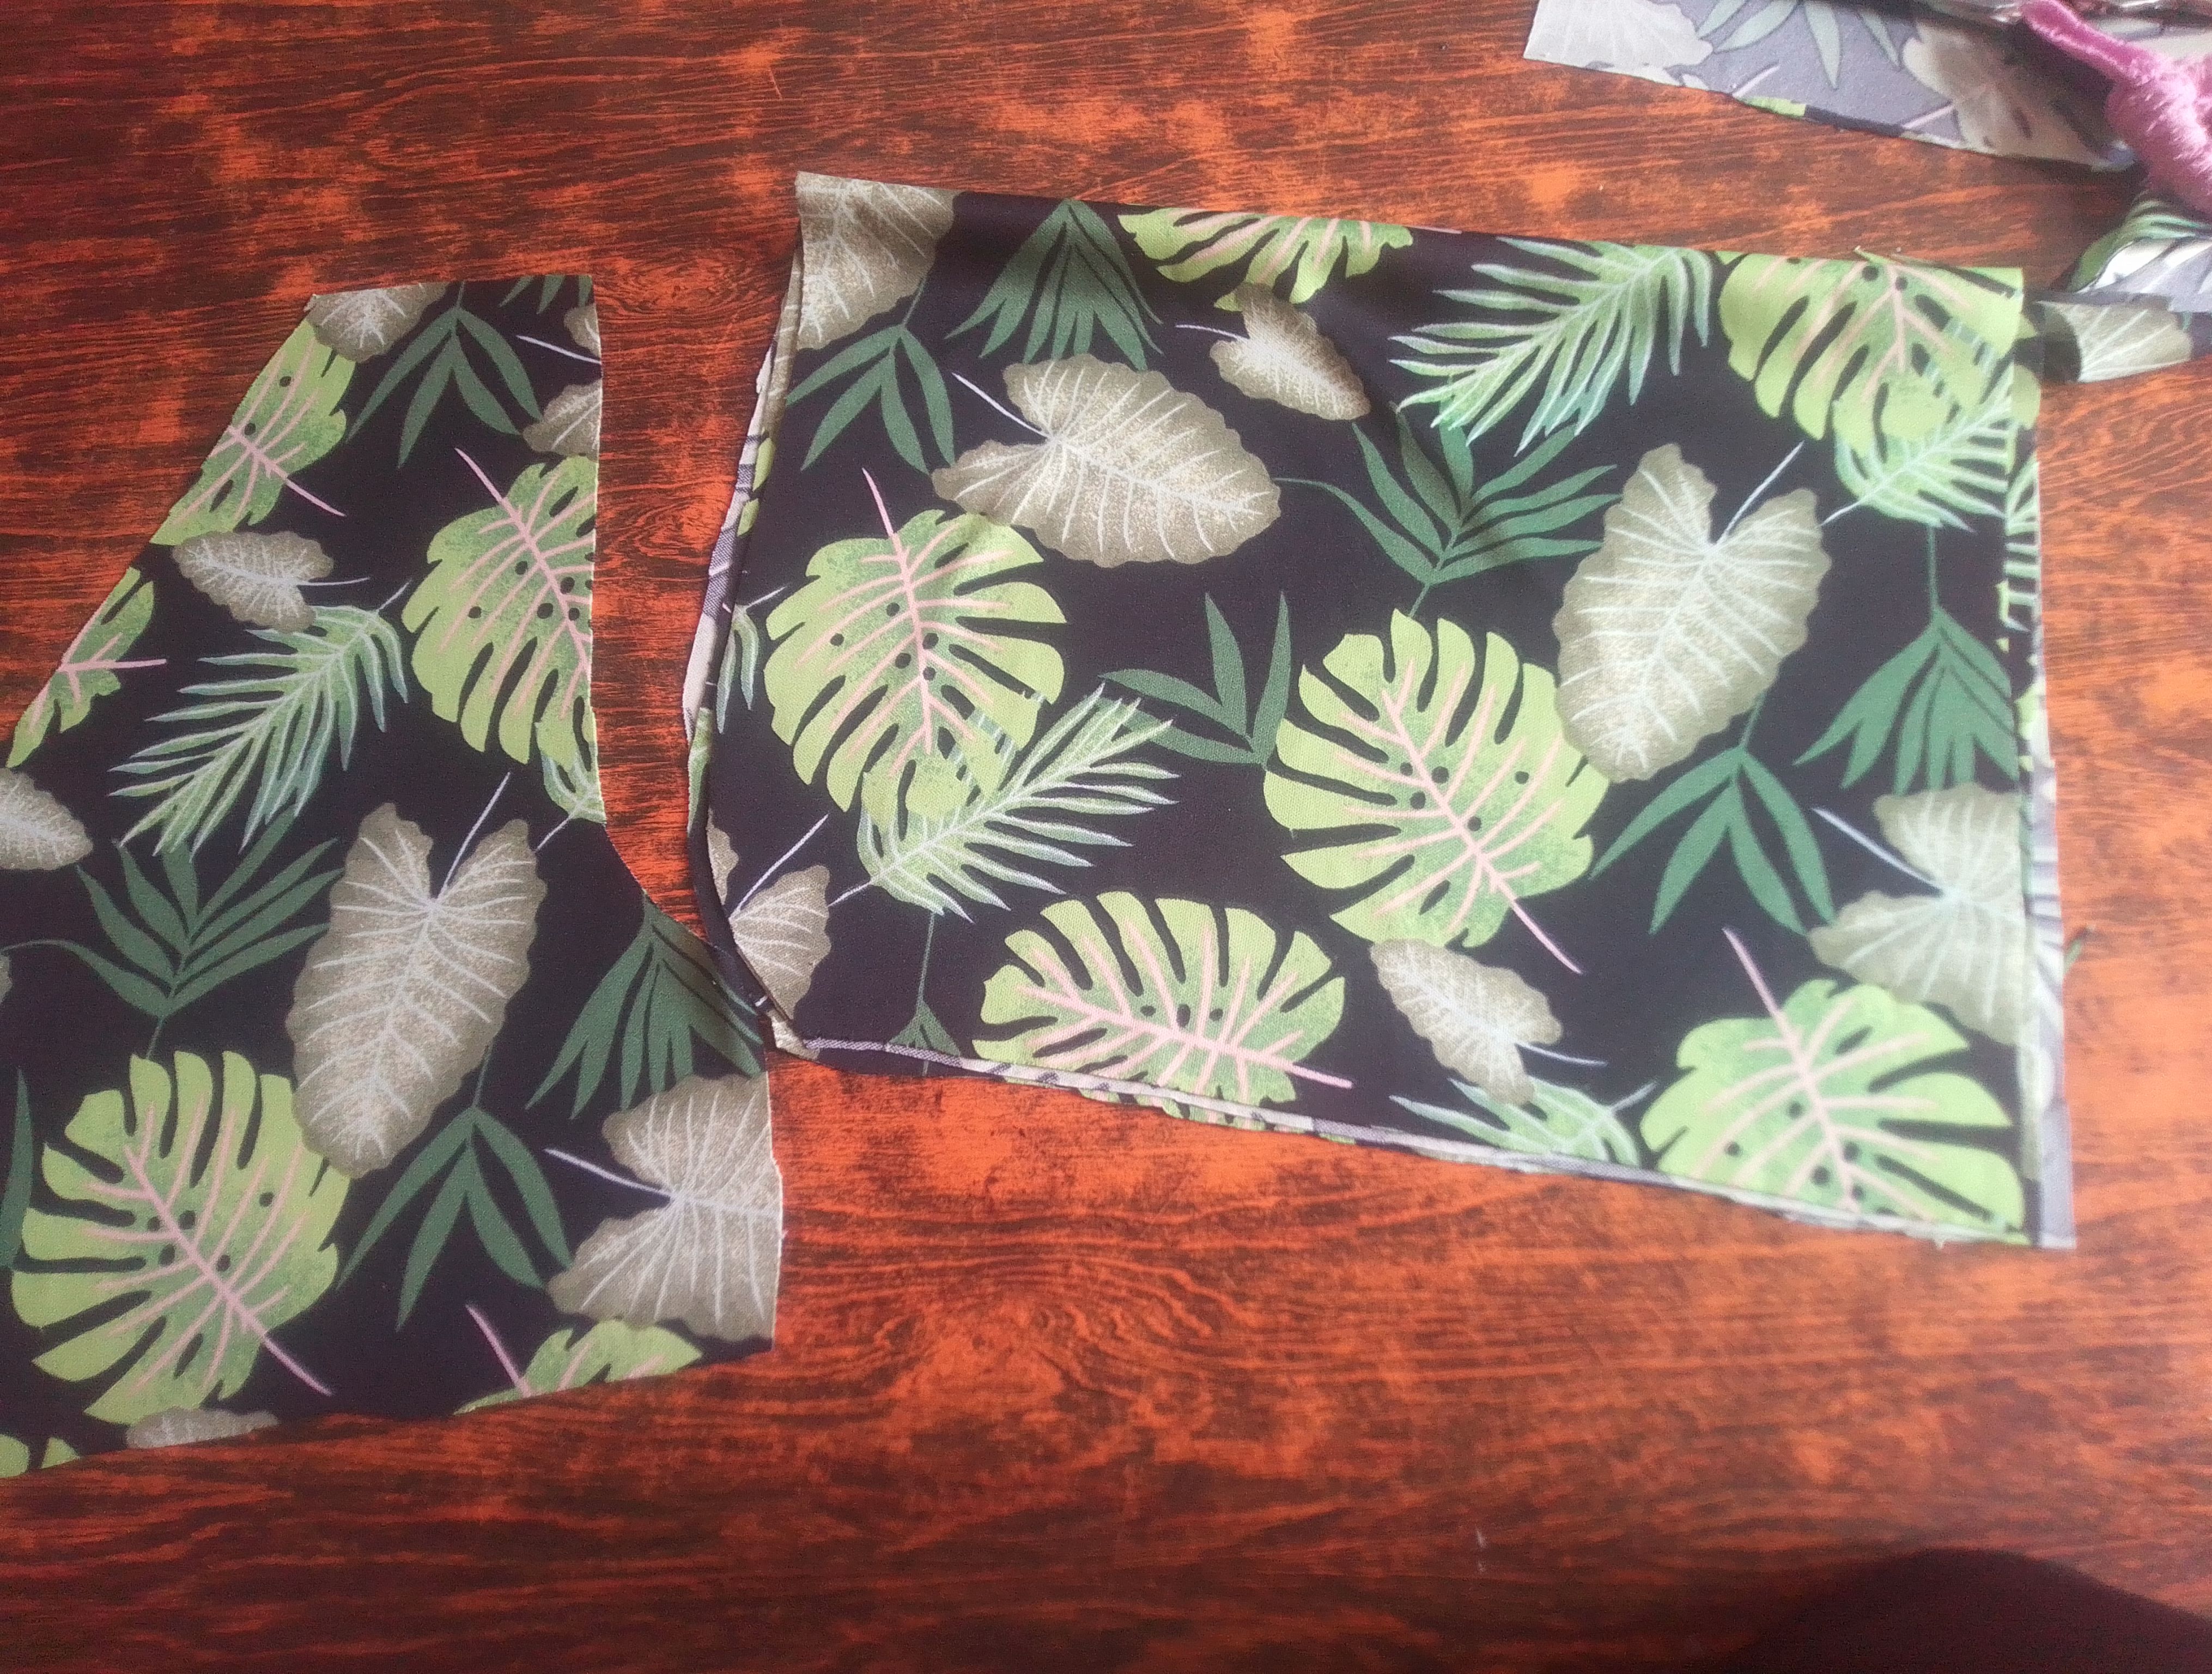
En este proyecto si se me hizo necesario hacer un pequéño patrón de las medidas delanteras y traseras de la damas, sobre todo de la sisa y busto. Así que con mis medidas tomadas que son aproximadamente una talla M, las transferí a la tela simple dos veces, una para el busto derecho y otra para el izquierdo, con estas piezas juntas corté el tamaño la parte trasera completa. También corte ambas mangas 3/4 un poco anchas en la zona inferior, es decir, la del antebrazo.
Step 01
In this project I found it necessary to make a small pattern of the front and back measurements of the ladies, especially the armhole and bust. So with my measurements taken which are approximately a size M, I transferred them to the plain fabric twice, once for the right bust and once for the left, with these pieces together I cut the entire back to size. I also cut both 3/4 sleeves a little wide in the lower area, that is, the forearm.
Paso 02
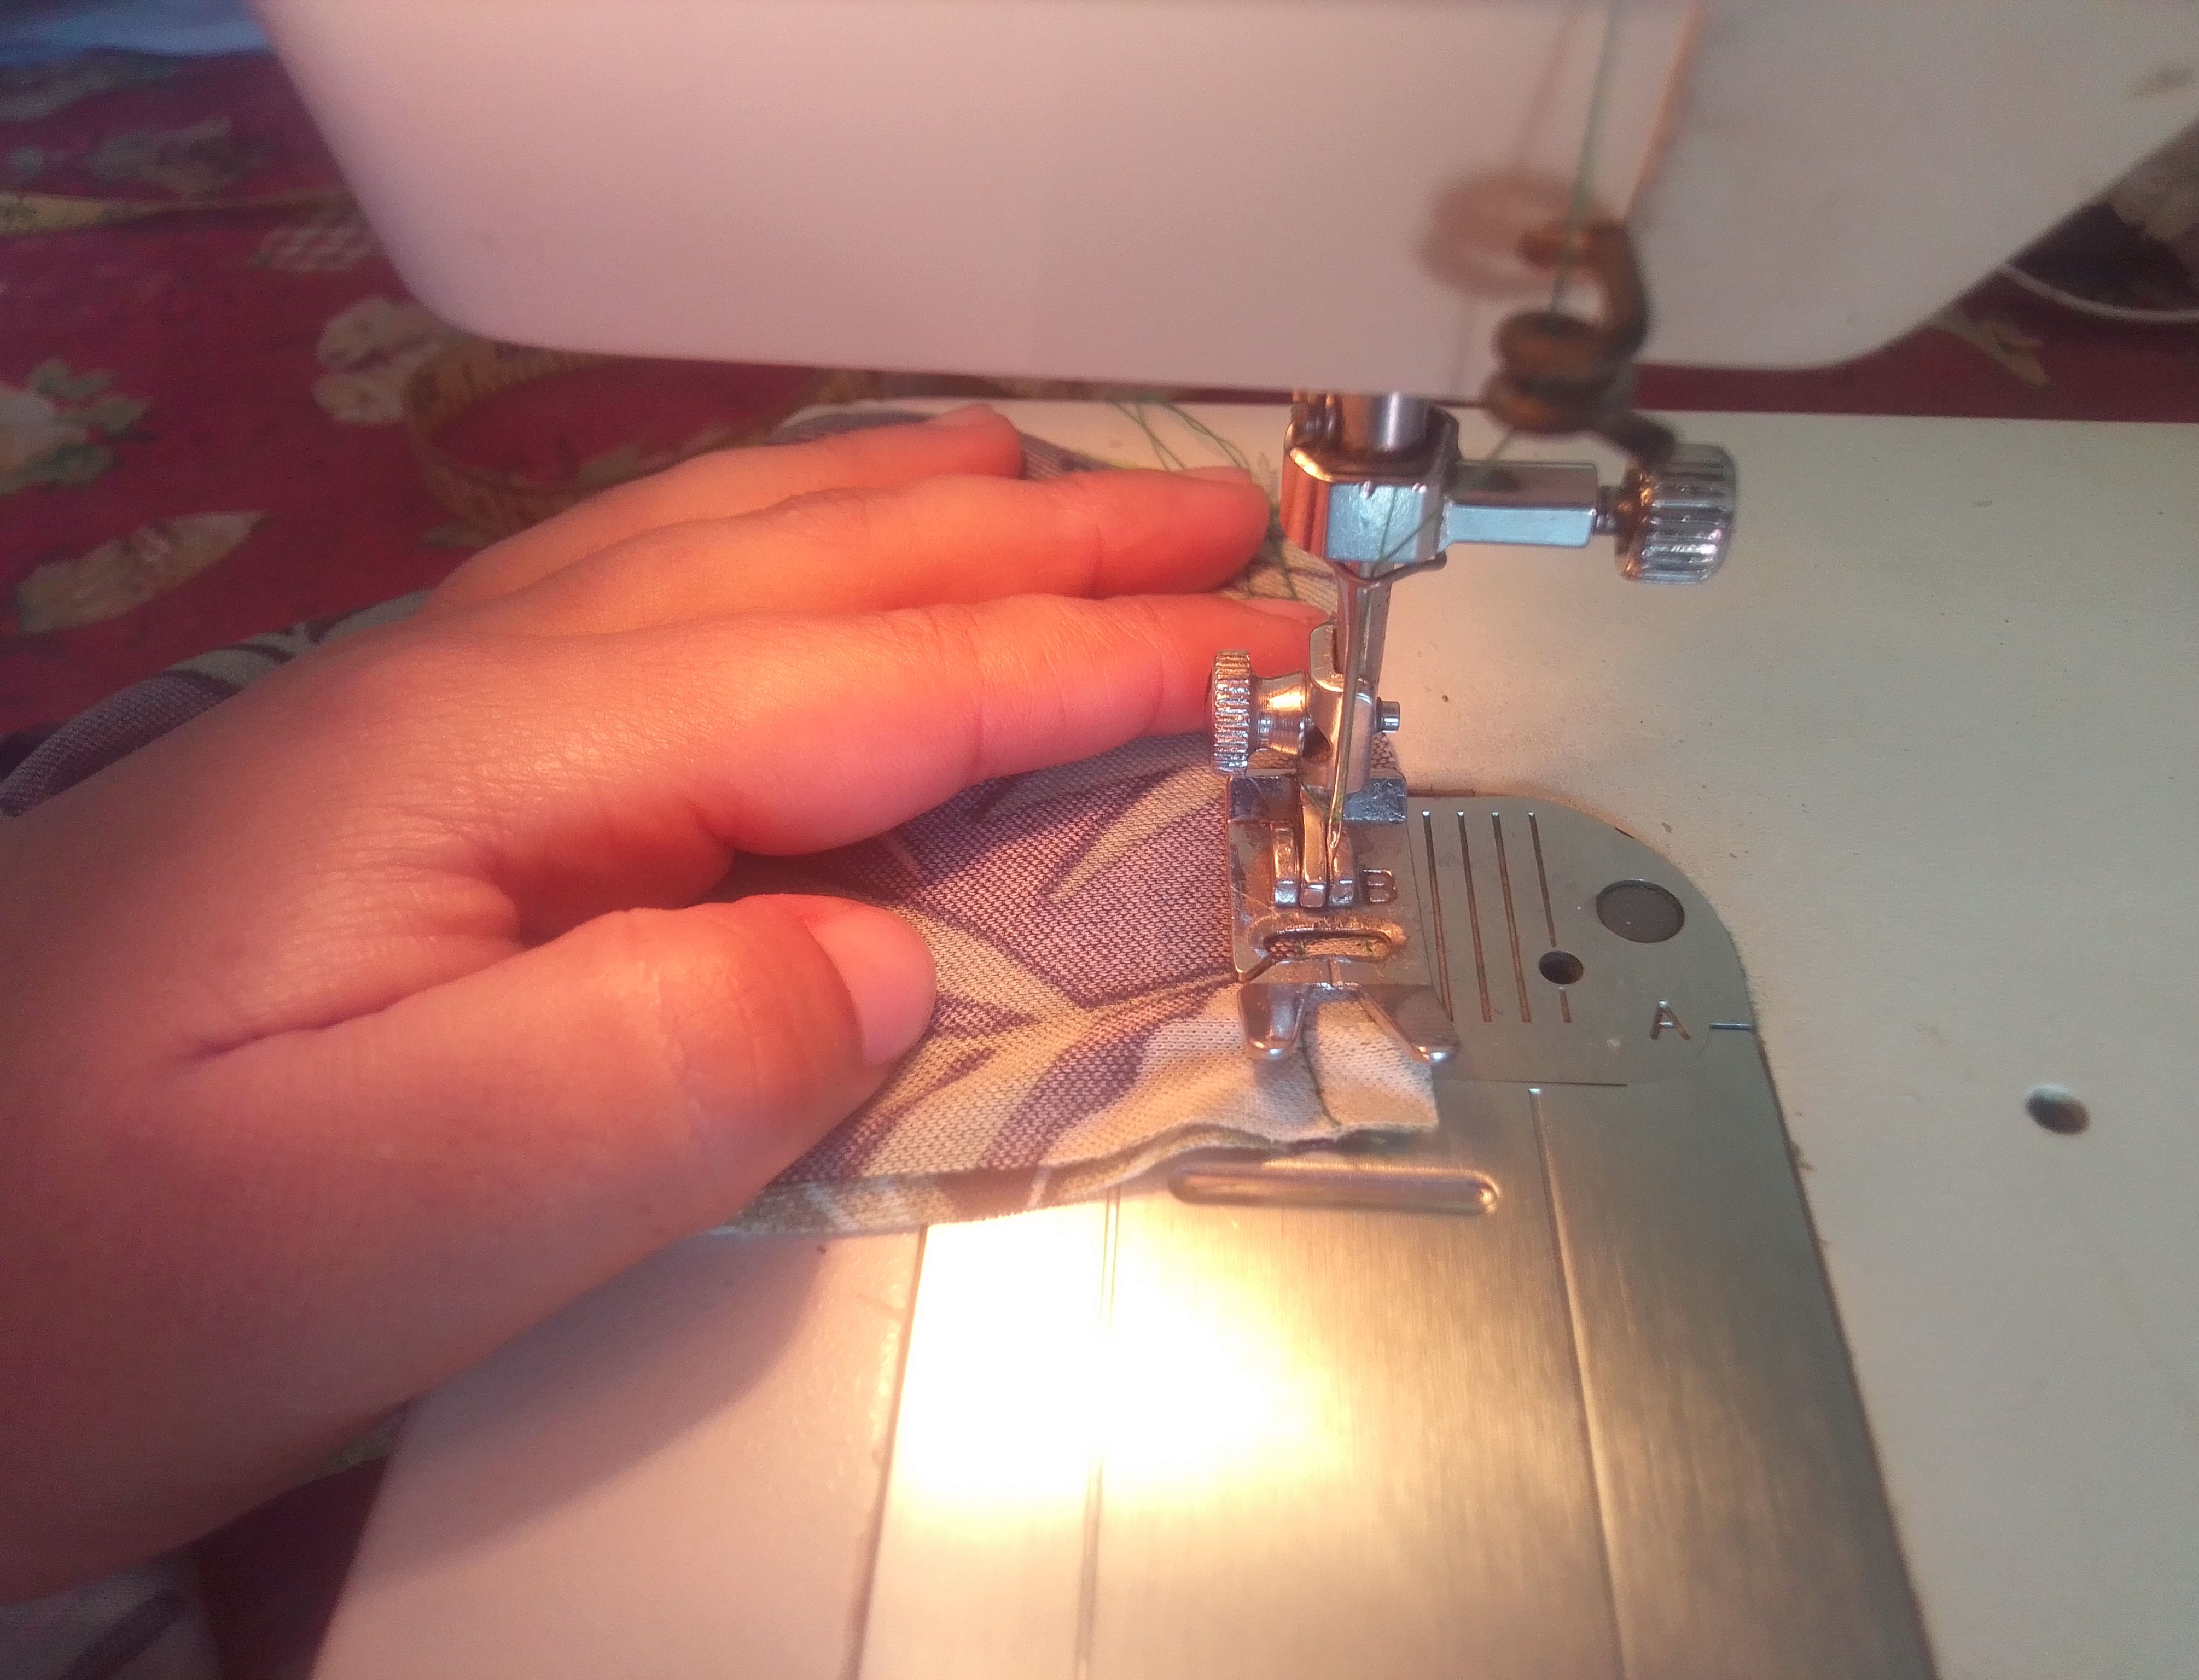
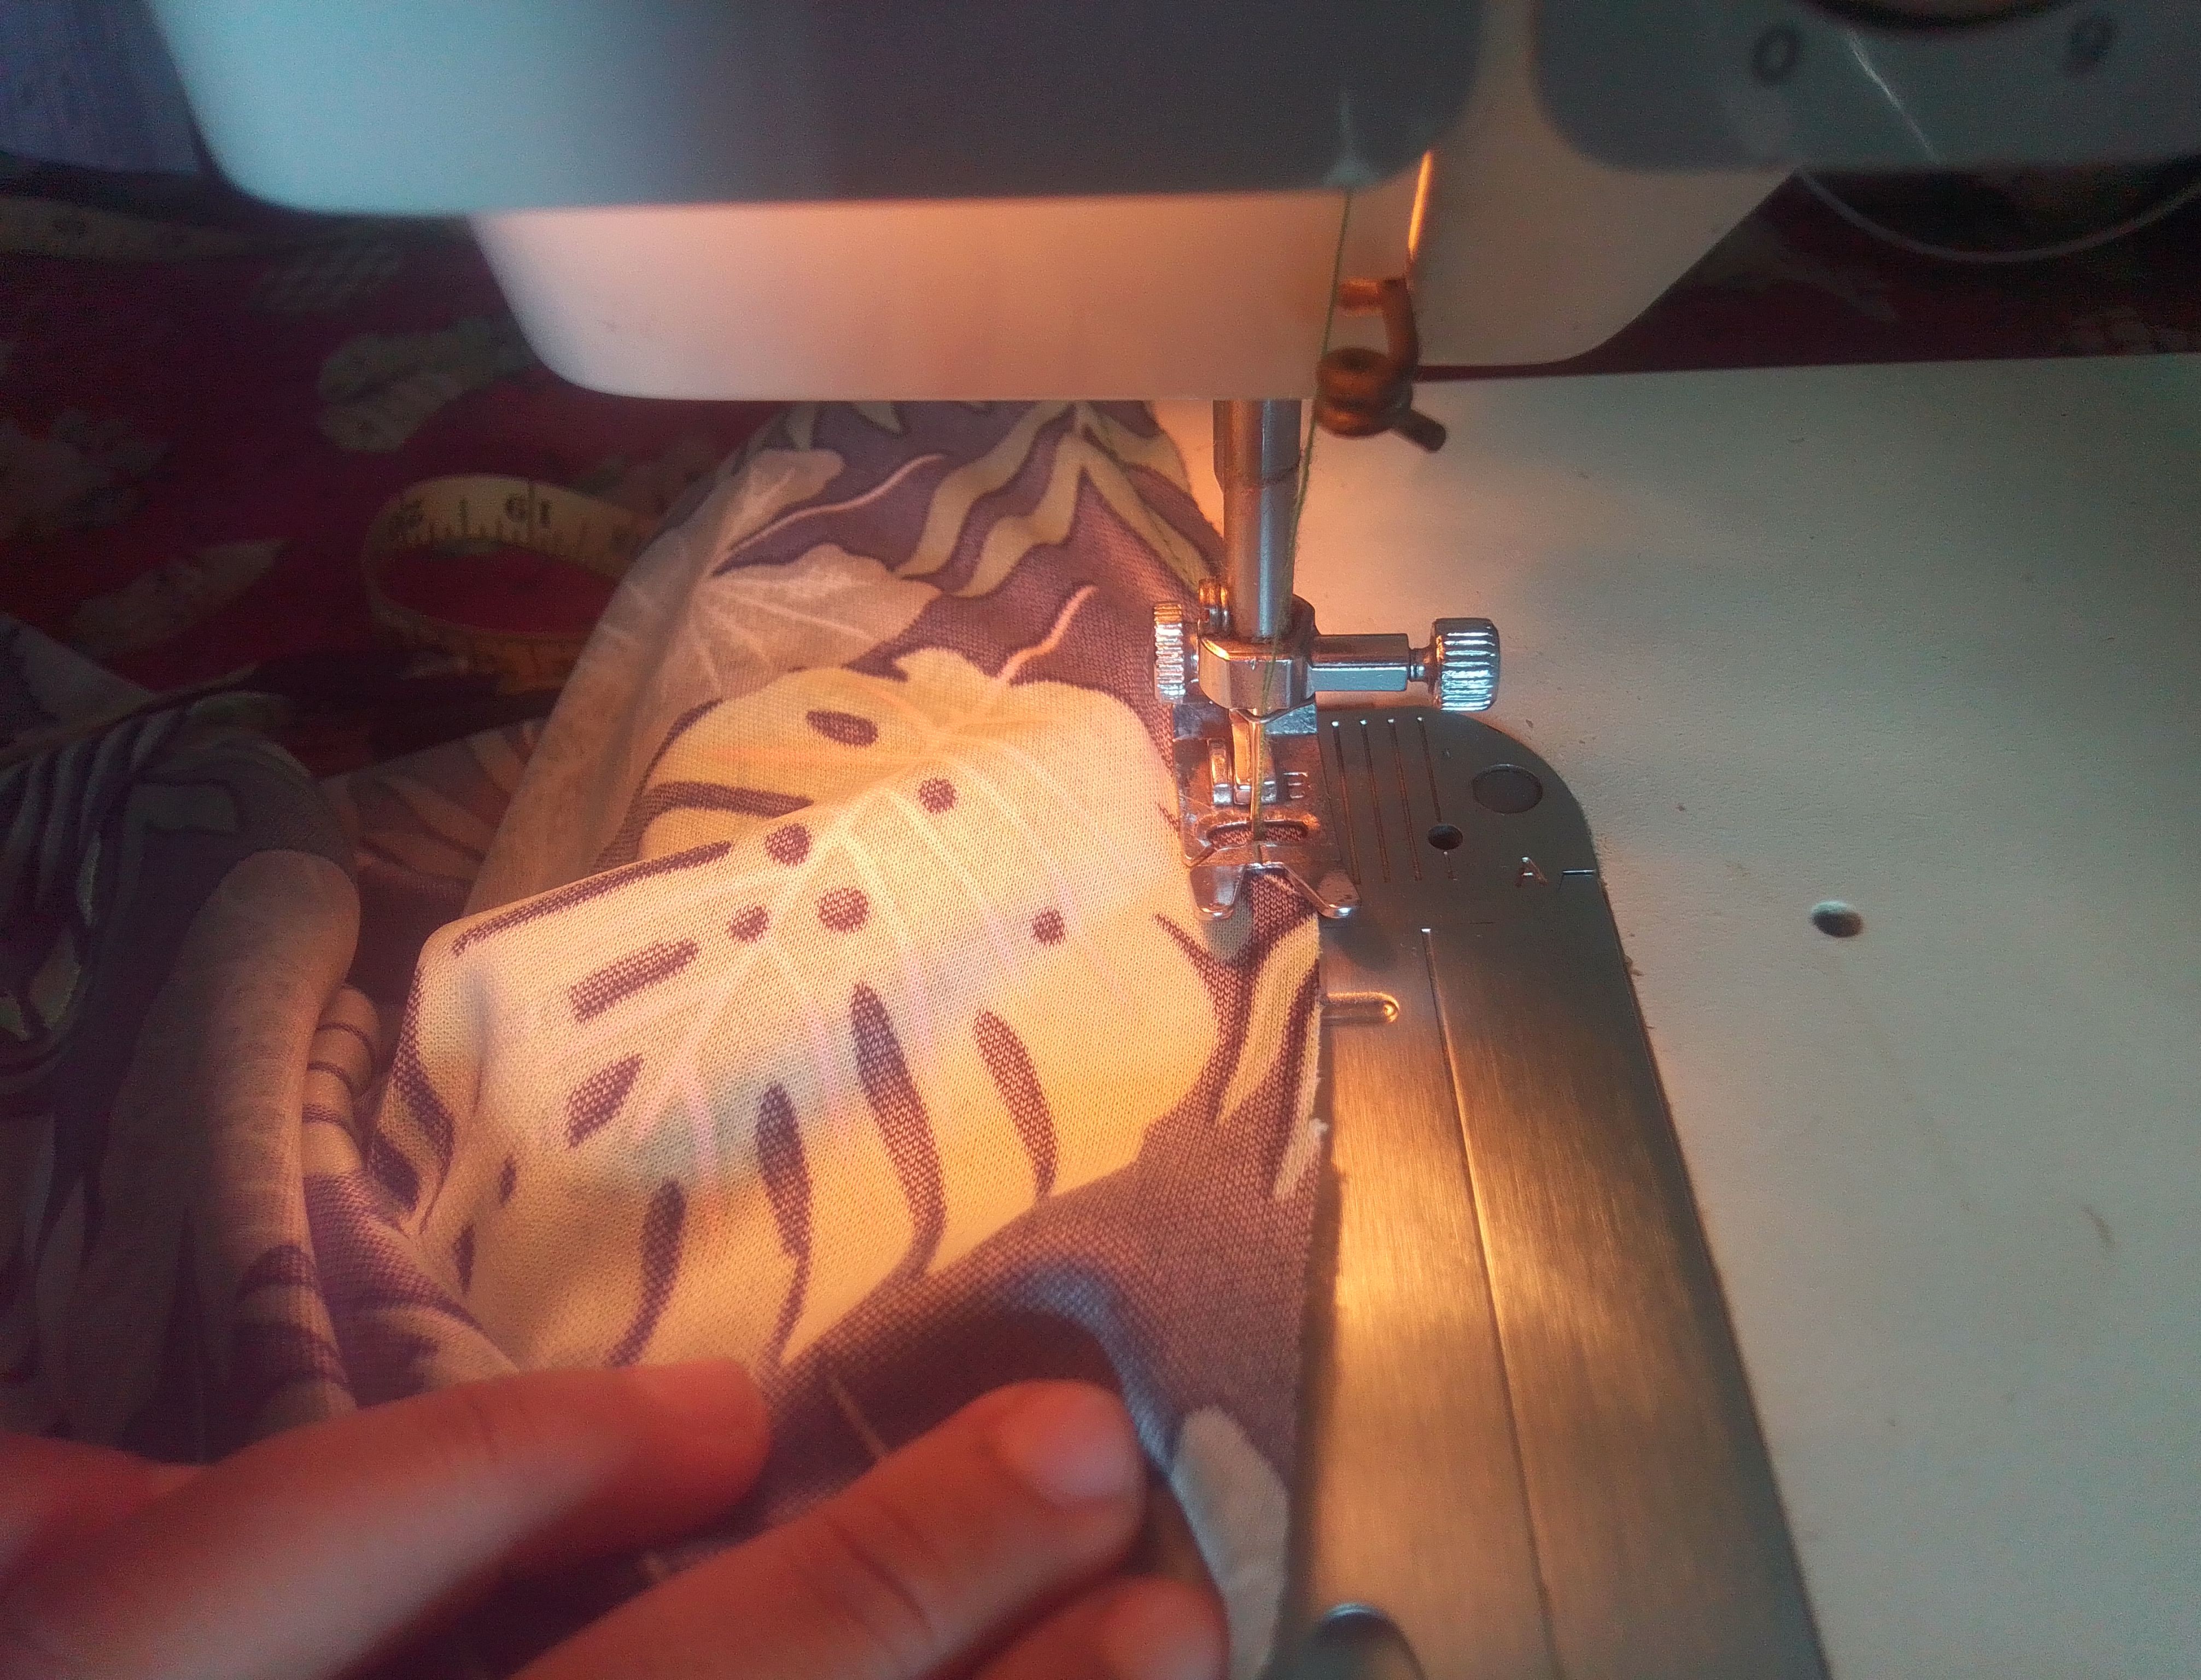
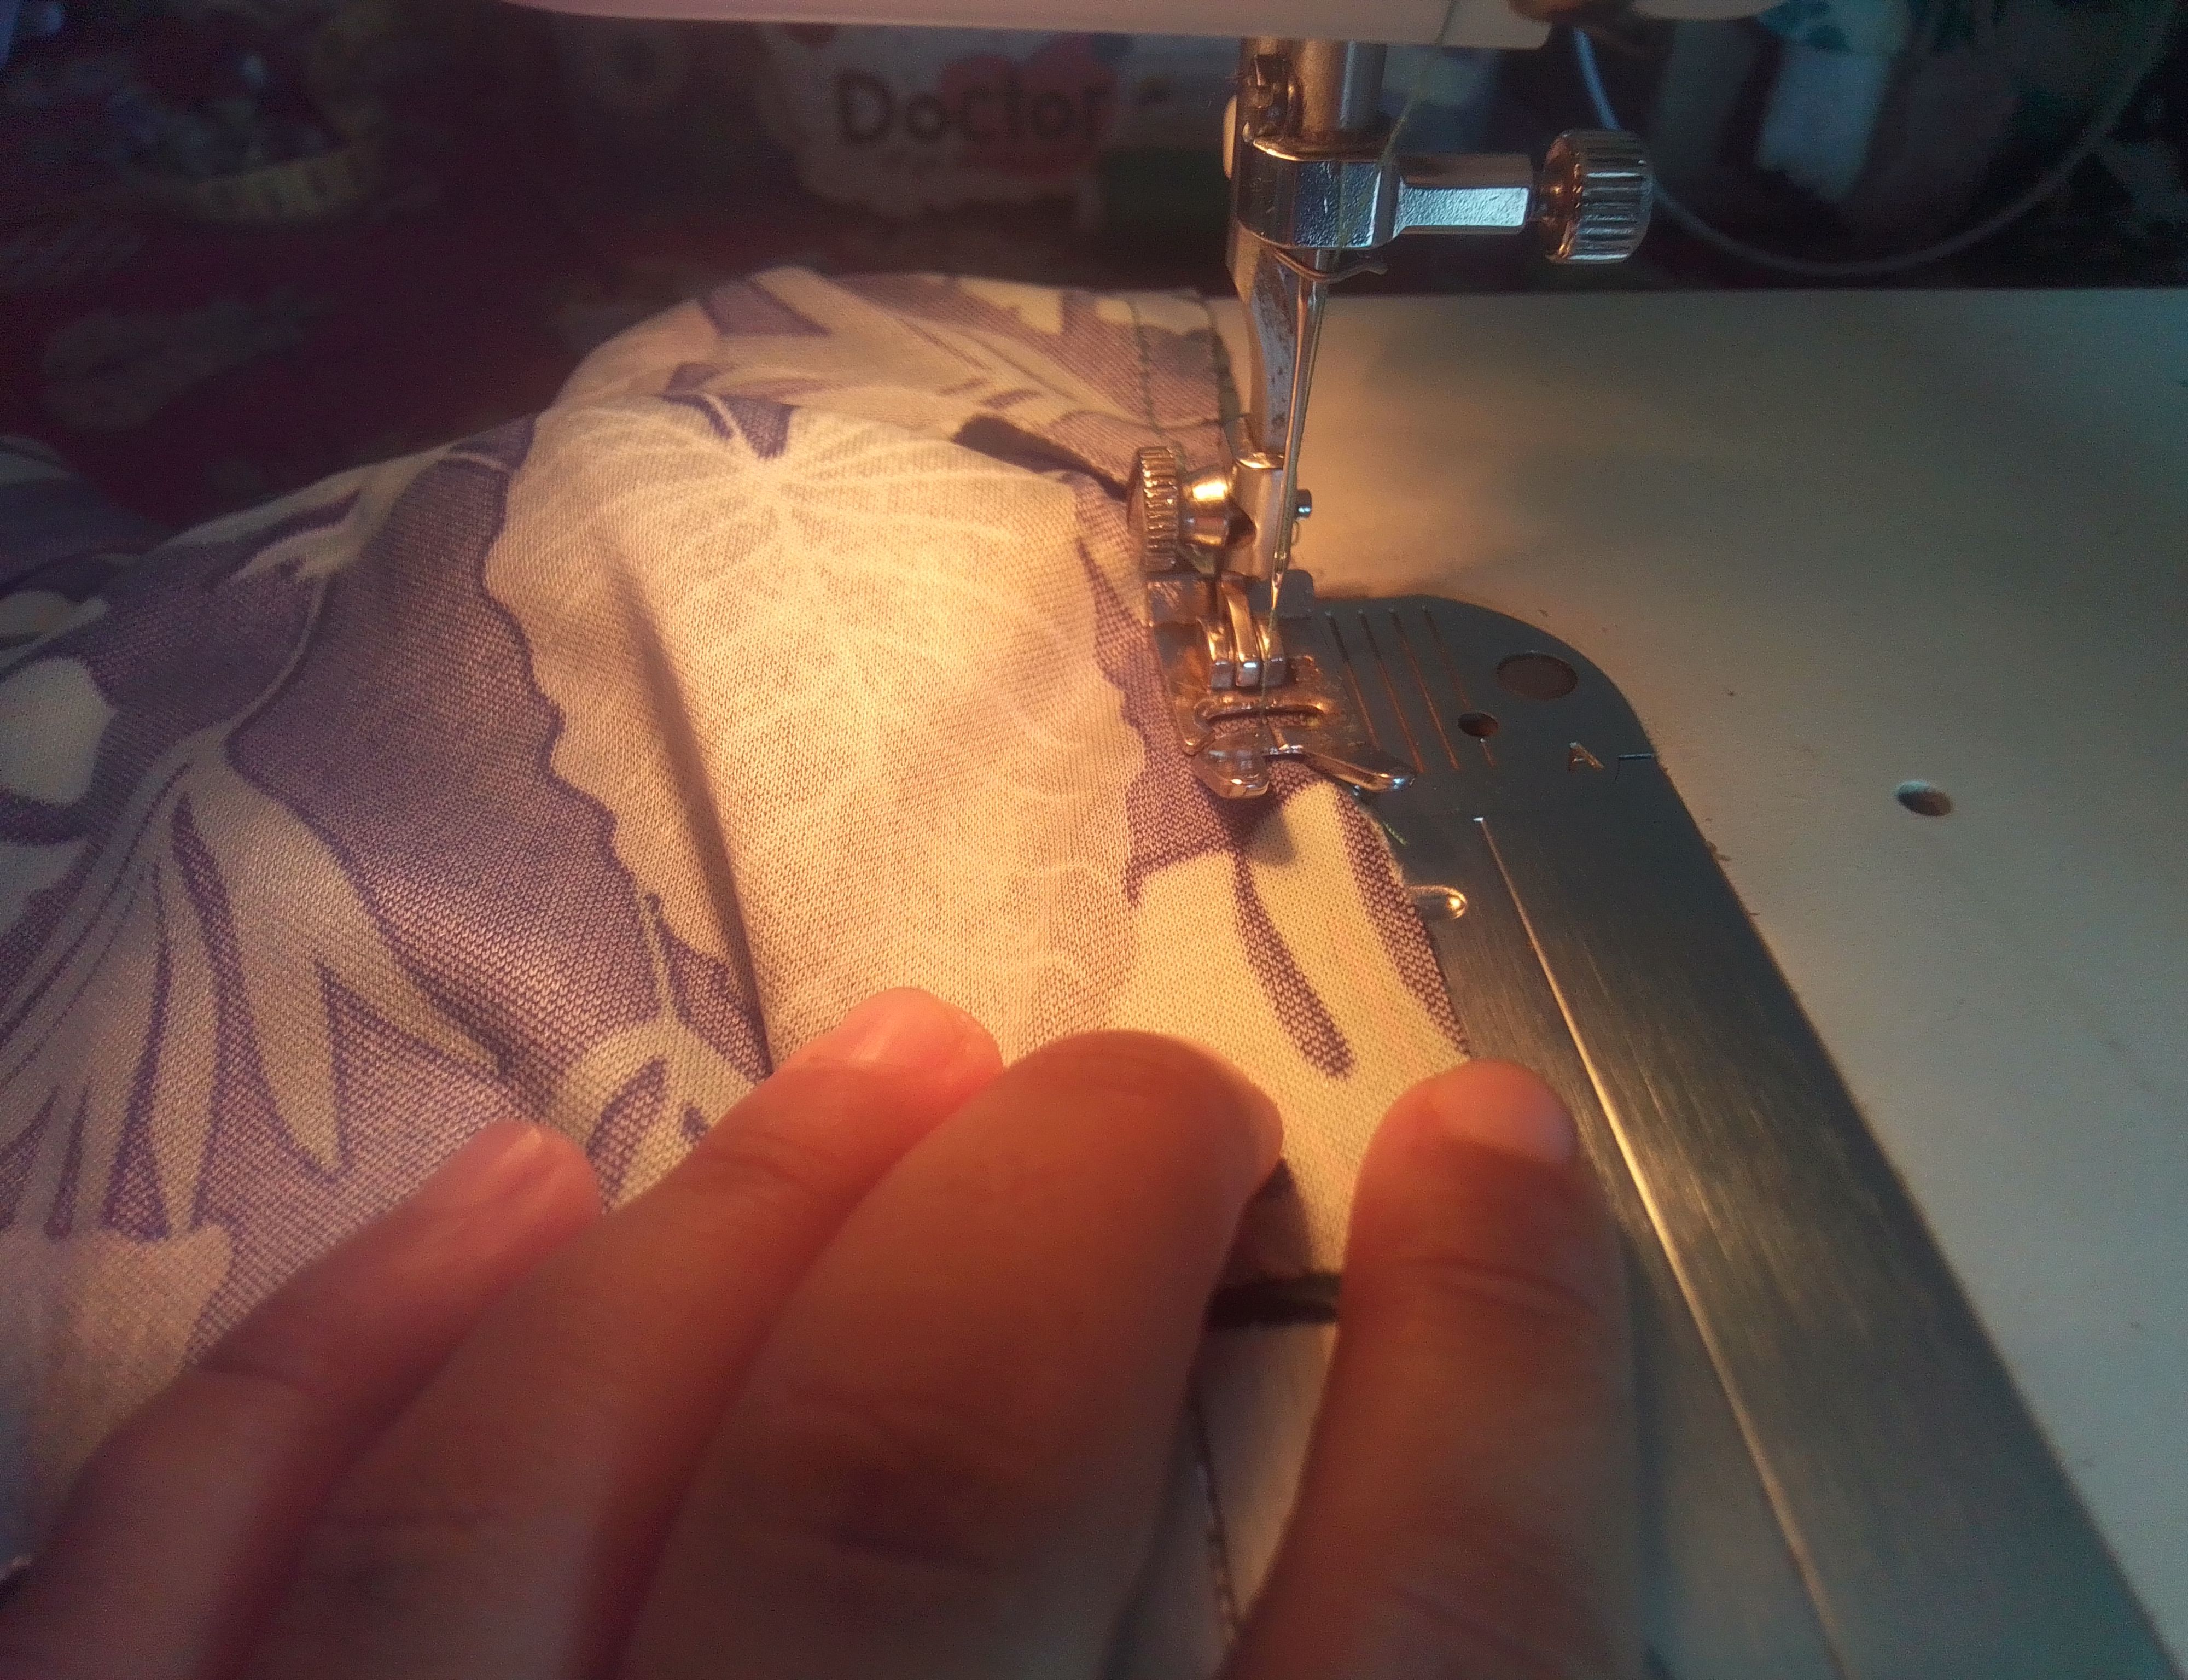
La primera costura que voy hacer son la de los hombros para unirlos, luego voy a abrir las piezas para coser las mangas con costura recta y zigzag todo. De la misma forma voy cerrar las partes para coser los laterales dejando en uno de ellos un pequeño orificio por donde luego pasara una de las tiras de cruce.
Step 02
The first seam I am going to make is the shoulders to join them, then I am going to open the pieces to sew the sleeves with a straight and zigzag seam throughout. In the same way I am going to close the parts to sew the sides, leaving a small hole in one of them through which one of the crossing strips will then pass.
Paso 03
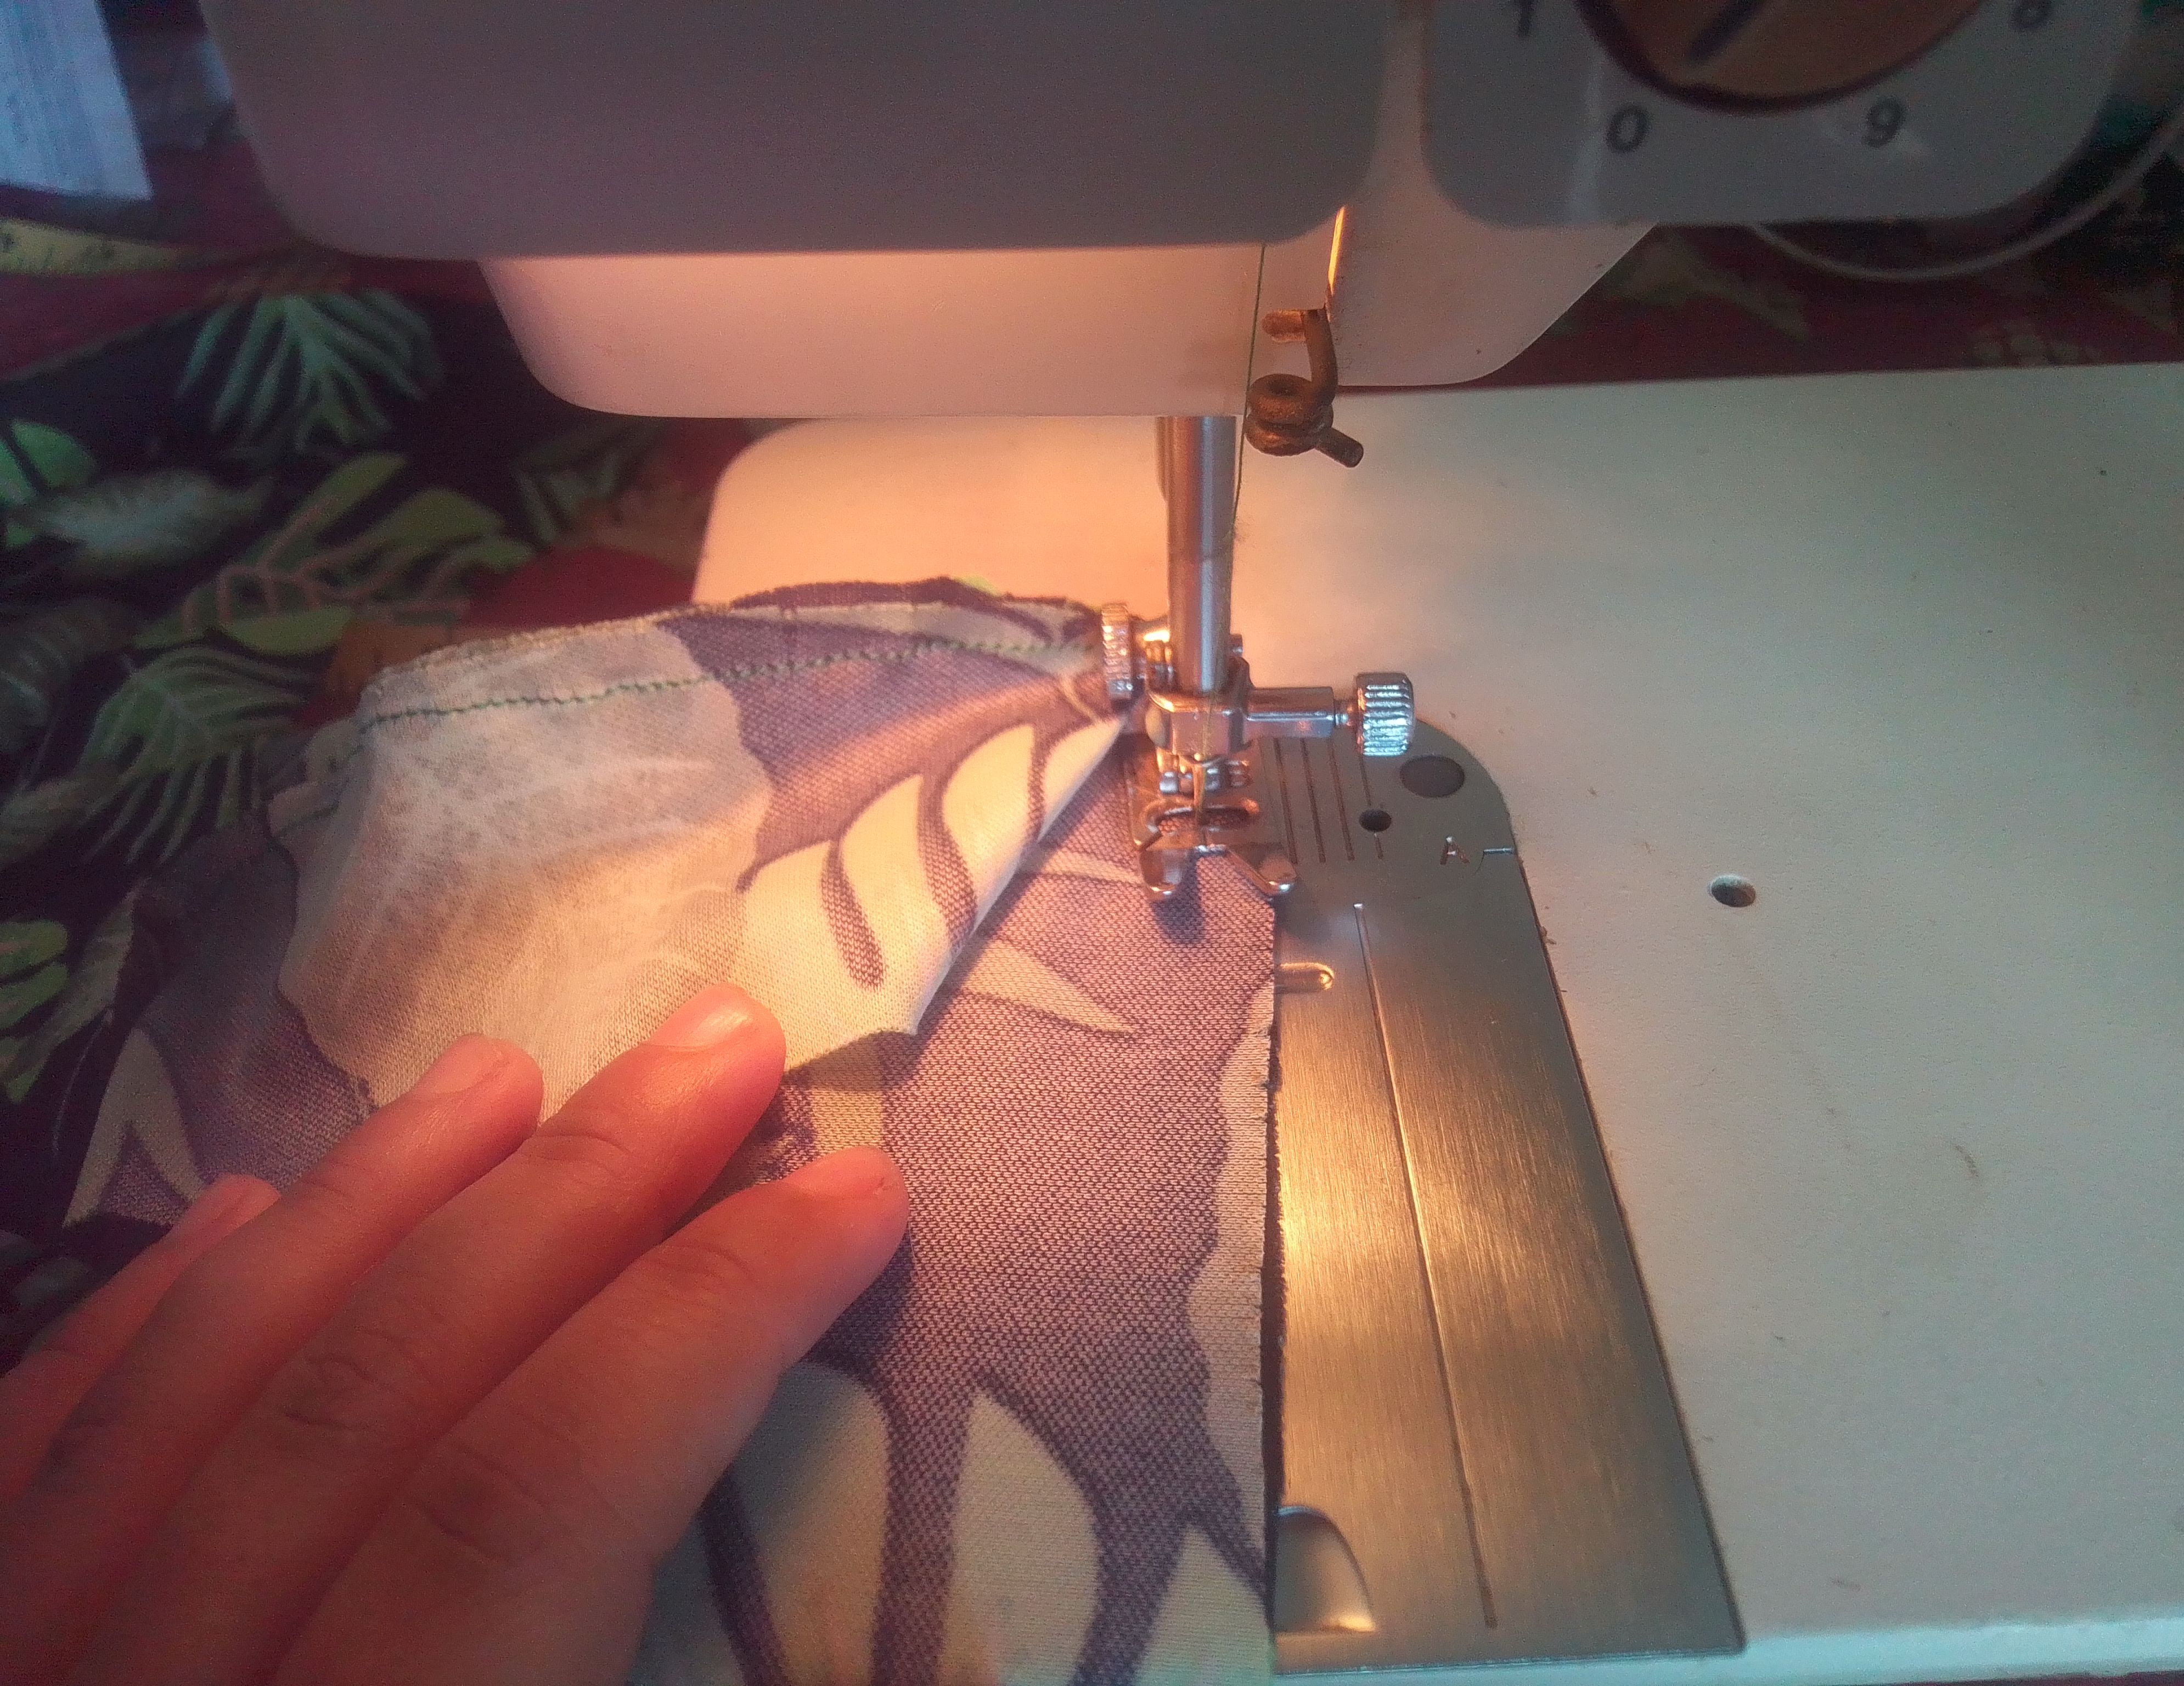
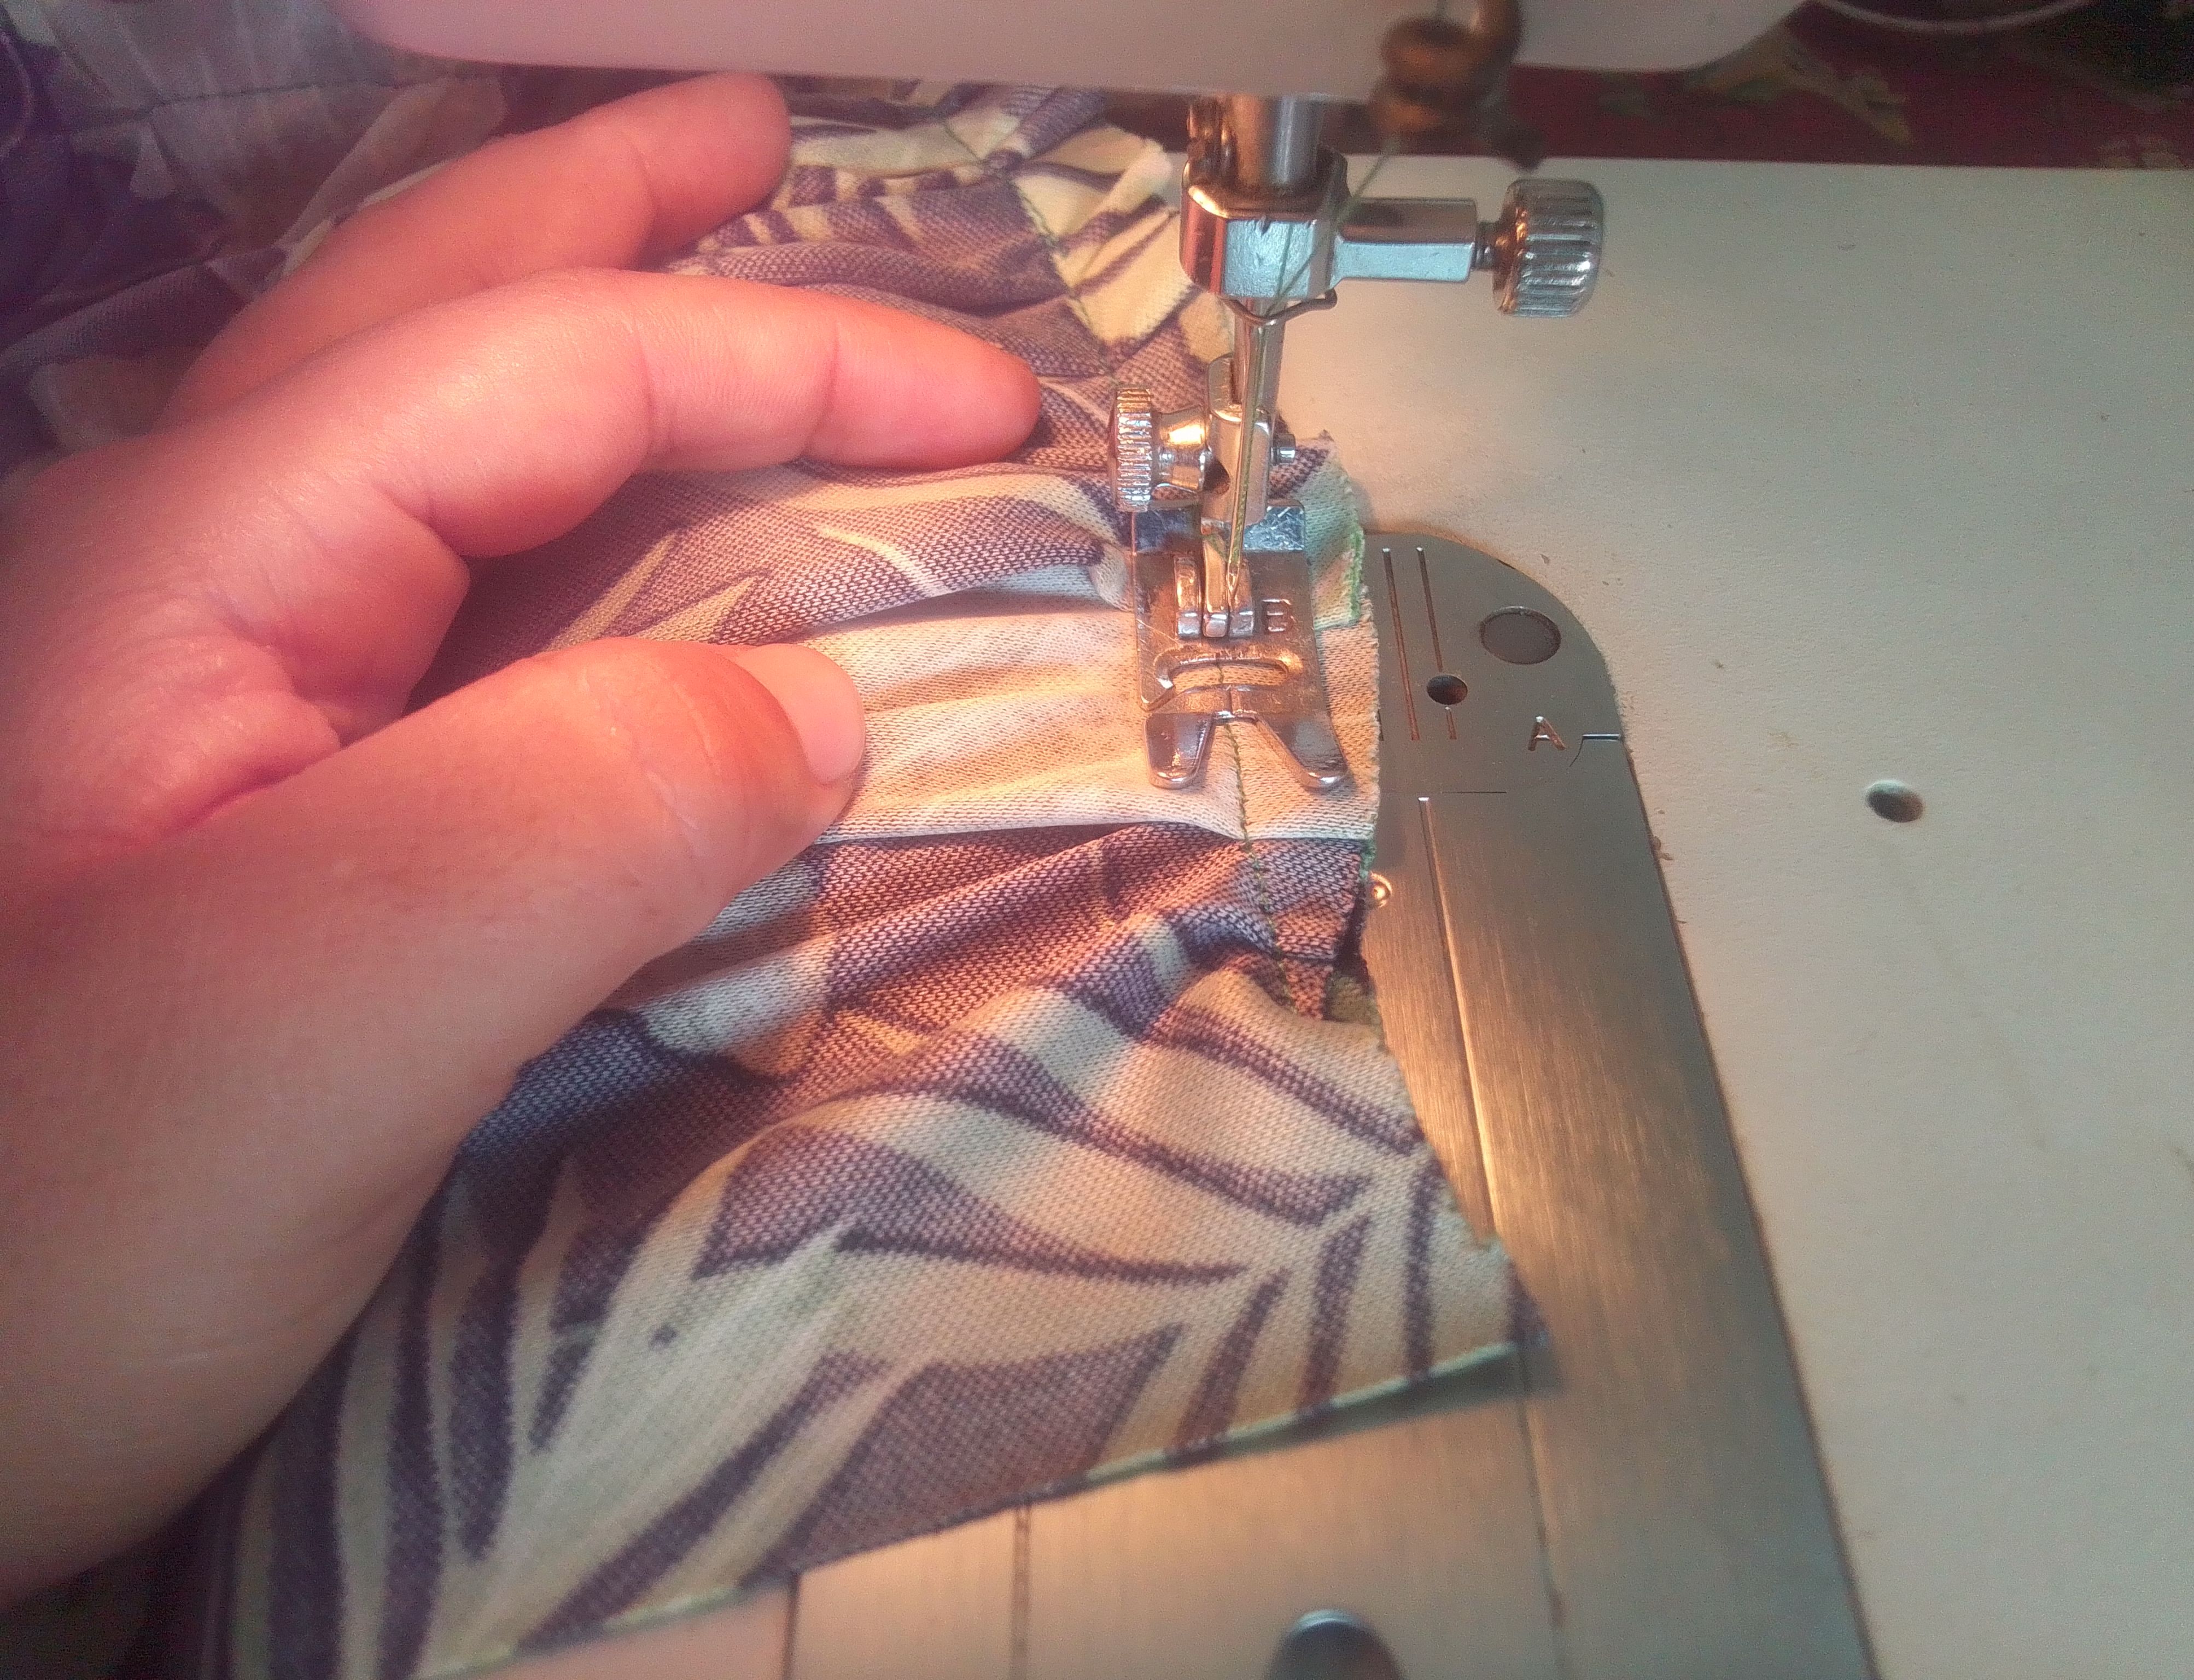
Mientras avanzaba olvidaba algunas fotografías, pero luego vamos corta una tira que tenga el ancho de la cintura de grosor 4cm; ésta la voy a ir cosiendo poco a poco en la cintura dando forma a todo al ancho del vestido. La falda cuenta con metro de tela completo, no le hice ningún corte ni le quité largo, solo le fruncį el lado más largo para ir cosiendo a la cintura del vestido haciendo pliegues.
Step 03
As I advanced I forgot some photographs, but then we cut a strip that is the width of the waist and is 4cm thick; I am going to sew this one little by little at the waist, shaping everything to the width of the dress. The skirt has a full meter of fabric, I did not make any cuts or remove length, I only gathered the longest side to sew to the waist of the dress making pleats.
Paso 04
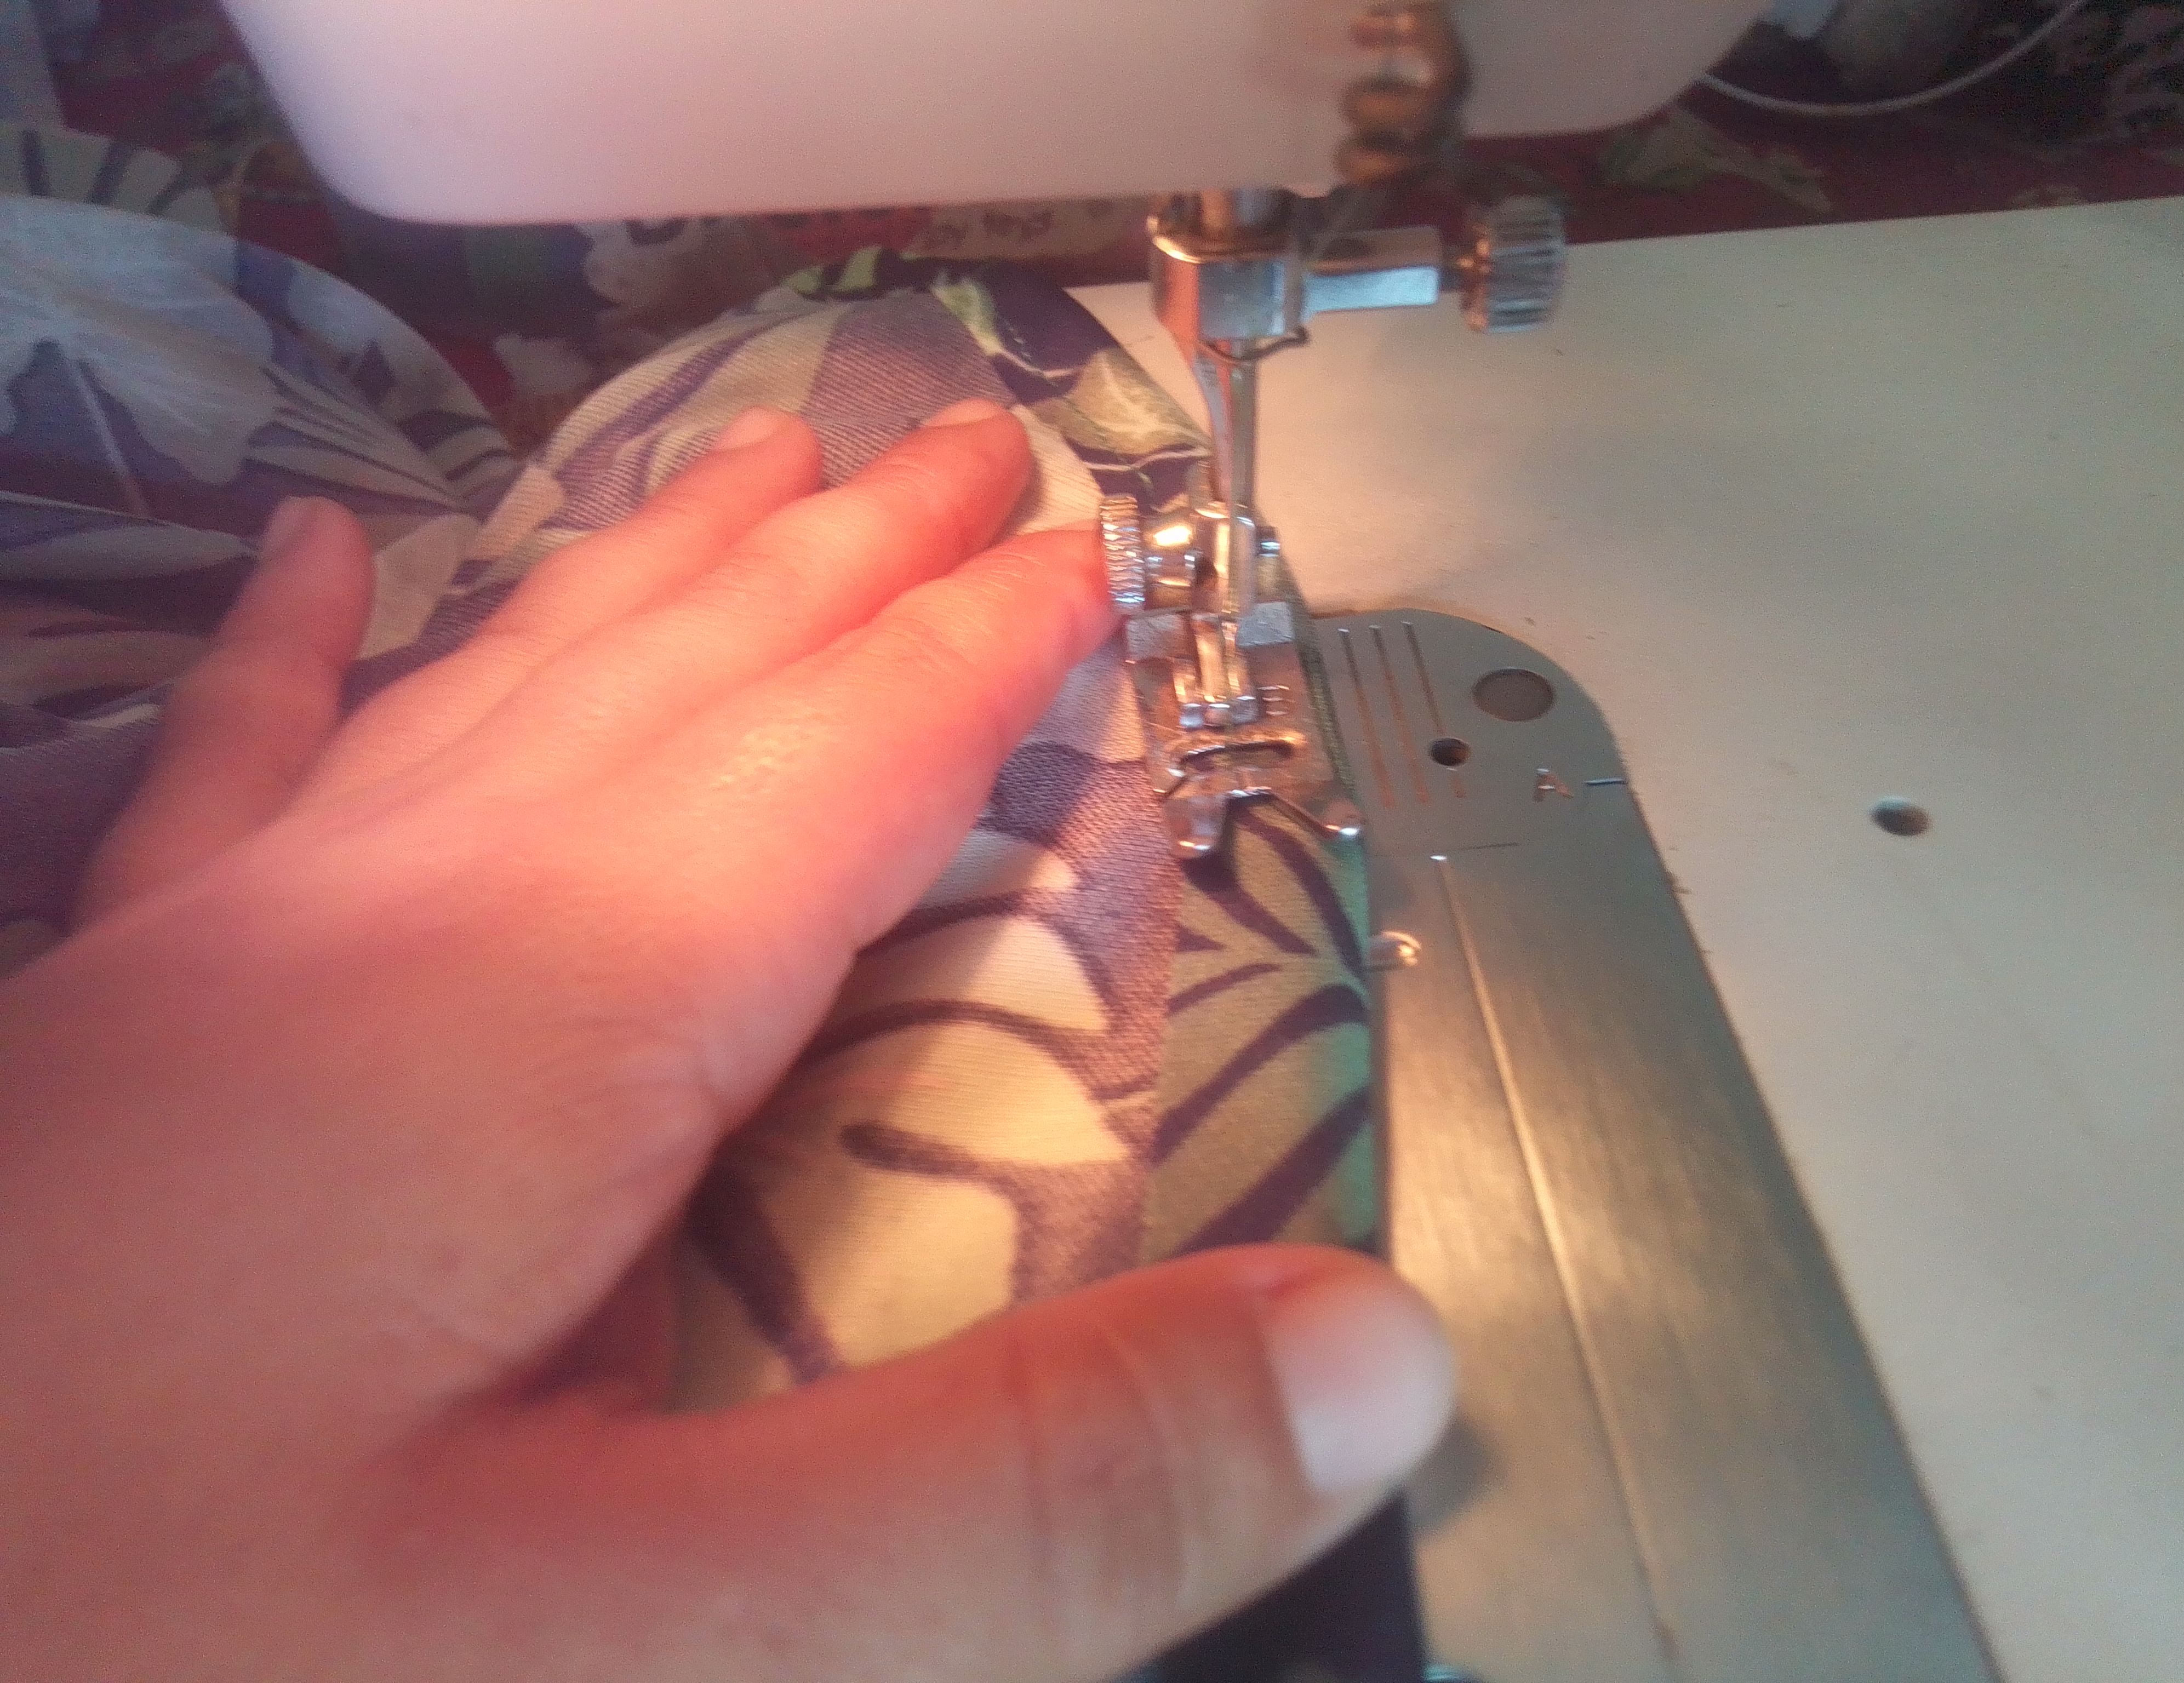
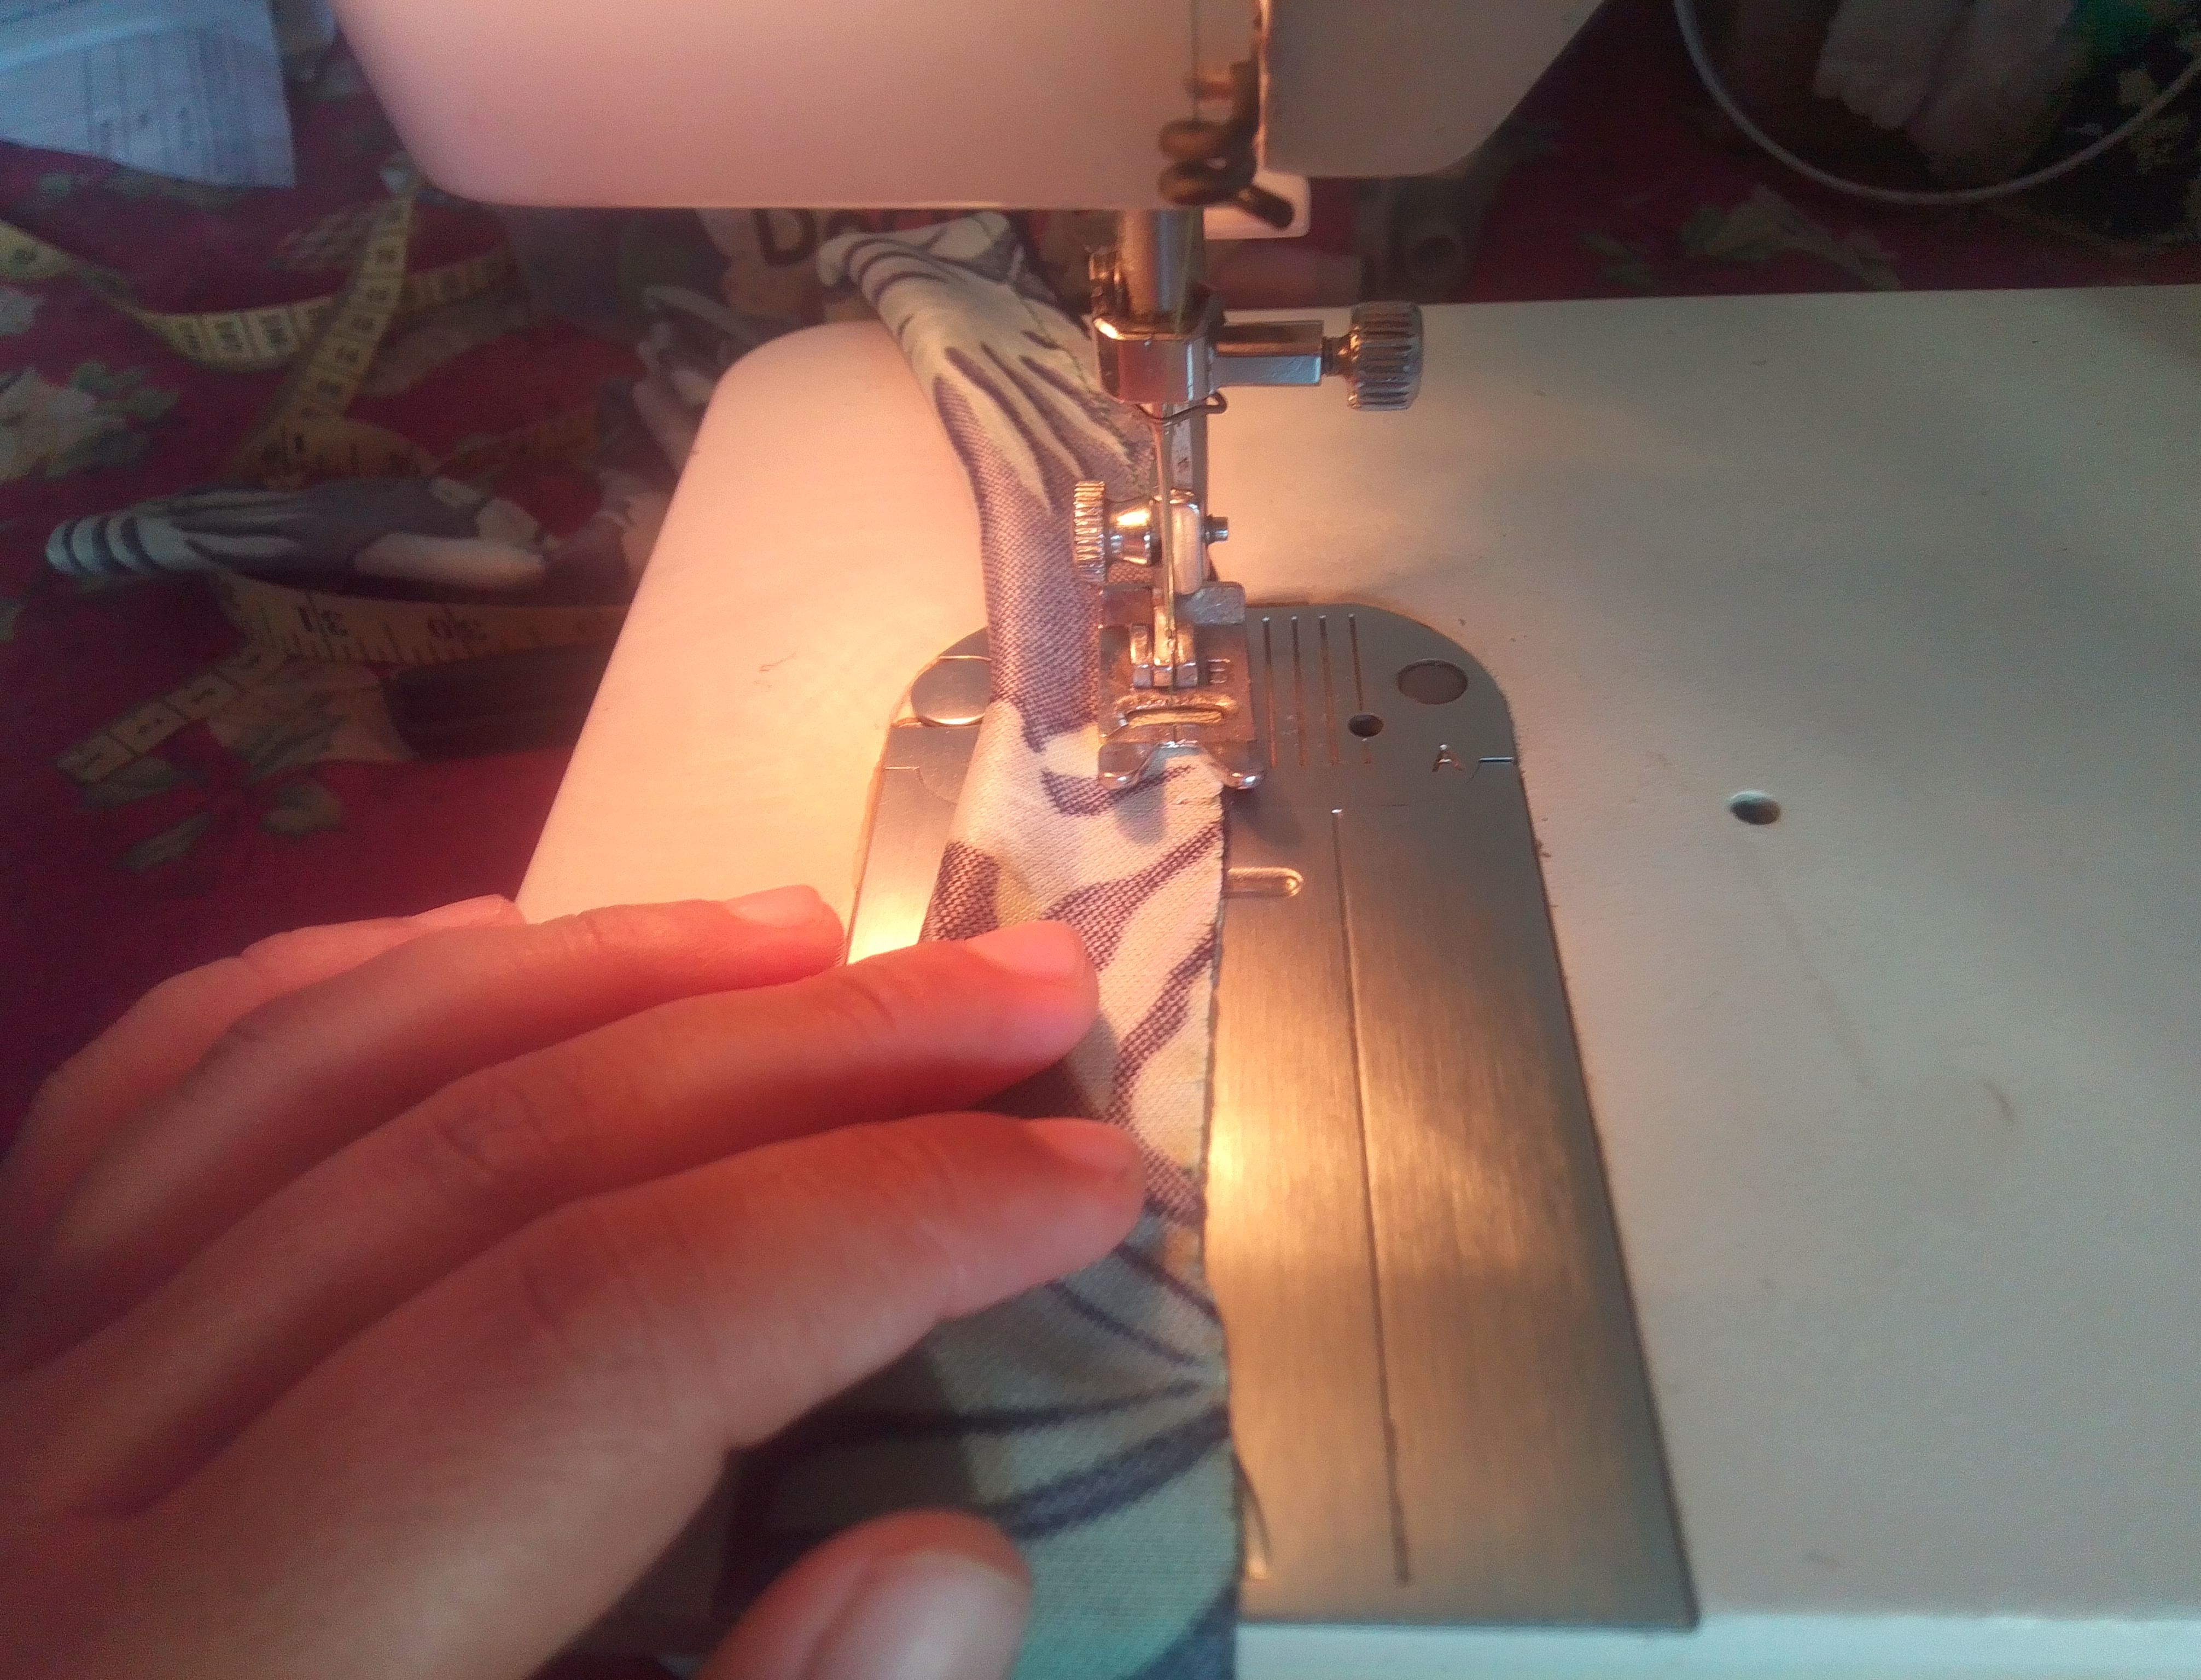
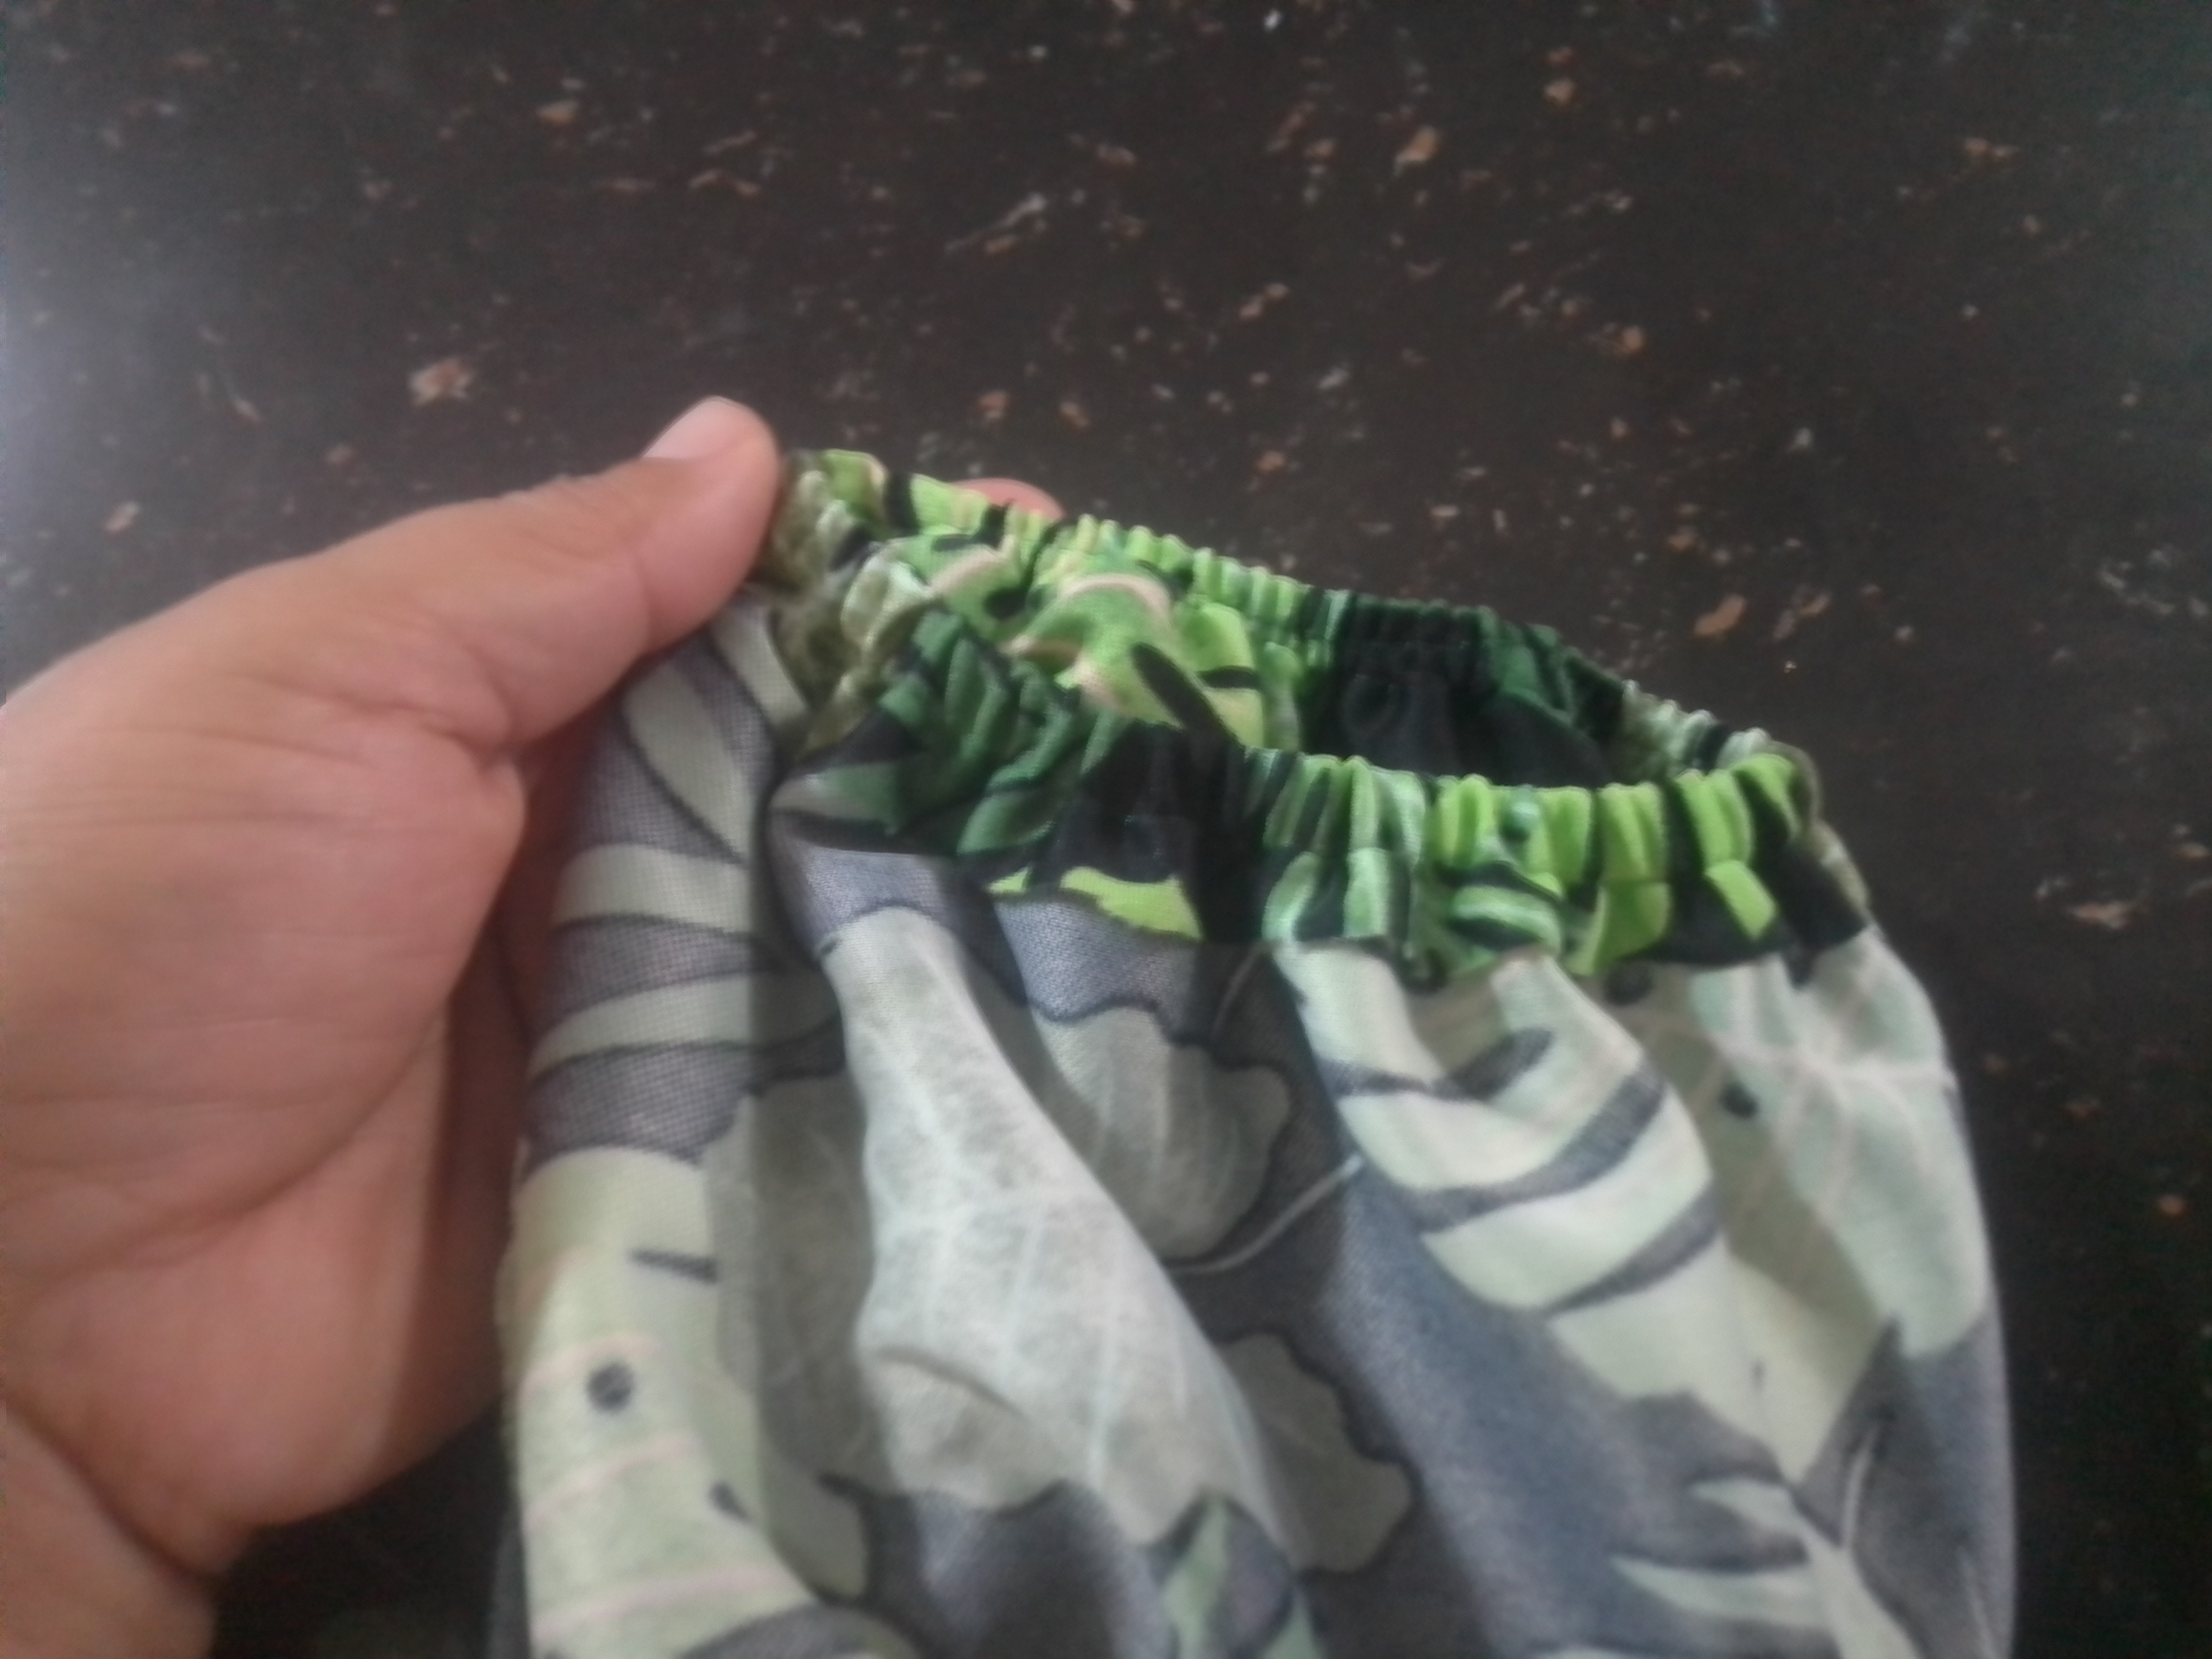
Con esto termino voy hacer todos los dobladillos, al parte del cuello le cosi un bies con un sesgo, y todo lo que es la falda, le doblé un centímetro hacia adentro. Utilizo la misma tela para hacer dos tiras para coserla a cada punta del corte delantero, una de ellas irá por dentro y la otra por fuera para hacer lazo. En cada manga voy hacer un dobladillo inferior, inserto una goma finita a la medida del brazo y ajustamos.
Step 04
With this I finish I am going to make all the hems, I sewed a bias with a bias to the neck part, and everything that is the skirt, I folded one centimeter inwards. I use the same fabric to make two strips to sew to each end of the front cut, one of them will go on the inside and the other on the outside to make a bow. On each sleeve I am going to make a bottom hem, insert a thin elastic band in the middle of the arm and adjust it.

Resultado!
No es mío pero yo estoy feliz de que me haya quedado bien, para servir de modelo y que todos pudieran ver este lindo resultado.
It's not mine but I'm happy that it turned out well to serve as a model and that everyone could see this beautiful result.
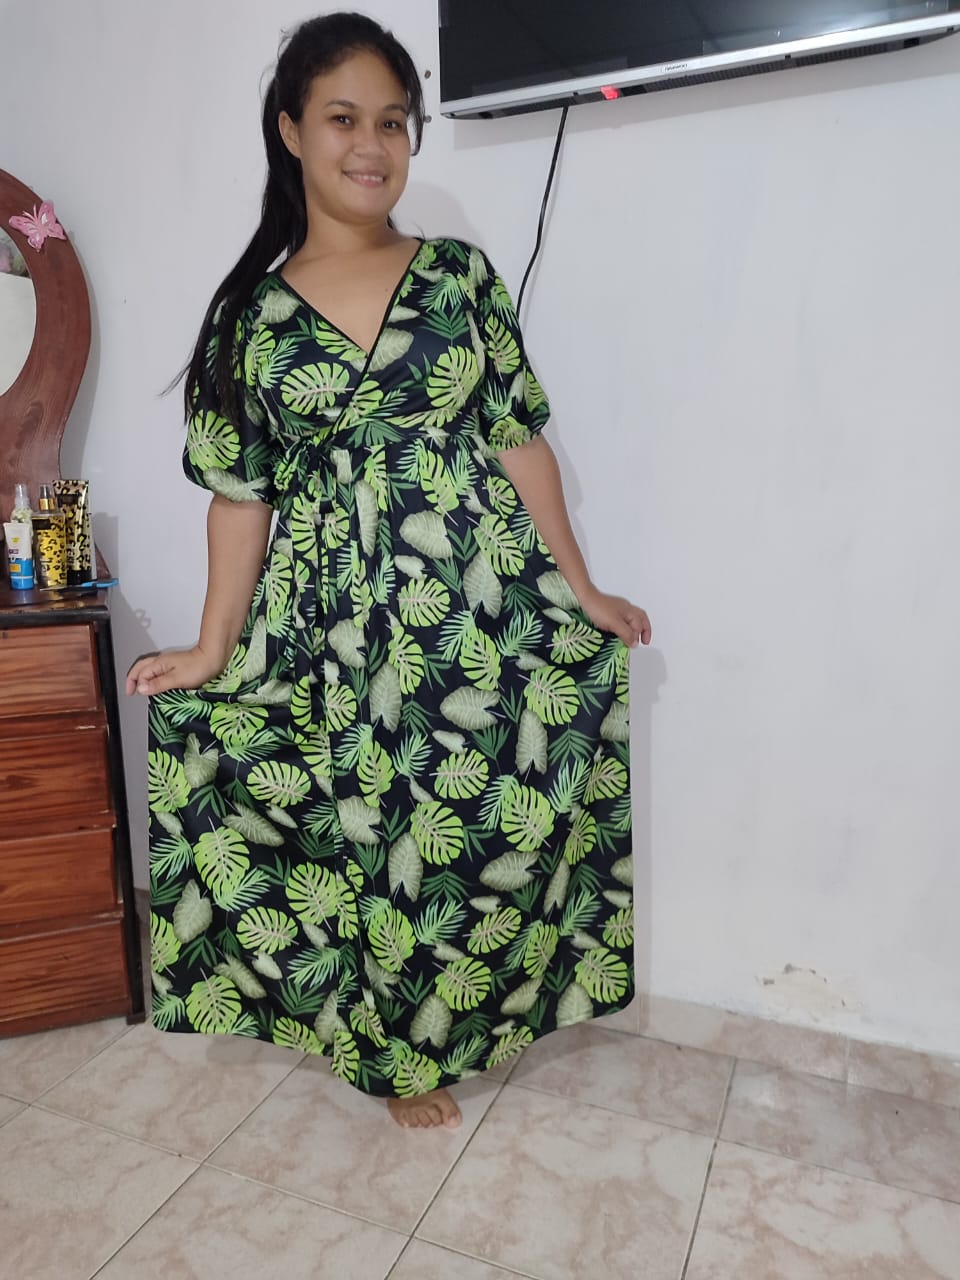
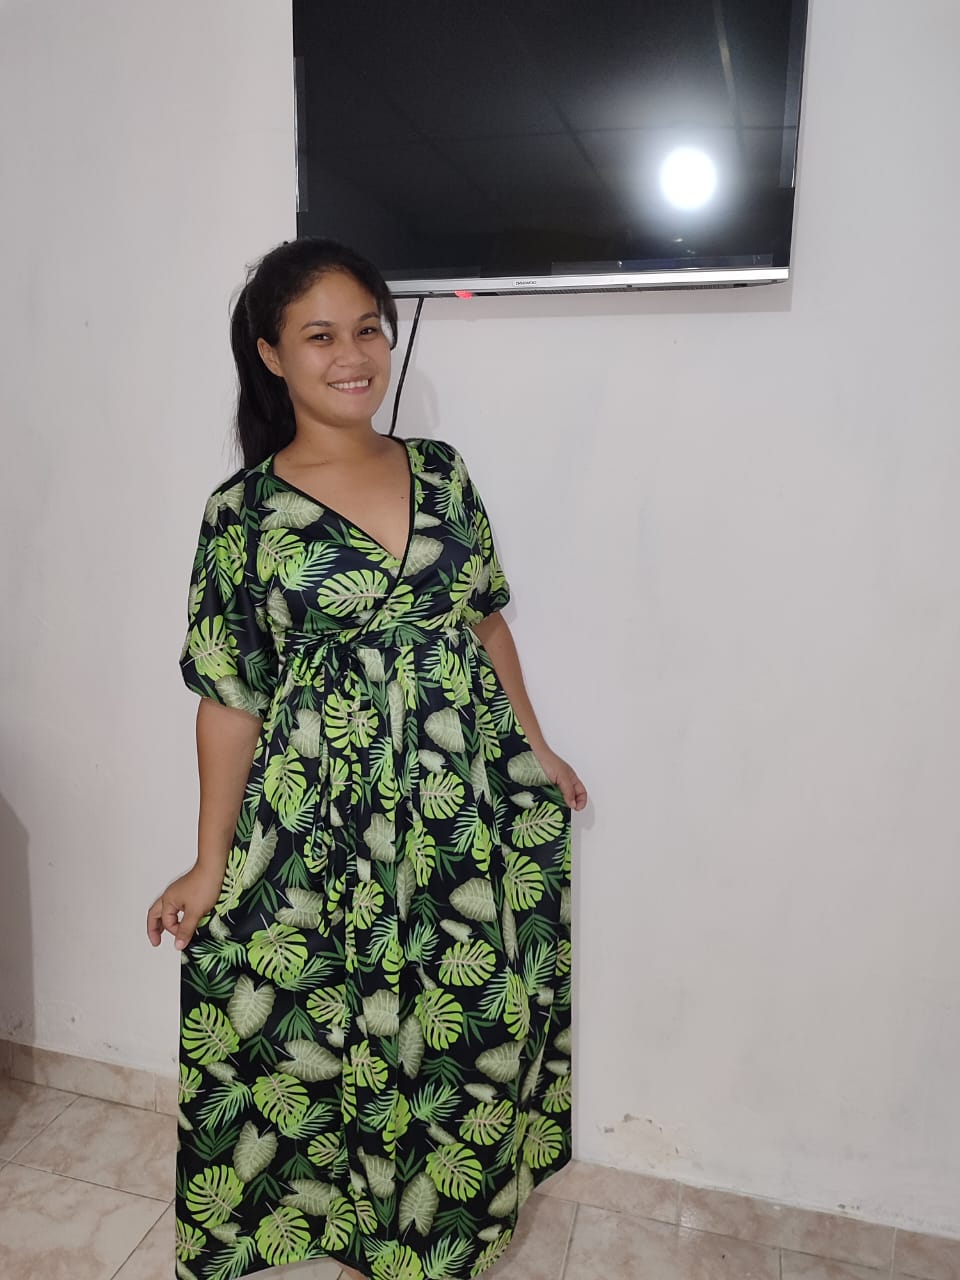
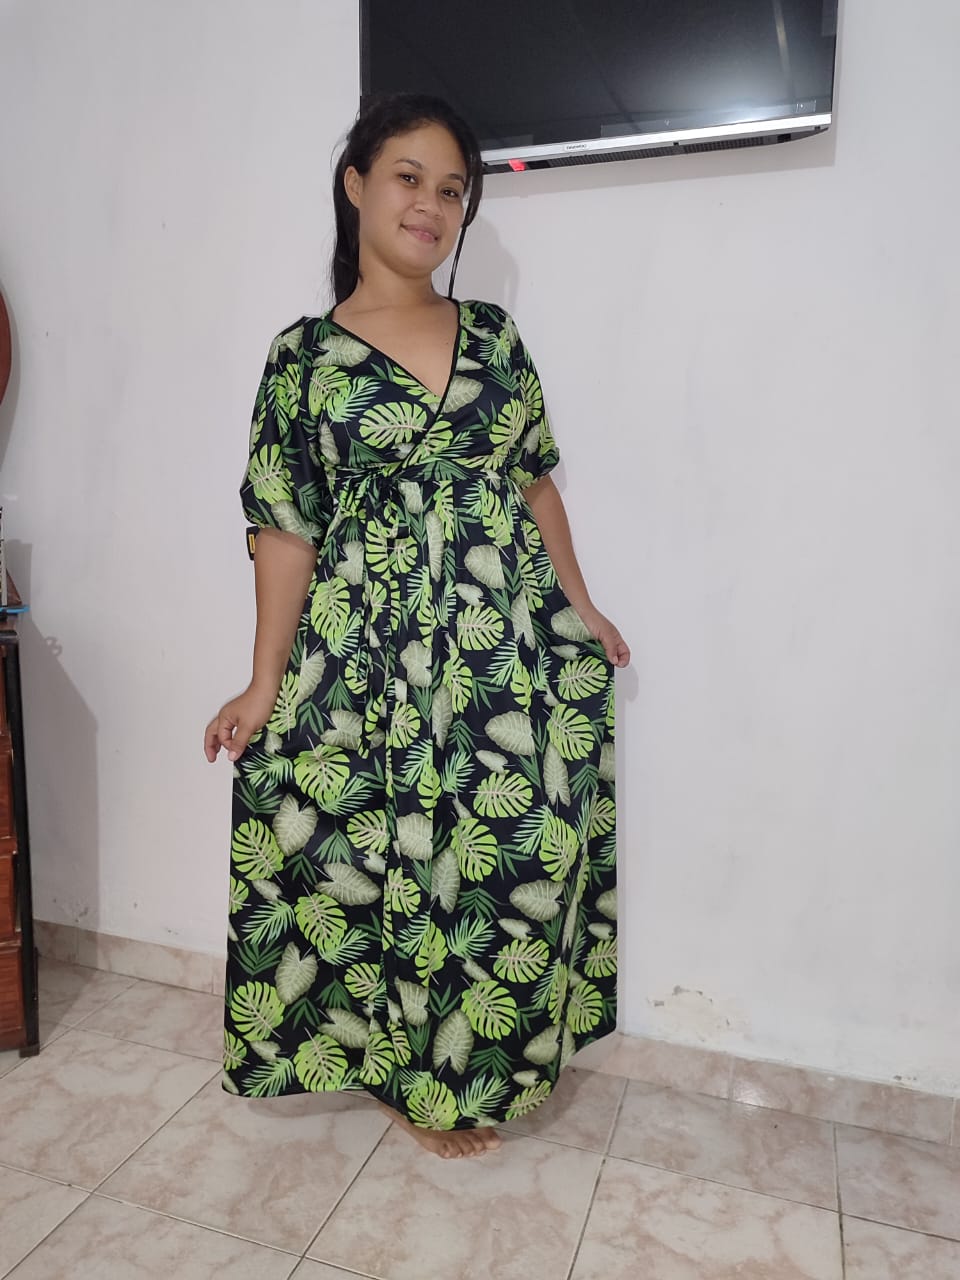
Aunque me tomó un poco de tiempo en crearlo me encantó, cuéntame que te parece para mí es muy importante tu opinión. Deseo que tengas un bonita noche, Dios les bendiga, hasta pronto!
Although it took me a little time to create it, I loved it, tell me what you think, your opinion is very important to me. I hope you have a nice night, God bless you, see you soon!
La forma en que describes tu vestido deja ver claramente cuánto te ha gustado.
Te quedó muy lindo, luce fresco y cómodo. También amo el color verde.
Que agradable eer su comentario... Muchas gracias por su aprecio.. Feliz fin de año.
Aaah que bonito quedó 😍 Felicidades 👏
Aaah how beautiful it looked 😍 Congratulations 👏
Gracias mi linda . Bendiciones para ti.
The long wrap dress with a leaf print looks stunning. Thank you for sharing this beautiful creation with the community.
For me it is an immense pleasure to do it. I am happy that you like it. Blessings.
Te quedó muy lindo este vestido, me encanta luce super cómido y fresco. Excelente trabajo. Felicidades.
Un saludo muy cariñoso para usted, agradecida por su opinión y feliz de que le guste y lo aprecies.. Bendiciones..