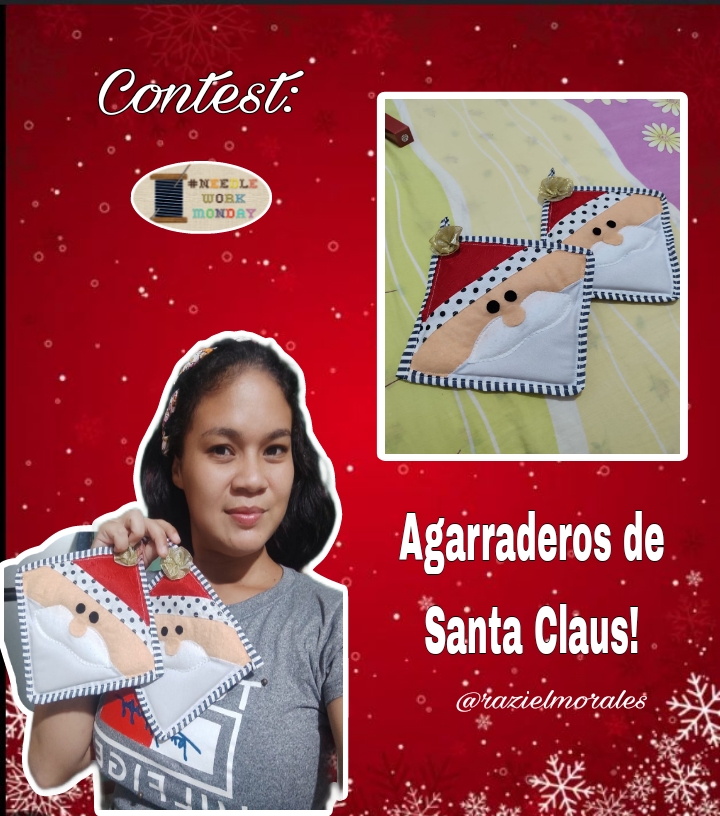
Feliz viernes mis queridos artistas textiles, es una bendición estar con ustedes de nuevo para compartir un nuevo tutorial de costura, está vez muy especial para mí pues vengo a unirme al concurso propuesto en mi amada comunidad @needleworkmonday, dónde cordialmente nos invitan a crear arte con las agujas con motivo navideño.
Más información Aqui.
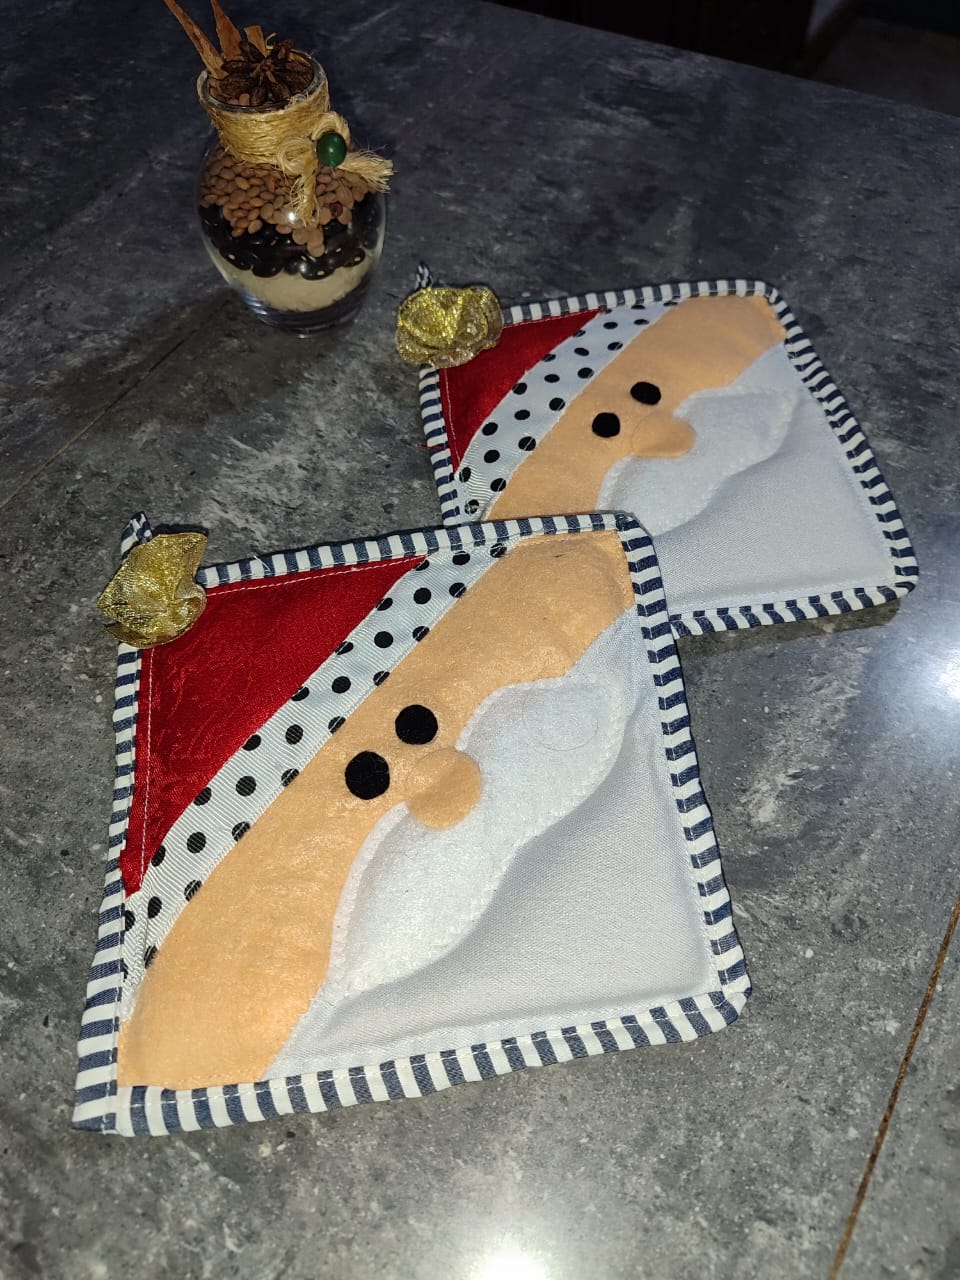
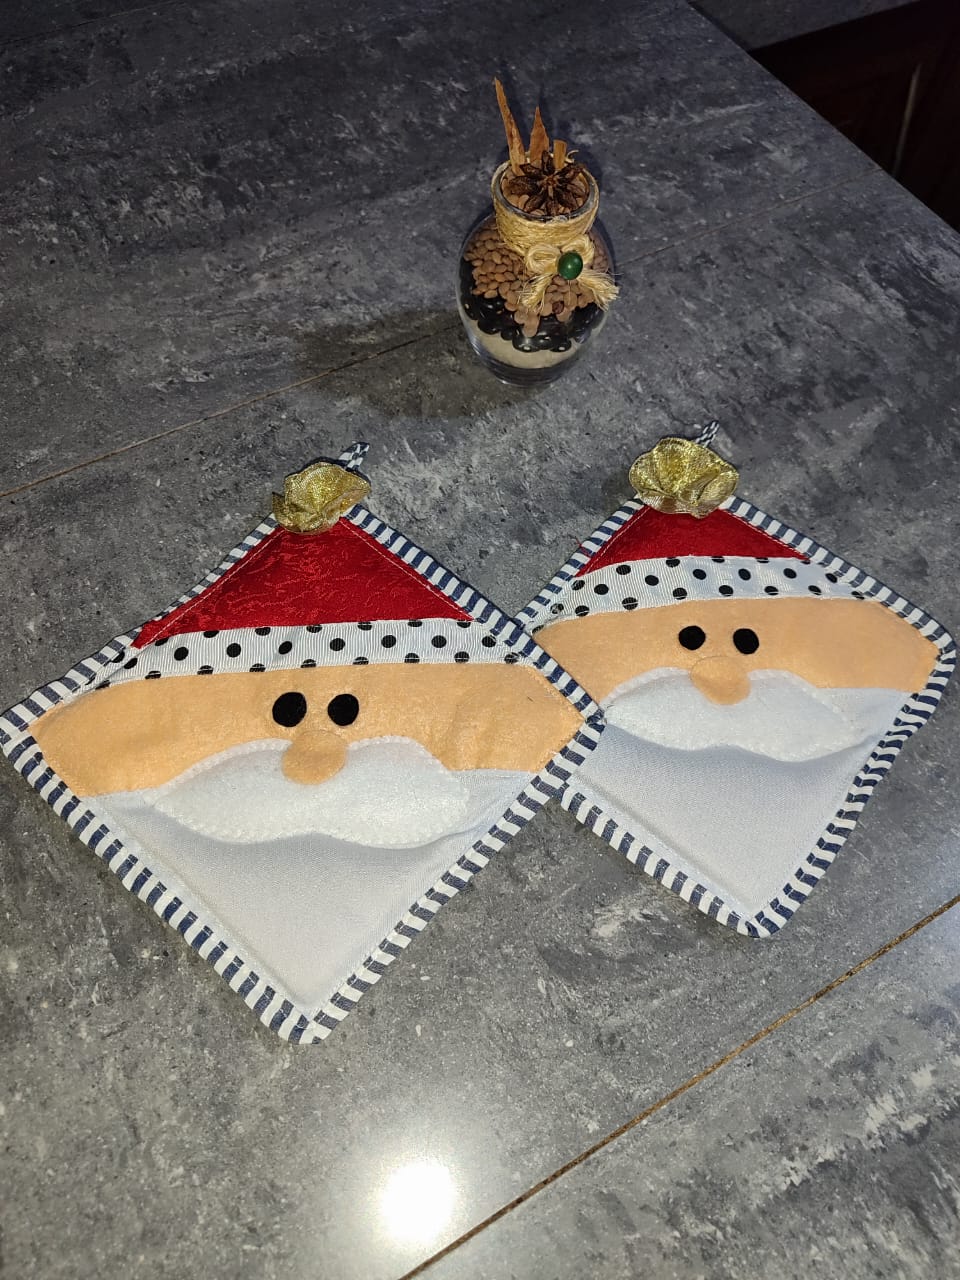
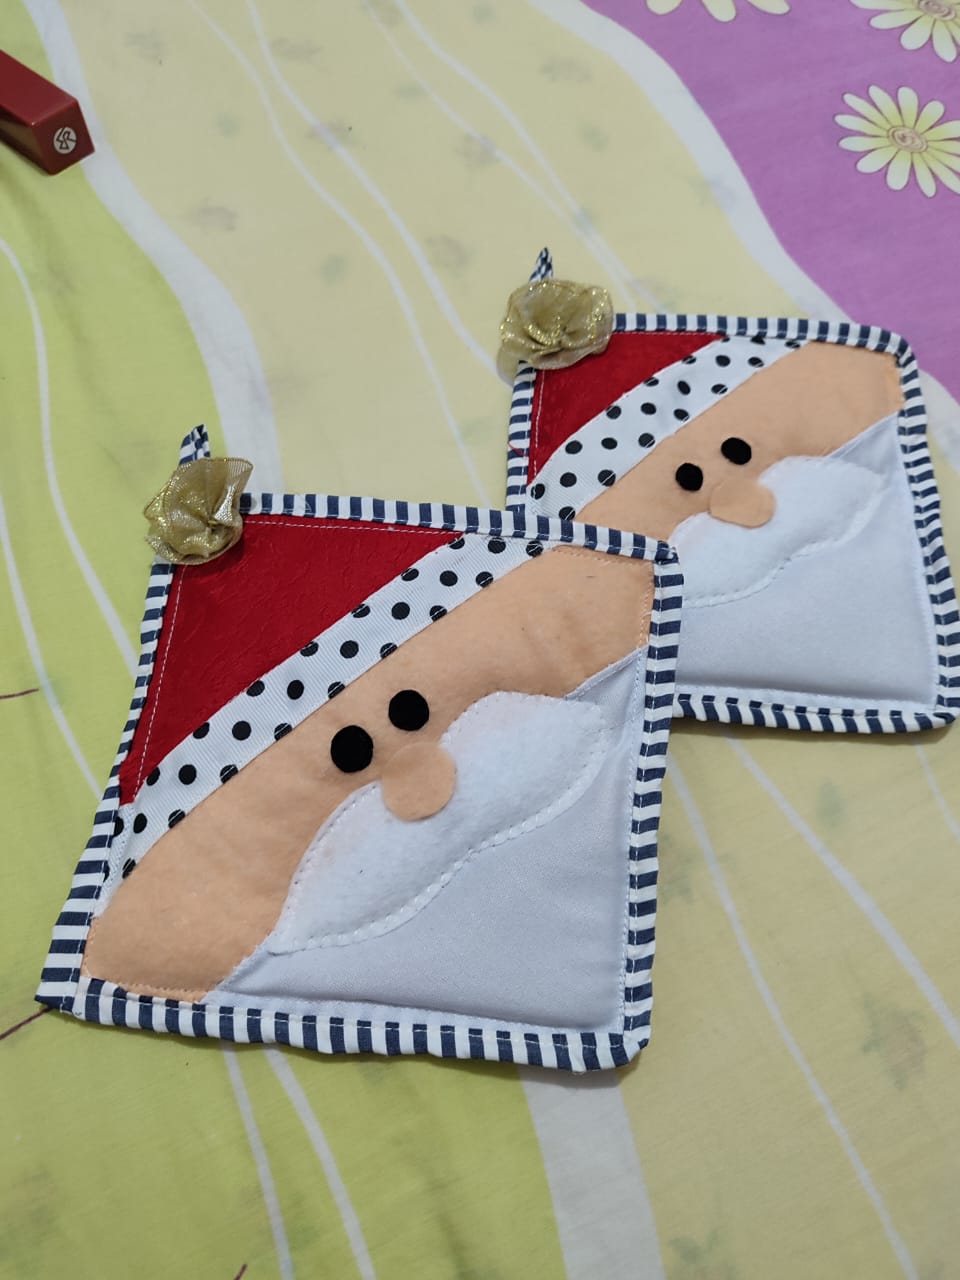
Como yo amo coser en esta temporada para ser participe he elaborado unos bonitos agarraderos de ollas de Santa Claus, muy necesarios para no tener accidentes al cocinar, aunque podrían considerarse tambien un elemento decorativo para un lugarcito en la cocina dependiendo el diseño que tengan pues hay algunos que son tan bonitos que no provoca utilizarlo por miedo a quemarlos 🤭.Y como navidad es dar amor y compartir yo aproveché la oportunidad y el motivo para hacerlos como obsequio a mi tia en estas fechas, ya que le debía un regalo de cumpleaños..
Los he creado de una sencilla forma con trozos de tela, que siendo honesta no fue mucho el tiempo que me tomo hacerlos, pero si es necesario tener mucho cuidado al momento de unir cada pieza. Si te gusta está idea ven acompañame hasta el final y aprende conmigo a elaborarlos.
Happy Friday my dear textile artists, it is a blessing to be with you again to share a new sewing tutorial, this time is very special for me because I come to join the contest proposed in my beloved community @needleworkmonday, where they cordially invite us to create art with needles for Christmas.
More information Here
As I love to sew in this season to participate, I have made some pretty Santa Claus pot holders, very necessary to avoid accidents when cooking, although they could also be considered a decorative element for a little place in the kitchen depending on the design they have because there are some that are so beautiful that it does not cause them to be used for fear of burning them 🤭. And since Christmas is about giving love and sharing, I took advantage of the opportunity and the reason to make them as a gift to my aunt on these dates , since I owed him a birthday gift..
I have created them in a simple way with pieces of fabric, which to be honest did not take much time to make, but it is necessary to be very careful when joining each piece. If you like this idea, come with me until the end and learn with me how to make them.
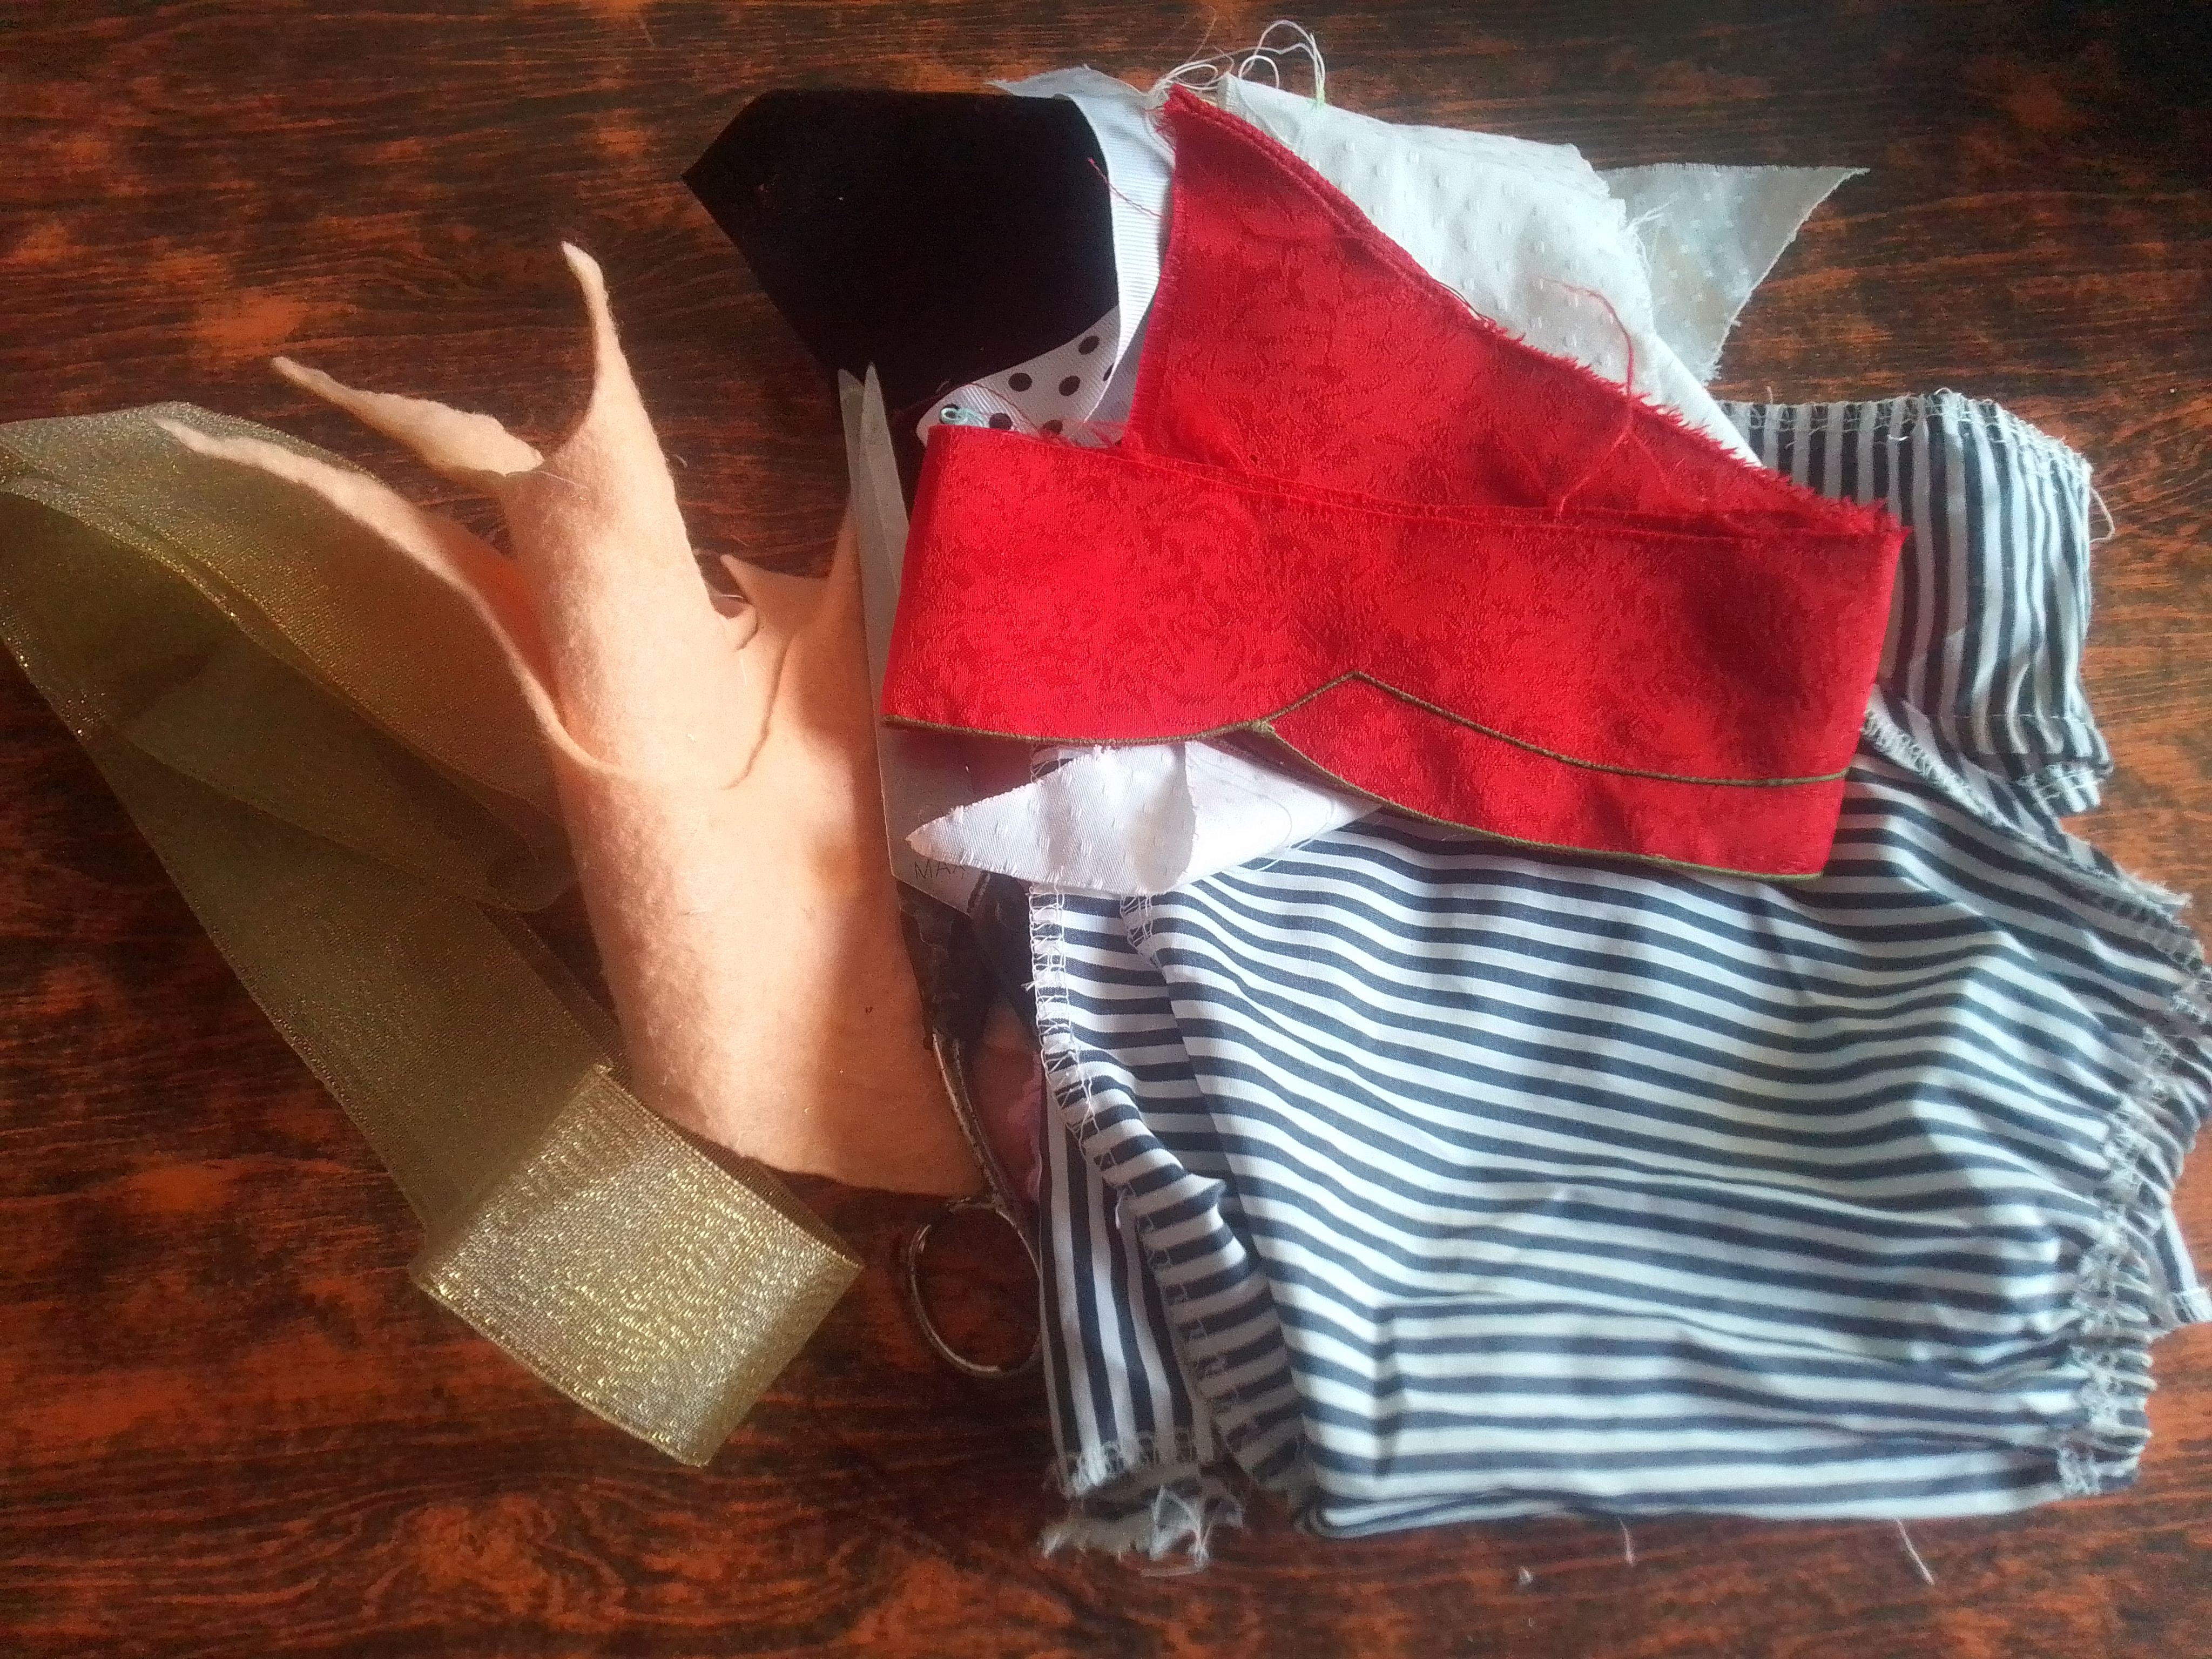
🎅Materiales que necesitas:
- Tela de seda de rayas.
- Tela roja, de puntos, negra y blanca.
- Fieltro color carne.
- Relleno.
- Tijeras.
- Alfileres.
- Cinta métrica.
- Máquina de coser.
- Striped silk fabric.
- Red, dotted, black and white fabric.
- Flesh colored felt.
- Stuffed.
- Scissors.
- Pins.
- Tape measure.
- Sewing machine.
🎅(PROCEDIMIENTO)
Paso 01
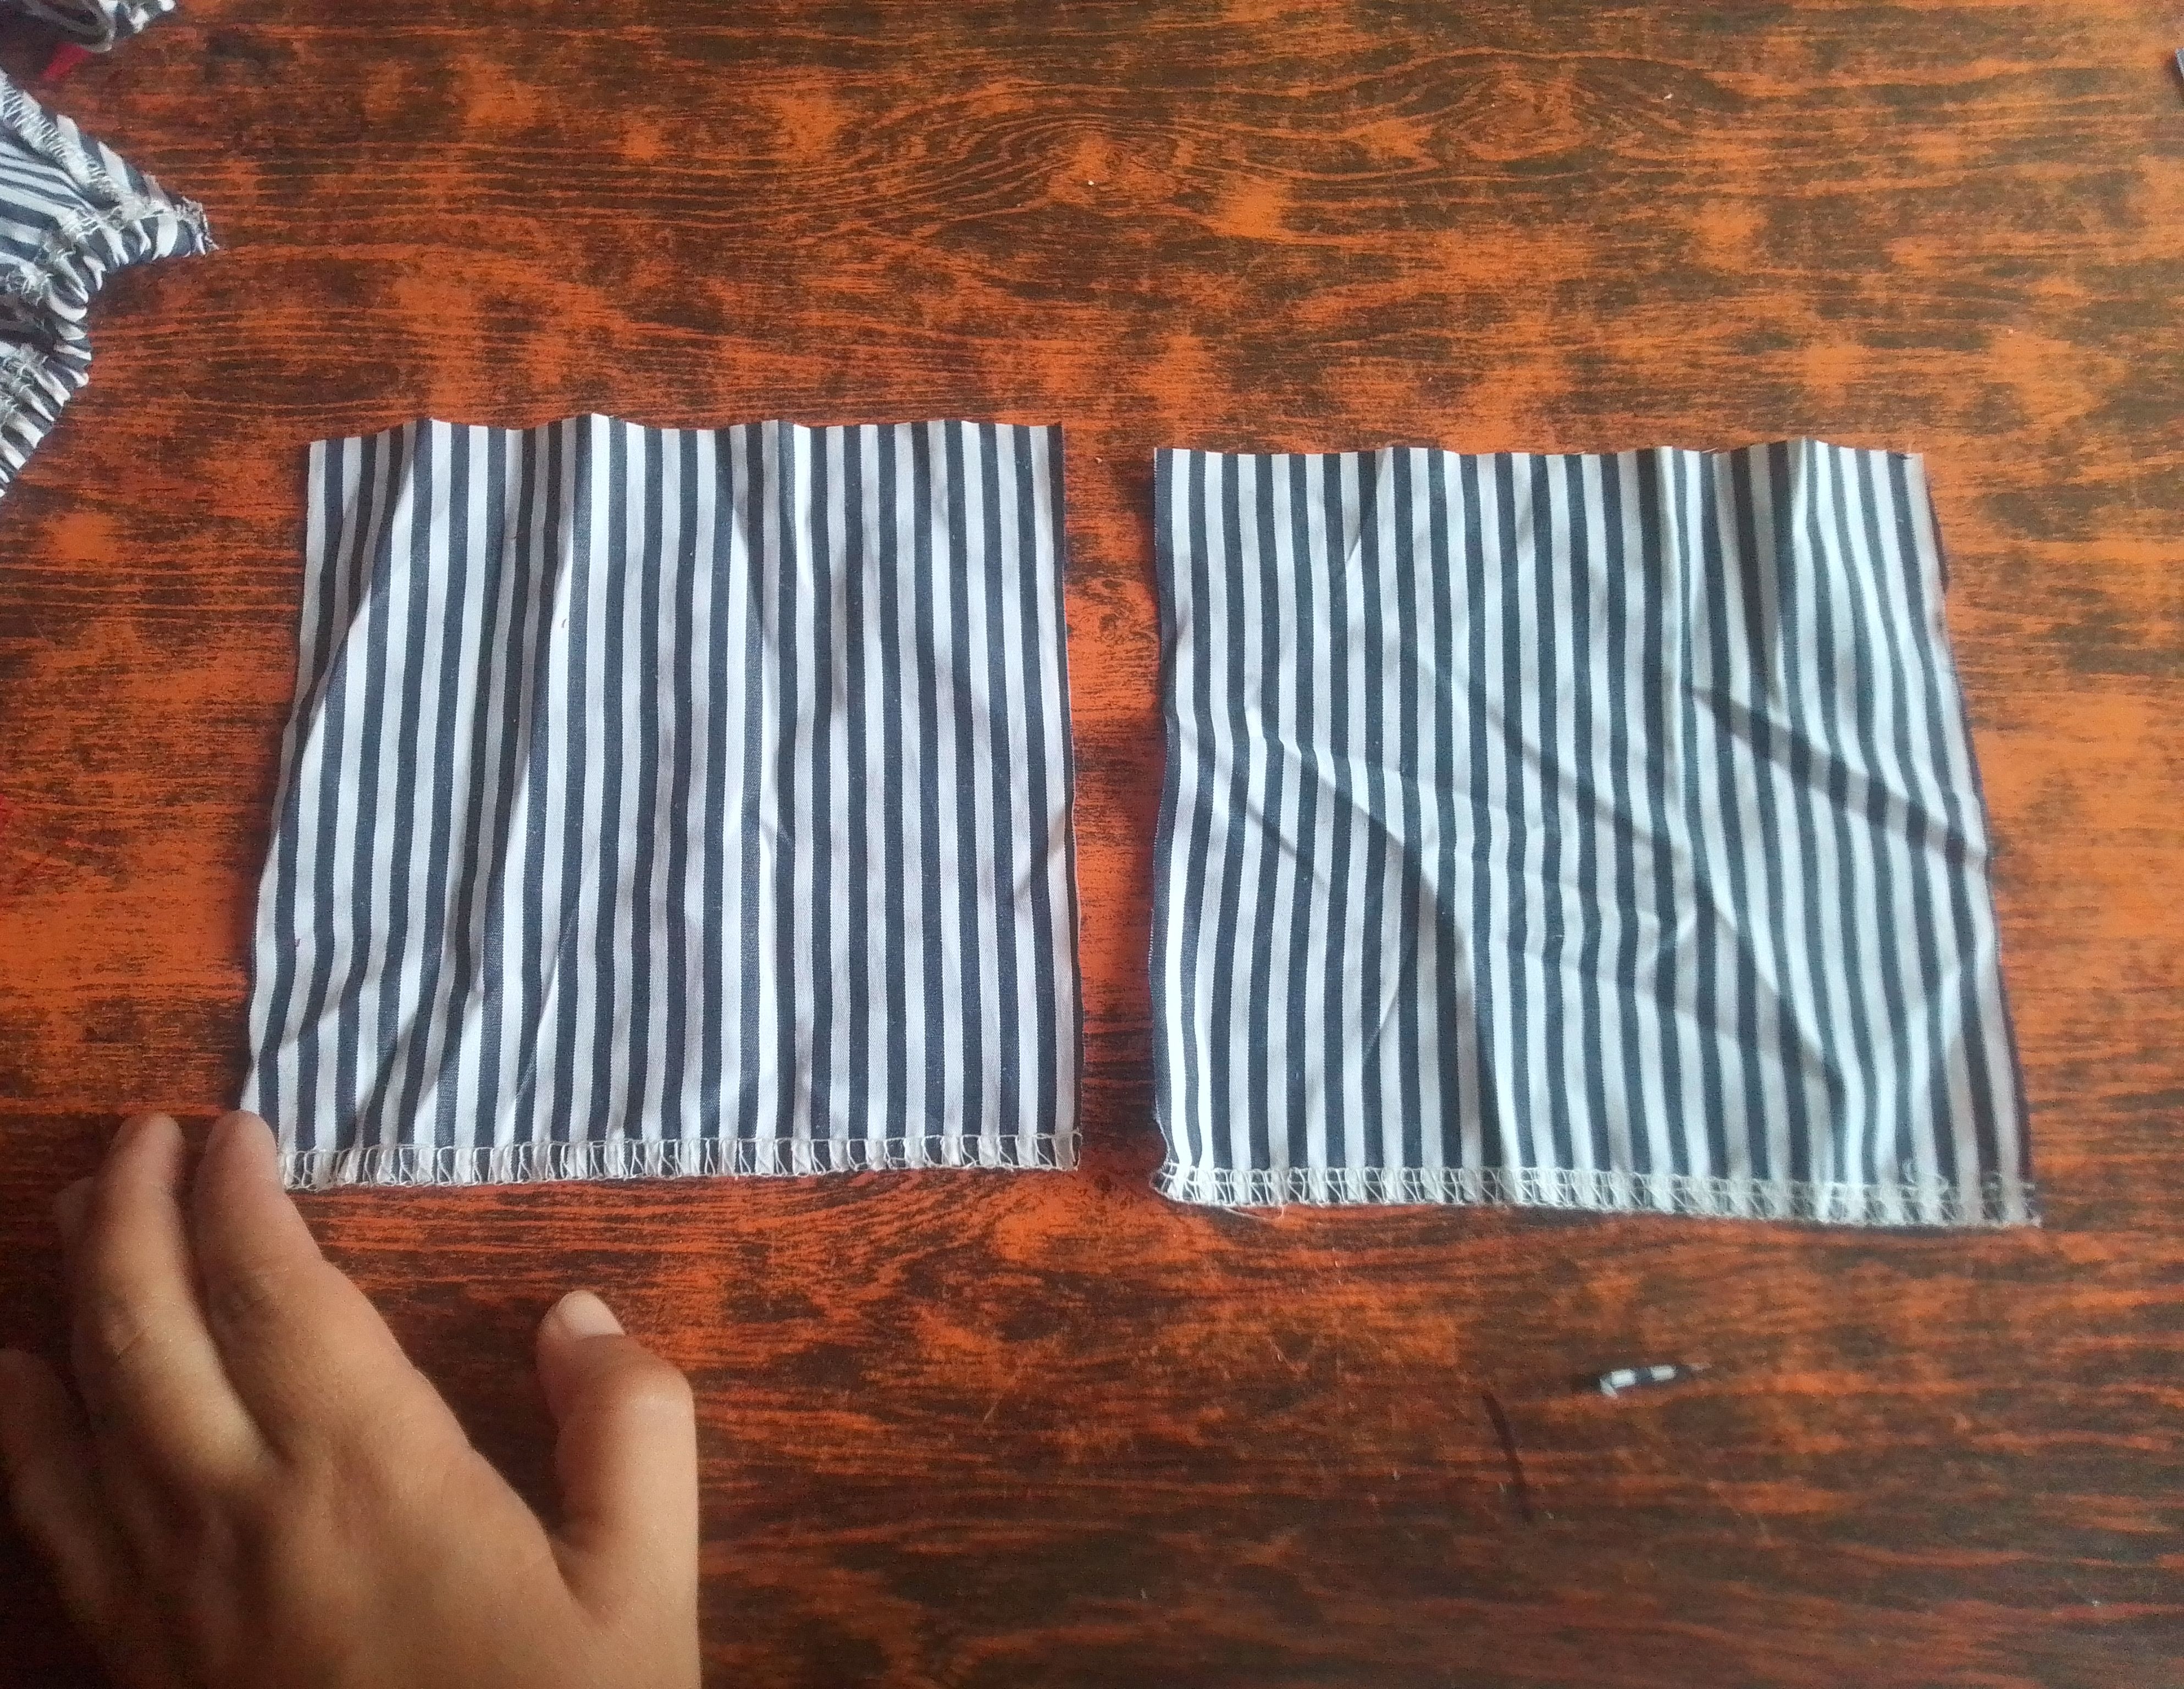
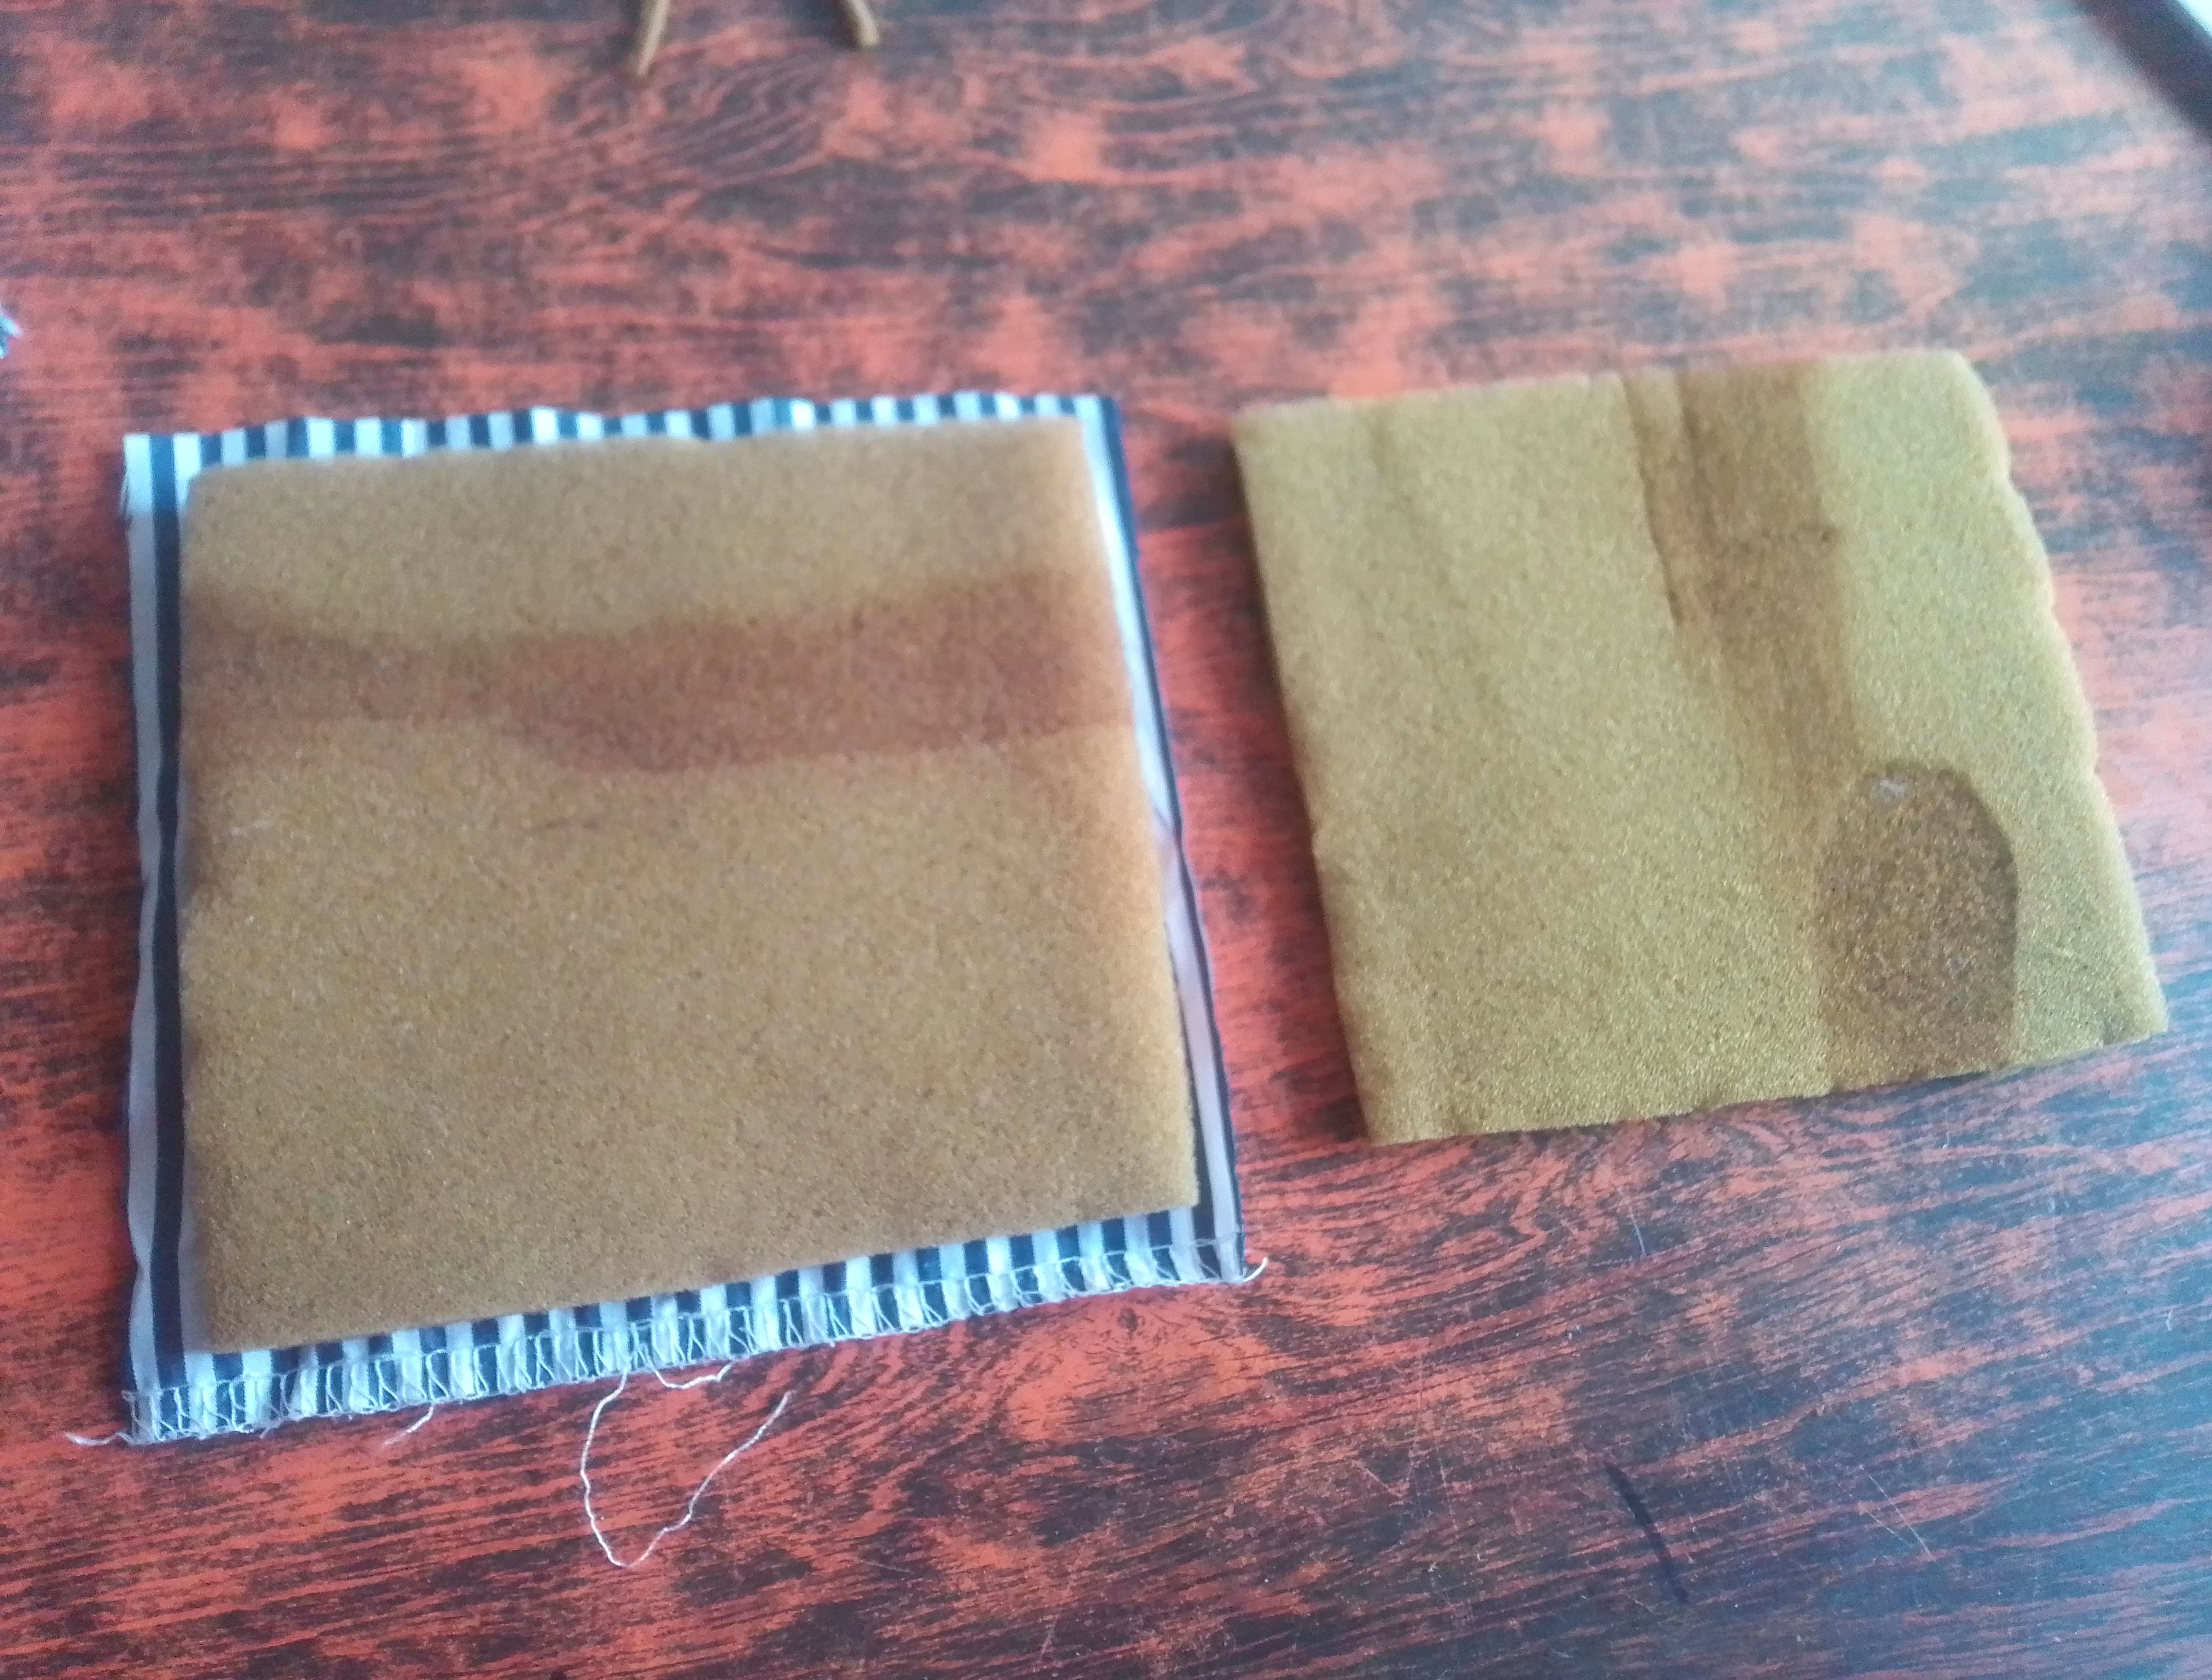
Bien compañeros lo primero que vamos a hacer para darle inicio a este proyecto es cortar en un tela preferiblemente no flexible dos cuadrados de tela del tamaño de su preferencia, yo los hice de 12x12 cm y también voy a cortar 1 cm menos los cuadrados de relleno, es decir dw 11x11cm.
Step 01
Well, friends, the first thing we are going to do to start this project is to cut two squares of fabric of the size of your preference in a preferably non-flexible fabric, I made them 12x12 cm and also I am going to cut 1 cm minus the filling squares, that is, dw 11x11cm.
Paso 02
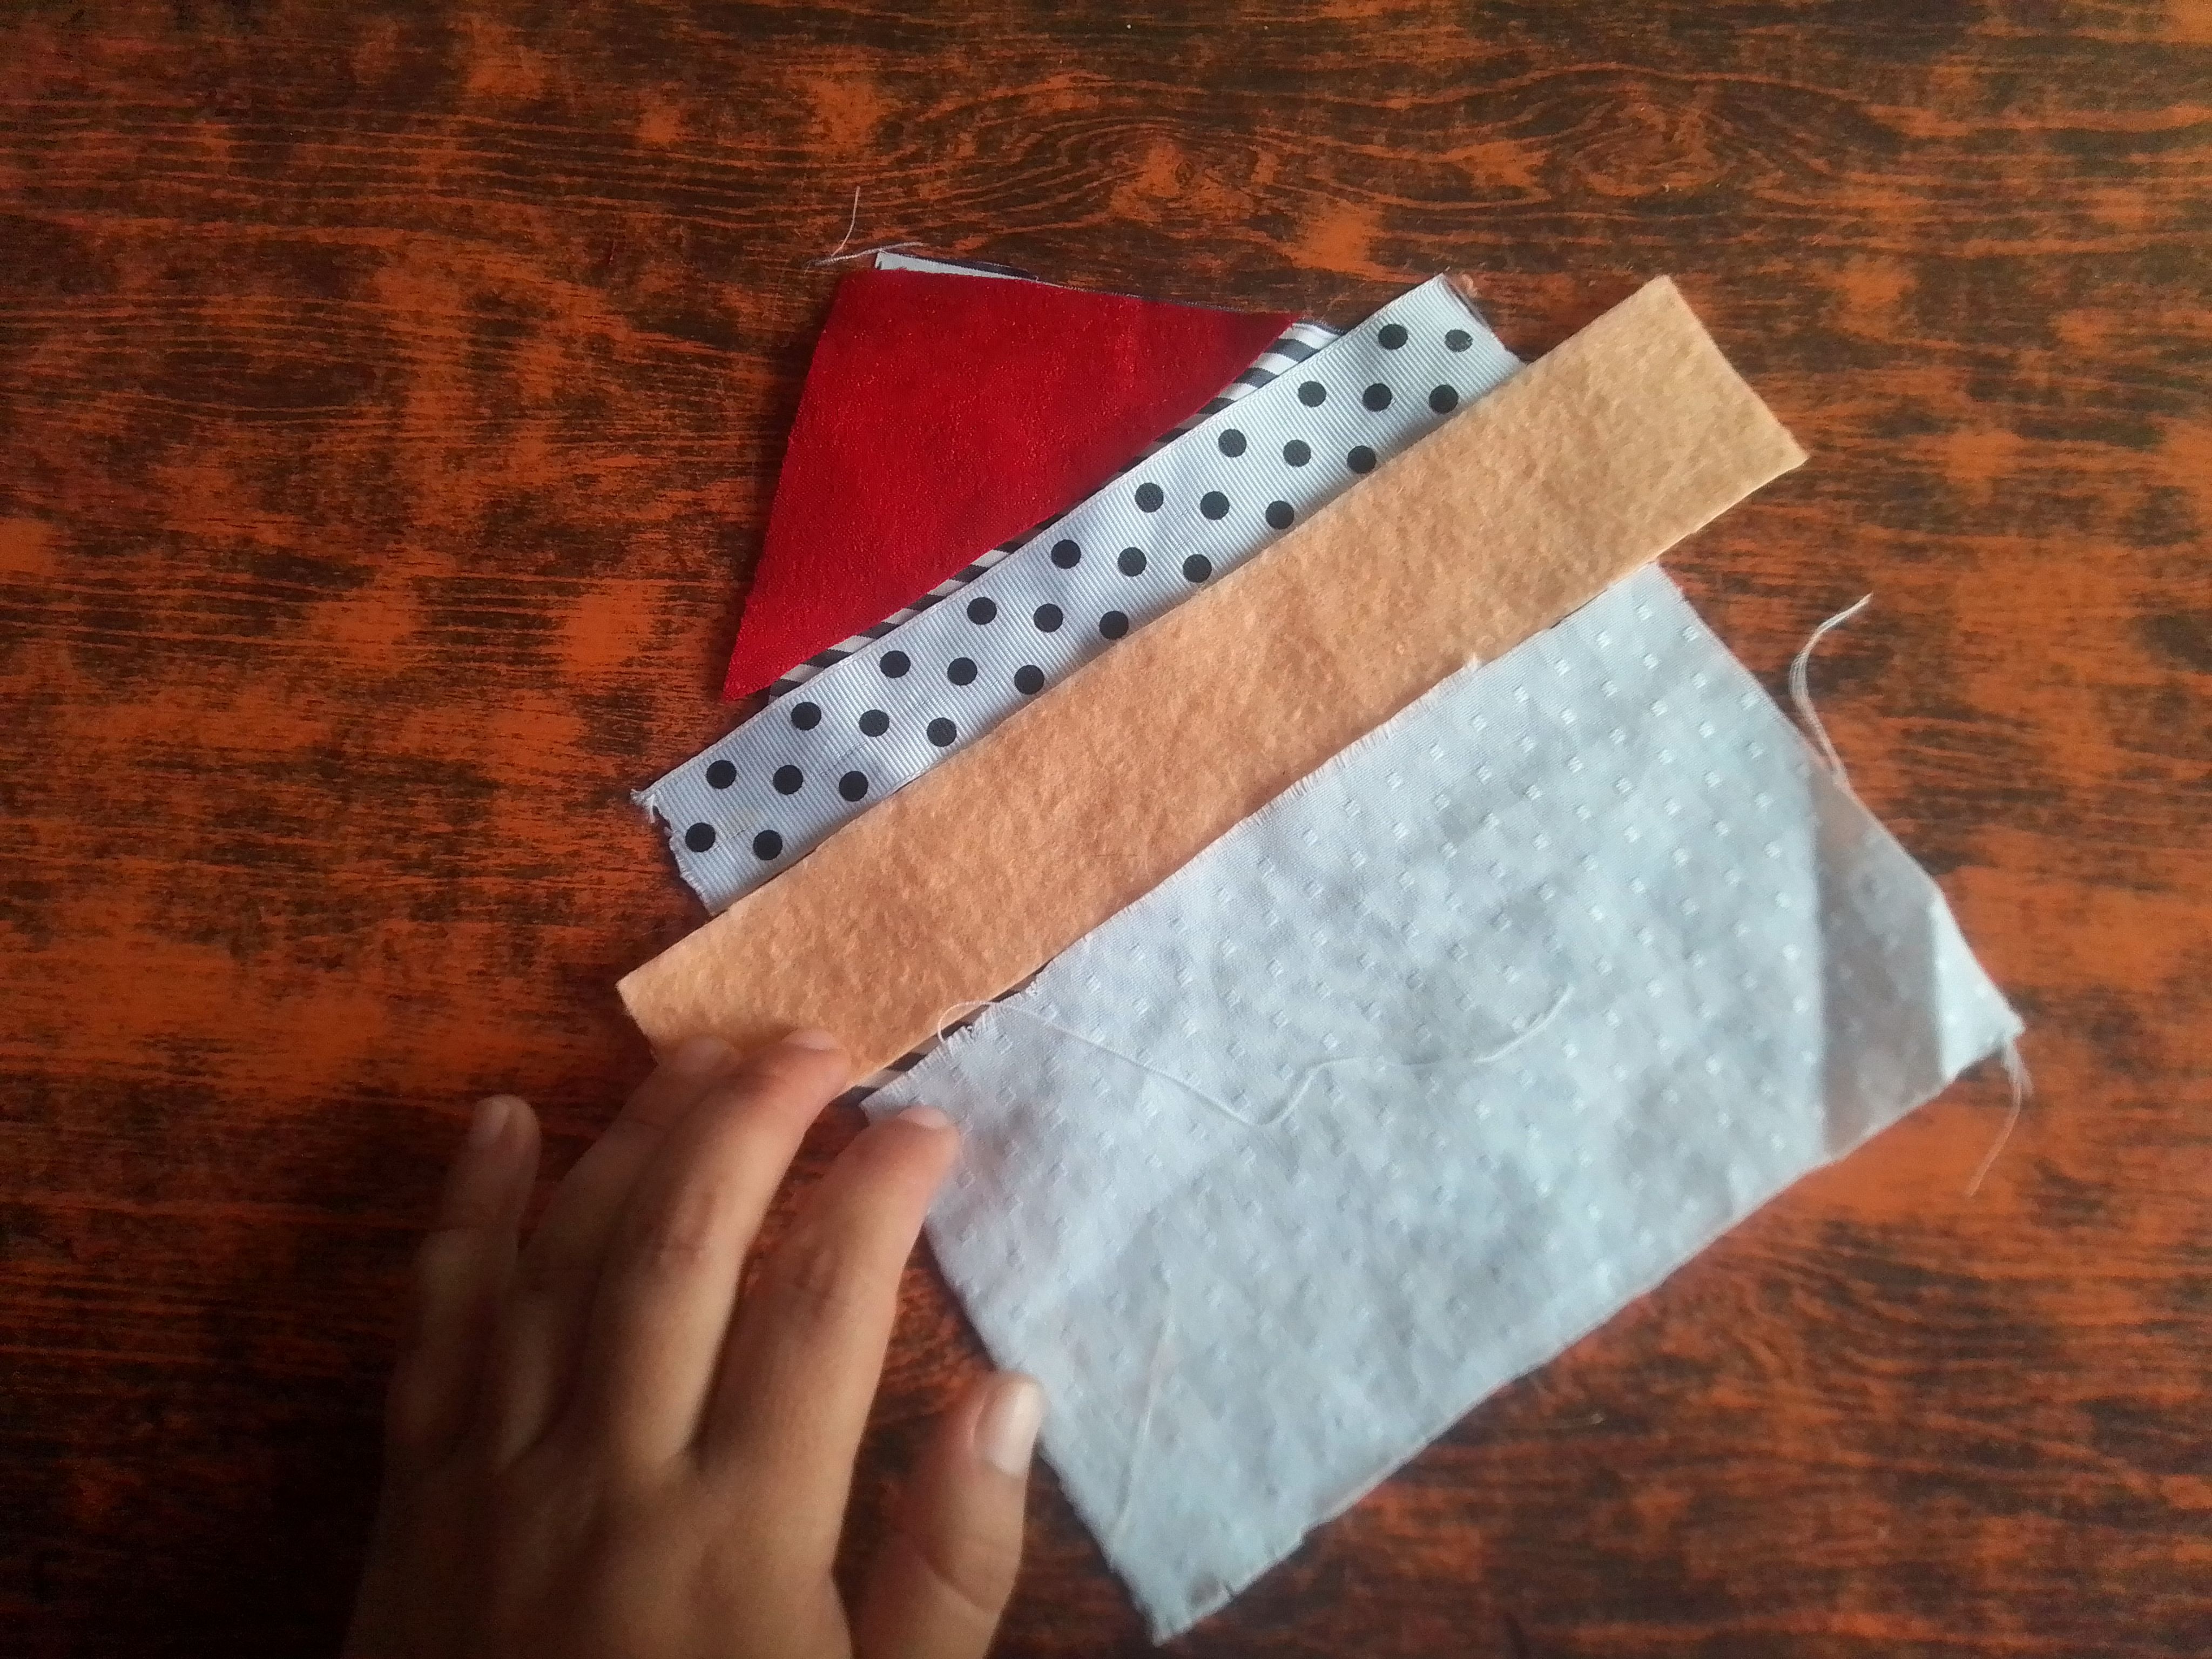
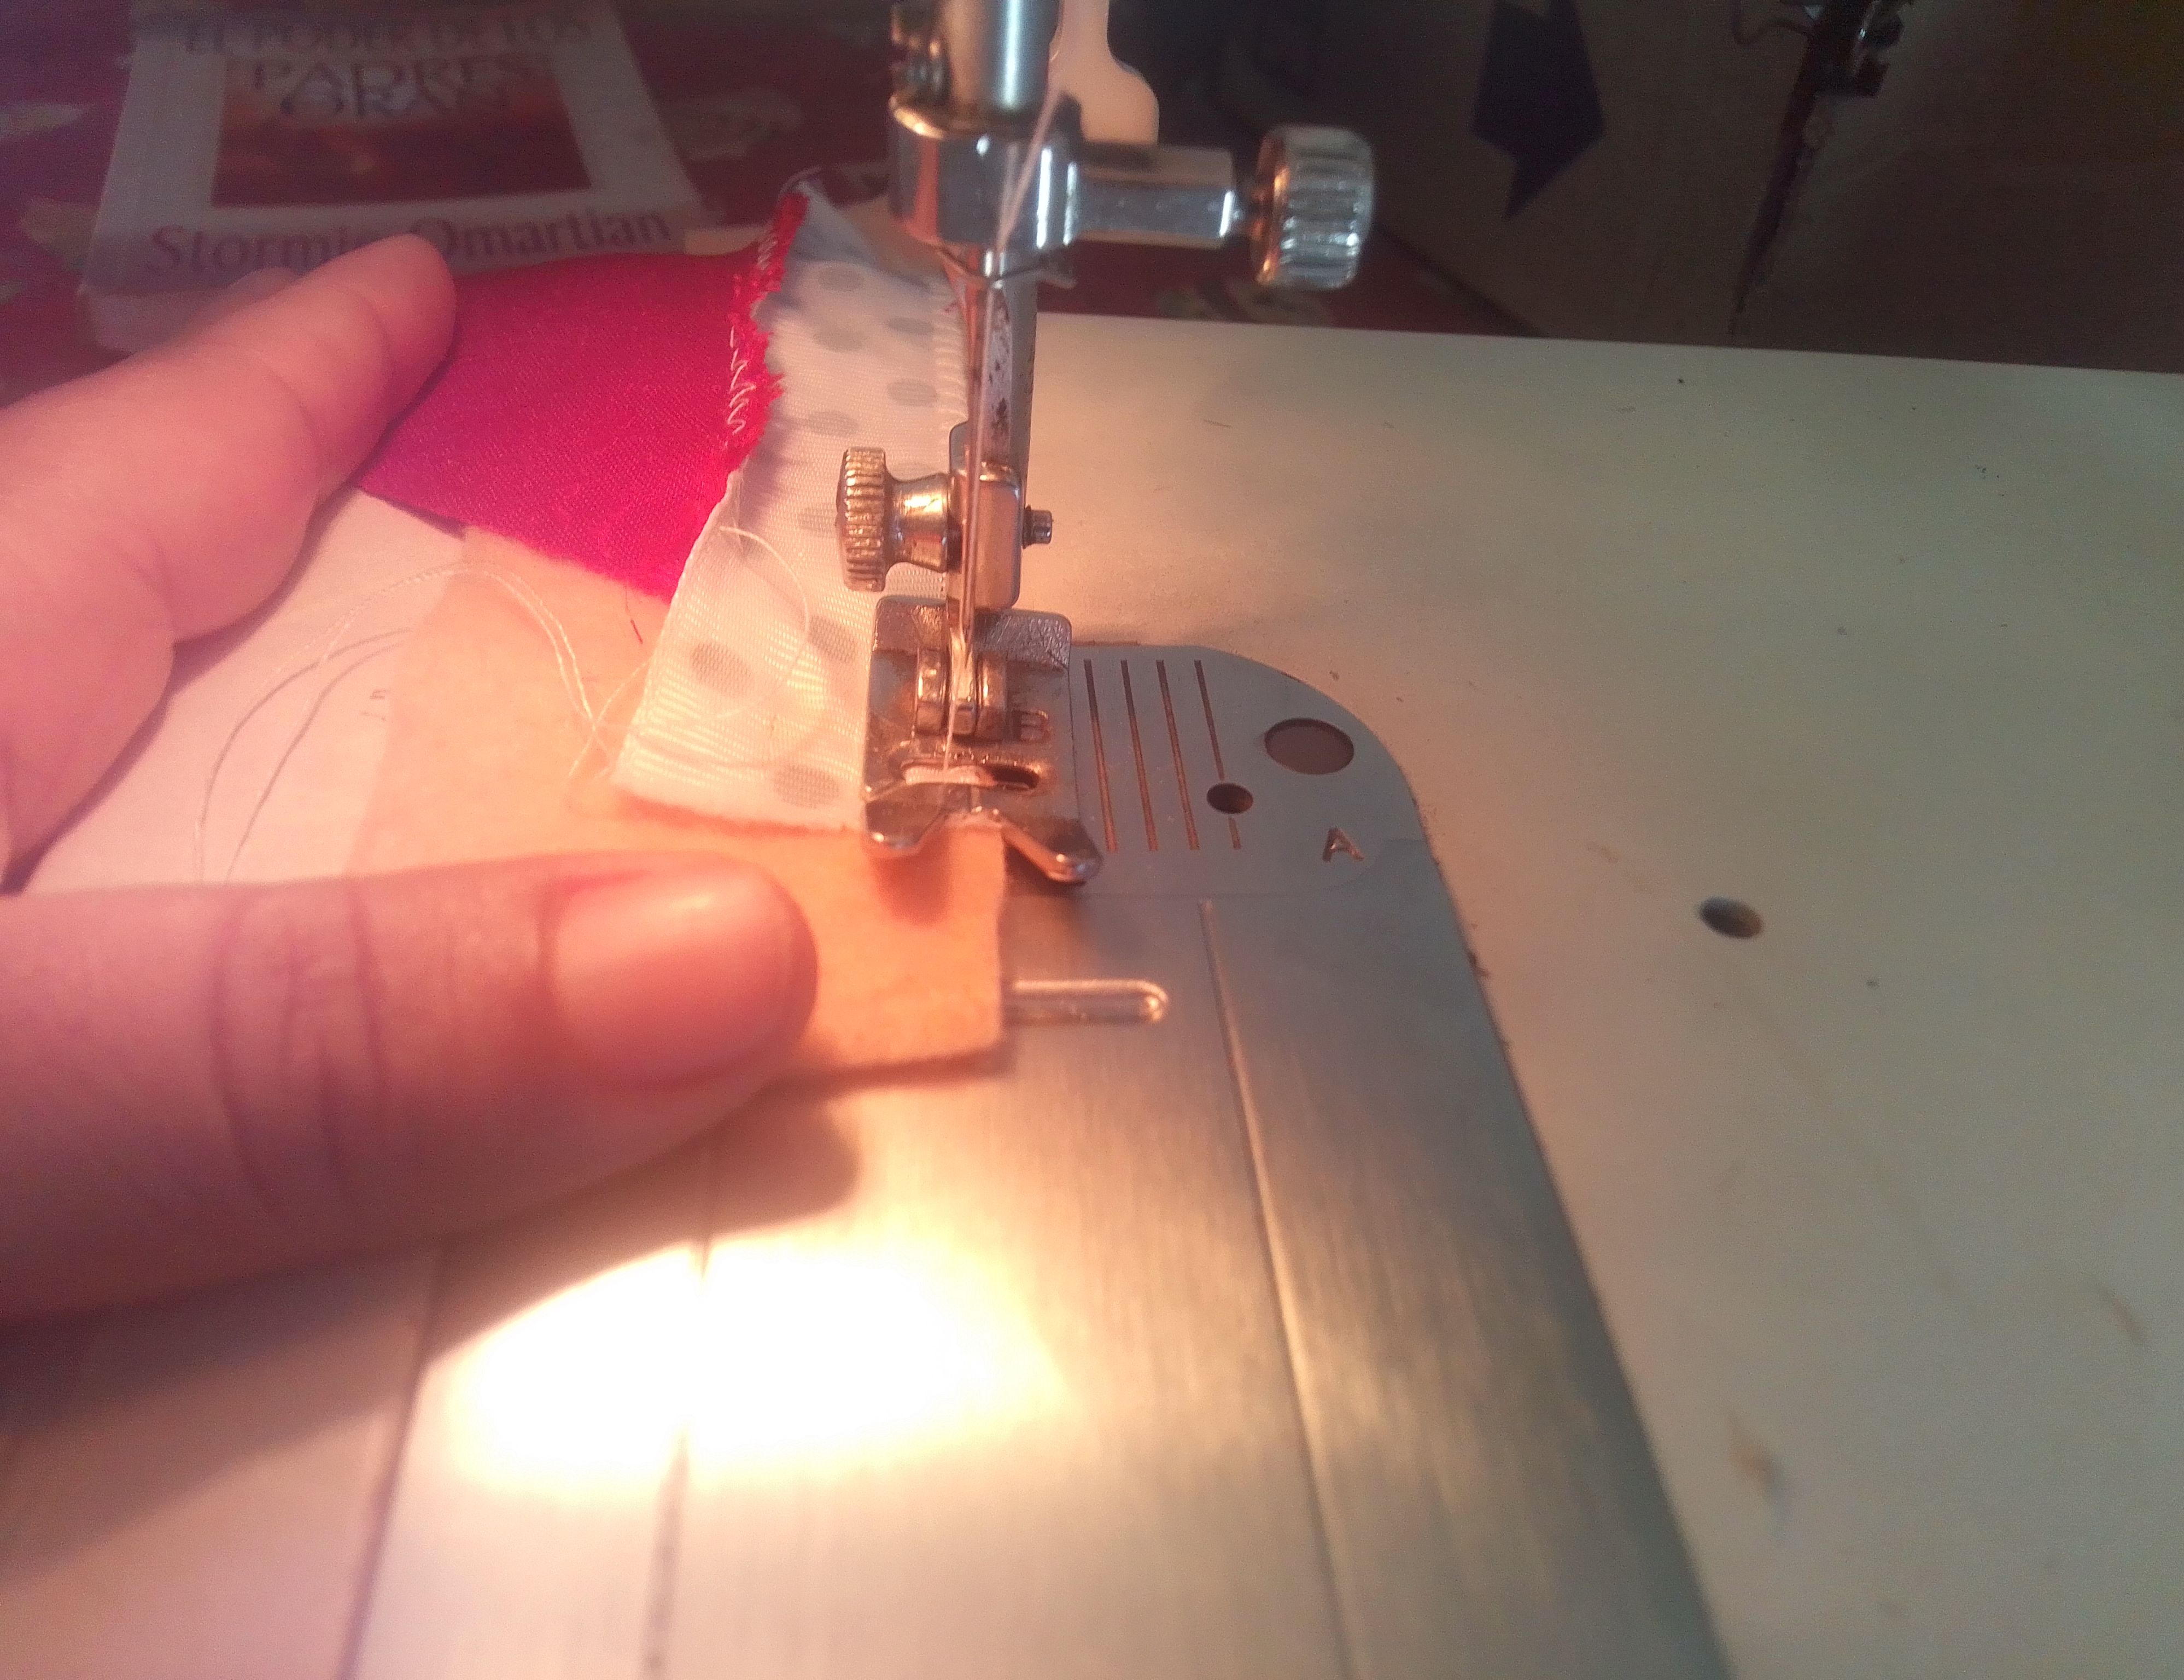
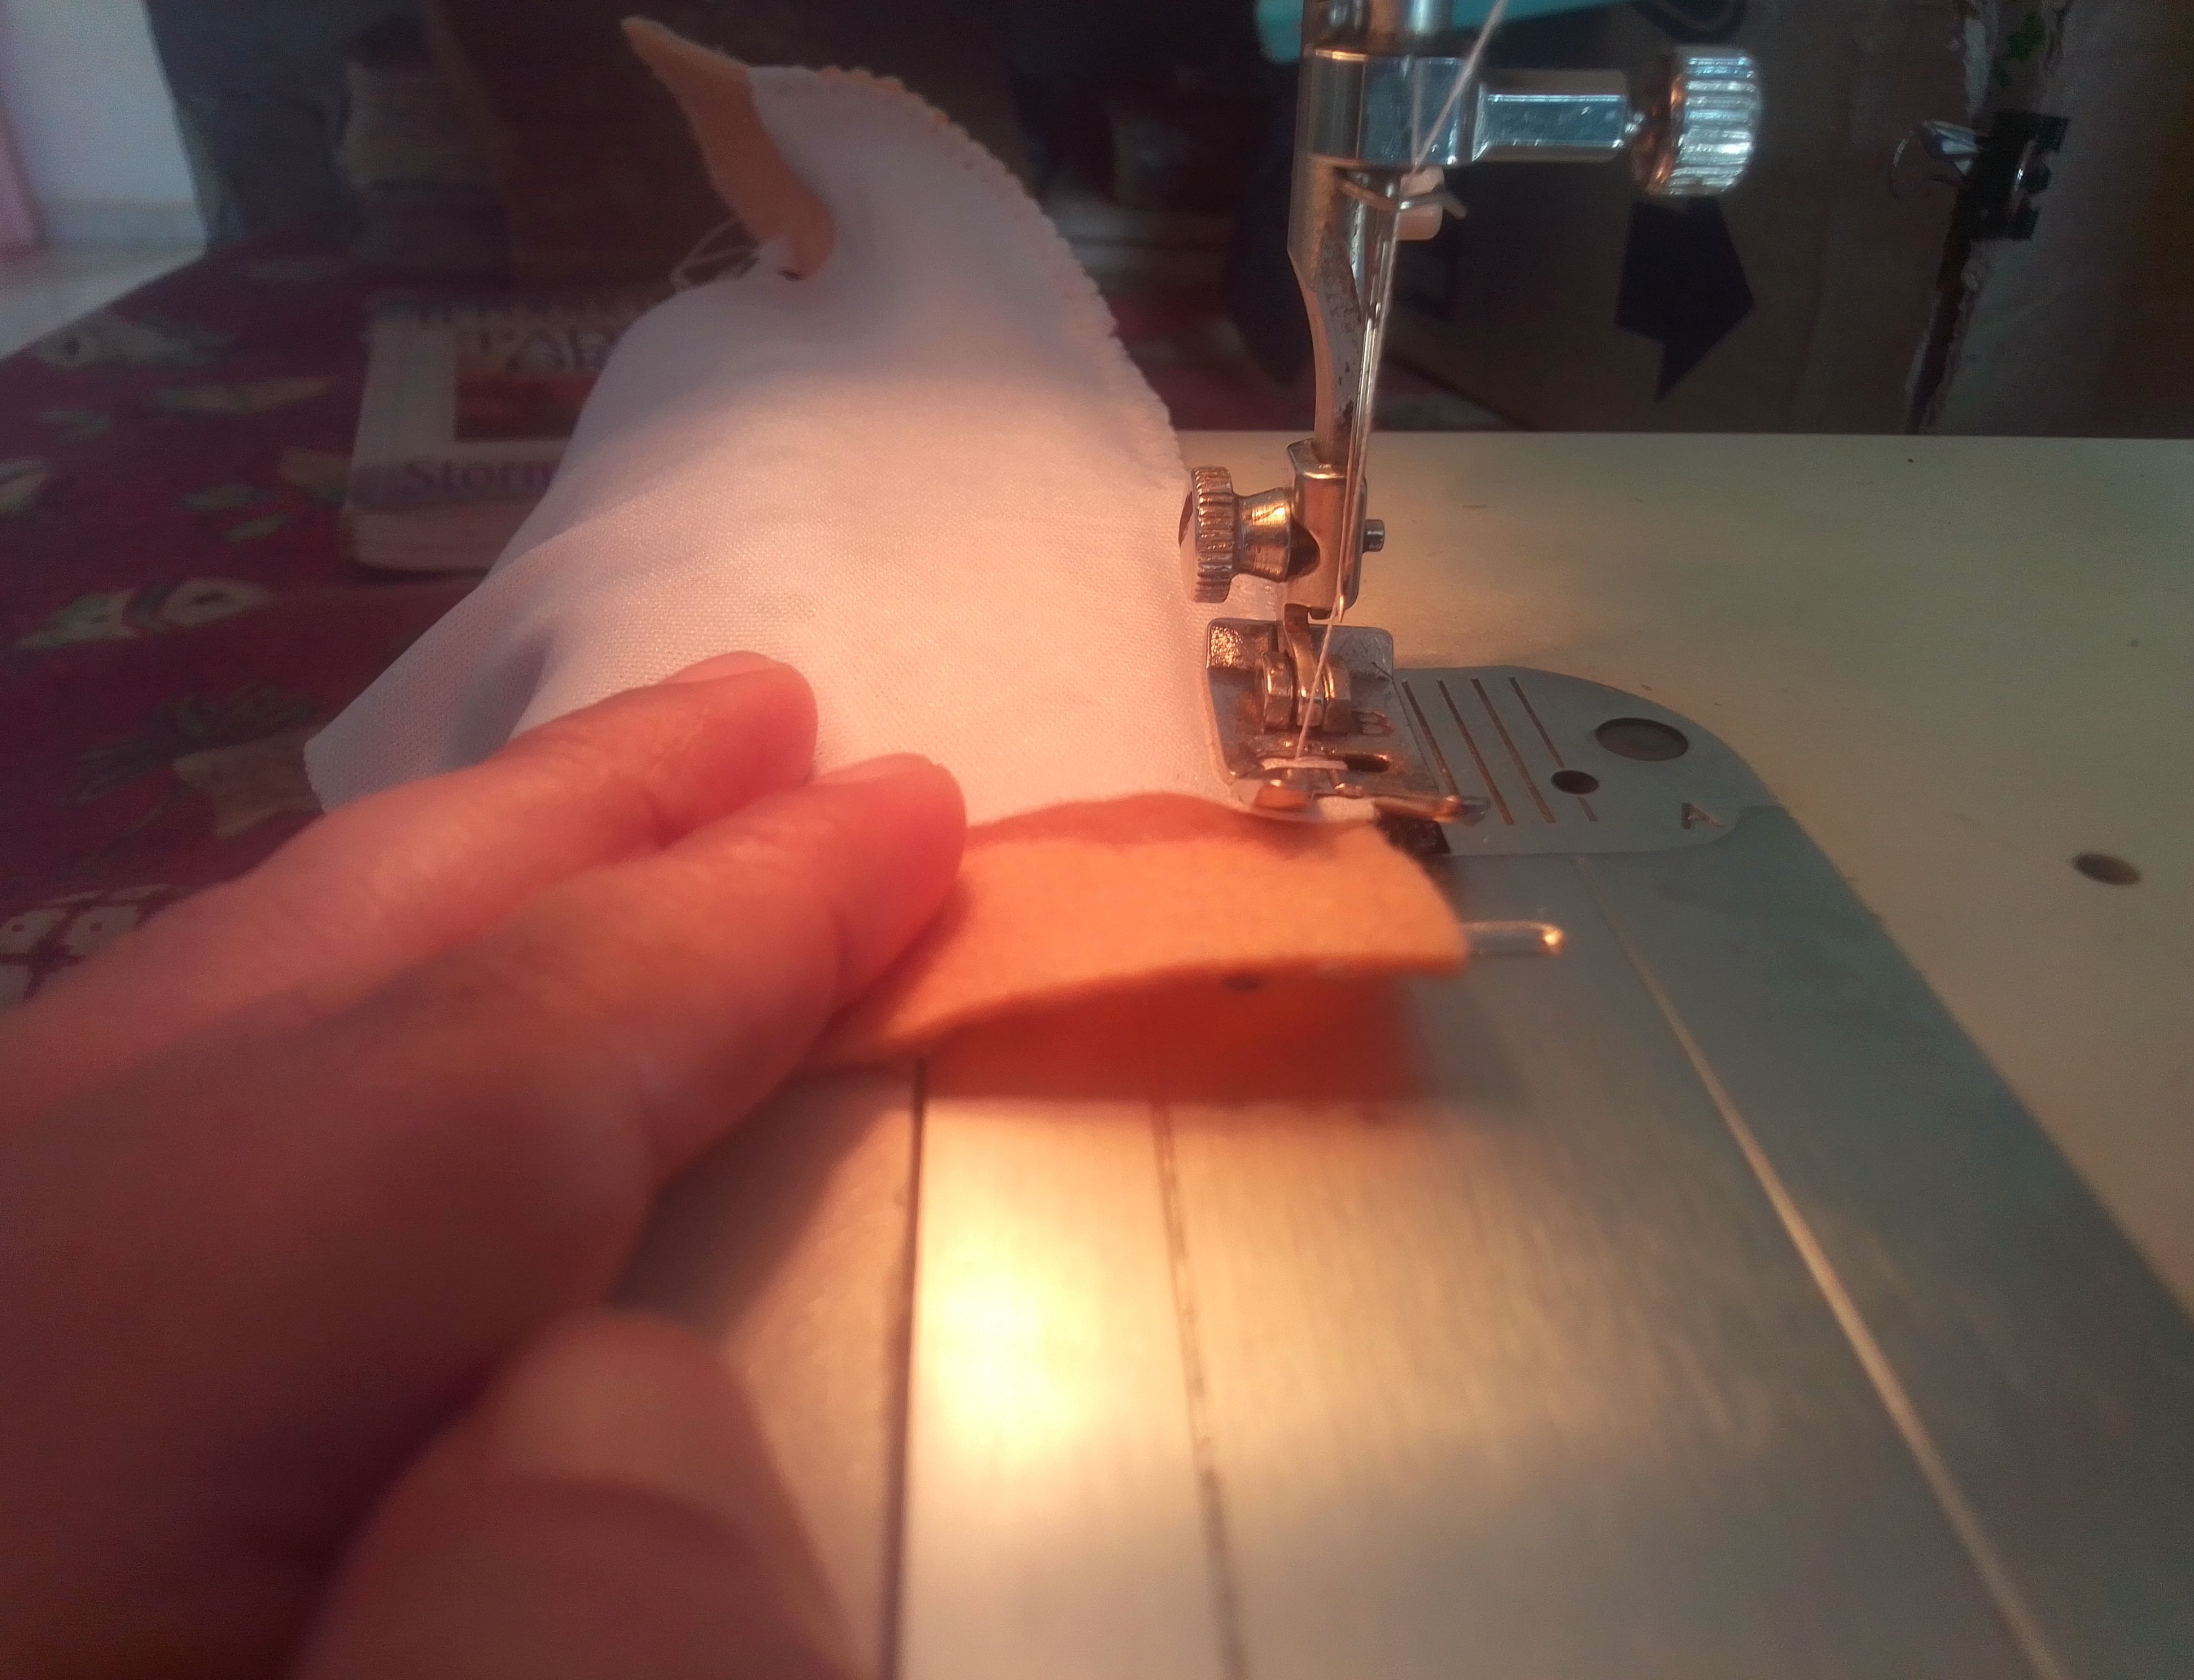
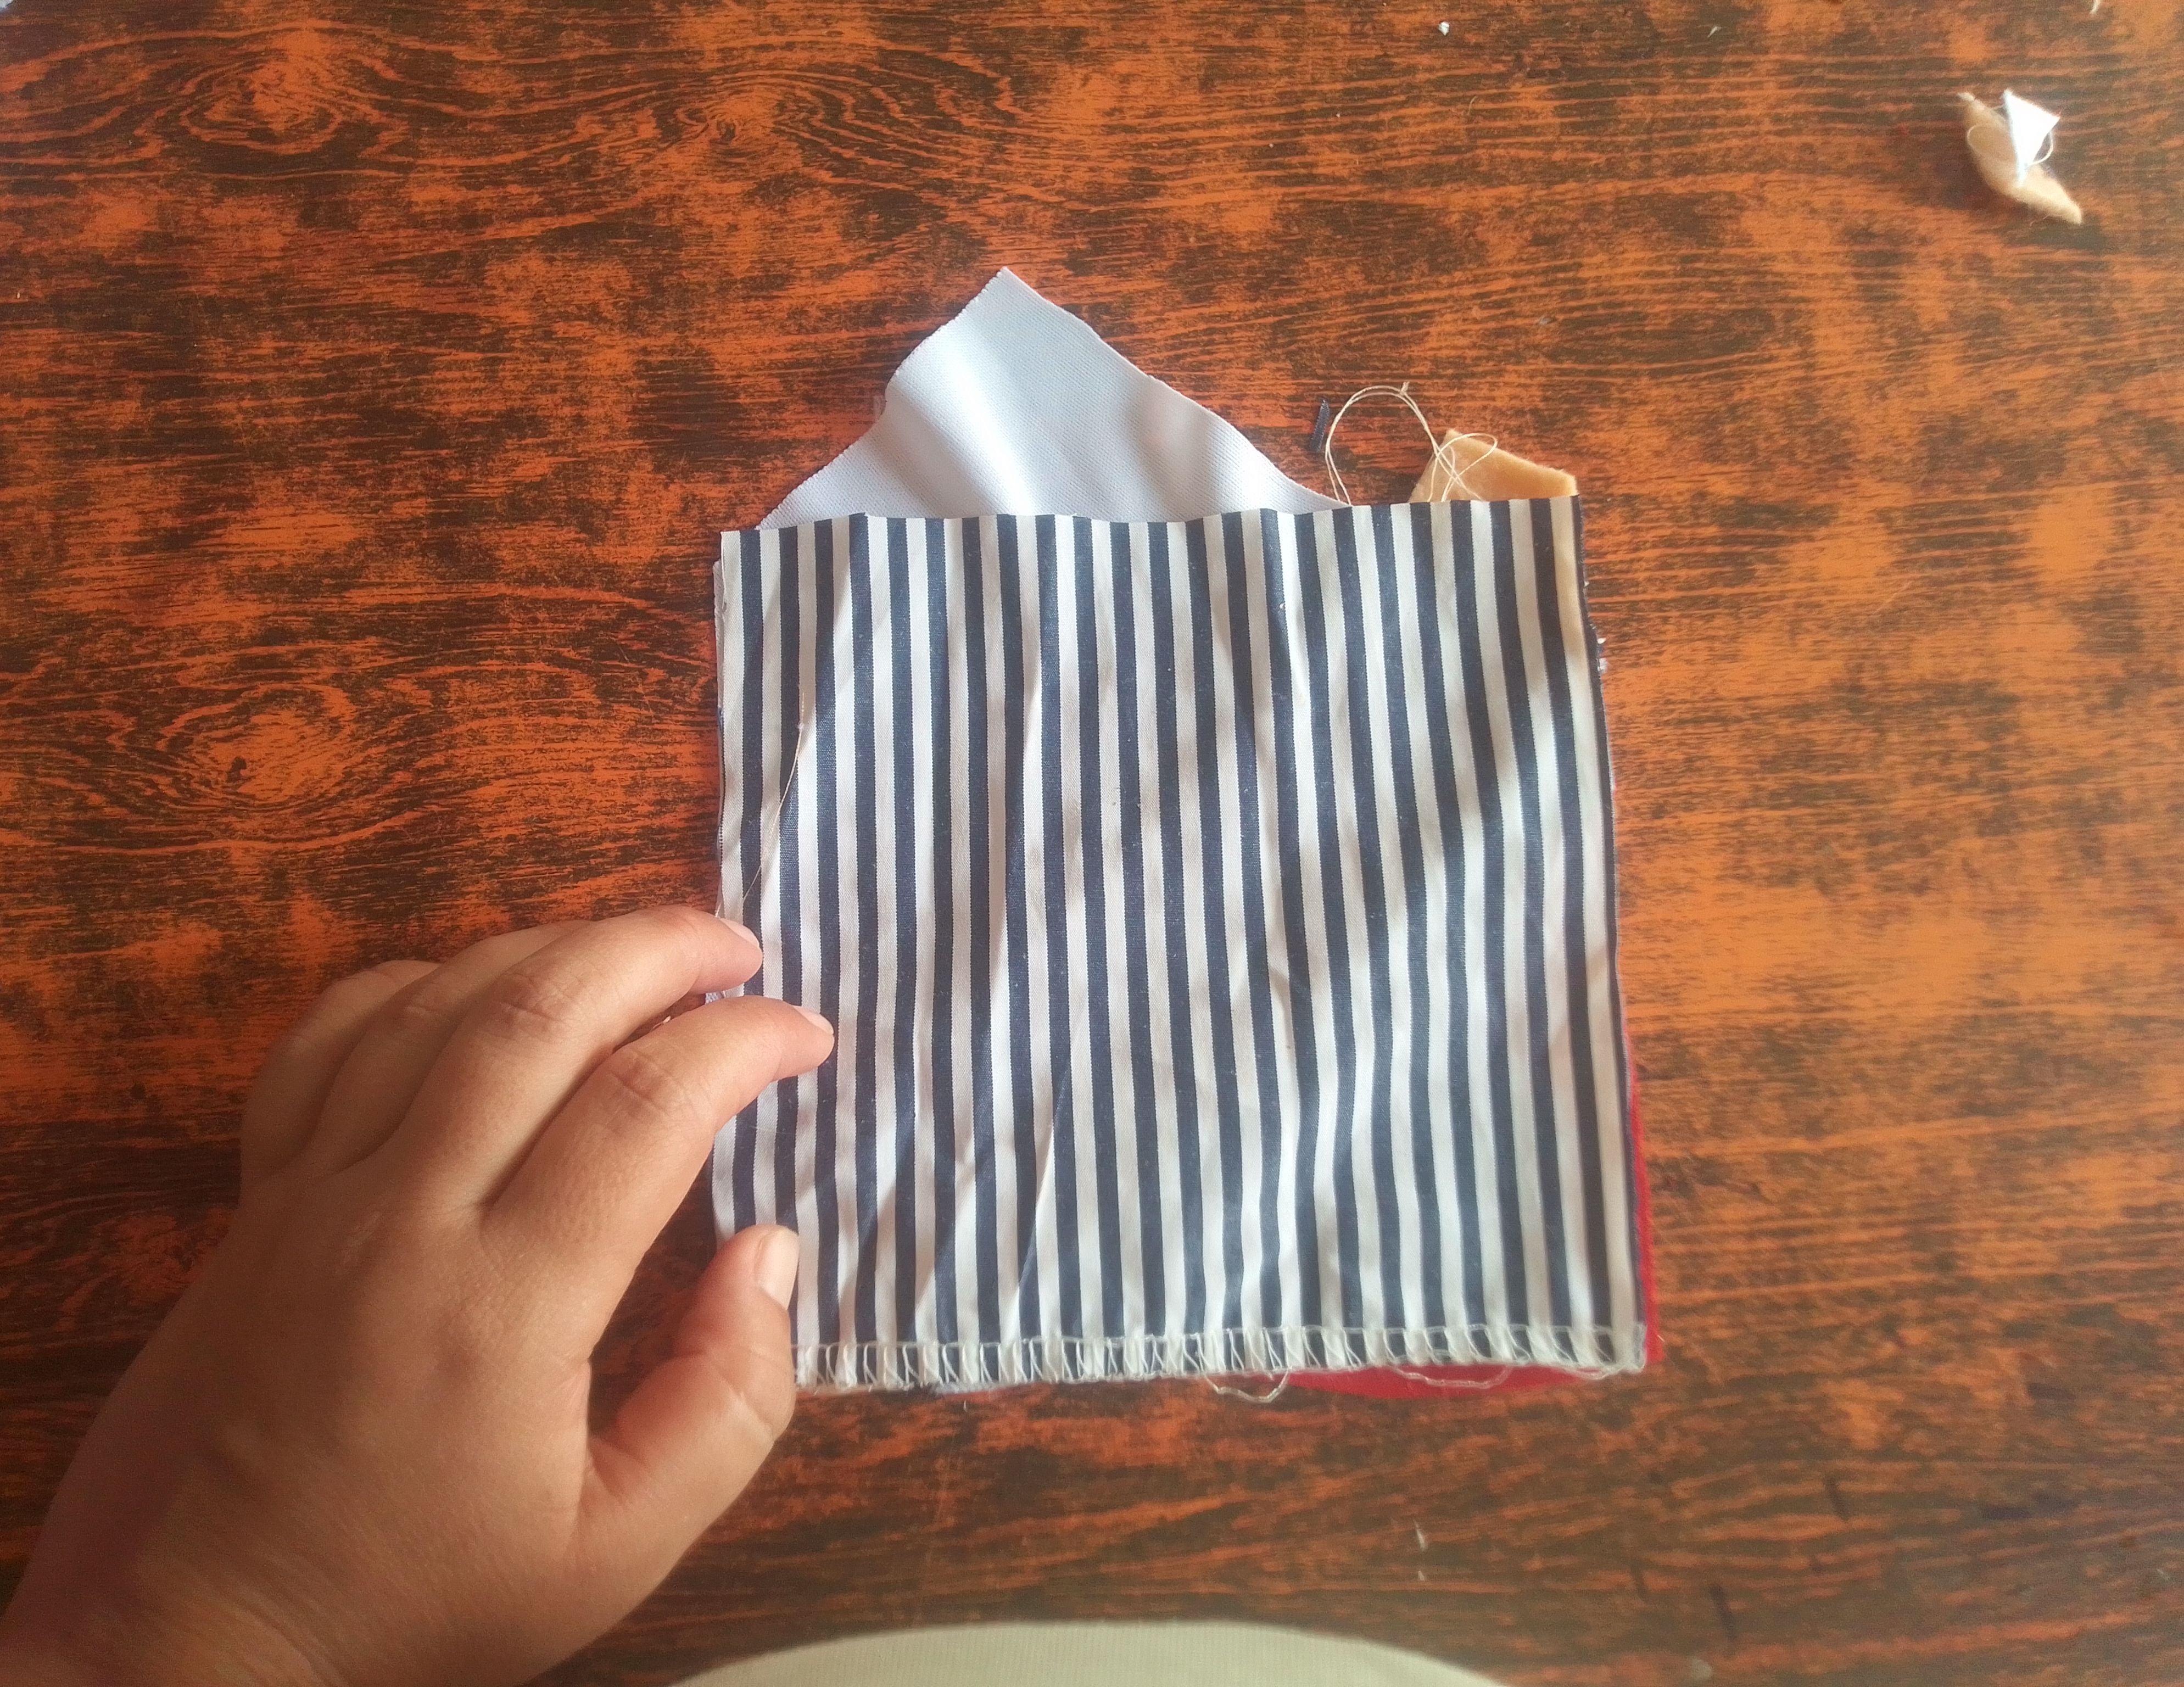
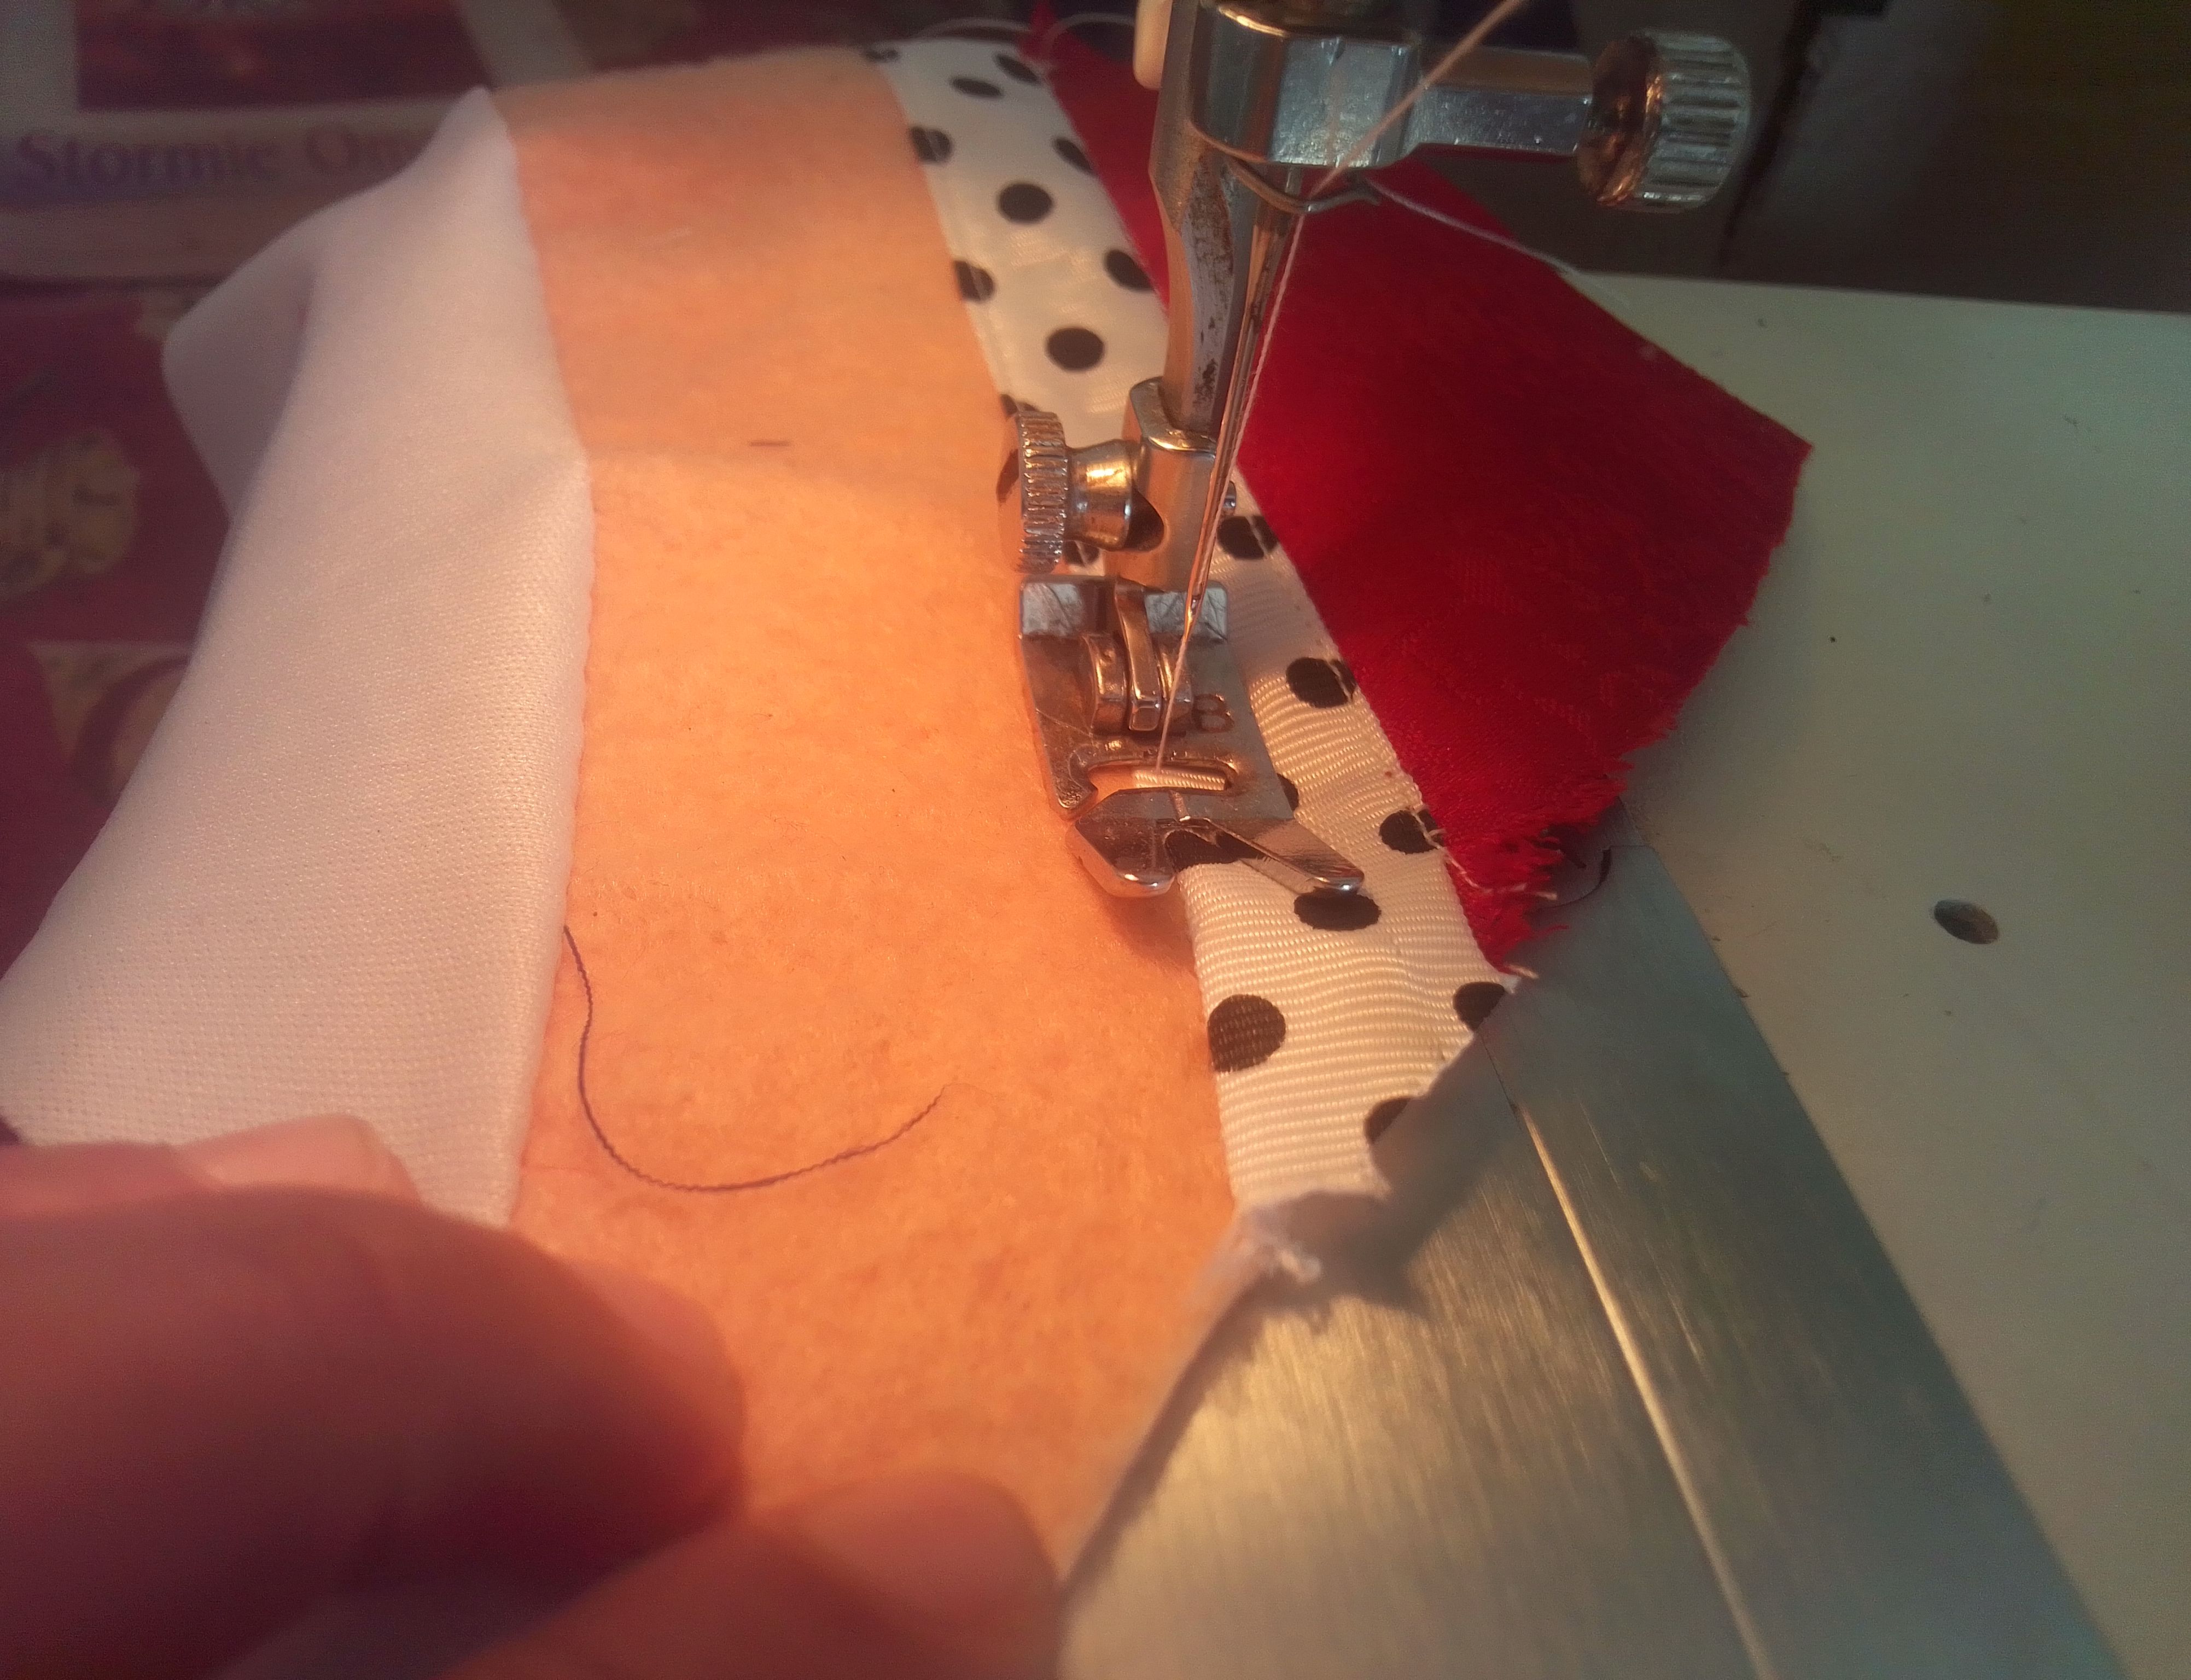
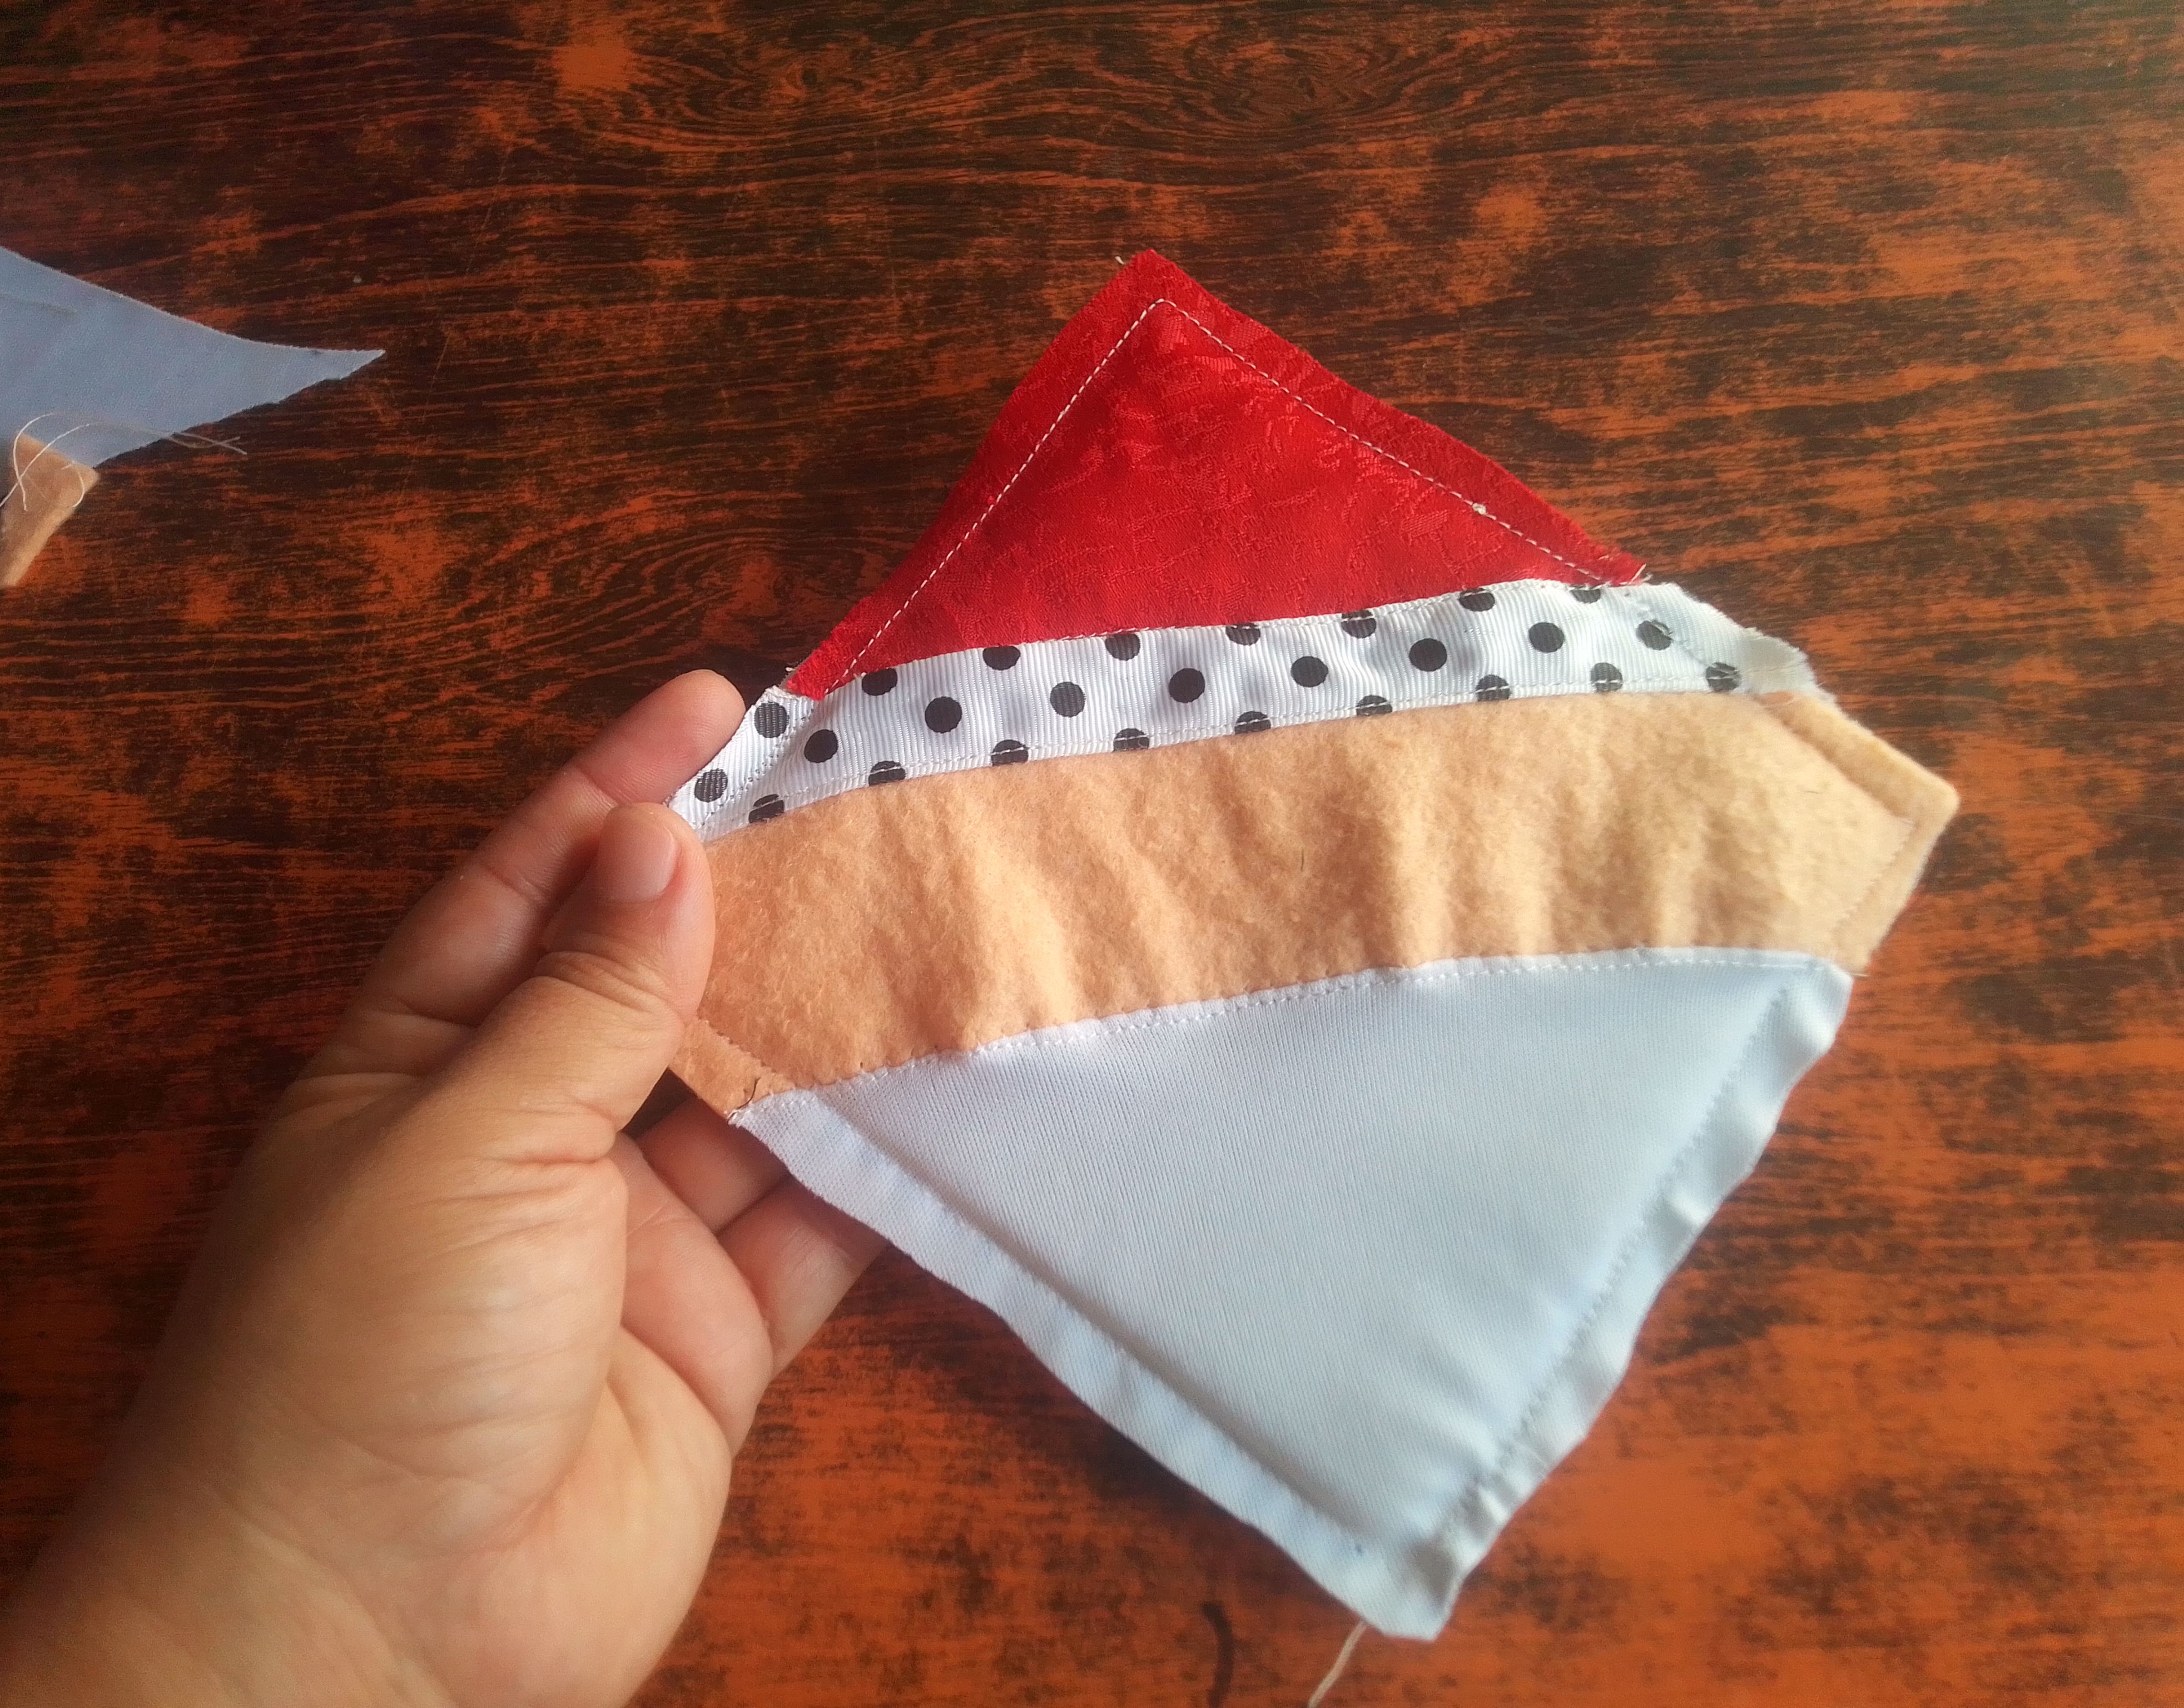
El siguiente paso es formar la cara del Santa con una tela en una esquina roja, seguida de una tira de puntos, el fieltro color carne, y en otra esquina una blanca como lo muestra la primera imagen. Voy a unir con costura recta todas estas piezas una a una tomando en cuenta los derechos de cada tela. Con esto listo voy a ubicar mi pieza anterior para darle el mismo tamaño y forma cortando todo lo que me sobra.
Step 02
The next step is to form Santa's face with a fabric in a red corner, followed by a strip of dots, the flesh-colored felt, and in another corner a white one as shown in the first image. I am going to join all these pieces with a straight seam one by one taking into account the rights of each fabric. With this ready I am going to place my previous piece to give it the same size and shape, cutting everything that is left over.
Paso 03
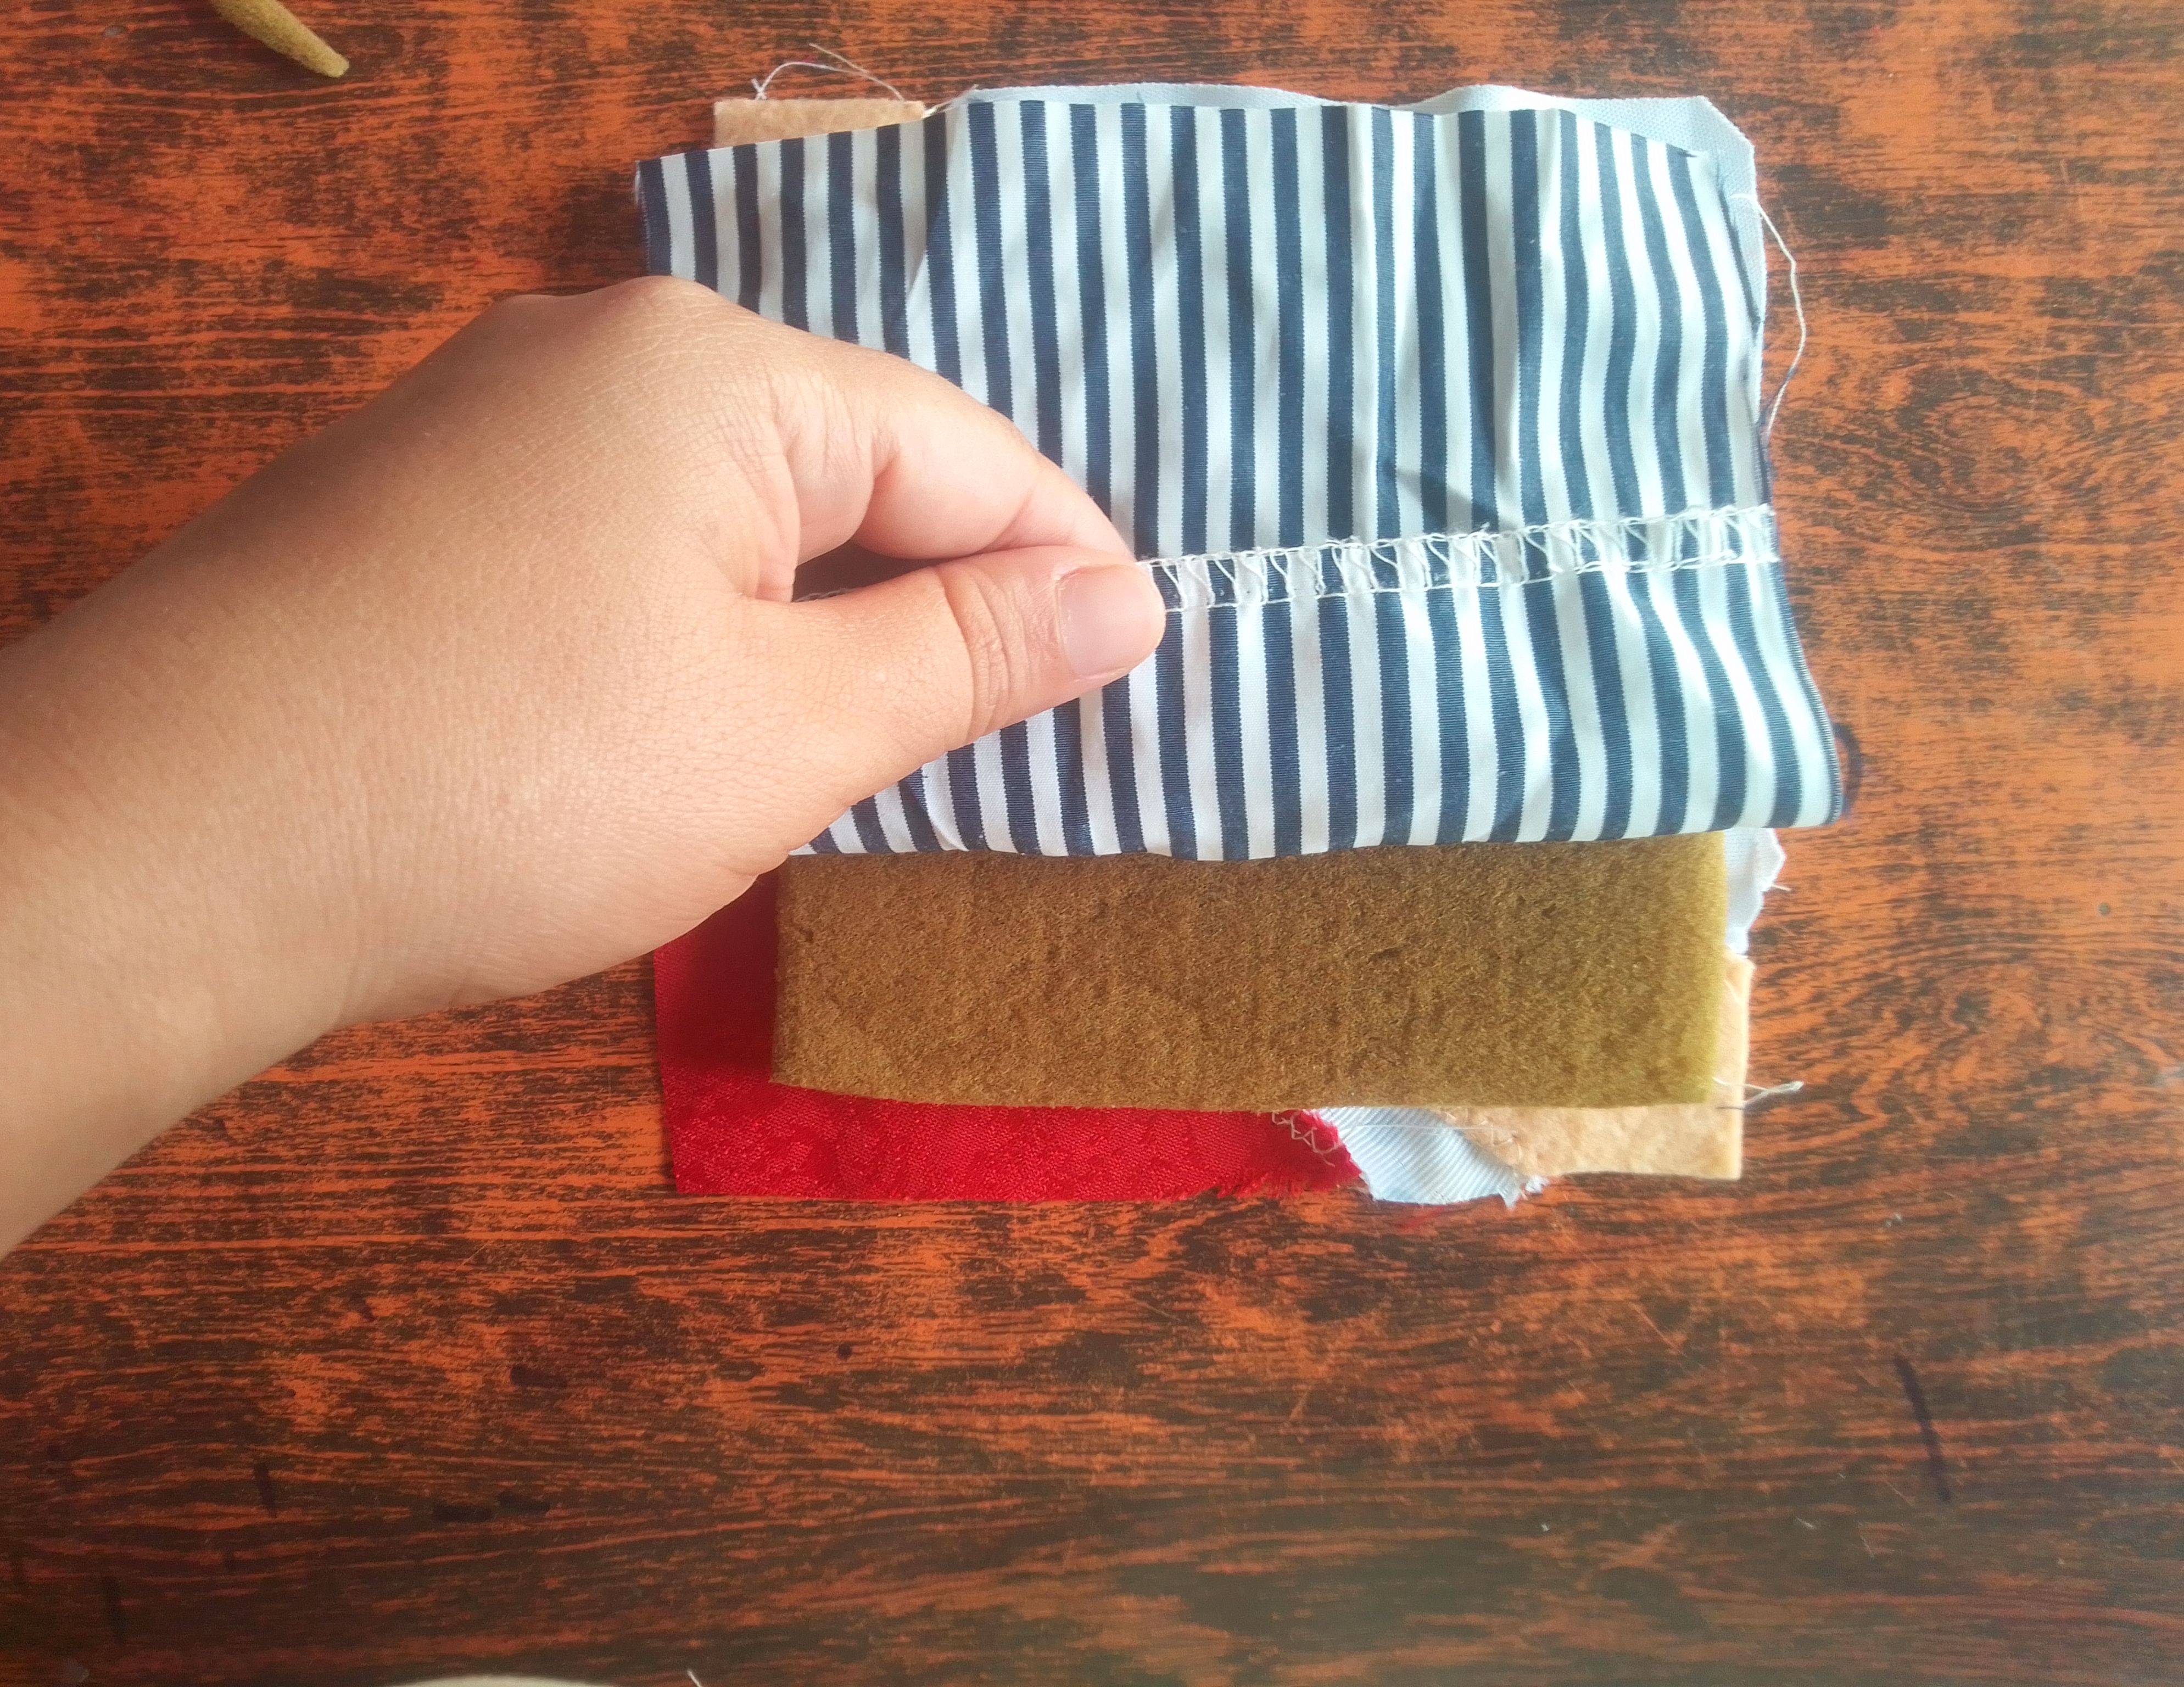
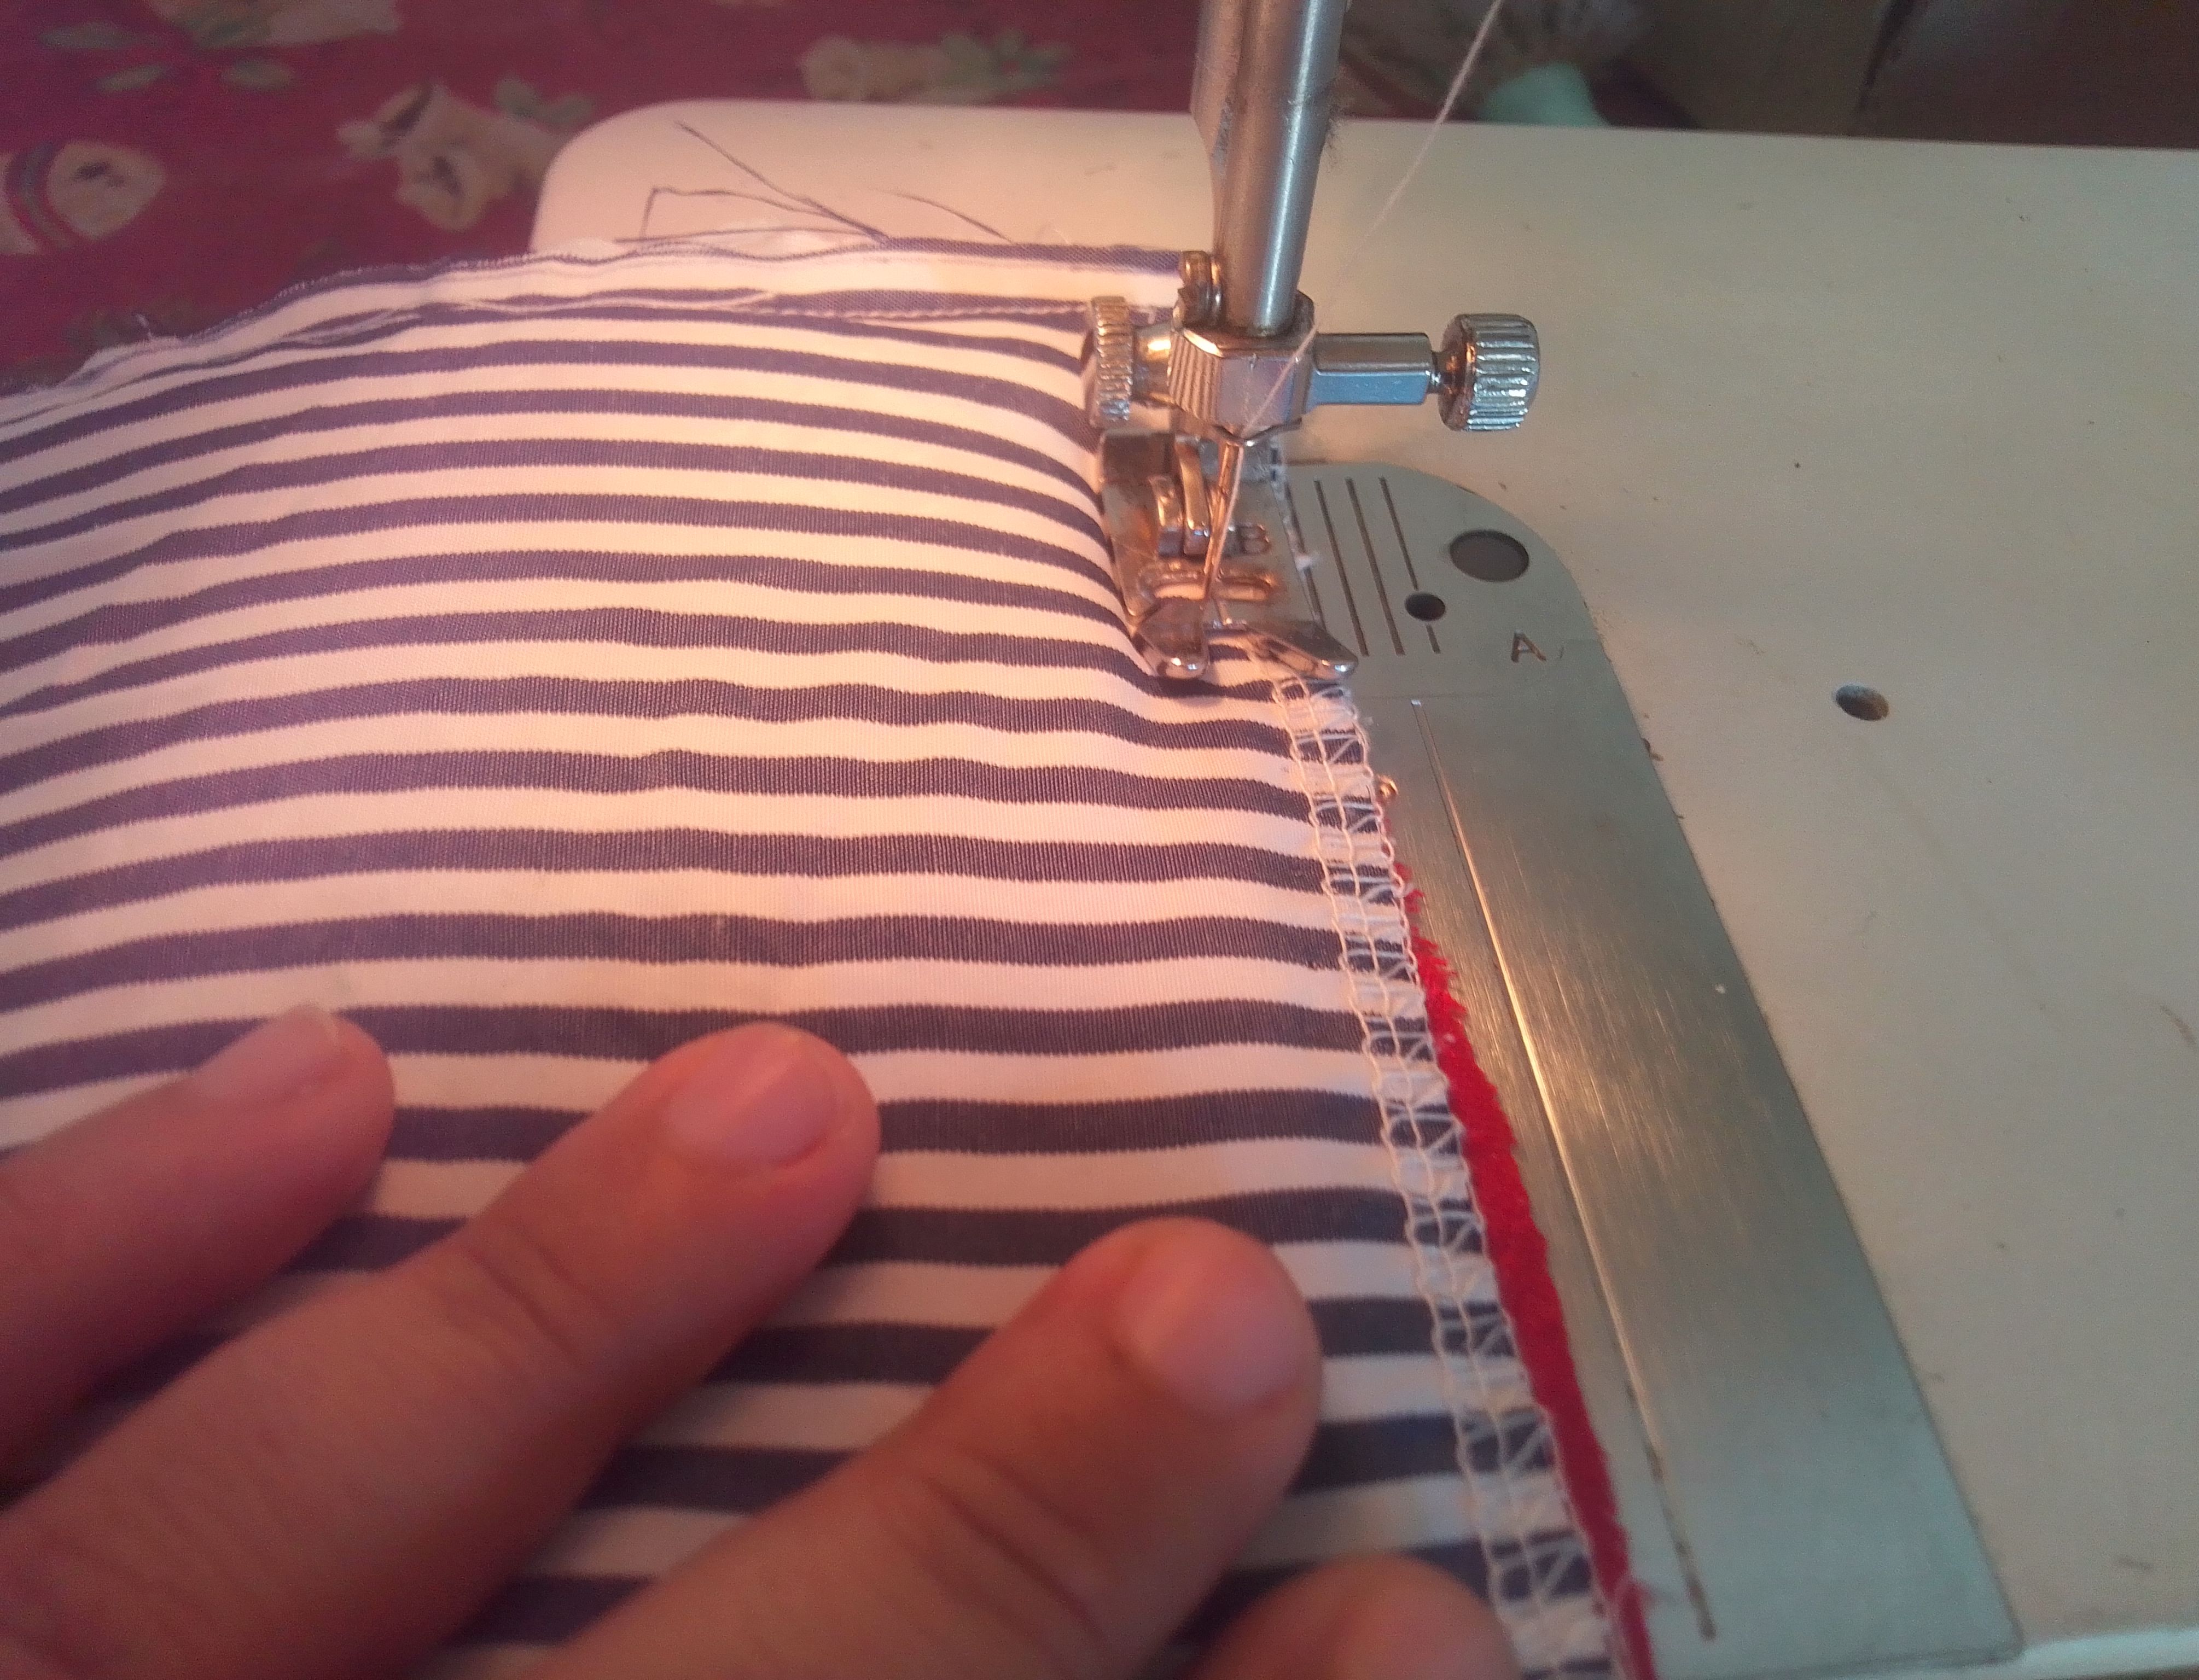
Pasamos la plancha y luego voy a pasar un pespunte o costura exterior sobre cada union para pisar las costuras y darle un mejor acabado. Ubico ambas partes con el relleno en el centro y sujetamos con alfileres las orillas para luego hacer costura recta.
Step 03
We iron and then I am going to topstitch or outside sew over each joint to flatten the seams and give it a better finish. I place both parts with the filling in the center and pin the edges and then make a straight seam.
Paso 04
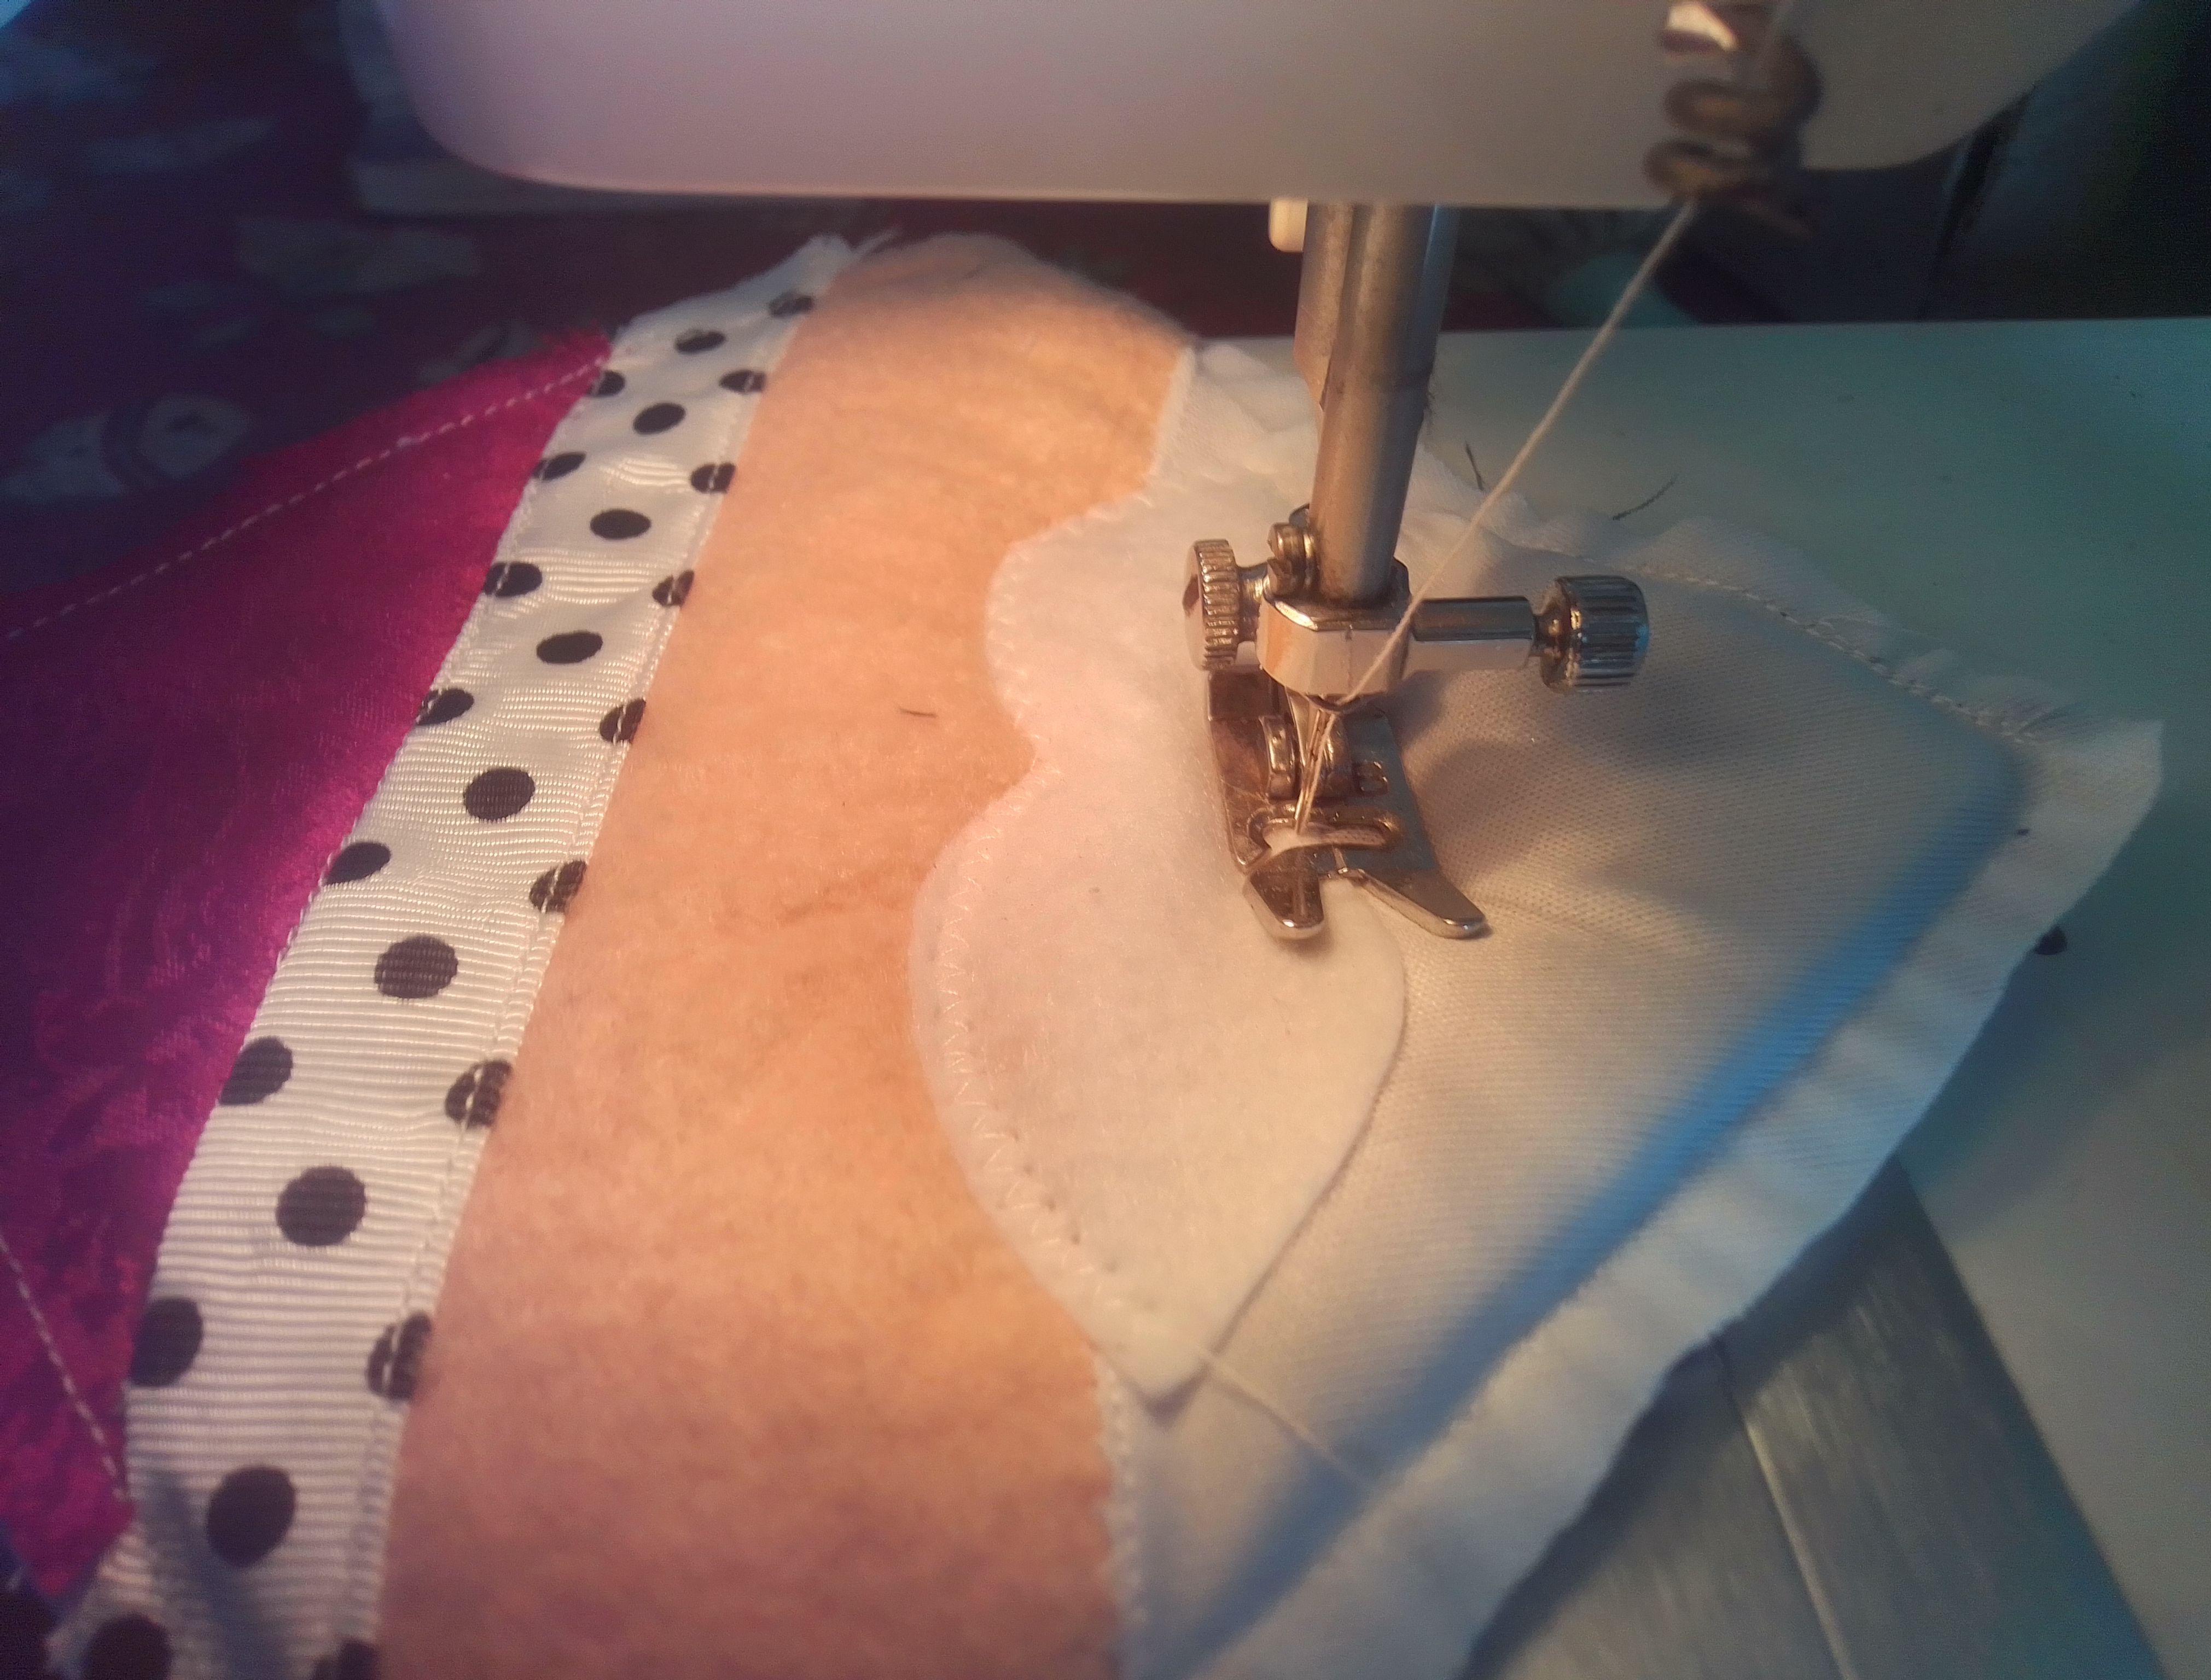
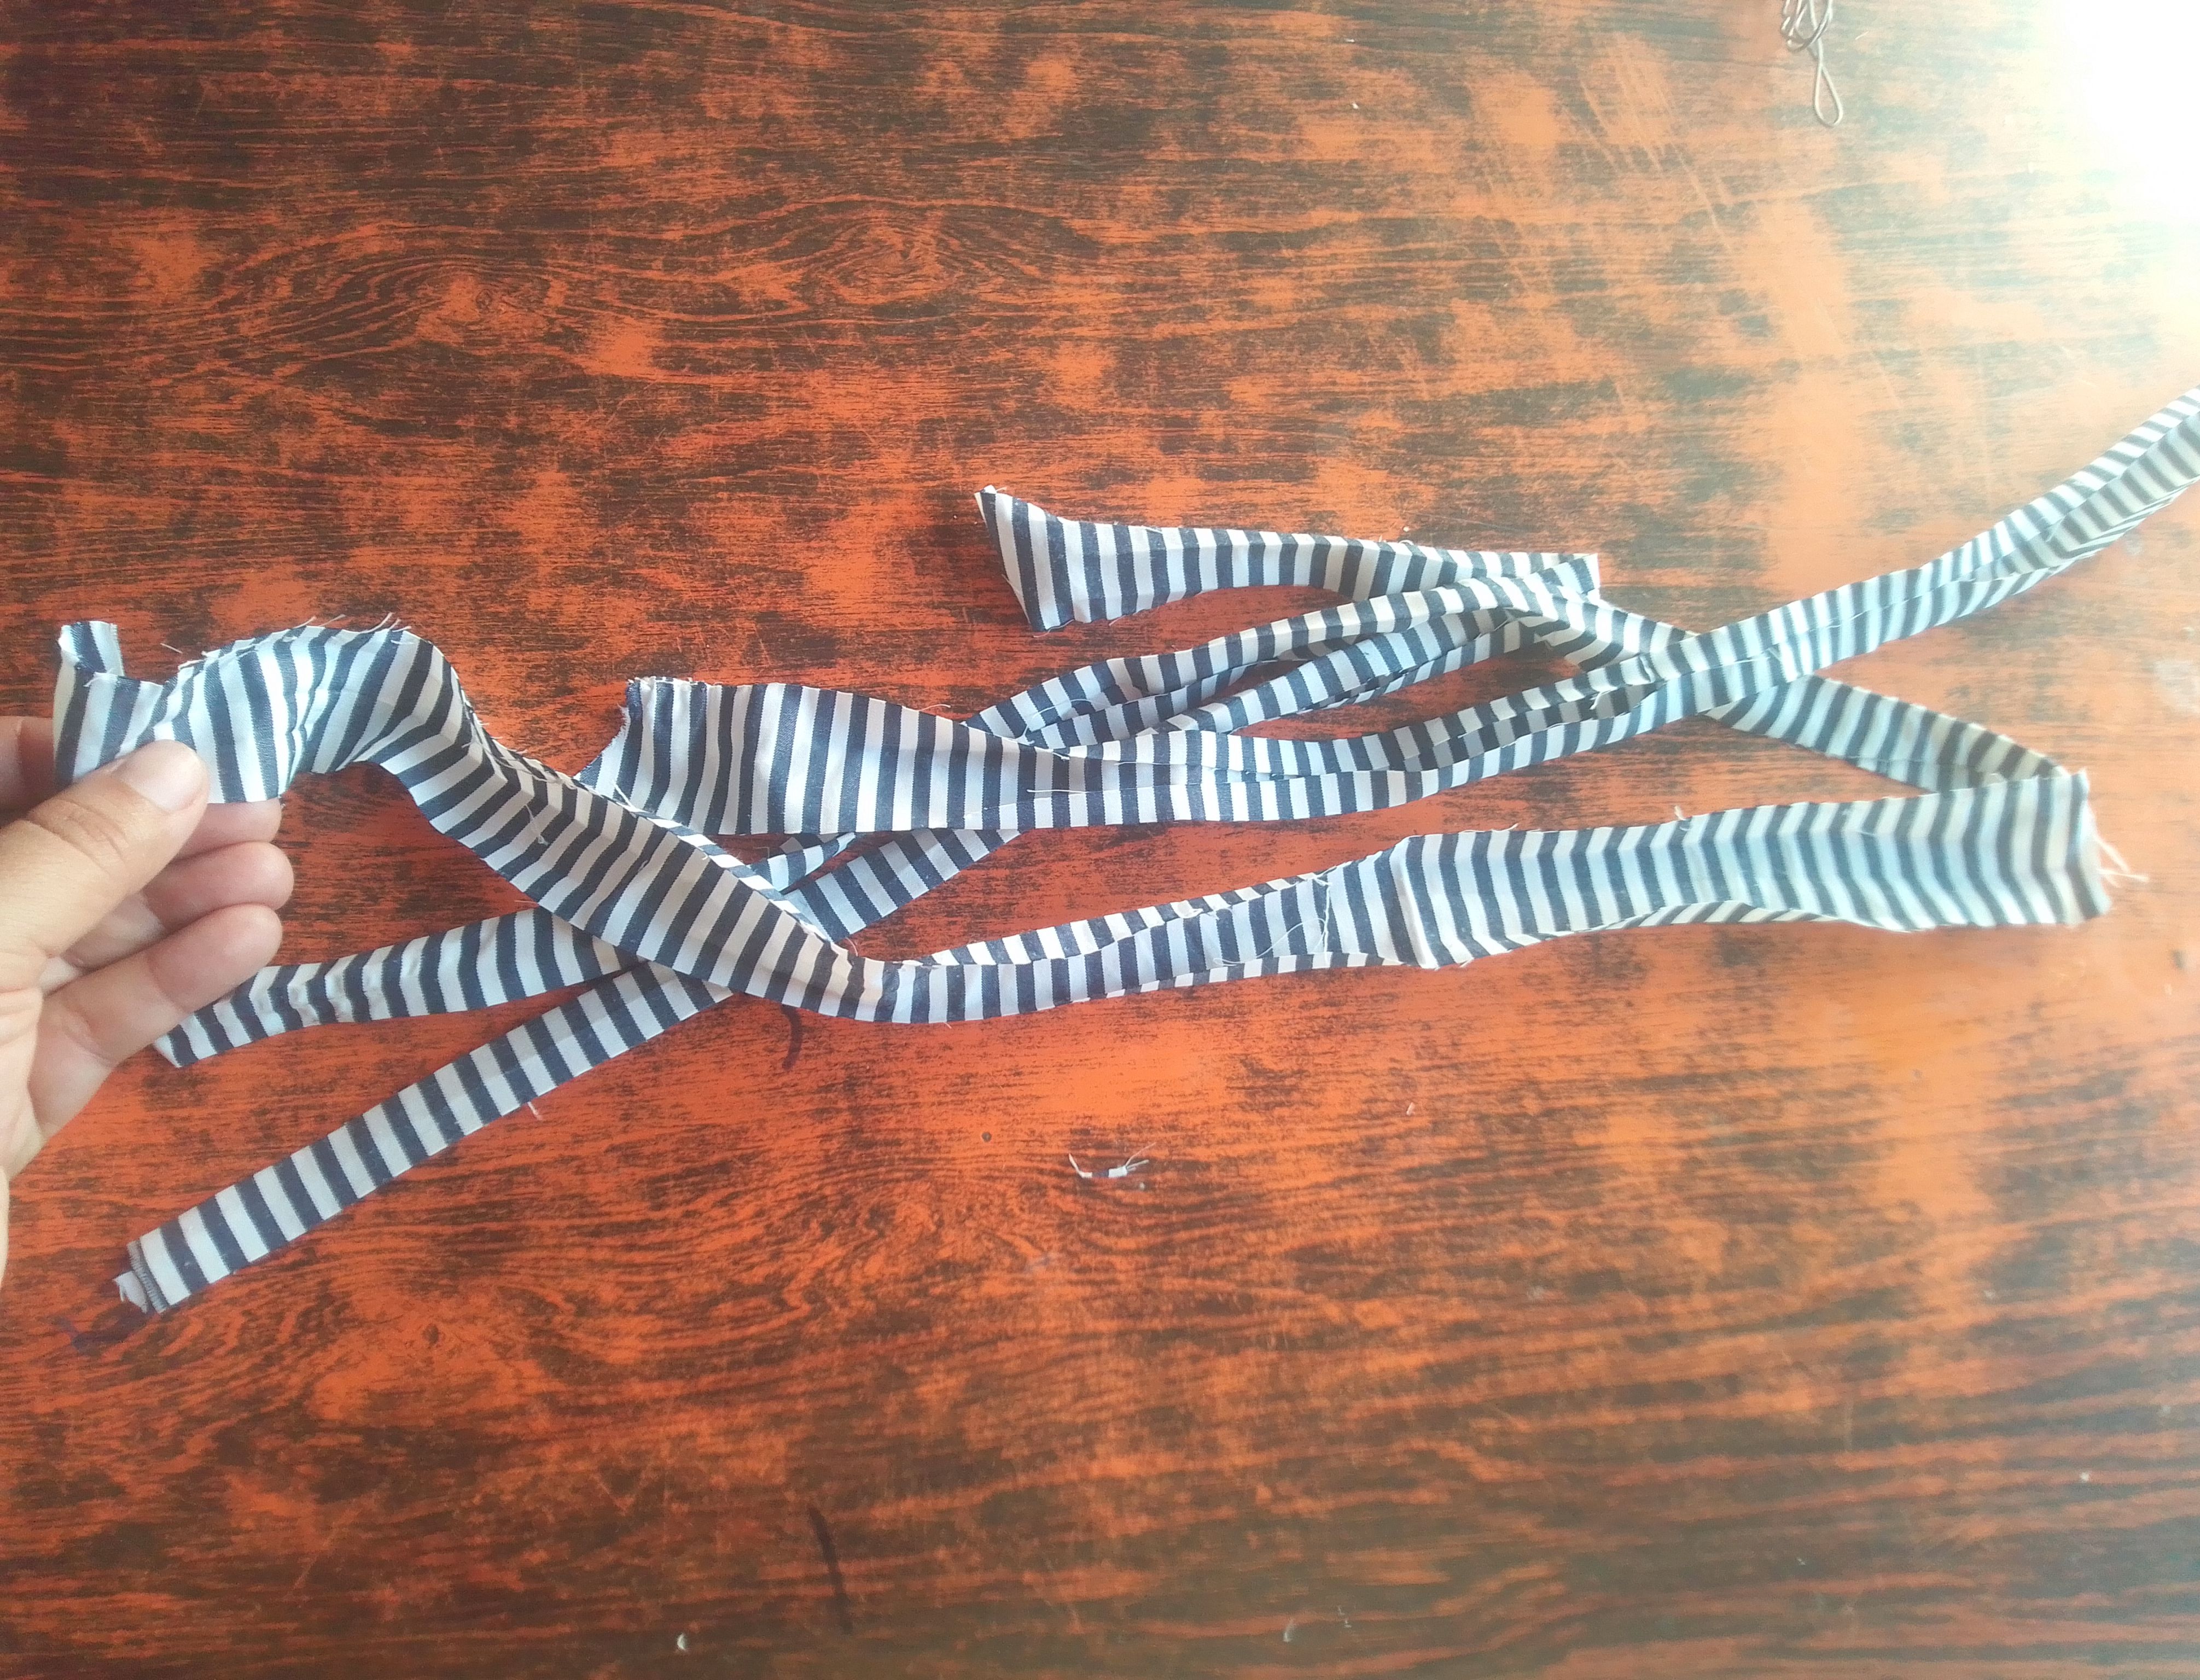
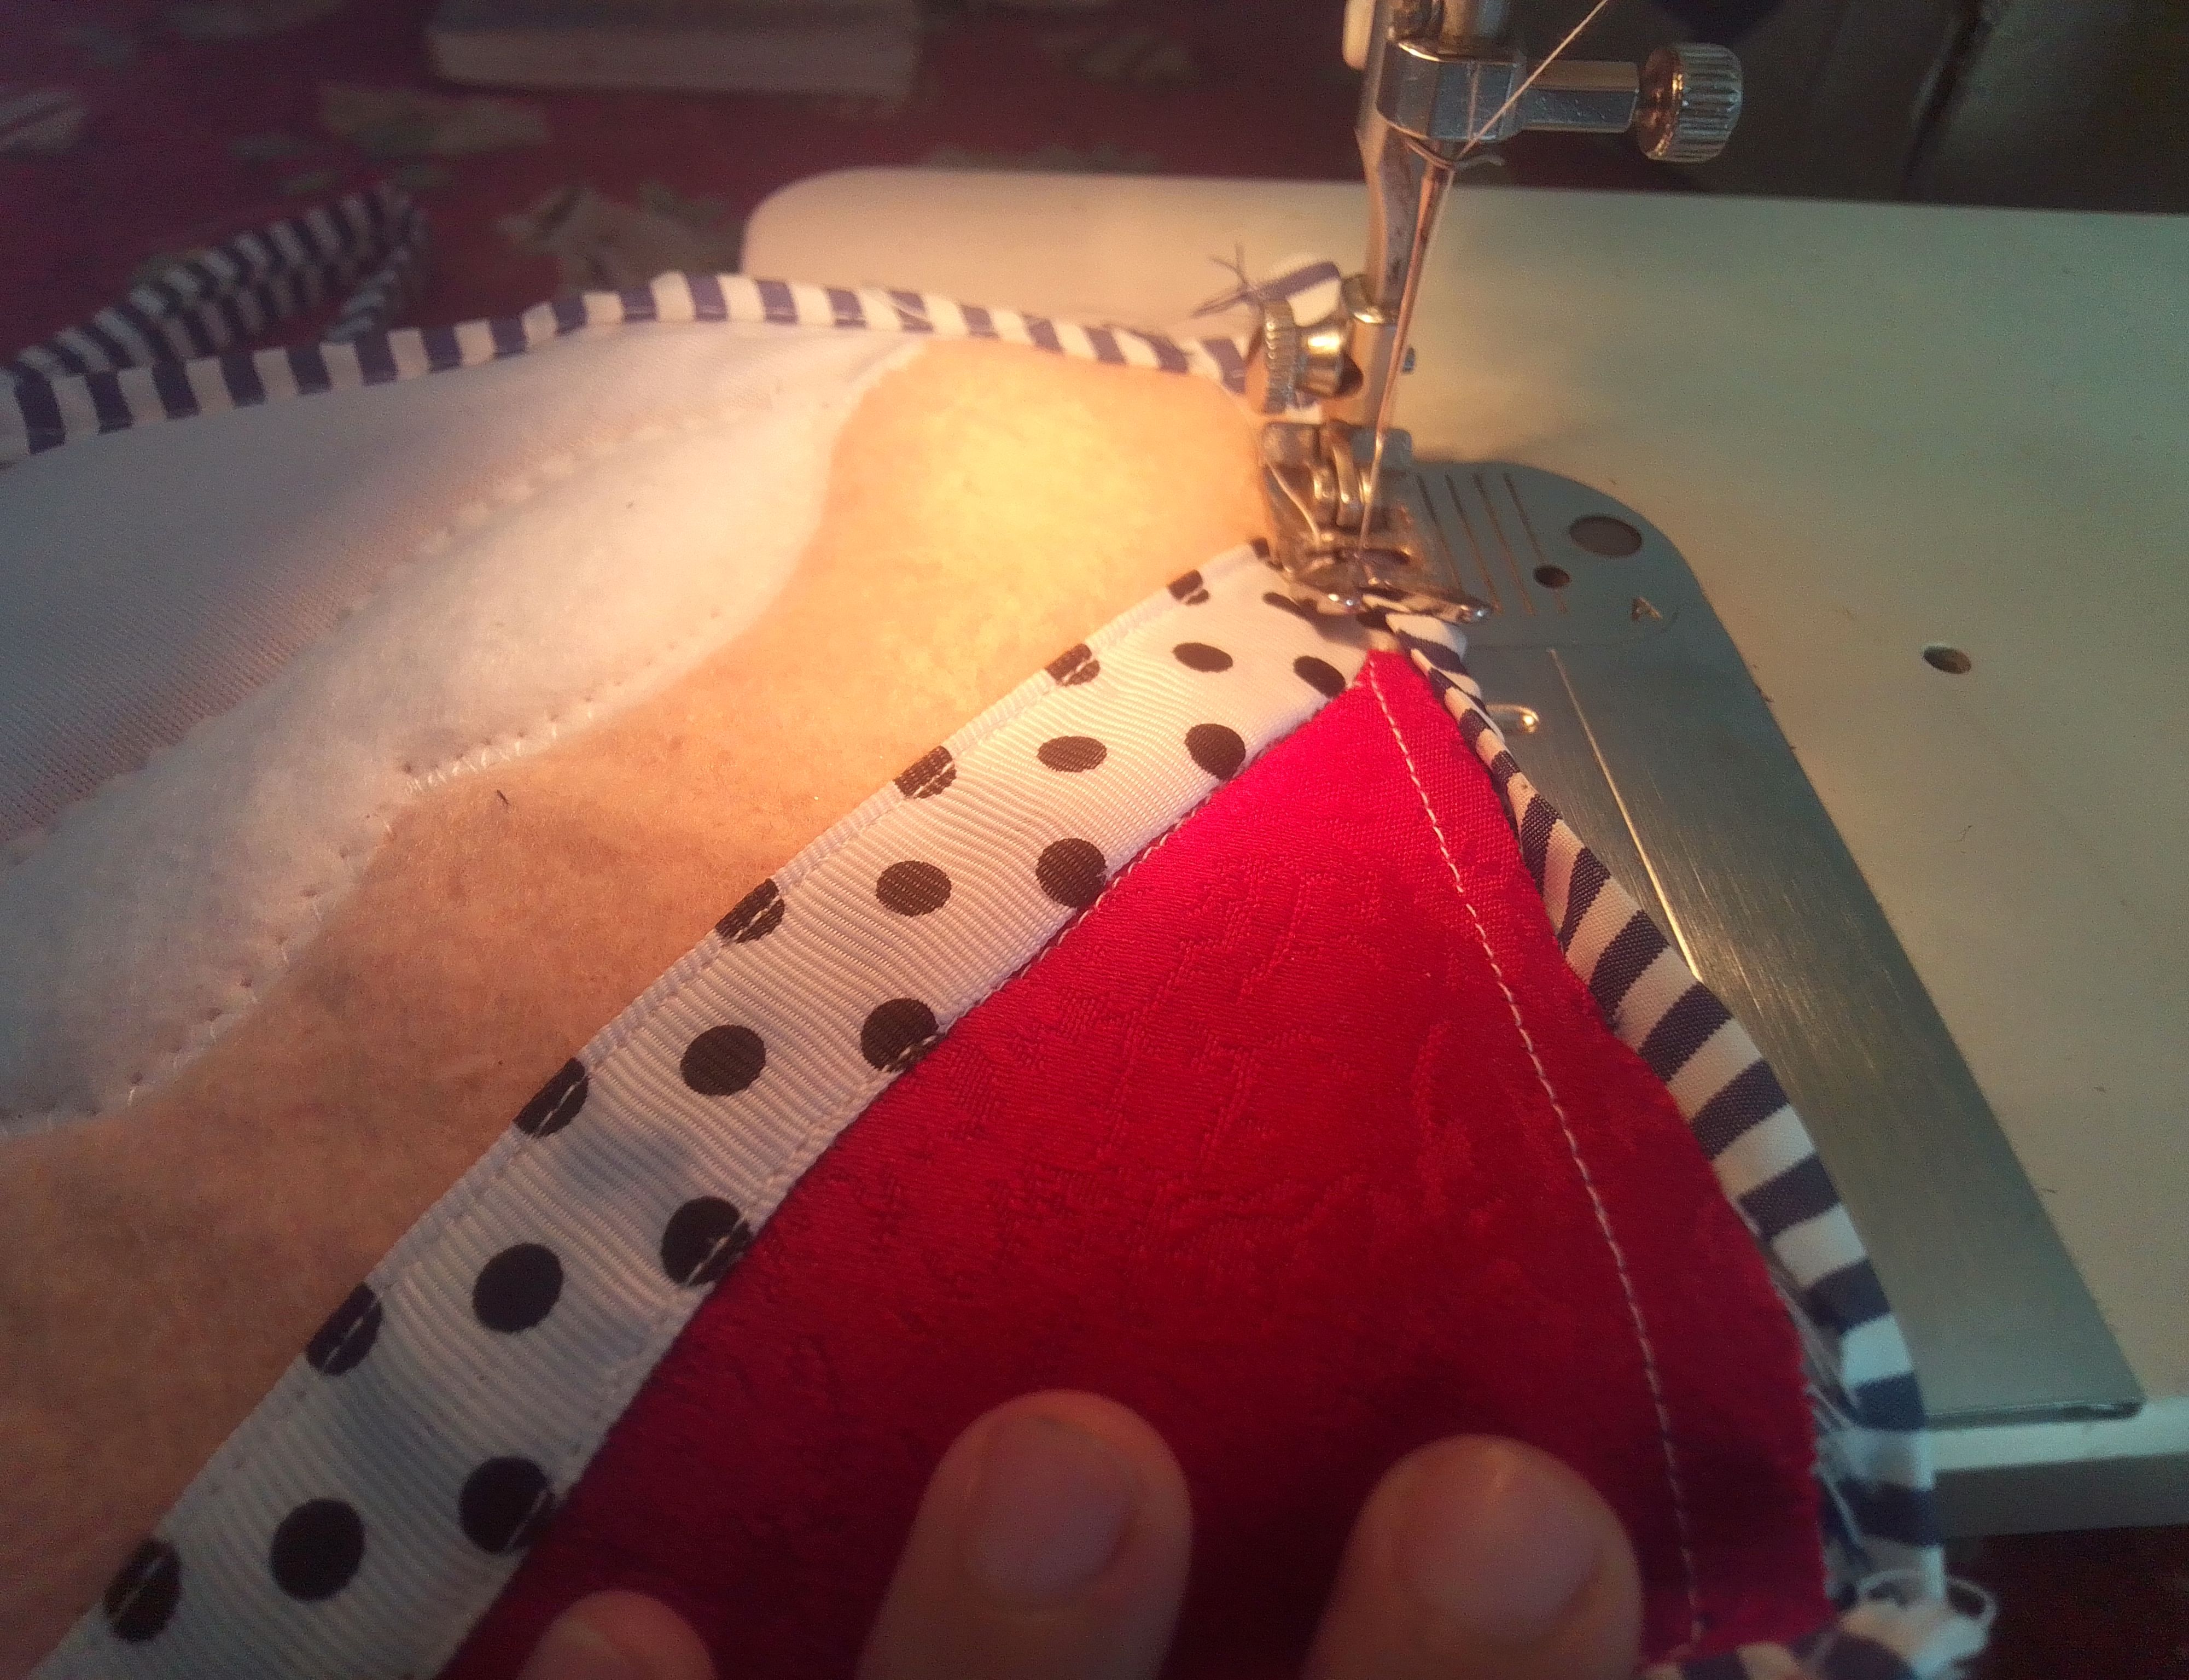
De la misma tela blanca voy a cortar la forma de un bigote para coserlo con zigzag como especie de un bordado entre la tela color carne y la blanca y de esta manera pisar un poquito el relleno e ir formando la cara de Santa. Para las orillas voy a cortar tiras de la tela de rayas y voy a planchar de manera que formemos unos sesgos para hacer los bies con costura en todo el contorno del agarradero.
Step 04
From the same white fabric I am going to cut the shape of a mustache to sew it with a zigzag as a kind of embroidery between the flesh-colored fabric and the white one and in this way step on the filling a little and to form Santa's face. For the edges I am going to cut strips of the striped fabric and iron them so that we form biases to make the bias seams along the entire control of the handle.
Paso 05
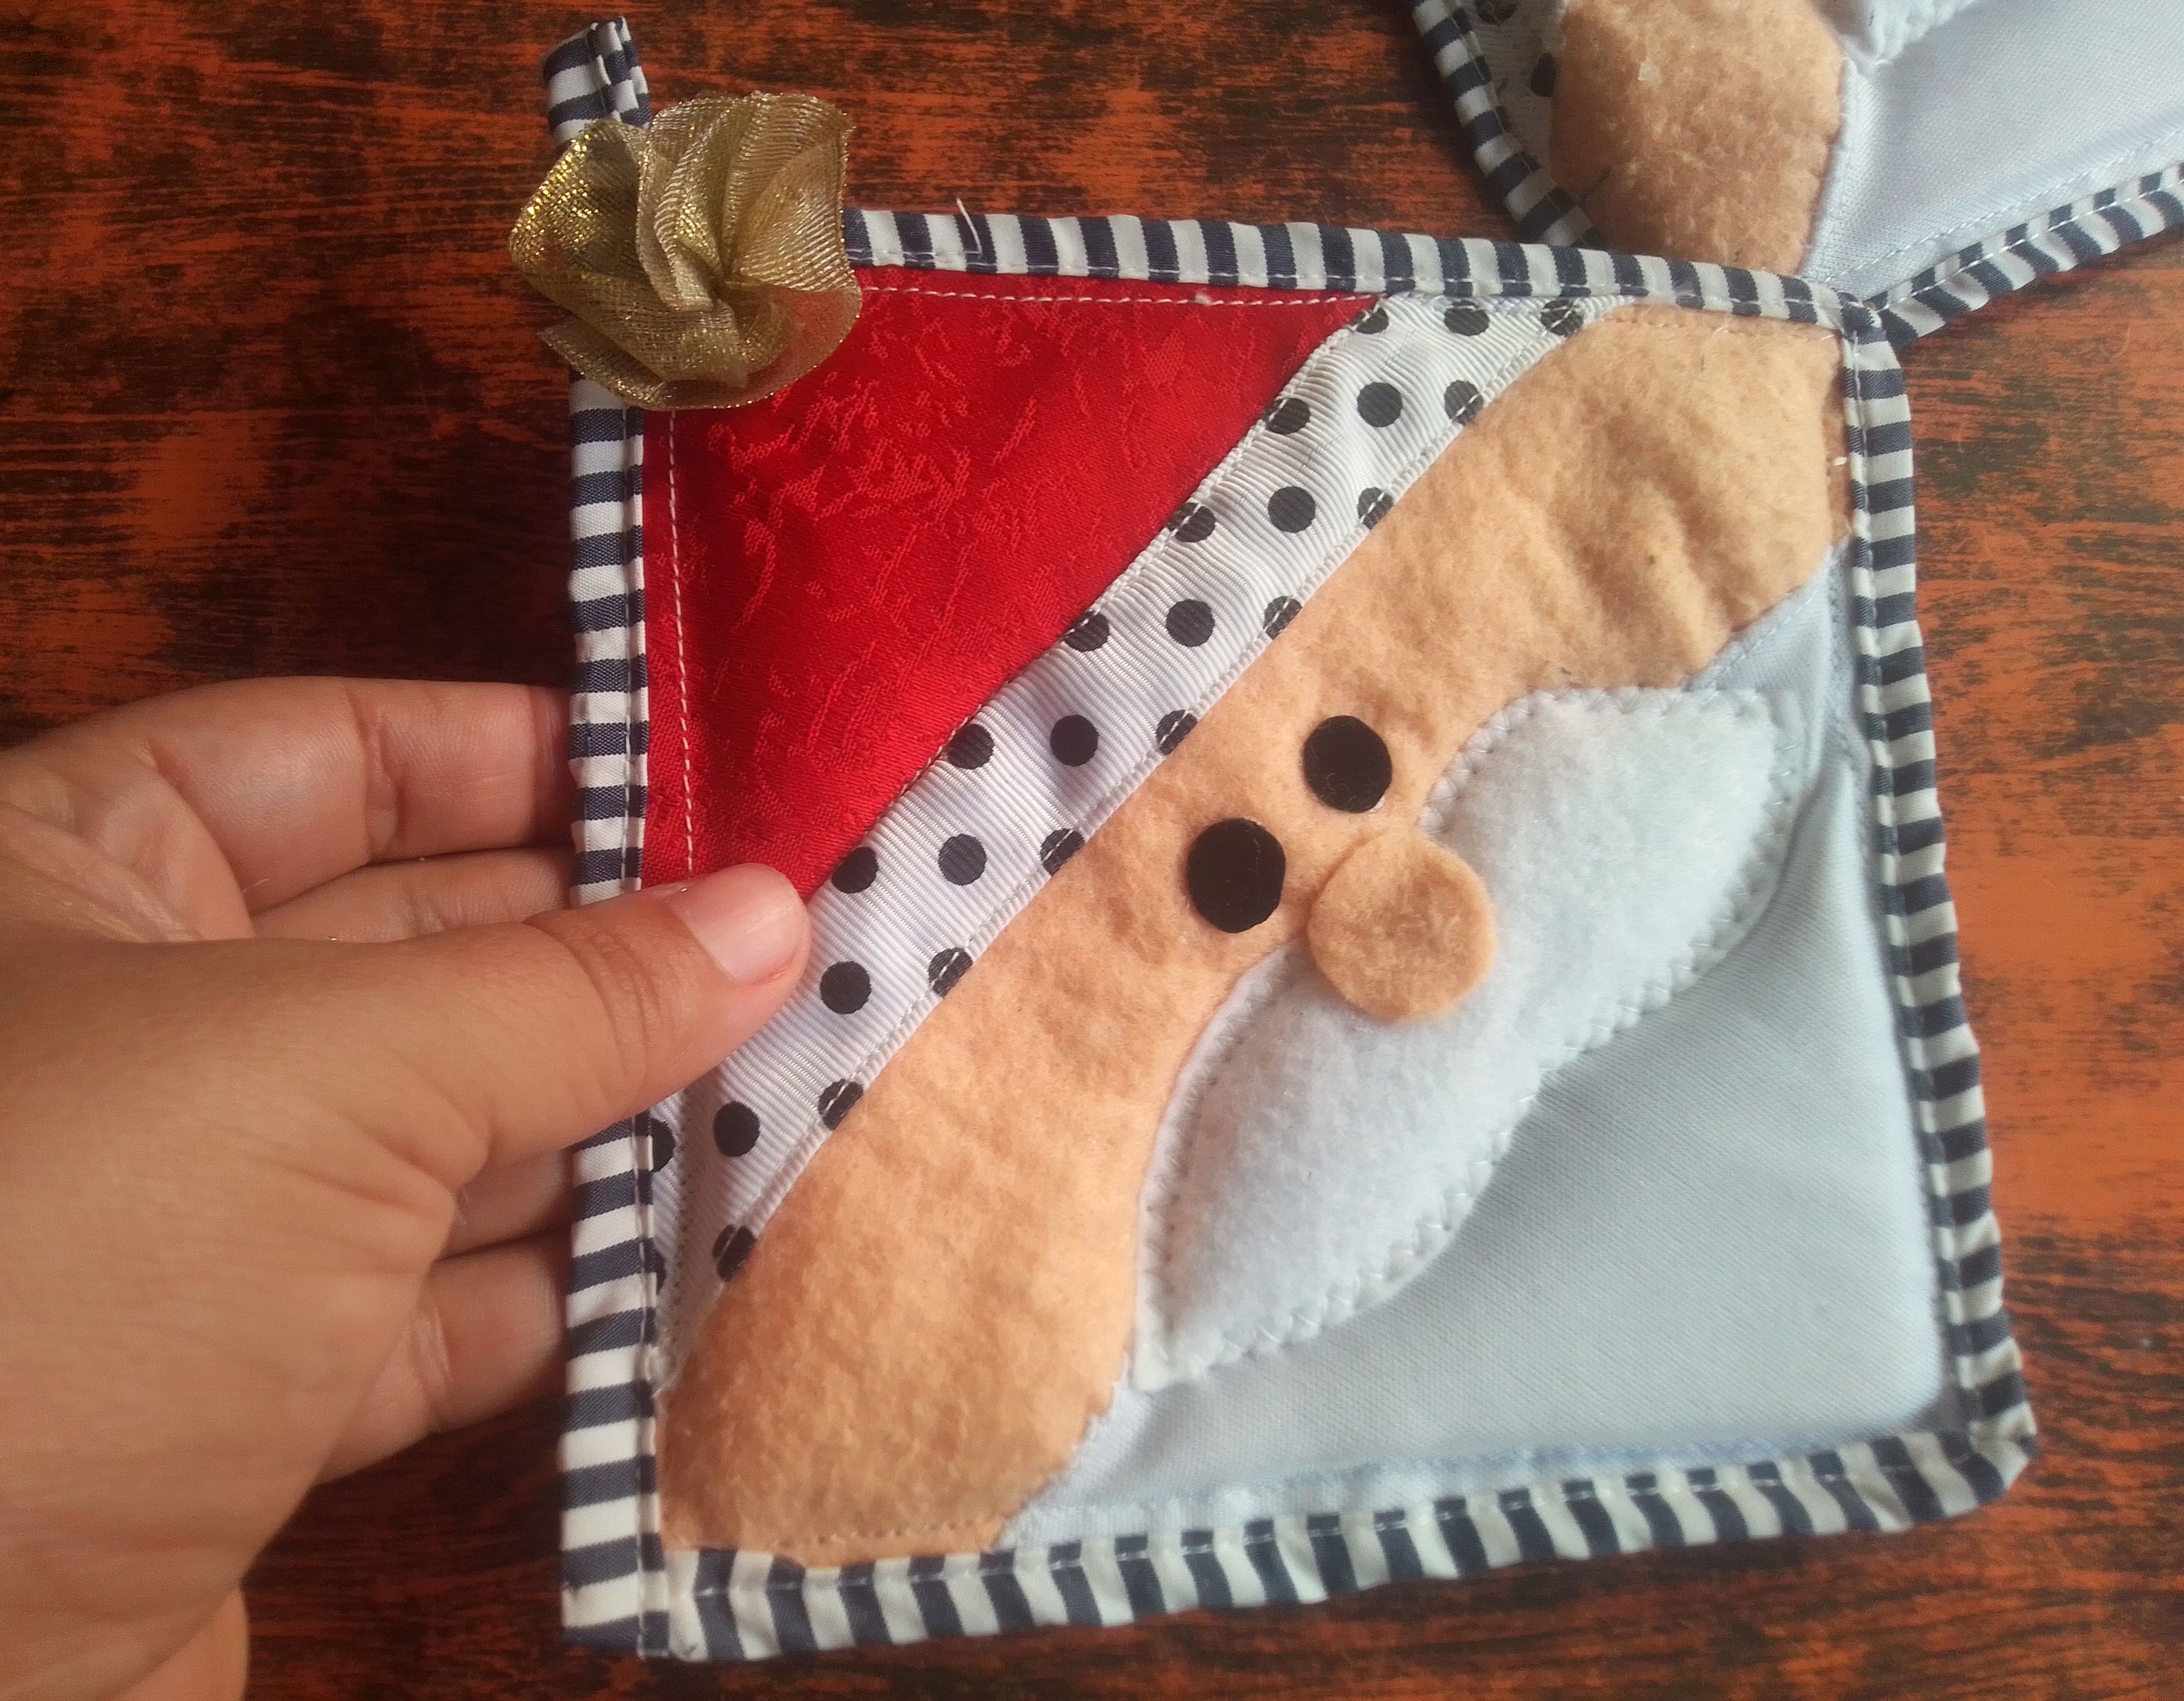
Finalizó colocando los ojitos en tela negra, la nariz y un pompón de cinta para darle un poquito de brillo y también cubrir la unión de la costura final del bies.
Step 05
He finished by placing the eyes in black fabric, the nose and a waist pompom to give it a little shine and also cover the joint of the final bias seam.
🎅Resultado!
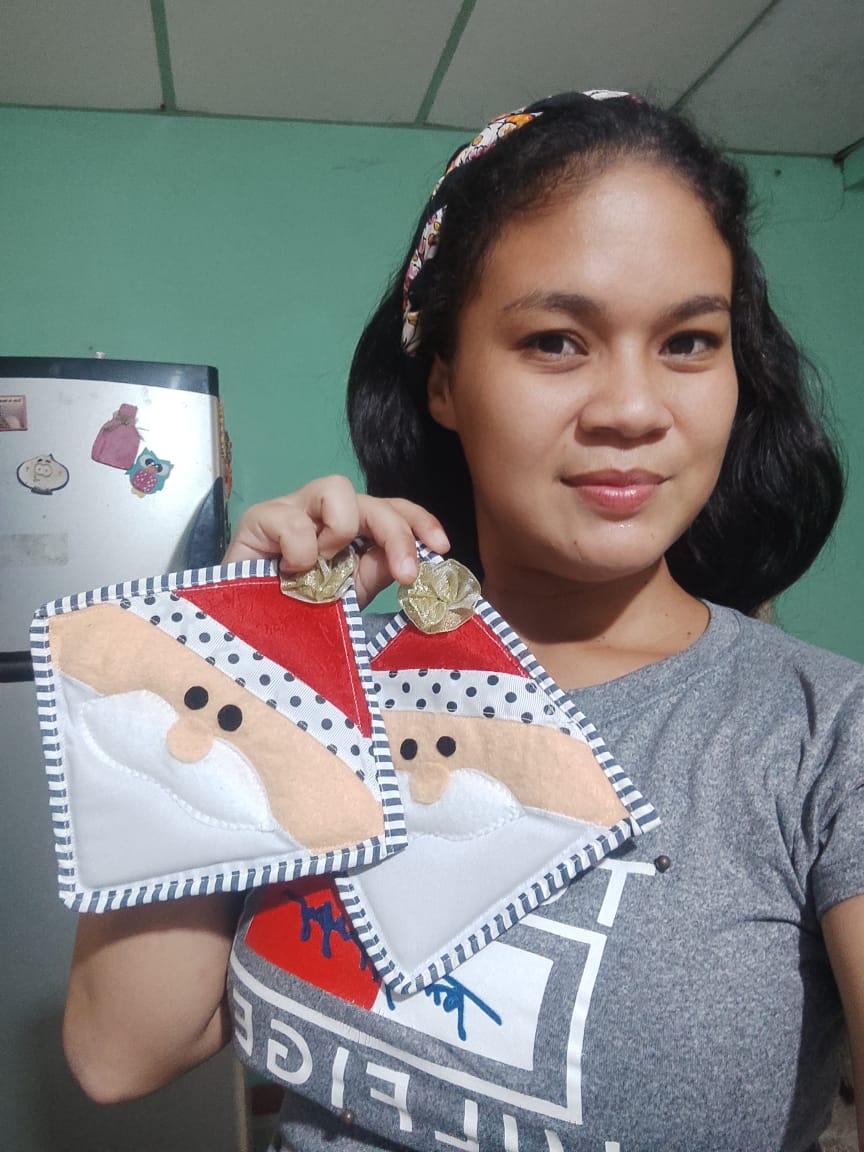
Es así como han quedado mis agarraderos, que estoy segura a mi tia le van a encantar porque ella ama este tipo de detalles y mas si son navideños.. Estoy feliz de mostrarte este resultado final, espero les guste y se animen a hacerlos.
This is how my handles turned out, which I'm sure my aunt will love because she loves this type of details and even more so if they are Christmassy. I am happy to show you this final result, I hope you like it and are encouraged to do them.
Muy contenta de formar parte de este concurso tengo el placer de invitar a participar a mi querida amiga @anne002, @carolycesar15 y @mariangie, se que también ellas tendran algo hermoso que mostrar... Gracias por haber llegado hasta aquí, cuentame que te parece está idea, estaré encantada de leer tu opinión.. Dios les bendiga y mucha suerte a todos, hasta pronto!
Very happy to be part of this contest, I have the pleasure of inviting my dear friend @anne002, @carolycesar15 and @mariangie to participate, I know that they too will have something beautiful to show... Thank you for coming this far, tell me what you think of this idea, I will be delighted to read your opinion. God bless you and good luck to all of you, see you soon!
Totalmente, yo creo que yo no los usaría, están demasiado lindos, quemarlos o ensuciarlos sería una lástima.
Has hecho un trabajo precioso.
Si yo pienso lo mismo mi bella! Hay agarraderos que no provoca dañarlos..! Muchas gracias por el apoyo.. Bendiciones..
Muchas gracias por aceptar mi entrada!
Amiga, te felicito, hoy mis ojos se terminaron de abrir cuando vi tus agarradero de ollas, se ven prolijos, hermosos, me encantaron. gracias por alegrarme el dìa con tu manualidad.
Hola mi bella.. Alegre estoy yo por leer tan hermoso comentario..! Es bueno saber cuanto le gusto! Muchas bendiciones para usted..feliz tarde .