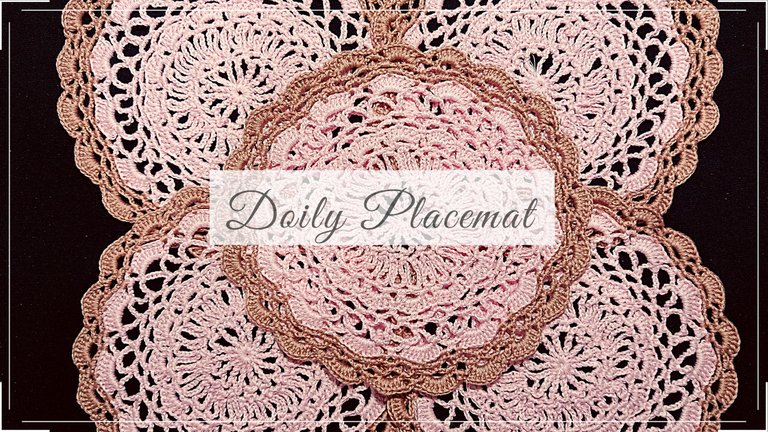
Back in the day, doily covers and placemats are one of the coolest things in the world. I remember visiting my aunts' and grandma's house and for sure I'll see at least three appliances or furnitures decoratively covered by white crochet doily pieces. My mom also used to crochet doilies for almost everything. Our hatchback TV set has a doily crochet cover, her vases stand on doilies, even the side cabinet which serves as a stand for our picture frames have doily covers.
Let me share the process for the commissioned work I just completed this week.
Materials:
8-ply polyester yarn (baby pink and old rose)
3.5 mm crochet hook
3.00mm crochet hook (for weaving off ends)
Stitches used:
Chain
Slip stitch
Single Crochet
Double Crochet
Double treble crochet
Process
Row 1:
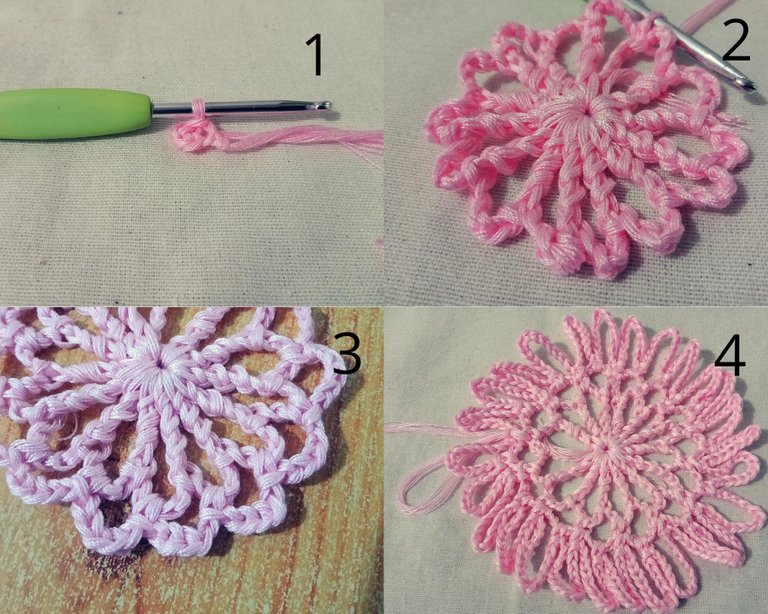
Start off with 4 chains. Slip stitch on the first chain to make a circle.
Row 2:
Chain 10. This counts as 1 double treble crochet and 5 chains. {Then make 1 double treble and 5 chains.} Repeat 13 times. Slip stitch on top of the fifth chain at the start of the row.
Row 3:
Slip stitch on the first 2 chains. Single crochet into the chain space. {Chain 4. Single crochet into the chain space.} Repeat until you've single crocheted into the last chain space. Slip stitch into the first single crochet at the start of the row.
Row 4:
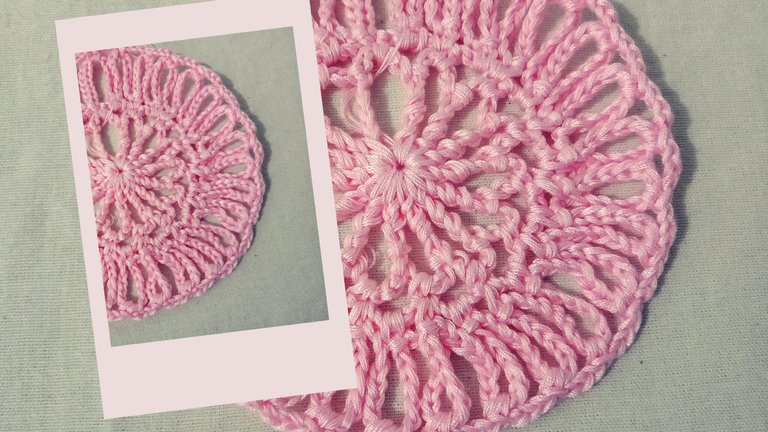
Chain 15, single crochet into the chain space. Chain 15, single crochet into the single crochet from the previous row. So you will do 15 chains after every single crochet, then you will single crochet on the chain space and on the sc from the previous row alternatingly.
Slip stitch into the sc at the start of the row.
Row 5:
Slip stitch into the 8 chains. Single crochet into the chain space. Make 3 chains, then single crochet into the chain space. Do this on all the chain spaces. This should hold all the spokes stable. Slip stitch into the single crochet at the start of the row.
Row 6:
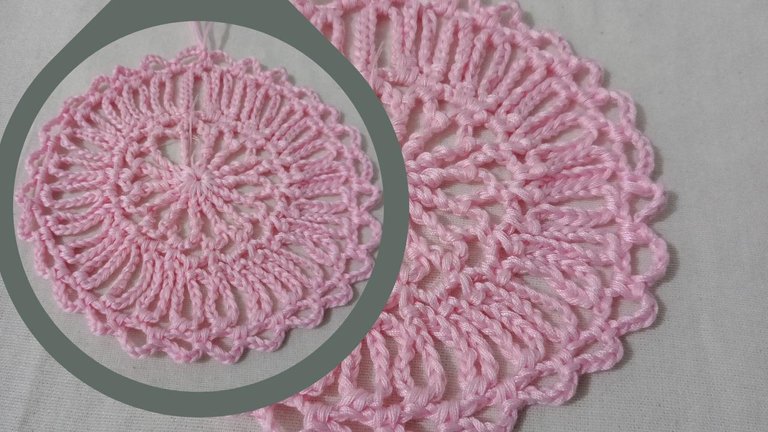
Slip stitch into the first chain. Single crochet into the chain space. Chain 5. Then single crochet into the chain space. Do this on the rest of the chain space for the entire round. Slip stitch into the single crochet.
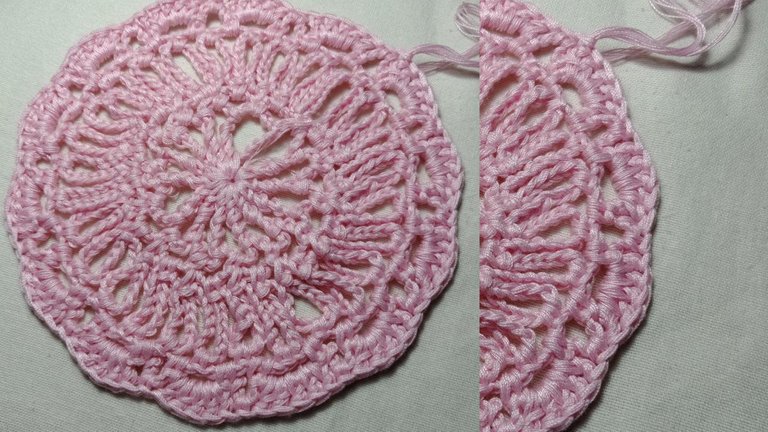
Row 7:
Slip stitch into the chain space. Make 3 chains. Make 4 double crochets into the chain space. Single crochet into the next chain space. Make 5 double crochet on the next chain space. Single crochet into the next chain space. Repeat from the shell stitch of double crochets and the single crochet until you filled all the chain spaces. Slip stitch on top of the 3rd chain at the start of the row.
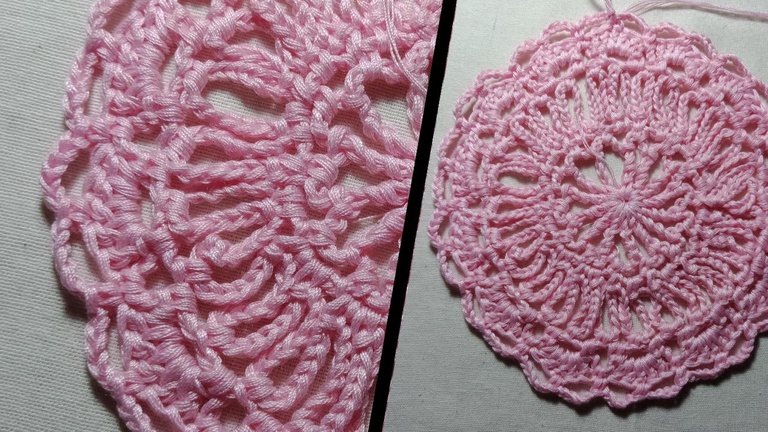
Row 8:
Slip stitch into 2 double crochet stitches. Single crochet on the third dc. {Make 5 chains. Single crochet into the first single crochet on the previous row. Make 5 chains. Single crochet into the third double crochet.} Repeat until you've reached the start of the row. Slip stitch on the single crochet to close the row.
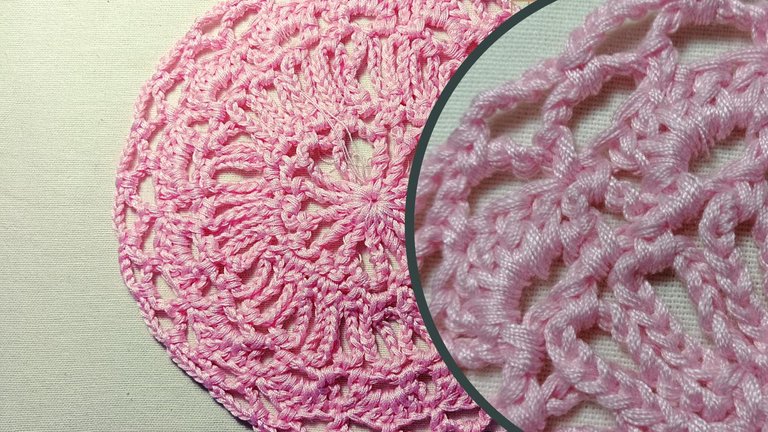
Row 9:
Slip stitch into 2 chains. Single crochet into the chain space. {Make 5 chains then single crochet into the next chain space.} Repeat until you got back into the start. Slip stitch into the single crochet to close the row.
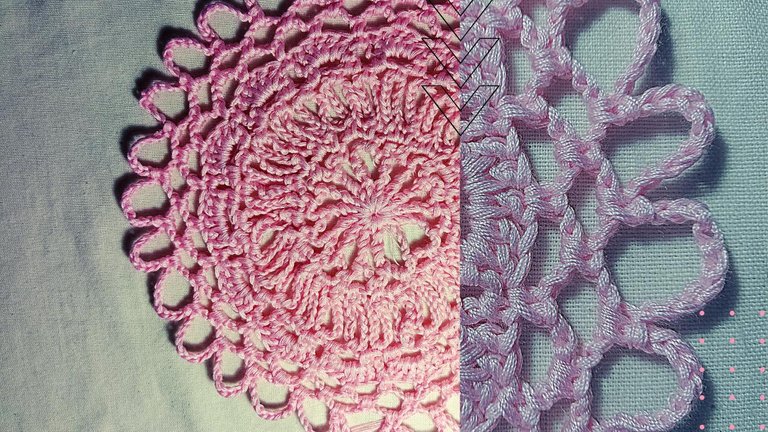
Row 10:
Slip stitch into the first 2 chains. Single crochet into the chain space. {Make 10 chains. Single crochet into the next chain space.} Repeat this until you completed the round. Slip stitch into the single crochet at the start of the row.
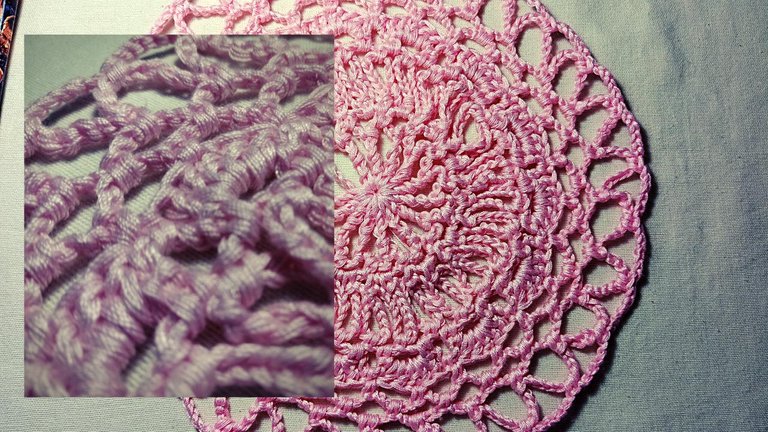
Row 11:
Slip Stitch into the first 5 chains. Single crochet into the chain space. {Make 6 chains. Single crochet into the next chain space.} Repeat this until you completed the round. Slip stitch into the single crochet at the start of the row.
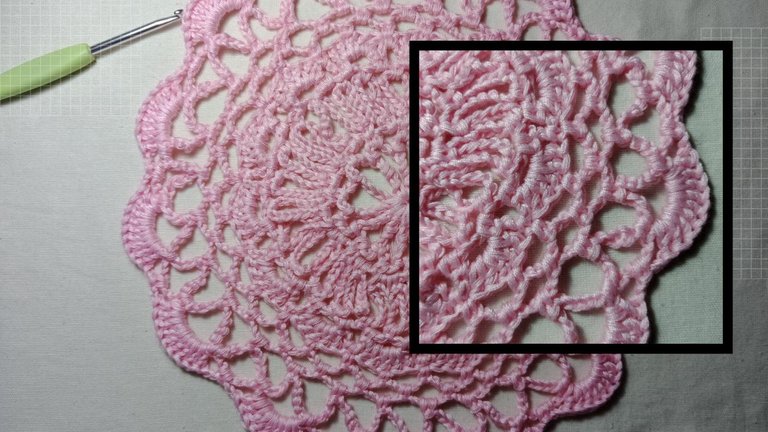
Row 12:
Slip stitch into the chain space. Make 3 chains. Make 8 double crochets. Make 2 chains. Single crochet into the next chain space. {Make 2 chains. Make 9 double crochet into the next chain space. Make 2 chains, then single crochet into the next chain space.} Repeat until you complete the circle. Slip stitch into the top of the third chain at the start of the row.
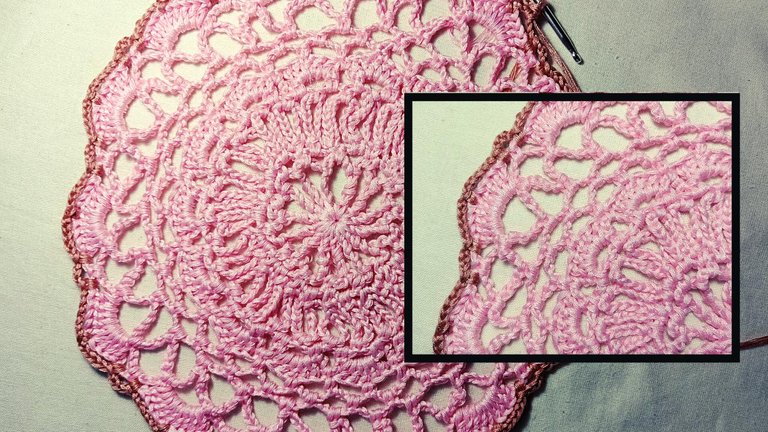
Row 13:
Slip stitch unto the third double crochet. Single crochet on the 4th stitch. (This is where you make the yarn color change.) {Make 5 chains. Single crochet into the first chain2 space. Make 3 chains. Single crochet into the next chain2 space.} Repeat until you get back at the start of the row. Slip stitch into the first single crochet of this row to close.
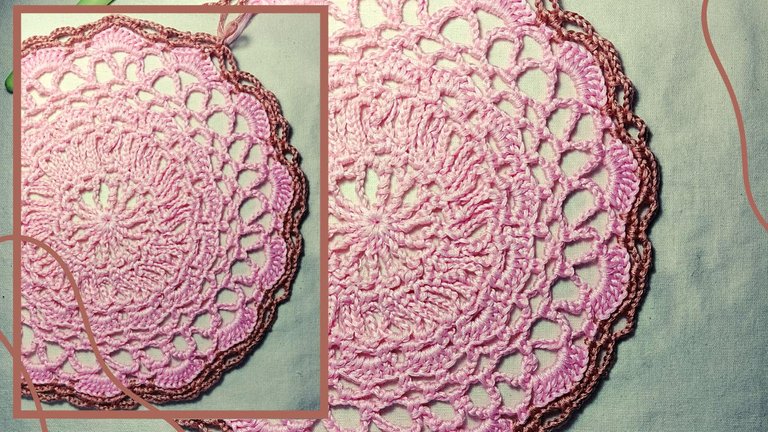
Row 14:
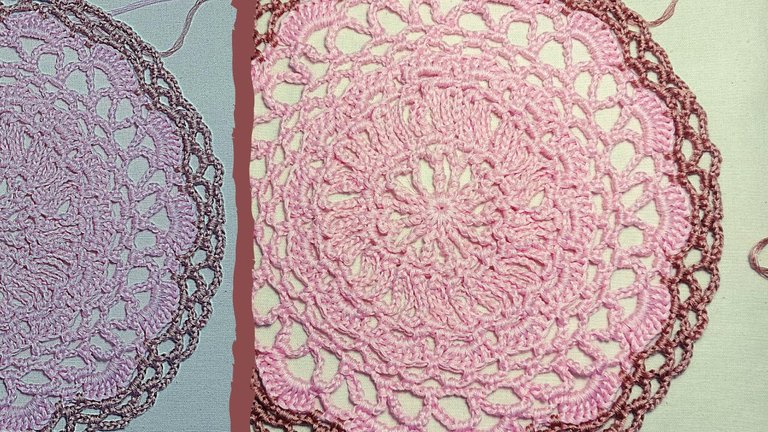
Slip stitch into the first 3 chains. Single crochet into the chain space. Make 5 chains then single crochet into the chain3 space. Make another 5 chains then single crochet into the chain5 space. Continue making 5 chains and single crochet on all chain spaces until you reach the start of the row. Slip stitch into the first single crochet to close.
Row 15:
Slip stitch into the 2 chains. Single crochet into the chain space. Make 5 chains then single crochet into the chain space. Continue making 5 chains and single crochets until you've covered all the chain spaces. Slip stitch into the first single crochet.
Row 16:
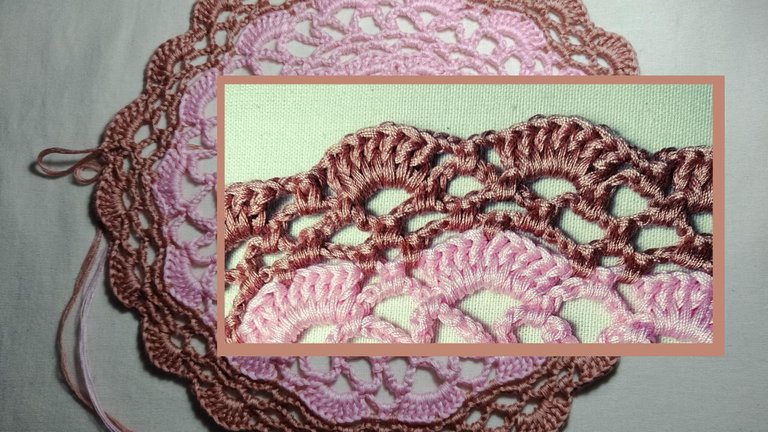
Slip stitch into the chain space. Make chain 3, then 6 double crochets into the chain space. Single crochet into the chain space. {Make 7 double crochets, on the next chain space, then single crochet into the next chain space.} Repeat until you've covered all the chain spaces around.
Fasten off, then weave off ends.
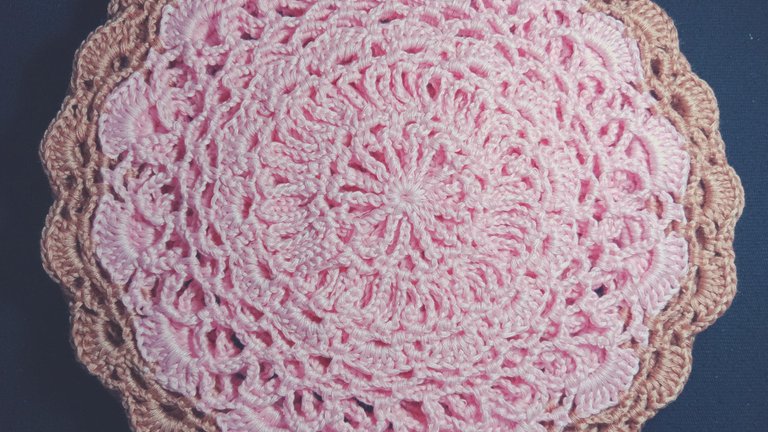
This piece is about 11 inches in diameter. You can go ahead and block the finished project to make it stiff and sturdy. Since I used 8 ply polyester yarns, this doily placemat set could last long and can be passed on to the next generation.
¨ðº°˜¨ ¨˜°ºð¨

Connect with her through her Facebook Page: The Leftie Crocheter and on Instagram. Feel free to subscribe to her Youtube Channel: The Leftie Crocheter


Will it be difficult to have layered colors?
Not really since this is pretty much basic in terms of doily designs. The client loves pink so we agreed on this color scheme.
Some oft the were useful. If you wanted your Sofa to be nice for a long time, you covered the armrests. And since men often used grease to make their hair stay in place, something to cover the back of a sofa or big chair was useful, too. But often the doilies were everywhere ;)
I actually miss my mom's doilies there's a high chance I'll be making more of these. :)
OCD Community Incubation Program and has received an OCD upvote! Congratulations!!! Please keep sharing these quality posts :)Hello @romeskie! Your post was selected by our staff on behalf of the
I invite you to continue sharing anything needlework related directly to the NeedleWorkMonday Community. On Monday’s we use the #needleworkmonday tag and on all other days the #needlework tag.
NeedleWorkMonday CommunityWritten by @crosheille for the ~