SPANISH
¡Hola a todos! Espero tengan una excelente semana.
A la mayoría de las chicas nos gusta lucir el cabello largo y suelto, que nuestra melena vuele con el viento y así experimentamos esa sensación de libertad... al menos a mí me encanta así!
Pero en ocasiones debemos cargarlo sujeto ya sea por falta de tiempo para arreglarlo o porque vá mejor con el atuendo que llevamos o, porque simplemente nos provocó.
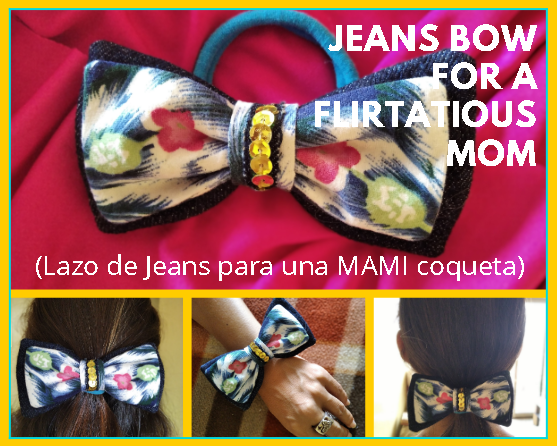
Es por ello que siempre procuramos tener un buen arsenal de accesorios para el cabello entre los cuales no pueden faltar los lazos. Así que hoy les traigo eso: UN LAZO DE JEANS, el cual combina muy bien con la mayoría de las prendas de vestir dándole actualidad a cualquier pieza, además de que, estando tan cerca el Dia de Las Madres, puede ser un bonito obsequio para una máma moderna o para cualquier chica sin importar la edad que tenga.
¡Ven: acompáñame en el proceso de elaboración de este hermoso accesorio!
ENGLISH
Hello everyone! I hope you all have a great week.
Most of us girls like to wear our hair long and loose, let our hair fly in the wind, and experience that feeling of freedom... at least I love it that way!
But sometimes we have to carry it subject either because we don't have time to fix it or because it goes better with the outfit we are wearing or because it simply provoked us.
That's why we always try to have a good arsenal of hair accessories among which can not miss the bows. So today I bring you that: A JEANS BOW, which combines very well with most of the clothes, giving a modern touch to any piece, besides, being so close to Mother's Day, it can be a nice gift for a modern mom or any girl no matter how old she is.
¡Come: join me in the process of making this beautiful accessory!
MATERIALES A UTILIZAR:
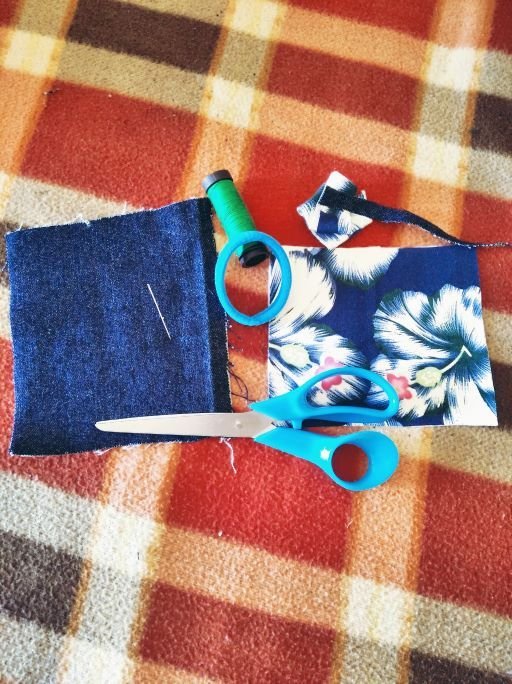
- Retazo de jean viejos o en desuso. La medida será a tu gusto
- Retazos de tela estampada o de tu preferencia. Medidas a tu gusto, siempre uno o dos centimetros menos que la de jeans
- Adicional a estas, debemos tener dos tiras de ambas telas para hacer el centro del lazo.
- Colita o goma elástica.
- Agujas, hilos, tijeras, alfileres, cinta métrica y regla (básico)
- Máquina de coser y manitos creadoras.
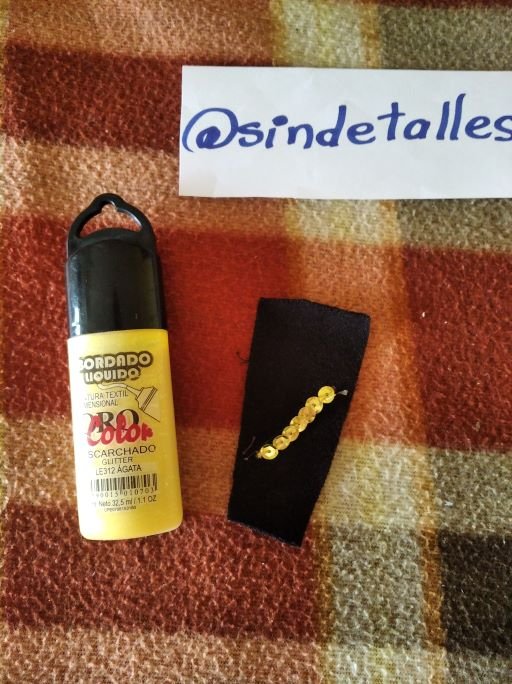
- Para decorar: lentejuelas y bordado liquido.
MATERIALS TO BE USED:
- Old or unused jean fabric. The size will be to your liking
- Pieces of printed fabric or fabric of your preference. Measurements to your liking, always one or two centimeters less than that of jeans.
- In addition to these, we must have two strips of both fabrics to make the center of the loop.
- Tail or elastic band.
- Needles, threads, scissors, pins, tape measure, and ruler (basic)
- Sewing machine and creative hands.
- To decorate sequins and liquid embroidery.
¿CÓMO LO HACEMOS?
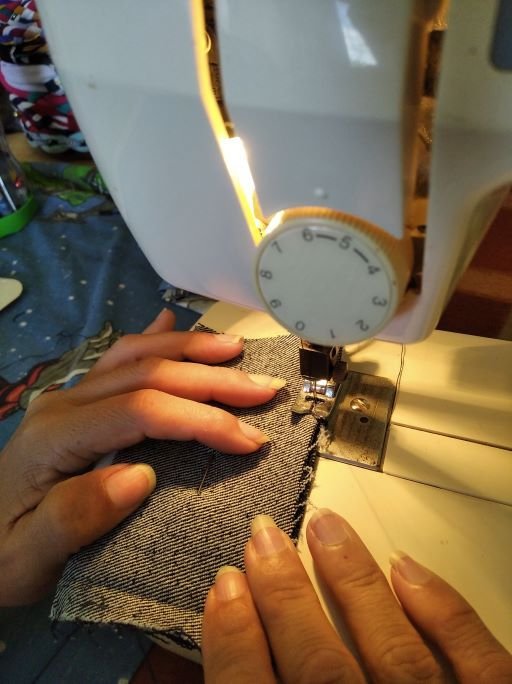
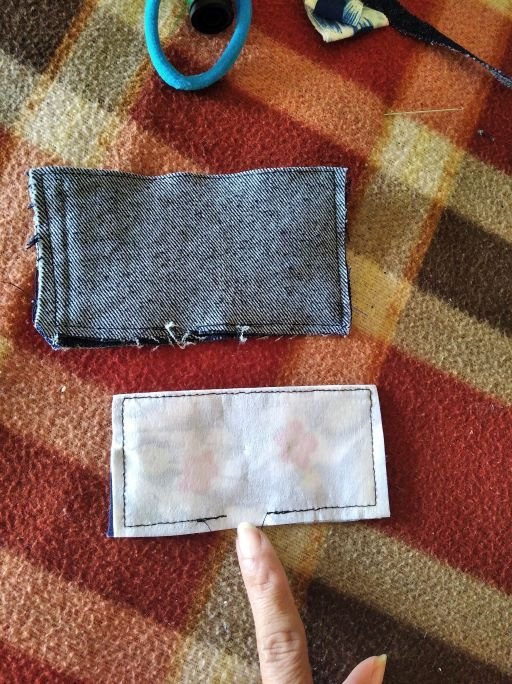
1.- El retazo de jeans lo doblamos por el revés y pasamos una costura por los bordes (incluido el del doblez) , dejando un espacio de aproximadamente dos centimetros a través del cual voltearemos la pieza al derecho.
2.- Lo mismo hacemos con elretazo de tela estampada.
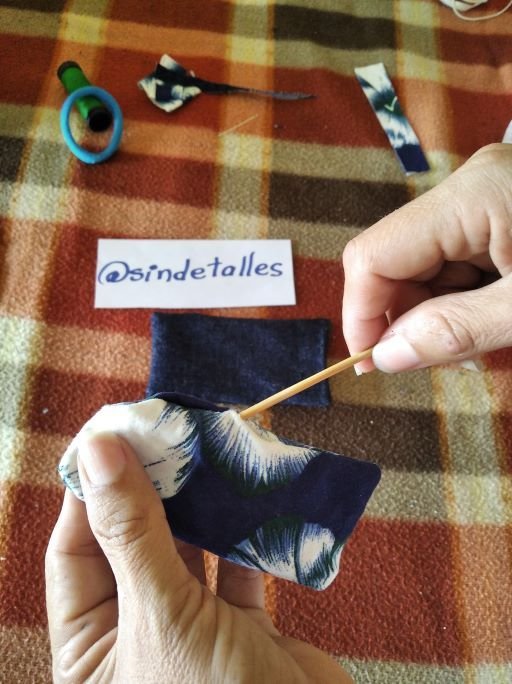
3.- Debemos cuidar de sacar bien los extremos o puntas para que no quede deforme el rectángulo que se forma al poner las piezas al derecho. Para esto nos podemos ayudar con un palito de floristeria.
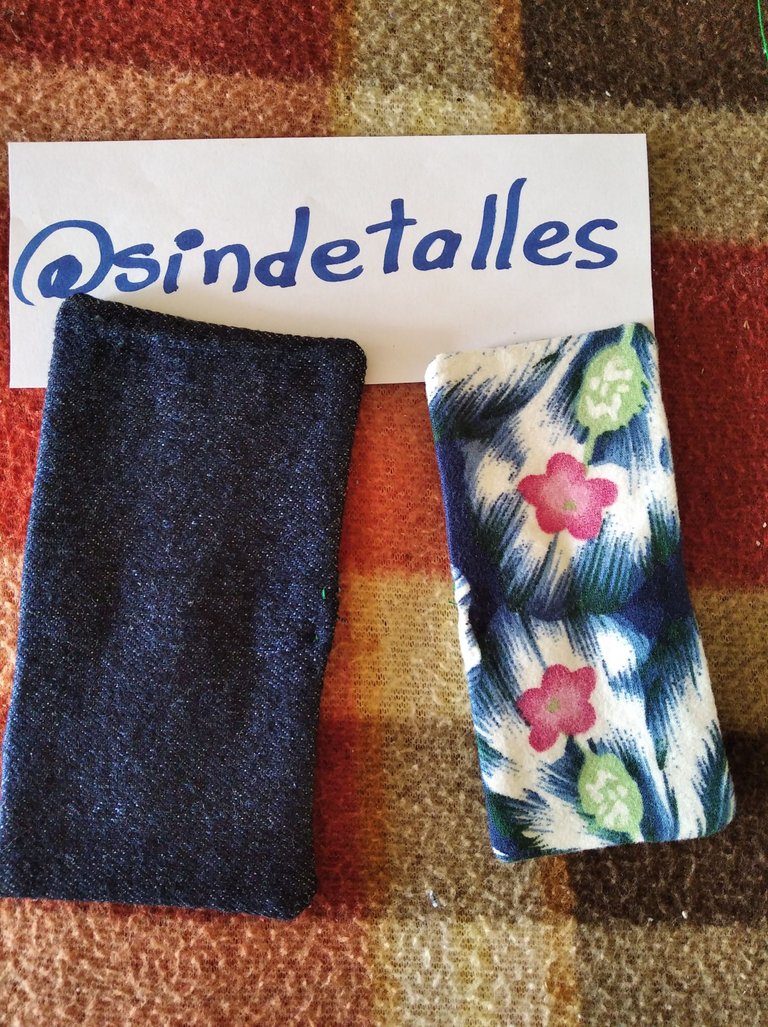
4.- Una vez volteadas ambas piezas, sugiero aplanar las costuras con la plancha para obtener un mejor acabado. La abertura por donde dimos vuelta al derecho, podemos darle unas puntaditas a mano para cerrarla.
HOW DO WE DO IT?
1.- Fold the piece of jeans inside out and sew a seam along the edges (including the fold), leaving a space of approximately two centimeters through which we will turn the piece right side out.
2.- We do the same with the piece of printed fabric.
3.- We must take care to remove the ends or tips well so that the rectangle that is formed by putting the pieces right side up is not deformed. For this, we can help us with a florist stick.
4.-Once both pieces are flipped over, I suggest flattening the seams with iron to obtain a better finish. We can stitch a few stitches by hand to close the opening where we turned right side out.
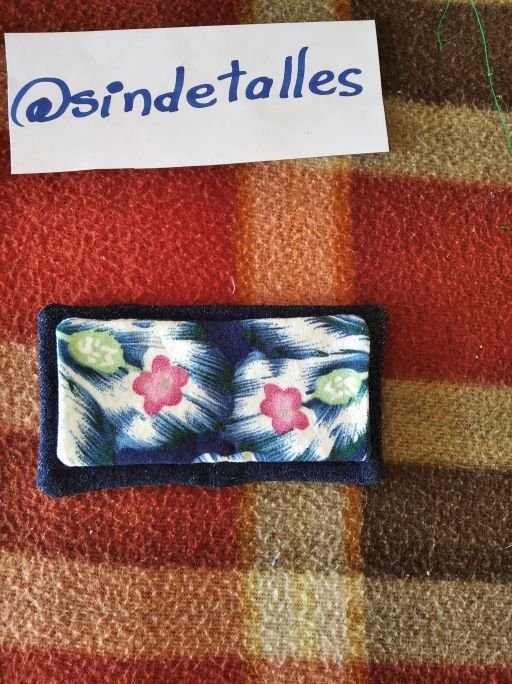
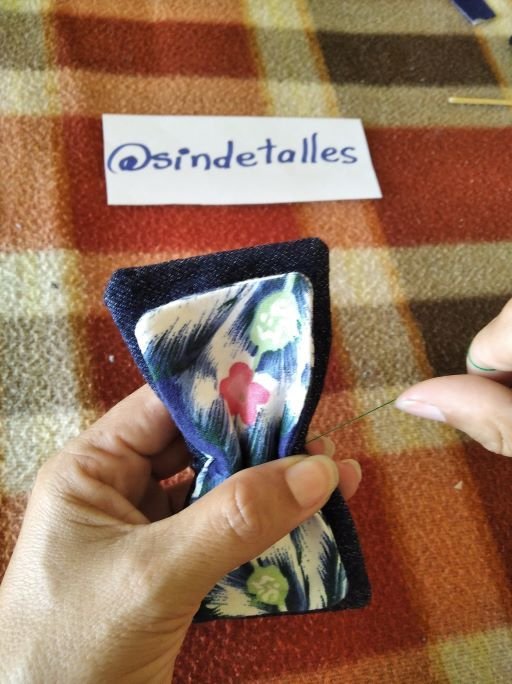
5.- La pieza estampada la colocamos sobre la de jeans ubicando el centro de las mismas.
6.- Pasamos un pespunte de un extremo a otro uniendo ambas piezas, halamos el hilo y procedemos a darle forma al lazo enrollando varias veces el hilo sobre este. Damos unas puntaditas para asegurar y cortamos el hilo sobrante.
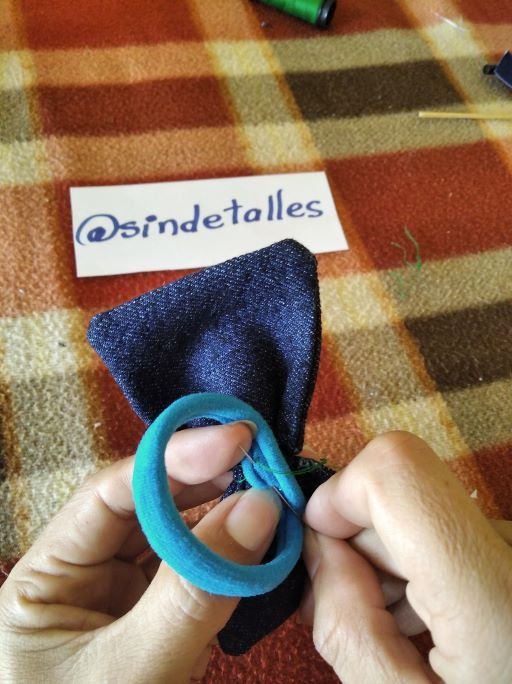
7.- Cosemos por la parte trasera la colita o goma elástica, asegurando bien la misma.
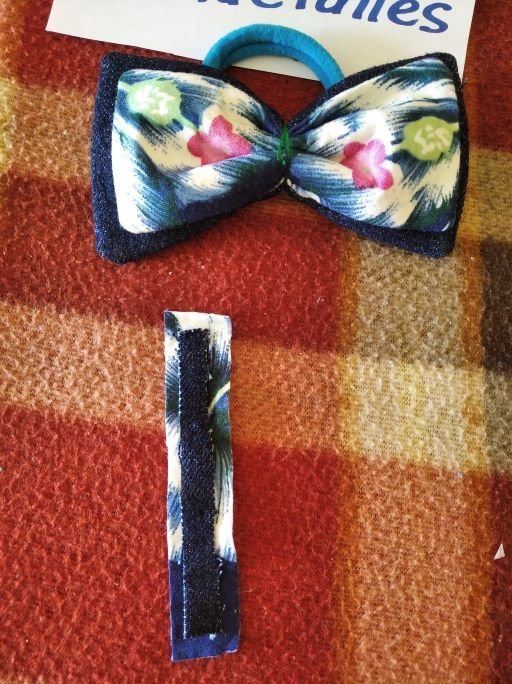
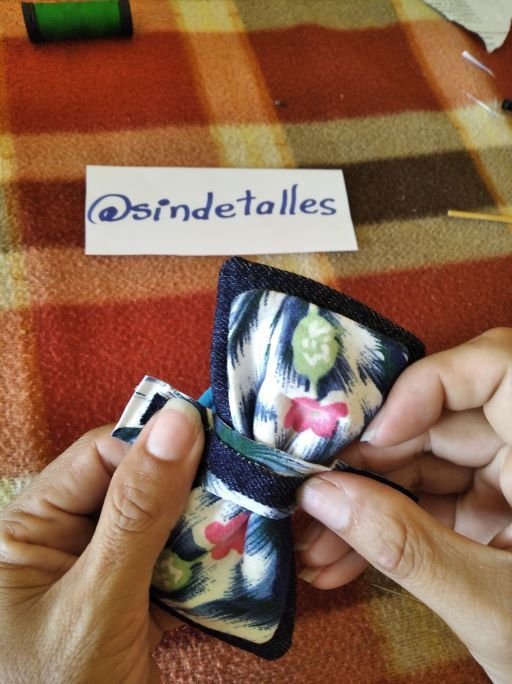
8.- Para hacer el centro, colocamos la tira de jeans sobre la de tela estampada y ubicamos estas de forma que cubran las costuras de la parte trasera lo cual nos dará un trabajo más limpio. Puedes coserlo o hacerlo con silicon (como prefieras).
5.- The stamped piece is placed over the jeans piece, locating its center.
6.- We pass a backstitch from one end to the other joining both pieces, pull the thread, and proceed to give shape to the loop by winding the thread over it several times. We stitch a few stitches to secure and cut the excess thread.
7.- We sew the tail or elastic band at the back, securing it well.
8.- To make the center, place the strip of jeans over the strip of printed fabric and place them so that they cover the seams of the back, which will give us a cleaner job. You can sew it or do it with silicon (as you prefer).
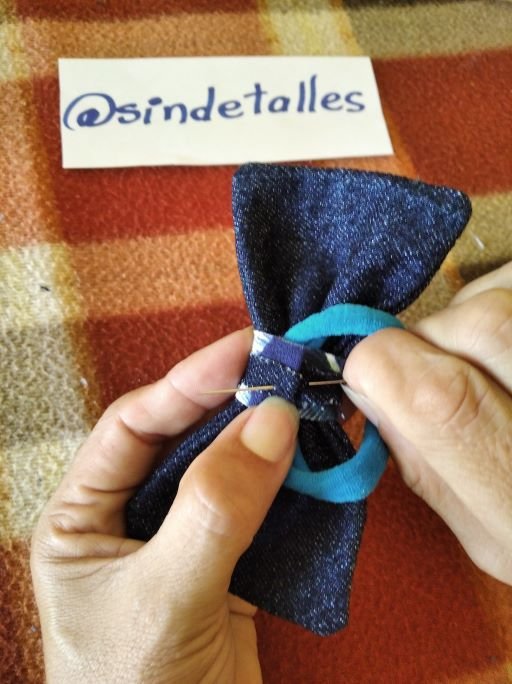
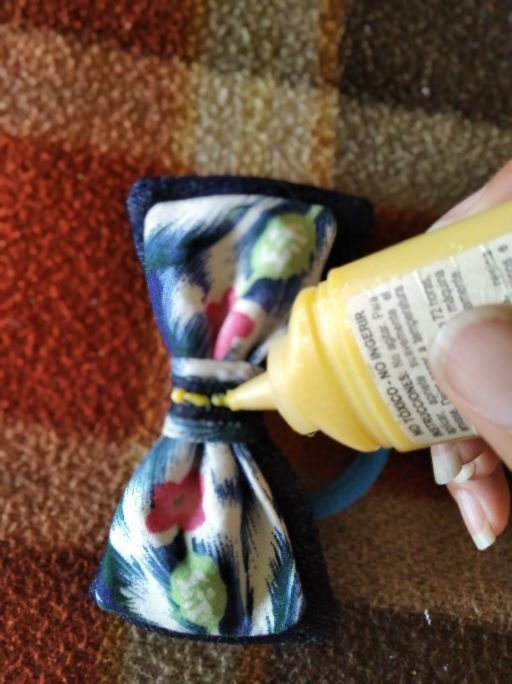
9.- Decoración: Aplicamos el bordado líquido en el centro y sobre este colocamos la tira de lentejuelas. En este caso yo escogí dorada igual que el bordado líquido. También puedes usar silicone o coserlo y usar la decoración que gustes.
9.- Decoration: Apply the liquid embroidery in the center and place the sequin strip on it. In this case, I chose gold like the liquid embroidery. You can also use silicone or sew it and use the decoration of your choice.
,
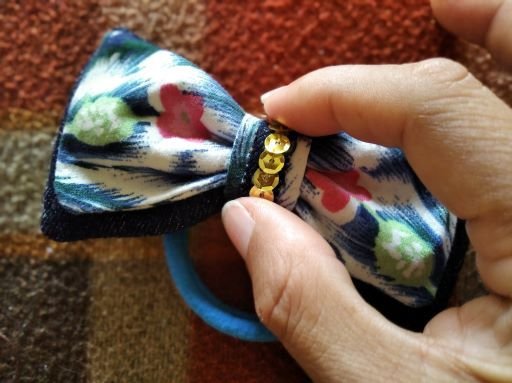
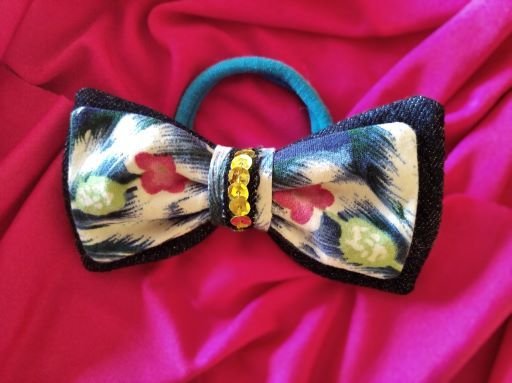
HE AQUI EL RESULTADO... Qué les parece? Muy fácil y bonito, verdad? Anímate y haz el tuyo!
HERE IS THE RESULT... What do you think? Very easy and beautiful, isn't it? Go ahead and make your own!
Si ha sido de tu agrado esta publicación, entonces comenta y comparte que con el corazón te lo agradeceré.
¡Gracias por tu lectura!
If you liked this post, then please comment and share, I will thank you from the bottom of my heart.
Thanks for reading!

- Portada editada en Canva / Fotos de mi galeria personal, tomadas con mi smartphone Redmi 7A
- Cover edited in Canva / Photos from my personal gallery, taken with my Redmi 7A smartphone.
Nice
Thank you!
Congratulations @sindetalles! You have completed the following achievement on the Hive blockchain and have been rewarded with new badge(s) :
Your next target is to reach 20 posts.
Your next target is to reach 100 upvotes.
Your next target is to reach 600 upvotes.
Your next target is to reach 100 replies.
You can view your badges on your board and compare yourself to others in the Ranking
If you no longer want to receive notifications, reply to this comment with the word
STOPCheck out the last post from @hivebuzz:
Support the HiveBuzz project. Vote for our proposal!