ENGLISH CONTENT
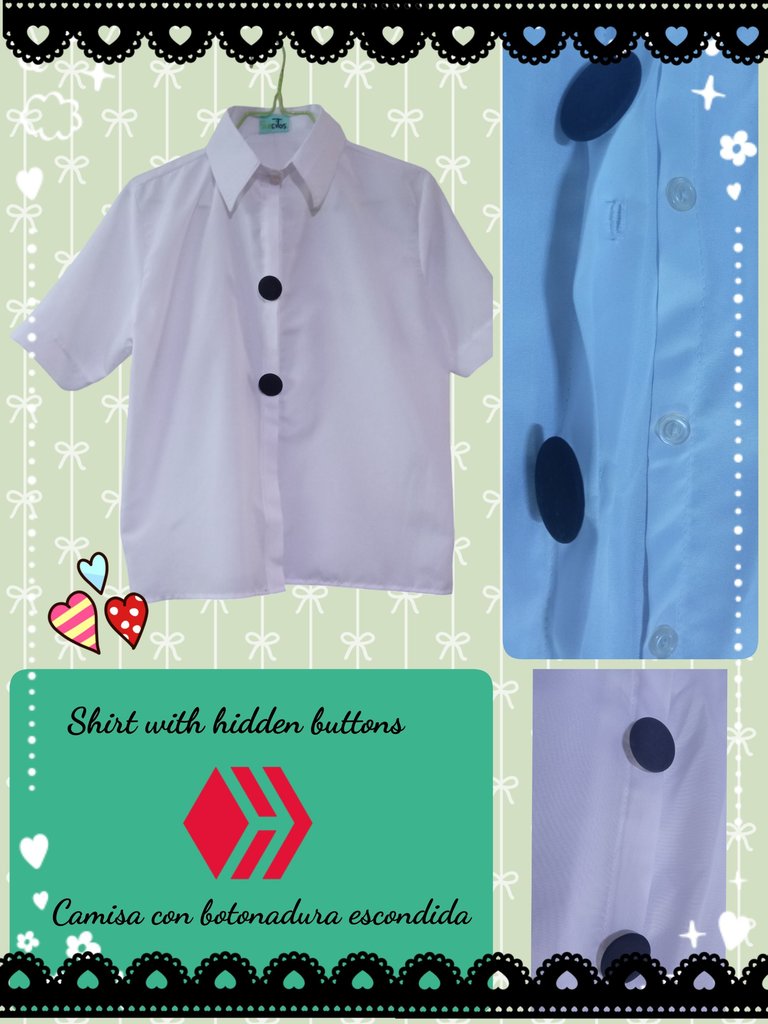
Hello to all the members of this community and sewing lovers! Today I am here to show you a shirt I made for my sister. I had previously made a simple shirt and a buttonless neckline shirt. But the shirt I needed to make only had two large buttons in front, so I didn't know how to properly close it 😅 After searching for a way to solve my problem, I found this type of hidden buttoning and it was just what I needed!
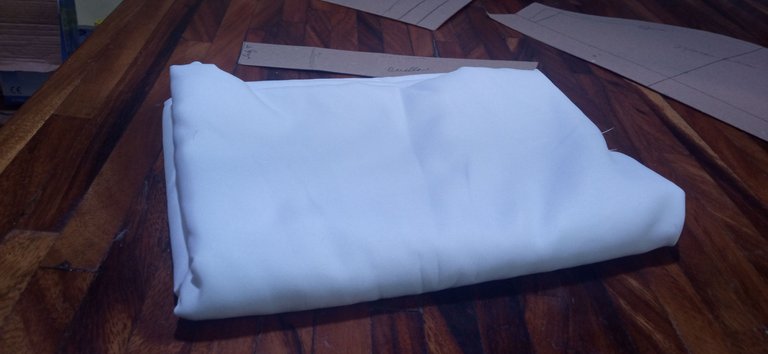
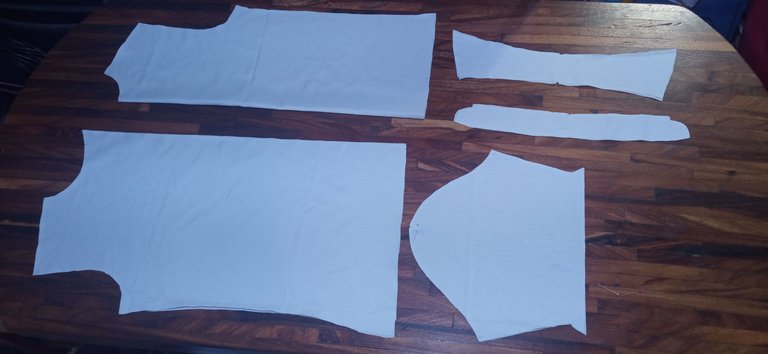
My sister bought about two meters of white fabric on sale, so I could make this shirt and another one, if she liked the result. Thanks to my sewing patterns, I cut the pieces from the shirt, also using one of my sister's shirts as a guide, since she has broad shoulders and I had to make a slight change.
 |  |
|---|
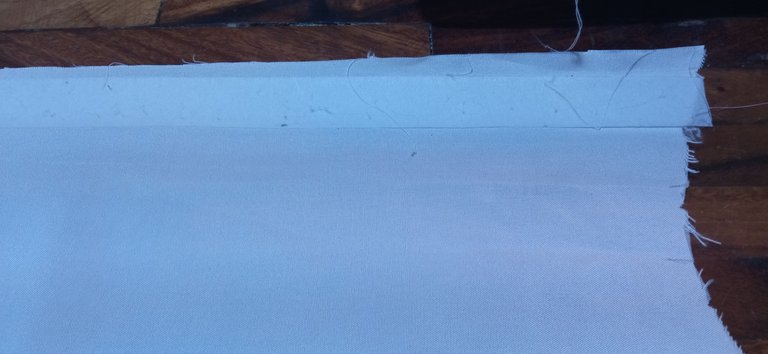
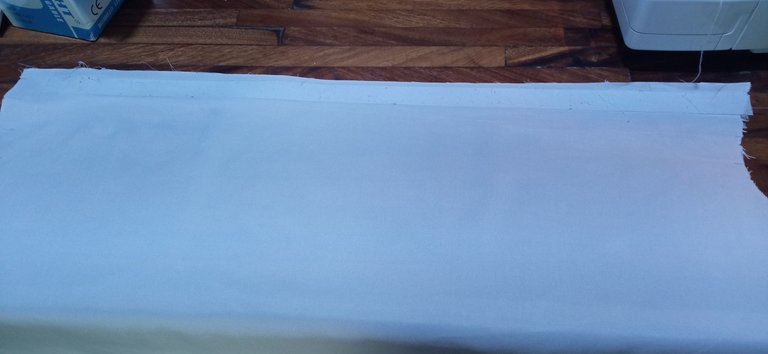
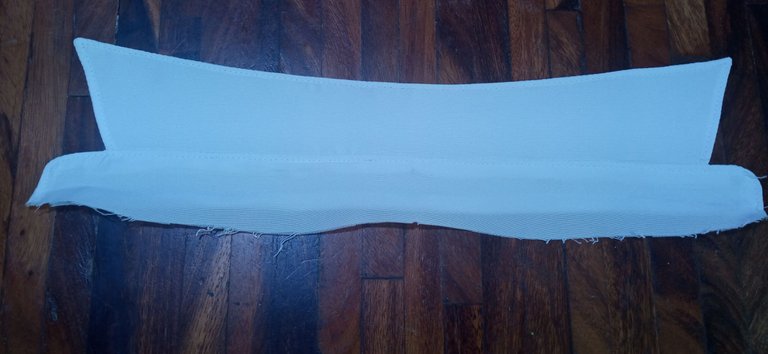
Well, to make the hidden buttoning, it is necessary to add a few extra centimeters to the piece where the buttonholes are going to be made, apart from the ones that are always left by default; this is to be able to create a tab that will cover the buttonholes. On the shirt, I added 6 cm (making notches every 2 cm), plus 1 cm extra for the seam. On the edge, I placed a 2 cm strip of interfacing.
 |  |
|---|
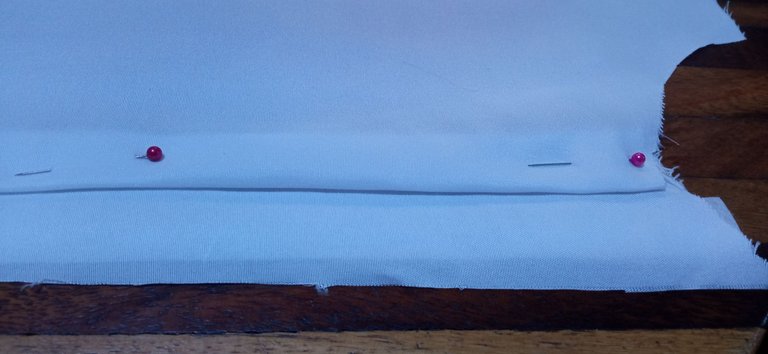
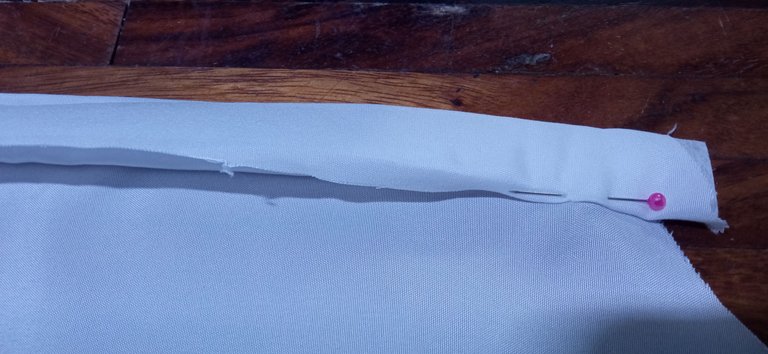
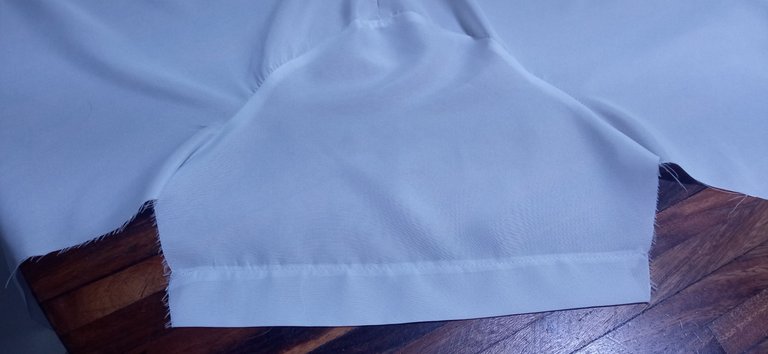
Then, fold the piece as shown in the photograph, guided by the notches, first a fold in front and then one on the inside, where we will finally insert the extra centimeters of seam.
 |  |
|---|
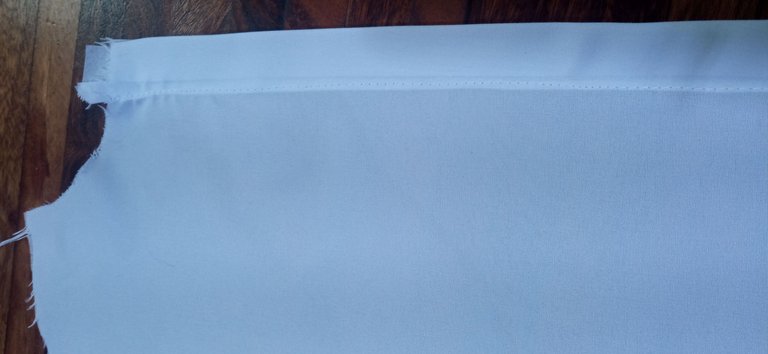
Using pins to hold the folds, we proceed to make a straight seam along the entire edge and in this way, we will have the buttonhole area covered by a flap of fabric. On the other front piece (where the buttons will be placed), we also proceed to make the fold of the excess and sew it with a straight seam.
 |  |
|---|
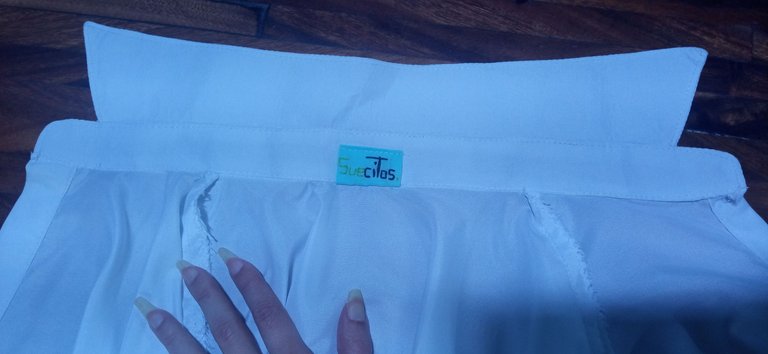
Once I had this part ready, I joined the front and back pieces, starting from the shoulders, and I also made the collar as I explain in more detail in my post about the simple shirt. I attached the collar along with the label that I always use for the pieces that I make from scratch.
 |  |
|---|
Afterwards, I sewed the sleeves and closed the piece on the sides, as well as hemmed the bottom and that's it, the shirt was assembled.
 |  |  |
|---|
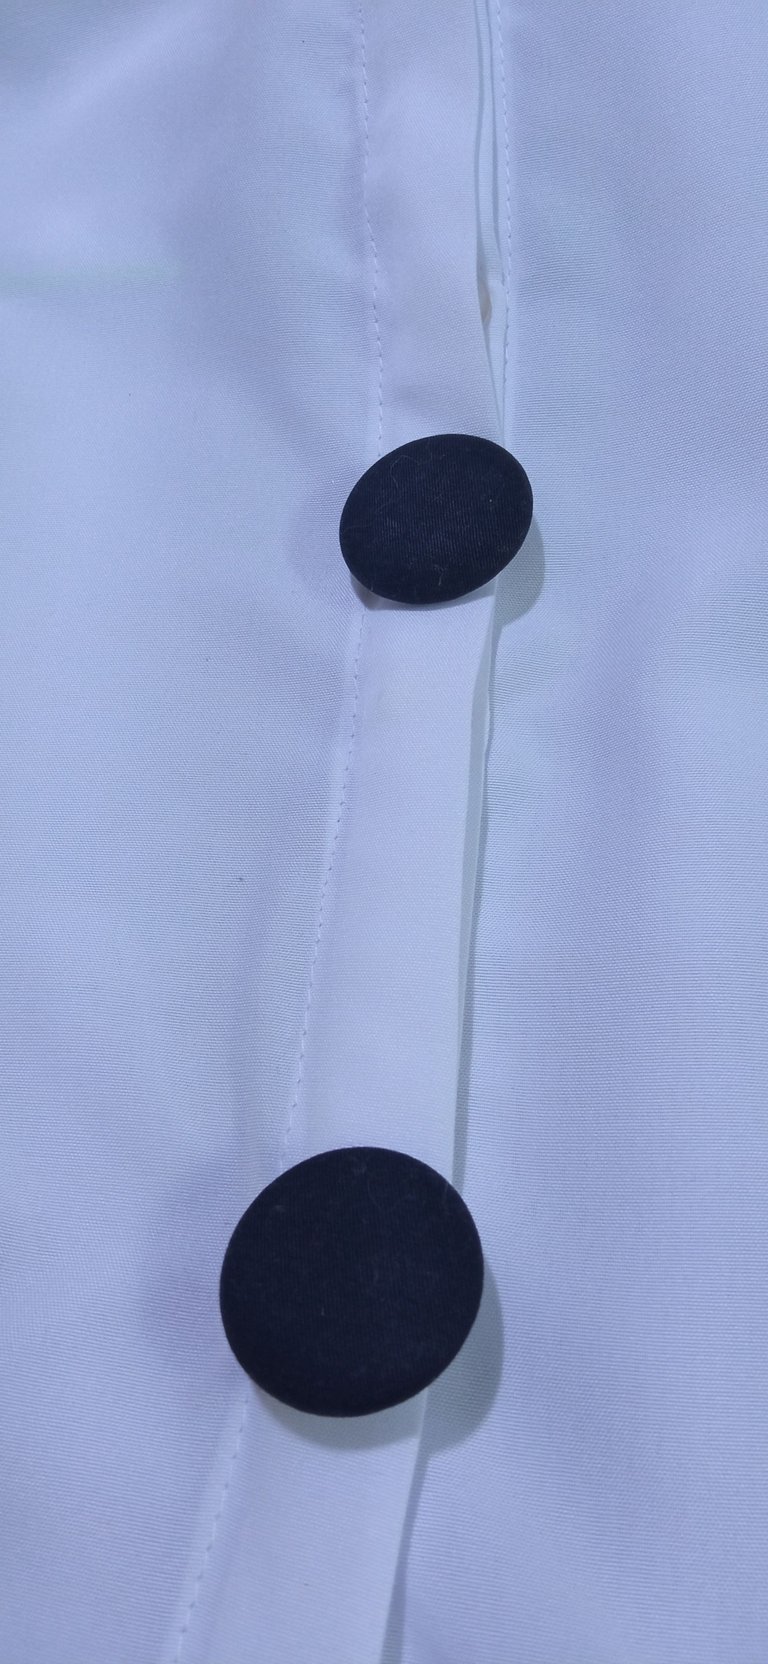
I then proceeded to mark the buttonholes and buttons, to make them using the corresponding machine feet. After that, I sewed the large (jacket) buttons that I had on the front of the shirt, with a hand-made seam. It should be noted that these buttons are purely decorative.
 |  |
|---|
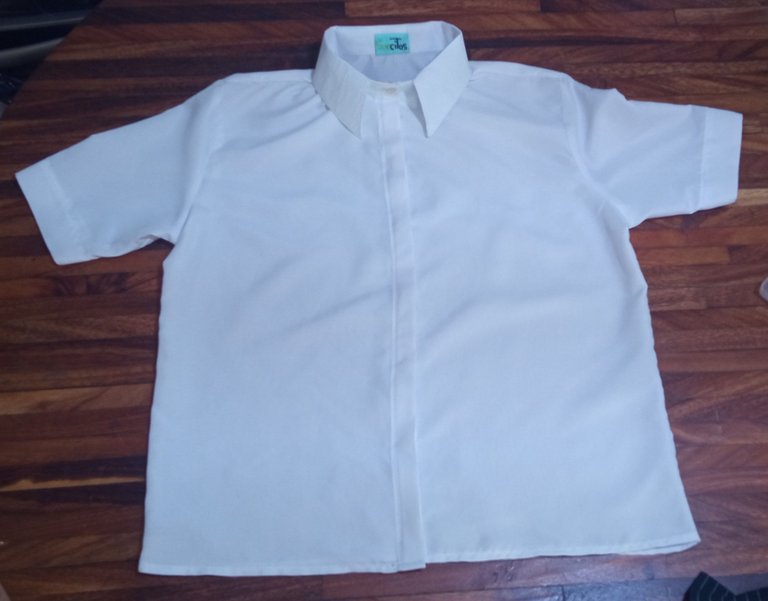
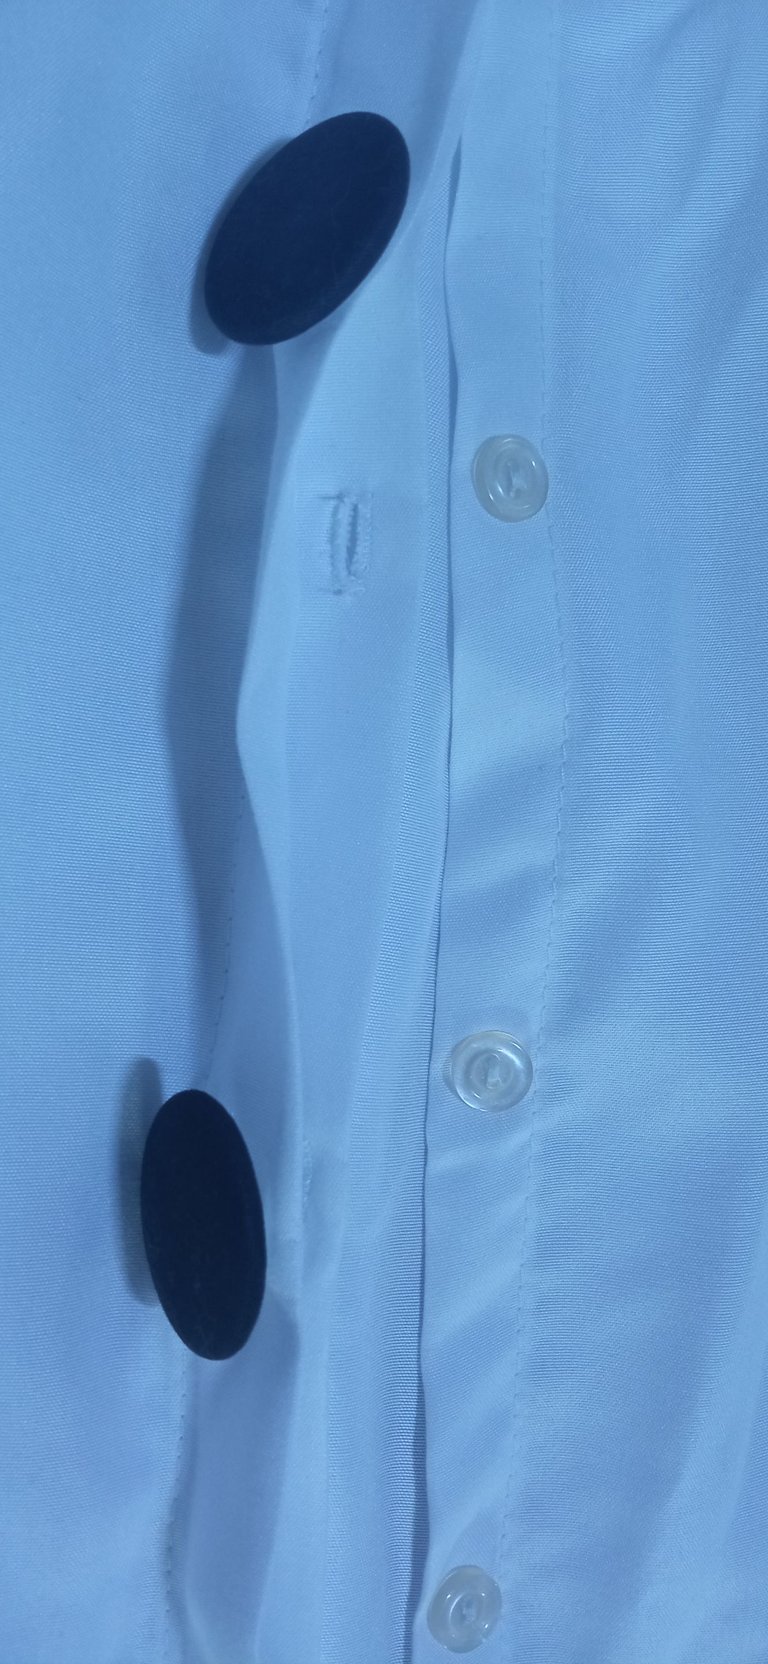
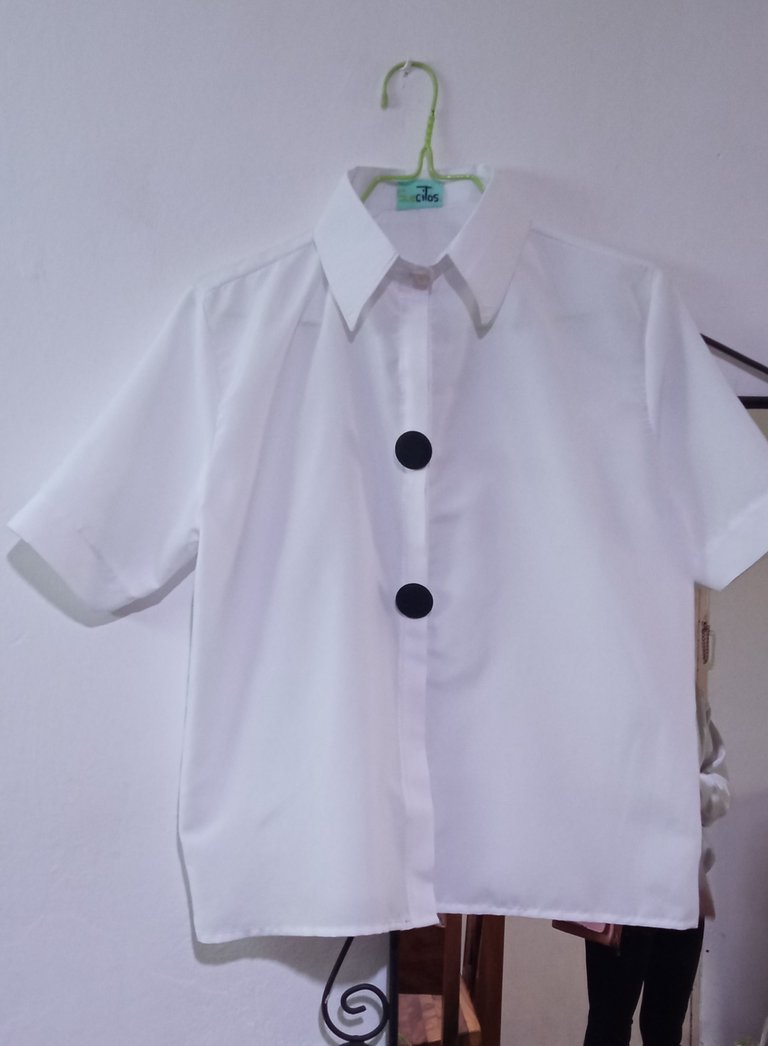
And just like that, the shirt was ready. As you can see, once it's closed, the actual buttons are hidden and it looks like the outer buttons are the ones that actually close the shirt. It's a pretty simple process that only requires adding a few extra centimeters. I like these little details that can make a simple shirt look even more elegant 😌
Thank you very much for visiting my post. I hope you found it interesting.
Until next time!

CONTENIDO EN ESPAÑOL
¡Hola a todos los integrantes de ésta comunidad y amantes de la costura! El día de hoy vengo a mostrarles una camisa que hice para mi hermana. Ya anteriormente había hecho una camisa simple y una camisa de escote sin botones. Pero la camisa que necesitaba hacer sólo llevaba dos botones grandes enfrente, así que no sabía cómo cerraría adecuadamente 😅 Luego de buscar el modo de cómo resolver mi problema, encontré éste tipo de botonadura oculta ¡Y era justo lo que necesitaba!
Mi hermana compró alrededor de dos metros de tela en oferta de color blanco, para que le realizase ésta camisa y otra más, si llegaba a gustarle el resultado. Gracias a mis patrones de costura, saqué las piezas de la camisa, guiándome también con una camisa de mi hermana, ya que ella es de hombros anchos y tuve que hacer un ligero cambio.
| |
|---|
Bien, para hacer la botonadura oculta, es necesario añadirle unos centímetros extra en la pieza en donde van a realizarse los ojales, aparte de los que siempre se dejan por defecto; esto para poder crear una pestaña que nos va a cubrir los ojales. En la camisa, yo le añadí 6 cm (haciendo piquetes en cada 2cm), más 1cm extra para la costura. En el borde, le coloqué una tira de 2cm de entretela.
| |
|---|
Luego, se dobla la pieza como se ve en la fotografía, guiándonos por los piquetes, primero un doblez enfrente y luego, uno en la parte interna, en donde meteremos finalmente los centímetros extra de costura.
| |
|---|
Con ayuda de alfileres sosteniendo los dobleces, pasamos a realizar una costura recta en todo el borde y de ésta forma, tendremos la zona de los ojales cubierta por una pestaña de tela. En la otra pieza delantera (donde se van a colocar los botones), también se procede a hacer el doblez del excedente y se cose con una costura recta.
| |
|---|
Ya teniendo lista ésta parte, uní las piezas delanteras y trasera, desde la parte de los hombros, así como elaboré el cuello como lo explico más detalladamente en mi post de la camisa simple. Anexando el cuello junto a la etiqueta que siempre suelo utilizar para las piezas que fabrico desde cero.
| |
|---|
Después, cosí las mangas y cerré la pieza por los laterales, así como le realicé un dobladillo en la parte inferior y listo, estuvo armada la camisa.
| | |
|---|
Procedí entonces a marcar los ojales y los botones, para realizarlos utilizando los pie de máquina correspondientes. Seguidamente a ello, cosí los botones grandes (de chaqueta) que tenía en la parte frontal de la camisa, con una costura hecha a mano. Cabe mencionar que estos botones son meramente decorativos.
| |
|---|
Y de ésta forma, la camisa estuvo lista. Como puede apreciarse, una vez cerrada, los botones reales están ocultos y se da la impresión que los botones externos, son los que realmente cierran la camisa. Es un proceso bastante simple que sólo requiere que se añadan unos centímetros extras. Me gustan estos pequeños detalles que pueden hacer que una simple camisa, se vea hasta elegante 😌
Muchas gracias por haber visitado mi publicación. Espero que les haya parecido interesante.
¡Hasta una próxima oportunidad!
Ye ha quedado hermosa la blusa, una buena técnica esa la de ocultar los botones.
El cuello se ve perfecto.
Realmente me fascinó esa técnica y más por lo sencilla que es 😊 jaja puedo decir que es el mejor cuello que he hecho hasta ahora, espero seguir mejorando 🤗 Muchas gracias por haber visitado mi publicación y por comentar 😘💚
Excelente trabajo. Este tipo de costura le da un acabado bien prolijo
Saludos
Muchas gracias 🤗 Cada vez que aprendo una cosita nueva, me animo a seguir cosiendo ¡Besos y abrazos! 😘💚
Oh, this is lovely. Your sister must have loved the result. Did you permit you to work on the second material after she saw this one? We bet she did. Well done.
Even I was impressed with the result, this type of buttoning looks pretty cool 😌 My sister loved it and if she wants me to make her another shirt... but there are other sewing projects in the queue, so she'll have to wait a bit 😆 Thank you very much, I'm glad you liked it 😊💚