ENGLISH CONTENT
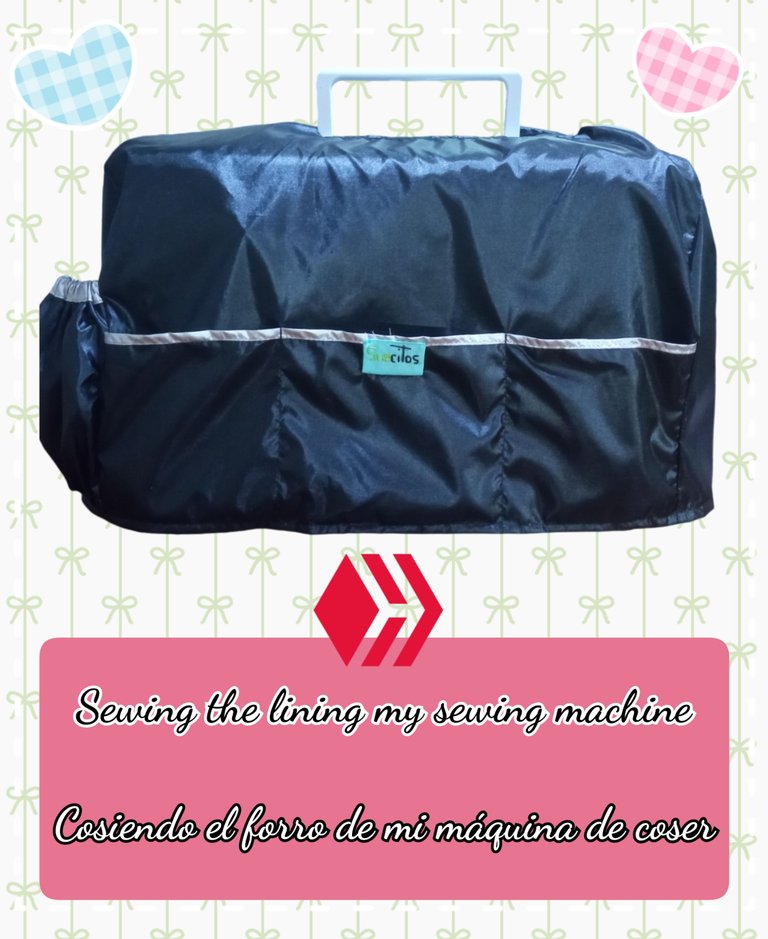
Hello to all the members of this community and lovers of sewing! After months of having my sewing machine covered with an old dress of my mother's (to avoid dust falling on it), I finally decided to sit down and make a decent cover for it and it has been one of the best decisions I have made recently 😆
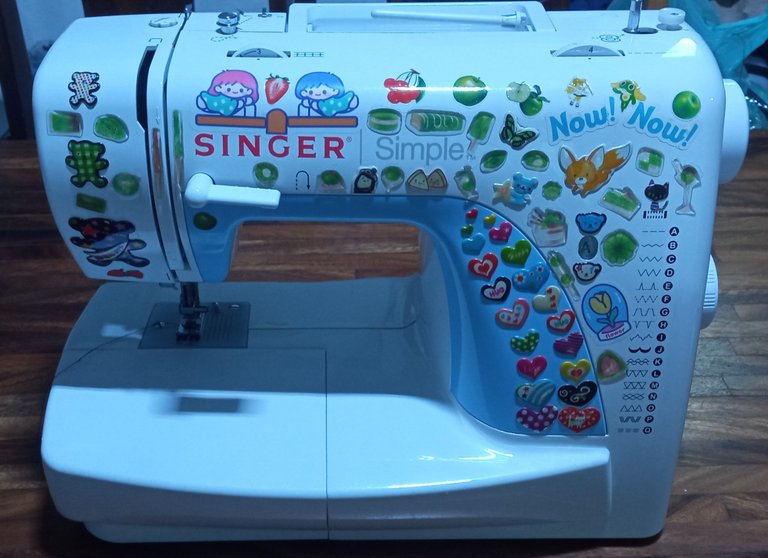
I usually work with a homemade Singer machine that came with some accessories, including a plastic cover. I loved that cover a lot, but unfortunately while my machine was in the field, it was attacked by some insects that, during the rainy season, decided to make a nest inside the box where I kept it... My brothers did their best to eliminate the pest, but the machine's cover did not survive 🙃 Although, I am very grateful that they took care of saving my machine and putting it in a safe place.
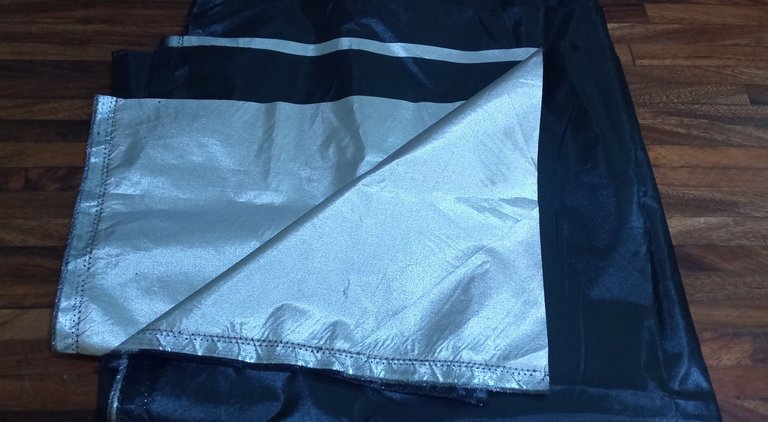
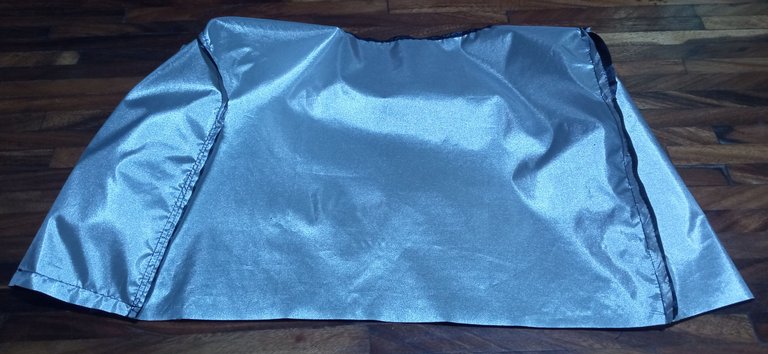
I really loved the cover that came with the machine in the box and I regret not having made the pattern for it at the time. But anyway, to make the new cover, I used a fabric that I bought years ago and never used. It is a waterproof fabric that I think is used to make umbrellas, since the inside is metallic and the other side is solid color. I bought it because it was a scrap and it was quite cheap.
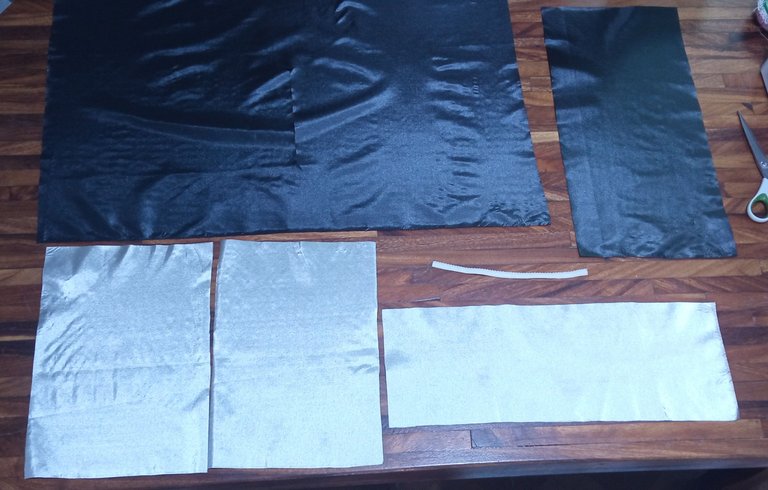
The first thing I did was take the measurements of the length and width of my machine and sew the pieces: A rectangle that would go from the front to the back of the machine, to which I made a cut where the handle of the machine would go; the pieces corresponding to the sides and two extra pieces that would be a front pocket, to put anything in and a side pocket, to put what would be the machine's cable (this piece has to be twice the width of the side of the machine). I also had a small piece of rubber the length of the piece on the side of the machine.
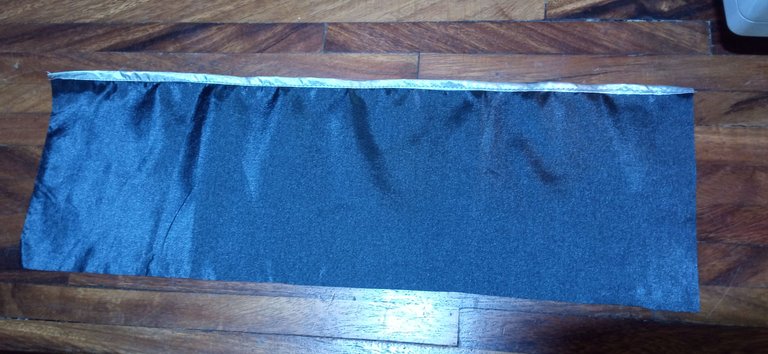
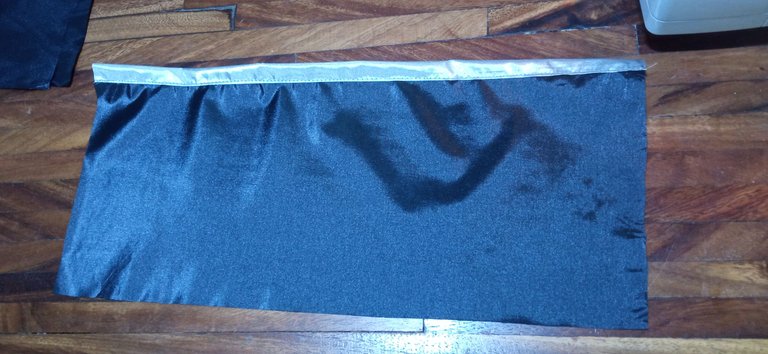
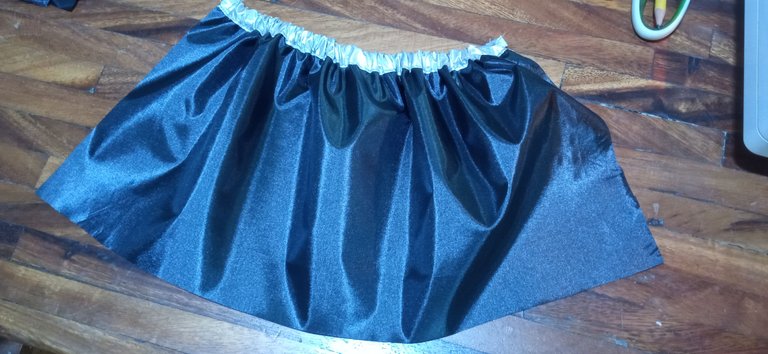
Next, I hemmed the top edges of the pocket pieces. For the pocket to store the cord, I made the hem just big enough to tuck the elastic through. By doing this, I had the pocket piece gathered.
 |  |  |
|---|---|---|
| Front pocket | Side pocket without elastic | Side pocket with elastic |
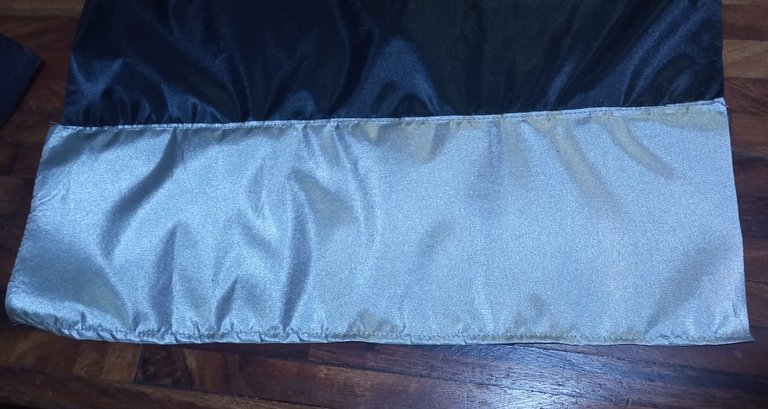
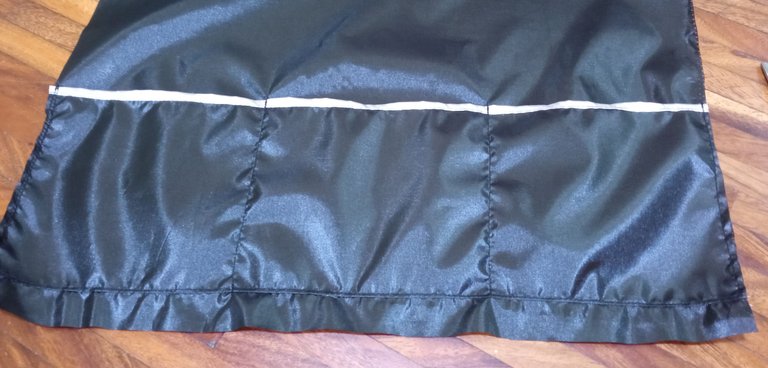
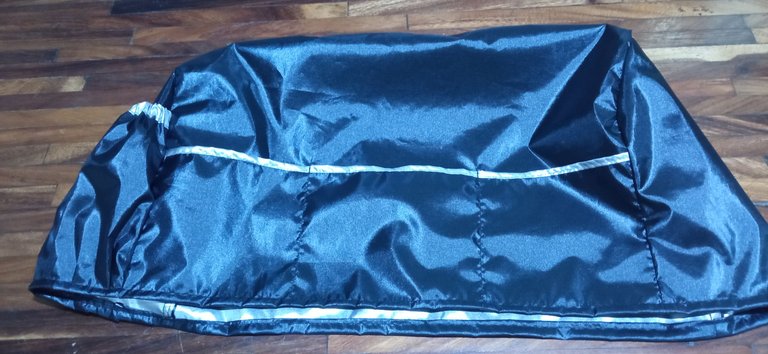
Next, I sewed the front pocket onto the larger piece, attaching it about two centimeters above the bottom (leaving room for a hem). Using a straight seam, I made a couple of divisions and thus, I had three small pockets.
 |  |
|---|
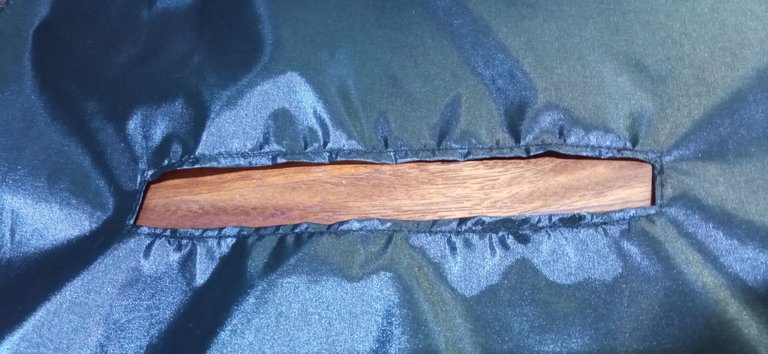
In the opening I made in the middle of the larger piece, I made a small hem, so that the handle of the sewing machine could be lifted comfortably.
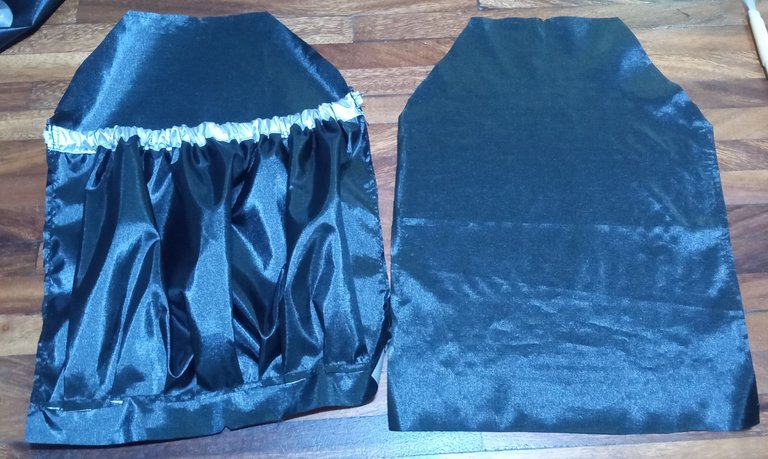
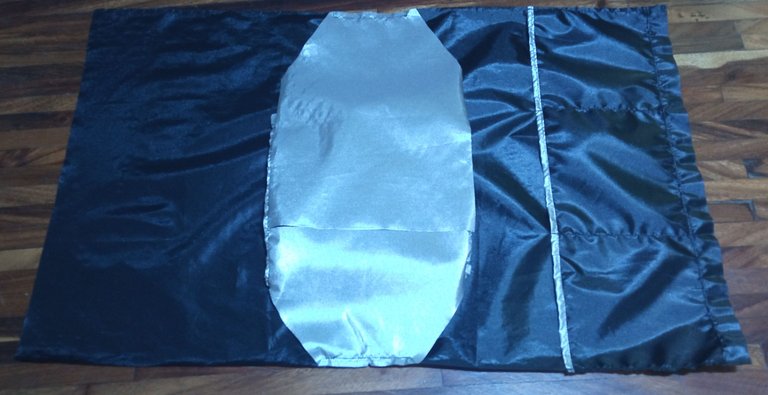
Next, I sewed the side pocket onto one of the side pieces of the machine. I rounded the shape of the side pieces a little so that they fit more with the structure of the machine, attaching them to start from the top. I glued the piece that had the pocket on the left side so that it wouldn't make more bulk due to the buttons on the machine.
 |  |
|---|
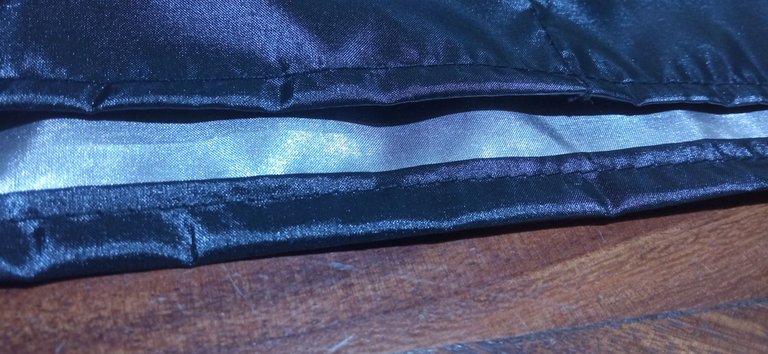
I finished closing the lining by sewing on the sides, making any corrections that seemed necessary. Finally, I hemmed the bottom and the lining was ready.
 |  |  |
|---|
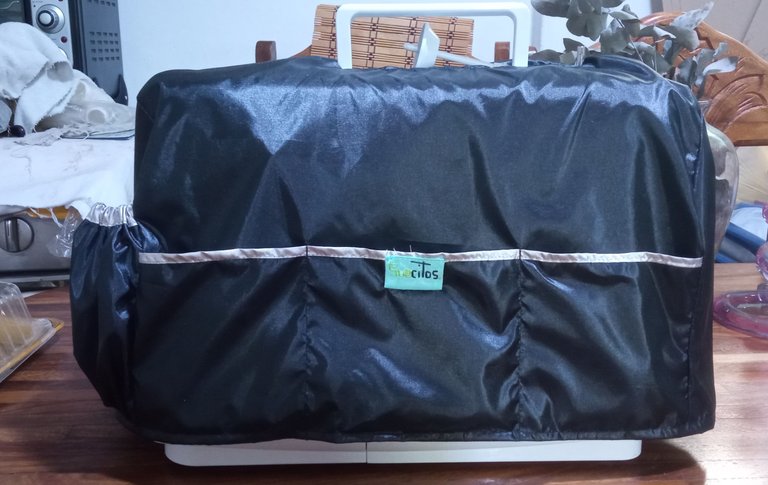
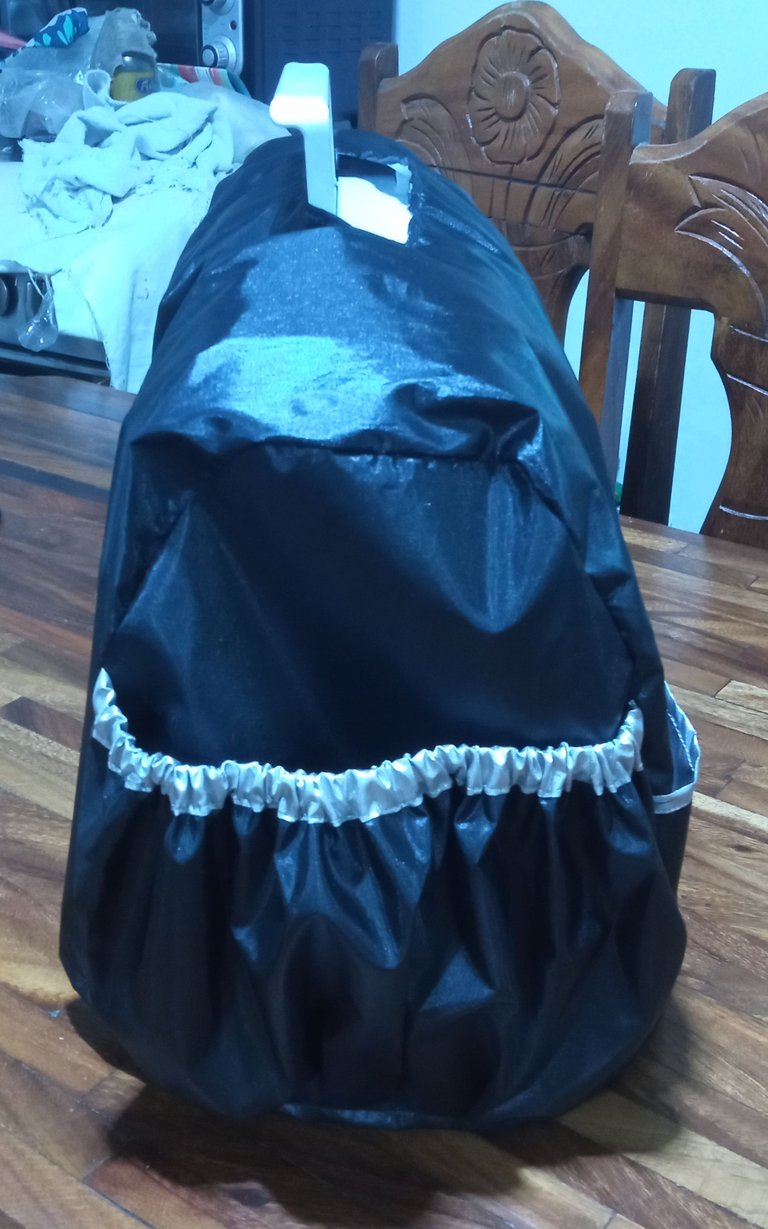
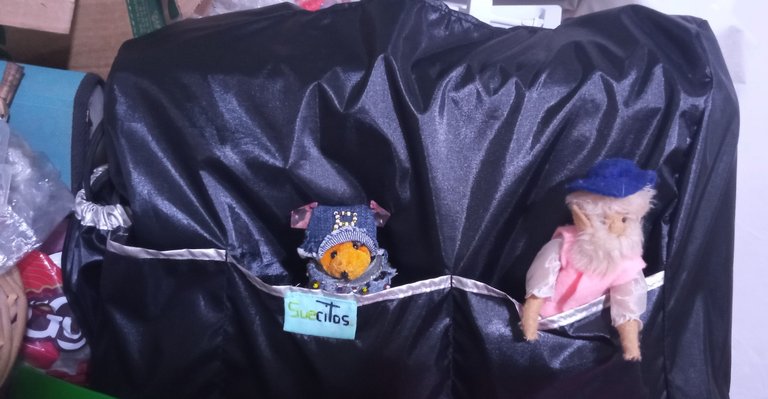
I'm really glad I made the cover for my machine, because it looks more decent on the table than when it was covered by the dress haha. I can comfortably store the cable, as well as put my scissors to cut threads in the front pocket. I'm planning to make some fabric embroidery to sew on later, to make it more colorful and I might also make another one with a fabric I like more and be able to vary the covers. I'd also like to make a little bag to store my sewing materials and have more organization in my small work space, which I know would encourage me to continue making my future projects 🖤
 |  |  |
|---|
Thank you very much for visiting my post. I hope you found it interesting.
Until next time!

CONTENIDO EN ESPAÑOL
¡Hola a todos los integrantes de ésta comunidad y amantes de la costura! Después de meses de tener cubierta mi maquina de coser con un vestido viejo de mi madre (para evitar que el polvo le cayese encima), por fin tomé la determinación de sentarme a hacerle un forro decente y ha sido de las mejores decisiones que he tomado más recientemente 😆

Suelo trabajar con una máquina casera de la marca Singer que me trajo algunos accesorios, entre ellos, su forro hecho con material plástico, me encantaba mucho ese forro, pero lamentablemente mientras mi máquina estaba en el campo, fue atacada por unos insectos que en temporada de lluvia, decidieron hacer un nido dentro de la caja en donde la guardaba... Mis hermanos hicieron lo posible por eliminar la plaga, pero el forro de la máquina no sobrevivió 🙃 Aunque, les agradezco mucho que se encargaran de salvar mi máquina y ponerla en un lugar seguro.

De verdad, amaba mucho el forro que trajo la máquina en la caja y lamento no haberle sacado el patrón en su momento. Pero bueno, para elaborar el nuevo forro, utilicé una tela que compré hace años y que nunca llegué a usar. Se trata de una tela impermeable que creo que se usa para hacer paraguas, ya que por dentro, es metalizada y del otro lado, es unicolor. La compré porque era un retazo y estaba bastante económica.

Lo primero que hice, fue tomar las medidas del largo y ancho de mi máquina y cosí las piezas: Un rectángulo que abarcase desde la parte delantera hasta la trasera de la máquina, a la cual, le hice un corte en donde entraría el asa de la máquina; las piezas correspondientes a los laterales y dos piezas extras que serían un bolsillo delantero, para colocar cualquier cosa y un bolsillo lateral, para colocar lo que sería el cable de la maquina (esta pieza, tiene que ser del doble del ancho del lateral de la máquina). También, dispuse de un pedacito de goma del largo de la pieza del lateral de la máquina.

Después, realicé un dobladillo en los bordes superiores correspondientes a las piezas de los bolsillos. En el caso del bolsillo para guardar el cable, el dobladillo lo hice lo suficientemente grande para luego, meter la goma. Al hacer esto, tuve la pieza del bolsillo fruncida.
 |  |  |
|---|---|---|
| Bolsillo delantero | Bolsillo lateral sin goma | Bolsillo lateral con goma |
Luego, procedí a coser el bolsillo delantero en la pieza más grande, anexándolo unos dos centímetros más arriba de la parte inferior (dejando espacio para hacer un dobladillo). Con una costura recta, hice un par de divisiones y así, obtuve tres pequeños bolsillos.
 |  |
|---|
En la abertura que realicé en la mitad de la pieza más grande, realicé un pequeño dobladillo, para que el asa de la máquina de coser, pudiera sacarse con comodidad.

Seguidamente, cosí el bolsillo lateral en una de las piezas laterales de la máquina. Redondeé un poco la forma de las piezas laterales para que quedasen más acorde con la estructura de la misma, anexándolas para comenzar desde la parte superior. Pegué la pieza que tenía el bolsillo, del lado izquierdo, para que no hiciera más bulto debido a los botones de la maquina.
 |  |
|---|
Terminé de cerrar el forro cosiendo en los laterales, haciendo las correcciones que me parecieron necesarias. Finalmente, realicé un dobladillo en la parte inferior y estuvo listo el forro.
 |  |  |
|---|
De verdad me alegro de haberle hecho el forro a mi máquina, porque se ve más decente en la mesa que cuando estaba cubierta por el vestido jaja. Puedo guardar cómodamente el cable, así como colocar en el bolsillo delantero, mi tijera para cortar hilos. Tengo pensado hacer unos bordados de tela para cosérselos después, para hacerlo más colorido y puede ser que también haga otro con una tela que me guste más y poder variar los forros. También me gustaría elaborar un bolsito para guardar mis materiales de costura y tener mayor organización en mi pequeño espacio de trabajo, lo cual sé, me animaría mucho a más a seguir elaborando mis proyectos futuros 🖤
 |  |  |
|---|
Muchas gracias por haber visitado mi publicación. Espero que les haya parecido interesante.
¡Hasta una próxima oportunidad!

It looks pretty cool. And it is very useful. You can cover up your sewing machine easily. 😊 Nice work!
Thank you so much! 😁 Finally my machine will be protected from dust and I will be able to store its accessories properly 😌 Thank you so much for visiting my post and for the support 💚
Your brothers are the sweetest. And I can see how much you love your sewing machine. I love those stickers you placed to make it more personalized. You did a great job with the cover. You should either sell the pattern or make more of those covers for selling. :)
I was certainly very worried those days when, due to the rainy season, my machine was attacked by insects and I was far away from home to check on it 😣 My machine is special because my grandmother, who has already passed away, bought it for me, thanks to her I can currently sew, so I really appreciate it 😌 Oh... I hadn't thought about that option of making it for sale, it seems like a good idea to me. I will definitely take it into account! Thank you very much for visiting my post and for commenting! 💚
Que bien a quedado este forro, me encanta. la tela se ve muy apropiada y el color está perfecto. también debo hacerle un forro a mi maquina. gracias por compartir tu trabajo. Muy lindo. Saludos.
Muchas gracias 😊 La verdad, el color a mí no me convence porque soy fanática del color verde 😆 pero admito que se ve bastante bien gracias a la combinación con el plateado 😊 Espero que te animes a hacerle el forro a tú máquina, yo lo hice en una tarde y más bien no puedo creer que tardara tanto en decidirme a hacerlo 😅 Muchísimas gracias por haber visitado mi publicación y por comentar 😘💚
Wow, is so beautiful, nice job
Thank you very much, I'm very glad you liked it 🤗💚
Wow quedó muy práctico creo que me lo copiaré jeje
Jajaja ¡Anímate a hacerlo! No sé como tardé tanto en decidirme en fabricarlo, cuando en una tarde lo corté y lo armé. Ahora me siento más animada de usar mi máquina y ya tengo por fin donde guardar el cable y dónde ocultar mi tijera para que no la usen para cortar cualquier cosa 😆 Muchas gracias por haber visitado mi publicación y por comentar 😊💚