ENGLISH CONTENT
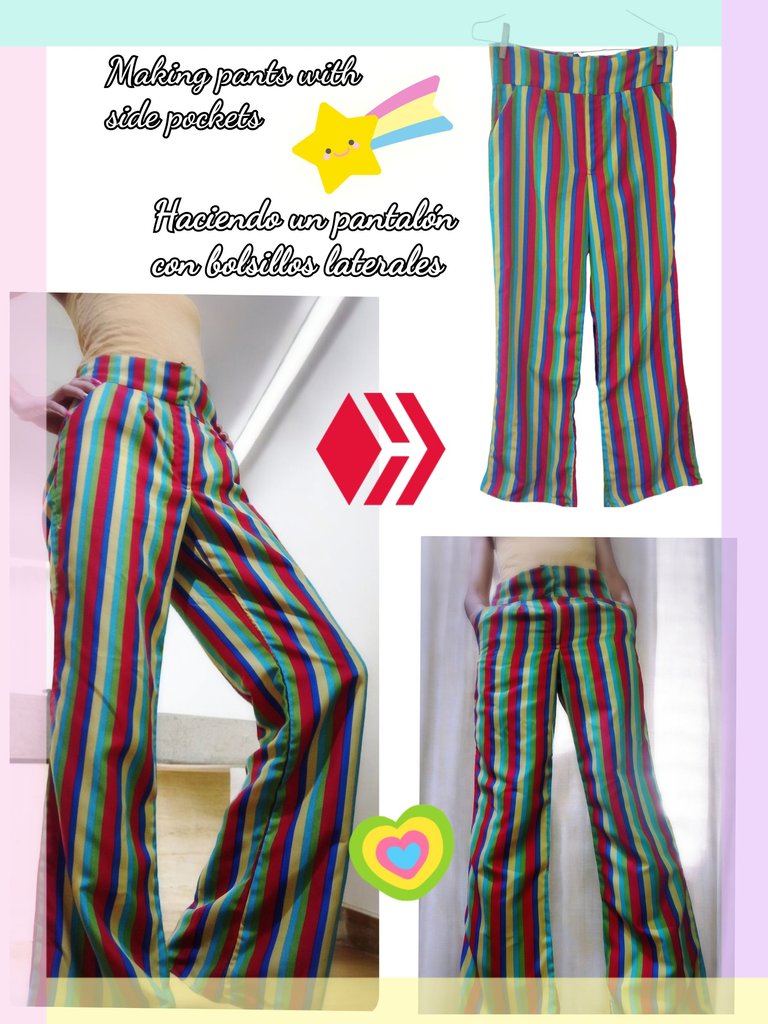
Hello to all the members of this community and lovers of sewing! On this occasion I come to show you what would be the first pants that I make completely in all my years as a seamstress 😆 You will say, How is that possible? Well, when I learned, I made a fisherman-type pant (knee-length) and since then, I never made that type of piece for myself. I barely made a pair of simple shorts and when I needed a pair of pants for an event, I chose to use pants that I already had in my wardrobe. Not to mention that in my time as a worker in a sewing workshop, what I made the most were pencil cases or cartridge belts and shirts, so... no pants 😅
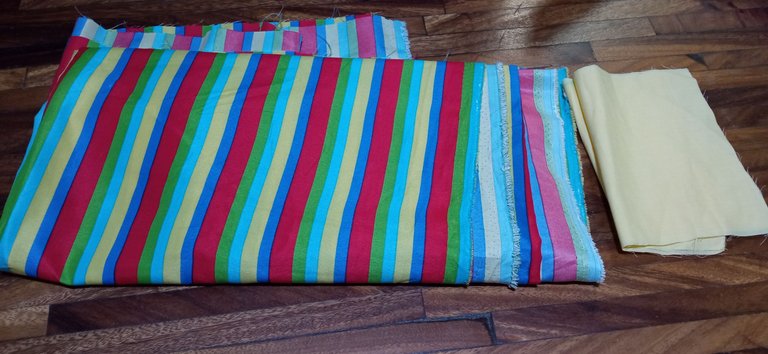
My motivation for making these pants is an event I'm going to attend. Luckily, I found the perfect fabric at a bargain price in the scraps section of my favorite textile store 😉 I received help from a lady who told me that this type of fabric would work for my project, since the scrap was 1.50 m long. For the pockets, I had some yellow scraps that I decided to use. I also bought a 15 cm yellow zipper.
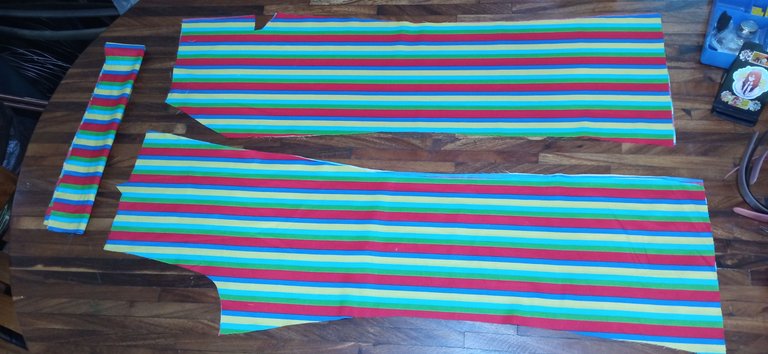
I have some patterns that I got from one of the sewing classes I took and that I never got around to using. The pants pattern is exactly my size, so I was pretty anxious and excited to be able to use it. I also helped myself by comparing it with a pair of dress pants that I have in my closet and that fit me perfectly. I cut the pieces corresponding to the front and back, as well as the waistband, making sure that the design of the fabric looked good (this was one of the parts I was most careful with, because I tend to make mistakes sometimes in silly things 😆).
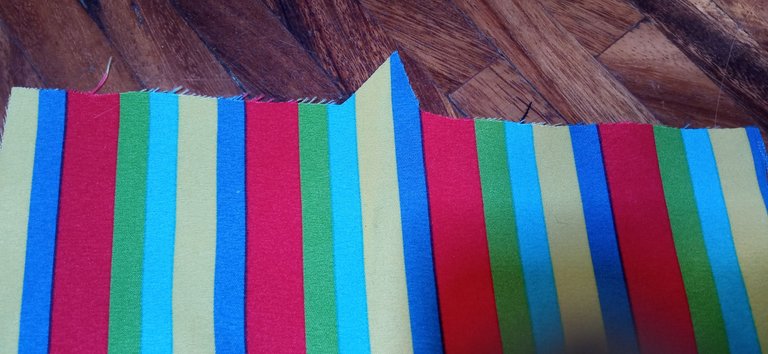
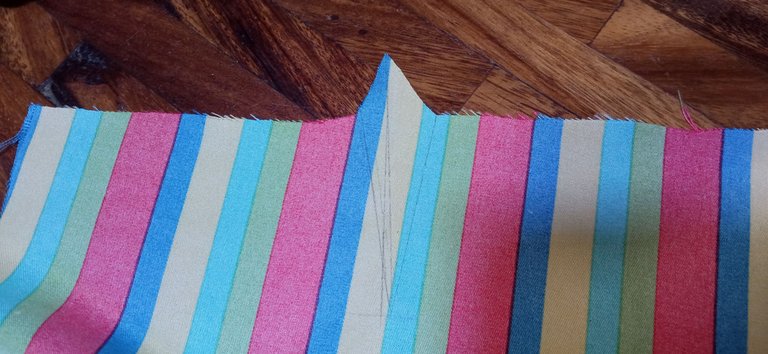
The first thing I did was sew the corresponding darts to the back piece of the pants and iron them so that the seams would look decent.
 |  |  |
|---|
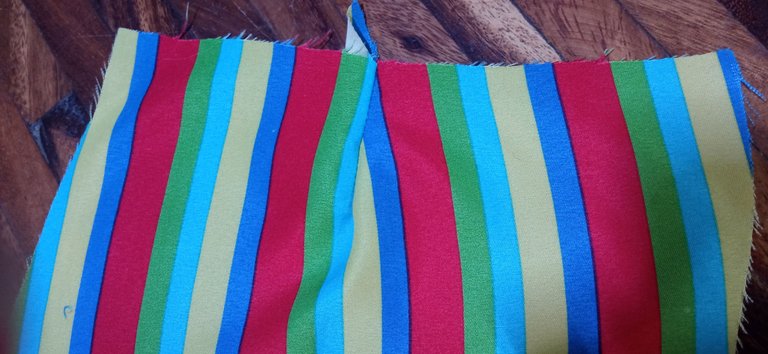
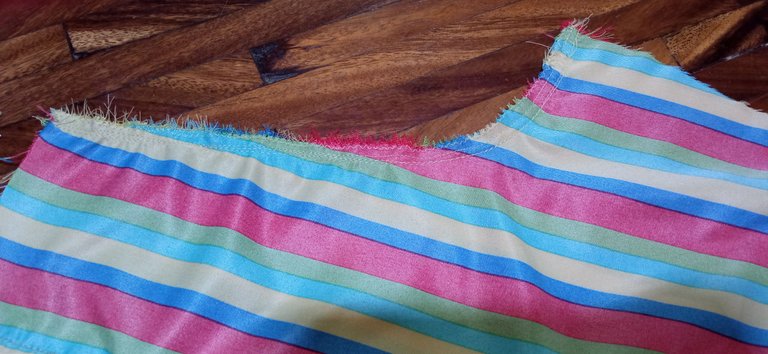
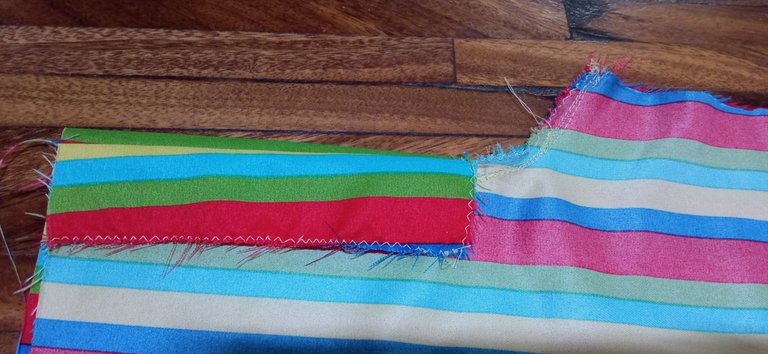
Then, I joined the back pieces from the crotch side, with a straight seam and a zigzag seam along the entire edge, as a safety seam. In the case of the front pieces, I also joined them at the crotch side, but not completely, leaving the part where the zipper would go open. There, I placed a rectangular piece of the same height as the zipper.
 |  |
|---|
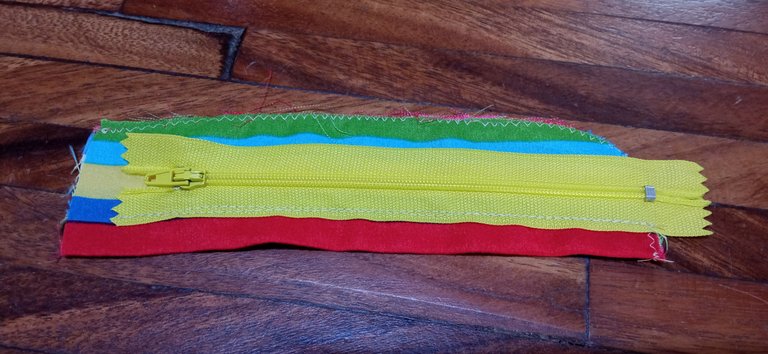
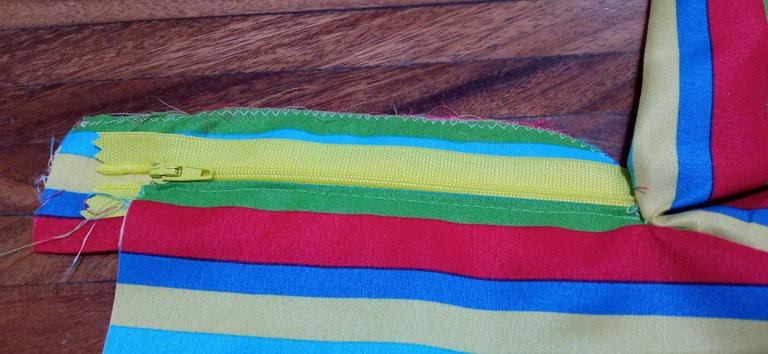
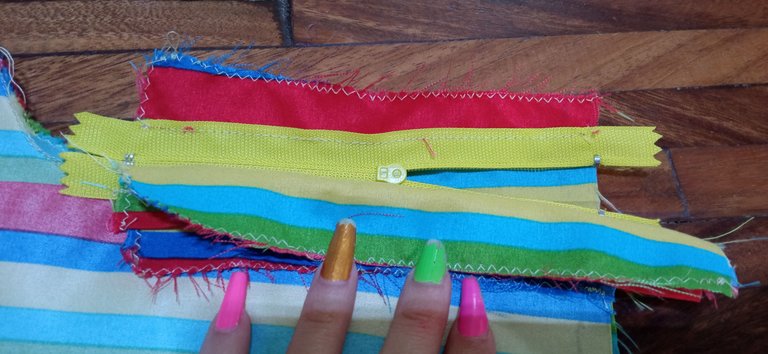
Then, I proceeded to sew the zipper. I was a bit excited about this part, since I remembered that one of the things my classmates hated the most was sewing zippers on pants, and since they were seamstresses, I was left with the mentality that it was a super tedious part. But while sewing it, I realized that it wasn't as complicated as I thought. First, I sewed the zipper to another tab that I cut, with a straight seam, and then, I sewed it to the pants, always checking that the seams fit well and that I could open the pants.
 |  |  |
|---|
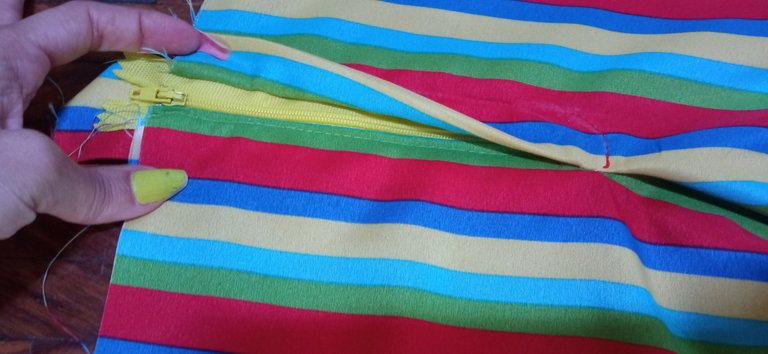
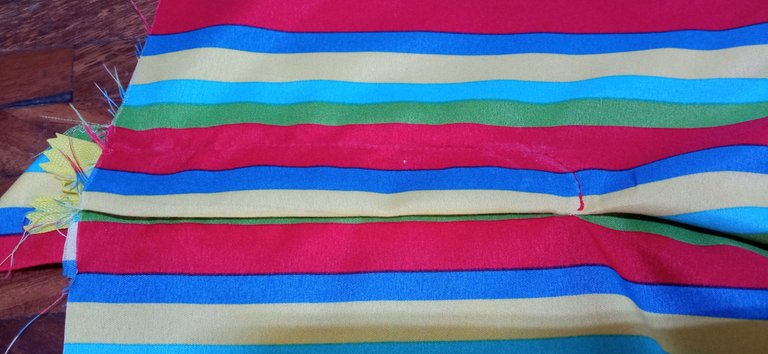
Once the zipper was sewn, I sewed a seam to flatten it as shown in the photo and it was ready. I found it to be a simple process. Unfortunately, I don't have a zipper sewing machine foot, but I'm excited to buy one so I can make the seams tighter.
 |  |
|---|
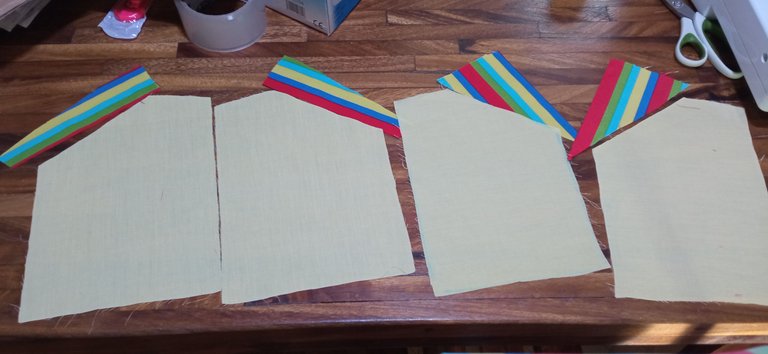
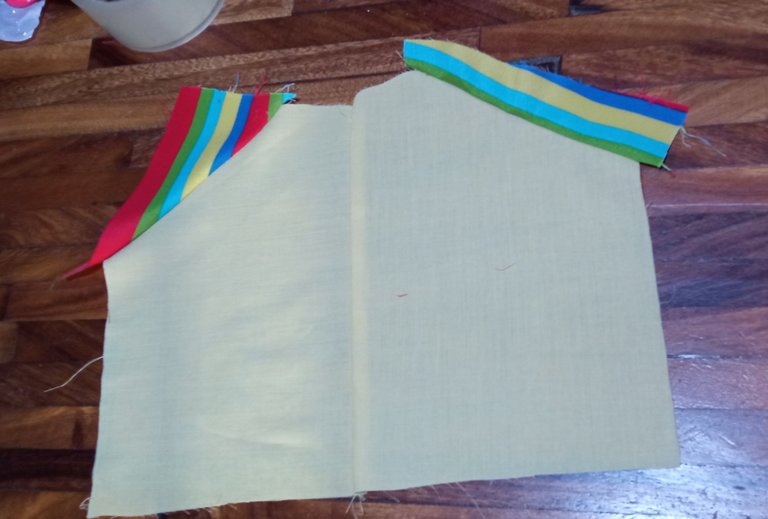
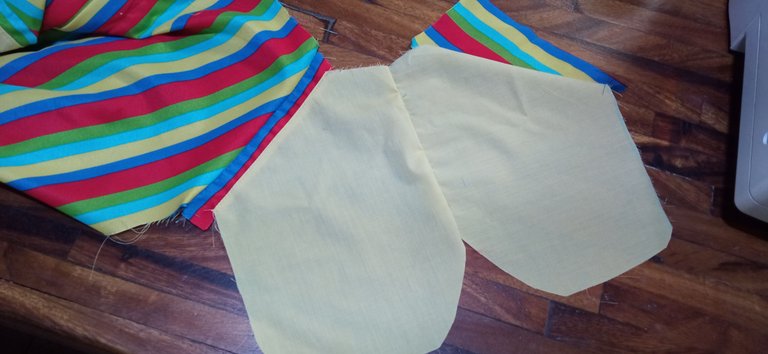
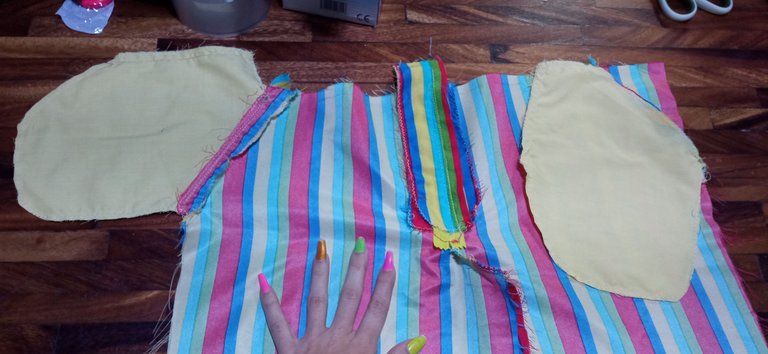
Once I had the zipper sewn onto the pants, I moved on to the pockets. To do this, I used some small pieces of patterned fabric that I sewed to the lining pieces corresponding to the pockets. The straightest ones go inside, while the most triangular ones are the visible part. I sewed each pocket to the front of the pants, as shown in the photo, always making sure to iron well after each seam.
 |  |  |
|---|
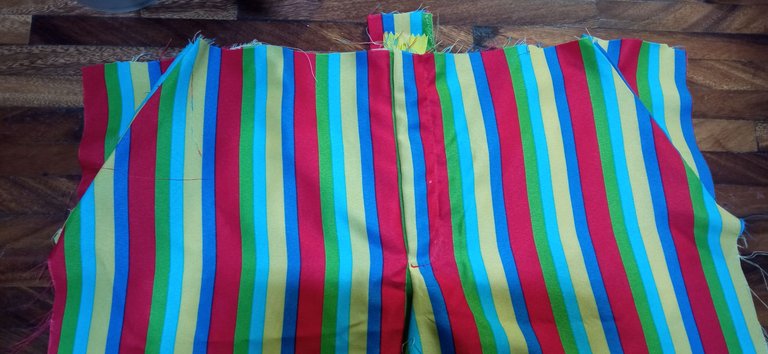
Then, I closed the pockets at the bottom of the pants and when I placed them on the pants, you can see that the lining fabric is not visible at all. At this point I was already excited, because I was about to make the pants without pockets, because I was afraid it wouldn't be visible, but I'm glad I took the risk.
 |  |
|---|
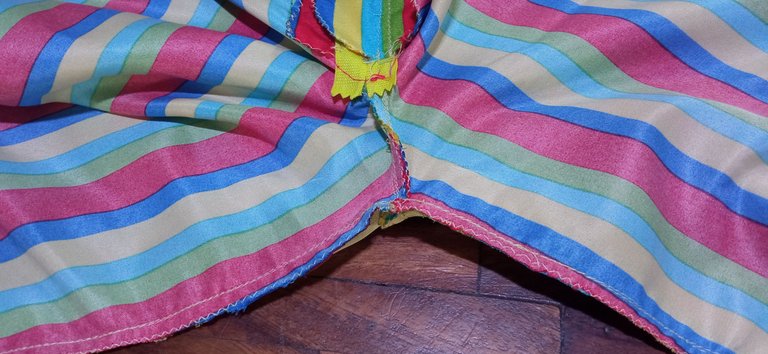
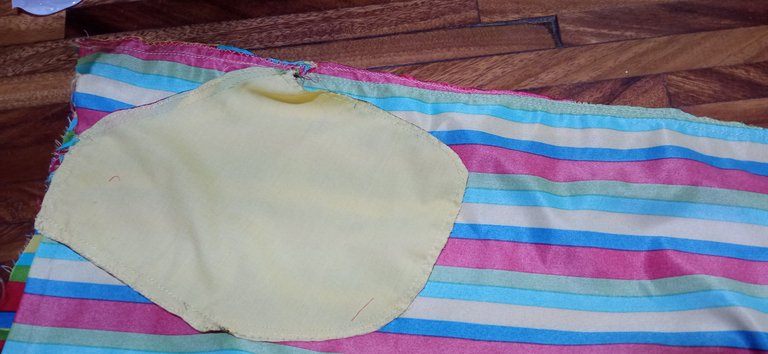
To close the pants, I joined the front and back pieces together from the inside of the legs and on the sides. Finally, I sewed a small hem at the bottom.
 |  |
|---|
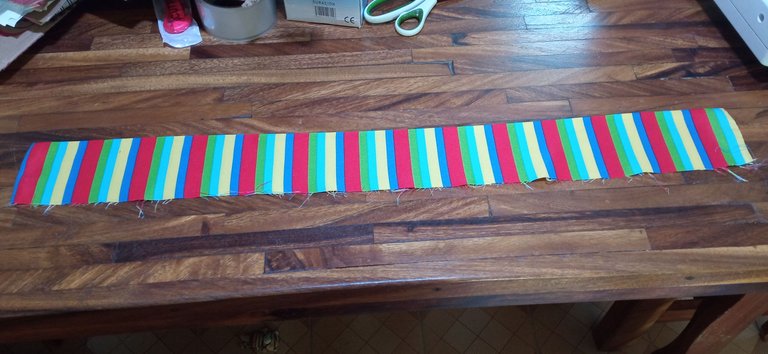
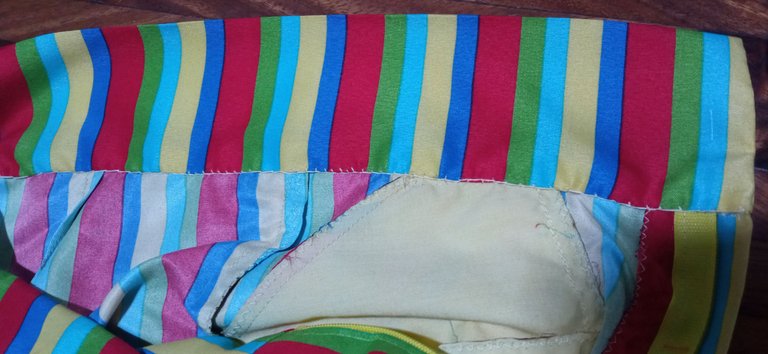
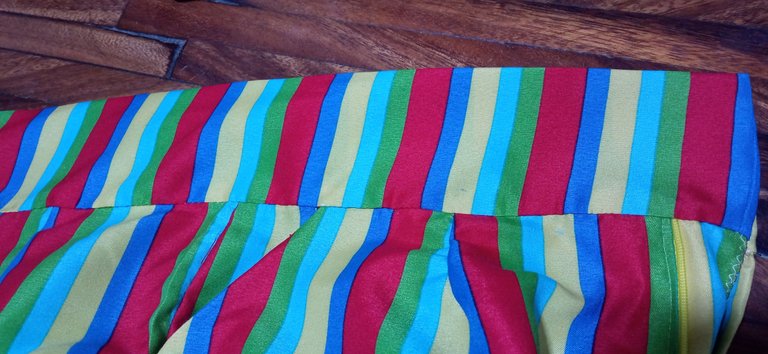
For the waistband, I cut a long strip the size of my waist and a little thicker, according to my taste. I folded it and ironed it, proceeding to sew it first on the outside with the machine and for the inside, I did it with a hand seam. I'm not good at doing "invisible stitching", but it didn't turn out too bad and my patience held up throughout the entire process haha. It's worth mentioning that at first, I hadn't made the dart on the front of the pants, but when I went to sew the waistband, I realized that I needed the darts for it to fit perfectly. Little details that save the day 😉
 |  |  |
|---|
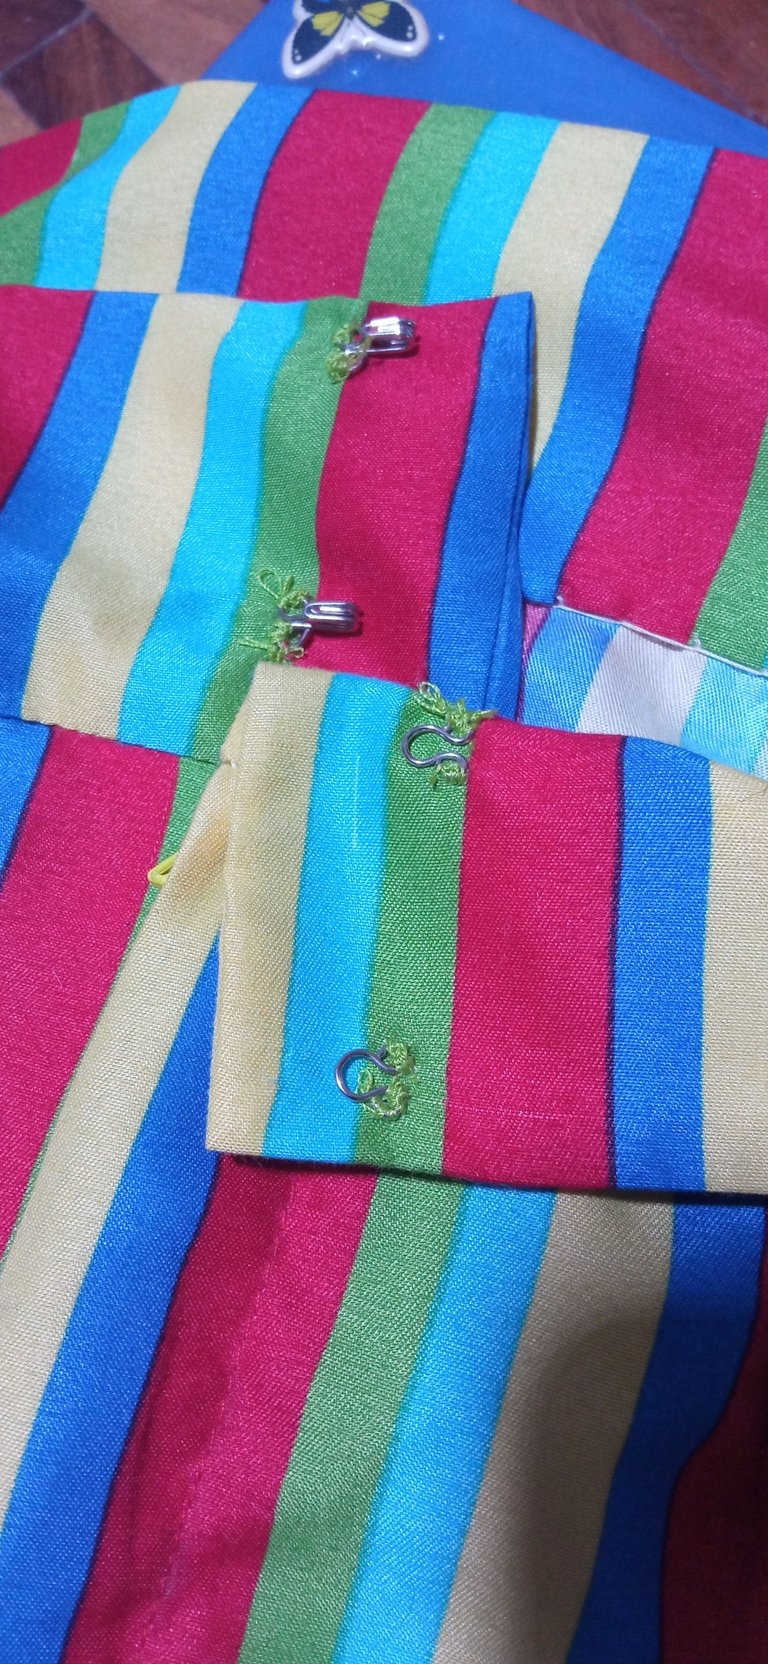
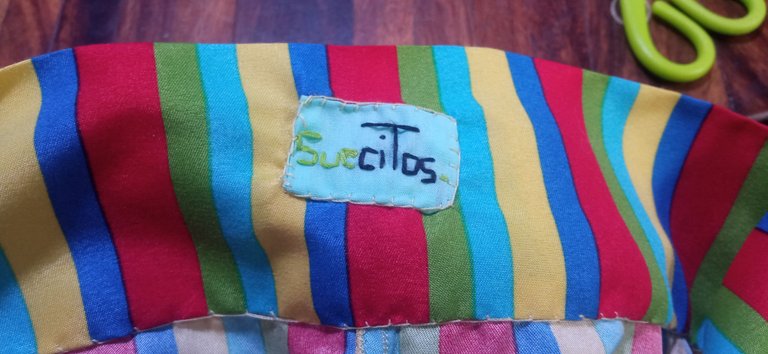
Instead of putting a button on it, I thought of sewing these snaps on it, which I don't know what they're called haha, but which I had in my sewing supplies, since I didn't have a button that matched the pants. And as usual, I sewed my brand's label on the inside of the waistband 😁
 |  |
|---|
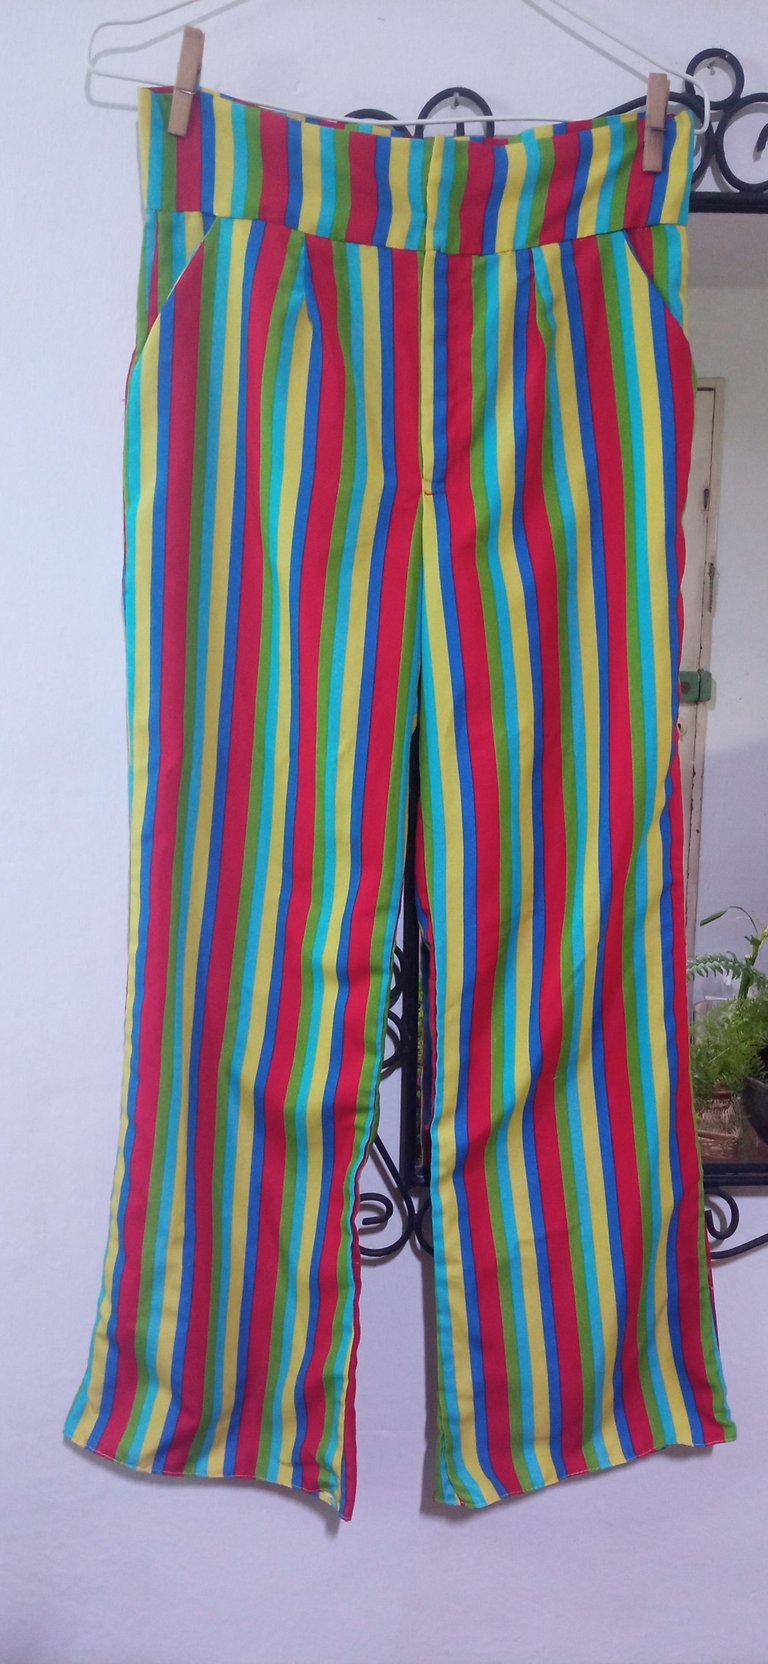
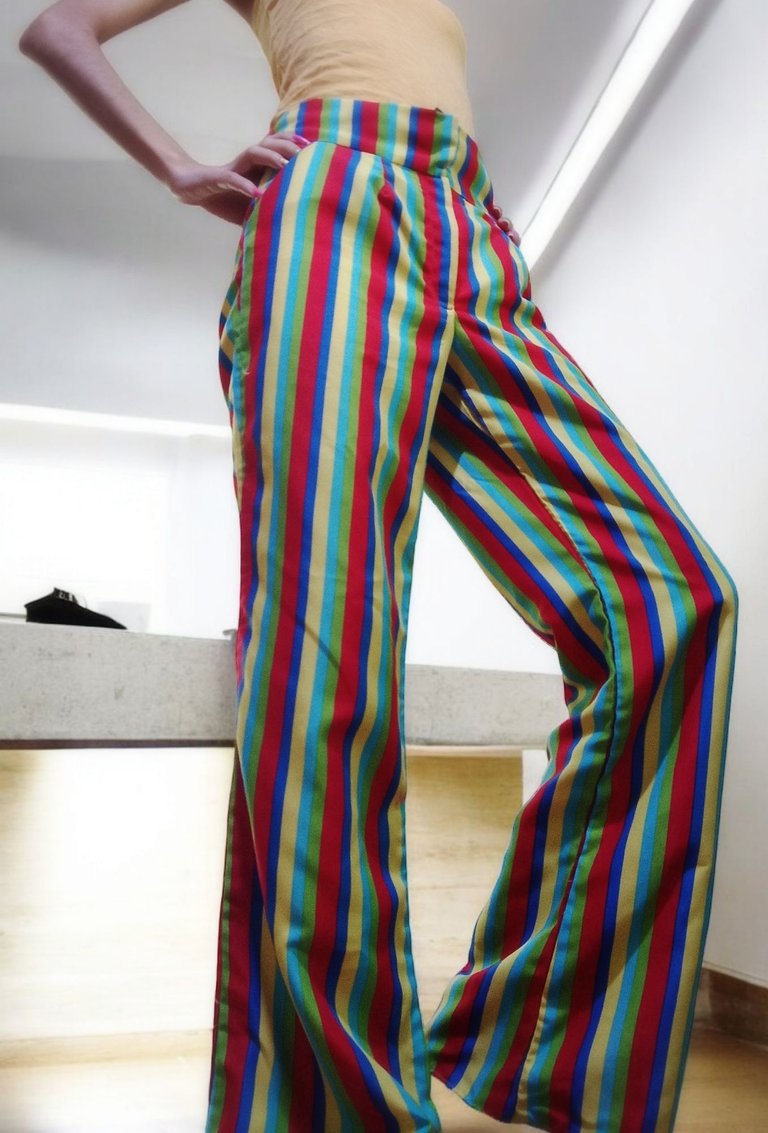
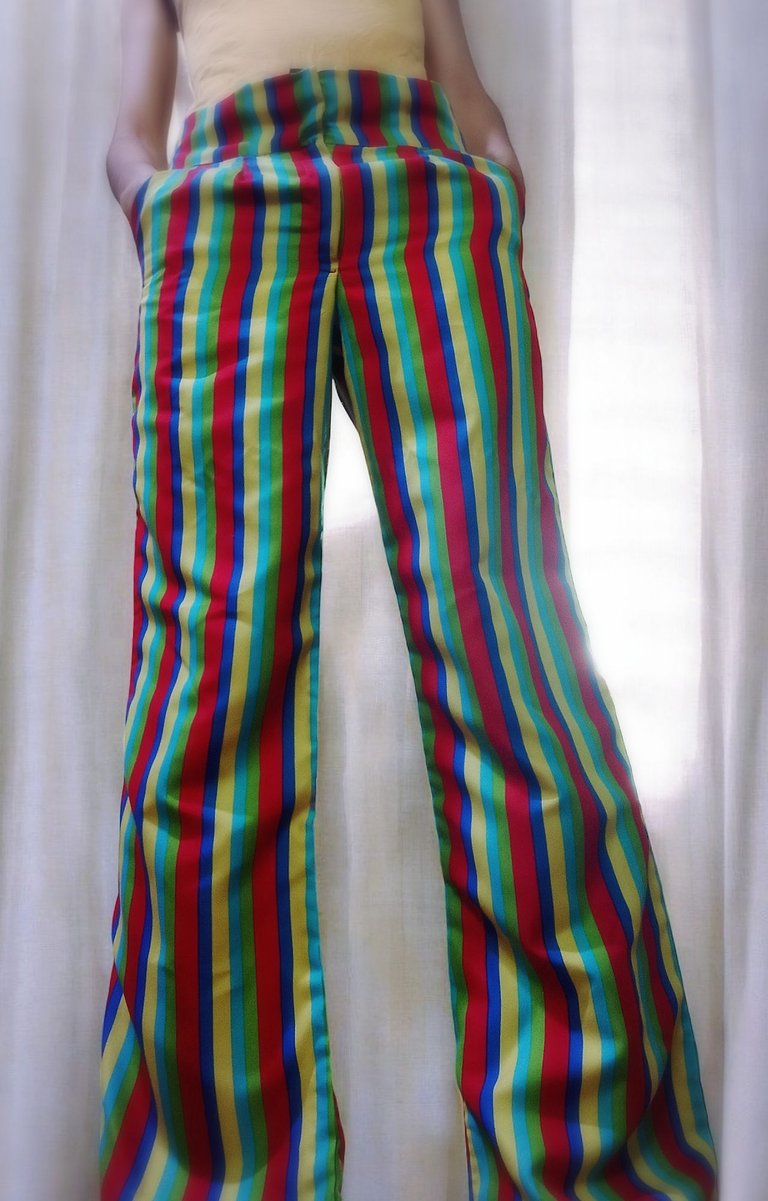
And so, I had the pants ready. I really loved making them because not only did I lose my fear of making pants from scratch, but I could finally use the patterns I had. Without a doubt, I will continue making more pants in my style. I would like to be able to practice the welt pocket for the next one, since I only made it once on the fisherman pants and I didn't dare to sew it on these pants, because I thought "One type of pocket at a time" 😆
 |  |  |
|---|
Thank you very much for visiting my post. I hope you found it interesting.
Until next time!

CONTENIDO EN ESPAÑOL
¡Hola a todos los integrantes de ésta comunidad y amantes de la costura! En ésta oportunidad vengo a mostrarles lo que vendría siendo, el primer pantalón que hago por completo en todos mis años de costurera 😆 Ustedes dirán ¿Cómo es eso posible? Pues, cuando aprendí, hice un pantalón tipo pescador (hasta la rodilla) y desde ahí, jamás elaboré ese tipo de pieza para mí. Apenas y hice un par de shorts sencillos y cuando necesitaba un pantalón para algún evento, optaba por usar pantalones que ya tenía en mi guardarropa. Sin mencionar que en mi etapa de trabajadora en un taller de costura, lo que más llegué a elaborar fueron estuches o cartucheras y camisas, así que... nada de pantalones 😅

Mi motivación para realizar éste pantalón, es un evento al cual voy a asistir. Para mi buena suerte, conseguí la tela perfecta a un precio de oferta, en la sección de retazos de mi tienda textil favorita 😉 Recibí la ayuda de una señora que me comentó que ese tipo de tela me serviría para mi proyecto, ya que el retazo era de 1.50 m. Para los bolsillos, tenía unos trozos de tela amarilla que decidí aprovechar. También compré un cierre de color amarillo de 15 cm.

Tengo unos patrones que obtuve en uno de los cursos de costura que hice y que jamás llegué a usar. El patrón de pantalón es justo de mi talla, así que estaba bastante ansiosa y emocionada por poder usarlo. También me ayudé comparando con un pantalón de vestir que tengo en mi guardarropa y que me queda perfecto. Corté las piezas correspondientes a la parte delantera y trasera, así como la pretina, procurando que el diseño de la tela, quedase bien (esta fue una de las partes en las que más tuve cuidado, porque suelo equivocarme a veces en cosas tontas 😆).

Lo primero que hice, fue coser las pinzas correspondientes a la pieza trasera del pantalón y planchar para que las costuras quedasen decentes.
 |  |  |
|---|
Luego, uní las piezas traseras desde la parte del tiro, con una costura recta y otra en zigzag por todo el borde, como costura de seguridad. En el caso de las piezas delanteras, también las uní en la parte del tiro, pero no en su totalidad, dejando abierto en la parte en la que iría el cierre. Allí, le coloqué una pieza rectangular de la misma altura del cierre.
 |  |
|---|
Luego, procedí a coser el cierre. Estaba algo expectante con ésta parte, ya que recordaba que una de las cosas que más detestaban mis compañeras en el curso, era coser cierres en pantalones y como eran costureras, quedé con la mentalidad de que era una parte súper tediosa. Pero cosiéndolo, me di cuenta de que no era tan complicado como creí. Primero, cosí el cierre a otra pestaña que corte, con una costura recta. y después, los cosí al pantalón, siempre revisando que las costuras me quedasen bien y que pudiese abrir el pantalón.
 |  |  |
|---|
Una vez que estuvo cosido el cierre, hice una costura para pisarlo como se ve en la fotografía y así, estuvo listo. Me pareció un proceso sencillo la verdad. Lamentablemente, no tengo el pie de máquina para coser cierres, pero me emociona la idea de comprarlo para poder hacer las costuras más cerradas.
 |  |
|---|
Una vez teniendo el cierre cosido en el pantalón, pasé a los bolsillos. Para ello, utilicé unos pedacitos de tela estampada que cosí a las piezas del forro correspondientes a los bolsillos. Las más rectas, van por dentro, mientras que las más triangulares, son la parte visible. Cosí cada bolsillo a la parte delantera del pantalón, como se ve en la fotografía, siempre procurando planchar bien después de cada costura.
 |  |  |
|---|
Después, cerré los bolsillos en la parte inferior de los mismos y al acomodarlos en el pantalón, se aprecia que no se ve para nada la tela del forro. En ésta parte ya estaba emocionada, porque estuve a punto de realizar el pantalón sin bolsillos, porque temía que no se viera bien, pero me alegro de haberme arriesgado.
 |  |
|---|
Para cerrar el pantalón, uní las piezas delantera y trasera desde la parte interna de las piernas y en los laterales. Finalmente, cosí un dobladillo pequeño en la parte inferior.
 |  |
|---|
En el caso de la pretina, corté una tira larga del tamaño de mi cintura y un grosor un poco alto, según mi gusto. Lo doblé y planché, procediendo a coserlo primero por la parte externa con la máquina y para la interna, lo hice con una costura a mano. No soy buena realizando "costura invisible", pero no me quedó tan mal y mi paciencia se mantuvo en el proceso completo jaja. Cabe mencionar que al principio, no había realizado la pinza en la parte delantera del pantalón, pero cuando fui a coser la pretina, me di cuenta de que necesitaba las pinzas para que calzara a la perfección. Pequeños detalles que nos salvan el día 😉
 |  |  |
|---|
En lugar de colocarle un botón, pensé en coserle estos broches que no sé cómo se llaman jaja pero que tenía entre mis materiales de costura, ya que no tenía un botón que me combinase con el pantalón. Y como es costumbre, le cosí en la parte interna de la pretina, la etiqueta de mi marca 😁
 |  |
|---|
Y de ésta forma, tuve listo el pantalón. Realmente me encantó hacerlo porque no sólo le perdí el miedo a hacer un pantalón desde cero, sino que pude utilizar por fin los patrones que tenía. Sin duda, me seguiré haciendo más pantalones a mi estilo. Me gustaría poder practicar para la próxima, el bolsillo de ribete, ya que lo llegué a elaborar una sola vez en el pantalón tipo pescador y no me atreví a coserlo en éste pantalón, porque pensé "Un tipo de bolsillo a la vez" 😆
 |  |  |
|---|
Muchas gracias por haber visitado mi publicación. Espero que les haya parecido interesante.
¡Hasta una próxima oportunidad!
Wow wow wow, I am deeply in love with the material, having a cutting pattern is good, you can use it as long as you want, the pants are very nice and okey, keep it up.
And that's even though the photos don't fully show the beauty of the fabric design 😅 I'm a little scared of cutting printed fabric because I always think I might make a mistake, but luckily, that wasn't the case and everything turned out pretty well 🤗 Now I'm more excited than before to use those patterns 😌 Thank you very much for visiting my post and for commenting 🤗
It is stylish and beautiful. It is good to see how you made this. Great job! Keep it up!
Thank you very much, your words make me very happy, they motivate me to continue trying 🤗 Thank you also for visiting my post and for the support 💚
The long pants is beautiful and the beautiful material look so unique with it, what I'm catching out from your post it how you put the zipper, thanks for sharing.
That's right hehe I'll wear them with some high heels and they look pretty good with them 😌 oh, I was also fascinated by the closure part, because as I mentioned, I'm not afraid of sewing them anymore and I really liked how it was fixed 😊 Thank you very much for visiting my post and for giving me your opinion 😇💚
Me gusta el corte. Luce cómodo y los bolsillos le dan mucha personalidad.
Te quedarás con el gusto y seguramente éste será el primero de muchos más.
Saludos.
Para mí fue un gran riesgo, no sólo porque como mencioné, era la primera vez en años que hacía un pantalón desde cero, sino que me aterraba pensar en realizar el corte mal 😅 pero, todo resultó muy bien y tienes toda la razón, me quedé con el gusto de una experiencia positiva jaja ahora sin duda, buscaré la forma de hacerme mis propios pantalones de ahora en adelante 😊 Muchas gracias por haber visitado mi publicación y por tu comentario 🤗
Ese pantalón con ese tipo de bolsillo y a rayas de colores están estupendos. ¡Saludos 👍😍!
No hay nada que deteste más que un pantalón sin ningún tipo de bolsillos, así que me arriesgué en hacerlos y quedaron bien 😆 el estampado es muy lindo, sólo que marea un poco a mi parecer 🤣 pero estoy muy contenta con el resultado 😊 Muchas gracias por visitar mi publicación y por tu opinión 🤗💚