ENGLISH CONTENT
Hello to all the members of this community and lovers of sewing! I am here to show you the process of making a dress that I just made, using a beautiful fabric that I bought on my last visit to the city where I used to live.
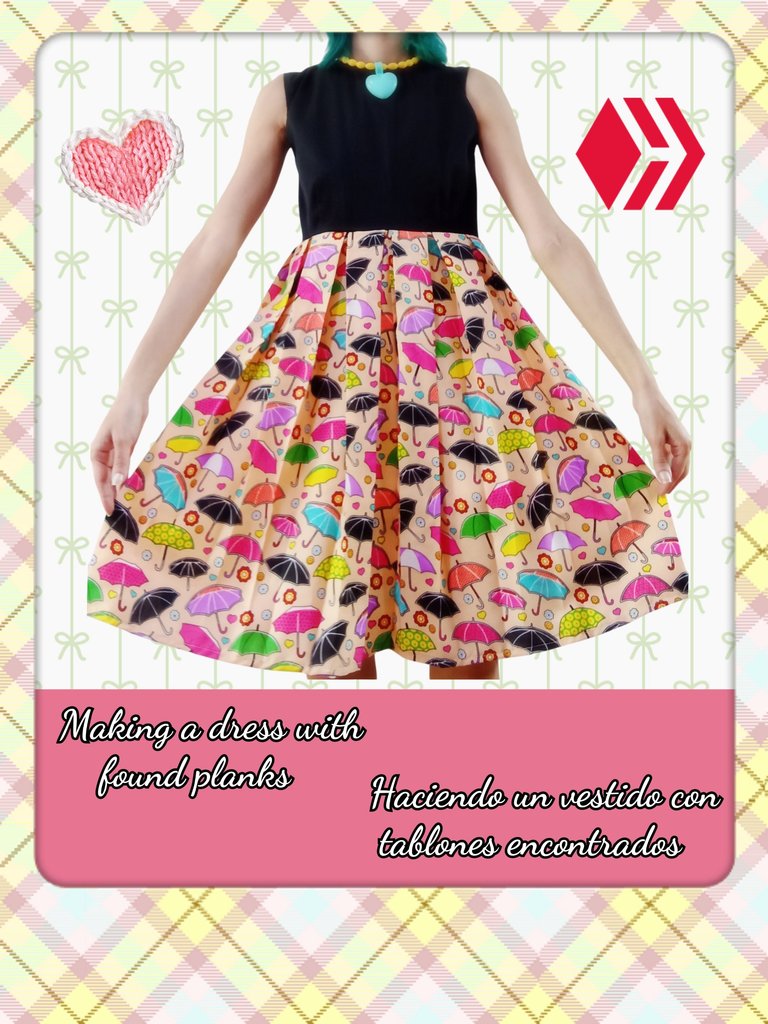
A few weeks ago, I posted on my blog how I modified a dress using as a base, a couple of old dresses that were given to my mother and then she gave them to me haha I didn't upload that procedure here, since I thought it was a very simple procedure, where I didn't do much. Anyway, from said dress, I had the bottom piece left, so I thought of using that fabric for this project.
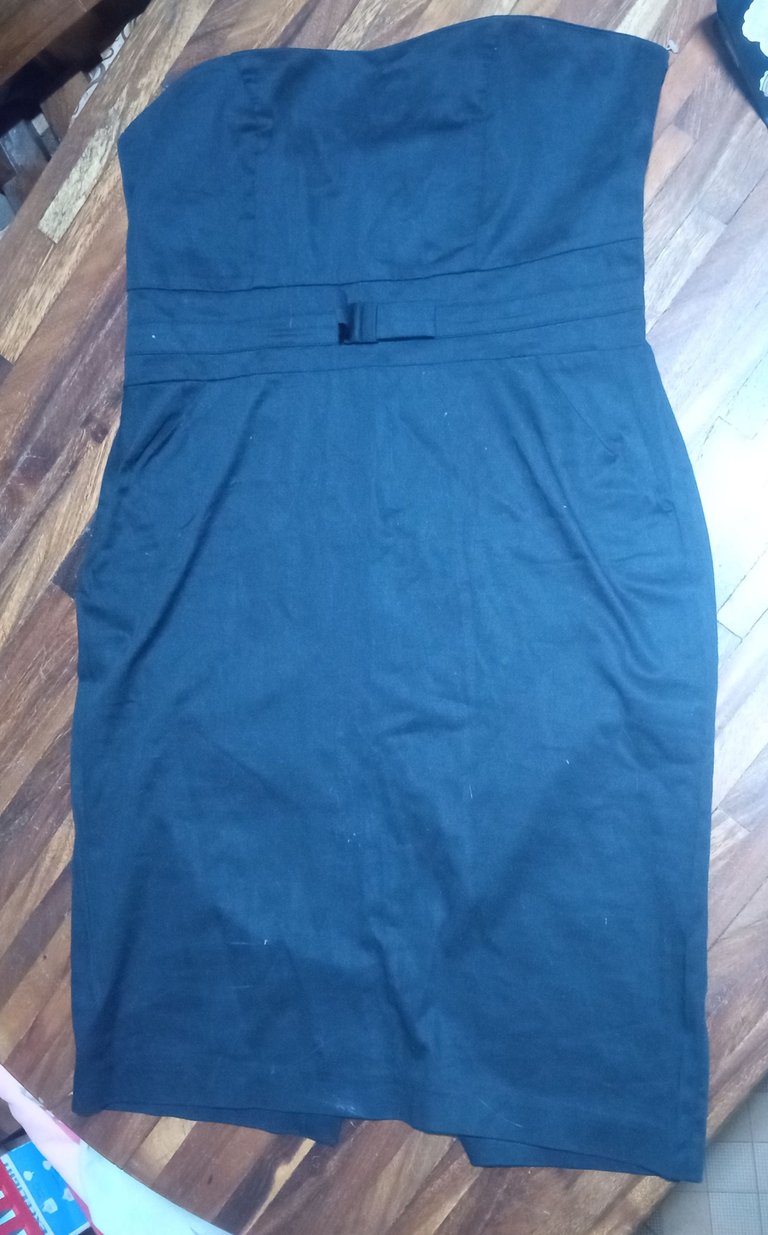 | 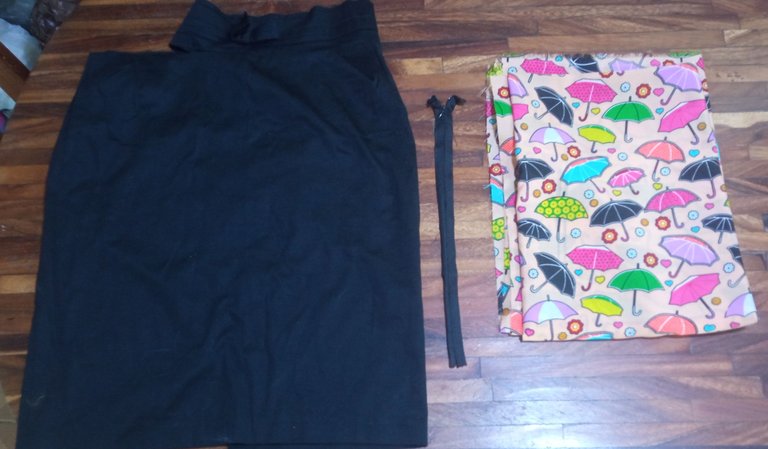 |
|---|---|
| The dress before being cut | The remnants of the dress along with the fabric I bought |
It's no secret that I love to recycle haha and fabric is one of those materials that you can use for several purposes if it's in good condition, so I always tend to accept clothes that are given to me based on the fabric.
As soon as I bought that beautiful umbrella-printed fabric, I thought about making a dress out of it and for the top, I thought a black piece would be perfect. So I unstitched what was left of the dress and from that fabric, I cut the pieces corresponding to a front and back blouse. As you can guess, I took advantage of the fact that the back of the dress was open and took out the back pieces of the blouse from there.
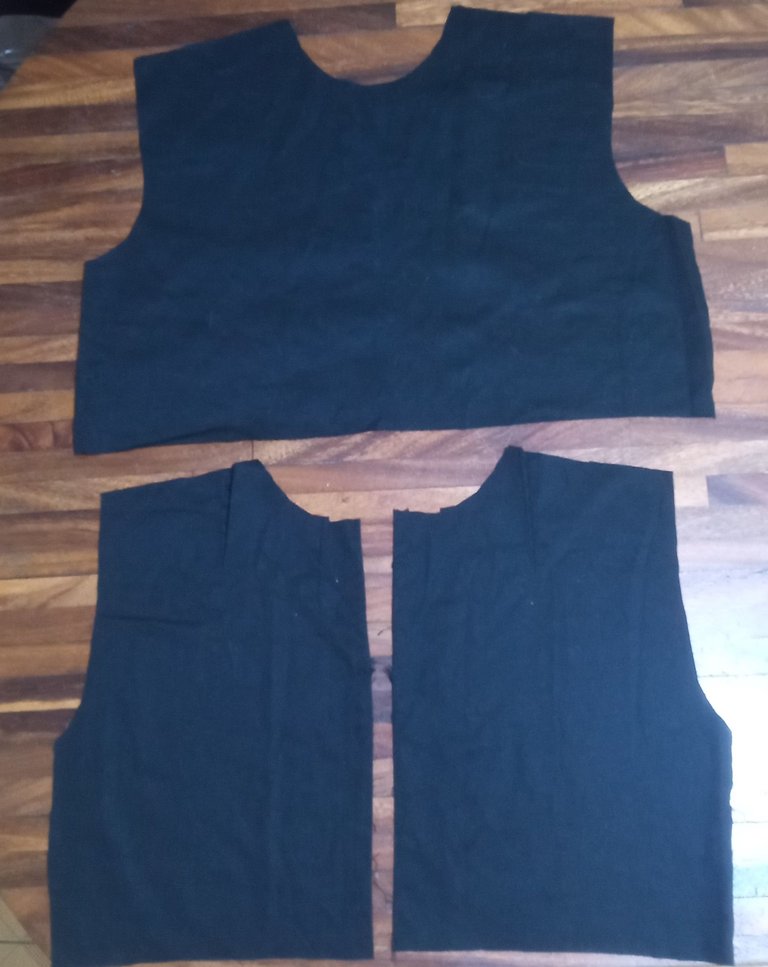
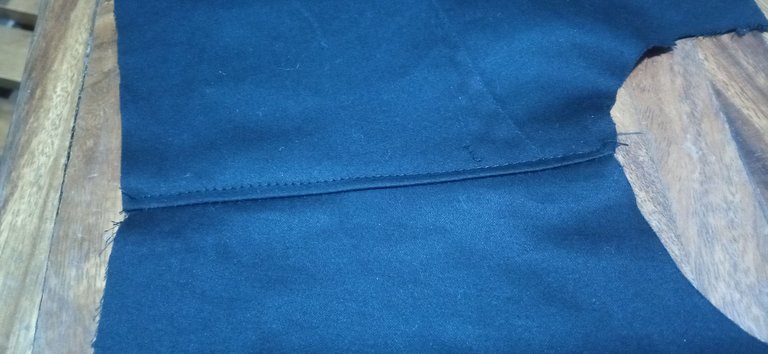
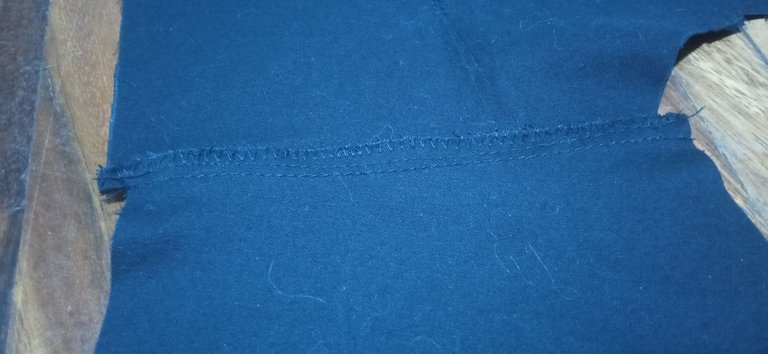
Well, first I started by joining the pieces from the shoulder area, using a straight stitch and a zigzag as a safety seam, since I don't have an overlock. I ironed the piece and sewed it again on the visible part.
 |  |
|---|
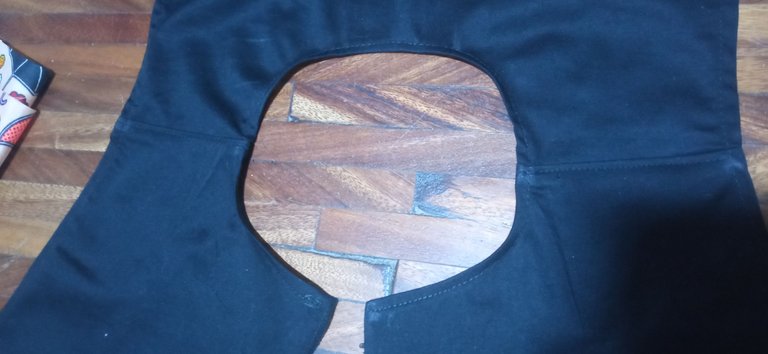
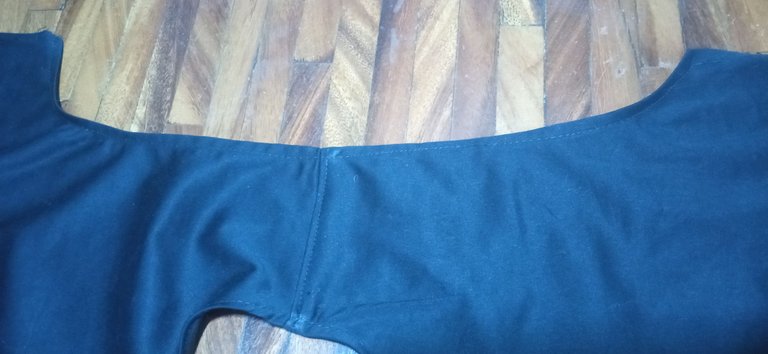
For the armhole and neckline, I had thought about using a bias tape. But in the end I decided to just make a simple hem.
 |  |
|---|
As for the skirt, I used the meter of fabric that I divided in half and cut to the desired length (about 60 cm or so). I had a little bit of fabric left over, I was thinking of making some sleeves out of it to attach to the dress, but I wasn't convinced by the idea, so I hope to use it for a future project.
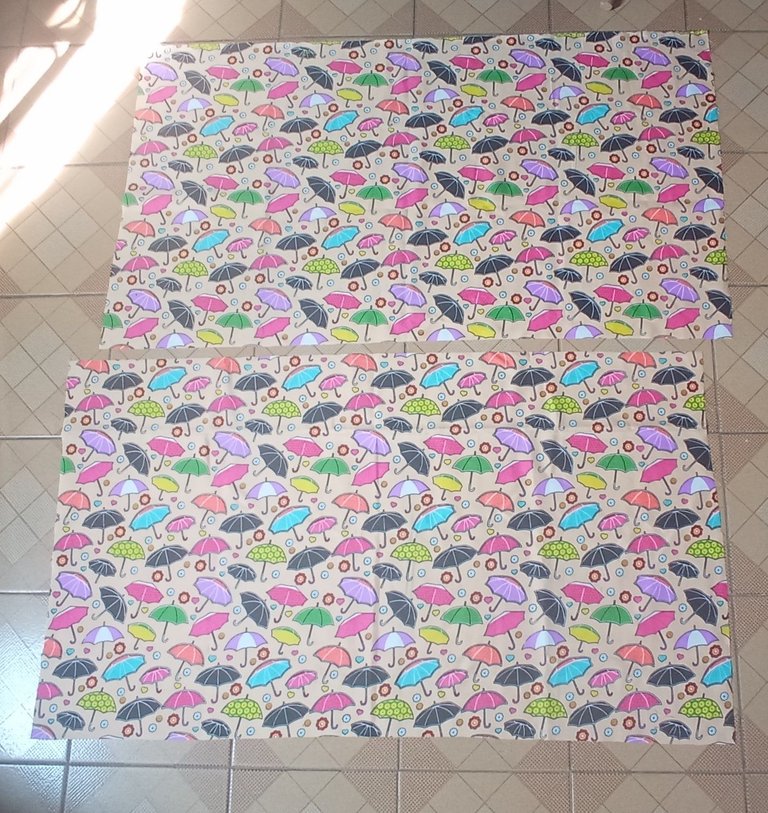
I was undecided on how to make the skirt, I was between making it ruched or with found planks. Years ago, a seamstress taught me how to make skirts with planks and I made a couple for my use at the time, so I thought I'd put it into practice again... because I forget things so often haha.
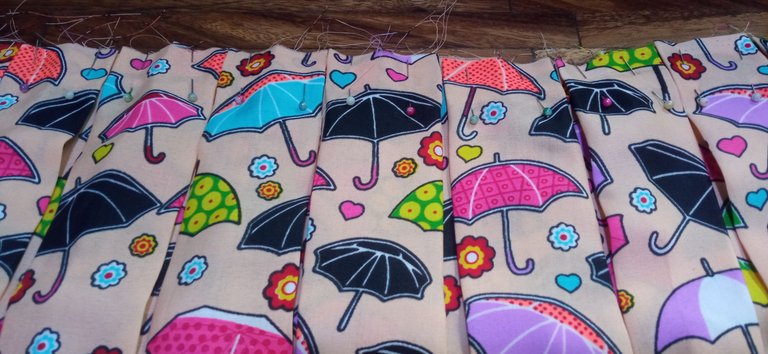
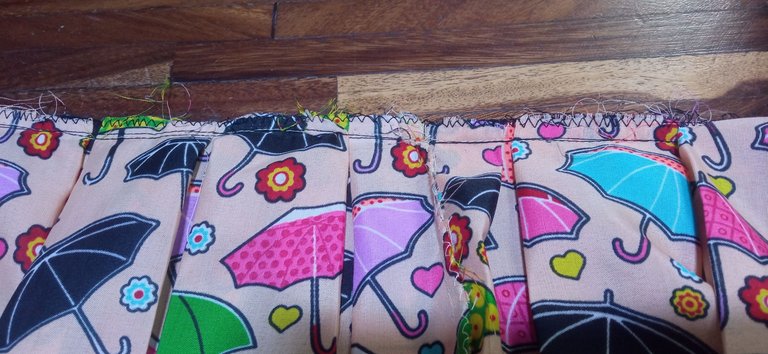
In this case, after sewing the rectangles of printed fabric together and hemming them at the bottom, the width of the fabric was extended to about 2 meters and 6 cm. I divided this amount between the outline of the black blouse that I had made previously and with the result, I managed to distribute the planks by making them 5 cm each. With the help of pins, I kept the planks at both the top and bottom.
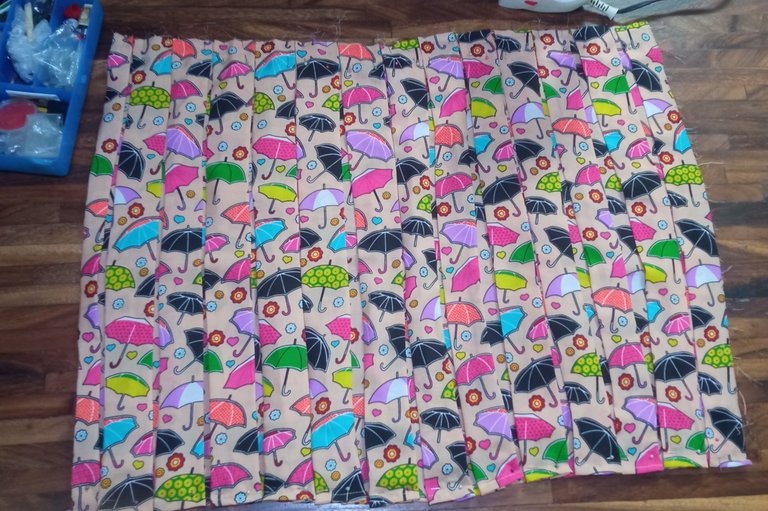
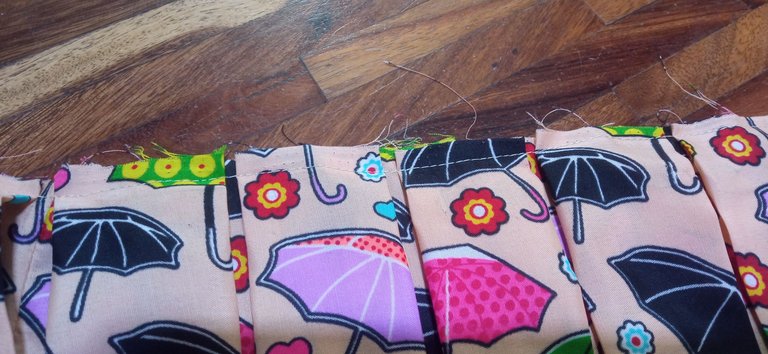
Once I verified that the planks covered my waistline, I proceeded to iron the fabric so I could sew a straight seam on the top and thus reinforce the planks.
 |  |
|---|
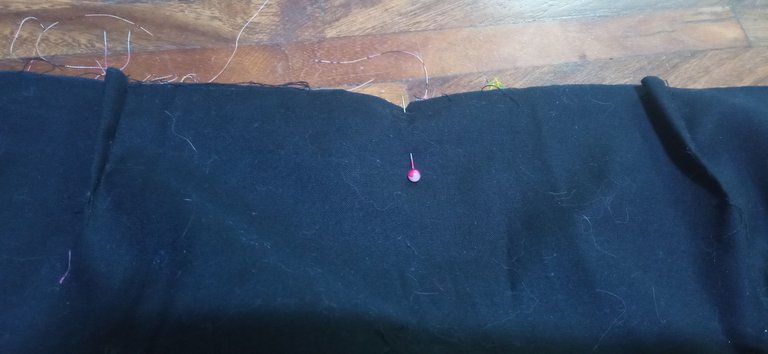
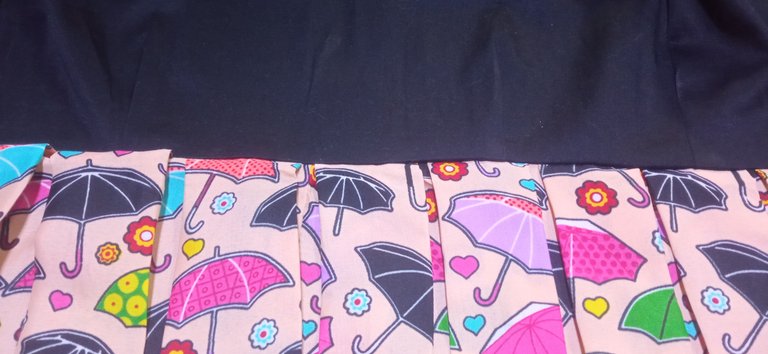
Before sewing the skirt part to the blouse, I made a pair of 1 cm darts for the blouse. Then, I sewed both pieces together and ironed them.
 |  |  |
|---|
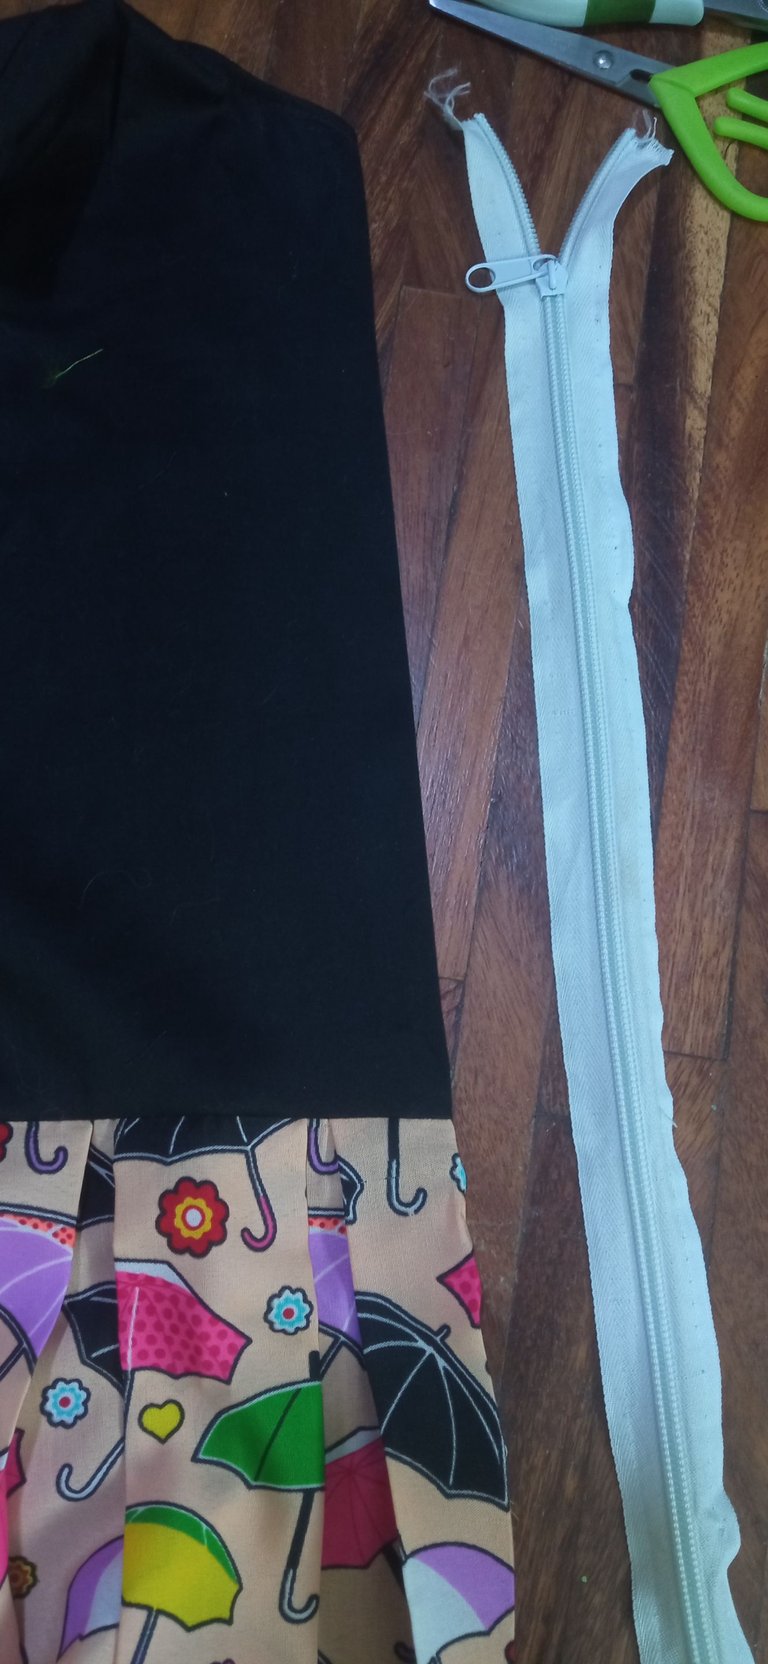
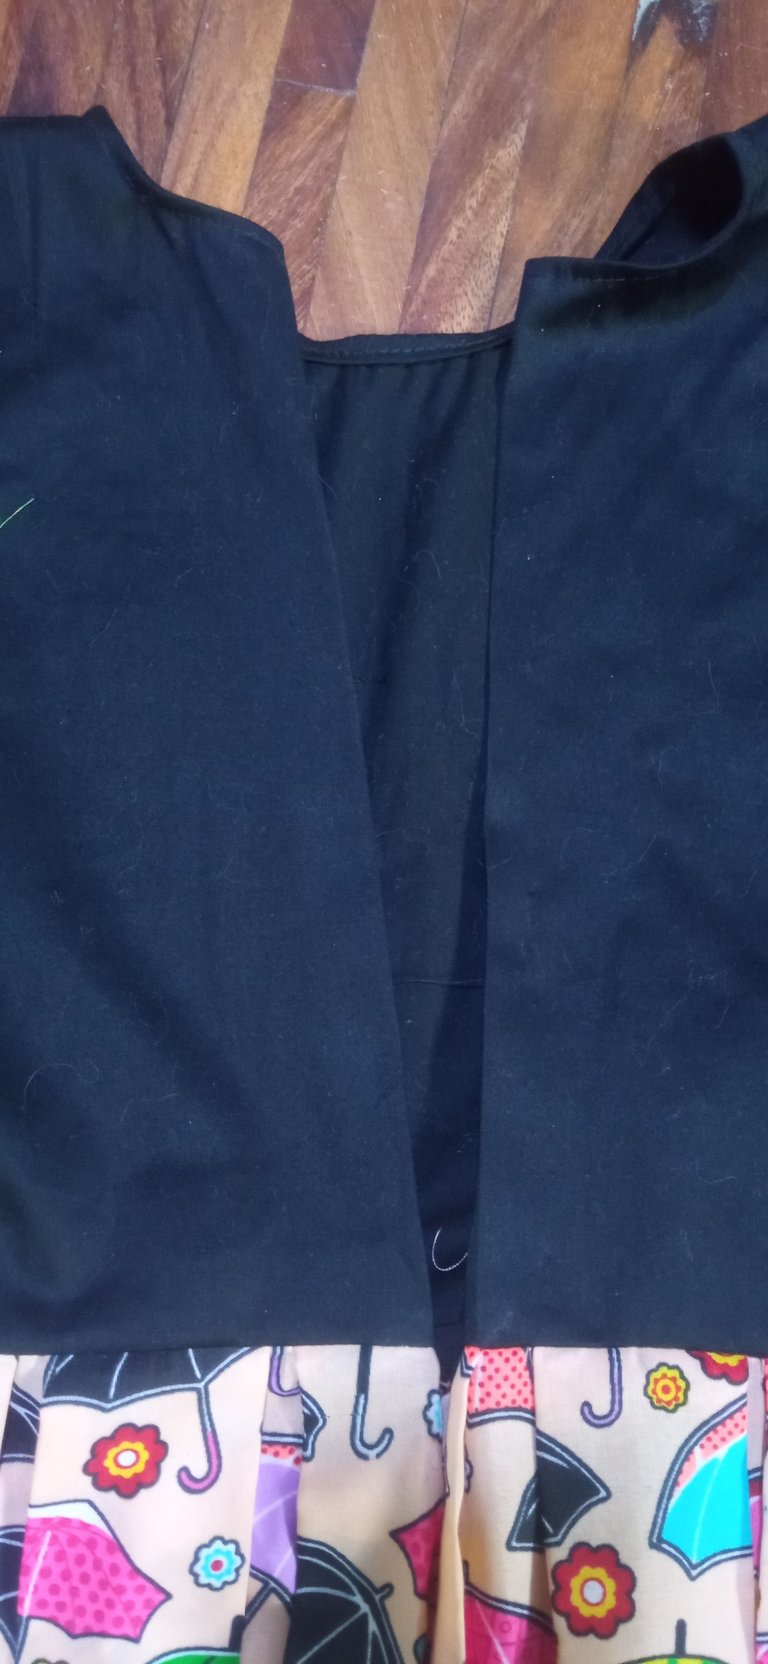
Initially, I had thought about using the zipper that was left over from the dress from which I took the blouse pieces, since it is black. But I ruled it out because it was too short, so I had to use a zipper I had lying around that was probably from some bag haha It was that or nothing 😅
 |  |
|---|
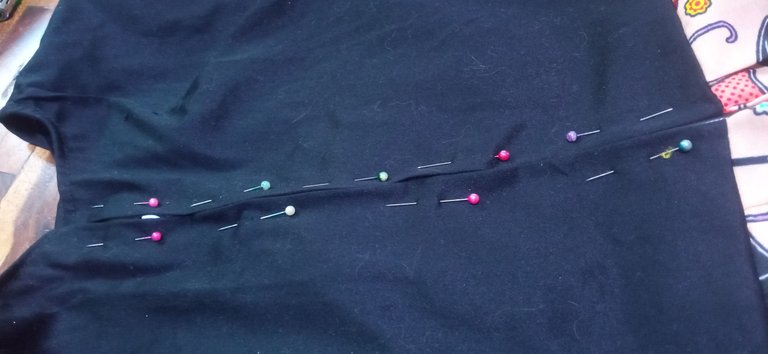
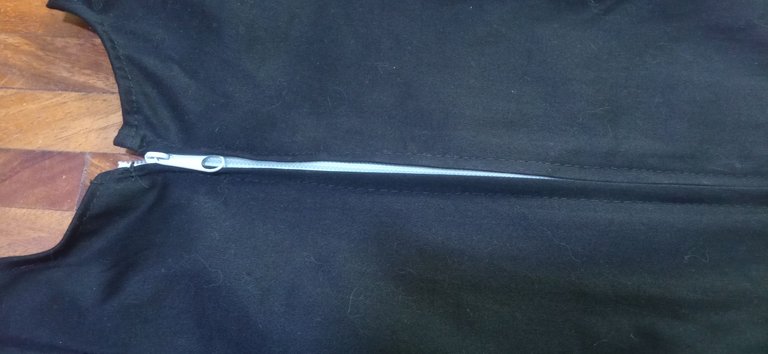
After making a small fold, I ironed them and after locating the zipper, I proceeded to hold it in place with pins while I sewed it. I know, it doesn't look "delicate" at all, but the important thing is that the zipper works 😆 I find it funny that the zipper is so big, I'm even thinking of putting a small hanging ornament on it haha.
 |  |
|---|
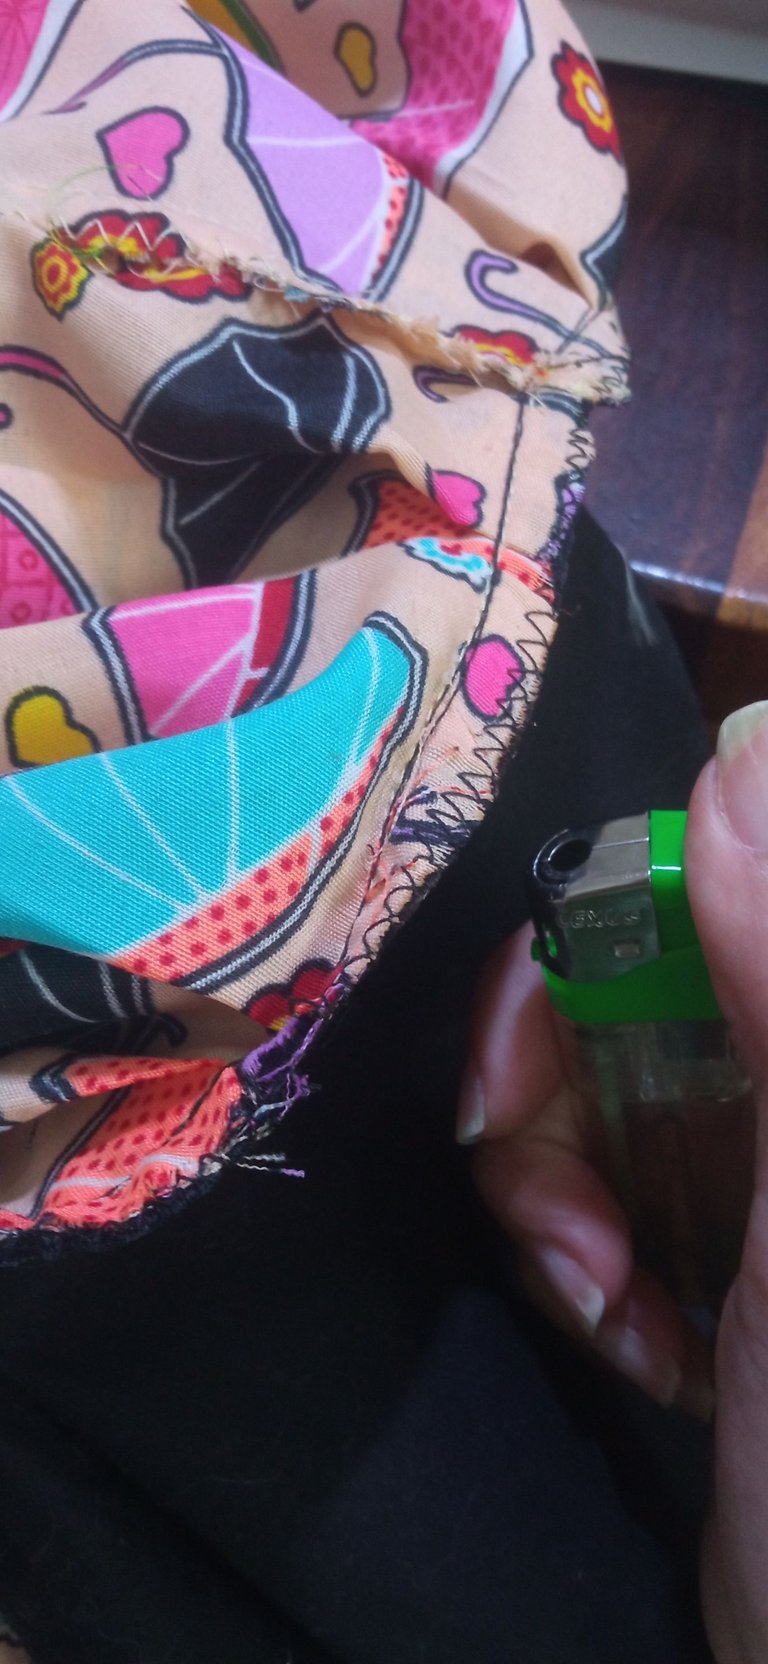
Next, I proceeded to close the remaining parts of the skirt and burn the excess threads of fabric with a lighter, since it frays a lot.
I ironed the dress and just like that, it was finished ✨
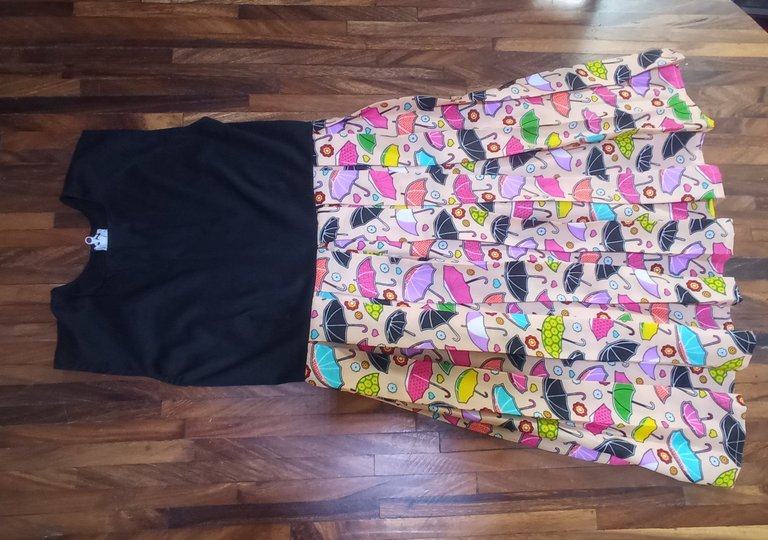 | 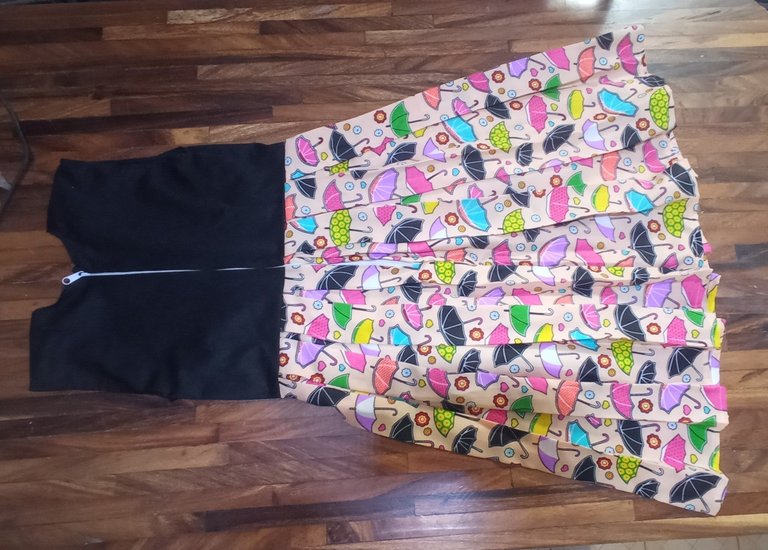 | 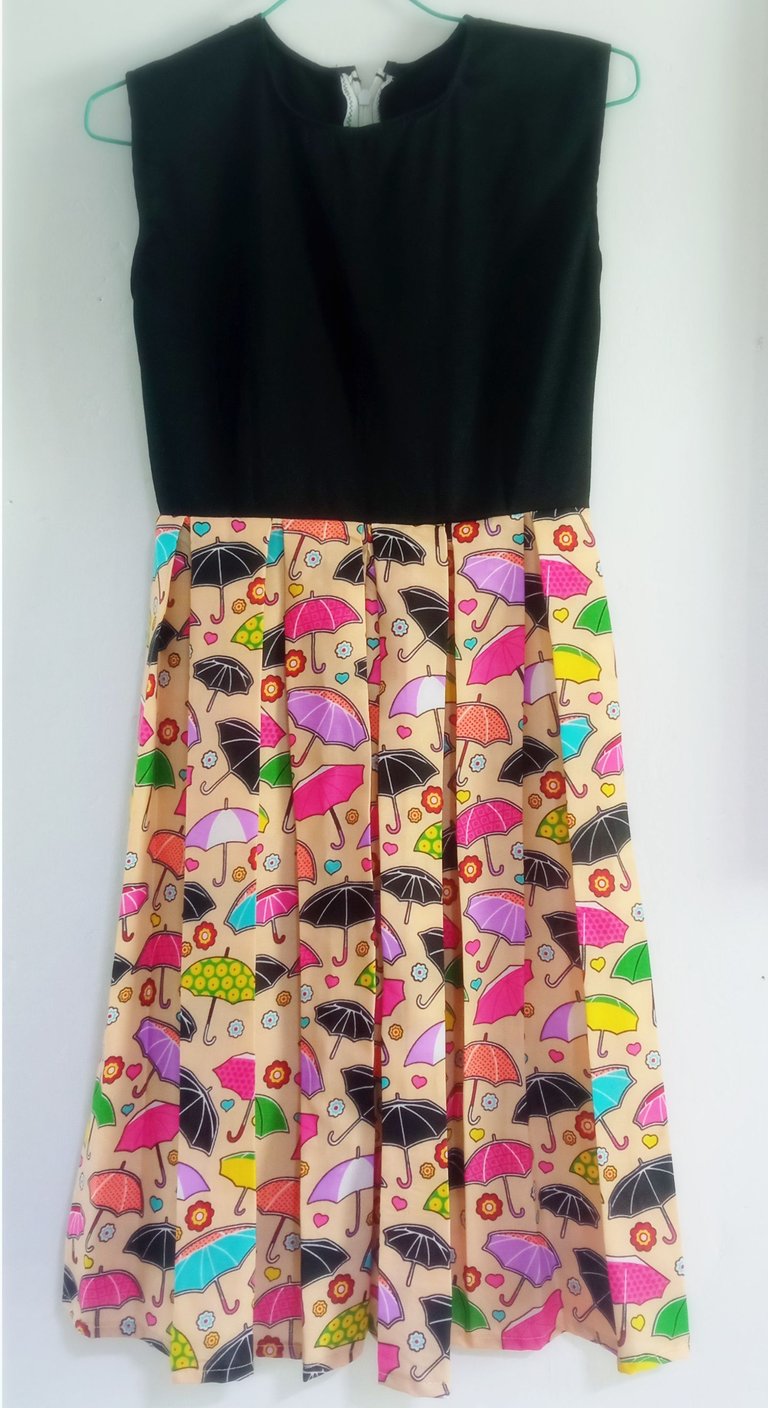 |
|---|
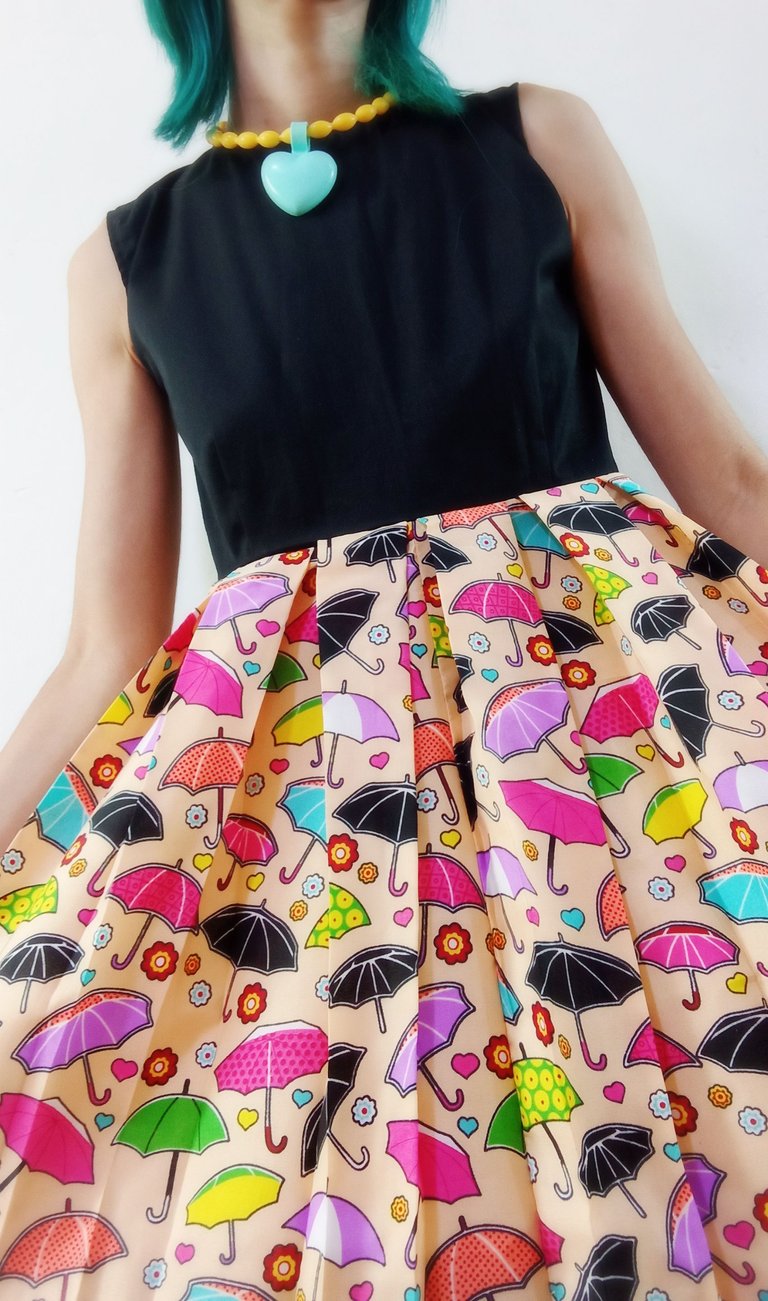
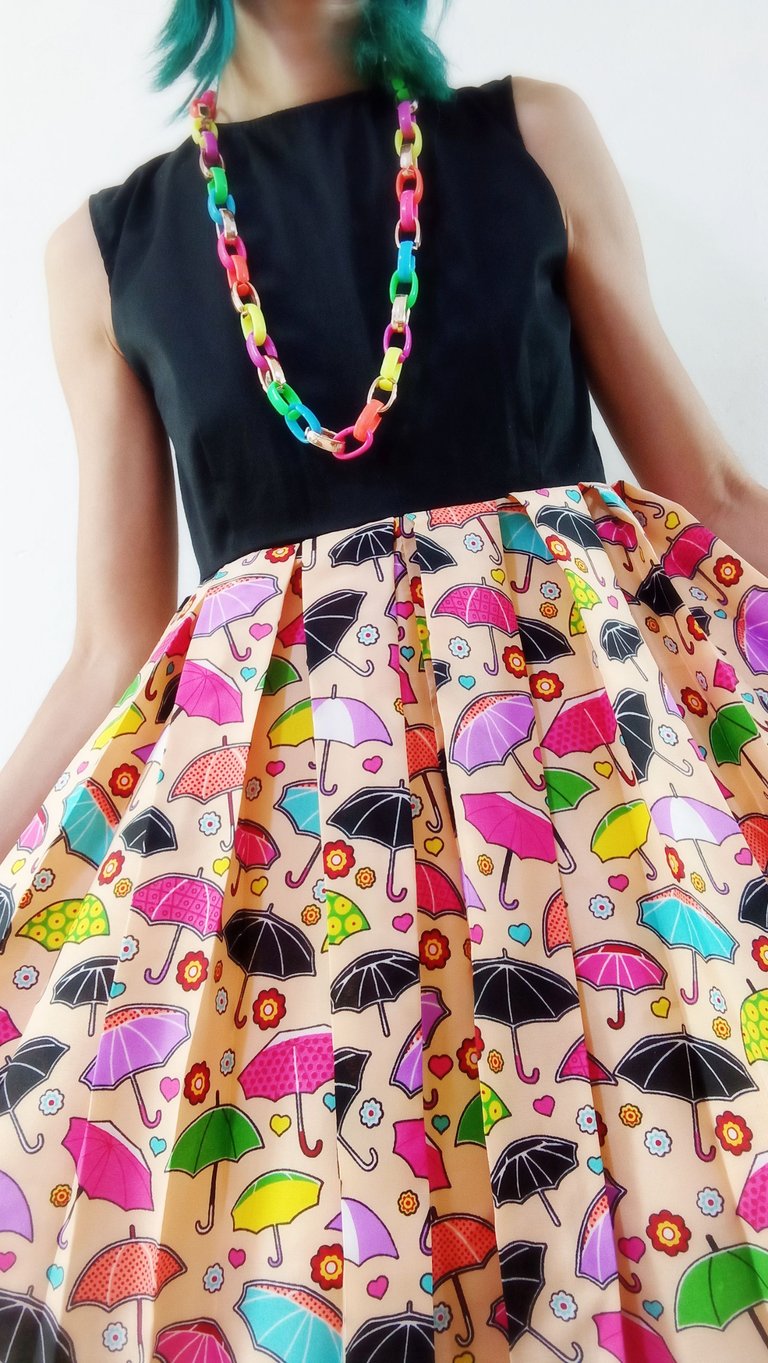
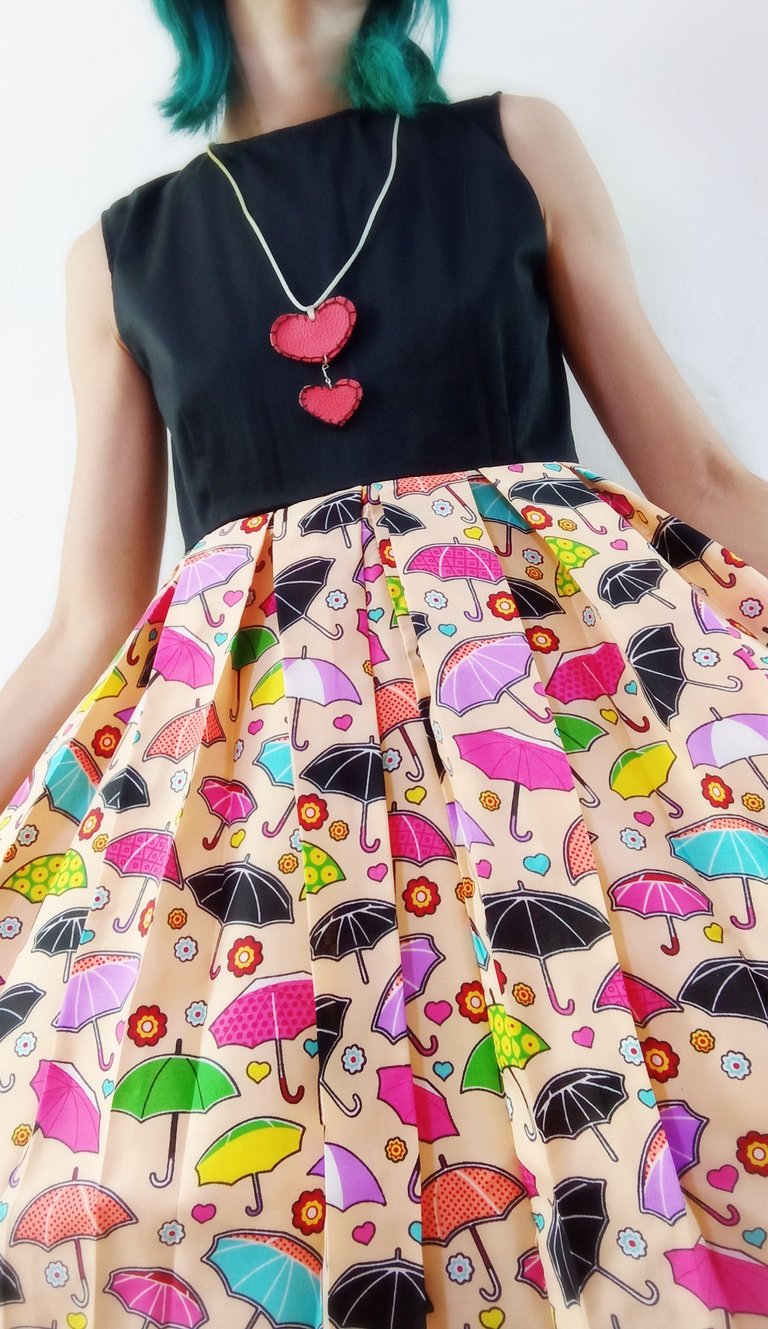
I may then take care of making some decorations on the top. Although, I also think it is not necessary, since the protagonist is the printed part, not to mention that by using different necklaces, I think I can make that area of the dress stand out. What do you think? 😊
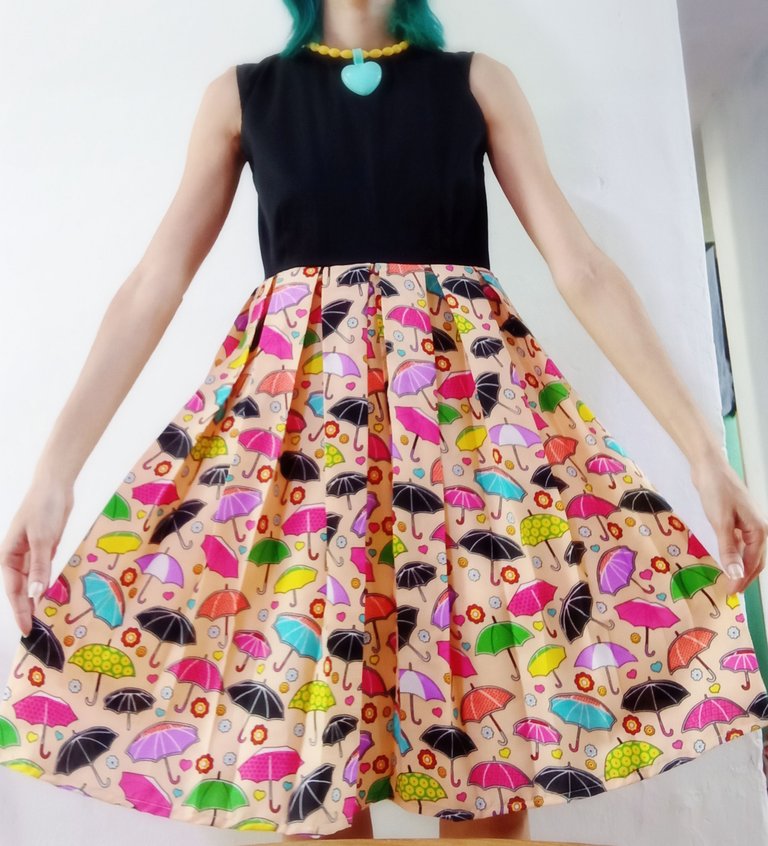
 |  |  |
|---|
Thank you very much for visiting my post. I hope you found it interesting.
Until next time!

CONTENIDO EN ESPAÑOL
¡Hola a todos los integrantes de ésta comunidad y amantes de la costura! Vengo a mostrarles el proceso de elaboración de un vestido que me acabo de hacer, utilizando una hermosa tela que compré en mi última visita a la ciudad en la que vivía antes.

Hace unas semanas atrás, publiqué en mi blog como modifiqué un vestido utilizando como base, un par de vestidos viejos que le regalaron a mi madre y que luego ella, me los dio a mí jaja No subí ese procedimiento por aquí, dado que pensé que era un procedimiento muy sencillo, en donde no hice la gran cosa. En fin, de dicho vestido, me quedó la pieza inferior, así que pensé en utilizar esa tela para éste proyecto.
 |  |
|---|---|
| El vestido antes de ser cortado | Los remanentes del vestido junto la tela que compré |
Para nadie es un secreto que me encanta reciclar jaja y la tela, es uno de esos materiales que puedes darle varios usos si la misma, está en buenas condiciones, por eso, siempre suelo aceptar la ropa que me regalan, basándome en la tela.
En cuanto compré esa hermosa tela con estampados de paraguas, pensé en elaborarme un vestido con la misma y para la parte superior, pensé que una pieza de color negro, sería perfecta. De modo que descosí lo que quedaba del vestido y de esa tela, corté las piezas correspondientes a una blusa delantera y trasera. Como podrán adivinar, aproveché que la parte trasera del vestido estaba abierta y saqué de allí, las piezas traseras de la blusa.

Bien, primero comencé uniendo las piezas desde la parte de los hombros, utilizando costura recta y en zig zag como costura de seguridad, dado que no tengo overlock. Planché la pieza y volví a hacer una costura en la parte visible.
 |  |
|---|
Para la parte correspondiente a la sisa y al cuello, había pensado en utilizar un sesgo. Pero al final opté por realizar simplemente un dobladillo sencillo.
 |  |
|---|
En cuanto a la falda, utilicé el metro de tela que dividí a la mitad y corté del largo deseado (unos 60 cm más o menos). Me sobró un pedacito de tela, pensaba en sacar unas mangas de allí para anexárselas al vestido, pero la idea no me convenció, así que espero usarla para algún proyecto futuro.

Estaba indecisa sobre la forma en como hacer la falda, pues estaba entre realizarla de forma ruchada o con tablones encontrados. Hace años, una costurera me enseñó a hacer las faldas con tablones e hice un par para mi uso en ese tiempo, así que pensé en ponerlo de nuevo en práctica... porque se me olvidan las cosas muy seguido jaja.
En éste caso, luego de coser los rectángulos de tela estampada, y realizarle un dobladillo en la parte inferior, el ancho de la misma se extendió a unos 2 metros con 6 cm. Dividí esa cantidad entre el contorno de la blusa de color negro que había elaborado anteriormente y con el resultado, logré distribuir los tablones al elaborarlos de 5 cm cada uno. Con ayuda de alfileres, mantuve los tablones tanto en la parte superior como la inferior.

Una vez que verifiqué que con los tablones, la pieza cubría mi contorno de cintura, procedí a planchar la tela para poder coser con una costura recta en la parte superior y así, reforzar los tablones.
 |  |
|---|
Antes de coser la parte de la falda a la blusa, a ésta última le elaboré un par de pinzas de 1 cm cada una. Después, procedí a coser ambas piezas y a plancharlo.
 |  |  |
|---|
Inicialmente, había pensado en usar el cierre que quedó del vestido del cual saqué las piezas de la blusa, ya que el mismo, es de color negro. Pero descarté su uso porque era demasiado corto, así que, tuve que utilizar un cierre que tenía por ahí y que seguramente fue de algún bolso jaja Era eso o nada 😅
 |  |
|---|
Luego de realizar un pequeño doblez, planché los mismos y tras ubicar el cierre, procedí a mantenerlo fijado con alfileres mientras lo cosía. Lo sé, no se ve para nada "delicado", pero lo importante es que el cierre funcione 😆 me causa gracia que el zipper sea tan grande, hasta estoy pensando en colocarle un pequeño adorno colgando jaja.
 |  |
|---|
Seguidamente, procedí a cerrar lo que faltaba de la falda y a quemar los hilillos sobrantes de la tela con un encendedor, ya que la misma se deshilacha mucho.

Planché el vestido y de ésta forma, estuvo terminado ✨
 |  |  |
|---|
Puede ser que luego, me encargue de hacerle algunas decoraciones en la parte superior. Aunque, también pienso que no es necesario, dado que el protagonista, es la parte estampada, sin mencionar que utilizando diferentes collares, opino que puedo hacer que esa zona del vestido, resalte ¿Qué opinan ustedes? 😊

 |  |  |
|---|
Muchas gracias por haber visitado mi publicación. Espero que les haya parecido interesante.
¡Hasta una próxima oportunidad!
The rewards earned on this comment will go directly to the people( @suezoe ) sharing the post on Reddit as long as they are registered with @poshtoken. Sign up at https://hiveposh.com. Otherwise, rewards go to the author of the blog post.
Quedó muy hermoso, trabajar con tablas es algo tedioso y este vestido se ve muy laborioso te felicito
¡Muchas gracias! Inesperadamente no me pareció tan tedioso jaja tal vez ya le agarré el truco o fue cuestión de suerte 😆 Me alegra mucho que el resultado fuese de tu agrado 😌 Gracias por visitar mi publicación y por comentar 🤗💚
Eso es que ya estás práctica en ello, yo todavía estoy crudita en eso
😯 ¡Ya verás como pronto podrás hacer cualquier cosa que te propongas! No soy lo que se dice "experta", pero con lo básico me he logrado hacer las cosas que he querido (teniendo el material, claro jaja). Espero que continúes cosiendo 🤗
Congratulations, your post has been curated by @dsc-r2cornell. You can use the tag #R2cornell. Also, find us on Discord
Felicitaciones, su publicación ha sido votada por @ dsc-r2cornell. Puedes usar el tag #R2cornell. También, nos puedes encontrar en Discord
This is creativity.
You are so creative and your work is really beautiful and neat
I'm so glad you think so! 😍 I really like colorful dresses and I wanted to have something like this in my wardrobe. It's not as elaborate as many dresses I've seen, but it's encouraging to see that I can make something similar to how I imagined it 😌 Thank you very much for visiting my post and for your kind words 🤗💚