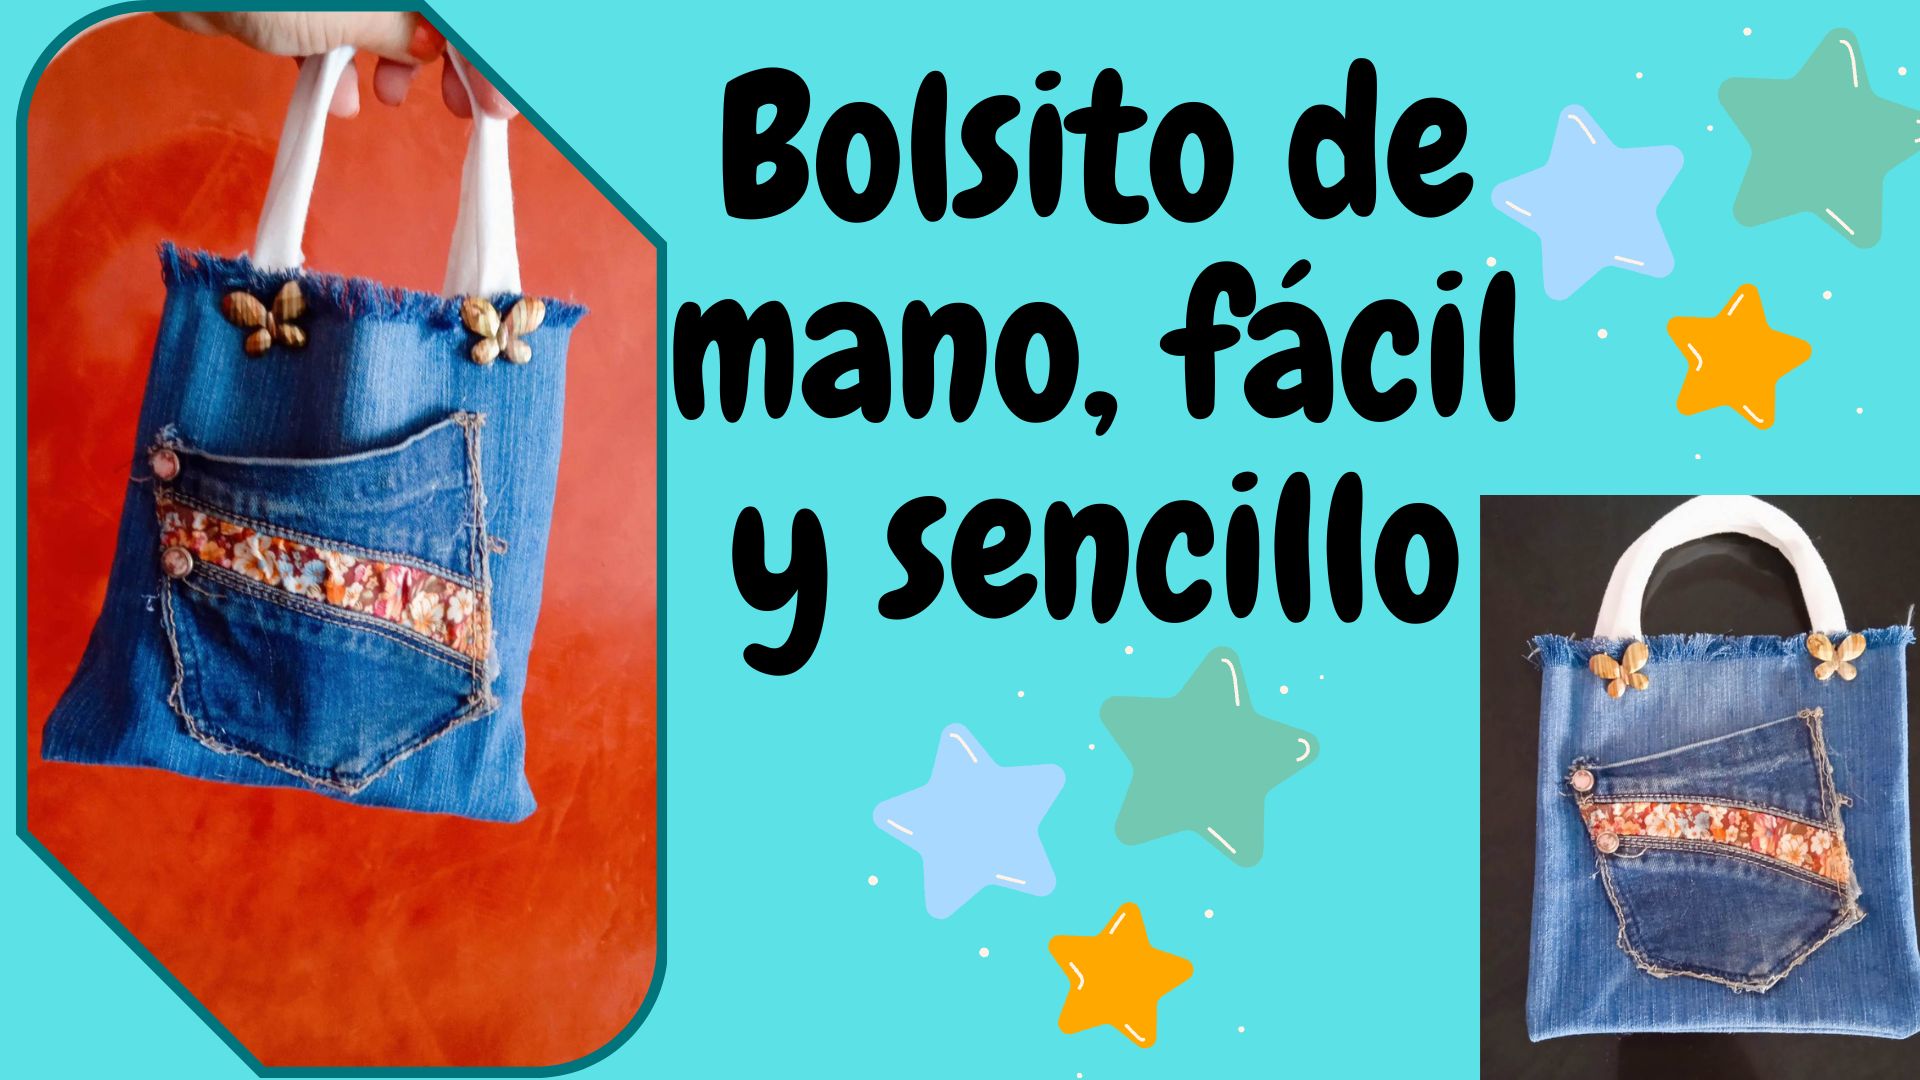
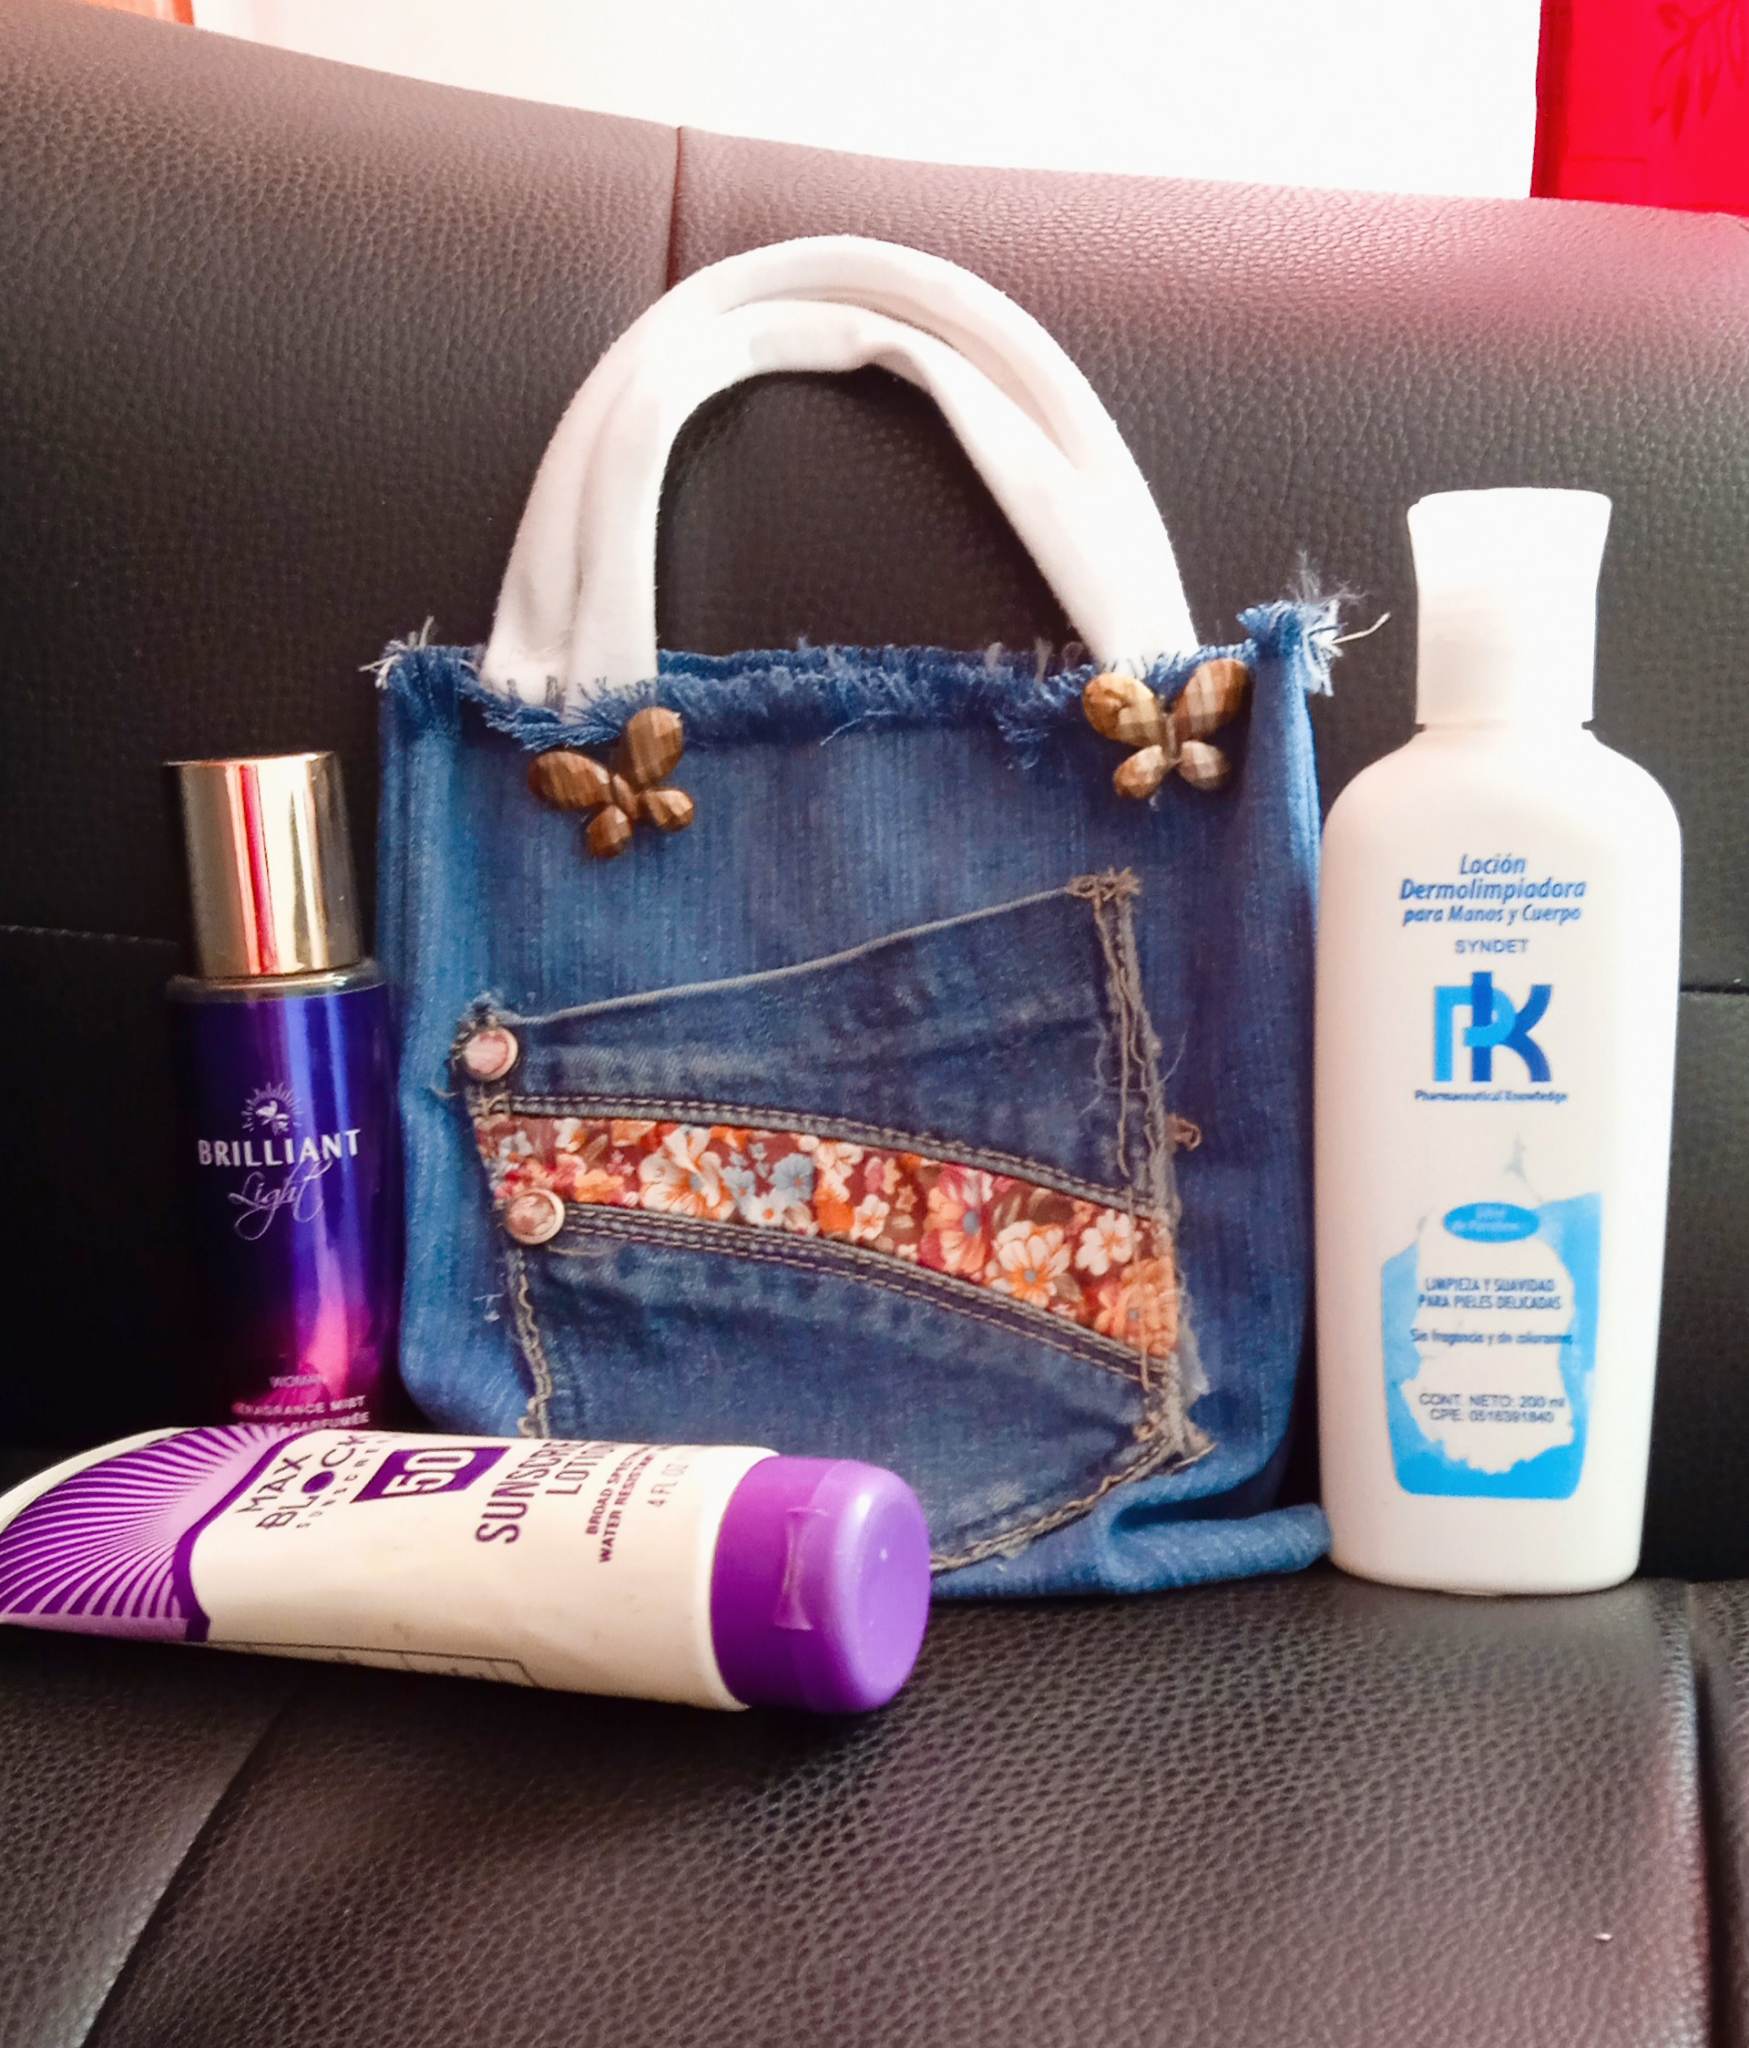
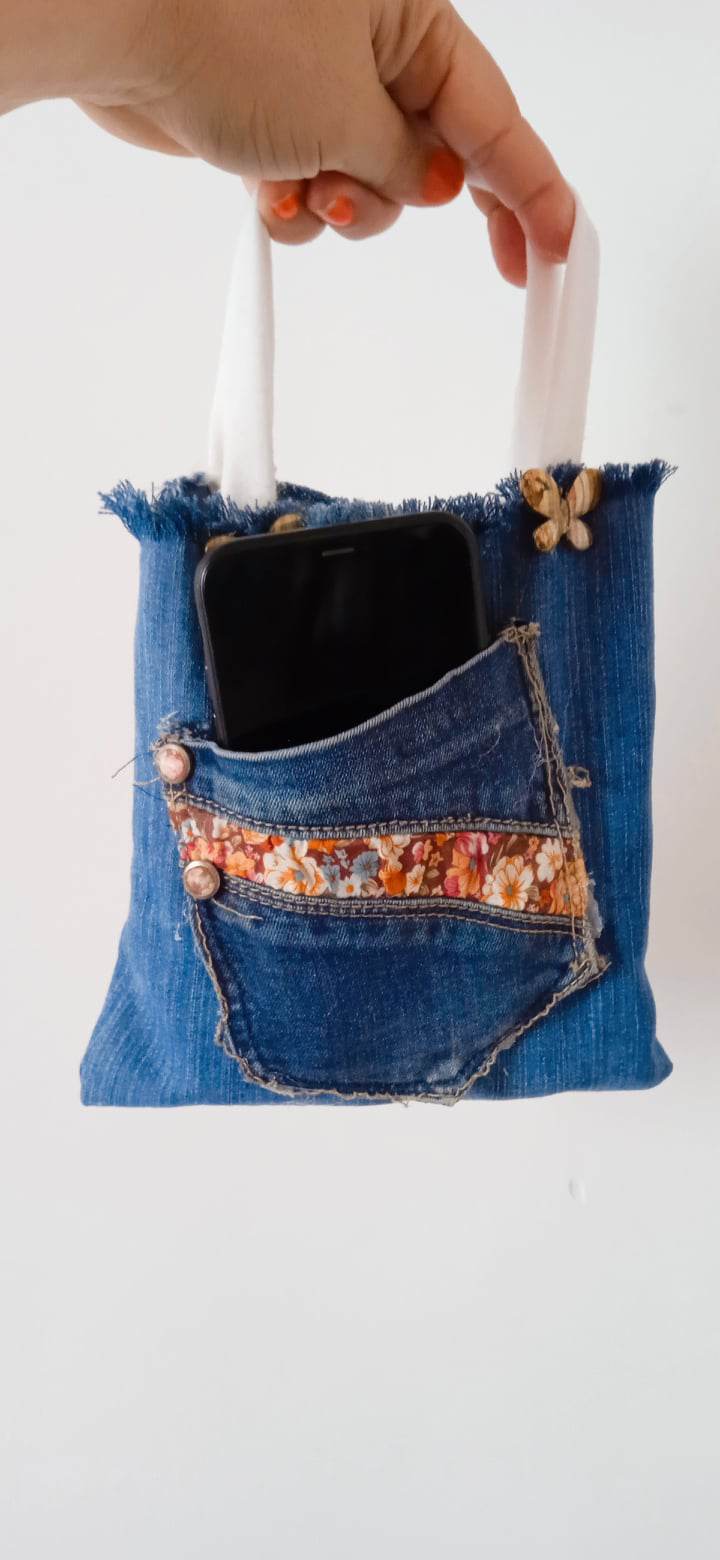
 Saludos a todos los creadores de esta comunidad, feliz de compartir nuevamente con todos ustedes, en esta oportunidad realicé un lindo bolsito de mano ideal para guardar nuestras cremas, splash, protector solar y todas esas cosas que algunas veces solemos llevar a cualquier lado, además de esto le incorporé un bolsillo en la parte delantera para colocar el teléfono celular o cualquier otro accesorio de su prefrencia, veamos los pasos a seguir.
Greetings to all the creators of this community, happy to share again with all of you, this time I made a nice little handbag ideal for storing our creams, splash, sunscreen and all those things that sometimes we usually carry anywhere, besides this I incorporated a pocket on the front to place the cell phone or any other accessory of your choice, let's see the steps to follow.
.jpg)
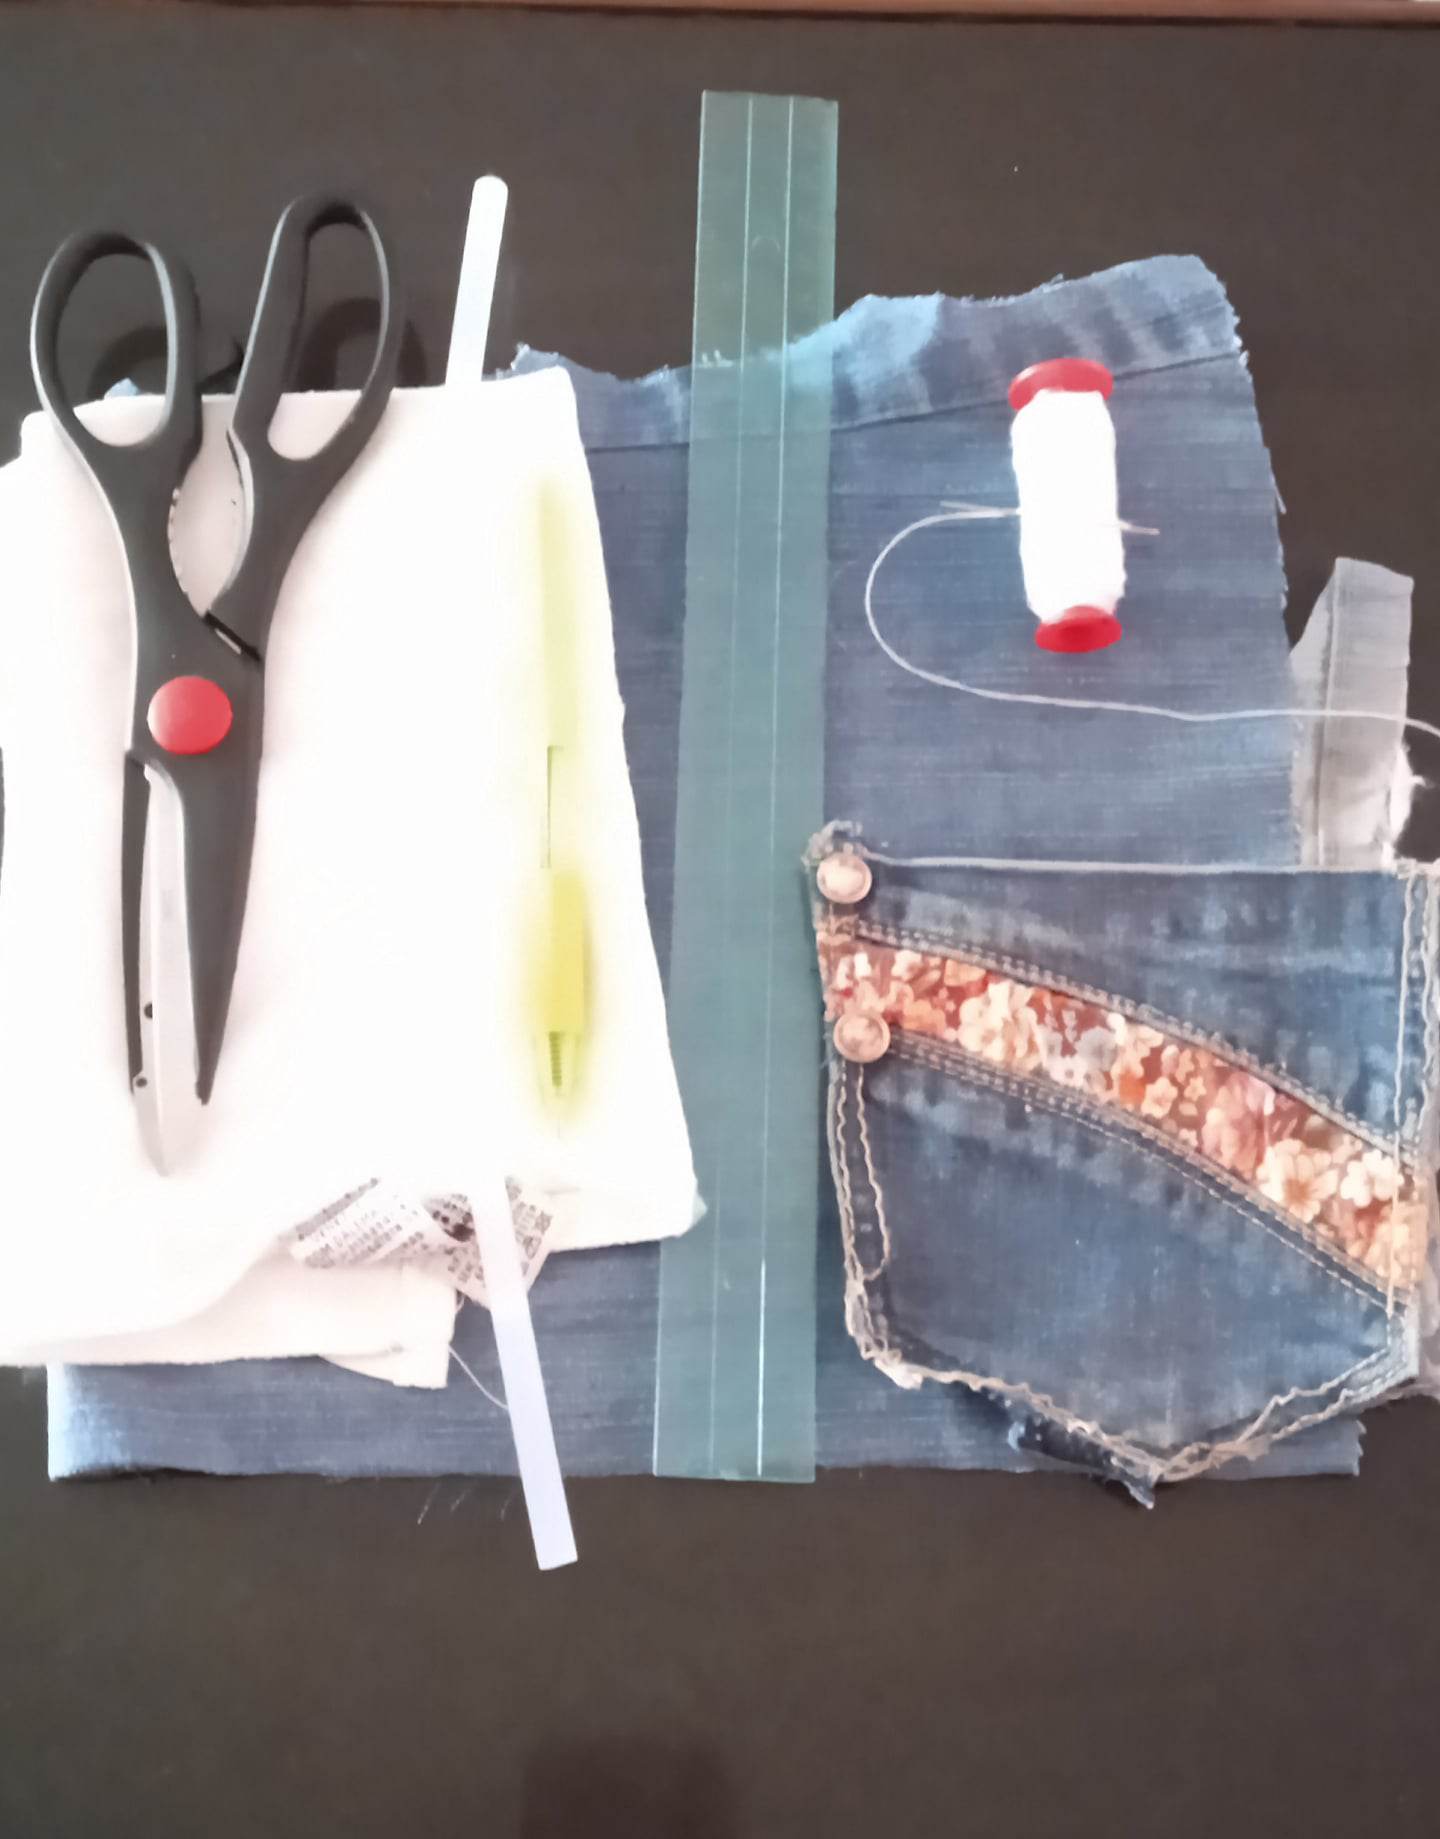
- Los materiales a utilizar son:
- Tela de jeans.
- Tela unicolor.
- Tijera.
- Regla.
- Lápiz.
- Aguja e hilo de coser.
- Silicón en barra.
- 1 Bolsillo de jeans.
- The materials to be used are:
- Denim fabric .
- Unicolor fabric.
- Scissors.
- Rule.
- Pencil.
- Needle and sewing thread.
- Silicone stick.
- 1 jeans pocket.
.jpg)
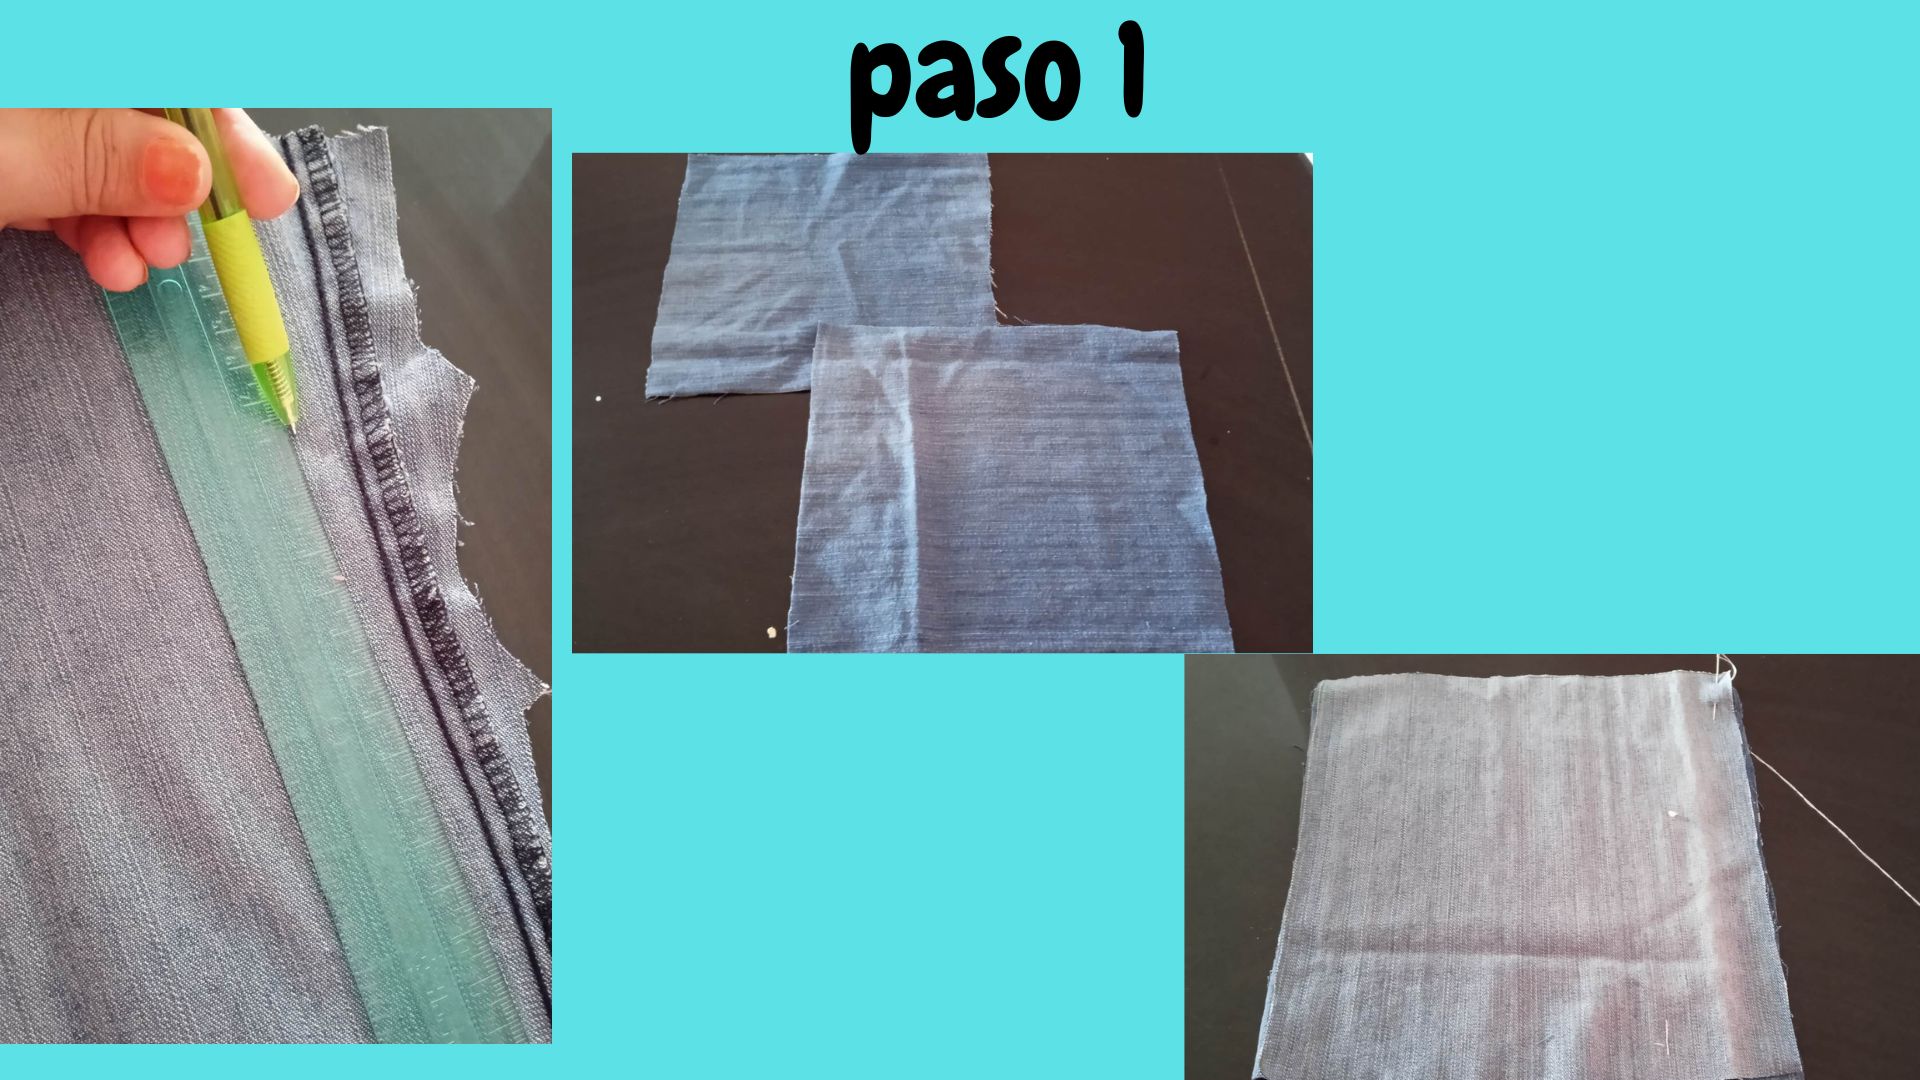
- Paso 1: Marcamos en la tela de jeans las medidas de 20 cm de largo por 20 cm de ancho, una vez marcadas procedemos a recortar sacando dos partes iguales, luego las colocamos derecho con derecho y cosemos por toda la orilla dejando una parte sin coser.
- Step 1: We mark on the jeans fabric the measures of 20 cm long by 20 cm wide, once marked we proceed to cut out two equal parts, then we place them right sides together and sew along the edge leaving a part without sewing.
.jpg)
.jpg)
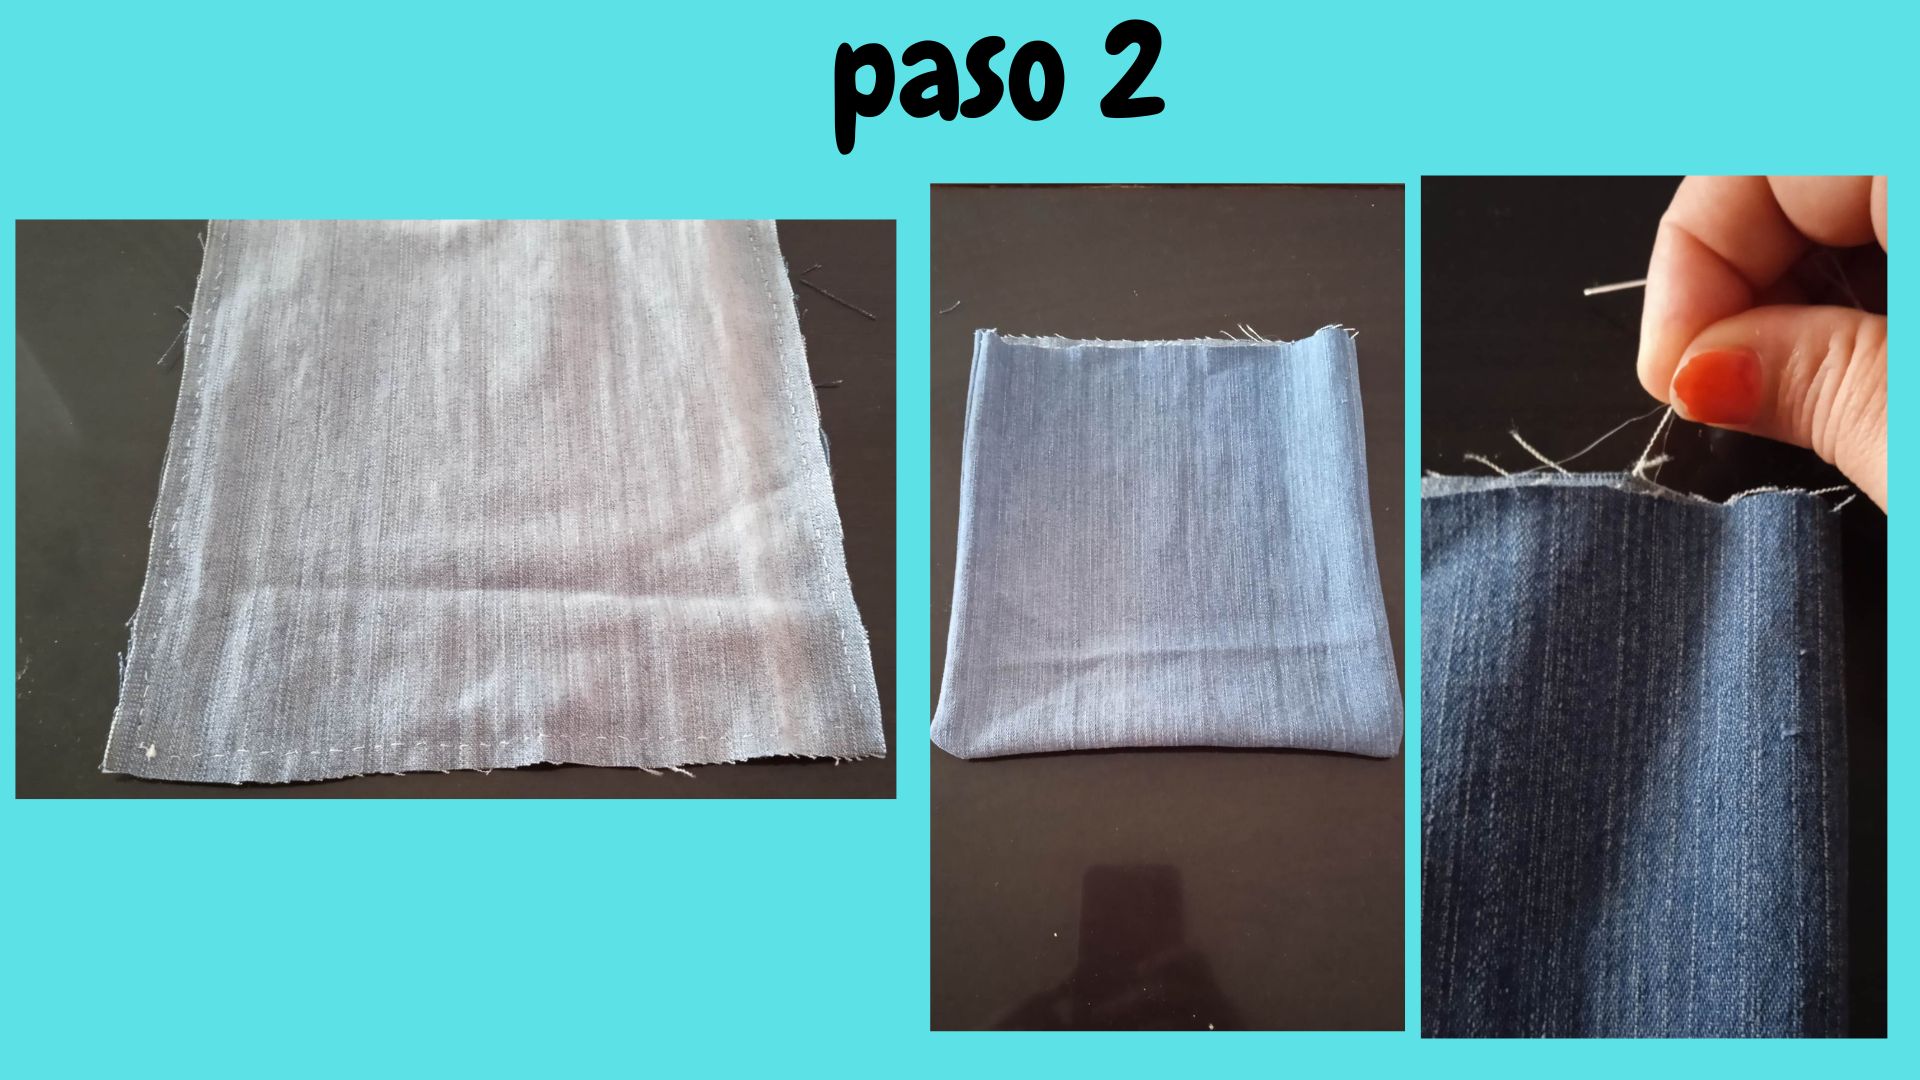
- Paso 2: Terminado de coser toda la orilla, volteamos del lado derecho y poco a poco comenzamos a deshilachar la parte superior del bolso, tanto la parte delantera como la parte trasera del mismo.
- Step 2: Once we have finished sewing the entire edge, we turn right side out and gradually begin to fray the upper part of the bag, both the front and the back of the bag.
.jpg)
.jpg)
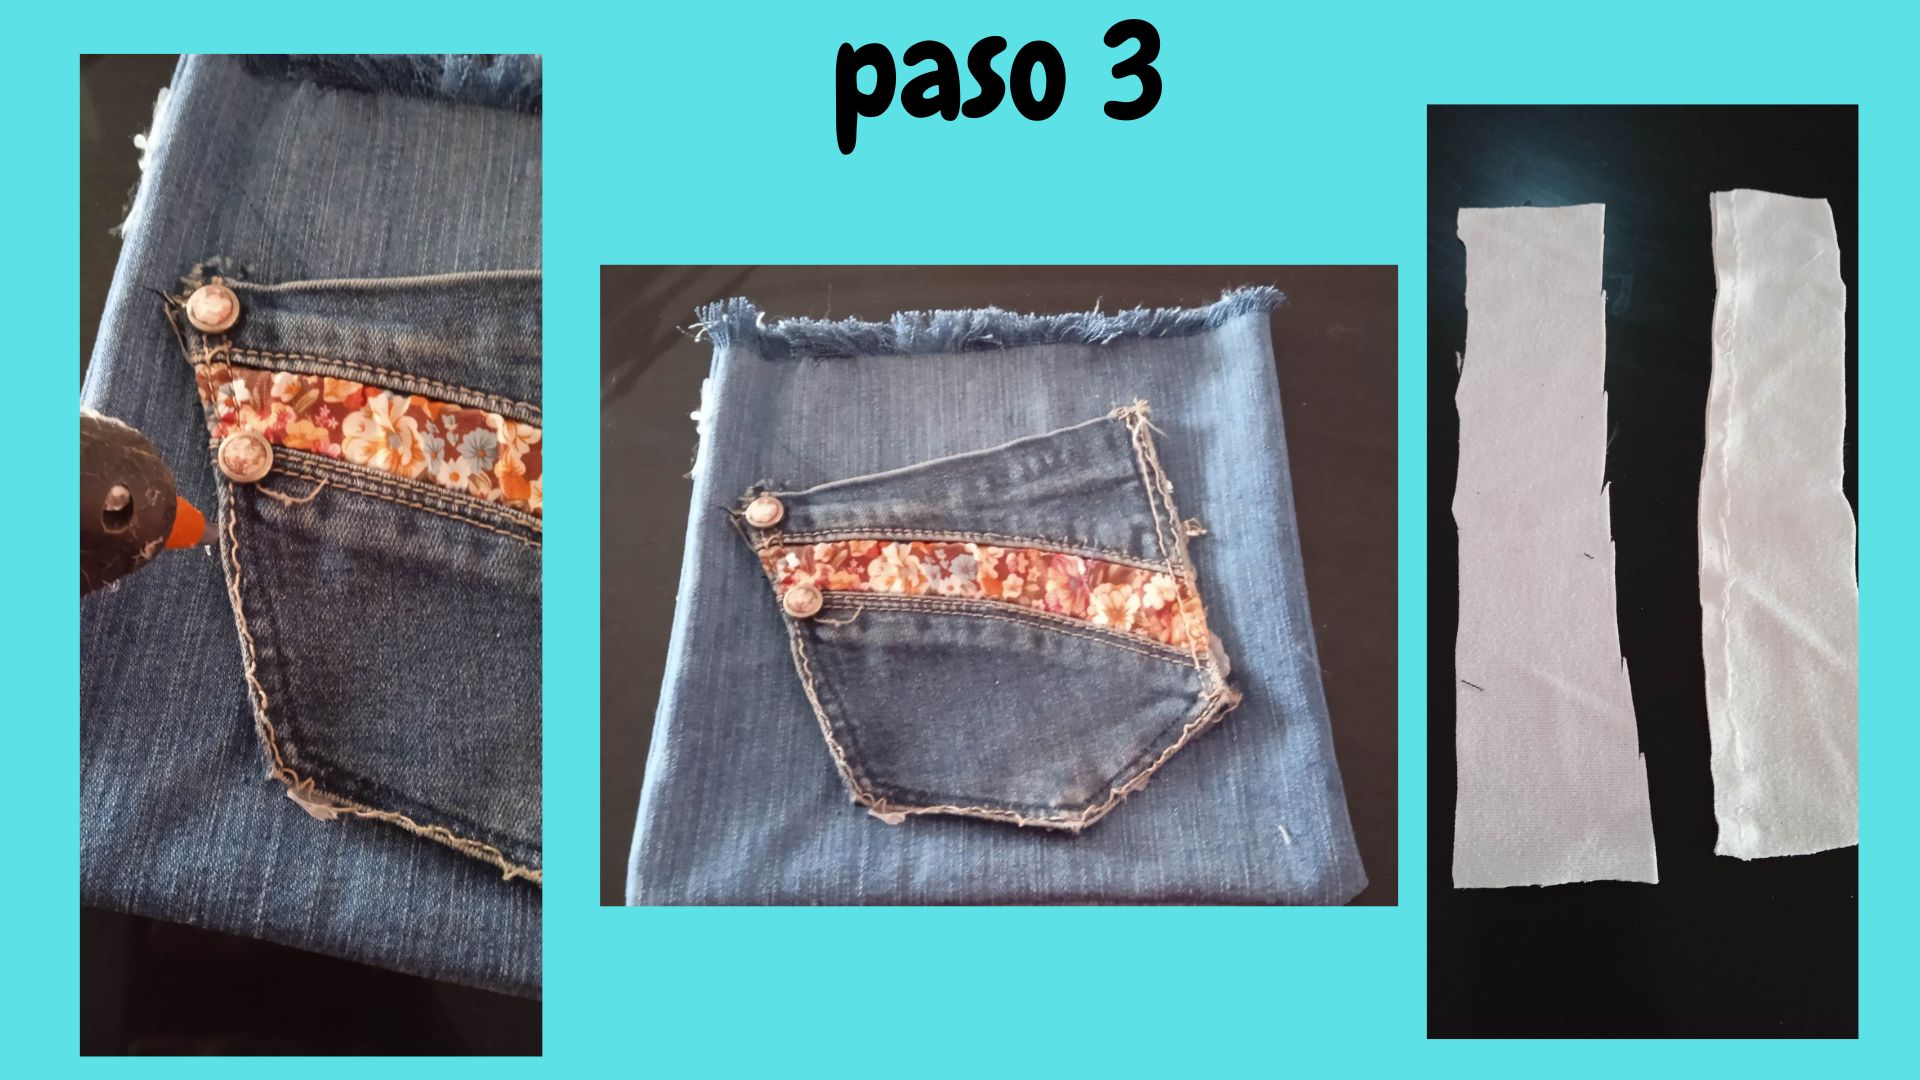
- Paso 3: Seguidamente pegamos con el silicpon el bolsillo en la parte delantera del bolsito, también lo puede coser, posteriormente de la tela unicolor recortamos 2 tiras iguales con unas medidas de 4 cm de ancho por 24 cm de largo.
- Step 3: Next we glue the pocket on the front of the bag with the silicone, you can also sew it, then cut 2 equal strips of the unicolor fabric measuring 4 cm wide by 24 cm long.
.jpg)
.jpg)
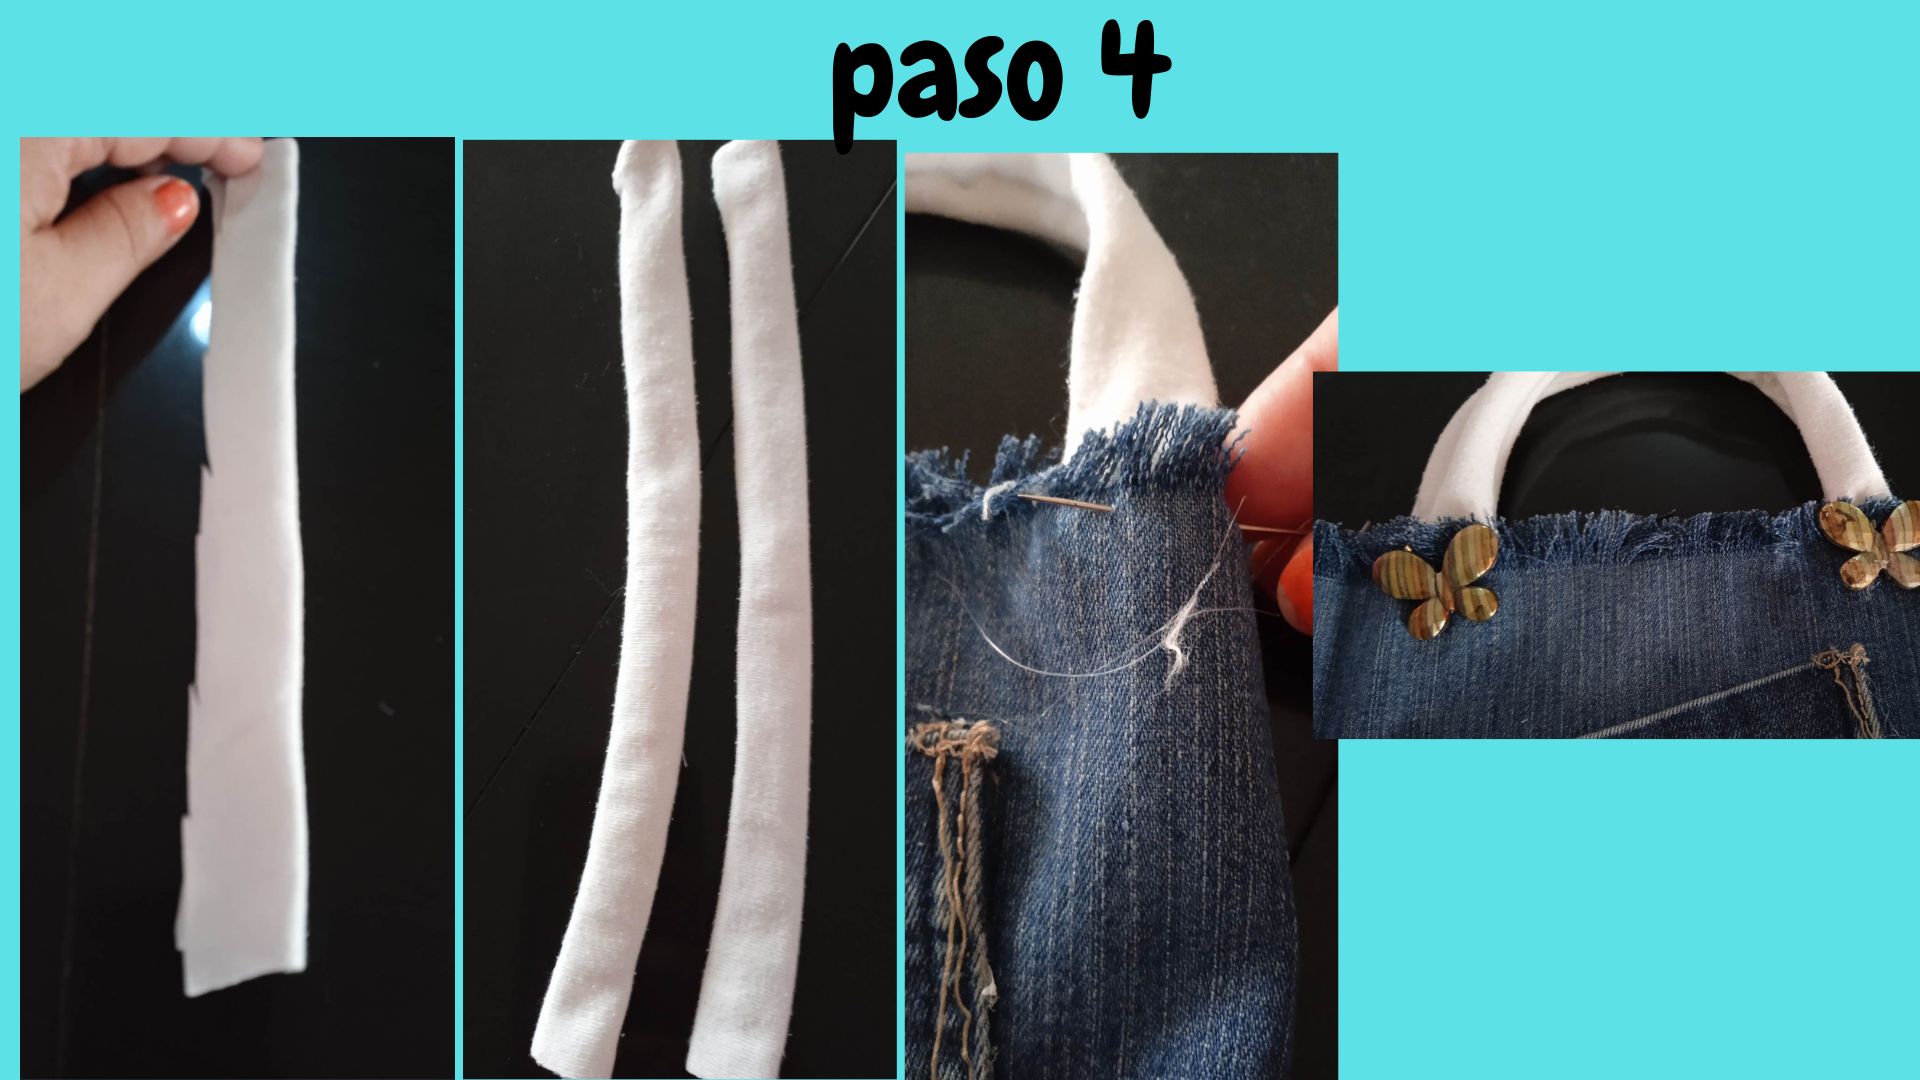
- Paso 4: Doblamos la tira a la mitad y cosemos por toda la orilla dejando un extremo sin coser, luego volteamos del lado derecho y cosemos en cada extremo del bolso tanto en la parte delantera como en la parte trasera y por último decoramos con unas lindas mariposas o cualquier otro adorno de su preferencia.
- Step 4: Fold the strip in half and sew all around the edge leaving one end unstitched, then turn right side out and sew on each end of the bag on both the front and the back and finally decorate with some pretty butterflies or any other ornament of your choice.
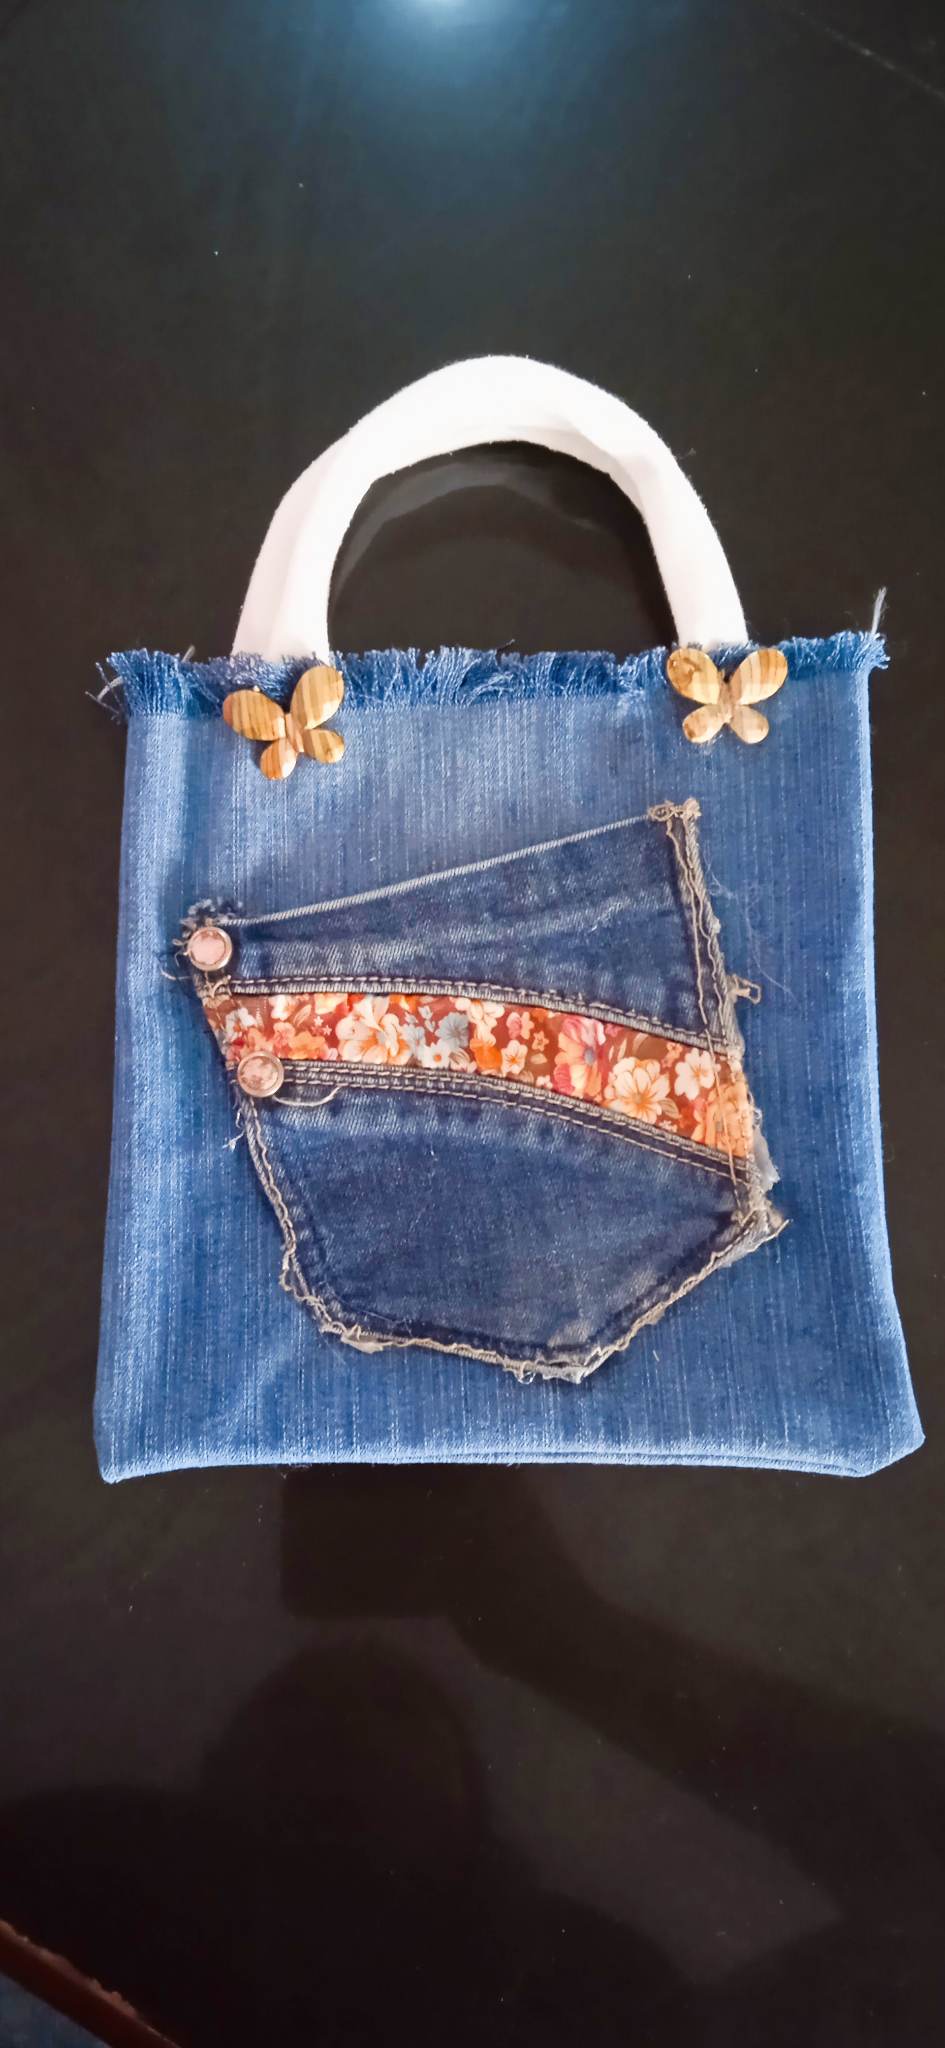
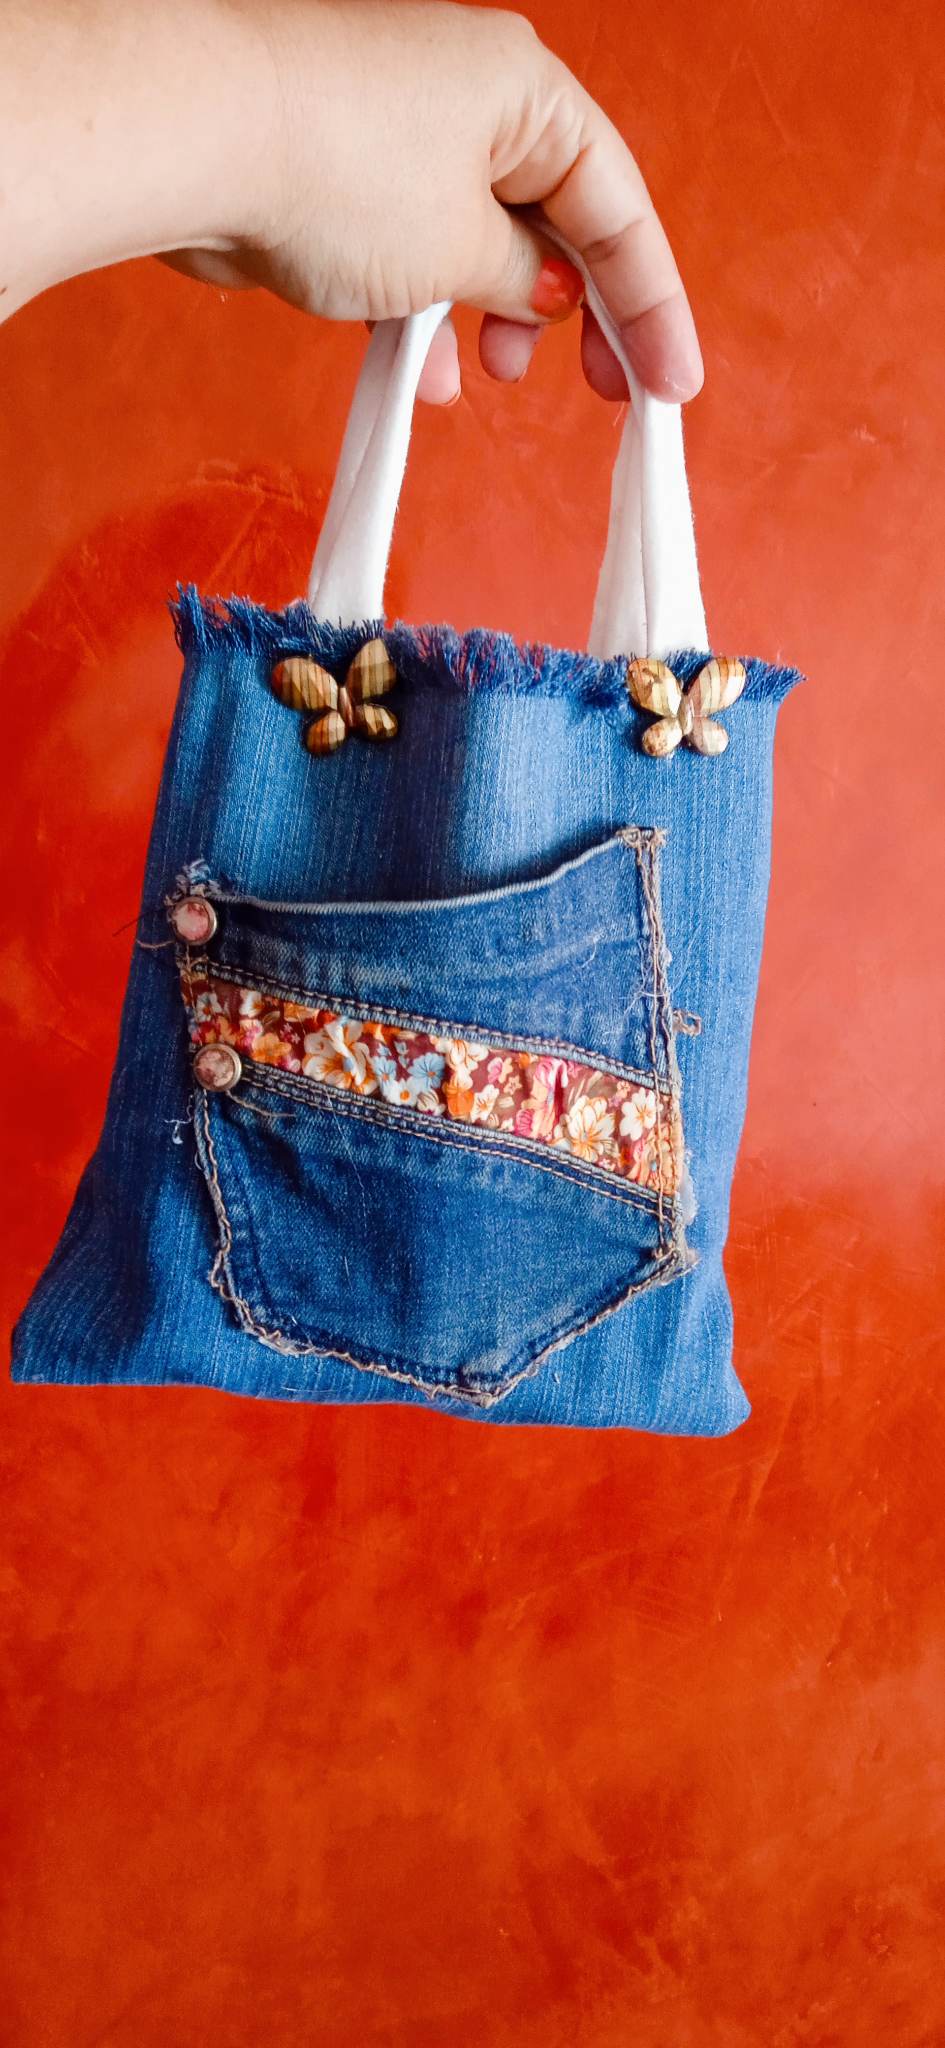
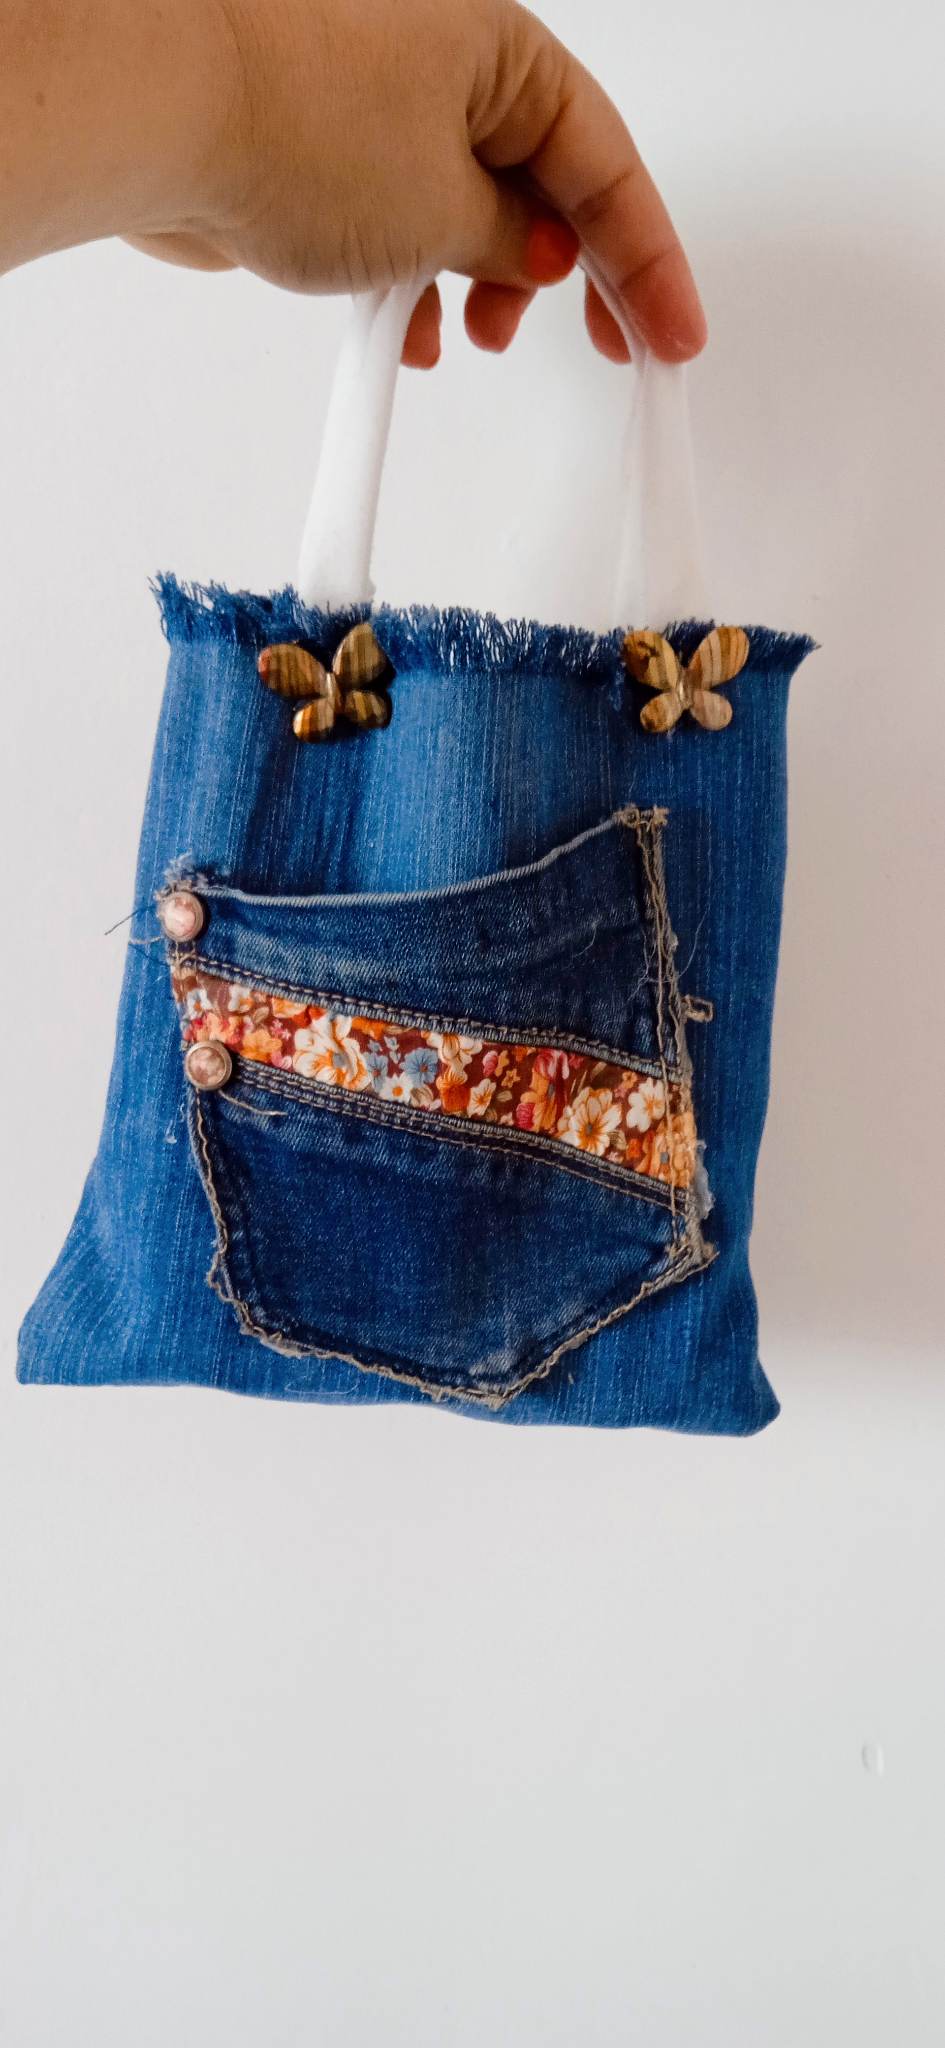
.jpg) Aqui tenemos nuestro resultado final.
Here we have our final result.
Aqui tenemos nuestro resultado final.
Here we have our final result.
.jpg) Todas las fotos son de mi autoría, y editadas desde canva.
All photos are of my authorship, and edited from canva.
Todas las fotos son de mi autoría, y editadas desde canva.
All photos are of my authorship, and edited from canva.
.jpg)
.jpg)

.jpg)

.jpg)

.jpg)
.jpg)
.jpg)
.jpg)
.jpg)
.jpg)
.jpg)


.jpg)
.jpg)
.jpg)
The rewards earned on this comment will go directly to the people( @mariajcastro28 ) sharing the post on Twitter as long as they are registered with @poshtoken. Sign up at https://hiveposh.com.
Muy lindo el bolsito, me encanta como queda con la tela de jean.
Saludos
Gracias amiga.
Es un lindo y práctico bolsito para llevar pocas cosas, me gusta todo lo confeccionado en jeans gracias por compartir, saludos 🤗
Gracias por comentar.
Thank you for sharing this post on HIVE!
Your content got selected by our fellow curator ashikstd & you just received a little thank you upvote from us for your great work! Your post will be featured in one of our recurring compilations which are aiming to offer you a stage to widen your audience within the DIY scene of Hive. Stay creative & HIVE ON!
Please vote for our hive witness <3
thanks for your support
You're welcome. Keep up the great work. 😊
Congratulations, your post has been upvoted by @dsc-r2cornell, which is the curating account for @R2cornell's Discord Community. Enhorabuena, su "post" ha sido "up-voted" por @dsc-r2cornell, que es la "cuenta curating" de la Comunidad de la Discordia de @R2cornell.