Hola, hola amigos amantes de las agujas, feliz inicio de semana para todos; que esta sea una semana llena de bendiciones para cada uno de ustedes, bienvenidos a mi blog!
Por aca vengo apuradita a dejar mi entrada al concurso de San Valentín; desde que vi la publicación quise participar, pero no sabia que hacer, estuve varios dias pensando, hasta que vi en un video un hermoso estuche para lentes, me encanto, y, me dije: lo hare para mi esposo! jejeje
Es muy sencillo de elaborar y muy util, para los que usan lentes, y necesitan guardarlos en un lugar seguro donde no se rayen; además es un hermoso detalle para obsequiar en el dia del Amor y la Amistad!
Escogí a mi esposo para darle el obsequio porque en verdad lo necesita, ya que solo usa lentes para leer, y, necesita guardarlos, ademas por ser el dia del amor, siempre acostumbro darle un obsequio; y, que mejor que algo hecho con mis manos.
Mi esposo y yo tenemos 22 años de matrimonio, y, todavía no se ha apagado esa llama de los detalles, no es necesario una ocasión especial, simplemente a veces, me sorprende o yo lo sorprendo; y, por supuesto en los días especiales no pueden faltar; es un gran hombre, consentidor y cariñoso, buen padre, esposo y compañero de vida; por eso y muchas otras razones, lo escogí para darle el regalo que elabore para mi entrada a este hermoso concurso, donde el Amor anda en el aire! jejeje.
Acompañenme en el paso a paso de la elaboración!
Hello, hello friends needle lovers, happy beginning of the week to all of you; may this be a week full of blessings for each one of you, welcome to my blog!
Here I come in a hurry to leave my entry to the Valentine's Day contest; since I saw the publication I wanted to participate, but did not know what to do, I spent several days thinking, until I saw a video of a beautiful glasses case, I loved it, and I said to myself: I will make it for my husband! hehehehe
It is very simple to make and very useful, for those who use glasses, and need to keep them in a safe place where they do not scratch; it is also a beautiful detail to give as a gift on the day of Love and Friendship!
I chose my husband to give him the gift because he really needs it, since he only wears reading glasses, and he needs to keep them, besides being the day of love, I always give him a gift; and what better than something made with my hands.
My husband and I have been married for 22 years, and the flame of the details has not been extinguished yet, it is not necessary a special occasion, just sometimes, he surprises me or I surprise him; and, of course on special days they cannot be missing; he is a great man, spoiled and affectionate, good father, husband and life partner; for that and many other reasons, I chose him to give him the gift I made for my entry to this beautiful contest, where Love is in the air! hehehe.
Join me in the step by step elaboration!

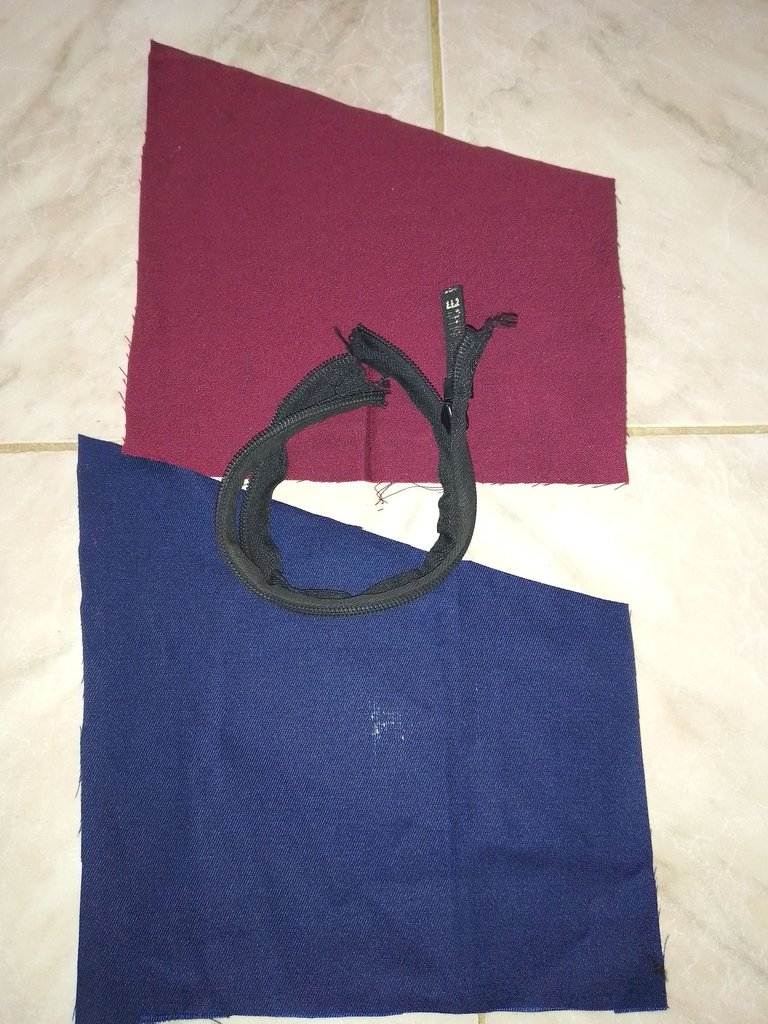
2 trozos de tela de 15 cm x 21 cm x 27cm c/u (cortada como aparece en la imagen)
1 cierre de 21 cm
hilo
tijera
maquina de coser
2 pieces of fabric of 15 cm x 21 cm x 27cm each (cut as shown in the picture)
1 zipper of 21 cm
thread
scissors
sewing machine

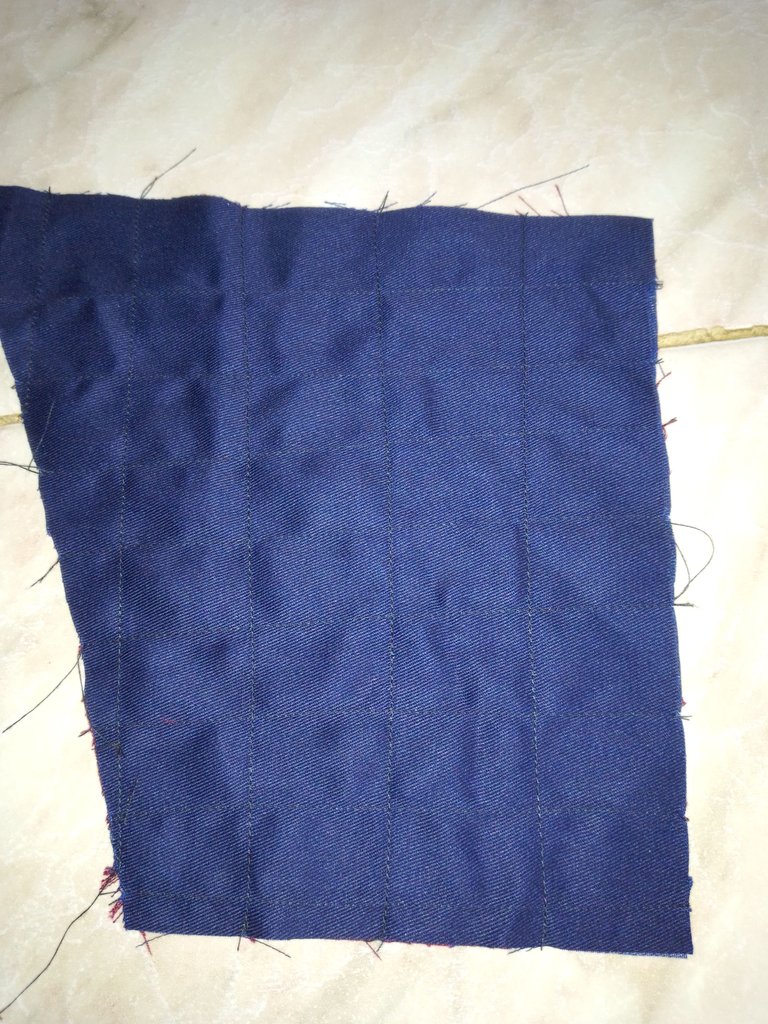
Lo primero que hice fue fijar las 2 telas con costura recta, dándole forma de cuadros.
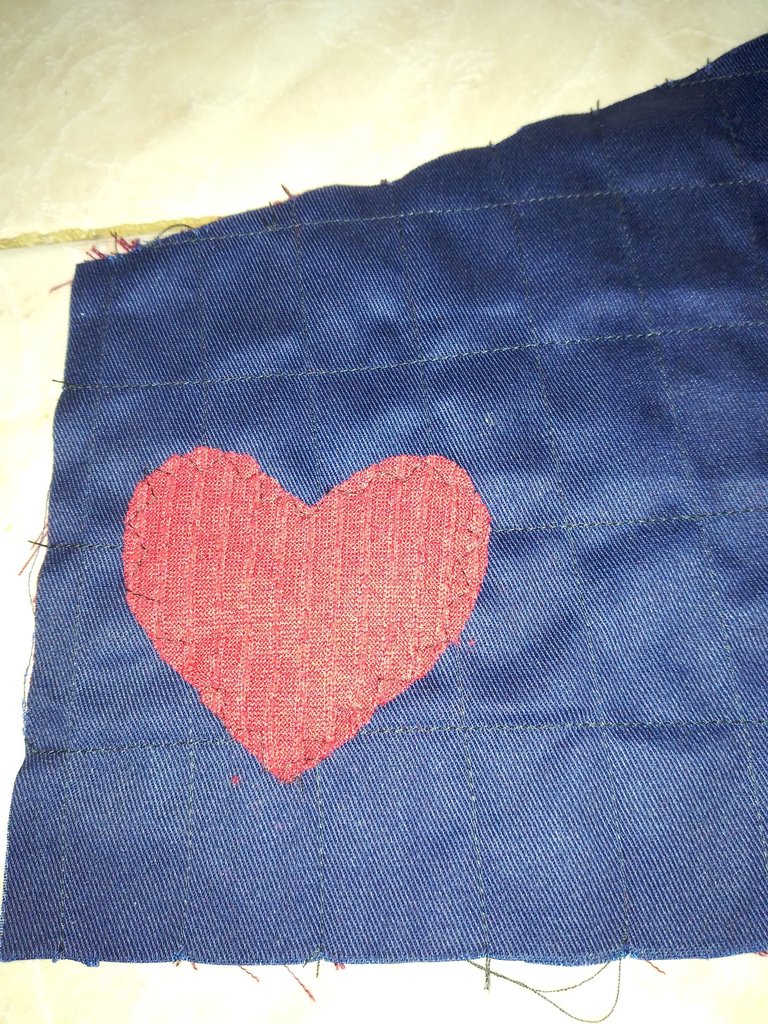
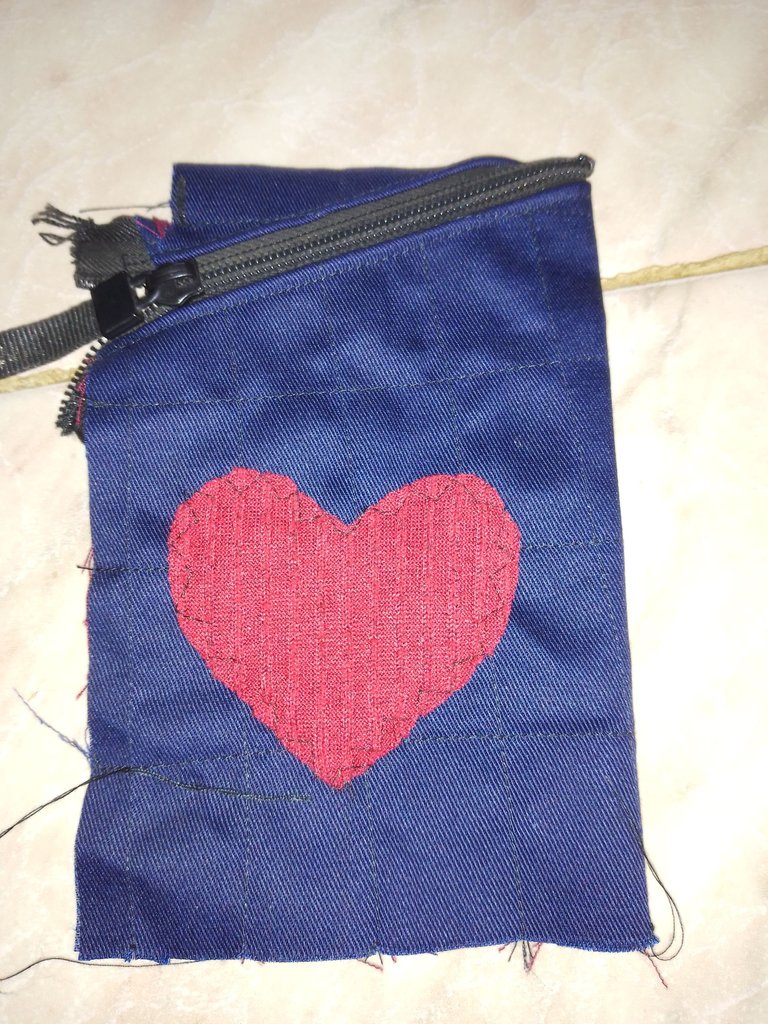
Luego recorta un corazón en tela roja, y lo fije por el lado derecho, que será el azul, cuidando que quede por el lado del frente del estuche.
The first thing I did was to fix the 2 fabrics with straight stitching, giving it a checkered shape.
Then I cut out a heart in red fabric, and I fixed it on the right side, which will be the blue one, taking care that it is on the front side of the case.

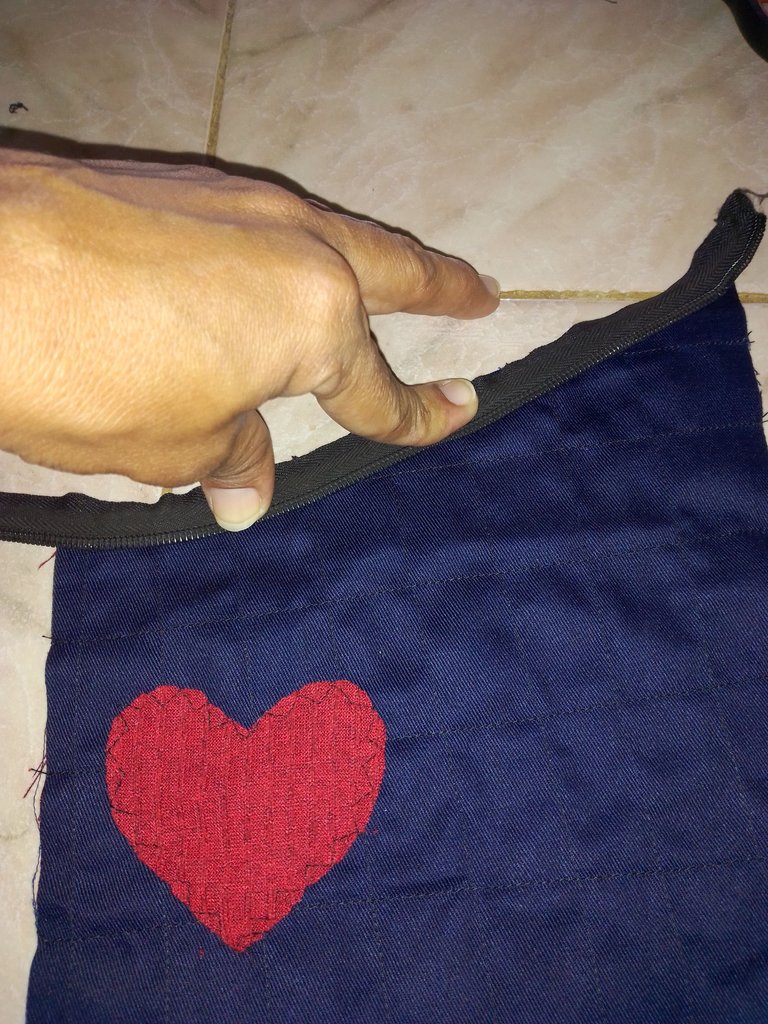
Separe el cierre en 2 partes, retirando la hebilla, y en la tela por el lado derecho, coloque el cierre hacia abajo, y lo fije con costura recta, luego doble hacia adentro, y cosi nuevamente el cierre.
Separate the zipper in 2 parts, removing the buckle, and on the right side of the fabric, place the zipper downwards, and fix it with a straight seam, then fold it inwards, and sew the zipper again.
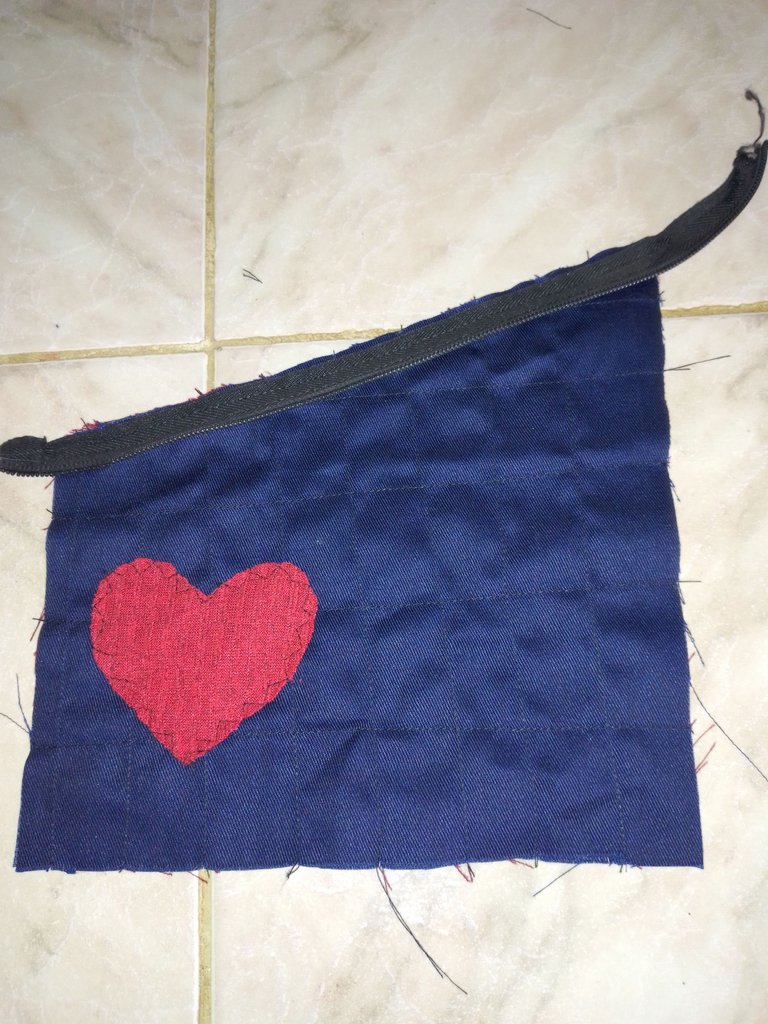
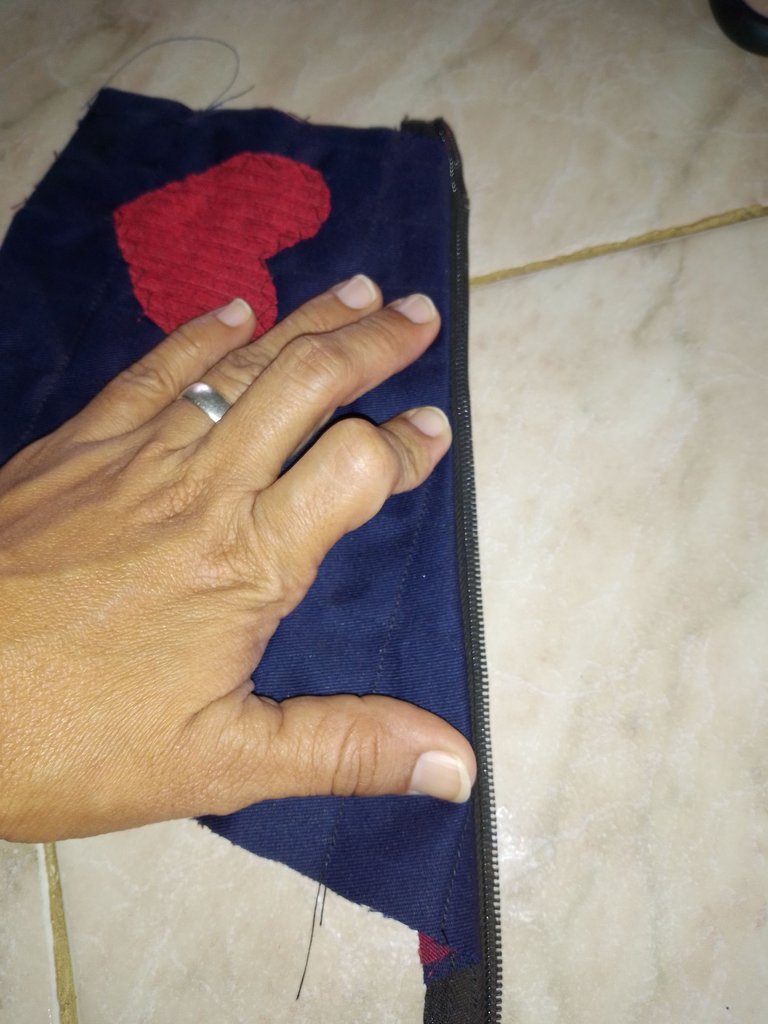

Se dobla la tela, cuidando que el corazón quede por el frente, y se dobla la parte de arriba, uniendo el cierre, y se le coloca la hebilla nuevamente.
Fold the fabric, making sure that the heart is on the front, and fold the top part, joining the zipper, and place the buckle again.
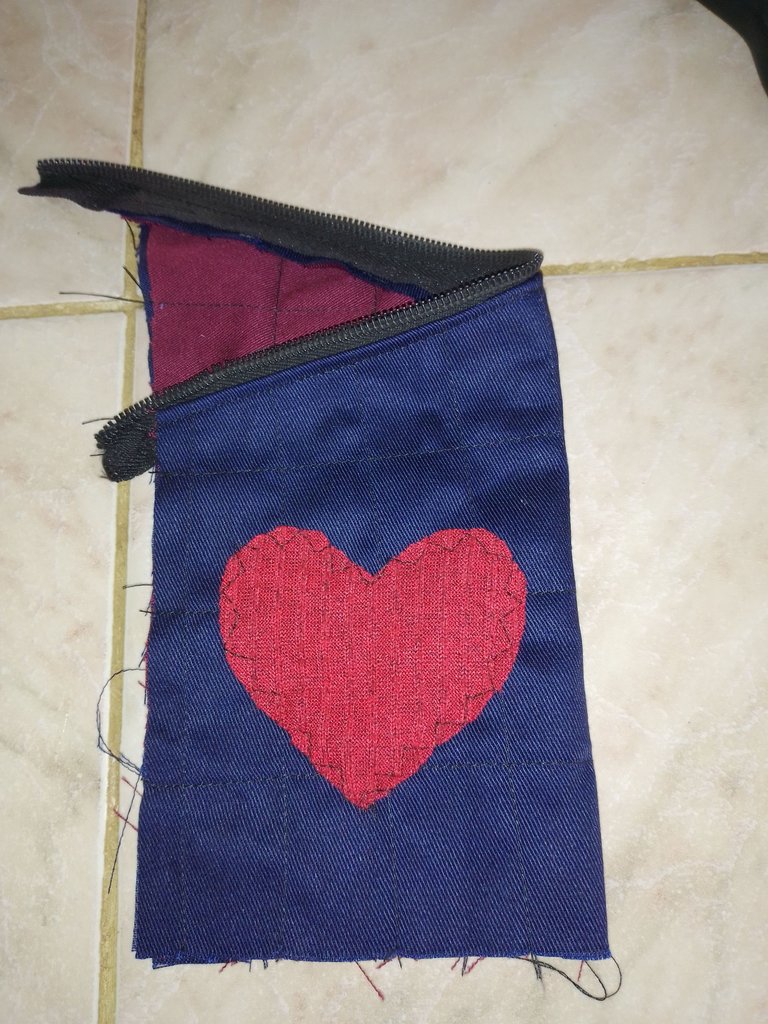
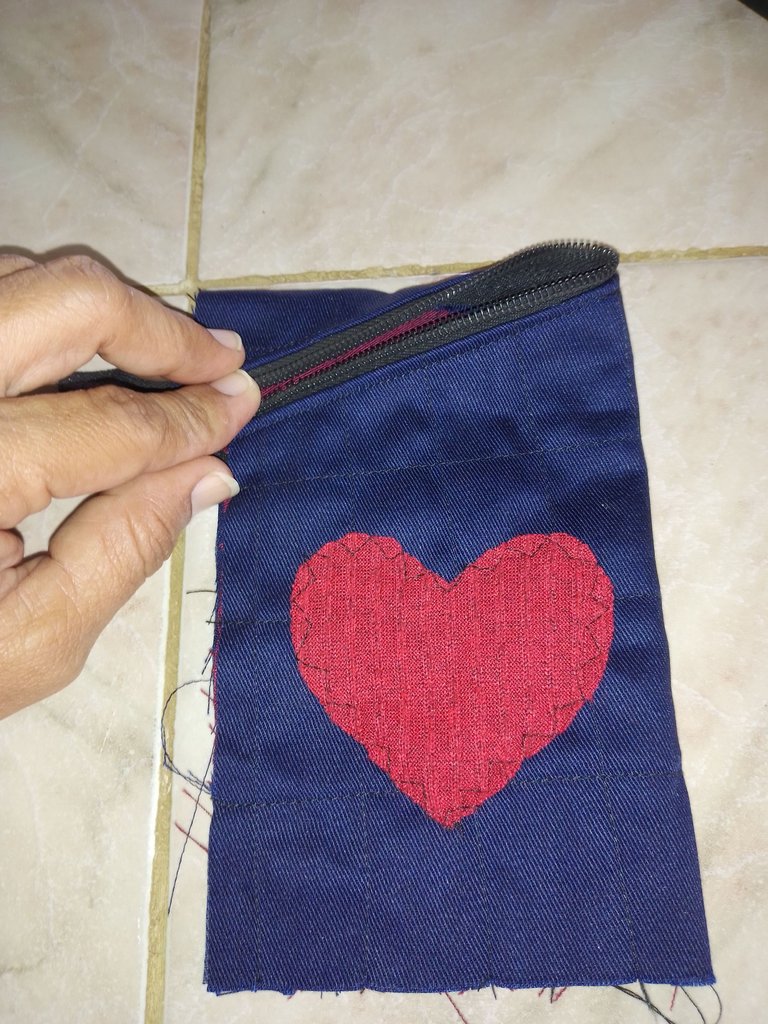

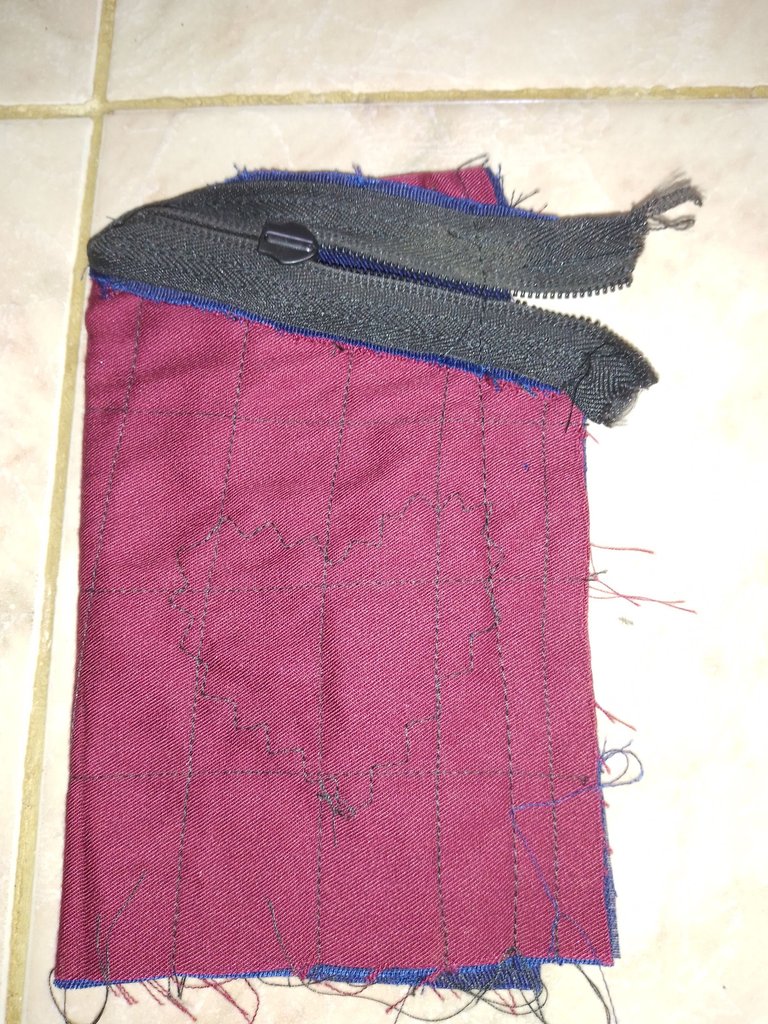
Por el lado reverso se cose por los lados y por debajo, luego se voltea por el lado derecho.
The reverse side is sewn on the sides and underneath, then it is turned right side out.
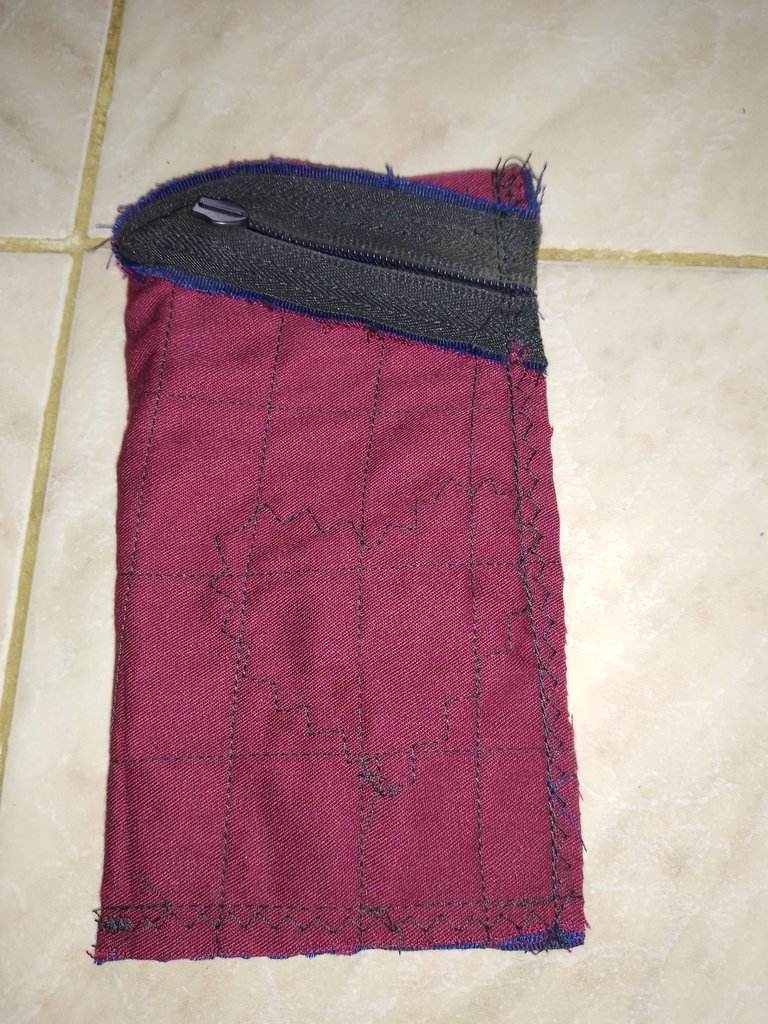

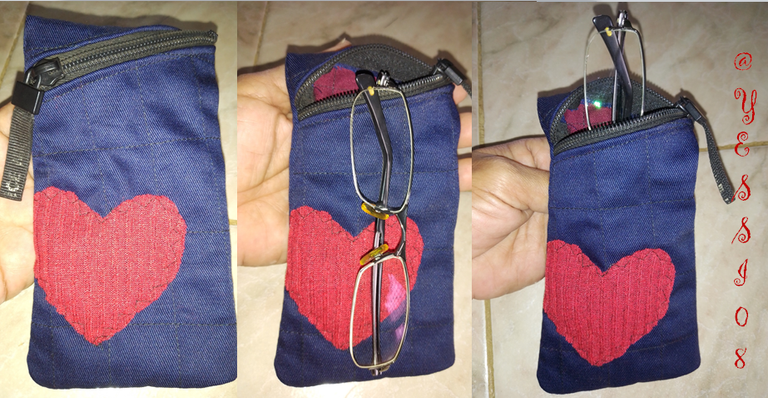
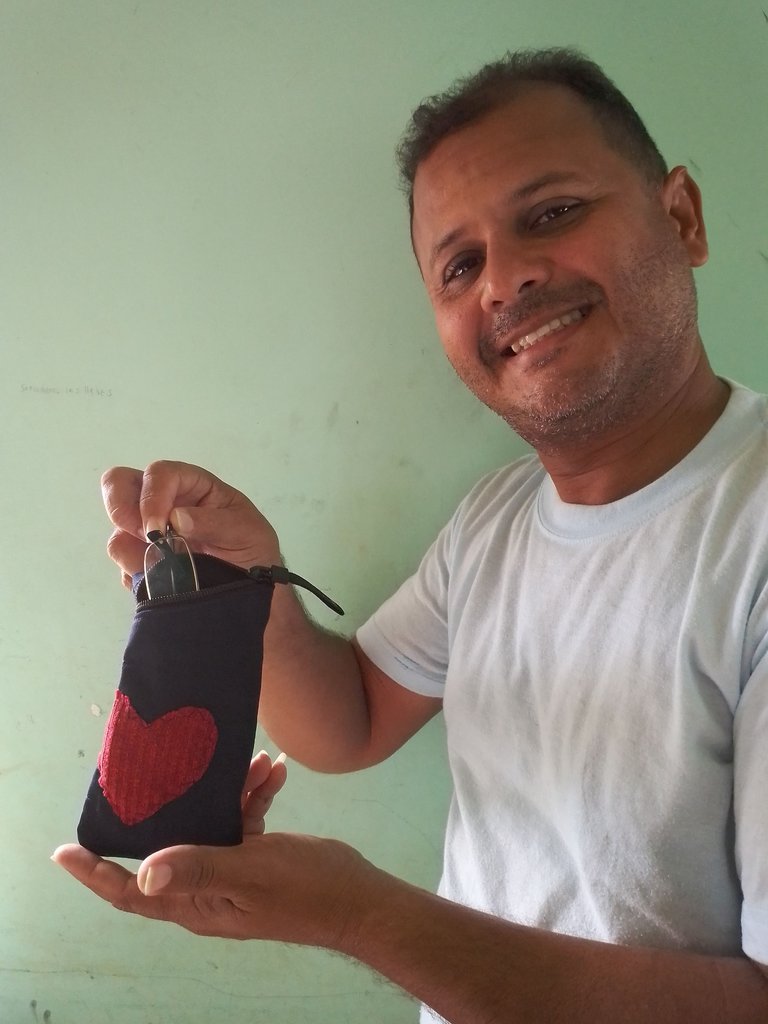
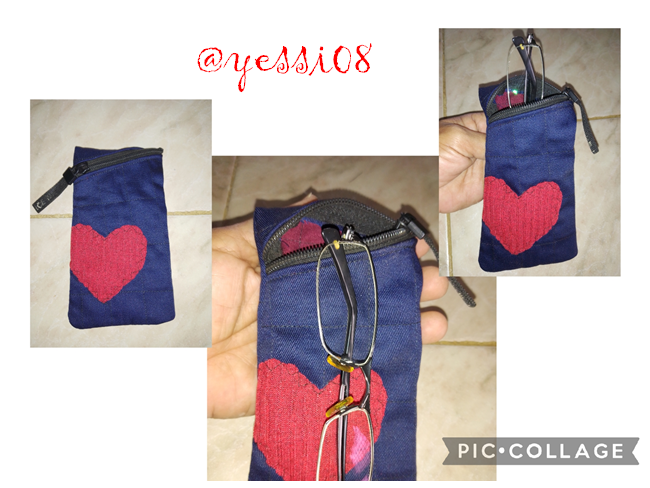
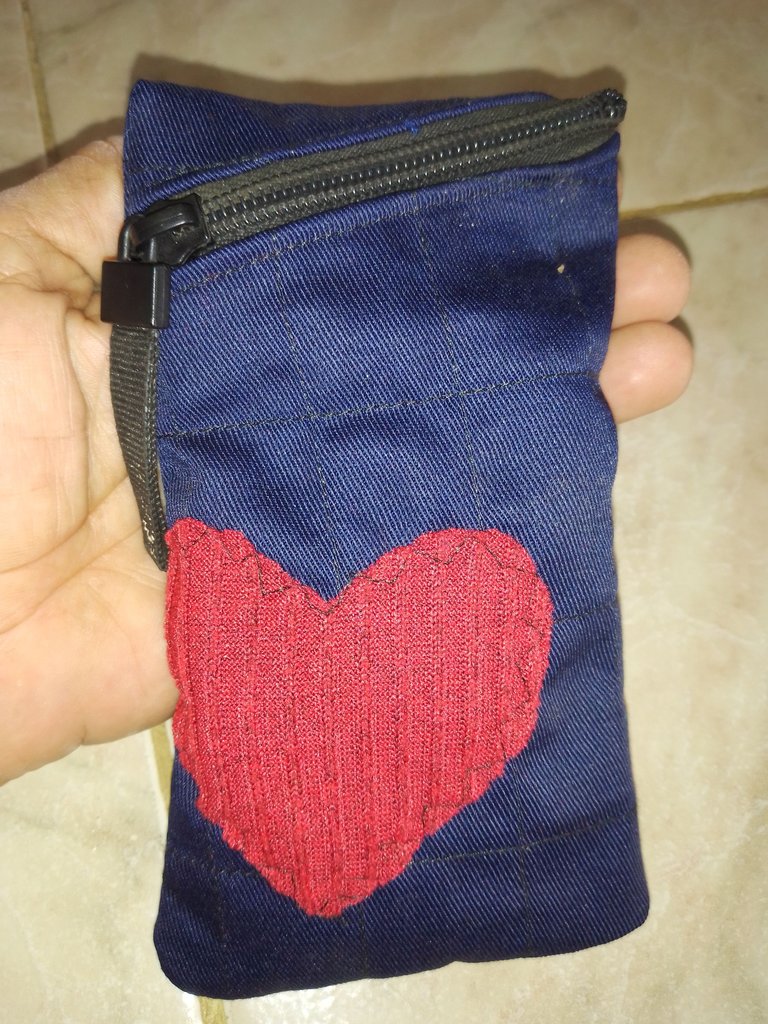
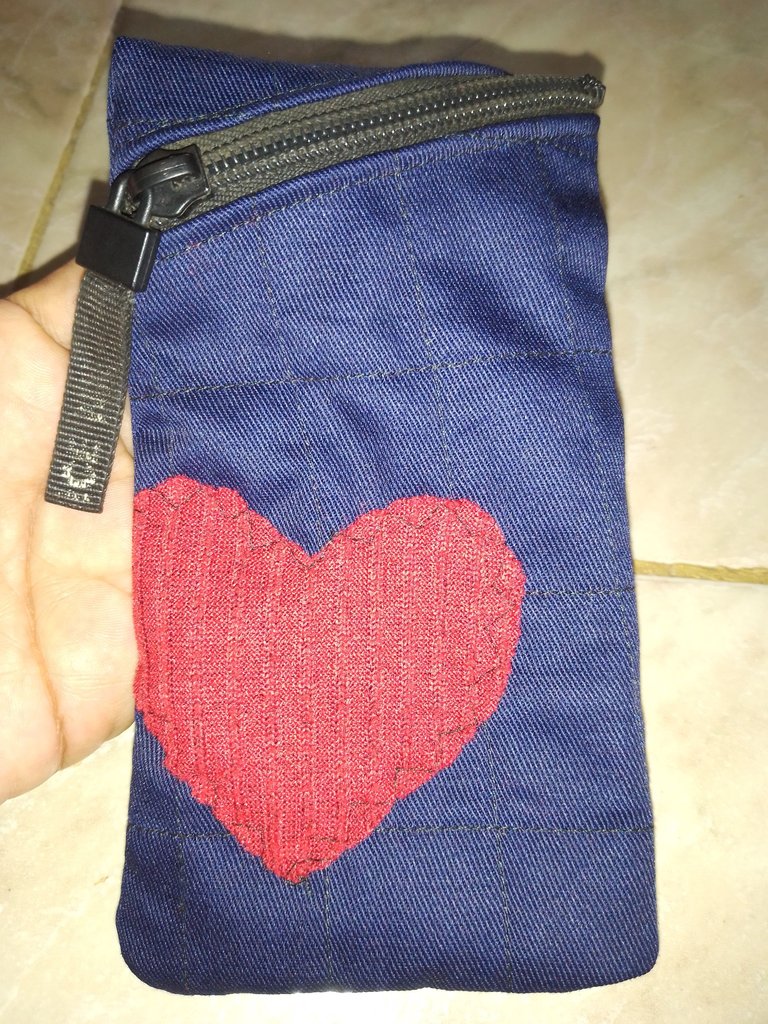
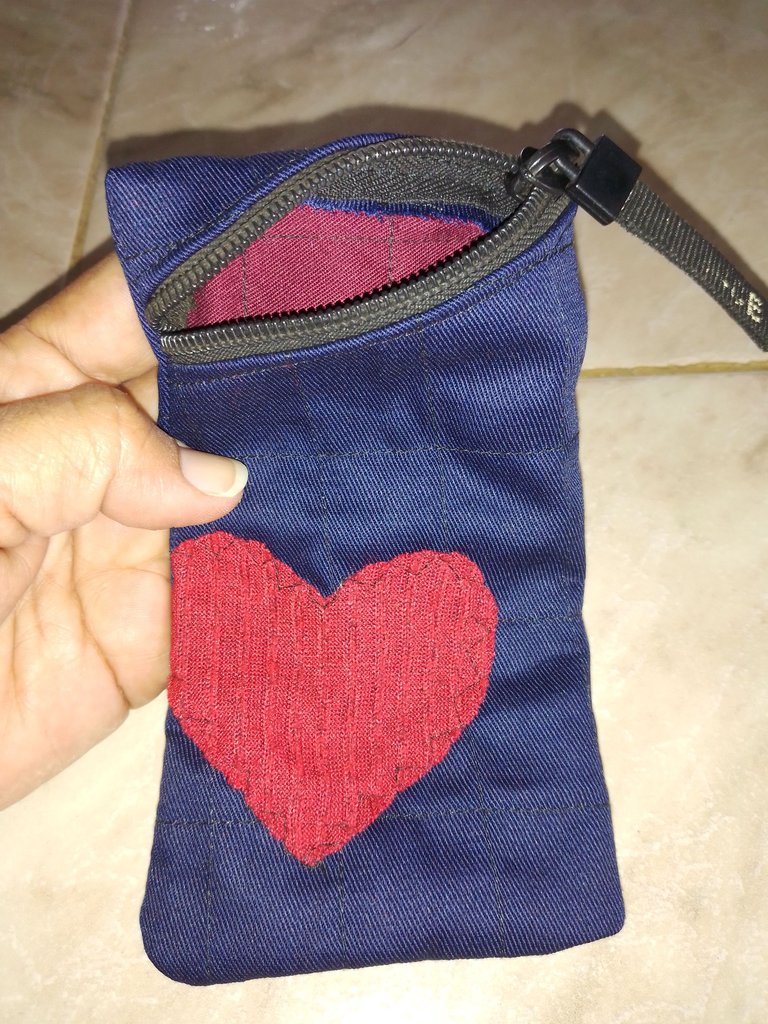
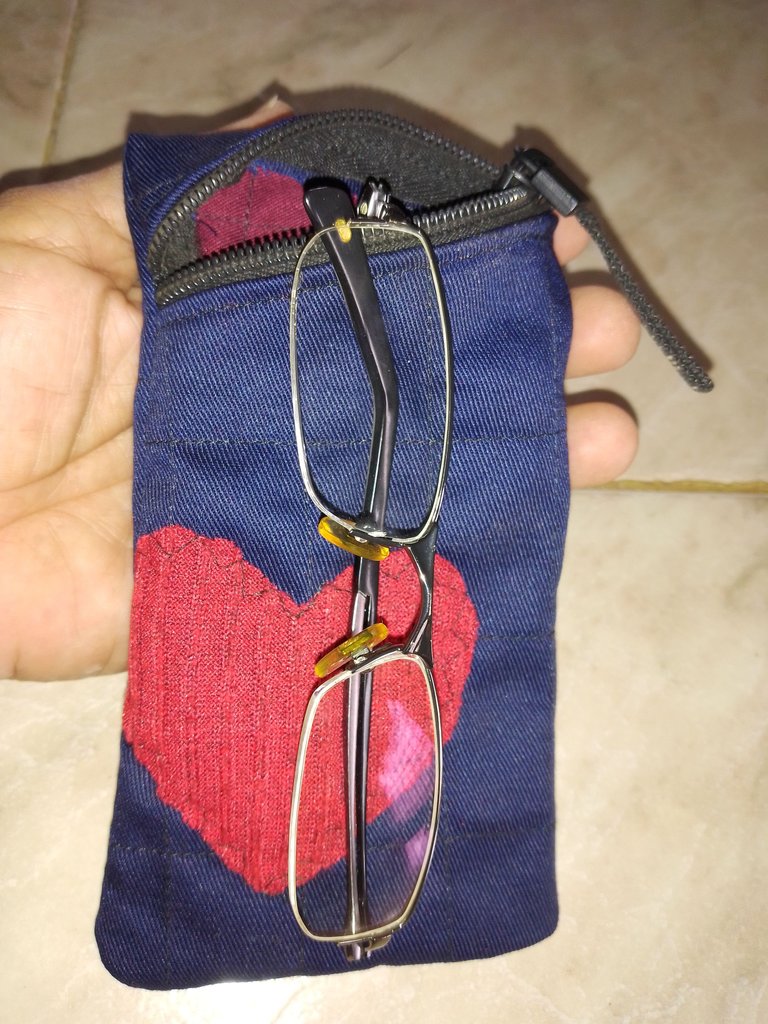
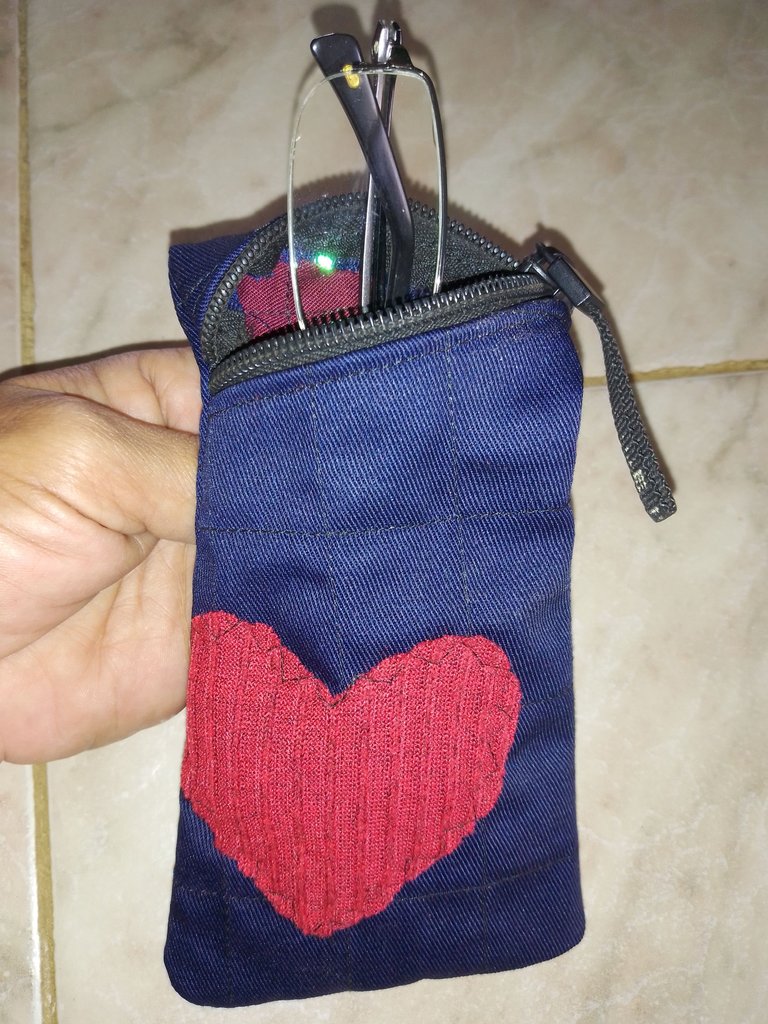
Así queda listo el hermoso estuche que hice para mi esposo, y que será mi entrada al concurso de san valentín.
This is how the beautiful case I made for my husband is ready, and it will be my entry in the Valentine's Day contest.
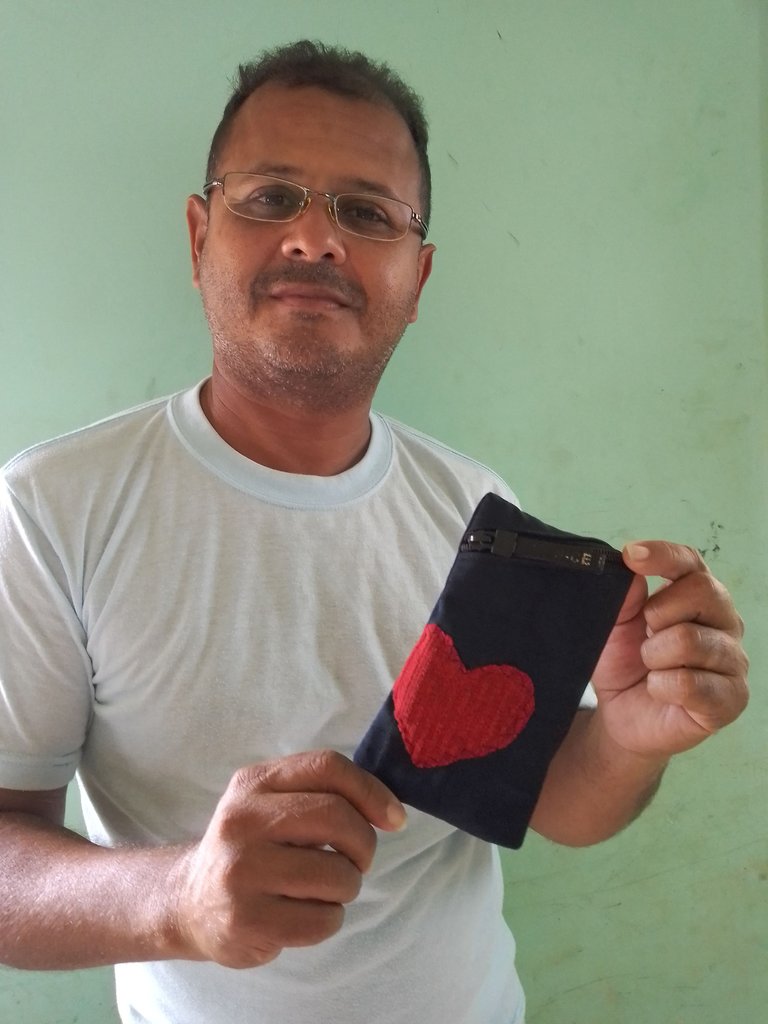

Espero haya sido de su agrado!
Gracias por pasar!
Dios te bendiga!
I hope you liked it!
Thanks for stopping by!
God bless you!

      Todas las imágenes son de mi autoría, capturadas con mi teléfono ZTE.

   All images are my own, captured with my ZTE phone.
nice gift
Gracias amiga!
Oh wow, this is pretty
I love the smile on his face when he got it
It says a lot about how he loves the case
I’ve never seen a zip made slanted like that
This is creative
Cheers friend!
She really liked her gift!
Glad you liked the design!
Que bonito detalle, espero lo disfrute tu esposo, que pasen un feliz día de San Valentín ❤️
Gracias amiga!
Saludos!
Que buena forma de colocar el cierre, para mi siempre es un dolor de cabeza, aunque creo que tengo que estudiar como colocar de nuevo el ganchito.... Gracias por compartir, Feliz dia!! Y salud por muchos años más para tu matrimonio
Te cuento que me costó un mundo, jejeje volver a colocar el ganchillo del cierre, pero lo logre! jajajj
Mi hermana me estaba hablando que vio una técnica con un tenedor, y que es muy sencilla, tenemos que averiguar!
Gracias por tus buenos deseos!
Bendiciones para tu vida!