Working with Japanese Indigo (Polygonum tinctorium)
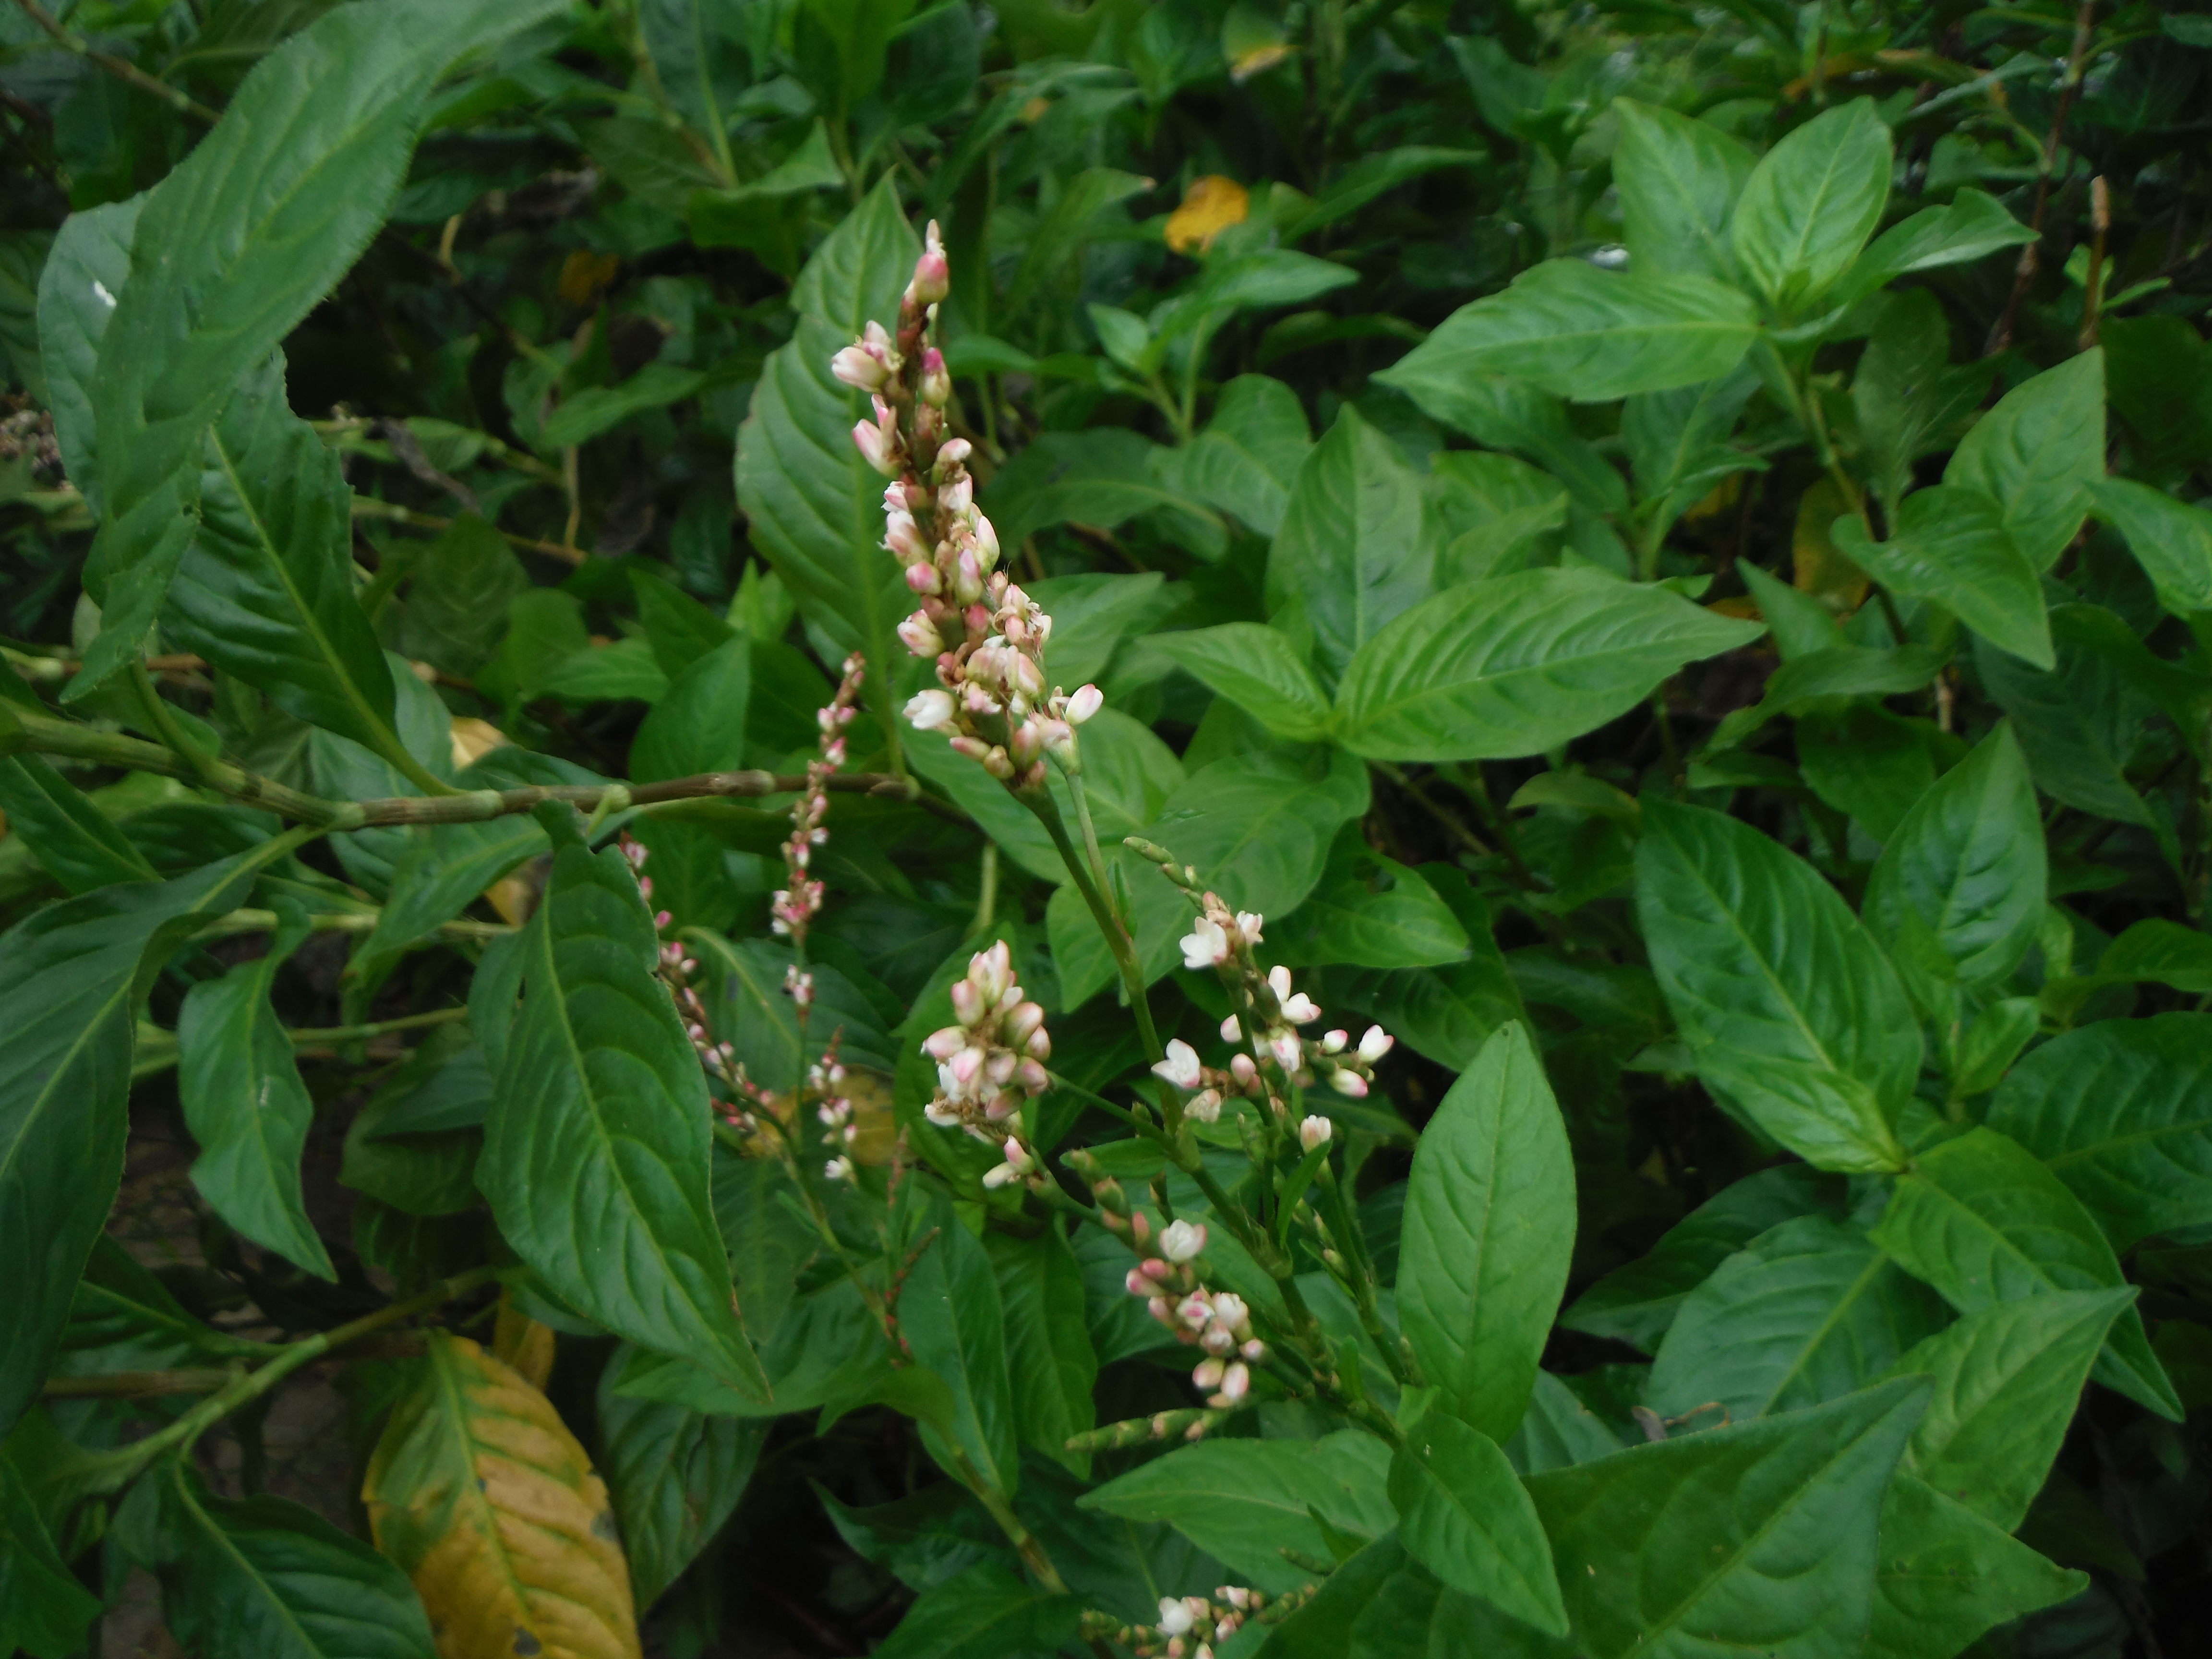
Here are my photos of the homegrown Japanese indigo plants in my garden.
It's a very floppy plant that has a stem that looks like segments growing up to a summer flowerhead, that also has many little flowers whorling around the stem almost like a snapdragon. The seeds are TINY so it makes sense that the individual flowers are tiny, as well.
Although I have collected seeds from previous years, these amazing plants have reseeded themselves (and that was after last winter's negative 20 degrees Fahrenheit for a week in February 2020, which was miserable). I was of the understanding that this plant did not grow back with their seeds in northeast Kansas. I was pleasantly surprised, although I am still collecting seeds and allowing some of the seedheads to remain to hopefully grown this summer.
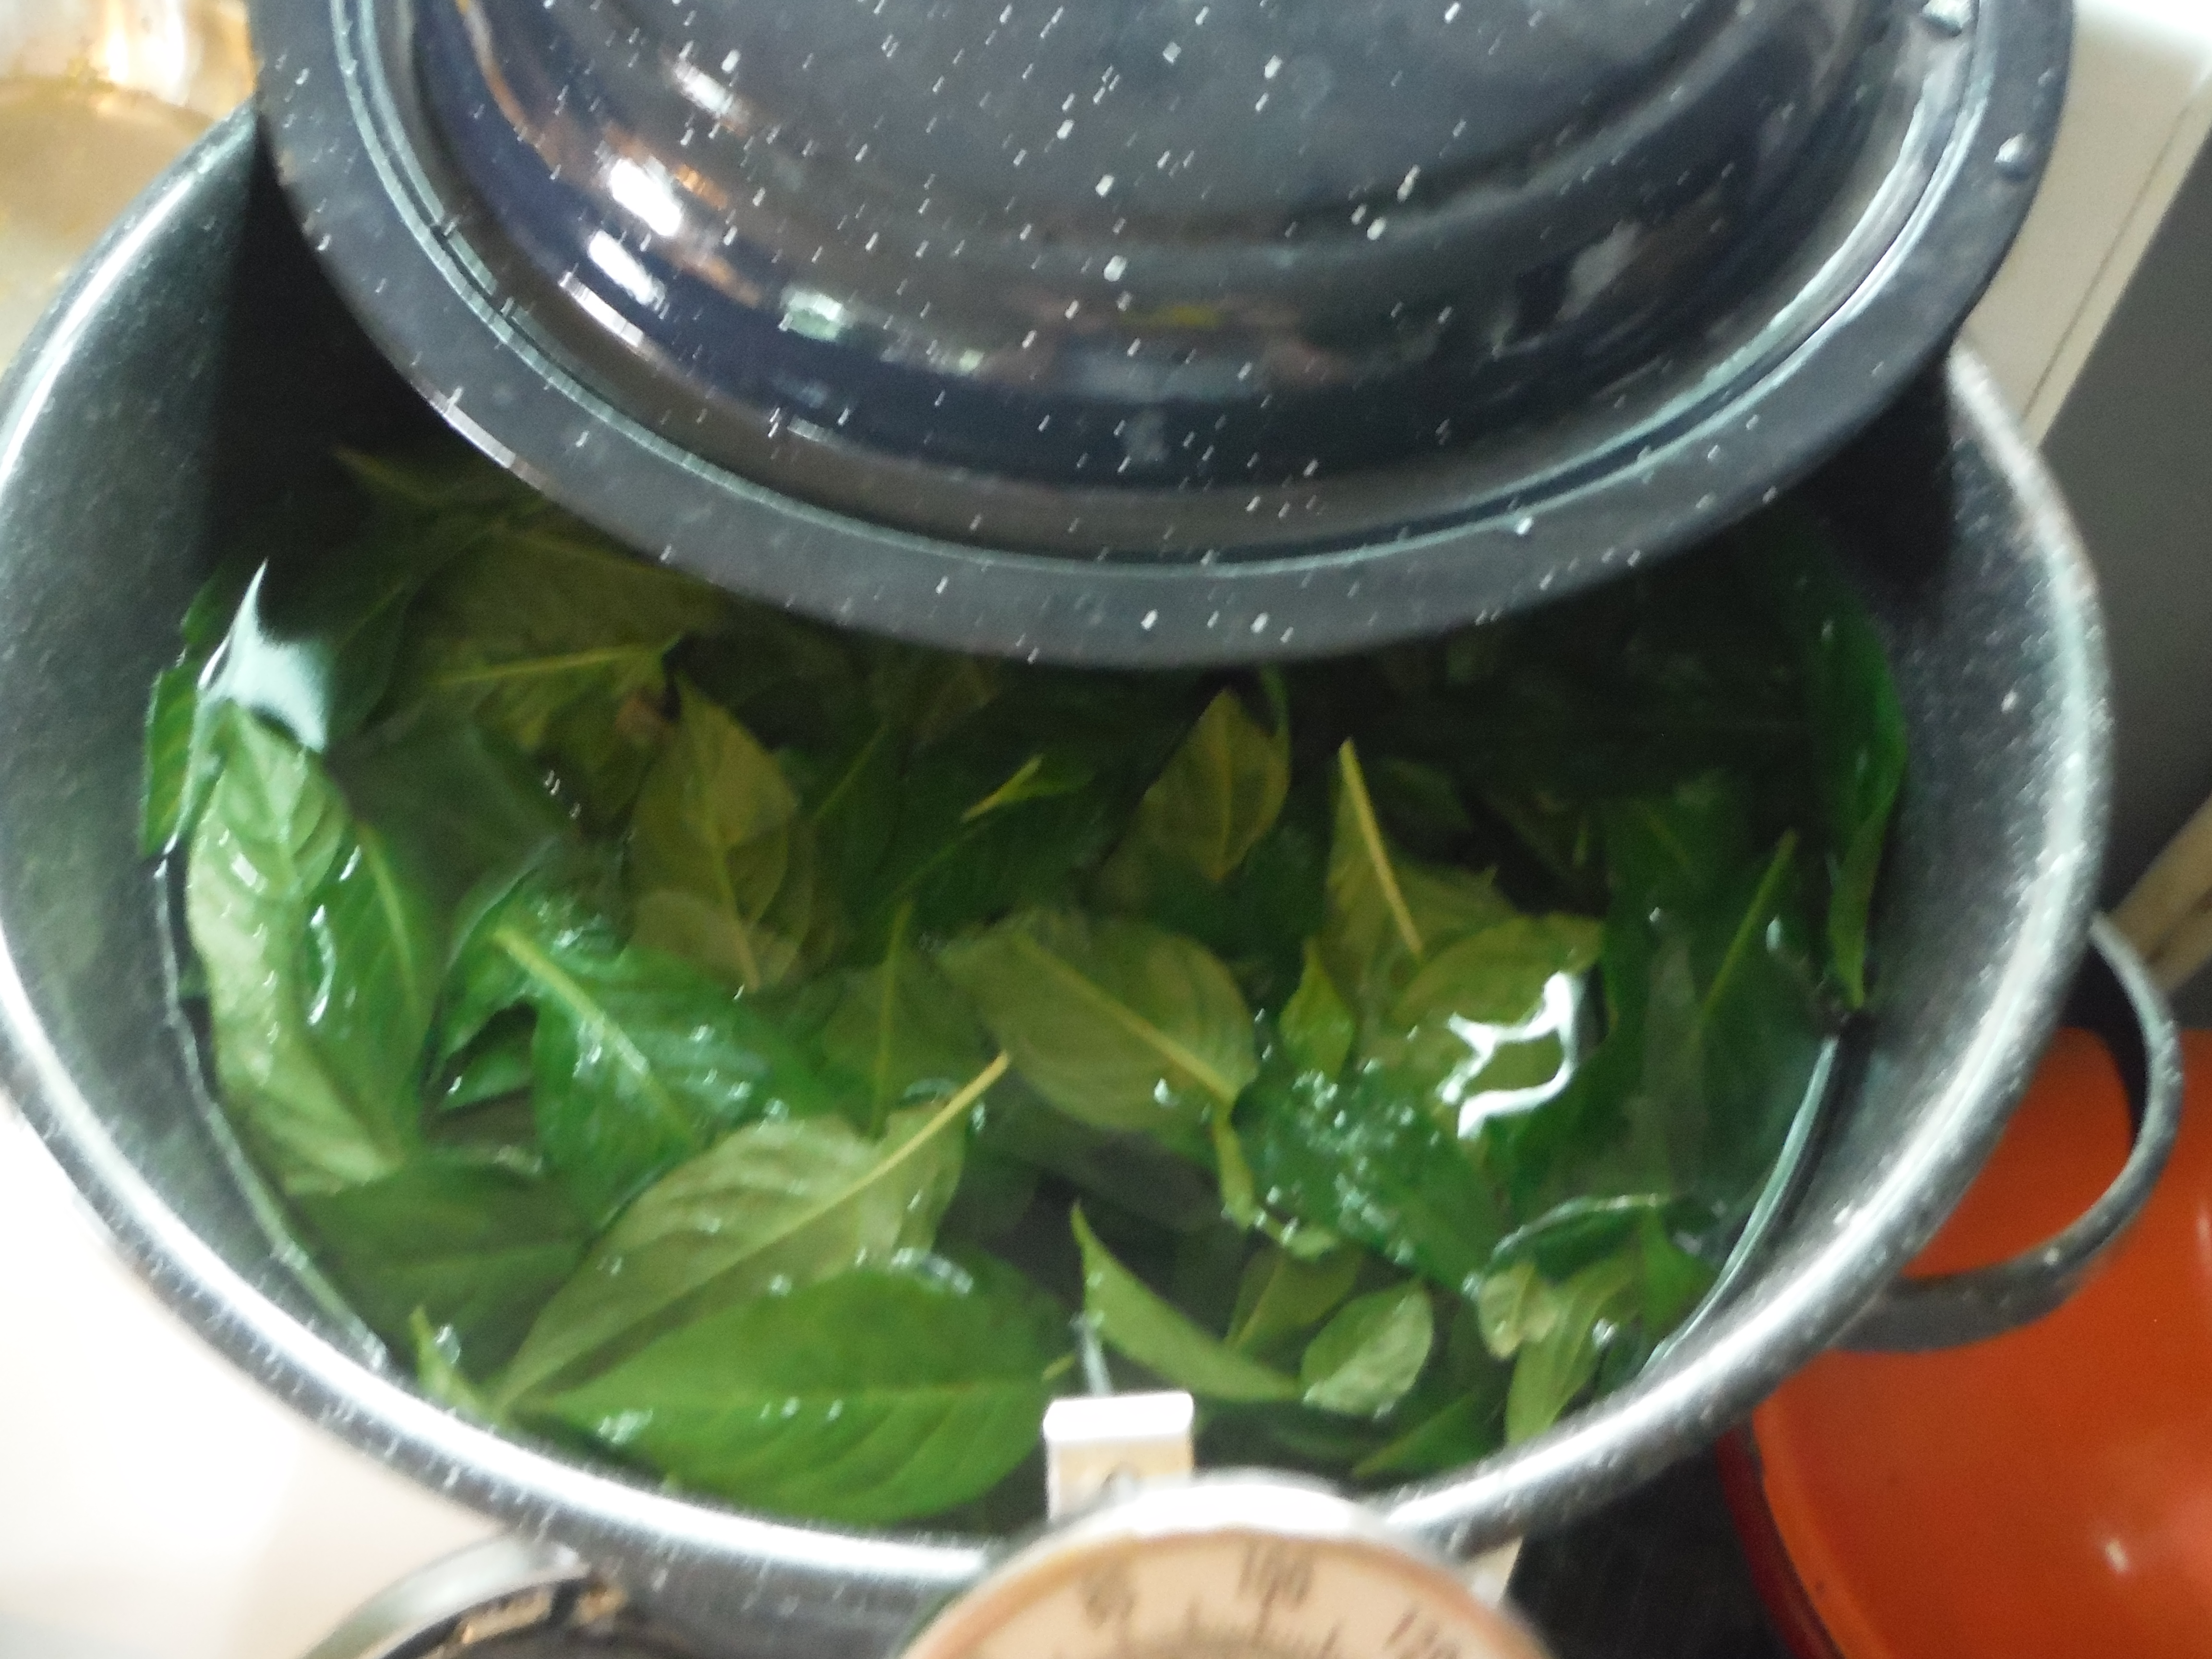
Starting with tap water and MANY de-stalked Japanese indigo leaves, I slowly brought the water up to 160 degrees Fahrenheit.
The pot I used was one that will be exclusively used for dyeing, which is an essential practice to follow.
Then I strained the leaves from the dye pot and added ammonia (this needs to be done outside) at the rate of 1 fluid ounce per gallon of dye liquid to make the vat alkaline.
The goal is to maintain a pH of 9 - 11 throughout the process. I had pH test paper that I used, although I couldn't tell because it didn't seem to change color much. :-)
Then I poured the liquid back and forth between two containers for 5 minutes to add as much air as possible to the dye pot.
The liquid will turn blue and a bit foamy. Allow the dye pot to cool some after the 5 minutes of mixing between pots. The goal here is to maintain a temperature of 110 - 130 degrees Fahrenheit. (I had a camp stove under the pot outside to maintain the temperature. I didn't want to bring the dye pot inside and make a mess.)
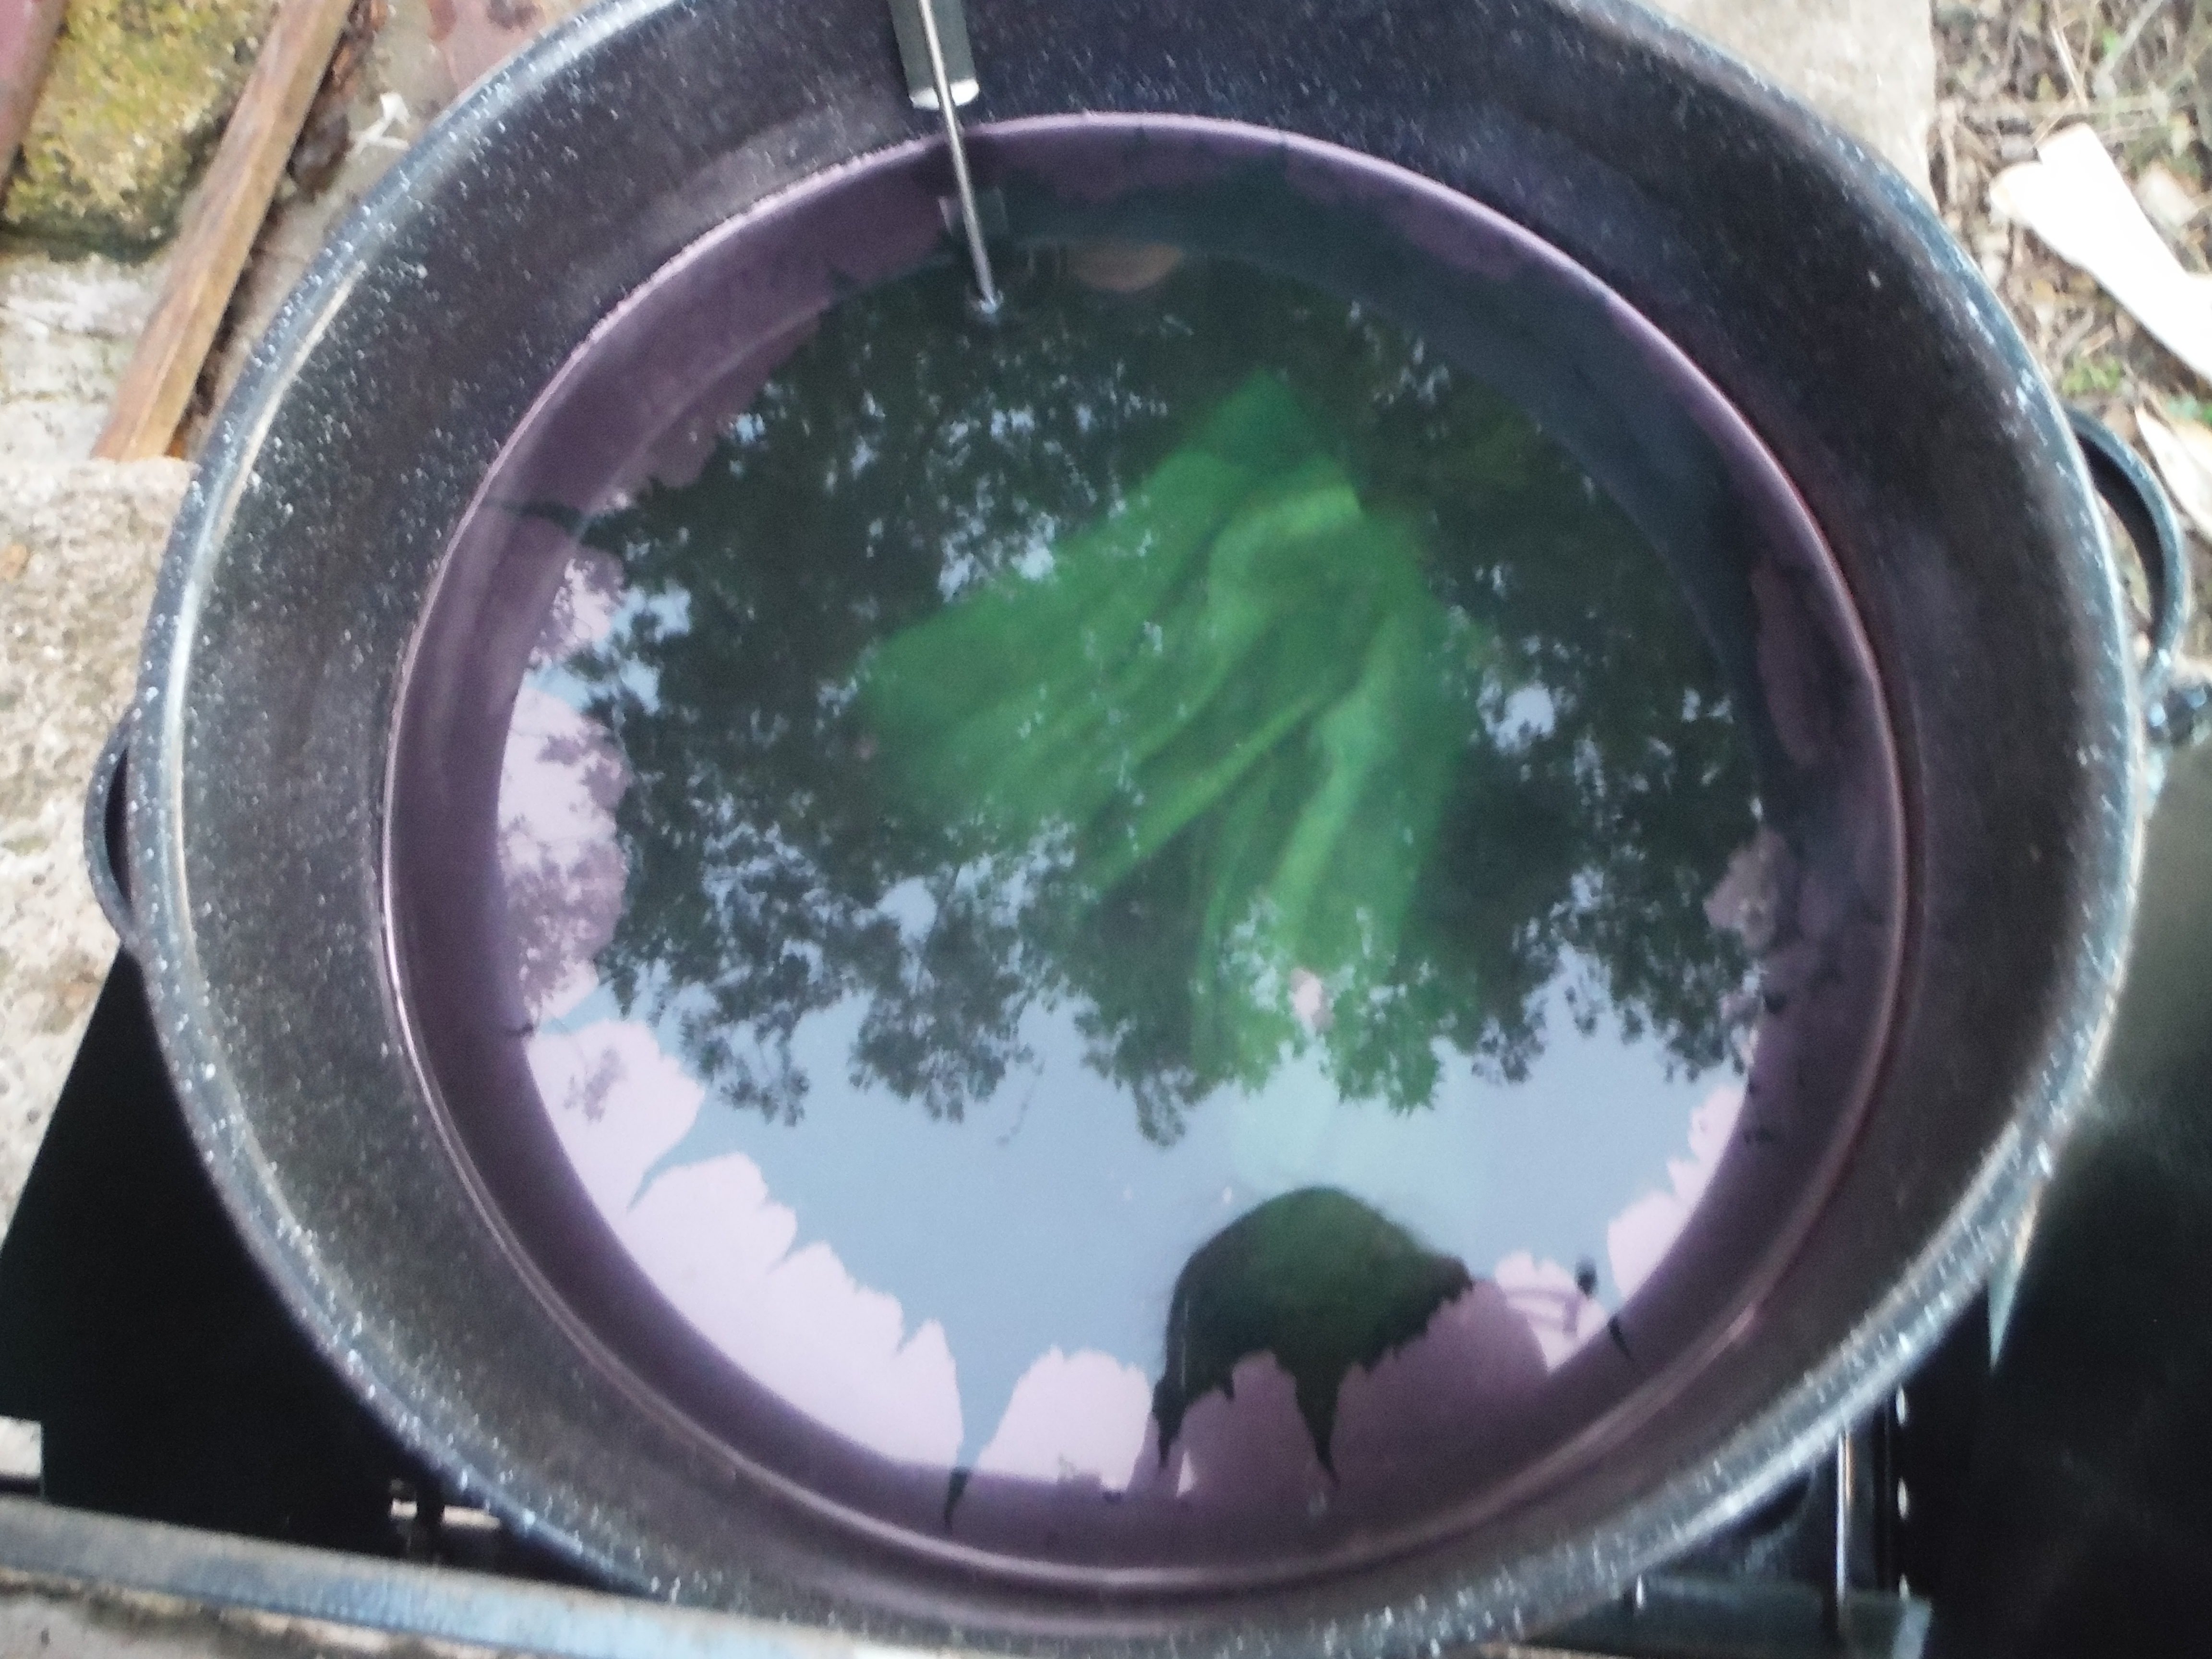
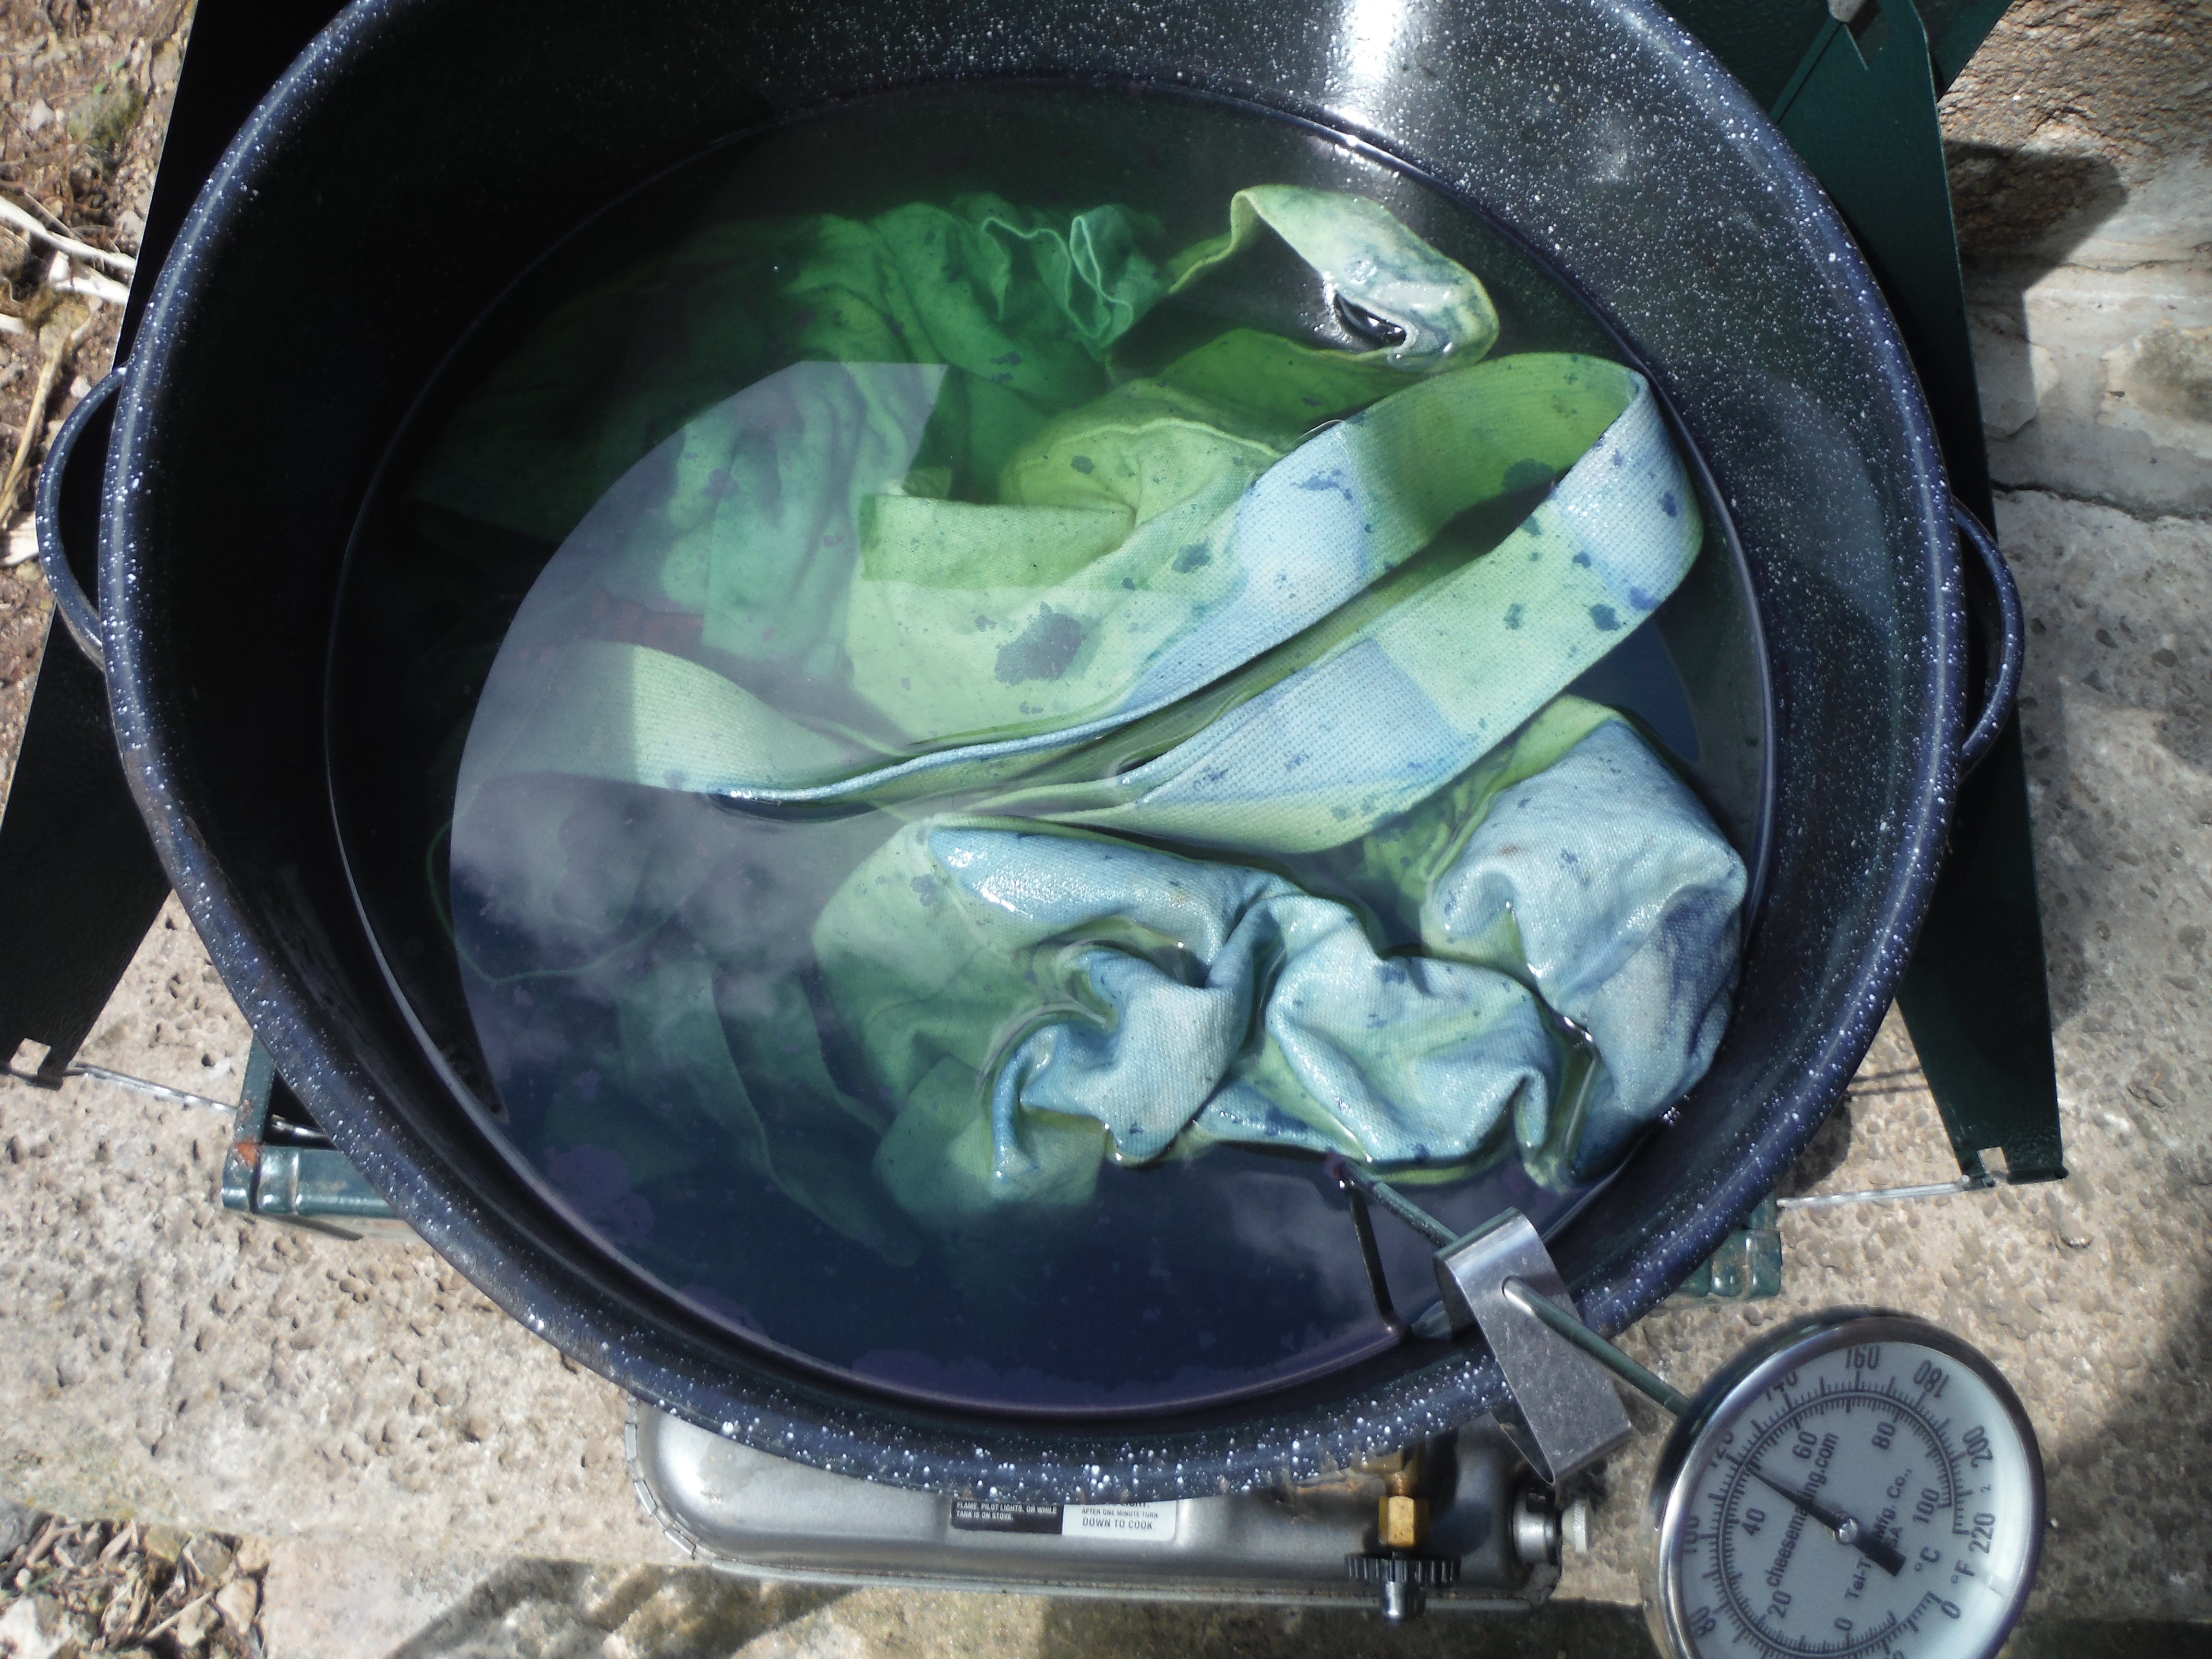
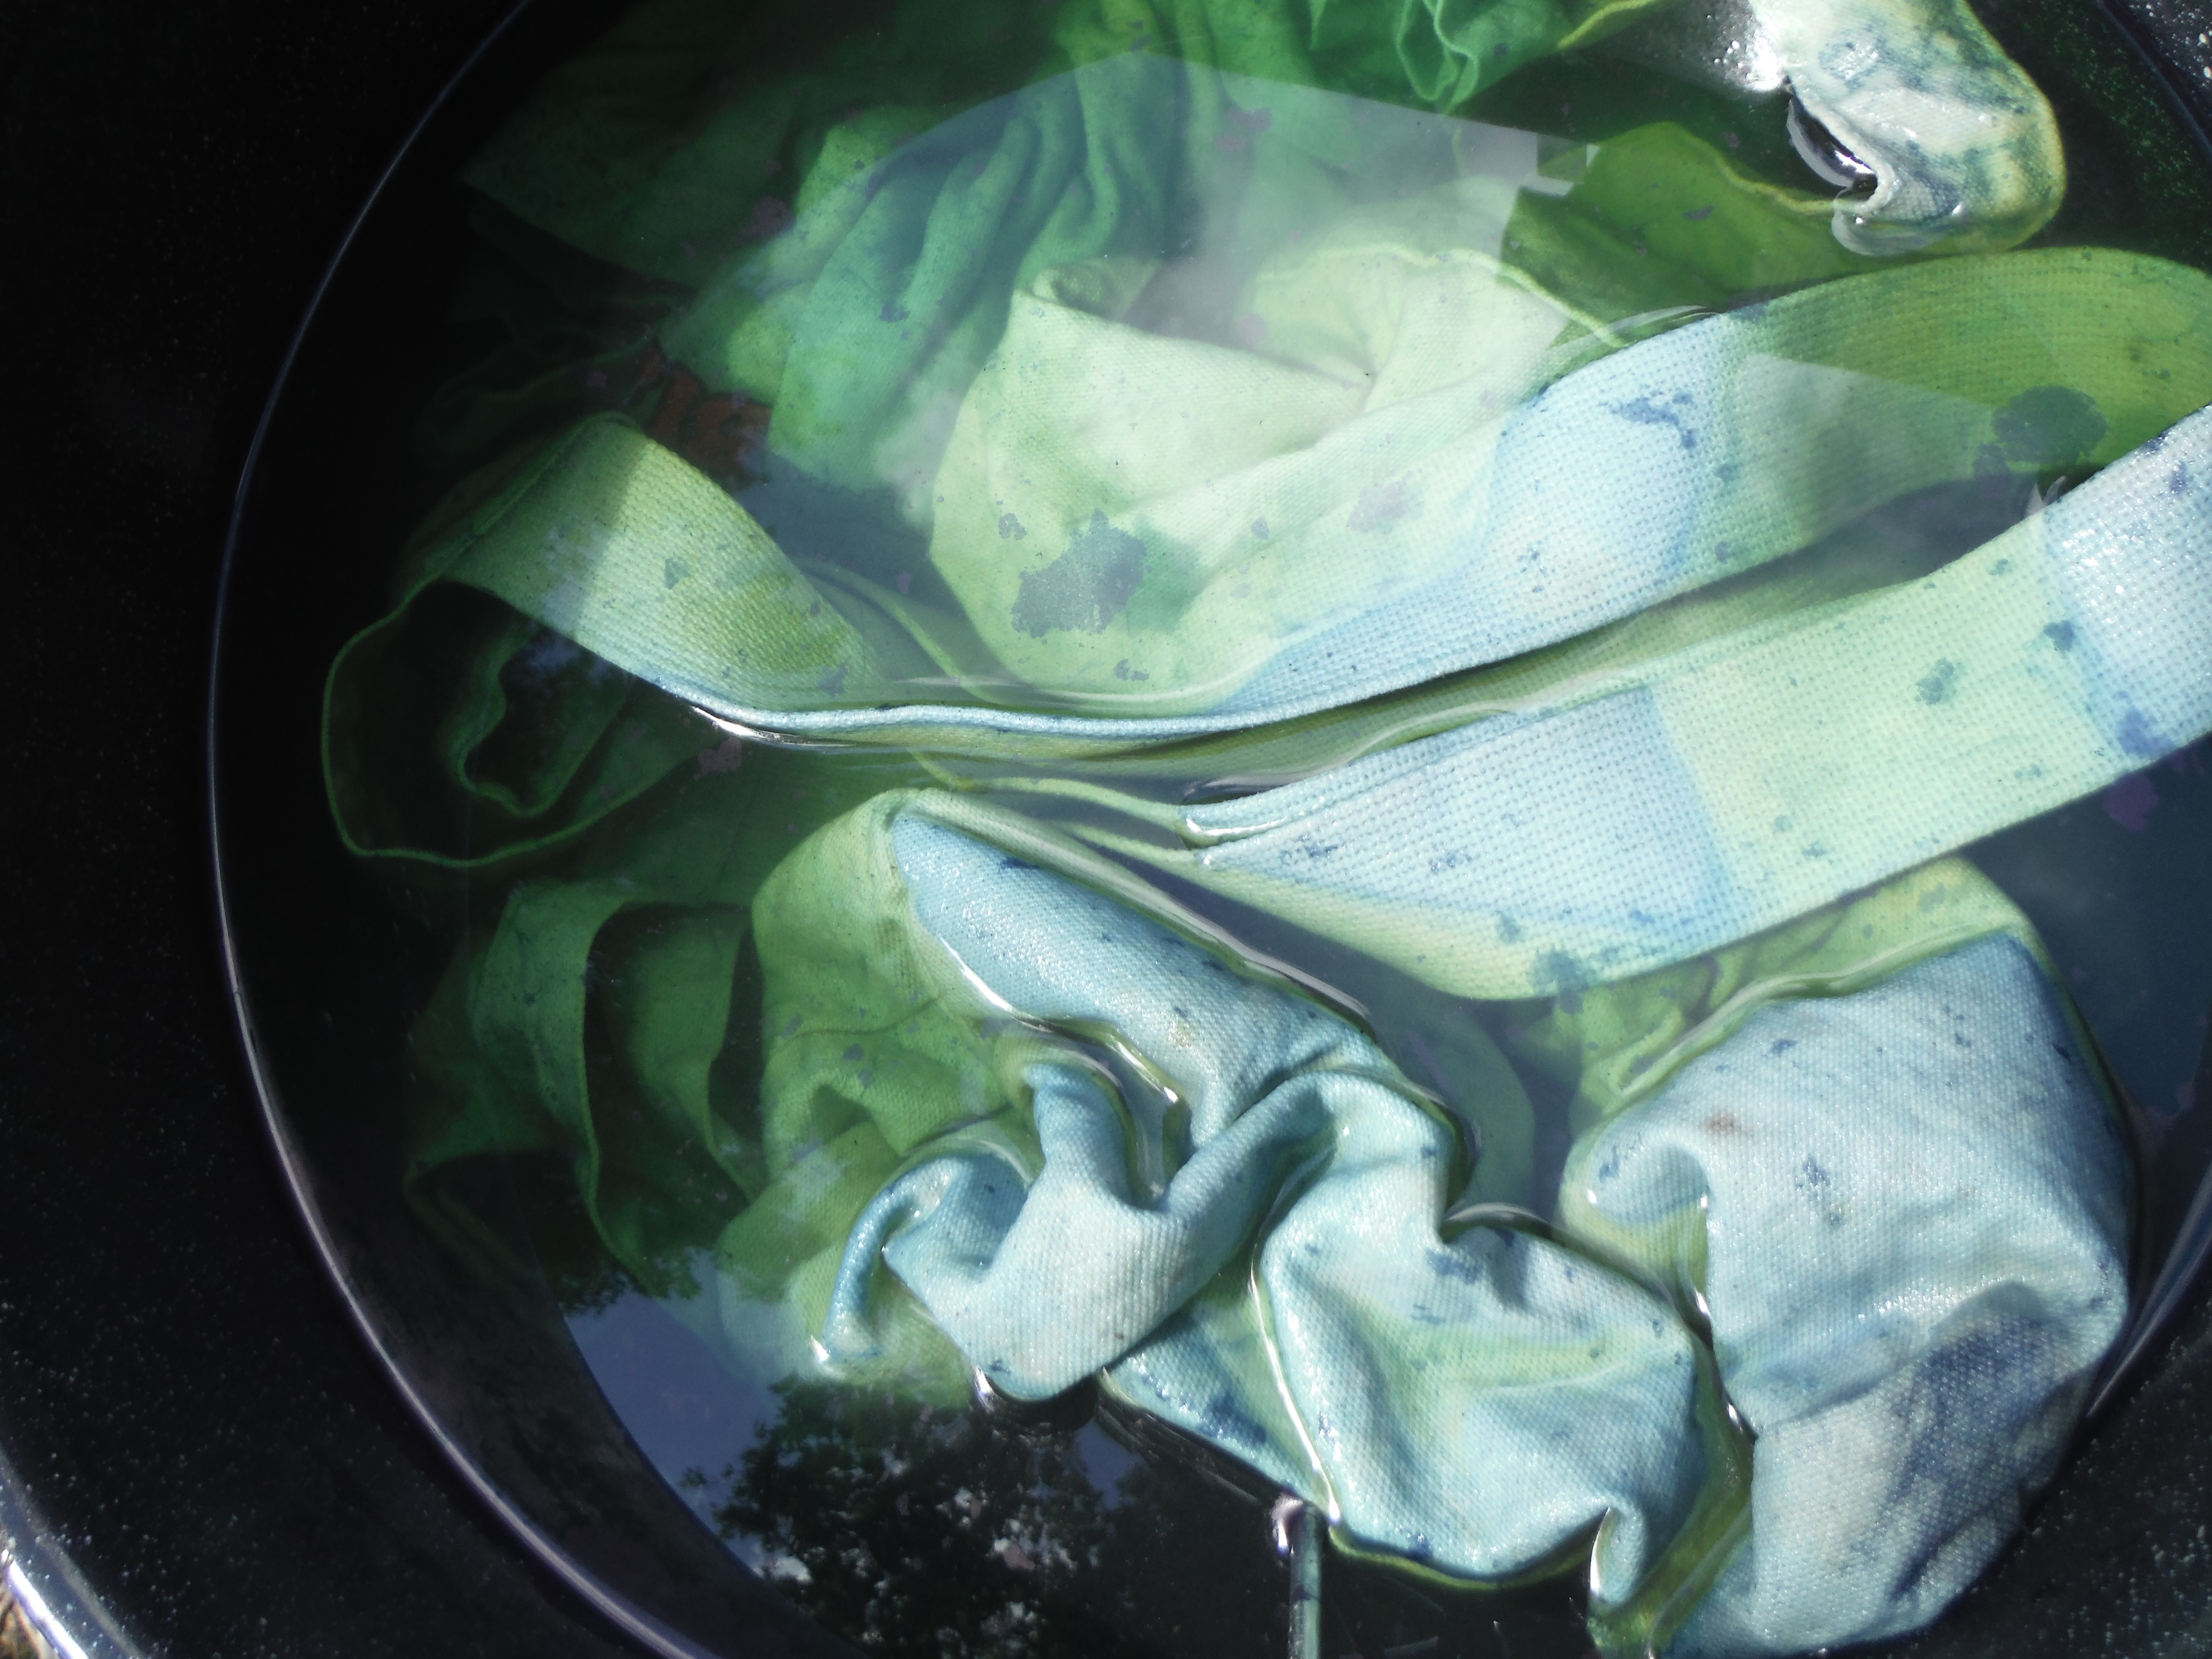
Next the air must be removed (AKA "reduced") by adding sodium hydrosulfite (which you can by as Rit Color Remover from the grocery or craft store) at a rate of 1/2 teaspoon of dye liquid. It might take another hours to reduce, you will see the vat change color like the picture above. There will be a purple-ish film on top but then you will see a more green color below the surface. This is a great sign you are on the right track!
Pre-wet any fabric or yarn you will be adding to the pot so the fabric will receive all the dye available. Lower the fabric SLOWLY as to NOT add any extra air bubbles to the pot. Air bubbles will give you less blue dye in the end and you will have to add more Rit Color Remover and wait.
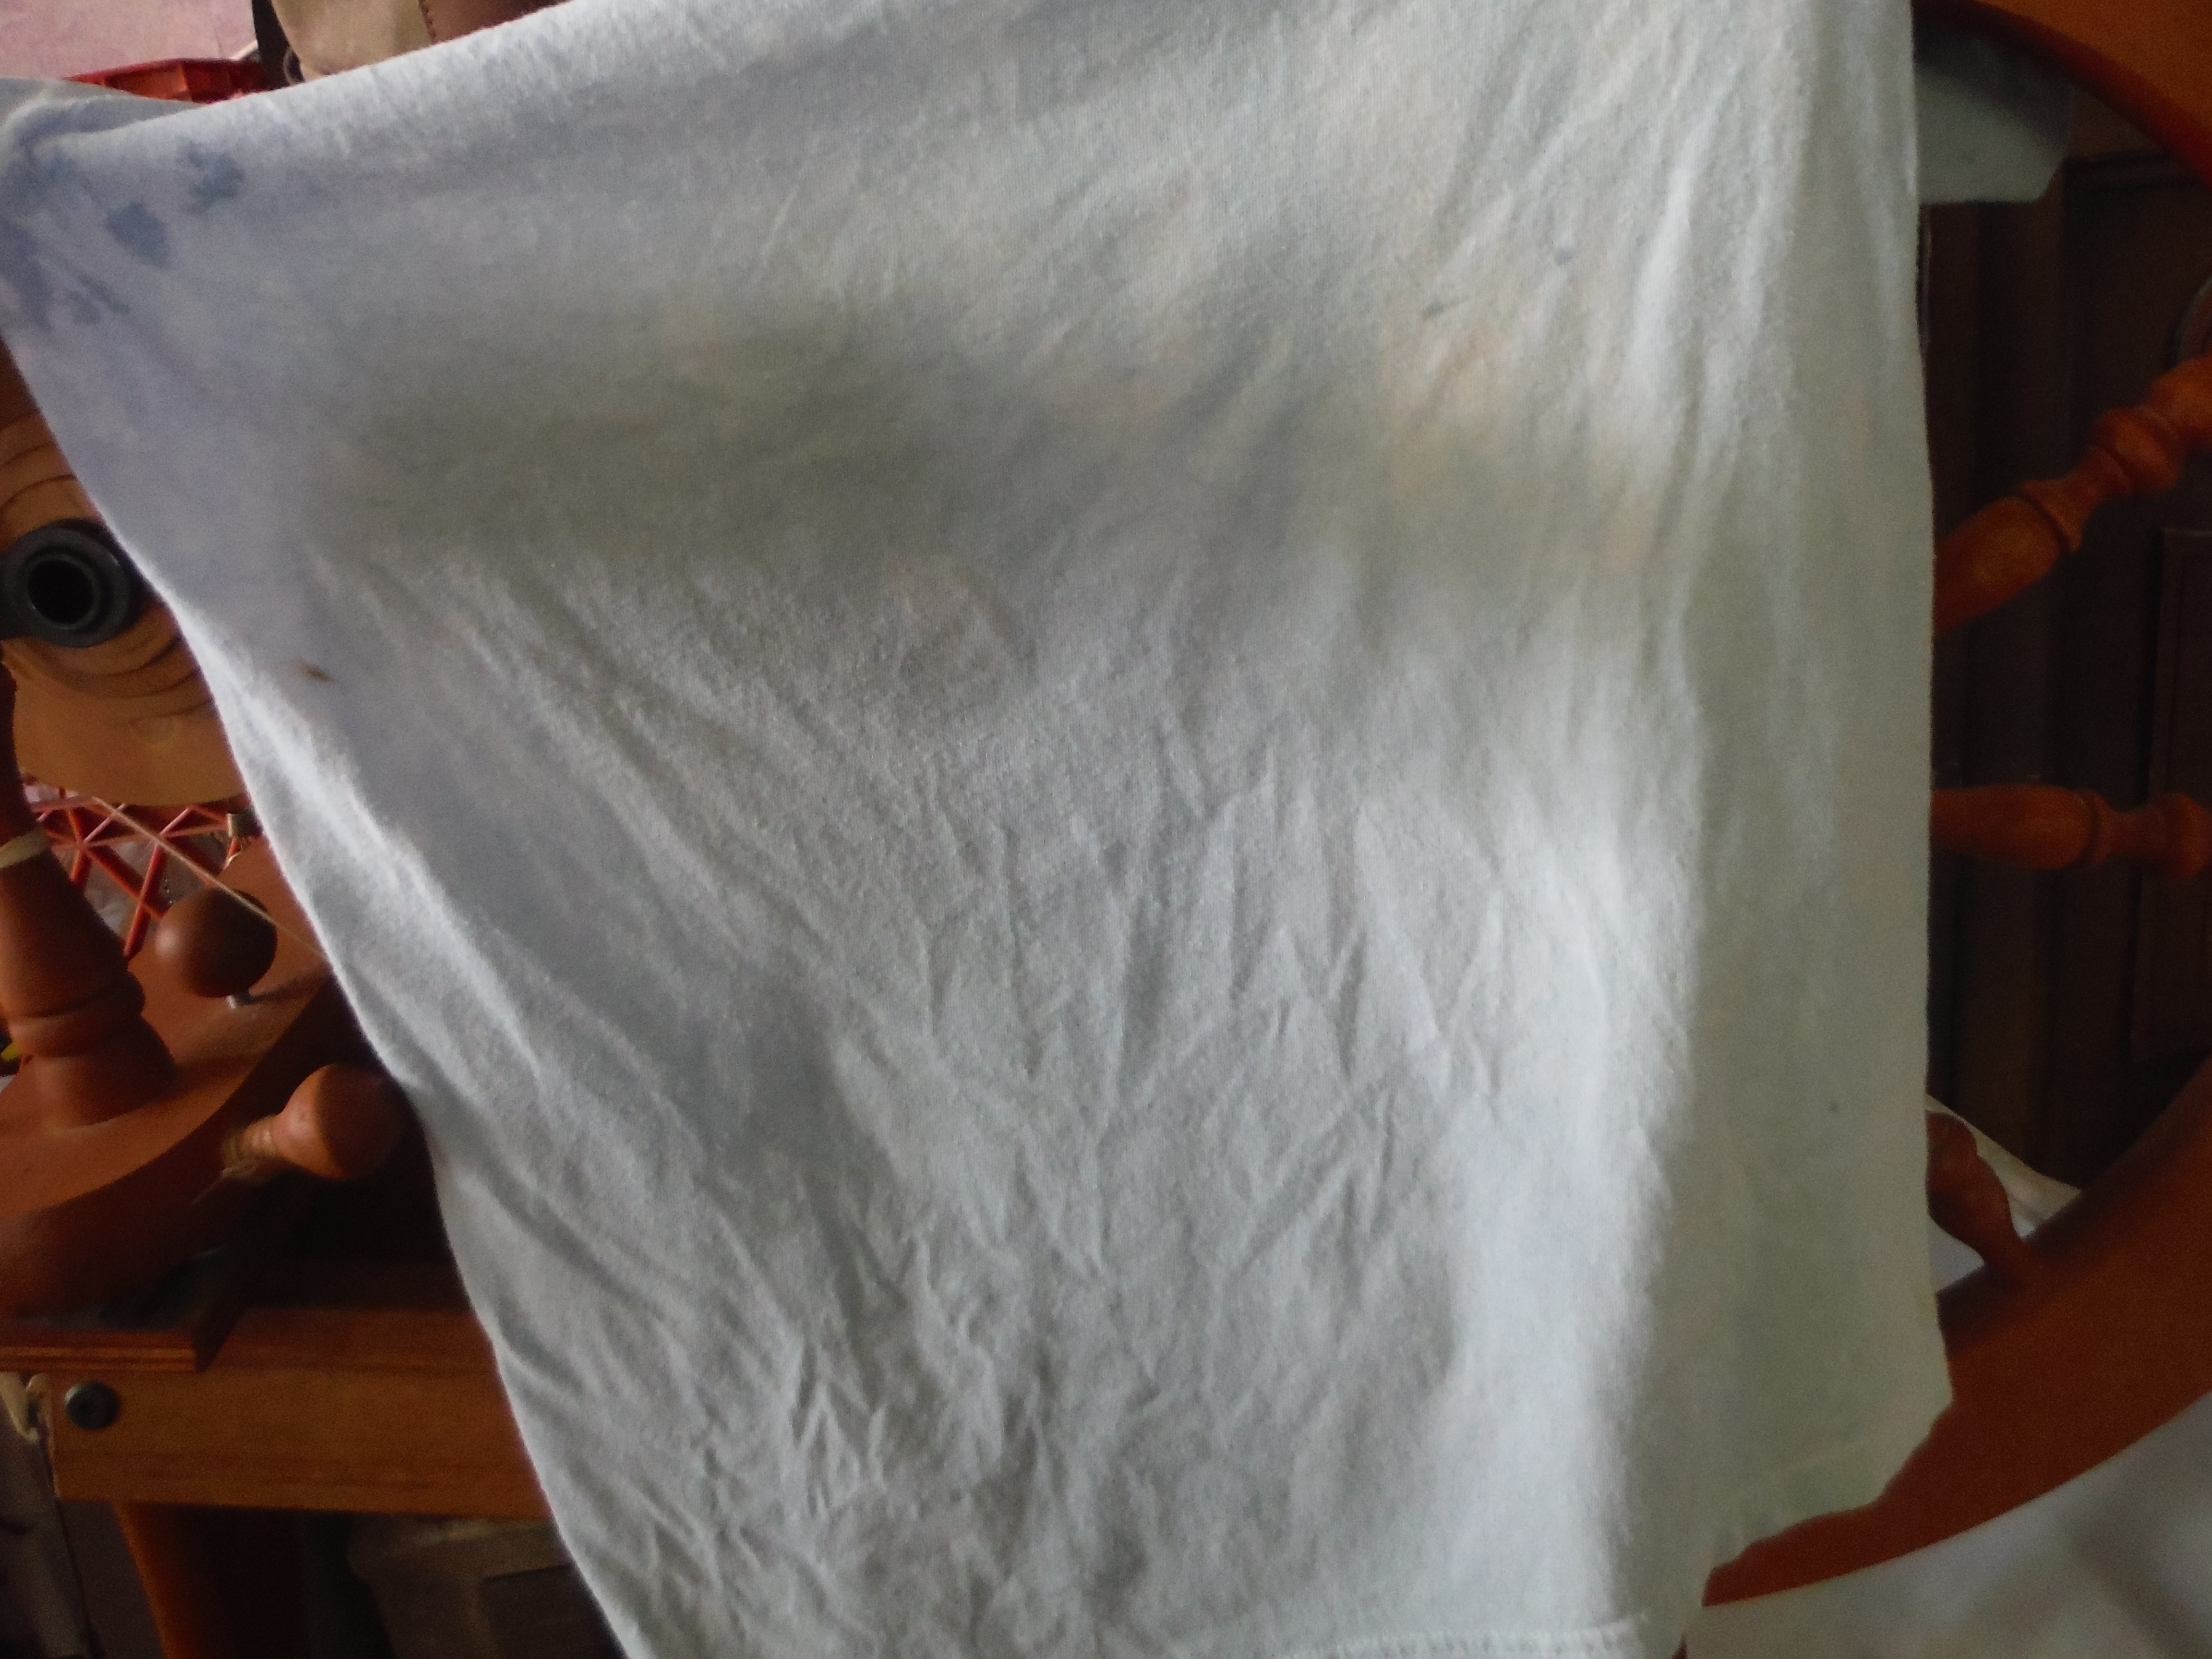
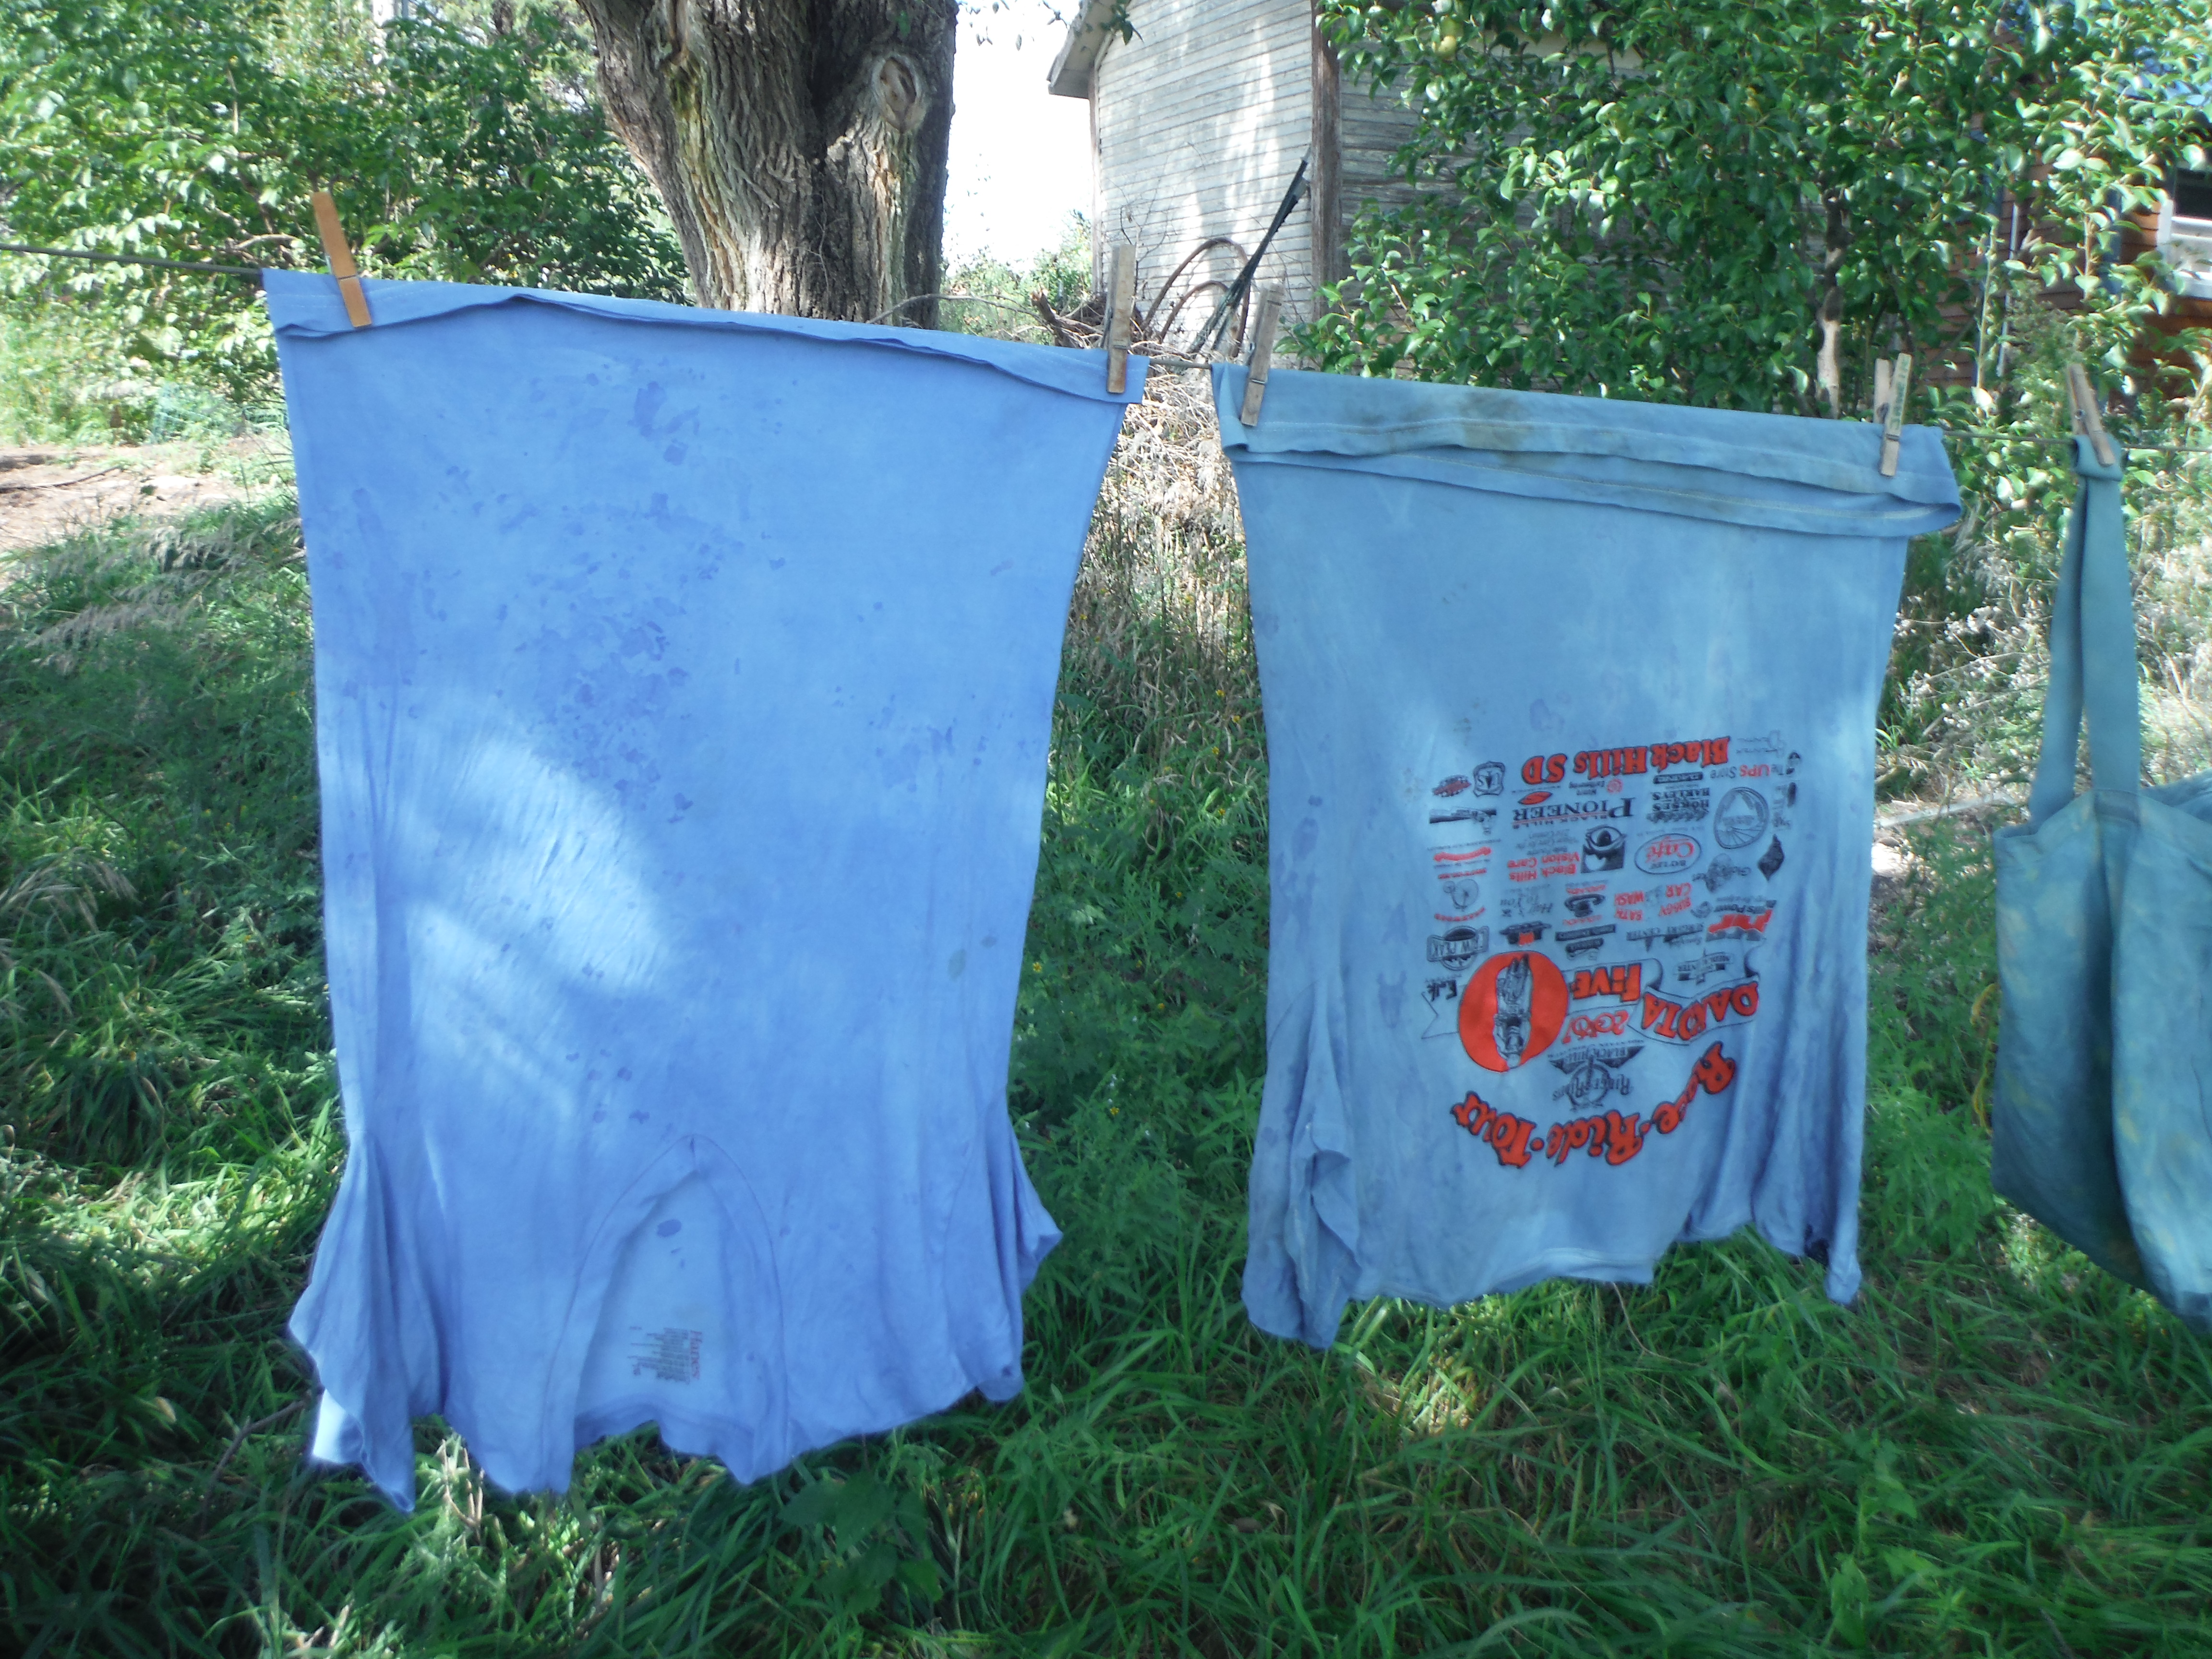
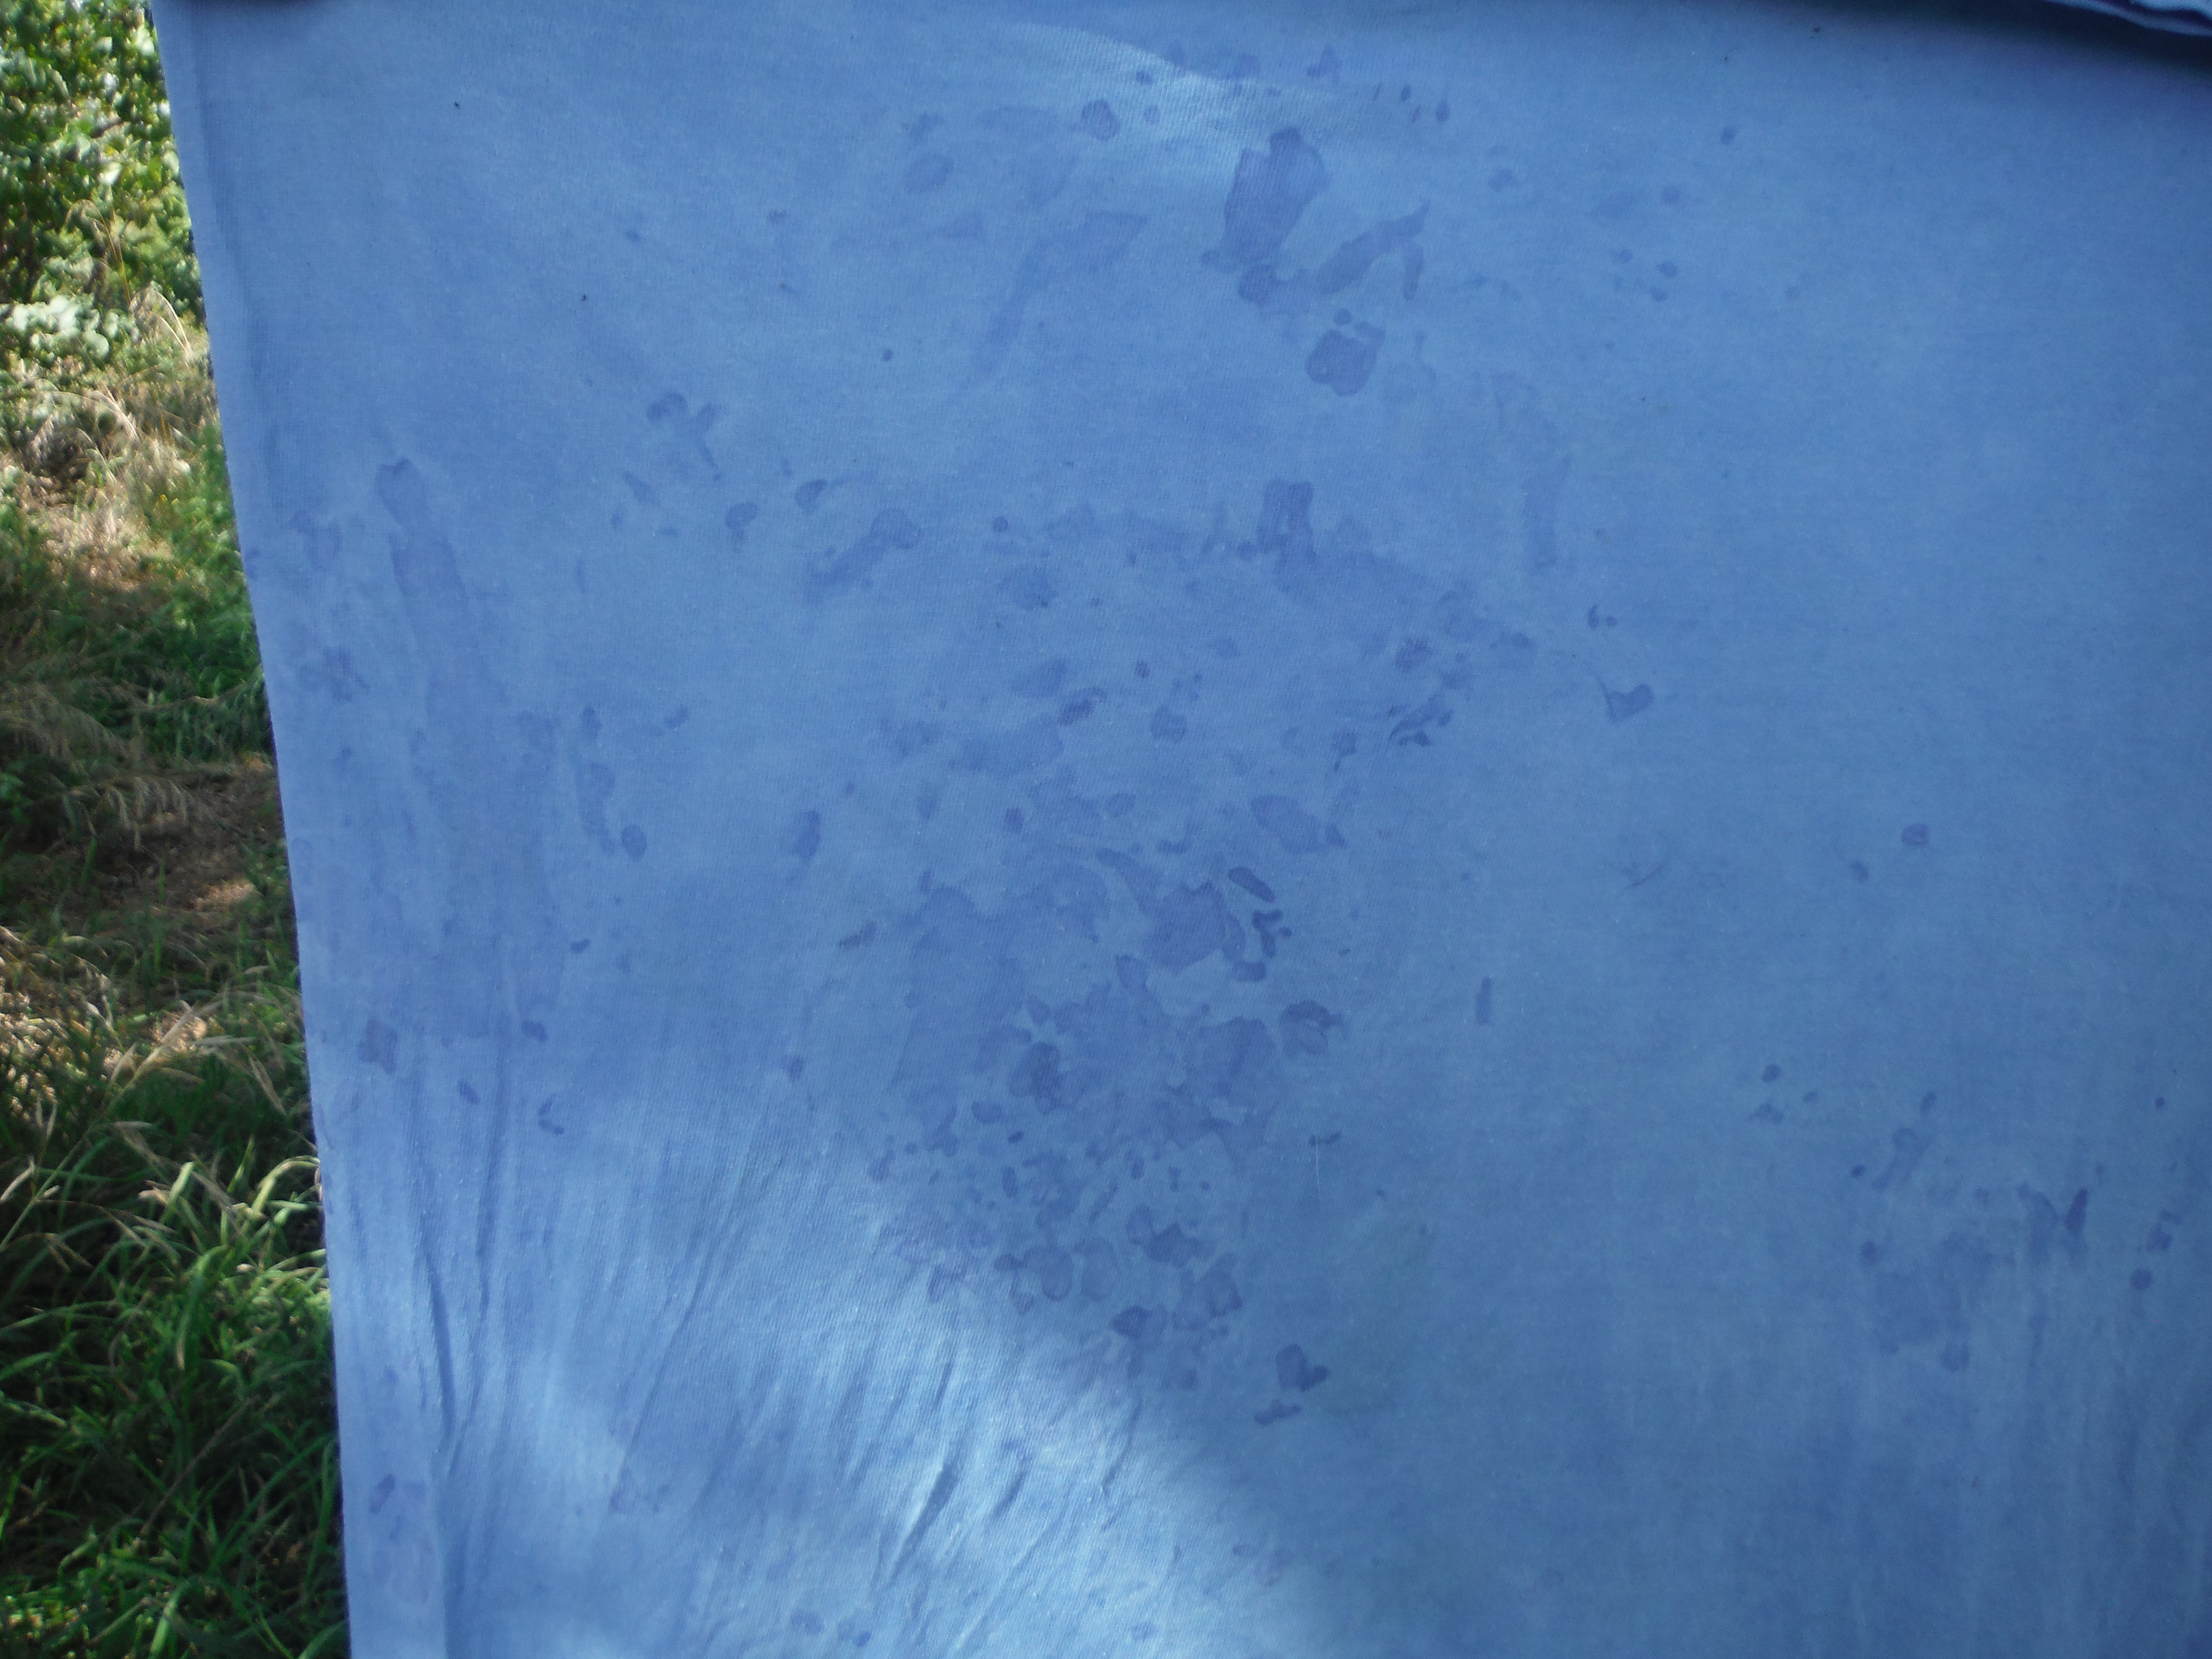
In the photo above, I am just showing an old linen top that lost most of its color over the years. I wanted to see if I could make it look better than it did in the photo.
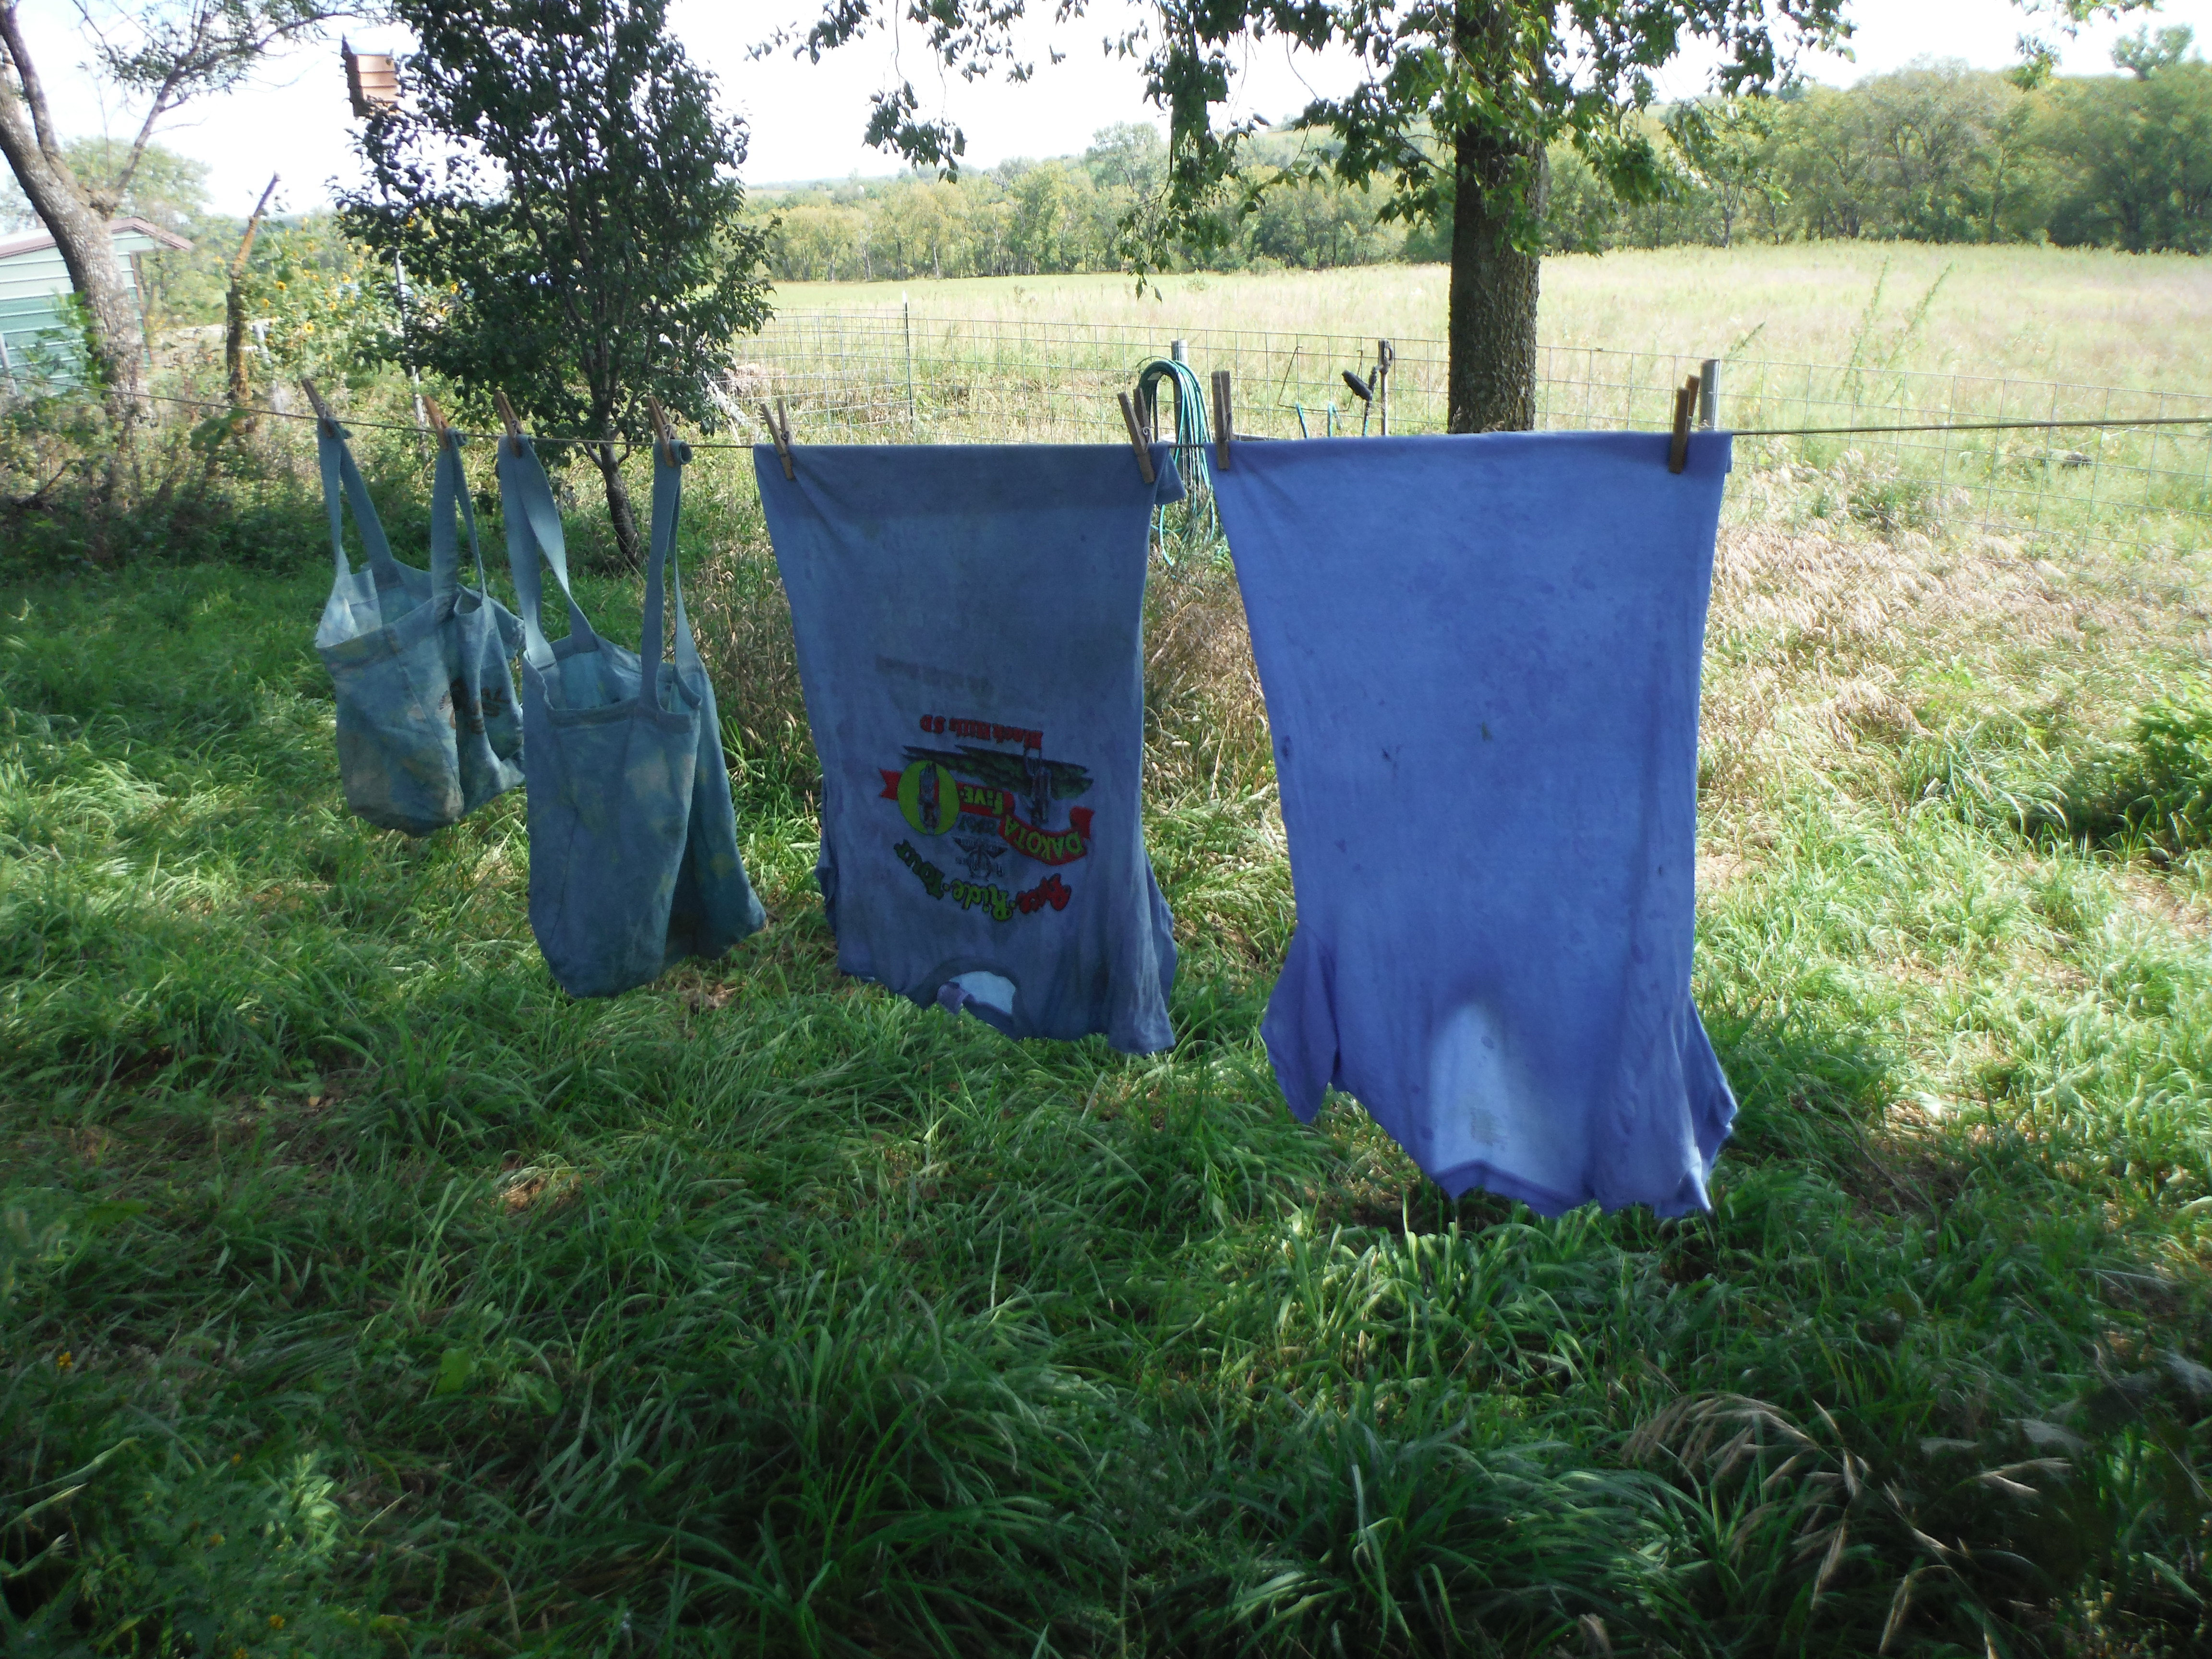
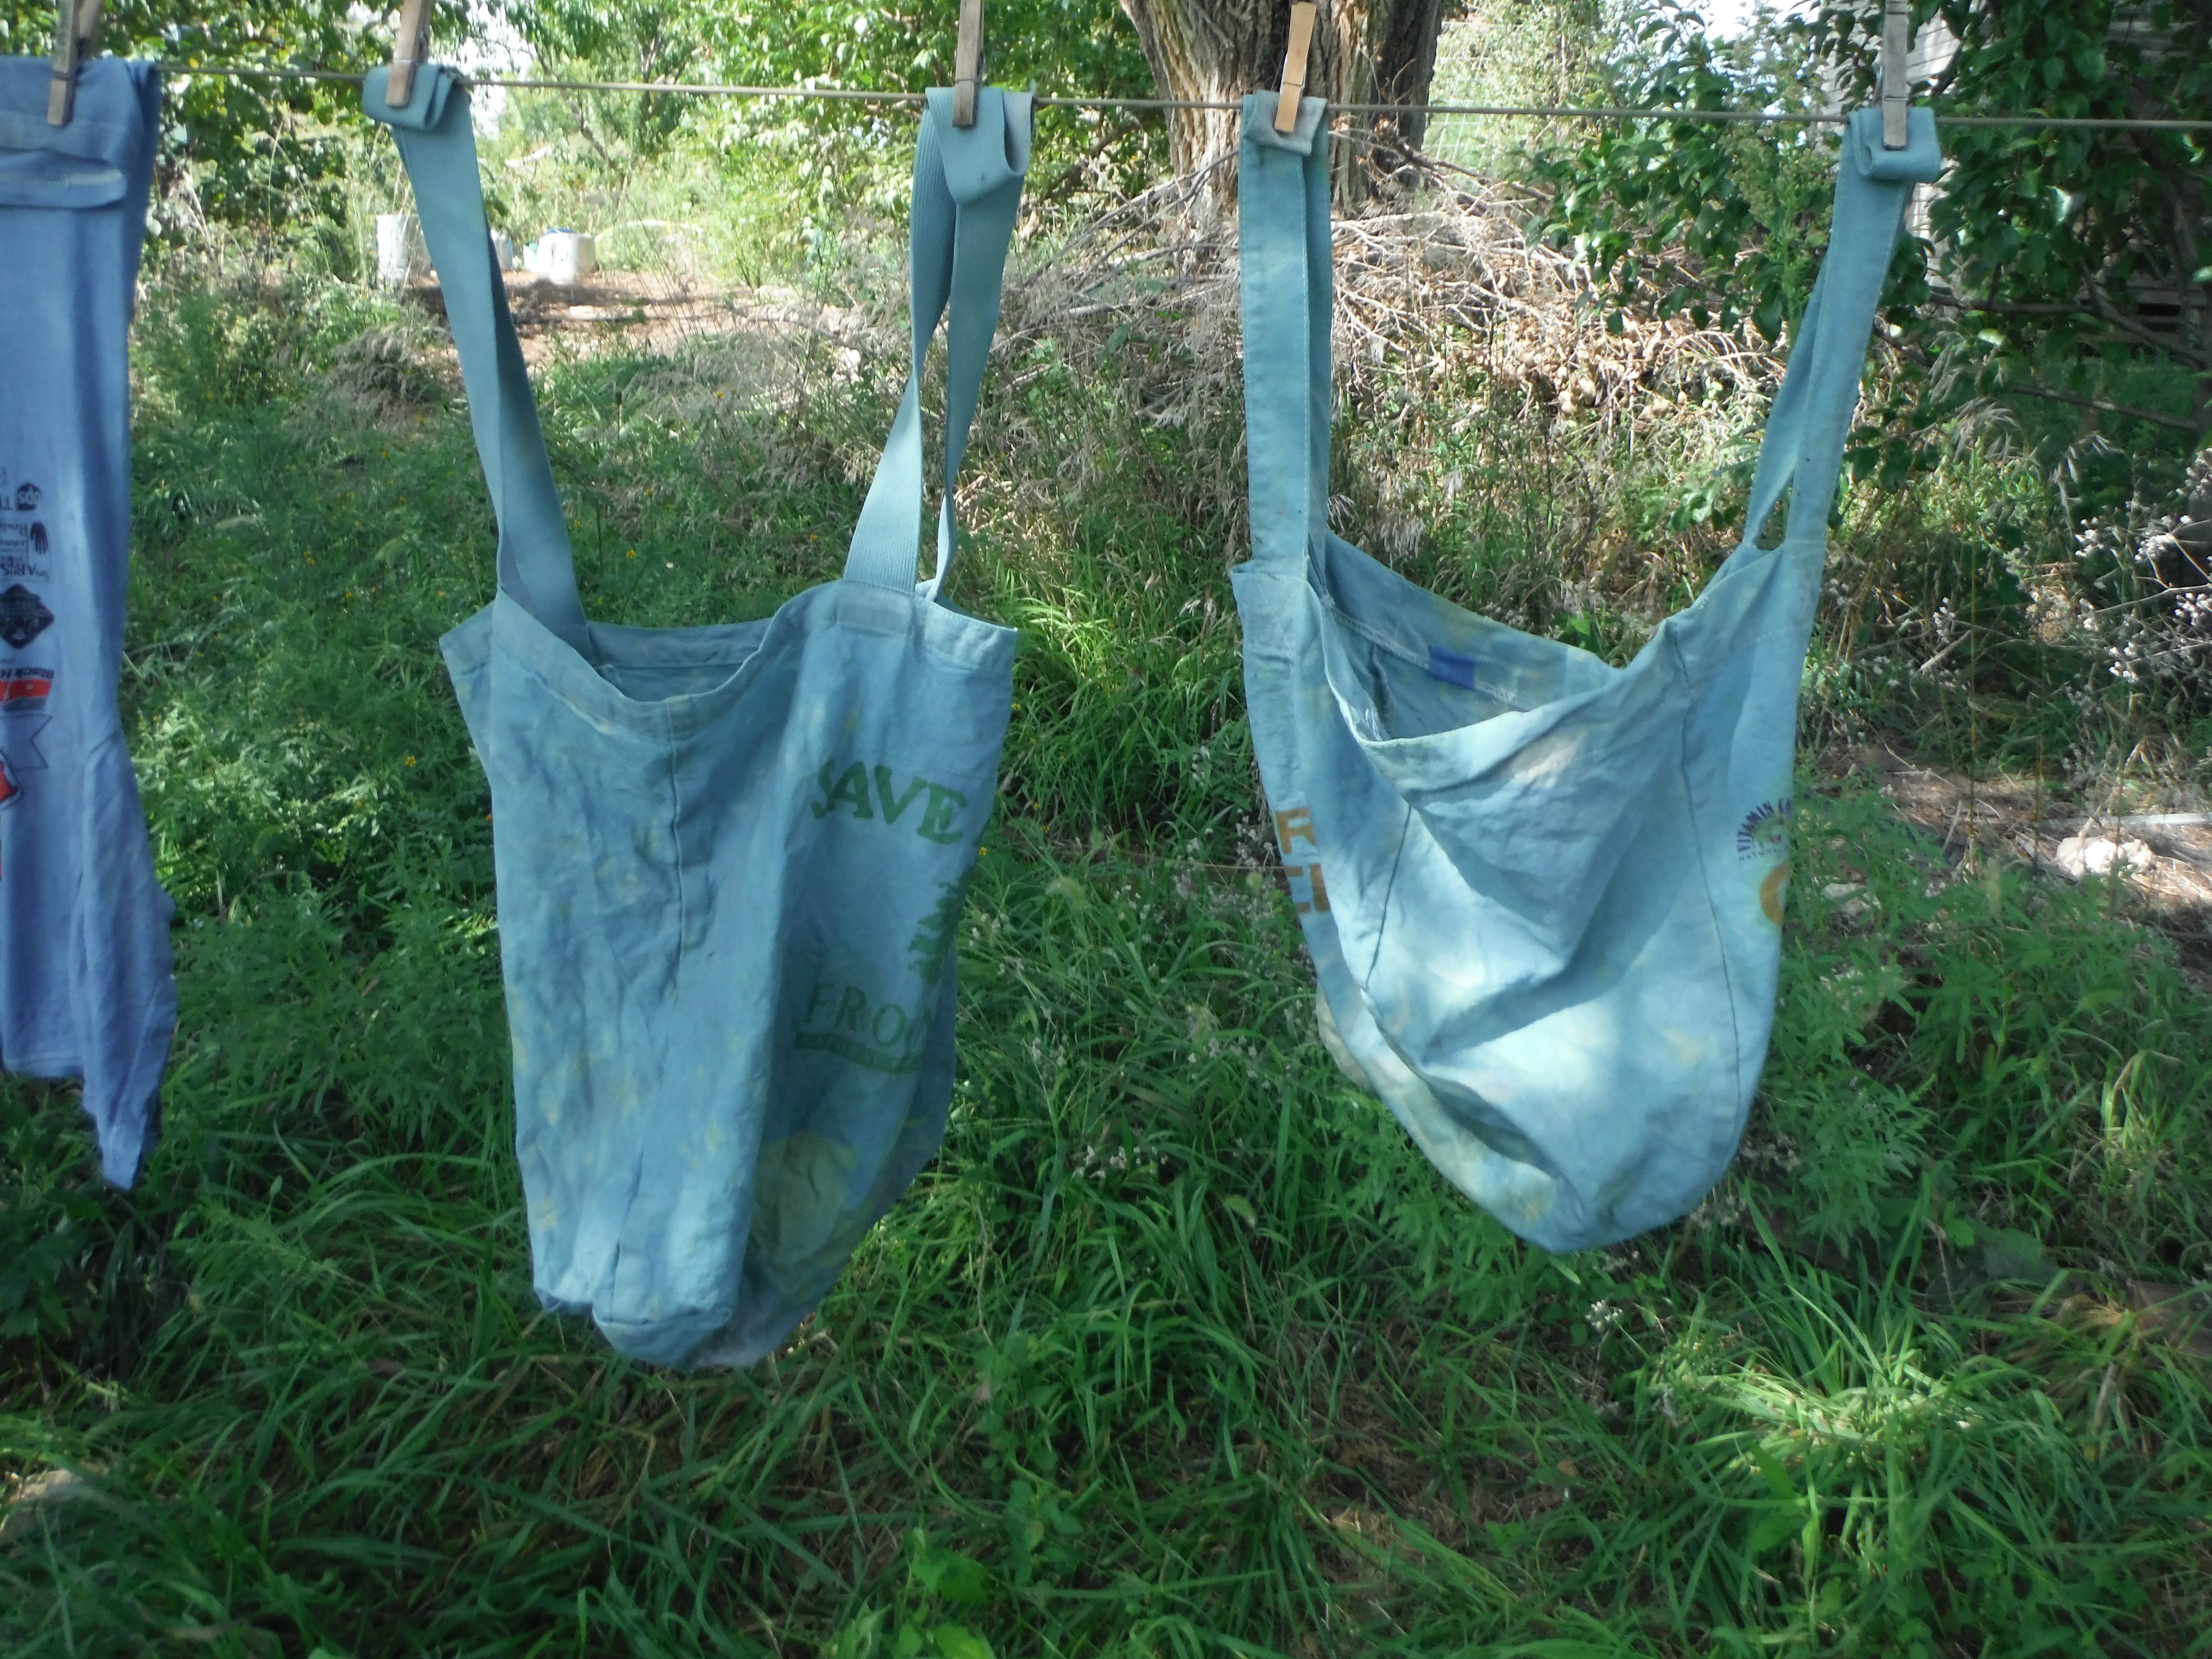
Here I have some canvas grocery bags that I would see how they took to the dyebath. It looks more green than blue, which is completely normal. The transformation happens when you SLOWLY remove the item from the dye and shake it a few times. The air comes in contact with the dye in the fabric and turns from green to BLUE! It's AMAZING!!
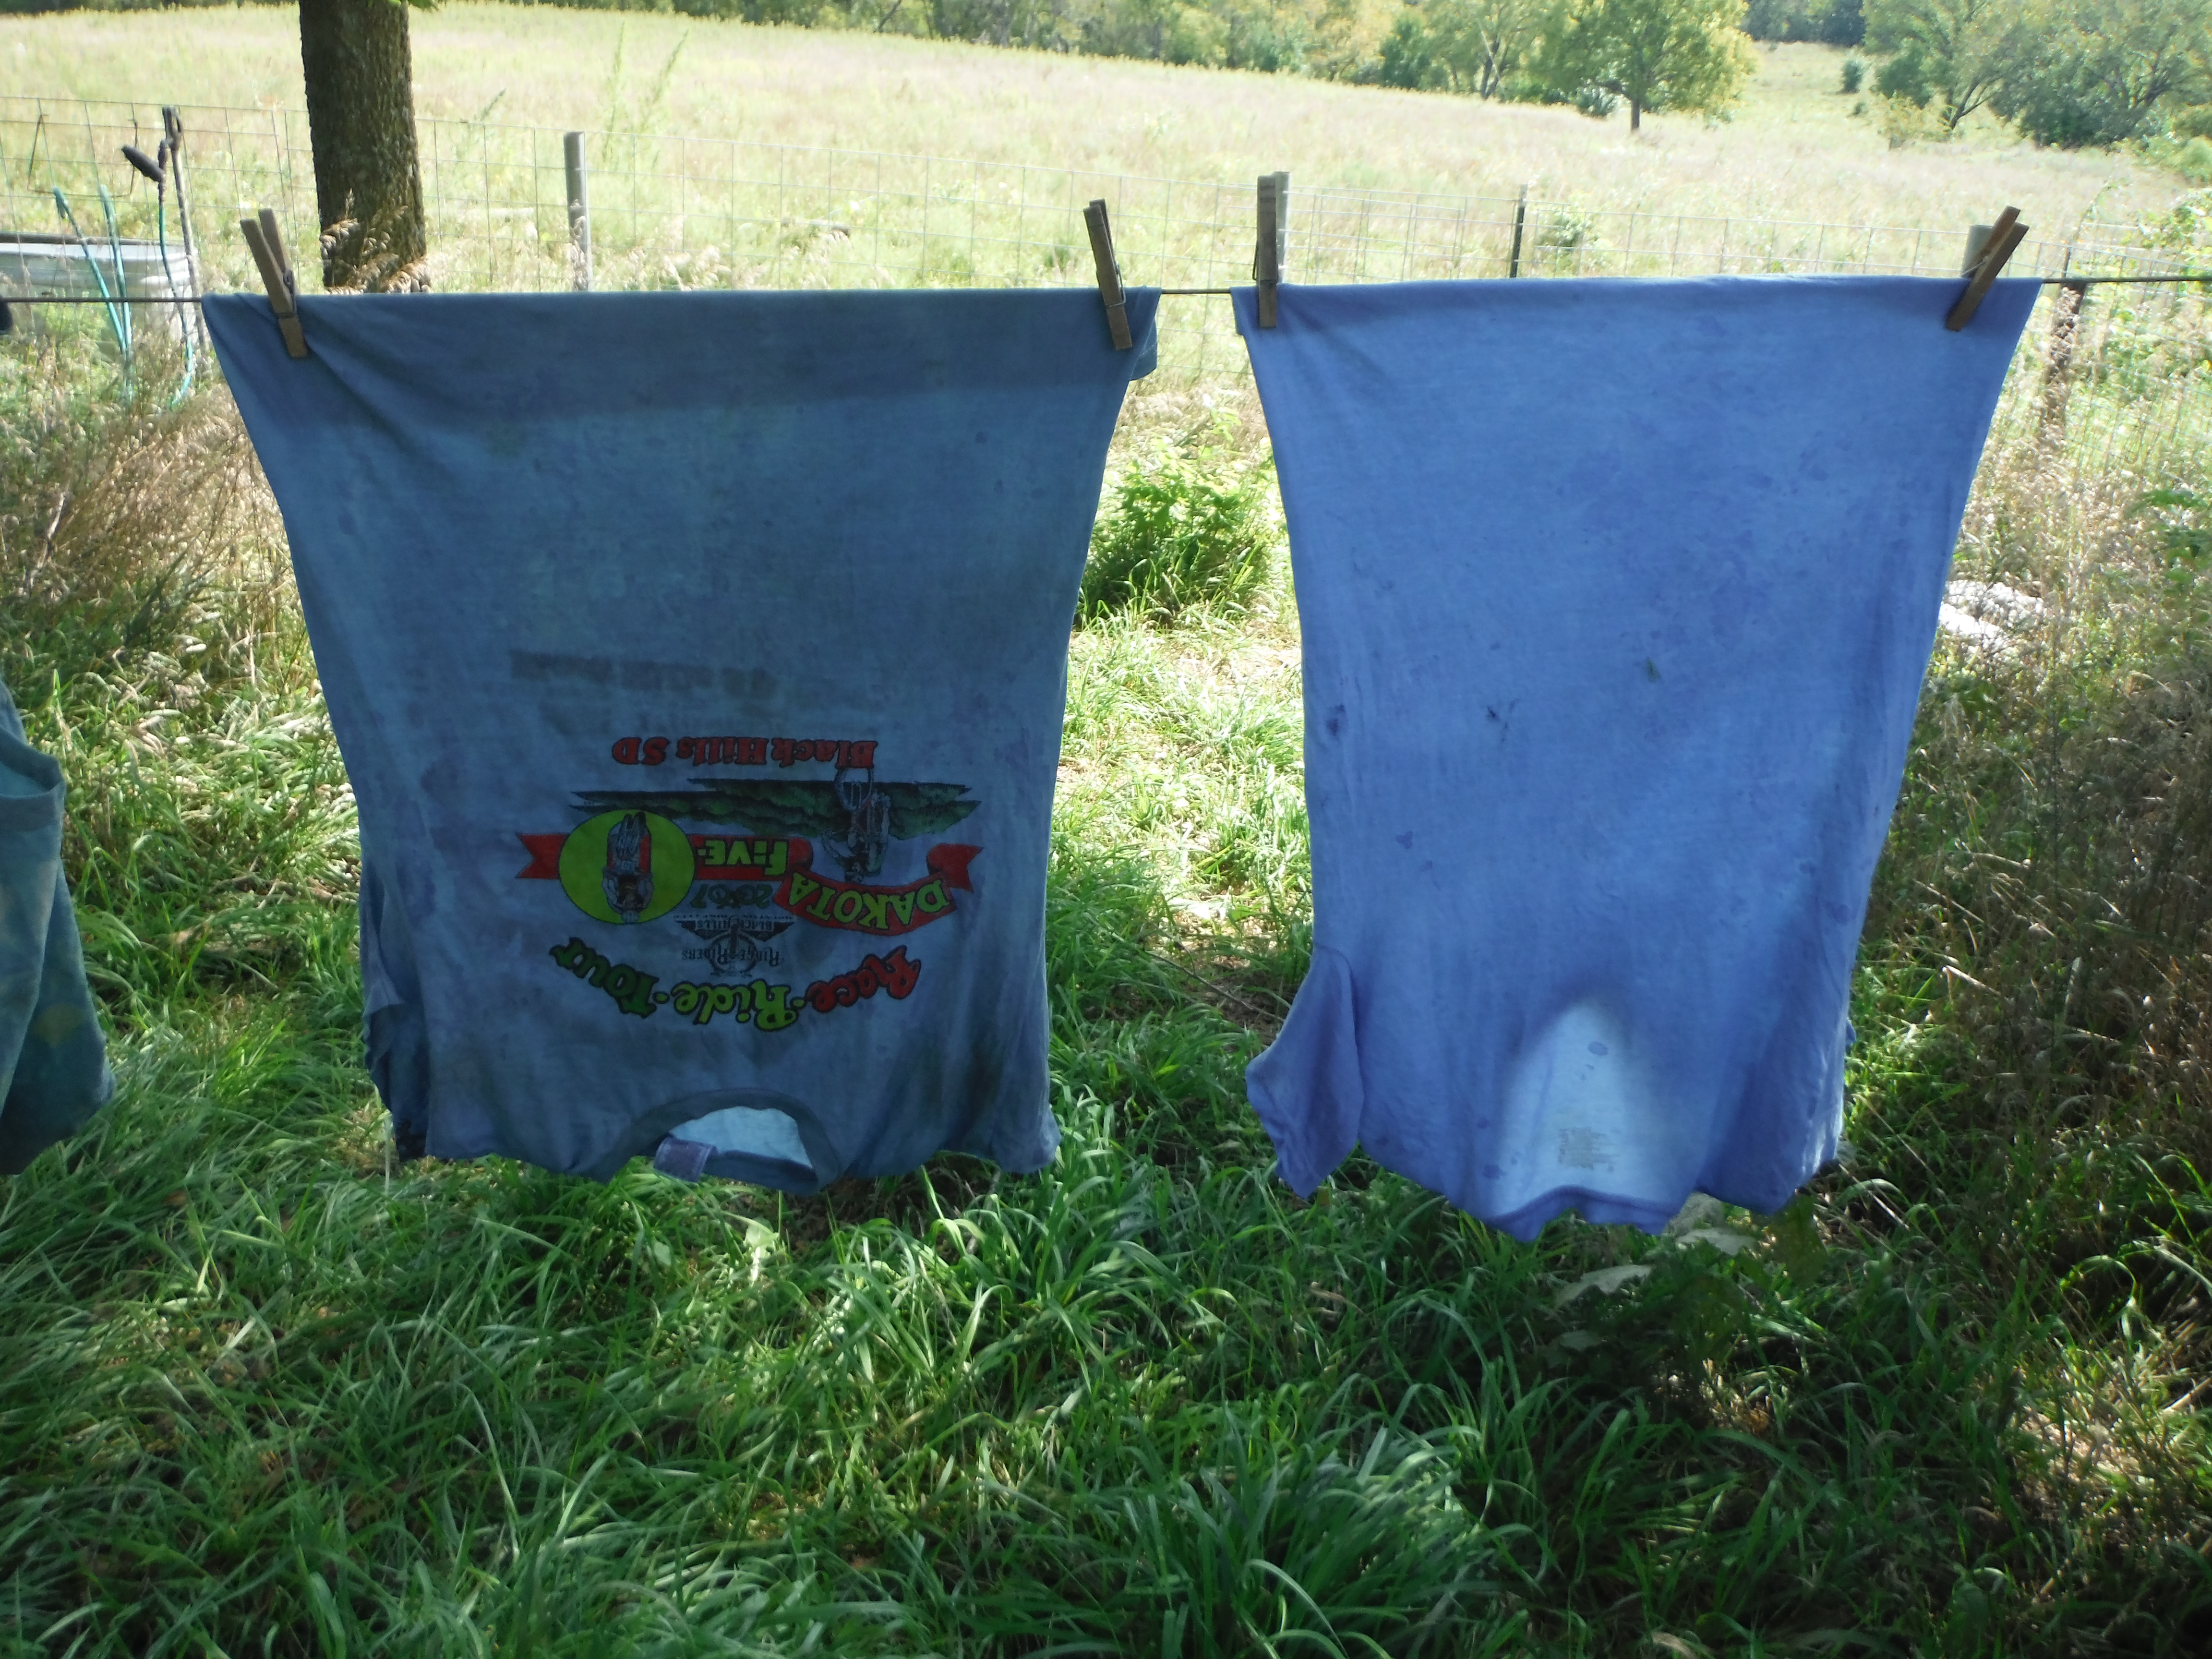
If you are looking for more of a consistent color throughout, this may not be the dye for you. I like the almost tie-dye effect of the end result. One could do an "over-dye" by going through all these steps a second or third time to see if you get a darker and more consistent color. I was happy with the results and will be doing this again hopefully this summer.
What I will say about this dye a few years later is that it's staying power isn't with cottons, at least not with the process used above. Most of the dye is gone although I can see a little on our grocery bags.
On the linen top, while the dye has faded a little I am still happy with the results. I do hear that silk holds the dye well but then I think silk receives most if not all dyes the best out of all fibers.
I hope you enjoyed this post!! Have a great day.
~all photos taken by me


Dyeing with plants is so seductive… So far I only tried food color with citric acid as I am a bit afraid of the ammonia and am not sure how/where to dispose remnants of the dye. Citric acid seemed to be the easier way, but I never really researched or read more about the topic… So its doubly cool that you are writing about this topic and also about growing the indigo plant (I just today visited our garden and oh sigh, although its winter here the slugs are back)
I think this year I will try dyeing with walnut husks which does not need a mordant and I think is colorfast. I dyed with pokeberry one year and the magenta color was gorgeous but it faded to a light pink really quickly. I do think you can use vinegar for some dyebaths which might be more to your liking. What's wonderful is that there are so many people dying with plants these days, so there is something for everyone!
Ohhh pokeberry sound interesting... have to google never heard of this... wait
Edit: ok had a look and have never seen this variety of berries. So lovely to learn something new.
Looking forward to your walnut experiment, because walnuts are found often here, so I have a chance to perhaps try it out too.
And yes, I also used vinegar (forgot to write) which was fun but a bit stinky :-DD I dyed yarn with it and it was absolutely addictive.
I am forever pulling pokeweed plants from my garden! Dolly Parton used the poinonous berries as makeup when she was young and poor.
Supposedly you can eat the tender greens but I wouldn't recommend it. Birds LOVE pokeweed!
Check this out. I explain how to use it and I even consume the berries here and there.
https://peakd.com/hive-120078/@notconvinced/pokeweed-your-best-friend-or-worst-nightmare-with-a-bonus-traditional-southern-american-recipe
That's awesome @notconvinced!! I still am not going to eat it. :-) But that's an great essay. Thank you for sharing.
Wow lovely thanks for sharing @yoginiofoz
Thank you @smilestitches!
My first time seeing how dyeing is done. I had thought its all chemical dye that is used, have never seen a plant dying process like this before.
Thanks for sharing this knowledge with us @yoginiofoz
You are very welcome @monica-ene! I will hopefully be doing this again in late summer this year when the plants are ready. It's a lot of fun to dye with plants grown in my own garden. :-)
Nice colors..
Thanks @manorvillemike. It was a fun summer project.
Wow!!!! no, I won't risk repeating it for you!!!! it's too hard 😮🙈
Ha ha!! It's not hard....but it's all what we want to spend our time doing. Take care and thanks for the comment.
Happy Monday @cuddlekitten!!