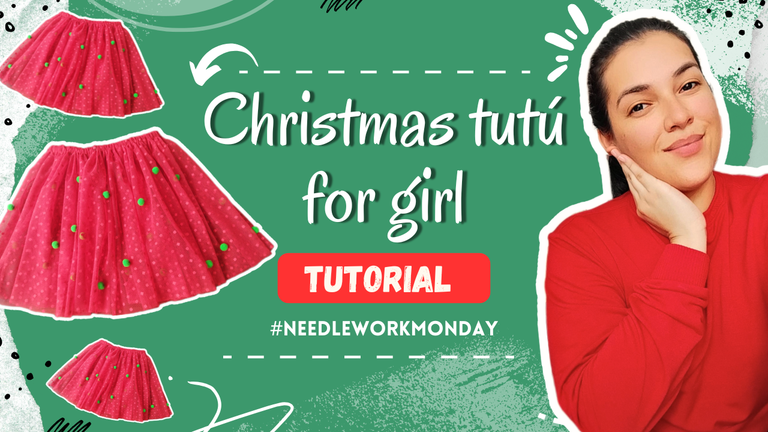
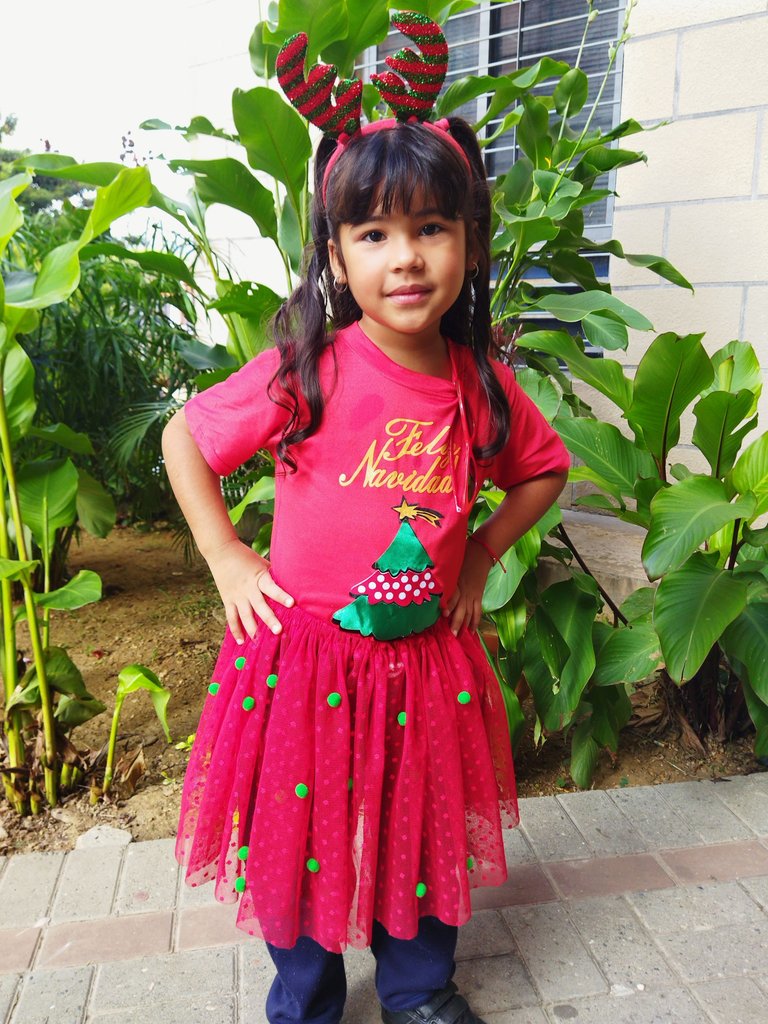
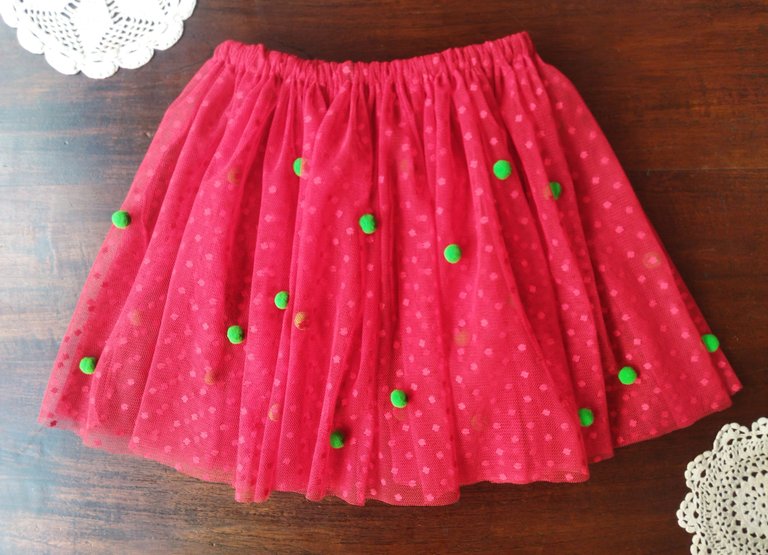
Saludos queridos amantes de la costura, espero se encuentren de maravilla y estén teniendo una excelente comienzo de semana. Hoy lunes de agujas les quiero mostrar un proyecto que hice el fin de semana bastante rápido y es un tutú, les cuento que cuando fuí a comprar la tela no había ni roja ni verde, este tutú lo pidieron del preescolar de mi pequeña así que fue algo de improvisado, no tenía otra opción de comprar está malla muy parecida al tul pero con más caída y con lunares más oscuros, pensé que con esta tela el tutú podría quedar bien y sí resultó, no es el mejor tutú pero pude resolver lo que sí creó le hizo falta fué un forro pero como llevaba pantalón debajo no fué un inconveniente, además le coloqué unos pompones verdes que le dieron un toque muy divertido y navideño, así que sin mas habladuría acompañame a ver el proceso.
Greetings dear sewing lovers, I hope you are feeling wonderful and having a great week. Today I want to show you a project that I did over the weekend pretty fast and it is a tutu, I tell you that when I went to buy the fabric there was no red or green, this tutu was requested by my little girl's preschool so it was something improvised, I had no other option but to buy this mesh very similar to tulle but with more fall and with darker polka dots, I thought that with this fabric the tutu could look good and it turned out, it is not the best tutu but I could solve what I did create was a lining but as I wore pants underneath it was not a problem, I also placed some green pompoms that gave a very fun and Christmas touch, without more talk, come with me to see the process.
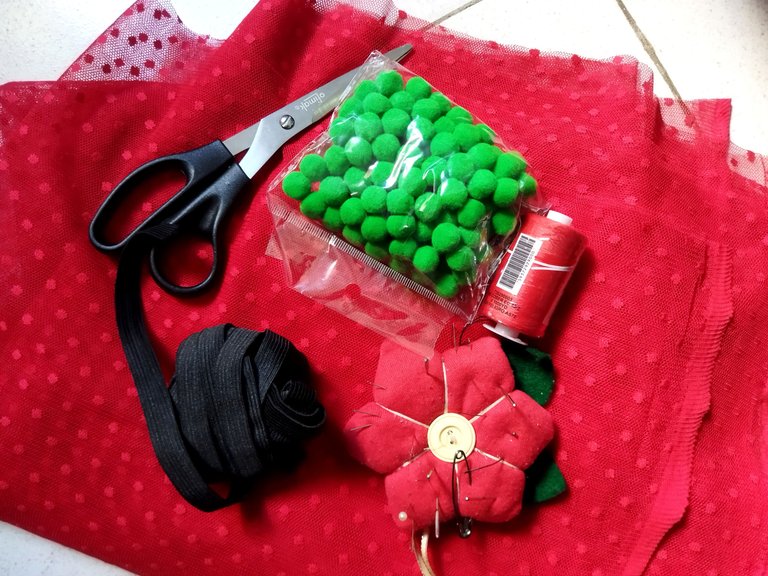
Para realizar este proyecto utilicé:
- Tela de malla
- Hilo a tono
- Pompones
- Elástica
- Tijera
- Cinta métrica
- Alfileres
To make this project I used:
- Mesh fabric
- Matching thread
- Pompoms
- Elastic
- Scissors
- Measuring tape
- Pins
Paso a paso || Step to step
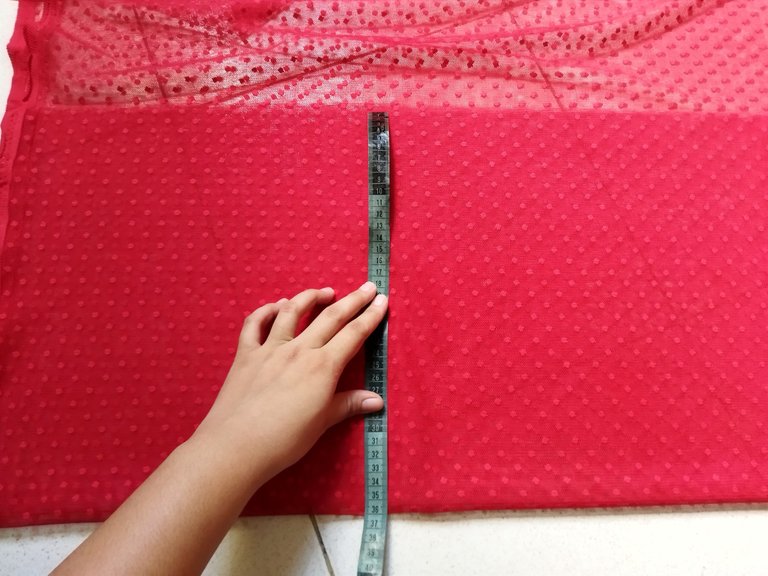
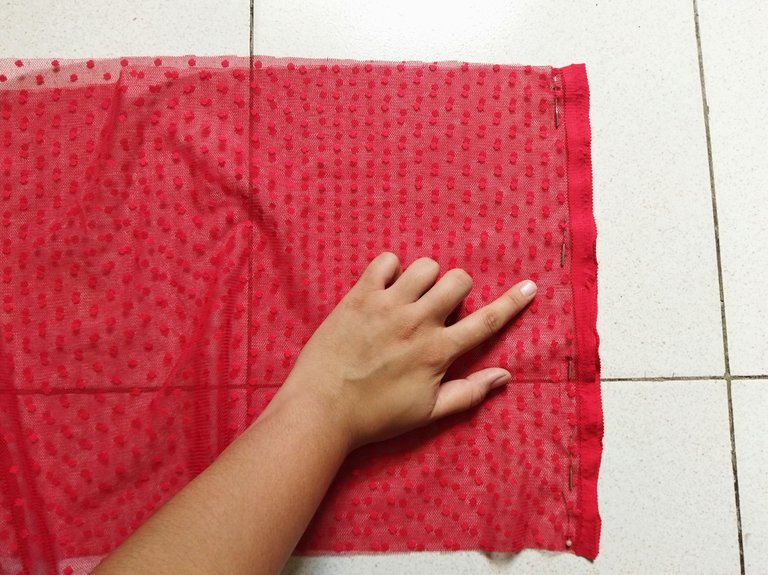
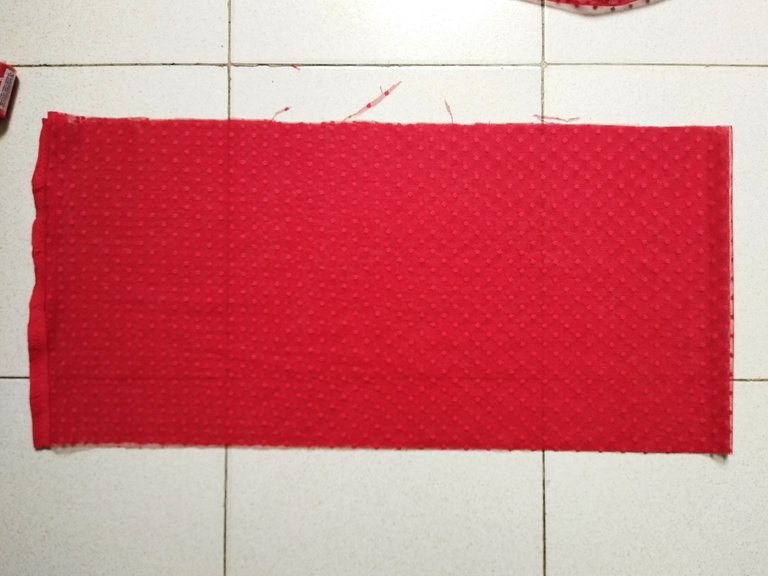
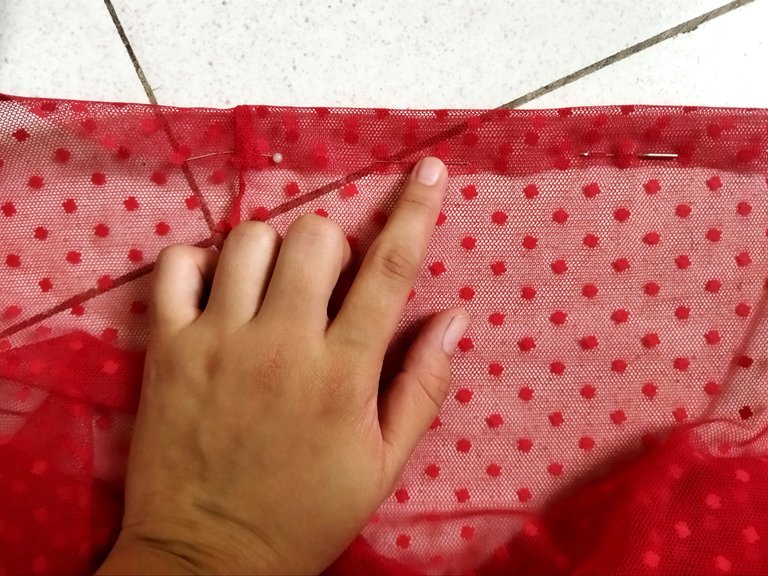
Comencé cortando las dos piezas que llevan todo el ancho de la tela y de largo lo que deseemos, en mi caso le corté de 36 cm de largo, el siguiente paso es muy fácil, vamos a unir las dos piezas con costura recta por los costados, yo termino la costura con zigzag, ahora en la parte superior del tutú que es donde va la elástica vamos a coser un doblez de 2 cm de ancho, este ancho va a depender del ancho de nuestra elástica, la idea es que la elástica pueda pasar por allí, también tenemos que dejar una abertura para introducir la elástica.
I started by cutting the two pieces that carry the entire width of the fabric and length as long as we want, in my case I cut 36 cm long, the next step is very easy, we will join the two pieces with straight stitching on the sides, I finish the seam with zigzag, now in the upper part of the tutu that is where the elastic goes we are going to sew a fold of 2 cm wide, this width will depend on the width of our elastic, the idea is that the elastic can pass through there, we also have to leave an opening to introduce the elastic.
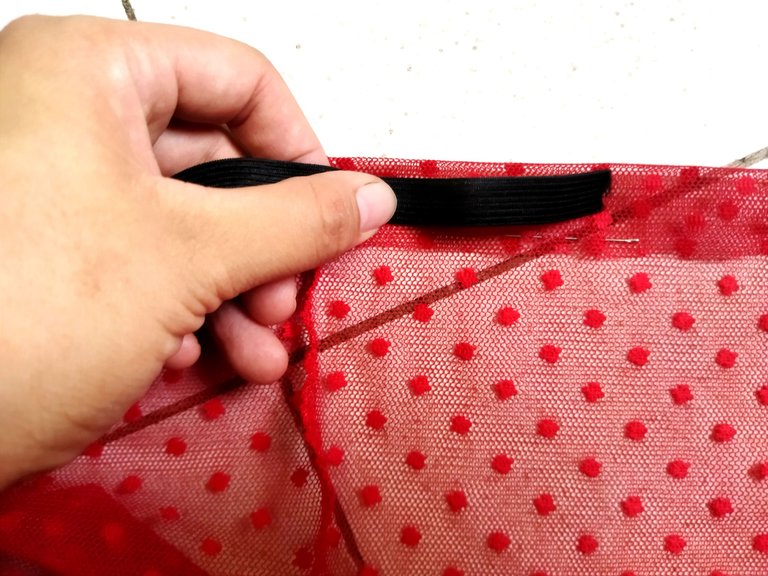
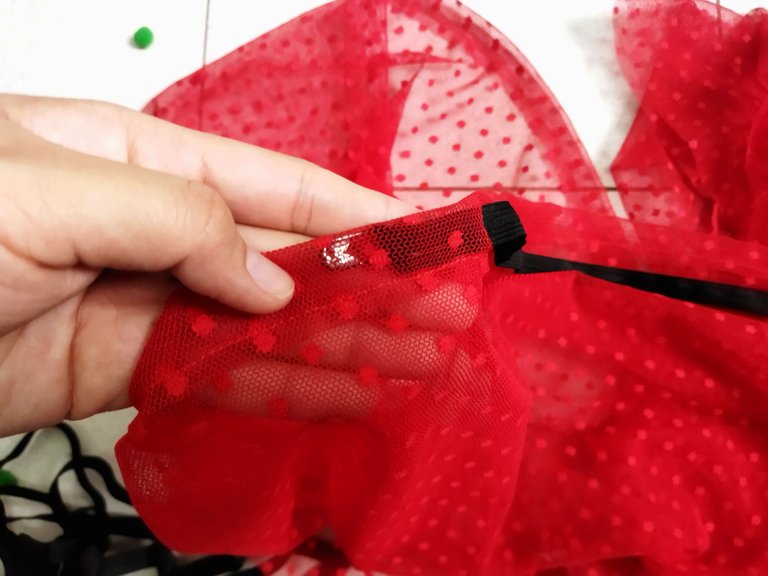
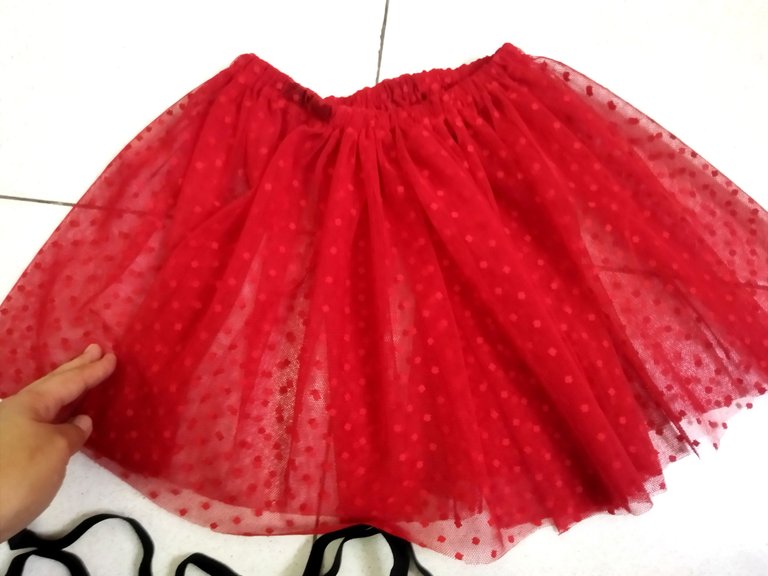
Teniendo lista la costura de la pretina vamos a introducir la elástica, yo me ayudé con un gancho para pasar la elástica de un lado al otro, el ancho también lo determinamos nosotros, yo se lo medi a mi pequeña en la cintura y me percaté que le quedará bien, ni tan ajustado ni tan suelto, por último cerramos la abertura y ya estaría formado el tutú, la orilla del tutú preferí dejarla así sin costura pero tu le puedes hacer una costura sencilla o hasta colocarle cinta.
Having ready the seam of the waistband we are going to introduce the elastic, I helped myself with a hook to pass the elastic from one side to the other, the width is also determined by us, I measured it to my little girl at the waist and I realized that it will fit her well, not so tight or so loose, finally we close the opening and the tutu would already be formed, the edge of the tutu I preferred to leave it without sewing but you can make a simple seam or even place a ribbon.
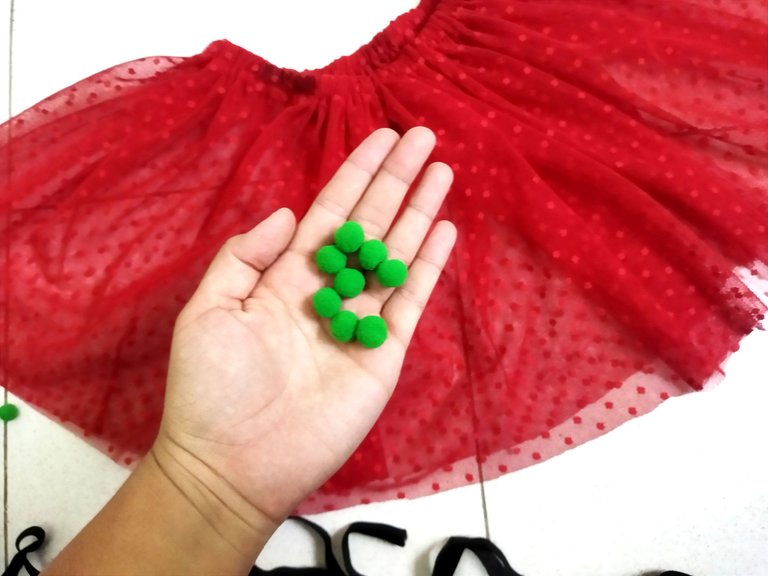
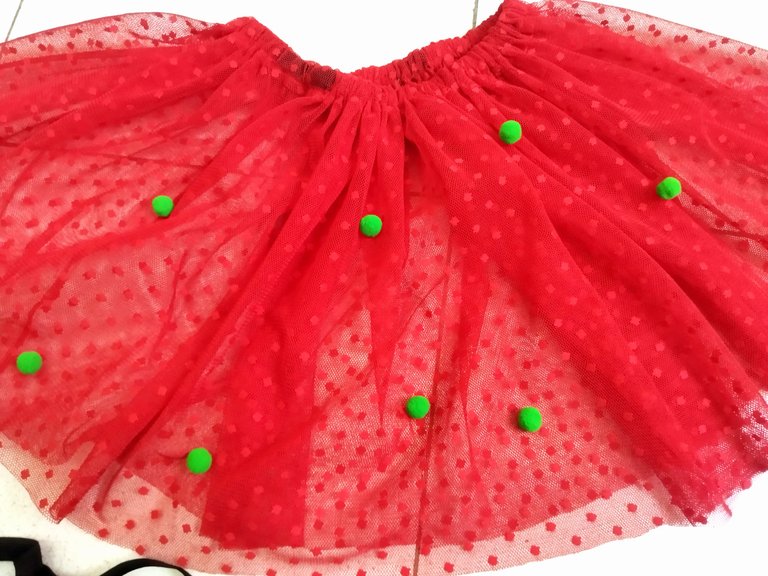
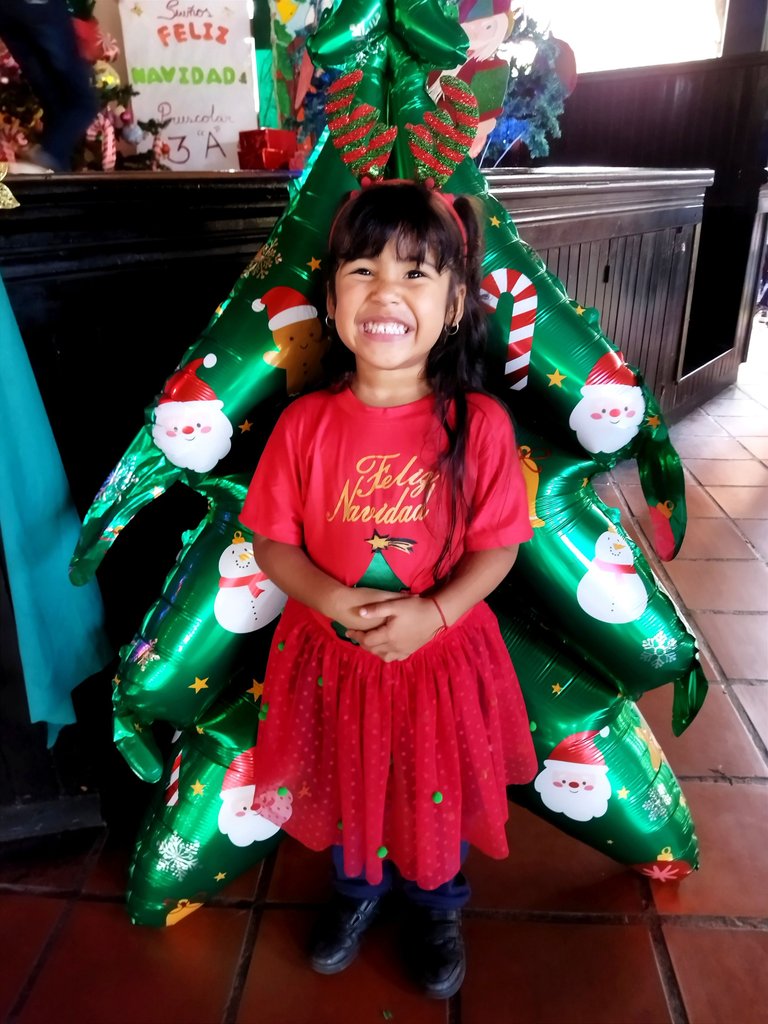
Por último los detalles finales con los pompones, preferí coser uno por uno a mano que pegarlos le da mucha más seguridad de que no se despegaran. ¿qué tal les pareció este nuevo trabajo? Los leo en los comentarios 😊 a mí me encantó muchísimo como quedó este tutú y mi pequeña está tan feliz con su tutú y su atuendo navideño para el parrandón, mil gracias por leerme, ¡Hasta luego!
Finally the final details with the pompoms, I preferred to sew them one by one by hand that gluing them gives you much more security that they will not come off. How did you like this new work? I'll read you in the comments 😊 I really loved how this tutu turned out and my little girl is so happy with her tutu and her Christmas outfit for the party, thank you so much for reading me, see you later!
¡Gracias por leerme, hasta luego!
Thank you for reading me, see you later !


Camera: Xiaomi Redmi 9T. | Separadores: Aquí | Edition: CANVA | Translation: Deepl.com
Awww she looks so cute. I believe that you did a great job on this tutu for Sheyla and you attaching the pompoms by hand was also a great idea. That would make it more secure.
I love the result.
The skirt is beautiful, the green and red complement so well.
Sewing it with a matching lining would have saved you the stress of wearing trousers underneath.
And your girl is so pretty btw😍
The final result is pretty good. It is so beautiful, and cute. It shows your creativity. Good to see each step of making this. Nice work!
Excelente trabajo, amiga! Que hermosa y feliz se ve tu niña 🥰
Its beautiful for the season and I also like to sew by hand sometimes rather than glueing. Thanks for sharing dear.
This is great, it looks beautiful I love it, greetings
Que linda quedó Sheila con su outfit navideño, ventajas de tener en casa a toda una profesional. He visto esa tela y más en cosas playeras y de piscina así que podrías seguir experimentado.
Gracias Made, resolvimos con lo que teníamos y quedó bien, oye sí de hecho me quedó tela de sobra seguro ahí veo que hago, saludos!!