In the past few weeks, I noticed a particular hair accessory become popular.
At first glance, it was nothing too exciting; a couple of people in random crowds could be seen sporting it in different colours. And then all of a sudden, it blew up, and everyone was wearing it.
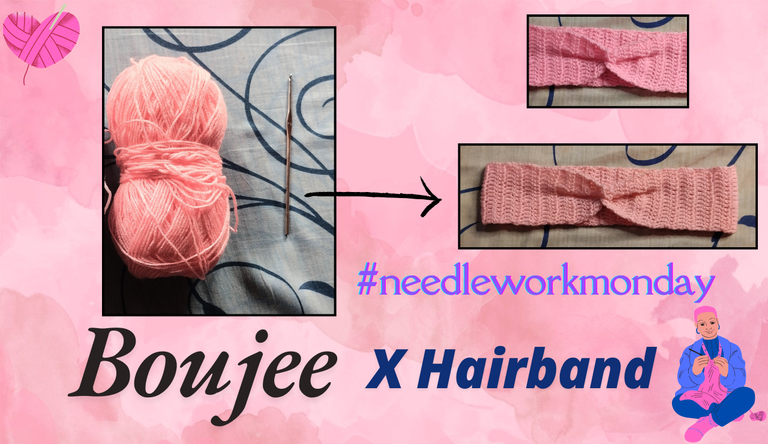
They have literally filled the shops in my area; the manufacturers have made them in every variety. It now comes in every colour under the sun; some come with glittery ornaments, some come with gold stones, and some even have designer prints on them—Fendi, Chanel, and the rest.
It’s very possible that these hairbands could have existed years before now, and they only blew up now for some reason. But they’re everywhere now, and I am a fan of them.
So I figured that if they can be sewn together using fabric, then there’s a possibility that they can also be crocheted.
So I embarked on some research and watched some videos on YouTube. It didn’t take too long before I found what I was looking for. I then headed straight to the market, got my materials together, and headed back home.
After getting comfy, I began the process. Join me as I reiterate.
Materials Needed
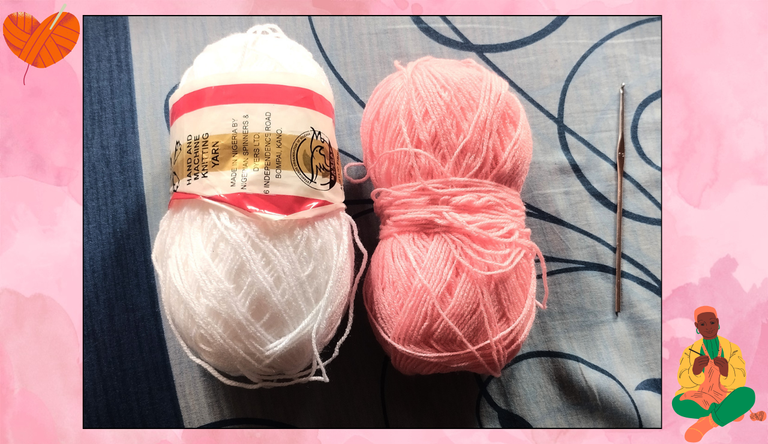
- Wool (any colour of your choice)
- Crochet Pin
- Scissors
Procedure
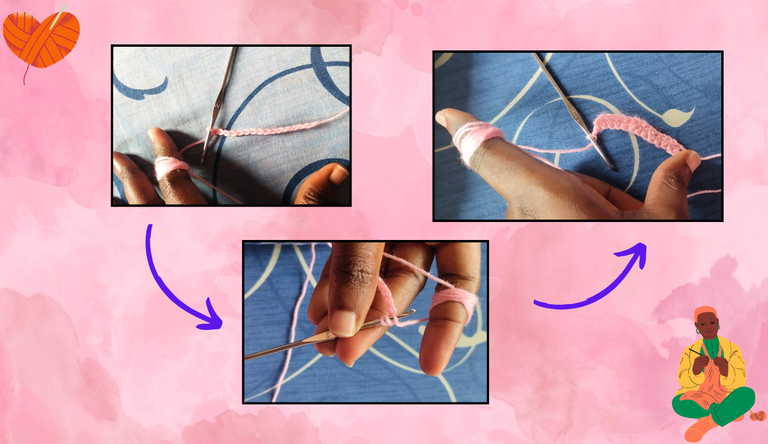
First off, make some single chains for as long as you want the breadth of the hairband to be. Then turn the direction of the pin to the opposite way and make one double crochet each in the single chain all the way to the end.
When you get to the end of your first line of double crochets, you turn the project the way and insert one double crochet into the previous double crochets.
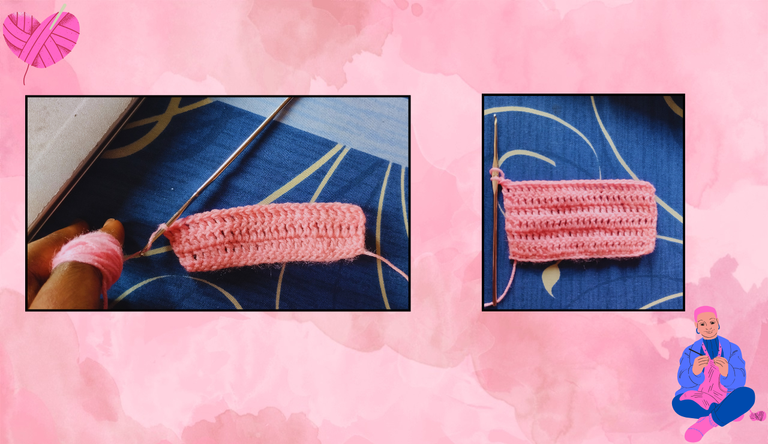
And that pretty much it. You continue inserting one double crochet each into a previous line of double crochets, and watch your hair band grow in length.
As it gets longer, you can try to fit it around your head so you’ll get an idea of the desired length. When it is long enough, the bulk of the work is finished.
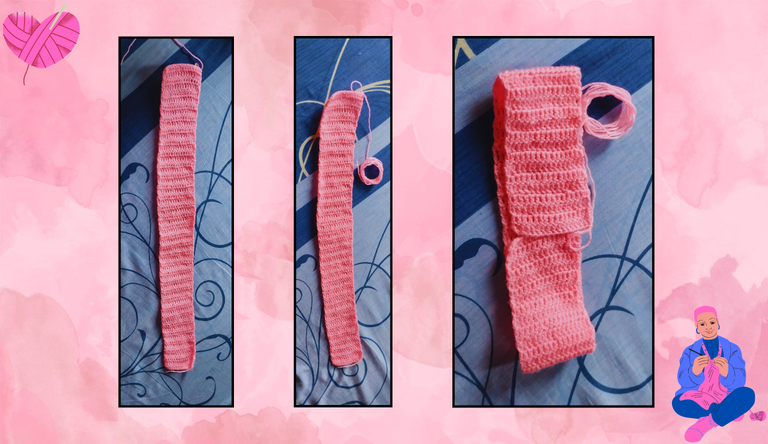
All that is left to do is attach the ends of the hairband using your wool, so you leave out extra wool to use to attach it before cutting.'
It is advised to sew the ends together with a yarn needle, but I didn’t have one, so I improvised with my crochet pin instead.
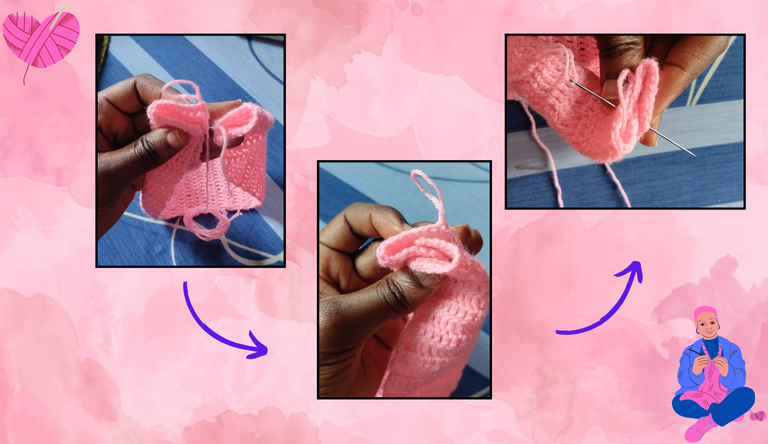
Basically, you fold both ends of the project, join them together, and then sow them together using the remaining tail of the yarn. After securing the ends tight enough, you then tie the end of the yarn and snip the excess.
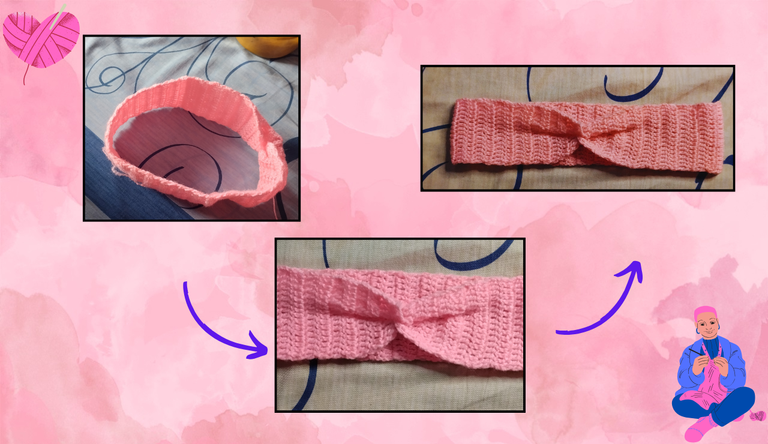
This should give the infamous X look. And just like, I made a crochet hairband.
All Images used are mine and designed using Canva...
Posted Using InLeo Alpha
Nice project!
Thanks for sharing with us.
Such a beautiful one, I love the color, well-done.
Congratulations @zitalove! You have completed the following achievement on the Hive blockchain And have been rewarded with New badge(s)
Your next target is to reach 14000 upvotes.
You can view your badges on your board and compare yourself to others in the Ranking
If you no longer want to receive notifications, reply to this comment with the word
STOPCheck out our last posts: