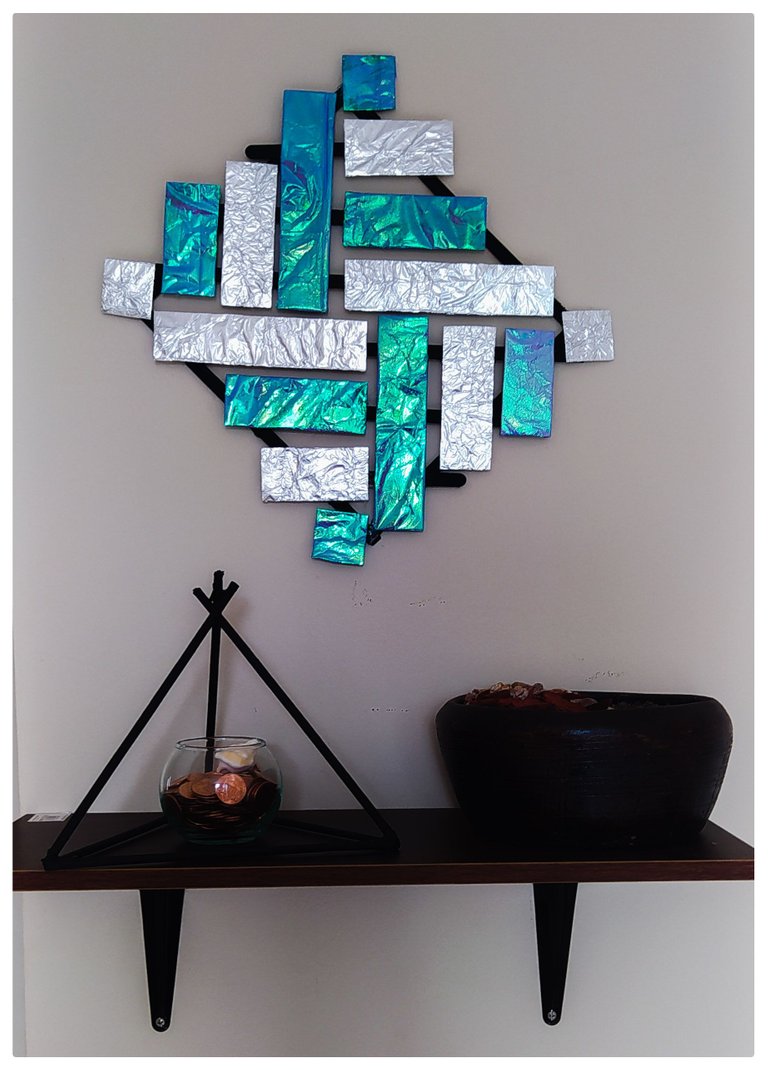
🎨🖌️Bricolaje; Elegante cuadro geométrico/Do-it-yourself; Elegant geometric painting🎨🖌️
Hello, great hive family, I hope you have an excellent and profitable day, this time I bring you a tutorial to make an elegant painting.
Que maravillas podemos obtener de líneas rectas, sin duda alguna el arte está en todo lo que nos rodea...así que manos a la obra!
What wonders we can obtain from straight lines, without a doubt art is all around us...so let's get to work!
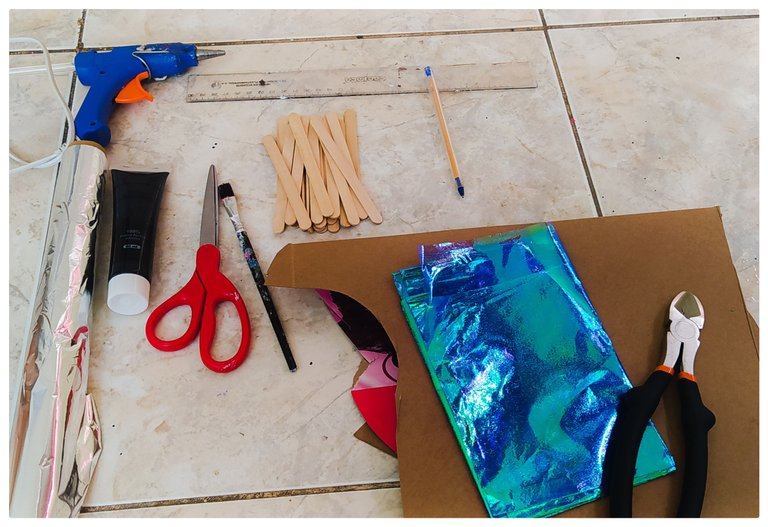
🌸Materiales:
📏 Paletas.
📏 Cartón.
📏 Silicon en barra.
📏 Tijera.
📏 Lápiz.
📏 Regla.
📏 Papel aluminio y papel translúcido (opcional).
📏 Piqueta de corte.
📏 Pintura negra (opcional).
📏 Pincel.
🌸Materials:
📏 Pallets.
📏 Cardboard.
📏 Silicon stick.
📏 Scissors.
📏 Pencil.
📏 Ruler.
📏 Aluminum foil and translucent paper (optional).
📏 Cutting stick.
📏 Black paint (optional).
📏 Brush.
📐Paso uno:
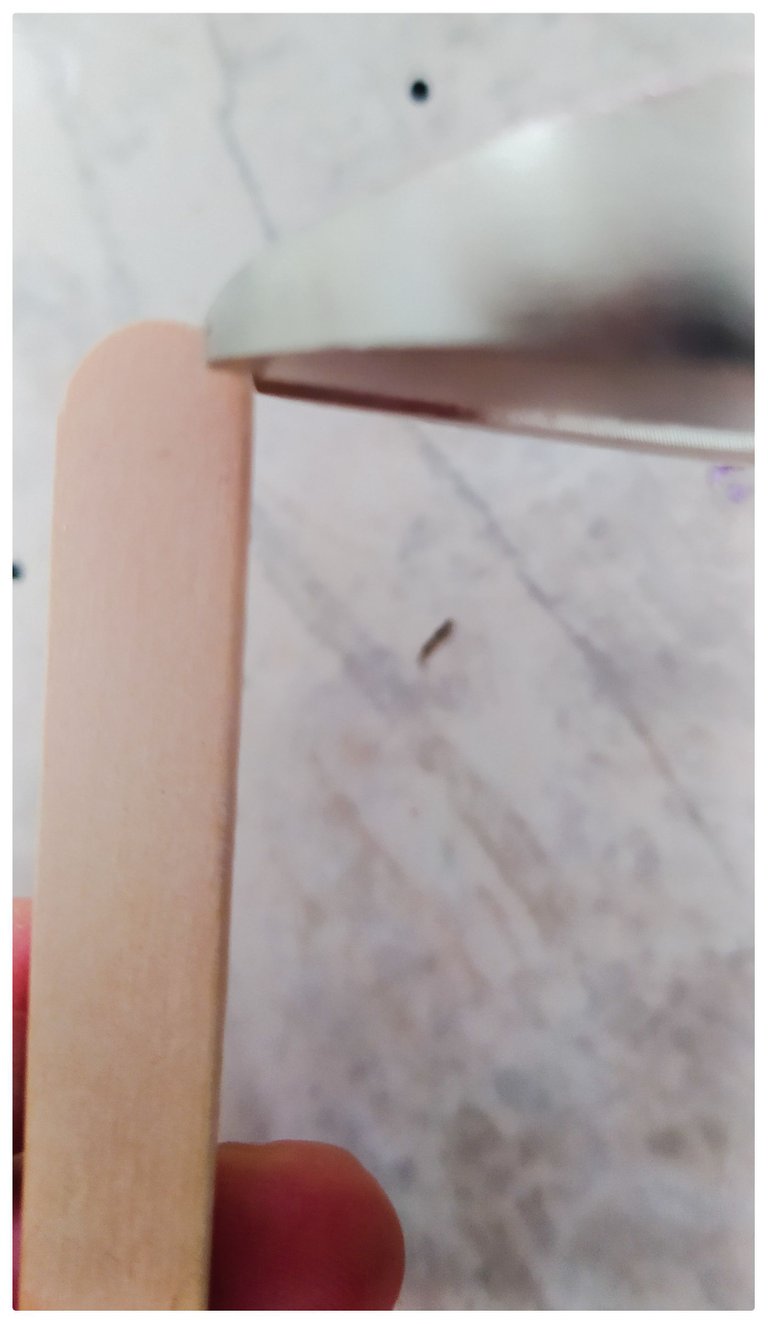
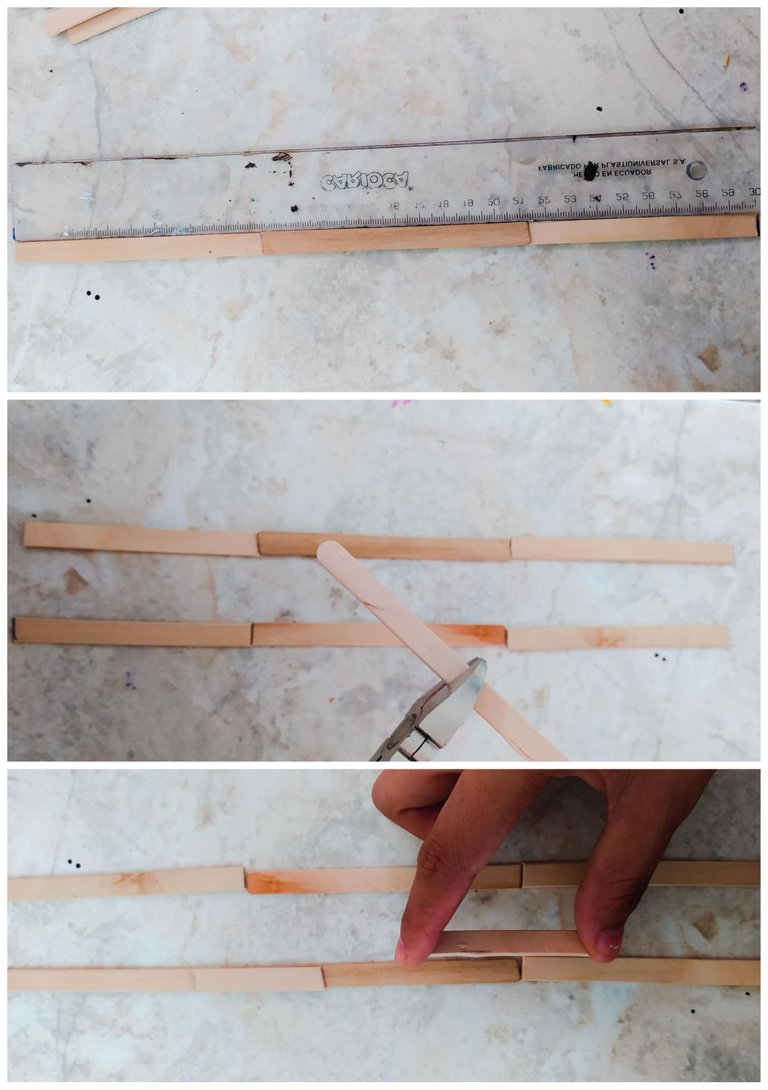
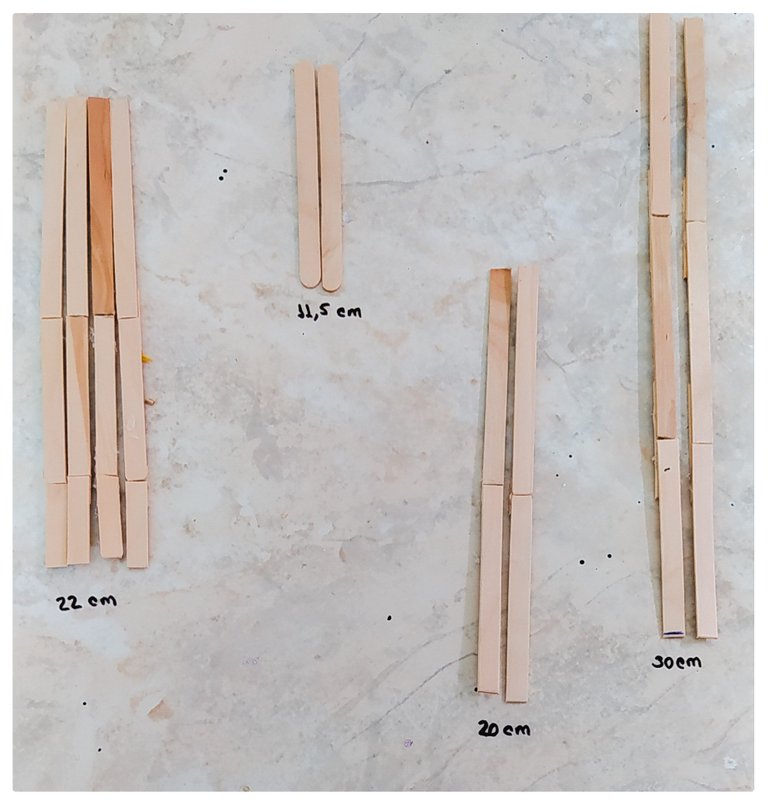
Comenzaremos cortando lo ovalado de las paletas, posterior las vamos a unir y deben medir lo siguiente;
2 ➡️ 30cm
2 ➡️ 20cm
4 ➡️ 22cm
2 paletas de su tamaño estándar de 11,5cm.
Nota: Usaremos cortes de paletas para unir las paletas por la parte de atrás.
📐Step one:
We will start by cutting the oval of the pallets, later we will join them together and they should measure the following;
2 ➡️ 30cm
2 ➡️ 20cm
4 ➡️ 22cm
2 pallets of your standard 11.5cm size.
Note: We will use pallet cutouts to join the pallets from the back side.
( )
)
📐Paso dos:
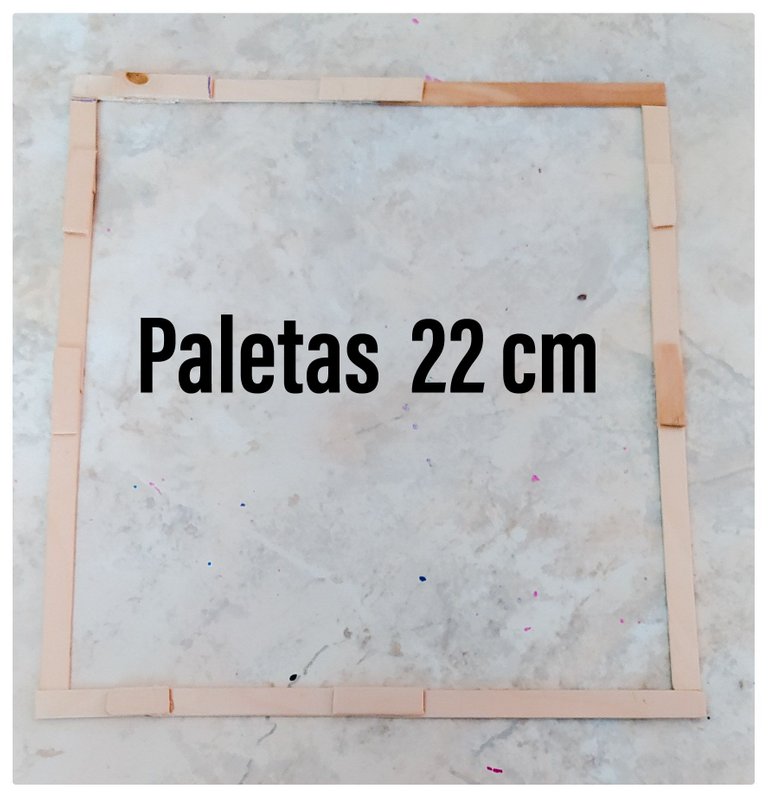
Con las paletas de 22cm haremos un cuadrado, el cual lo fijaremos con cortes de paletas en la parte de atrás.
📐 Step two:
With the 22cm pallets we will make a square, which we will attach with pallet cuts on the back side.

📐Paso tres:
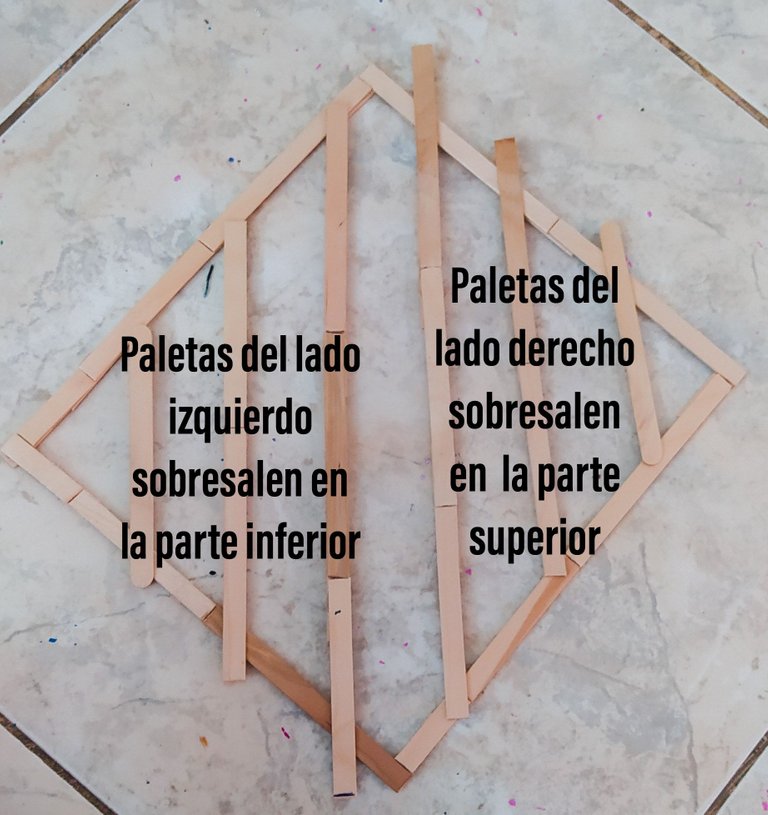
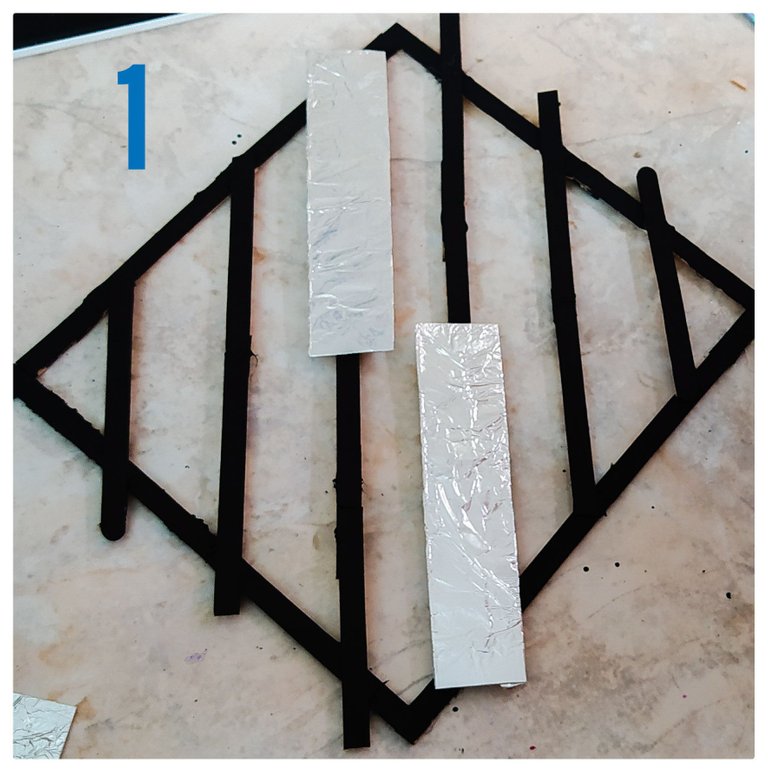
Se inclinará el cuadrado para obtener un rombo, lo siguiente es colocar encima sin pegar aún las paletas de 30cm, 20cm y 11,5 cm; la separación entre ellas sera de 3,5 cm
📐Step three:
The square will be tilted to obtain a rhombus, the following is to place on top without gluing yet the pallets of 30cm, 20cm and 11.5 cm; the separation between them will be 3.5 cm.
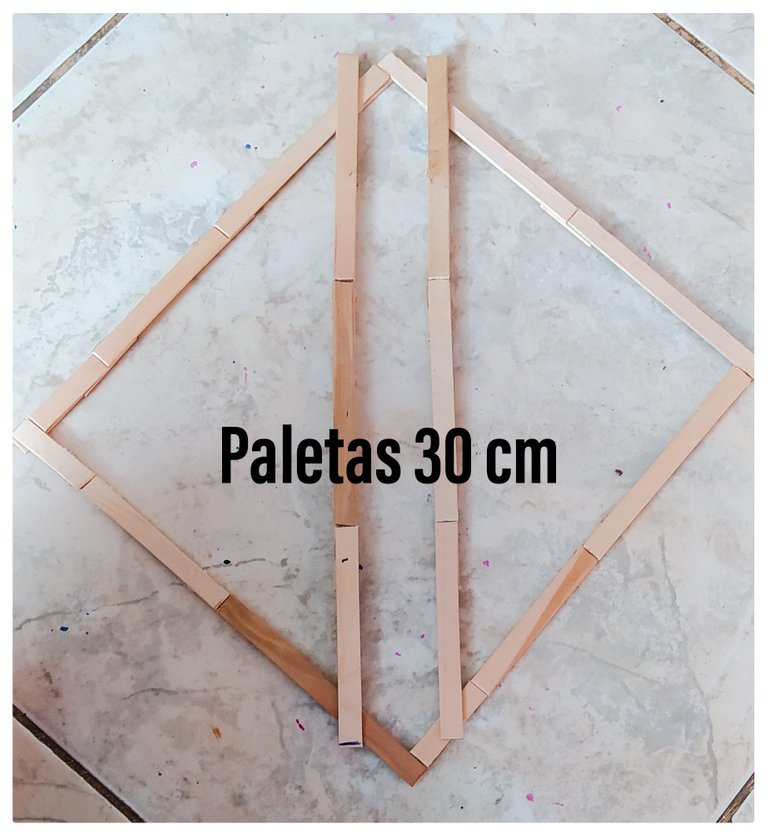
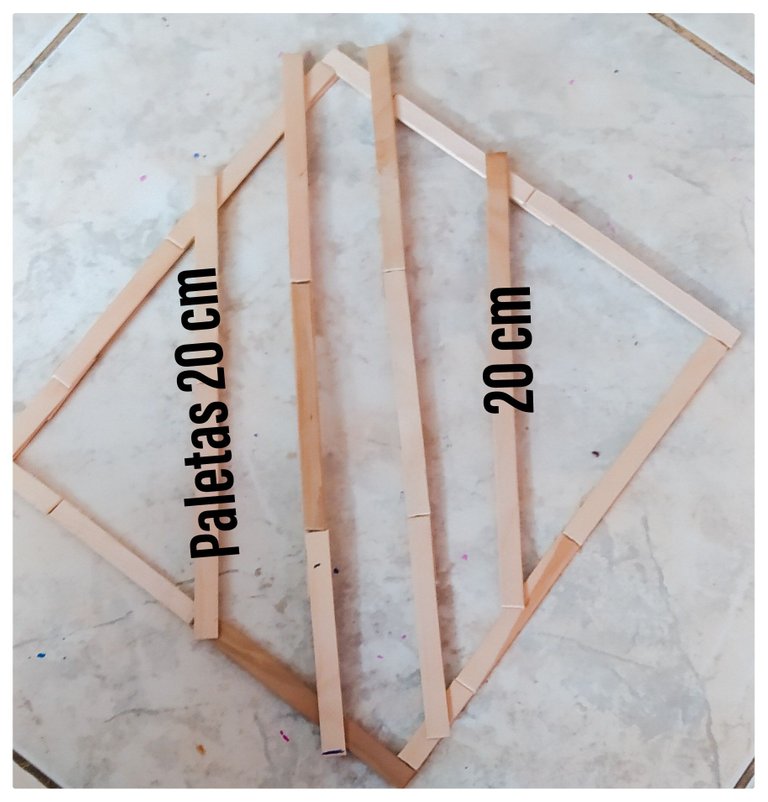
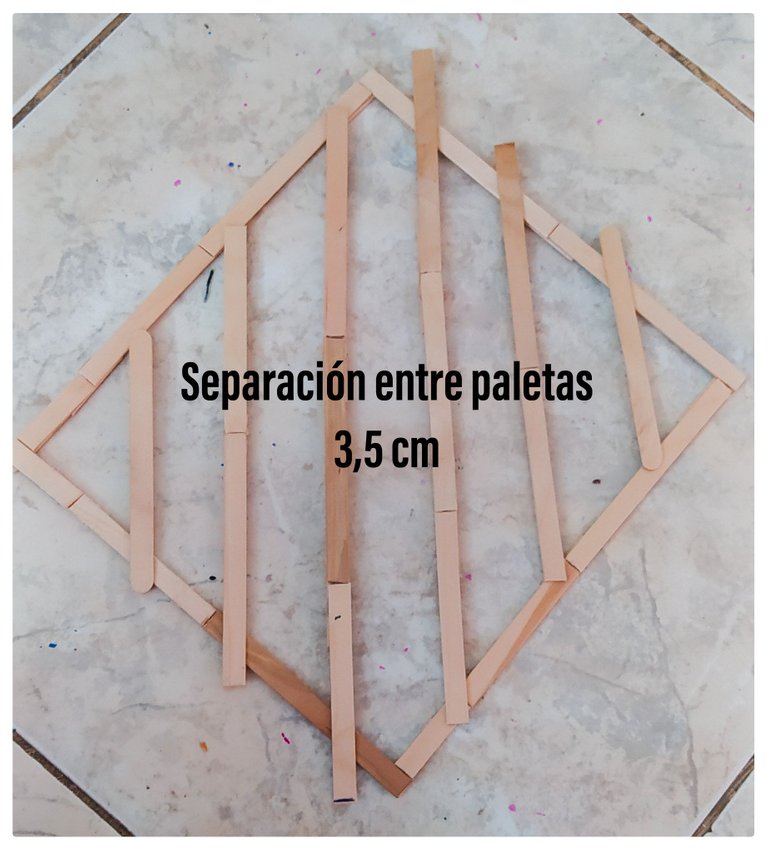
Nota: observen la siguiente foto, nos inca la posición exacta de las paletas, posterior se fijarán con Silicon.
Nota: observen la siguiente foto, nos inca la posición exacta de las paletas, posterior se fijarán con Silicon.
📐Paso cuatro:
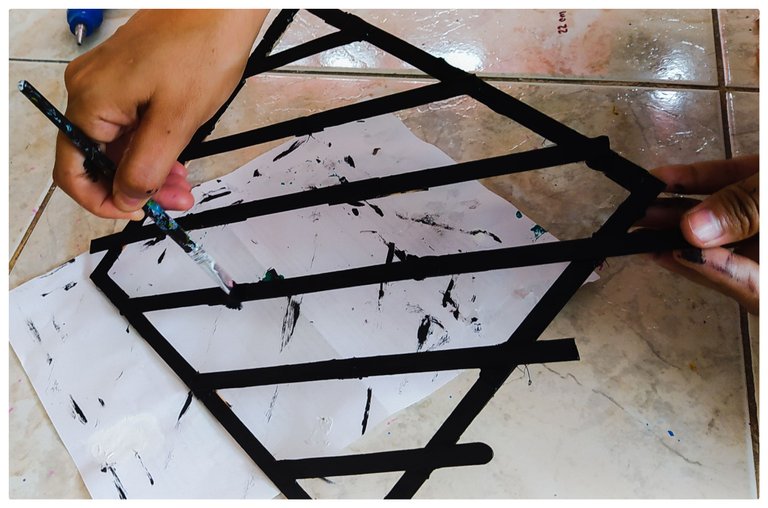
Se procede a pintar de negro(opcional).
📐Step four:
Proceed to paint black(optional).
📐Paso cinco:
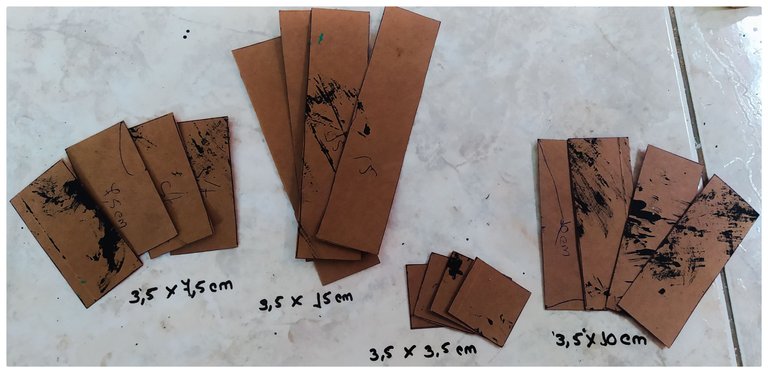
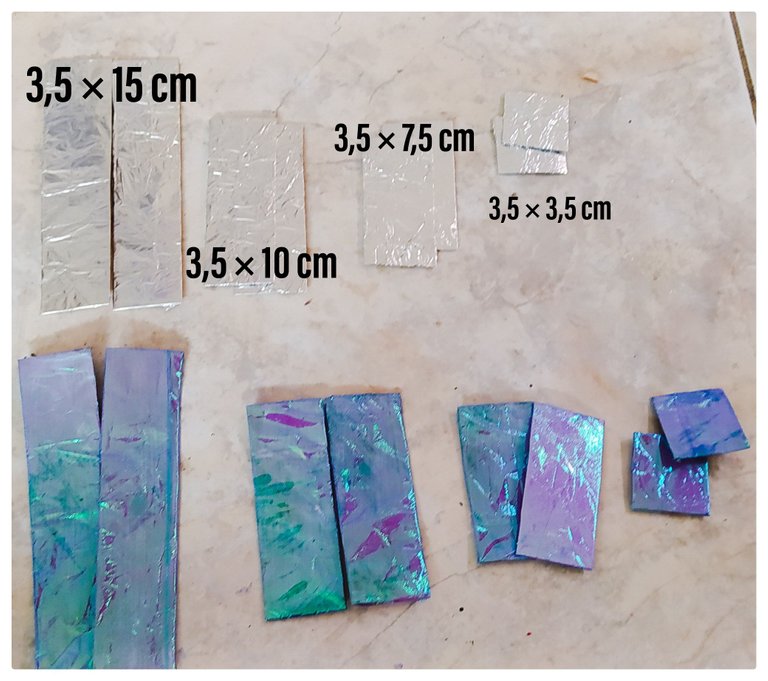
Mientras se seca la pintura... Con el cartón obtendremos rectángulos y cuadrados que medirán lo siguiente;
4 ➡️ 3,5 × 3,5 cm
4 ➡️ 3,5 × 7,5 cm
4 ➡️ 3,5 × 10 cm
4 ➡️ 3,5 × 15 cm
📐Step five:
While the paint dries... With the cardboard we will get rectangles and squares that will measure as follows;
4 ➡️ 3,5 × 3.5 cm.
4 ➡️ 3,5 × 7,5 cm
4 ➡️ 3,5 × 10 cm
4 ➡️ 3,5 × 15 cm
📐Paso seis:
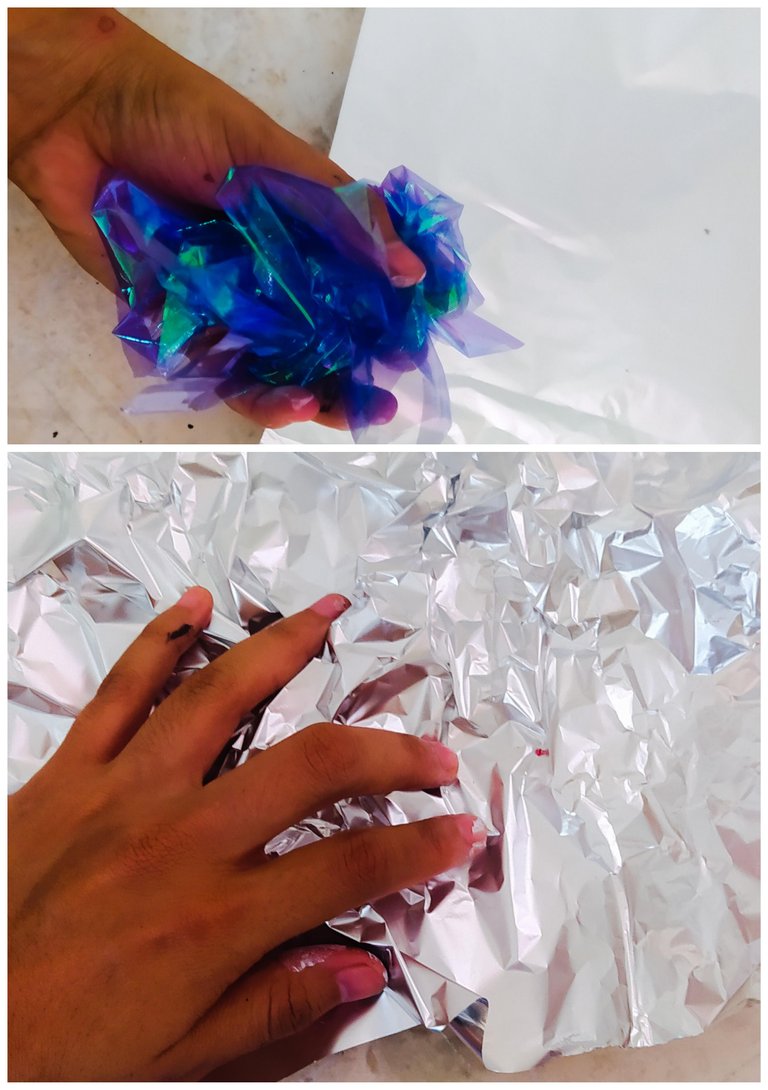
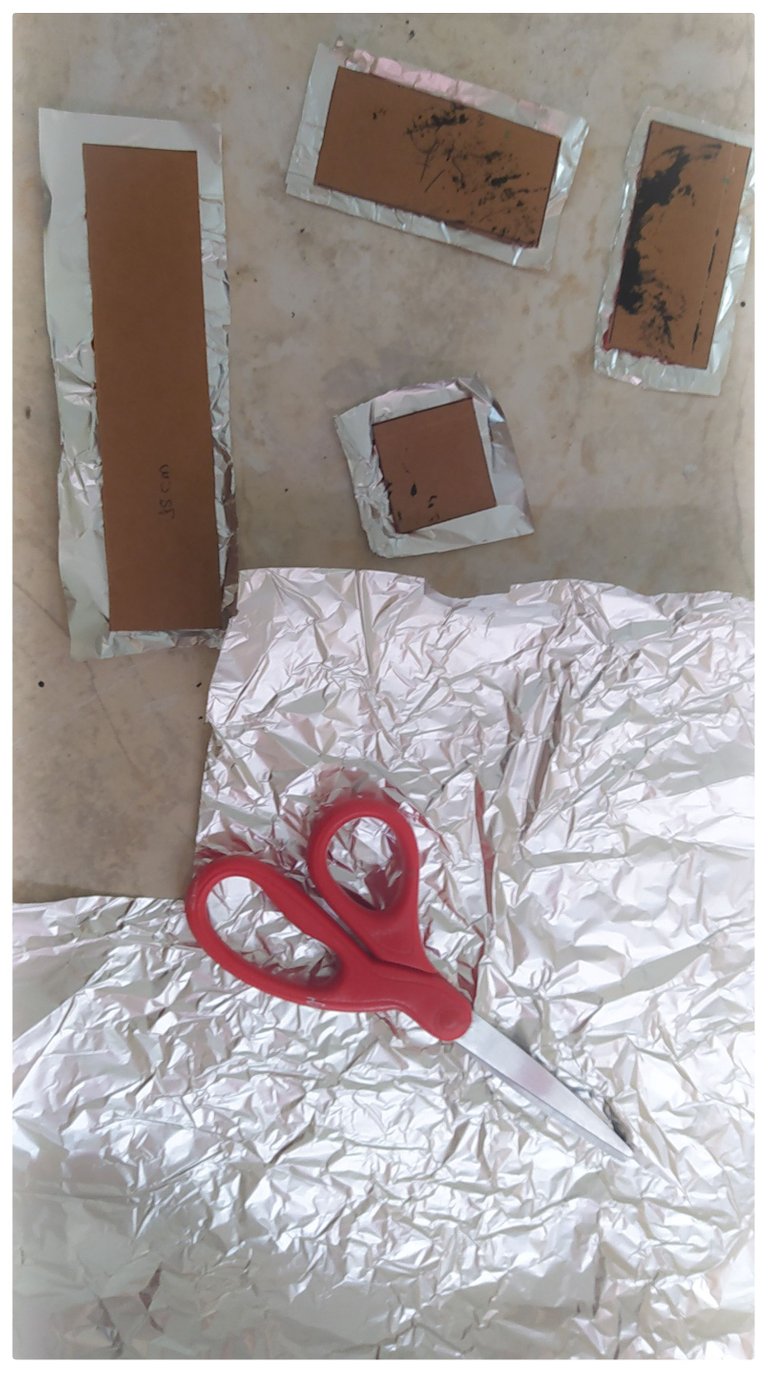
Procedemos arrugar levemente el papel aluminio y el papel translúcido y posterior vamos a envolver.
Nota: Recordemos que son 4 de cada una de las medidas, así que la mitad de cada una serán envuelta en papel aluminio y las otras dos en papel translúcido.
📐 Step six:
We proceed to slightly crumple the aluminum foil and translucent paper and subsequent we will wrap.
Note: Remember that there are 4 of each of the measures, so half of each will be wrapped in aluminum foil and the other two in translucent paper.
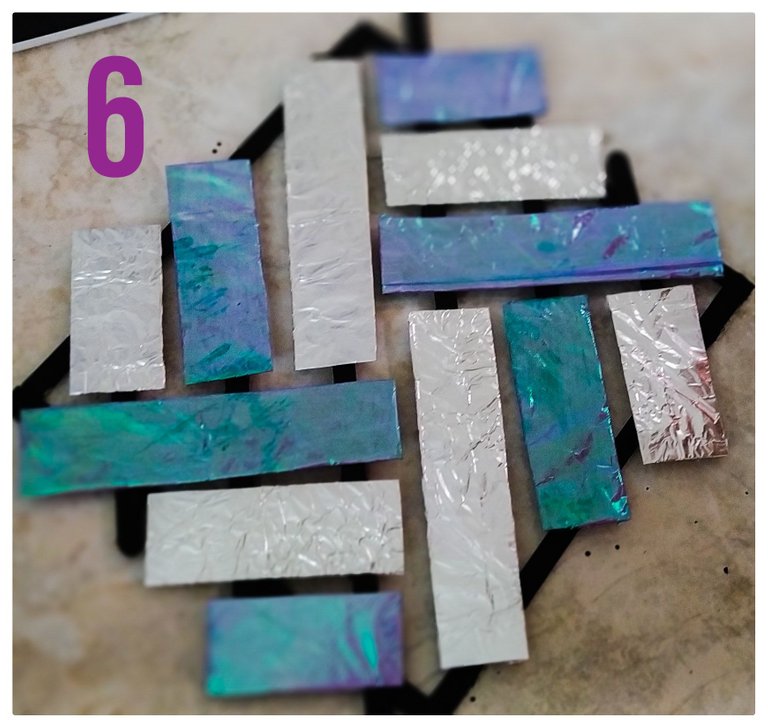
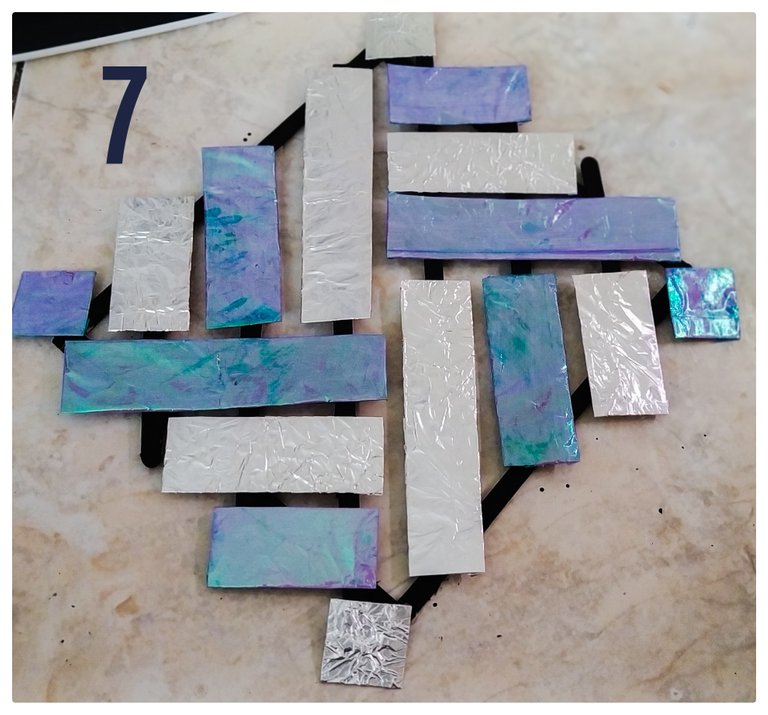
📐Paso siete:
Colocaremos nuestros rectángulos y cuadrados en la base de paletas, pero de la siguiente manera, observen.
📐 Step seven:
We will place our rectangles and squares on the pallet base, but in the following manner, note.
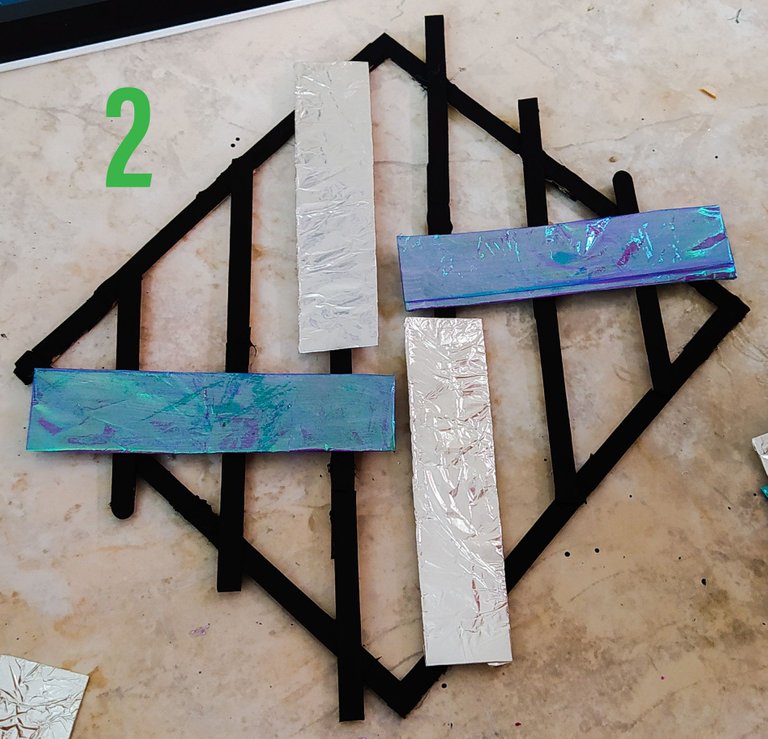
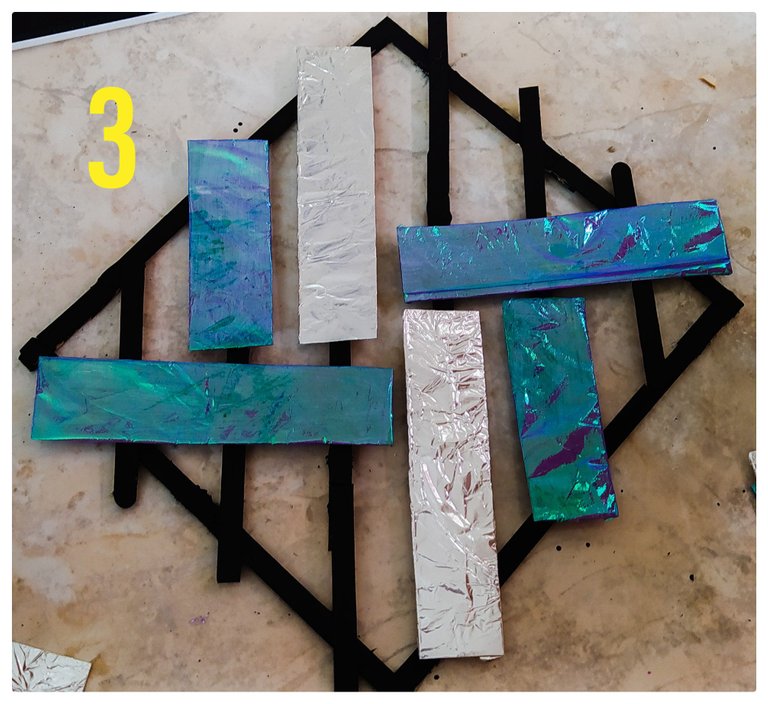
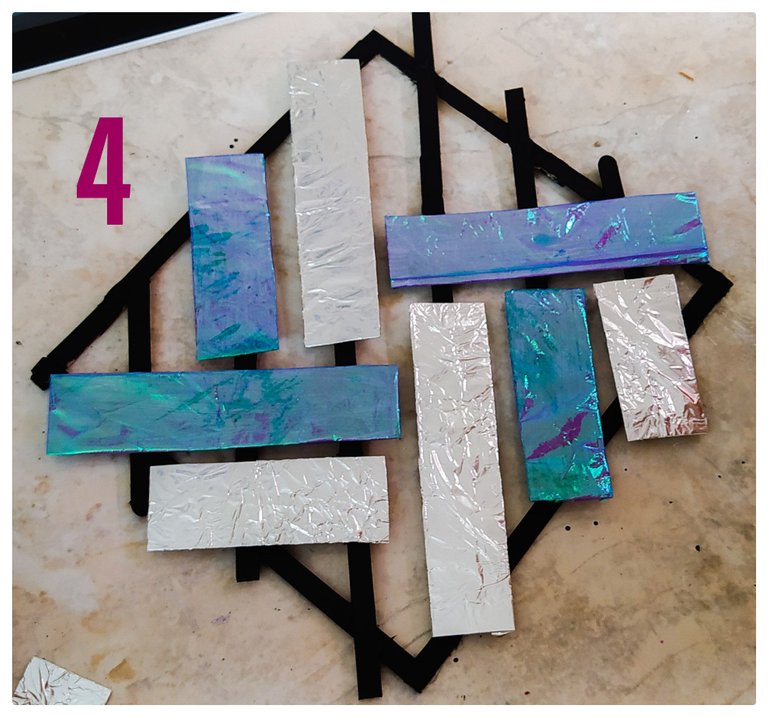
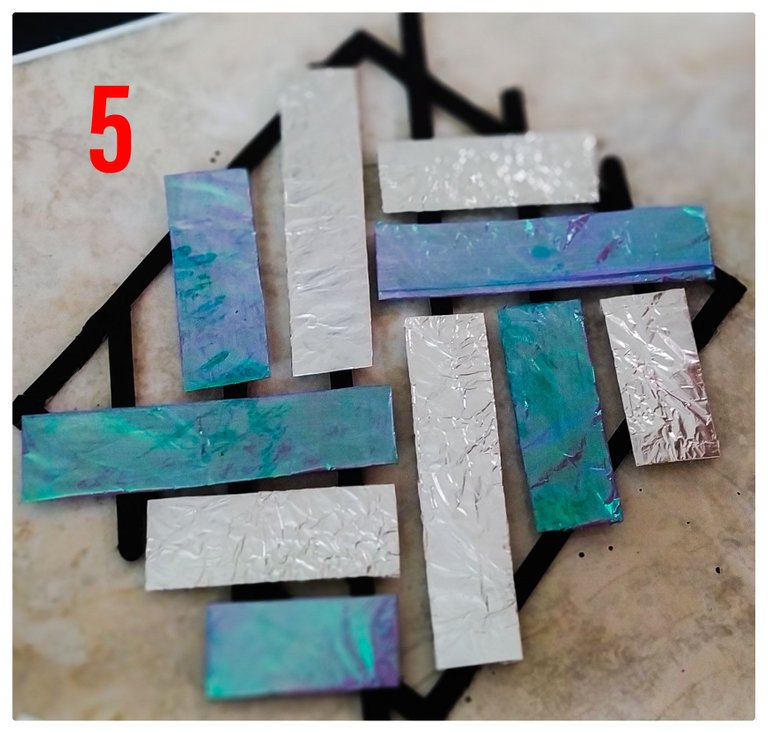
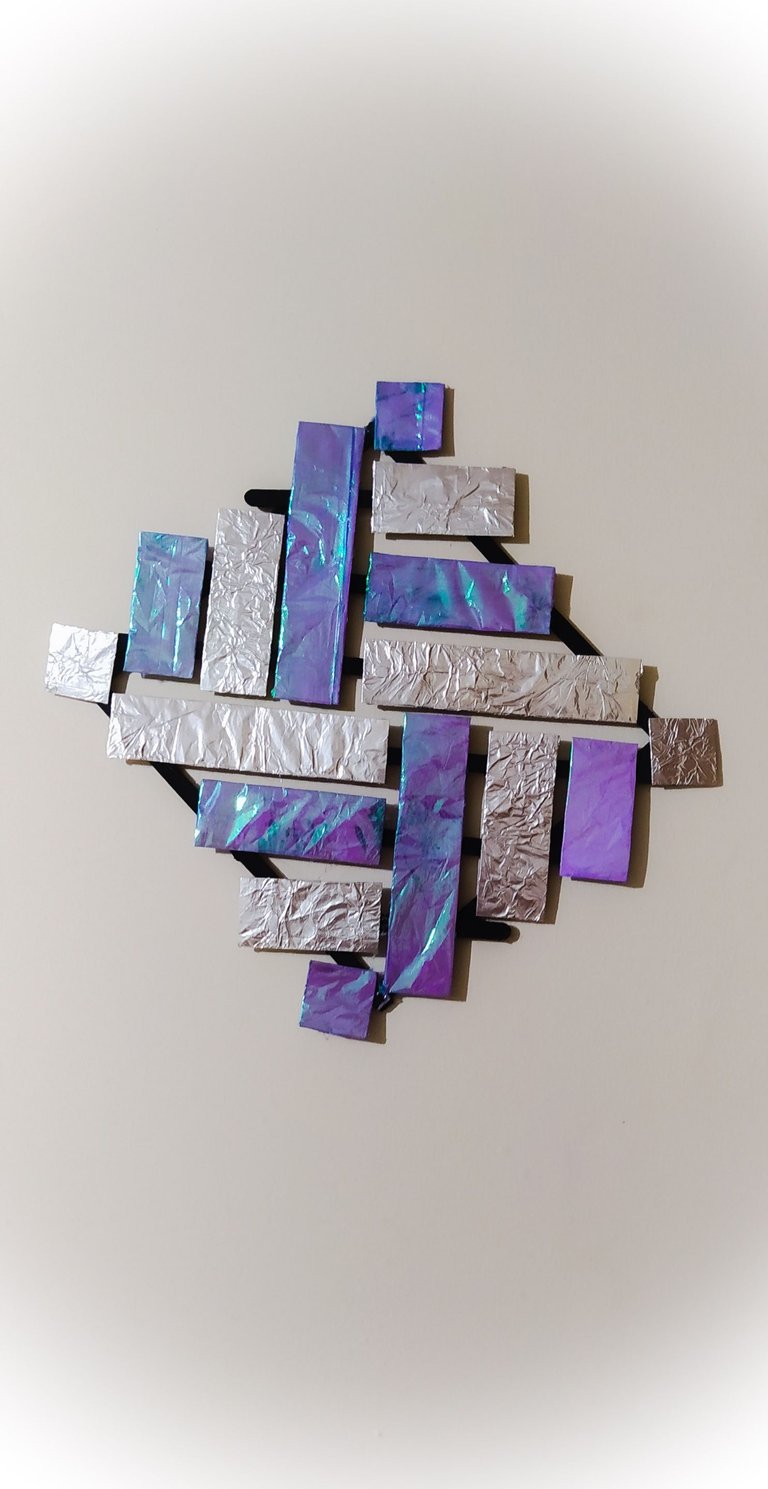
Listo!!! Ya tenemos nuestro elegante cuadro y con materiales de provecho, espero les haya gustado, gracias!!!
Ready!!! Now we have our elegant painting with useful materials, I hope you liked it, thank you!!!

Hola @agape5. Que buena idea para hacer el cuadro
Holaa!! Me contenta mucho que te haya gustado, gracias por tu apoyo!!. @gabrielcb
Congratulations, your post has been upvoted by @dsc-r2cornell, which is the curating account for @R2cornell's Discord Community. Enhorabuena, su "post" ha sido "up-voted" por @dsc-r2cornell, que es la "cuenta curating" de la Comunidad de la Discordia de @R2cornell.
Muchas gracias por su apoyo !!!
@dsc-r2cornell