If you are a lover of reading and crafts, like me, you will love this DIY. 🙆
¡Holaaa, Hiver!
Si eres amante de la lectura y de las manualidades, como yo, este DIY te gustará muchísimo. 🙆
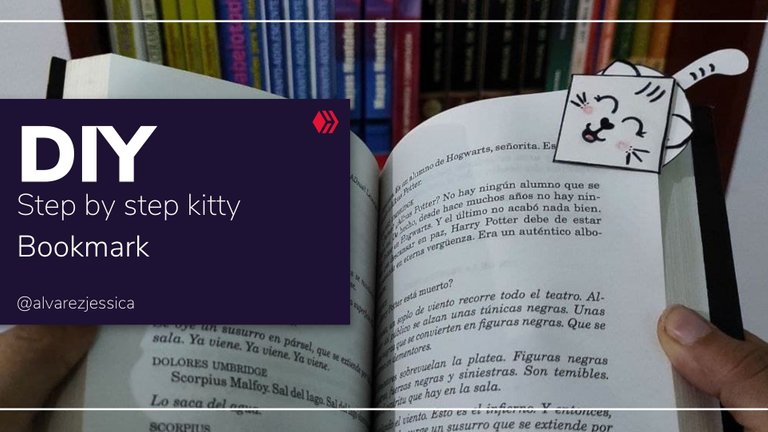

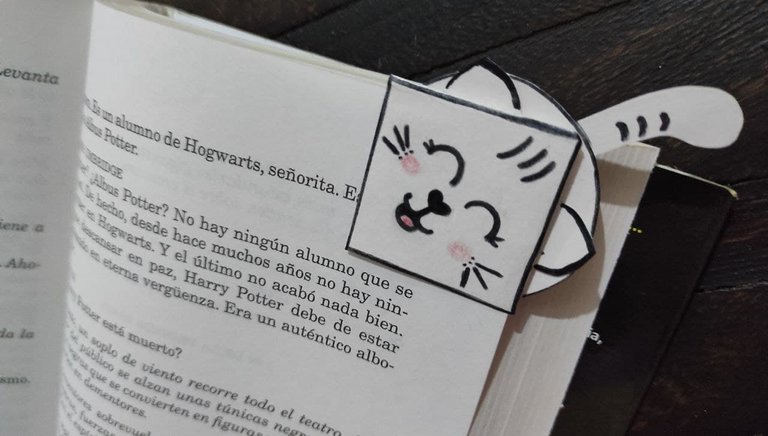
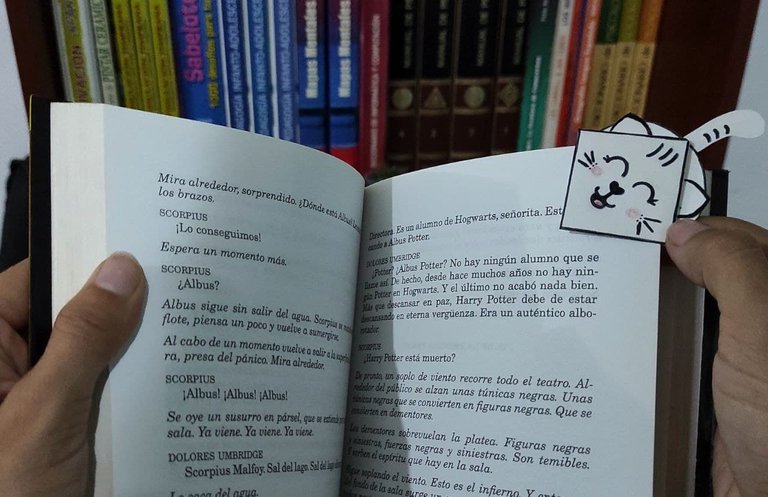
Me encanta leer, desde hace muchos años he convertido la lectura en uno de mis hábitos favoritos. Al momento de marcar las páginas he utilizado muchísimas cosas: Etiquetas, notas, cintas, memorizar la página, pedacitos de hojas y hasta billetes 😅. Actualmente tengo un marcapáginas super lindo que me regalaron en una librería, pero hace unos días necesitaba otro, así que se me ocurrió hacer uno, pero no cualquiera, sino un marcapáginas que tuviese un toque especial y, como actualmente estoy obsesionada con mi gatito, lo utilice como inspiración y el resultado fue muy tierno.
I love reading, for many years I have made reading one of my favorite habits. When marking pages I have used lots and lots of things: labels, notes, ribbons, memorizing the page, little pieces of paper and even bills 😅. I currently have a super cute bookmark that I got from a bookstore, but a few days ago I needed another one, so I thought of making one, but not just any bookmark, but a bookmark that had a special touch and, as I'm currently obsessed with my kitty, I used it as inspiration and the result was very cute.
El diseño es muy sencillo y versátil, lo que te permite decorarlo de la manera que quieras, solo déjate llevar por la imaginación y la creatividad.
The design is very simple and versatile, allowing you to decorate it any way you want, just let your imagination and creativity take over.

Materiales // Materials
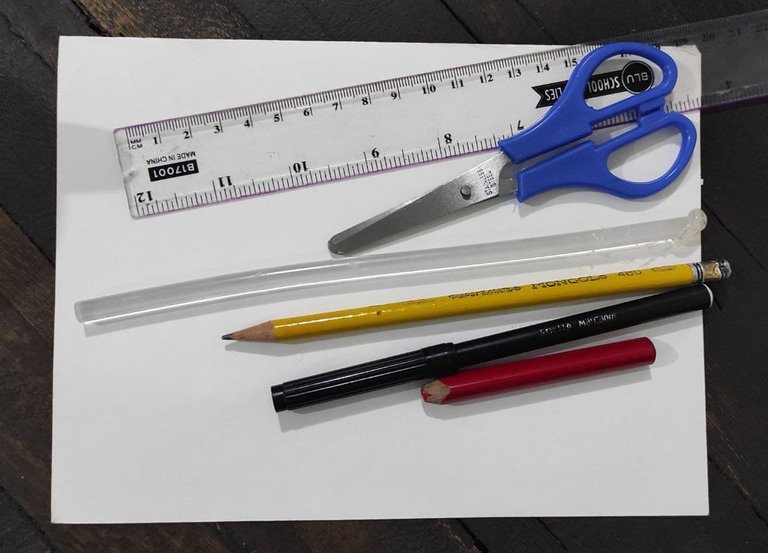
| Materiales: | Materials: |
|---|---|
| ✅ Cartulina | ✅ Cardboard |
| ✅ Tijera | ✅ Scissors |
| ✅ Silicona | ✅ Silicone |
| ✅ Lápiz y marcadores | ✅ Pencil and markers |
| ✅ Regla | ✅ Ruler |

Paso a Paso // Step by Step
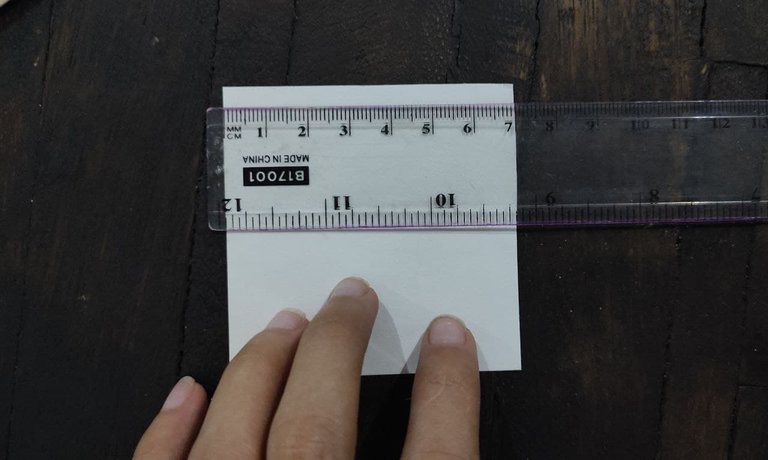
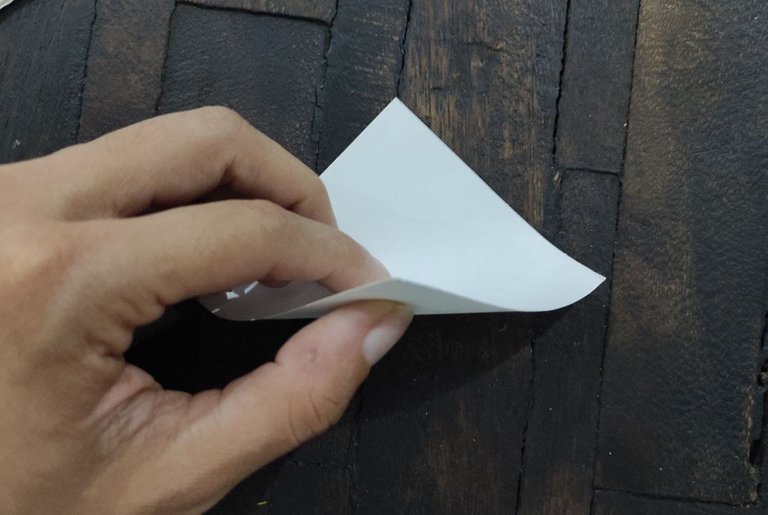
Para iniciar, dibuja y recorta un cuadrado de cartulina de 7 cm. Luego, toma una de sus esquinas y dóblalo justo por la mitad.
To start, draw and cut out a 7 cm square of cardboard. Then, take one of its corners and fold it right in half.

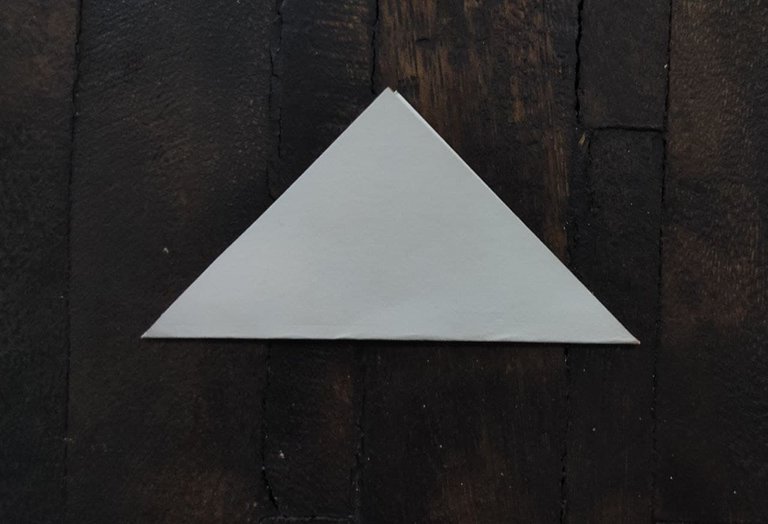

Cuando lo dobles por la mitad, obtendrás un triángulo, el cual deberás plegar desde sus orillas. Para eso, toma la punta izquierda y dóblala hacia arriba, luego desdóblala y haz exactamente lo mismo con la esquina derecha.
When you fold it in half, you will get a triangle, which you will have to fold from its edges. To do this, take the left end and fold it up, then unfold it and do exactly the same with the right corner.


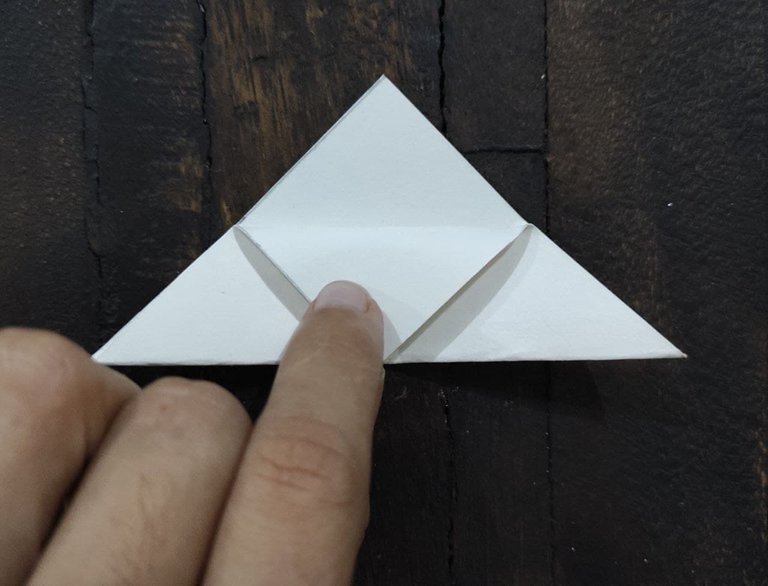
Hacer esto dejará unas marcas en el triángulo que te facilitará realizar los siguientes pasos. Ahora toma la esquina superior y dóblala hacia abajo, haciendo presión para que no se desdoble.
Doing this will leave some marks on the triangle that will make it easier for you to do the next steps. Now take the top corner and fold it down, pressing down so that it doesn't unfold.

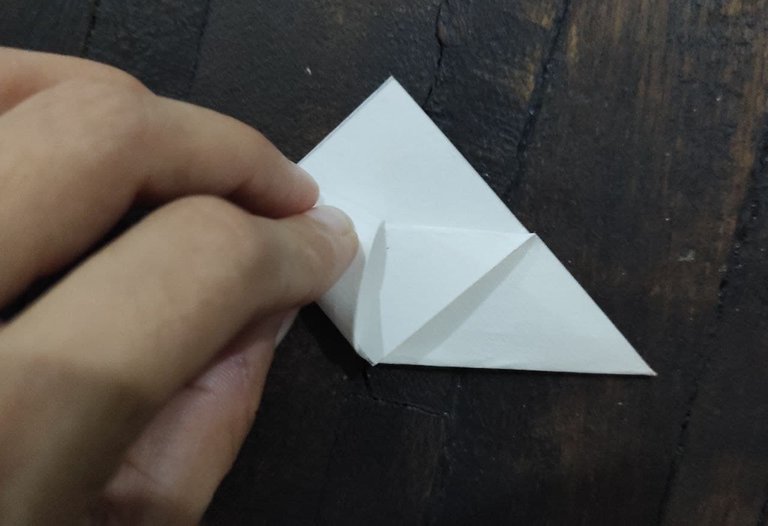
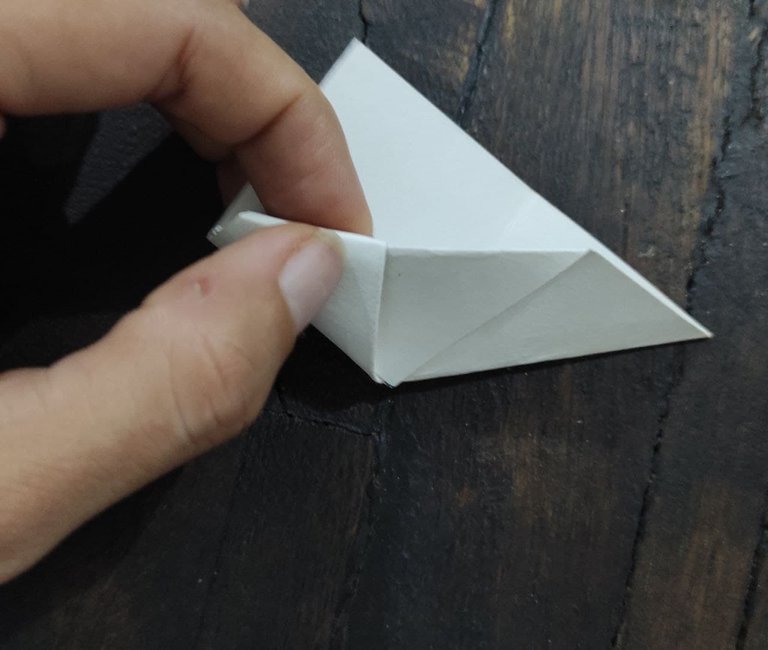
Ahora, toma la esquina izquierda y doblada hacia el centro, procurando que quede firme en el espacio interior del triángulo. Luego haz lo mismo con la esquina derecha.
Now, take the left corner and fold it towards the center, making sure that it is firmly in the inner space of the triangle. Then do the same with the right corner.


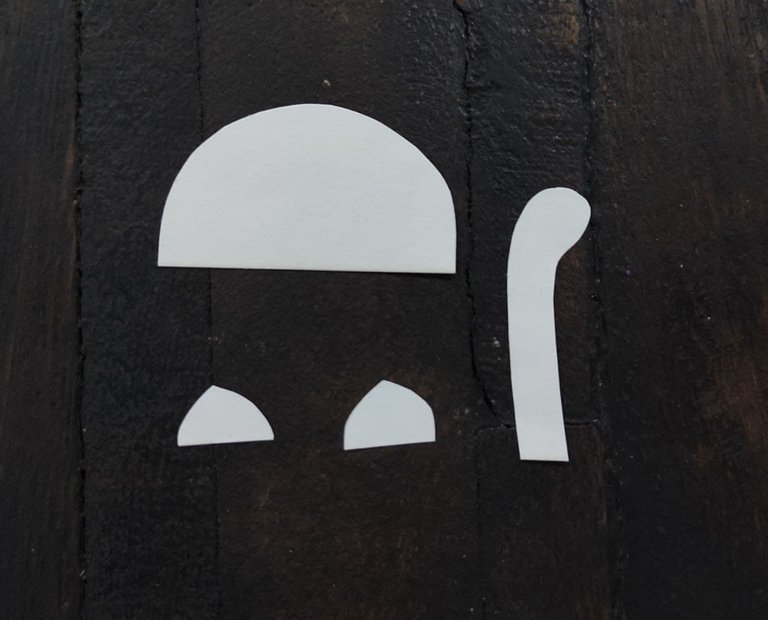
Cuando lo hayas doblado, quedará así. Ahora, dibuja y recorta dos triángulos de 1 cm que serán las orejas del gatito, un medio círculo de 4,3 cm que será su cuerpo, y una cola de 4 cm de largo.
When you have folded it, it will look like this. Now, draw and cut out two 1 cm triangles that will be the kitten's ears, a 4.3 cm half circle that will be its body, and a 4 cm long tail.

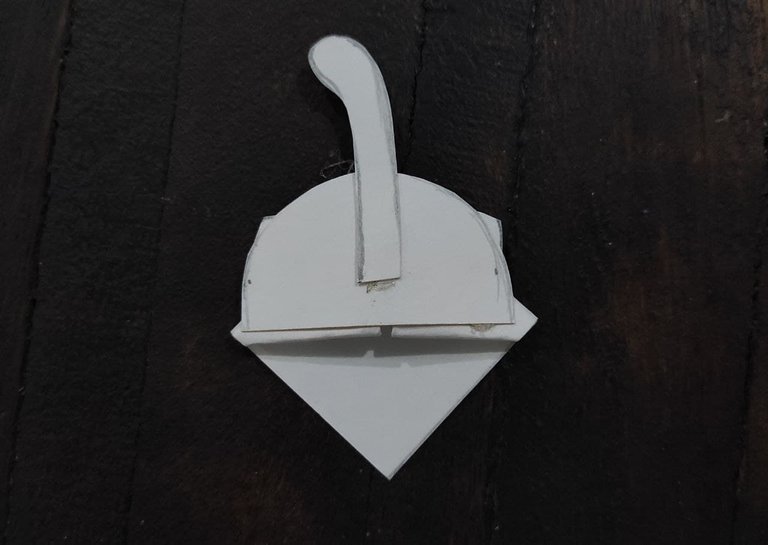
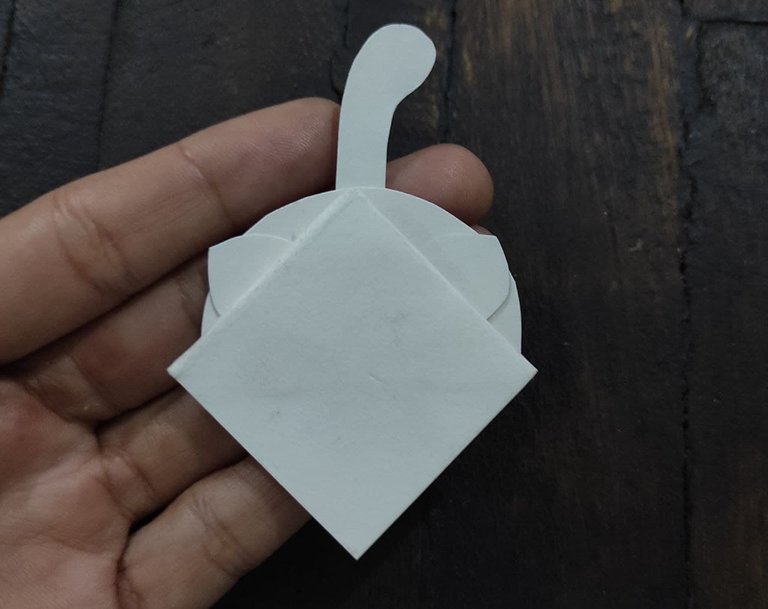
Con la silicona, pega las partes del gatito, iniciando con las orejas, luego el cuerpo y por último la cola. Recuerda que debes pegarlo por la parte posterior del triángulo, que vendría a ser la cara del gato.
With the silicone, glue the parts of the kitten, starting with the ears, then the body and finally the tail. Remember to glue it on the back of the triangle, which would be the face of the cat.

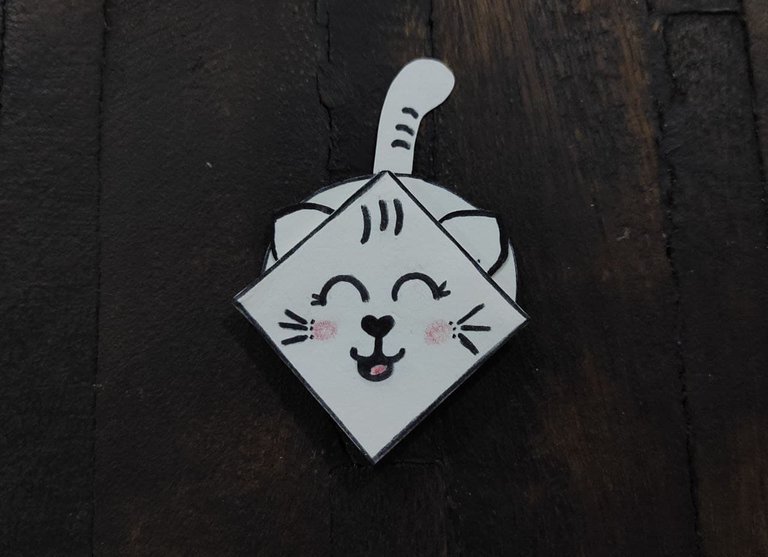
Después solo debes dibujar y pintar a tu gatito como mejor prefieras y listo, ya tienes un tierno marcapáginas 🤗. Recuerda que con este mismo método de origami puedes recrear distintos diseños de marcapáginas.
Then you just have to draw and paint your kitty as you prefer and that's it, you have a cute bookmark 🤗. Remember that with this same origami method you can recreate different bookmark designs.

Gracias por leerme, espero que te haya gustado. // Thanks for reading, I hope you liked it.

Las fotografías son mi de autoría. Los diseños los realicé en Canva y la traducción al Inglés en DeepL. The photographs are my own. The designs were made in Canva and the English translation in DeepL.


The rewards earned on this comment will go directly to the person sharing the post on Twitter as long as they are registered with @poshtoken. Sign up at https://hiveposh.com.
Congratulations @alvarezjessica! You have completed the following achievement on the Hive blockchain and have been rewarded with new badge(s) :
Your next target is to reach 40 posts.
Your next target is to reach 400 replies.
You can view your badges on your board and compare yourself to others in the Ranking
If you no longer want to receive notifications, reply to this comment with the word
STOPTo support your work, I also upvoted your post!
Check out the last post from @hivebuzz: