Hello, dear readers
It’s woodworking time!
Buen día, estimados lectores.
¡Es hora de trabajar!
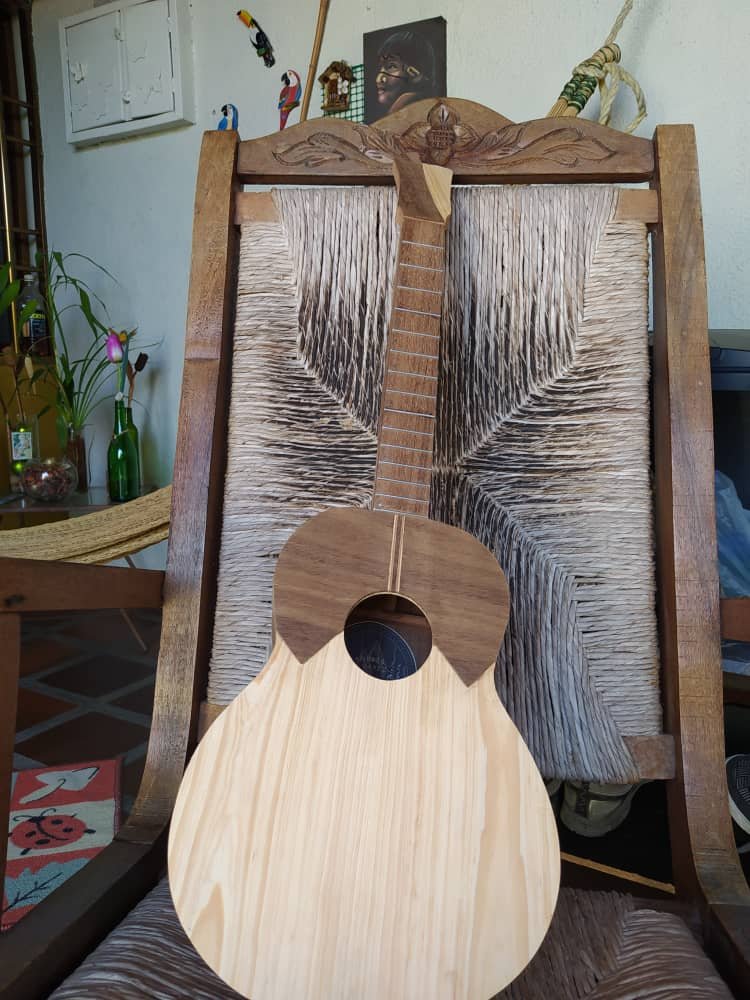
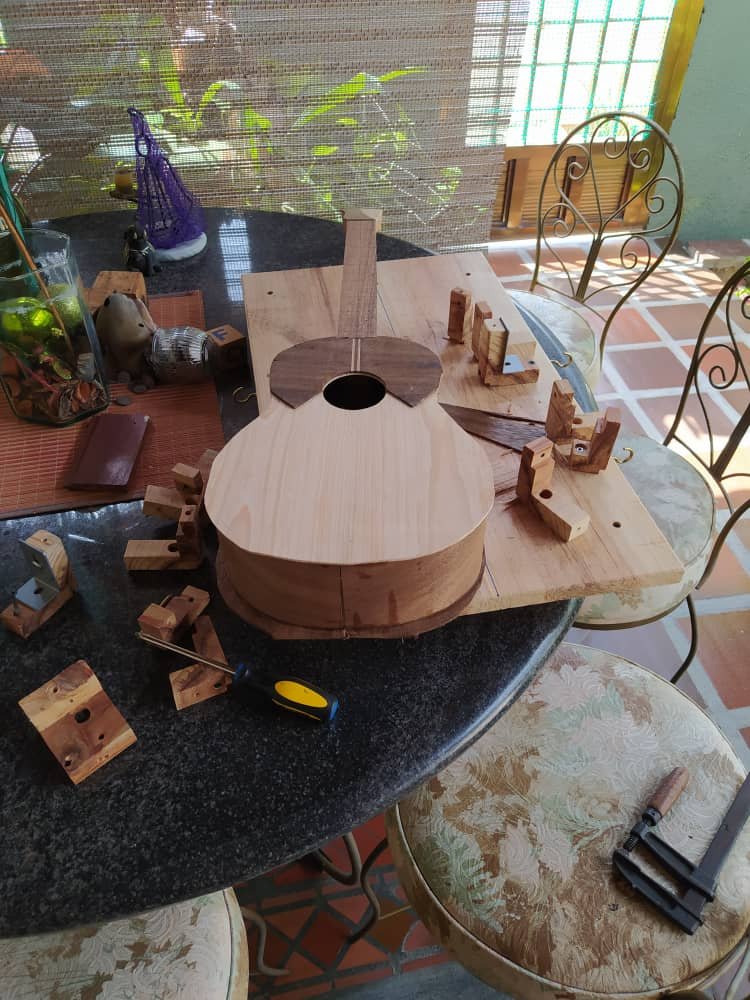
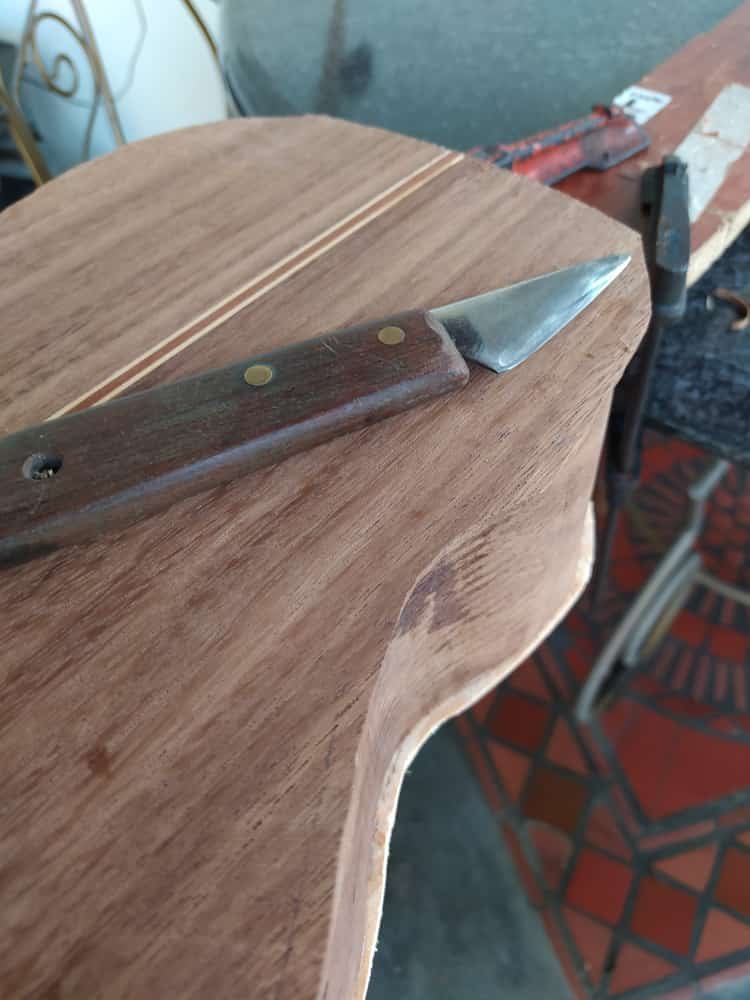
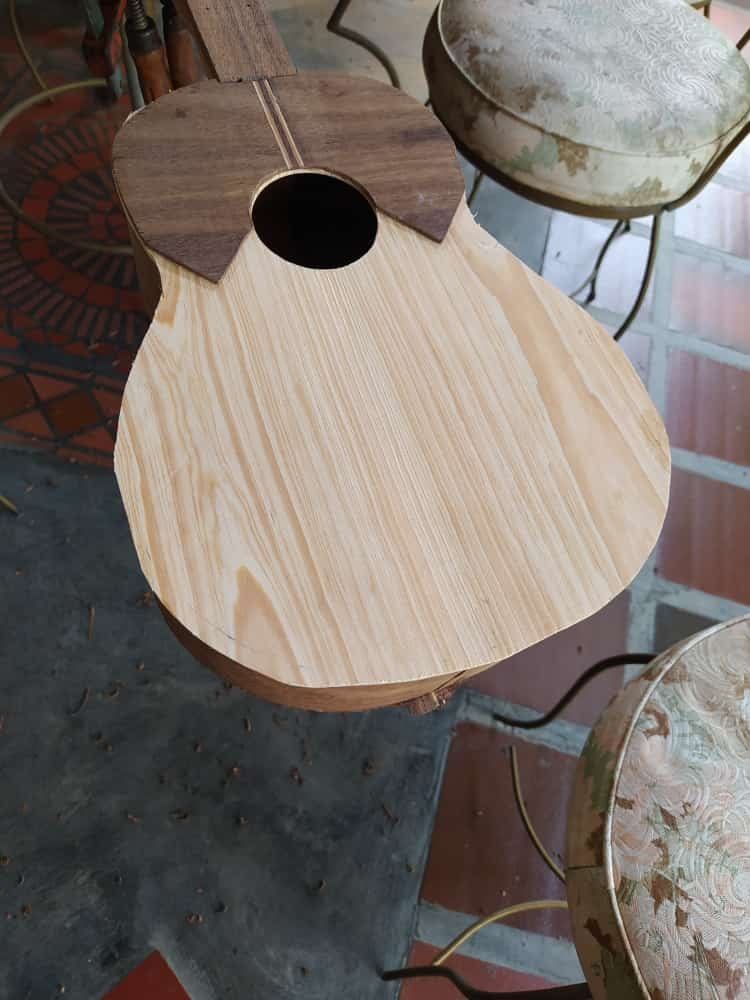
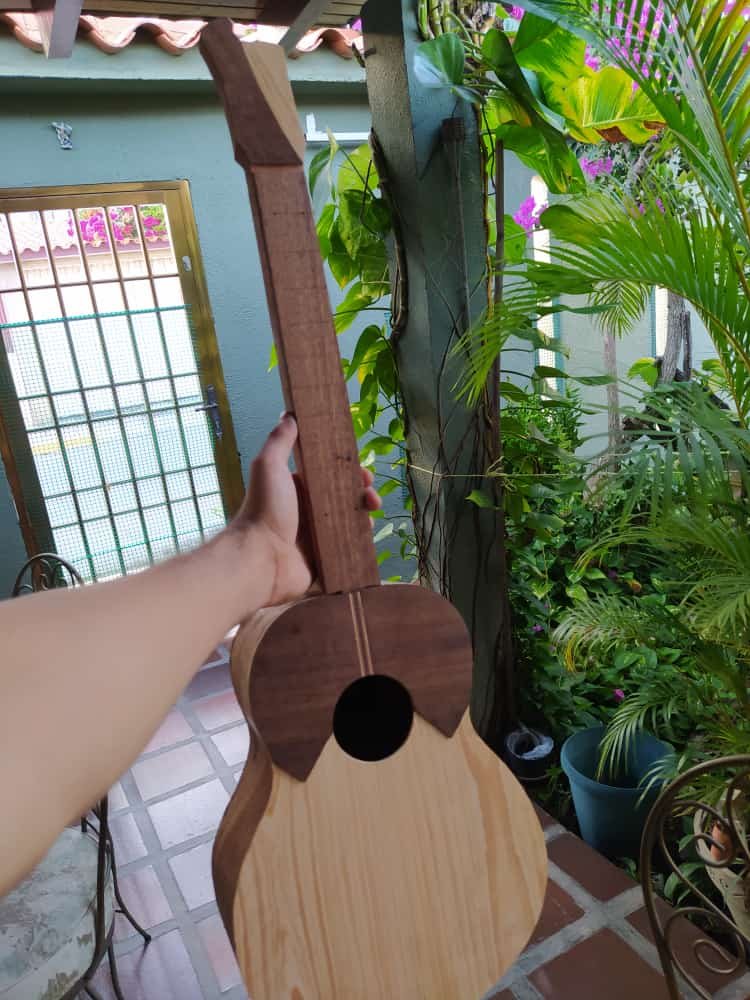
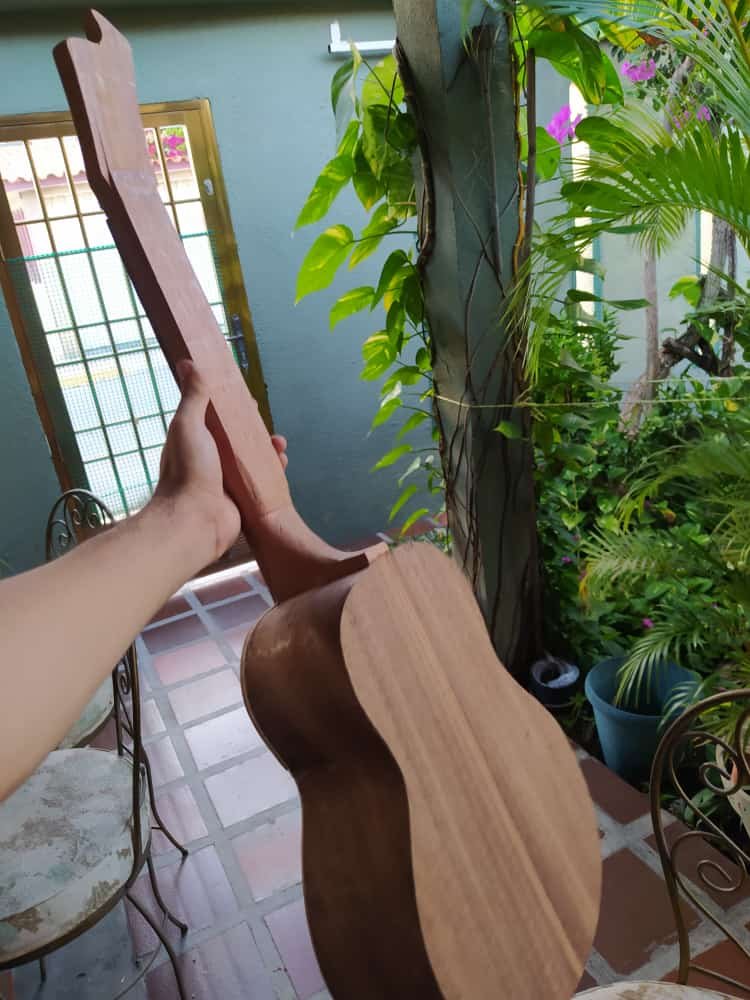
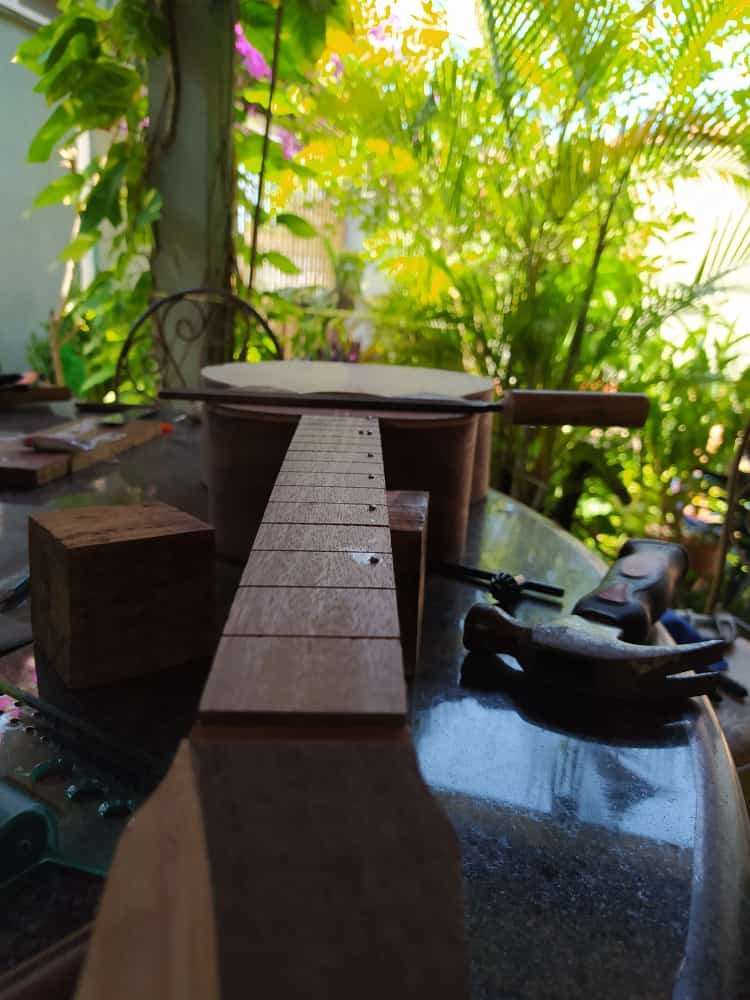
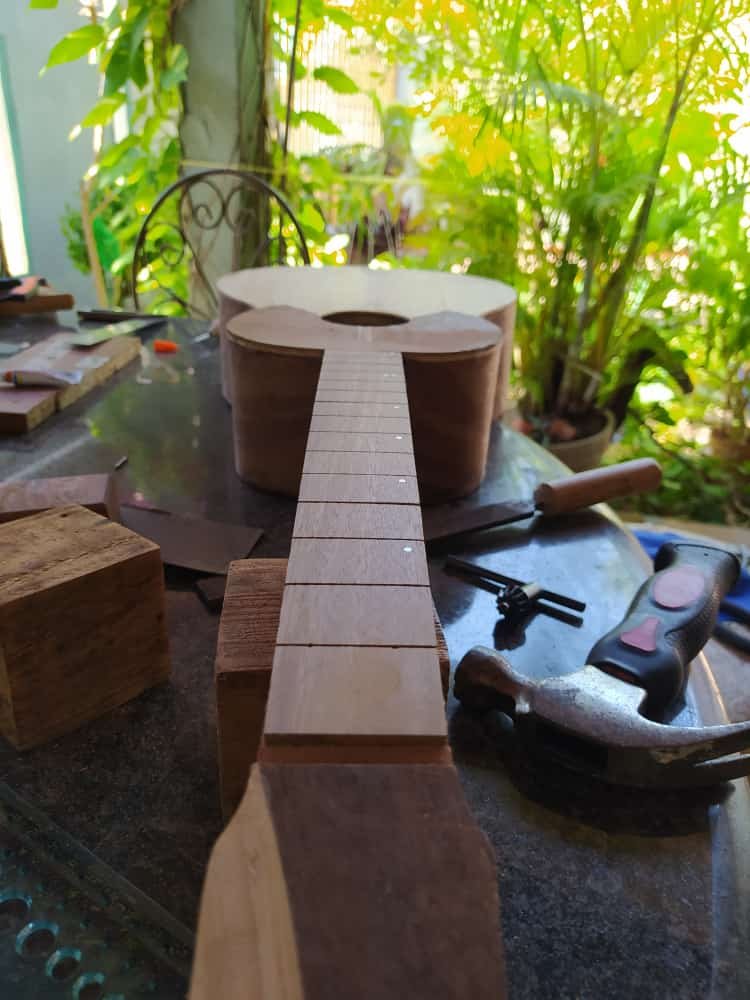
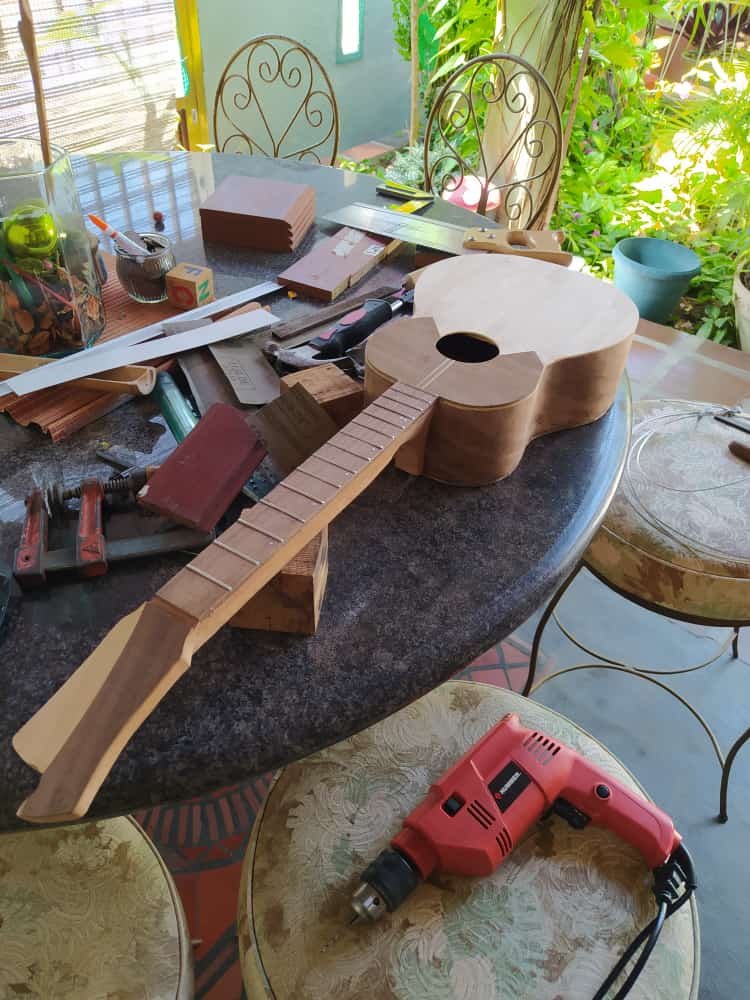
It’s always great news when you’re about to get the cuatro out of the mold. This is like opening Christmas gift, a trip through memory lane. Undoubtedly, it’s my favorite part the build. Now, we can see the instrument’s shape and go ahead with more details. First, it’s time to trim off the excess material on the sound board and back to have a more defined shape.
Siempre es un buen día cuando se saca un instrumento del molde. Es como abrir un regalo de navidad, un viaje por la nostalgia. Ahora que la forma del instrumento está definida, se puede continuar con otros detalles. Pero primero, hay que remover el material de exceso en la tapa armónica y fondo.
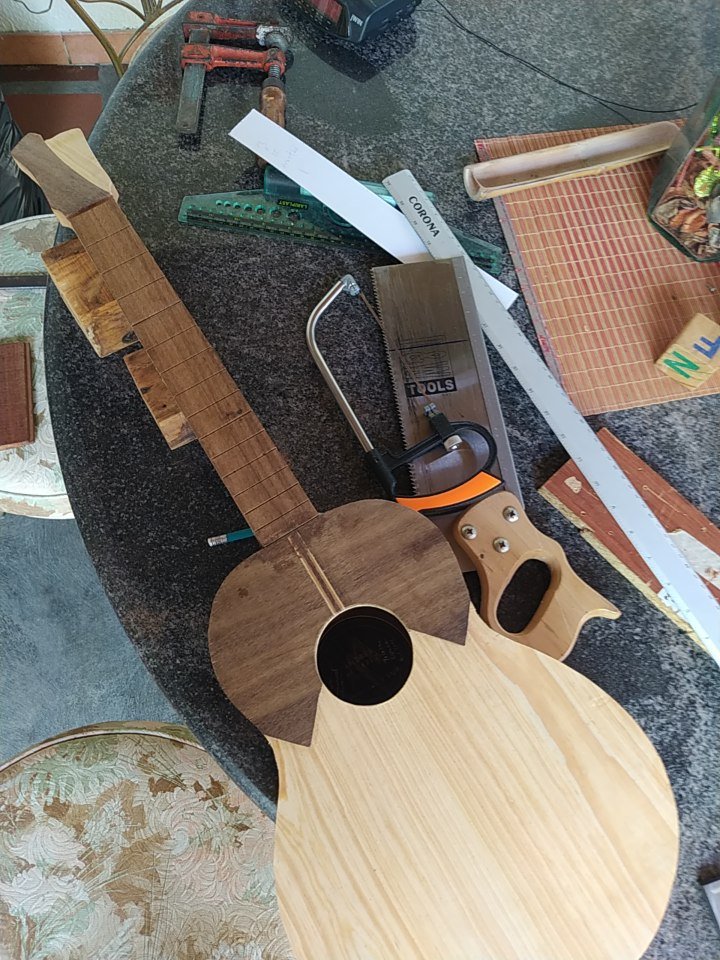
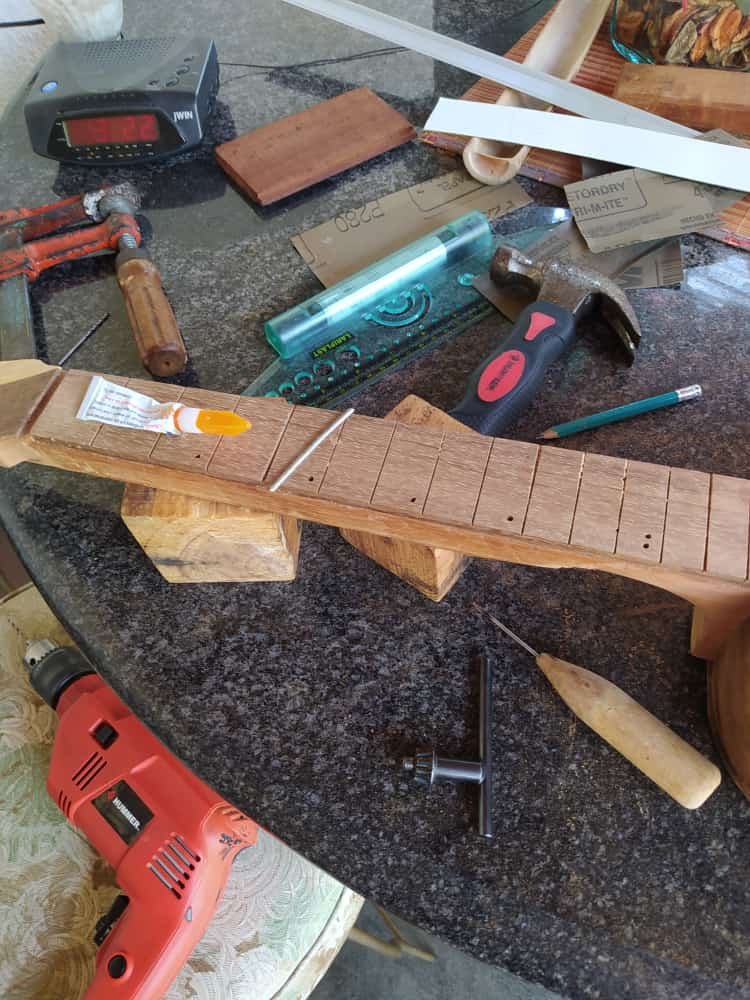
We can tackle the fretboard. Since I got new saws, this is the first time I’m doing the whole process at home. First, I used a back saw to open the slots. Then, I changed to a smaller saw to deepen the slot. I have to say that before this I had to use a hammer in both saws to straighten the teeth in both. As the purpose is not to cut the piece but opening a straight line, we cannot rely on the usual display of saws. Teeth have to go straight.
Ahora es tiempo de trabajar en el diapasón. Esta es la primera vez que hago todo este proceso en casa. No hay problema, tengo sierras nuevas. Primero, utilicé un serrucho de costilla para abrir la ranura. Luego, cambié una más pequeña para abrir la ranura hacia abajo. Tengo que aclarar que antes de hacer esto, tuve que enderezar los dientes de las sierras. Como el objetivo es abrir ranuras y no cortar, la tranca de las sierras no nos sirve. Los dientes deben ir derechos.

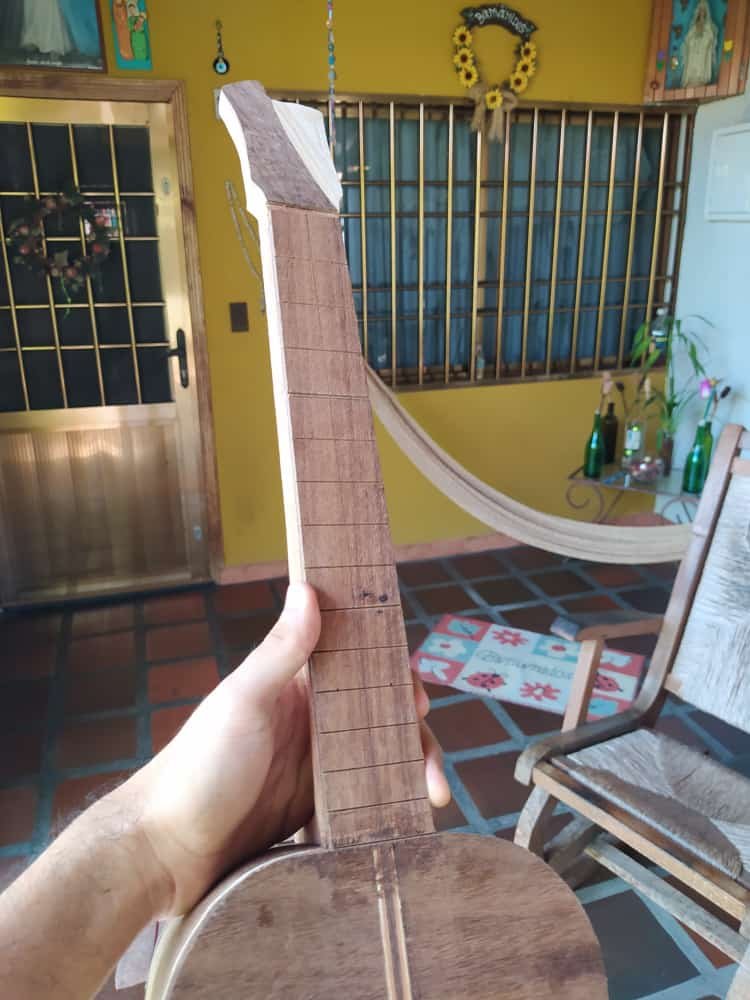

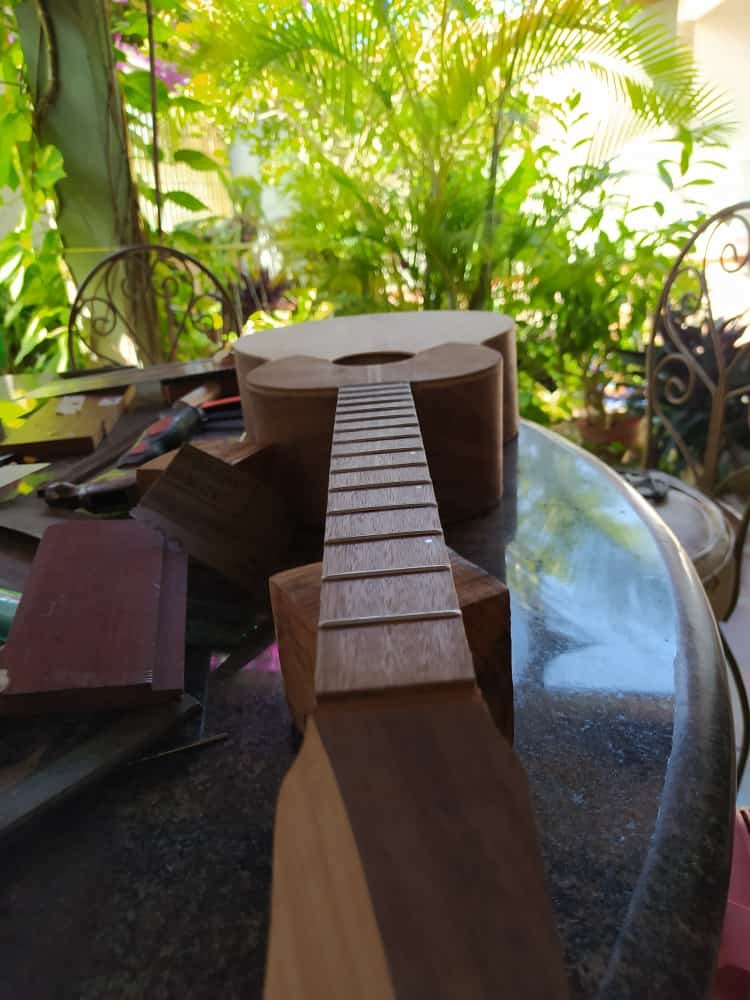
Along with the frets, we had took the chance to put the position markers. This is no more than opening a hole with a drill and getting the piece of aluminum into place, then cut the piece and file to flatten it. The frets also need filing, otherwise the musician would cut their fingers while playing.
Además de los trastes, colocamos los puntos armónicos. Esto es solamente abrir un agujero con un taladro, colocar el cilindro y cortar. Luego, se rebaja con una lima. Los trastes también se tienen que ser limados para evitar que el músico se corte al tocar el instrumento.
That is all for this entry. Thanks a lot for reading. See you in the next chapter.
Eso es todo por esta ocasión. Gracias por leer. Nos vemos en el próximo post.
All the pictures used in these post were taken with my phone.
Todas las fotos en este post fueron tomadas con mi teléfono.
Nuestras coordenadas:
Muchas gracias por su apoyo.
¡Muchas gracias por su apoyo!