Mis saludos y respeto para la comunidad de Hive, en especial @build-it hoy les traigo este post de un tren construido con material reciclado, con elementos que tenemos en nuestros hogares, una vez que hayan sido desechado,en este caso ya tenia varios potes de plástico que no encontraba que hacer con ellos, pero no los quería botar, así que se me ocurrió hacer un trencito y presentaroelo a ustedes, espero que les agrade y es muy fácil, de hacer para que se los hagan a los mas chiquito de la casa.
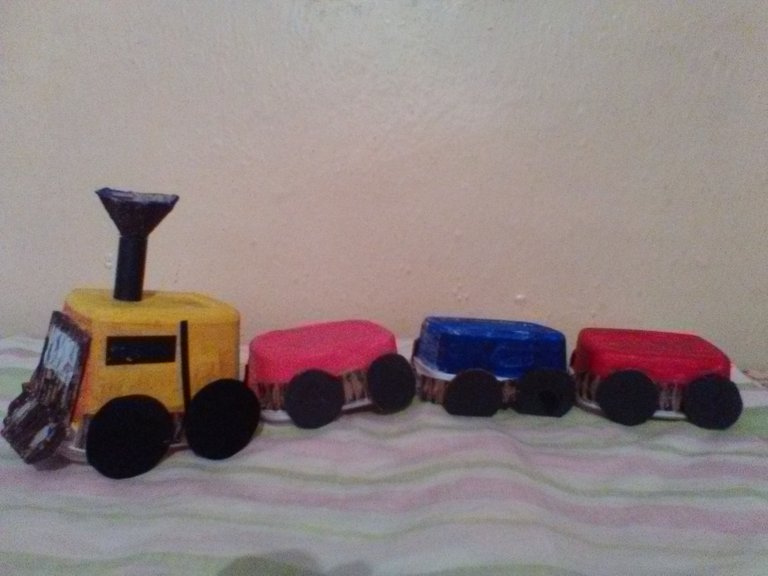
My greetings and respect for the Hive community, especially @build-it today I bring you this post of a train built with recycled material, with elements that we have in our homes, once they have been discarded, in this case I had several plastic pots that I could not find what to do with them, but I did not want to throw them away, so I thought of making a little train and present it to you, I hope you like it and it is very easy to make them to the little ones in the house.
Materiales:
- 4 envases de plástico
- cartón
- regla
- lápiz
- tijera
- silicòn
- pinturas de diferentes colores
- pincel
- tubito de cartón
- pedazo de cartón de huevo
- retazo de papel aluminio.
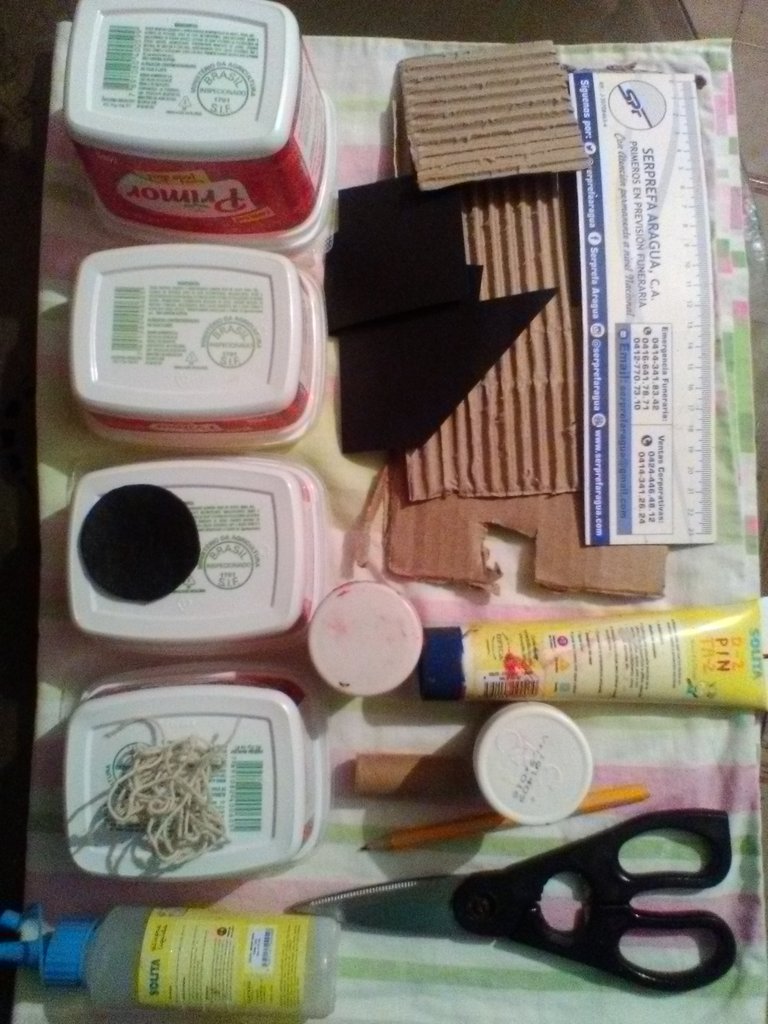
Materials:
- 4 plastic containers
- cardboard
- ruler
- pencil
- scissors
- silicone
- paints of different colors
- paintbrush
- cardboard tube
- piece of egg carton
- piece of aluminum foil.
Pasos:
En el cartón marcar, recortar y pintar de color negro 8 círculos que serán los cauchos.
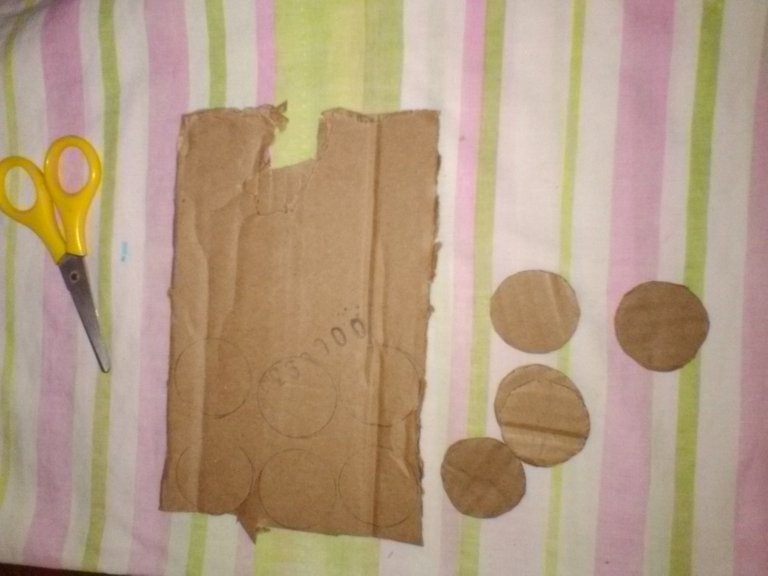
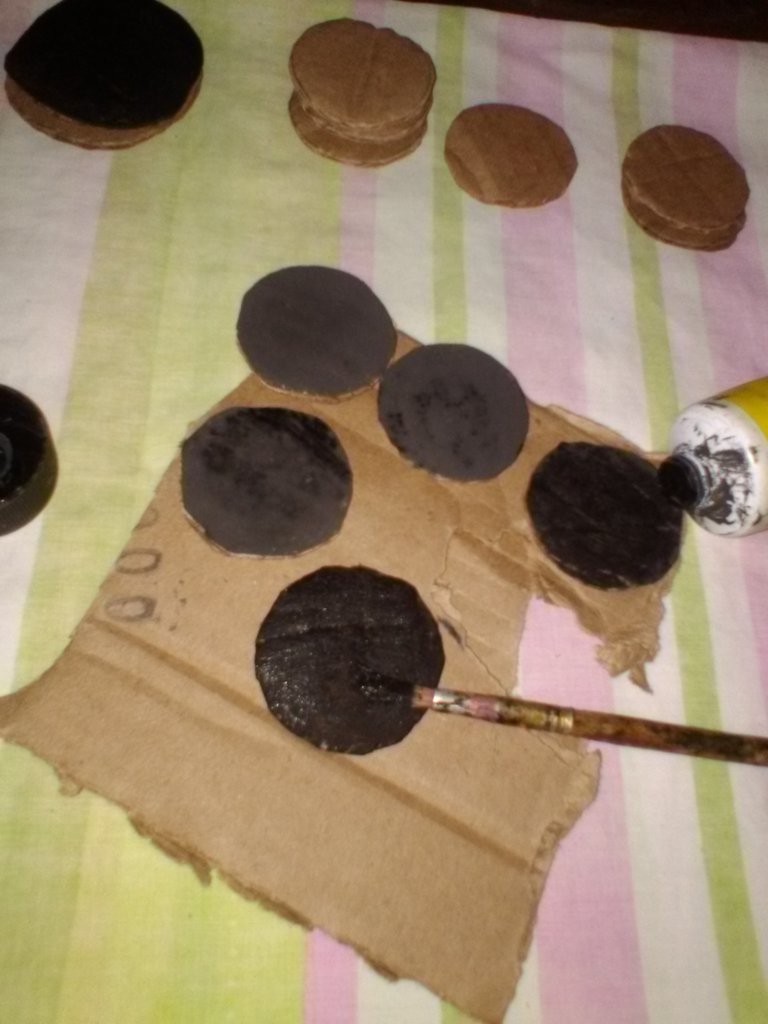
Steps:
On the cardboard, mark, cut out and paint black 8 circles that will be the rubbers.
En un cartón de caja le retiramos una de las capas para que nos quede corrugado y marcar 2 listones de 20 x 2 cm luego pintar de color marrón los bordes y cortar 10 cm los listones para sacar 4 y proceder a pegar en cada uno de los envases que previamente fueron pintados cada uno de un color diferente.
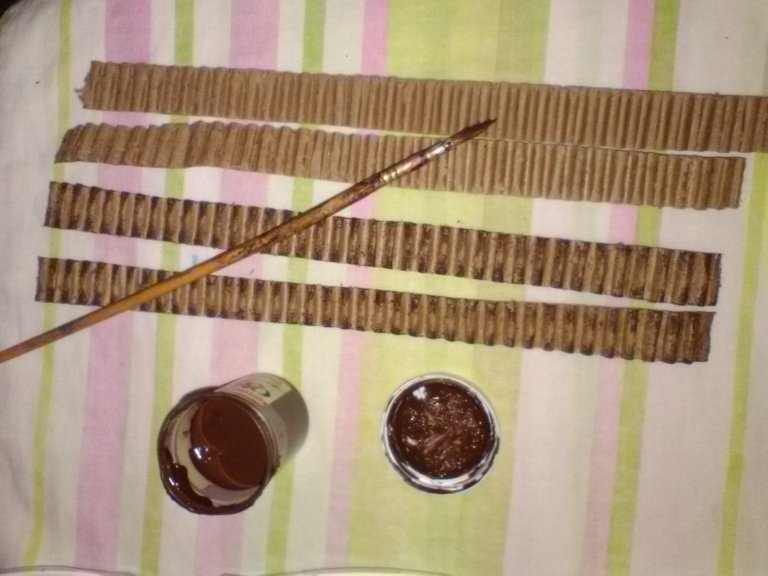
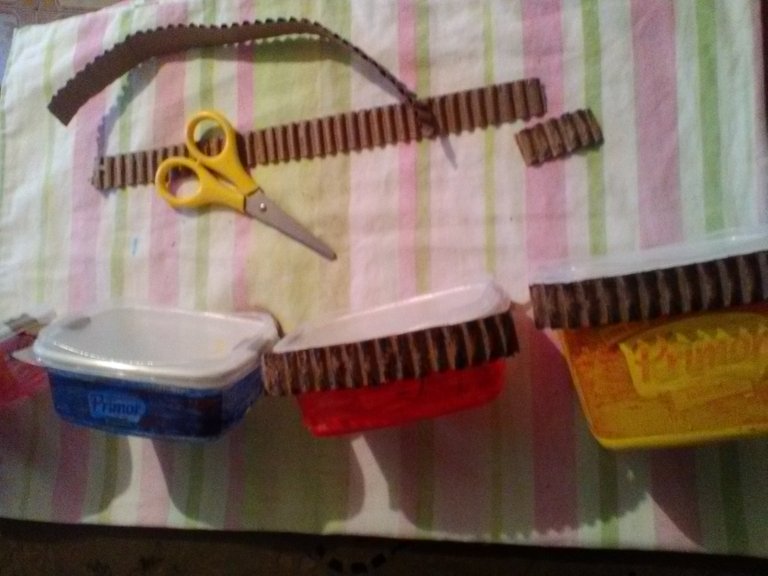
In a cardboard box we remove one of the layers so that it is corrugated and mark 2 strips of 20 x 2 cm then paint the edges brown and cut 10 cm strips to get 4 and proceed to paste on each of the containers that were previously painted each of a different color.
Proceder a pegar en cada envases los 4 cauchos, encima de los listones anteriormente pegados en la parte inferior de los laterales también recortar del cartón corrugado un rectángulo del tamaño de 8 x 5 cm, se pinta de marrón a su vez se le pegara un rectángulo de papel aluminio y 2 pequeños círculos que simularan el vidrio y los focos del trencito, así como lo muestra la imagen igualmente se pinta de color marrón un cono del cartón de huevo, lo pegamos al tubo de cartón y se pegara arriba del primer envase que sera nuestro vagón principal.
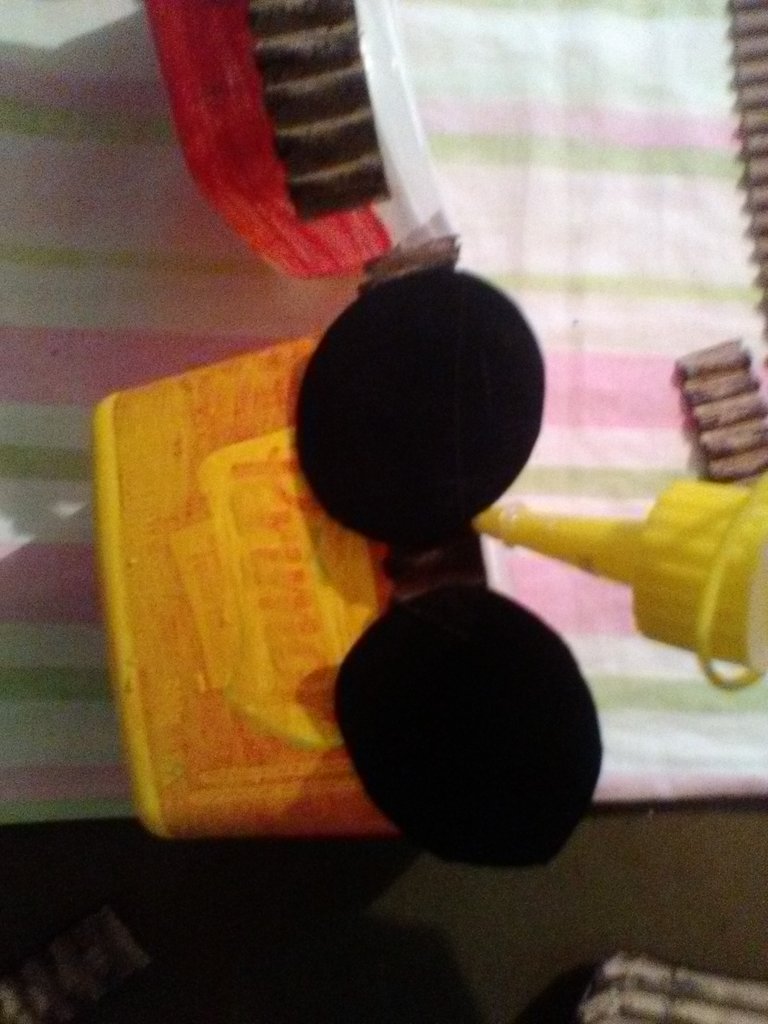
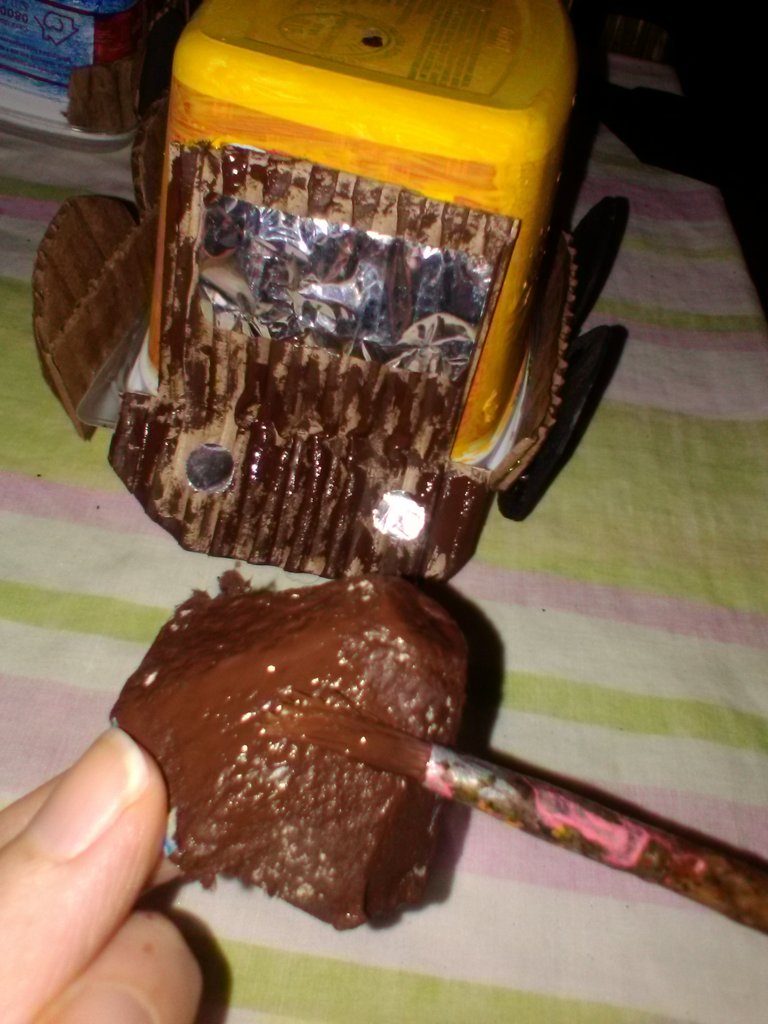
Proceed to glue the 4 rubber bands on each container, on top of the previously glued strips at the bottom of the sides, also cut out of corrugated cardboard a rectangle of the size of 8 x 5 cm, Paint it brown and glue a rectangle of aluminum foil and 2 small circles that will simulate the glass and the light bulbs of the train, as shown in the image. Also paint brown a cone of egg carton, glue it to the cardboard tube and glue it on top of the first container that will be our main wagon.
Presentación final de nuestro tren colorido.
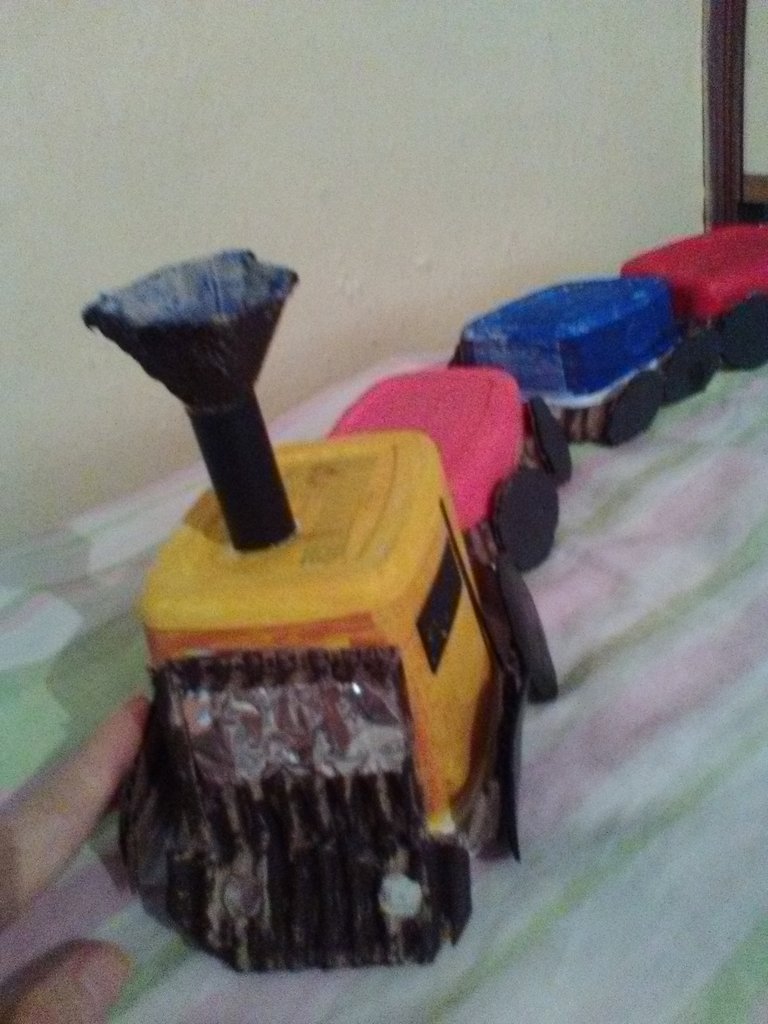
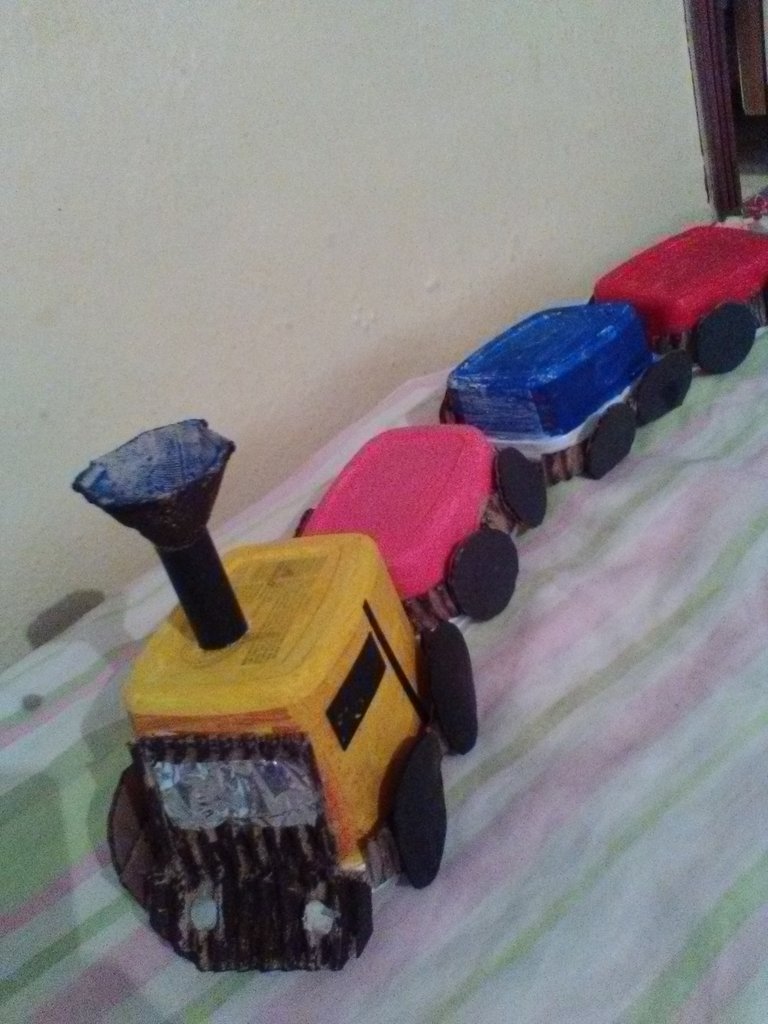
Final presentation of our colorful train.
Que lindo te quedó
Muchas gracias @mariajcastro28