Hi fellow Hiveians,
Today I’m here with the culmination of the saga of me breaking the washing machine a few months ago: new washer / dryer!


Shock-less Therapy
So I was doing laundry a couple weeks ago and it was going well for a while but then I made the foolish mistake of telling my wife “thankfully the washer has held up pretty well since I broke it a few months ago” and I’m not joking two loads of laundry later I open the door to take it out and the thing is billowing smoke and stinks like a burned out bearing. What a stroke of bad luck that was lol. Not unexpected luck though. We decided that it was finally time to replace the washer and the stores often have deals on a washer dryer combo pair for a decent price instead of just buying one. The washer and dryer we had was actually really good, they were front load ones and those usually don’t last more than a few years but it was approaching 10 years for them! My wife bought them nearly 10 years ago and it took me only 5 to break it lol oops.
So we had the washer and dryer delivered the other day and it was perfect timing because we hadn’t done any laundry in two weeks! Thankfully I’m working remotely otherwise I would’ve had a hell of a lot of work clothes to wash. I got the washer all hooked up , that was simple once I had the right drain pipe. The dryer on the other hand wasn’t as easy.
I want to preface this by saying electrical work isn’t a hobby! Most times you should hire or get a real electrician to help you!
So I had to first take the back plate off to figure out how the thing was oriented. I had taken a picture and a good look at the old dryer before they took it away just so I had an idea of what it should look like. What tripped me up was the wire that was on the grounded section. So if you’re not familiar with the grounds, they are typically signified by a green screw. You can see that on the left there’s a green screw and that’s the one that’s very common for grounds. The old dryer, when I looked at it to see how it was laid out, had the white wire that is on the ground screw now, attached to the neutral. I wasn’t sure what to do with that but I’ll explain it below.
So now that I had the plate off it was time to get my cable ready to go. These things are pretty crazy, they are 10 gauge wire and since there’s 4 of them at 6 feet long that’s some heavy ass wire! This 4 prong wire is 240 volts since it’s an electric dryer not a gas one, it needs more of a punch to get the stuff dry. That also means it’s that much more dangerous to work with!
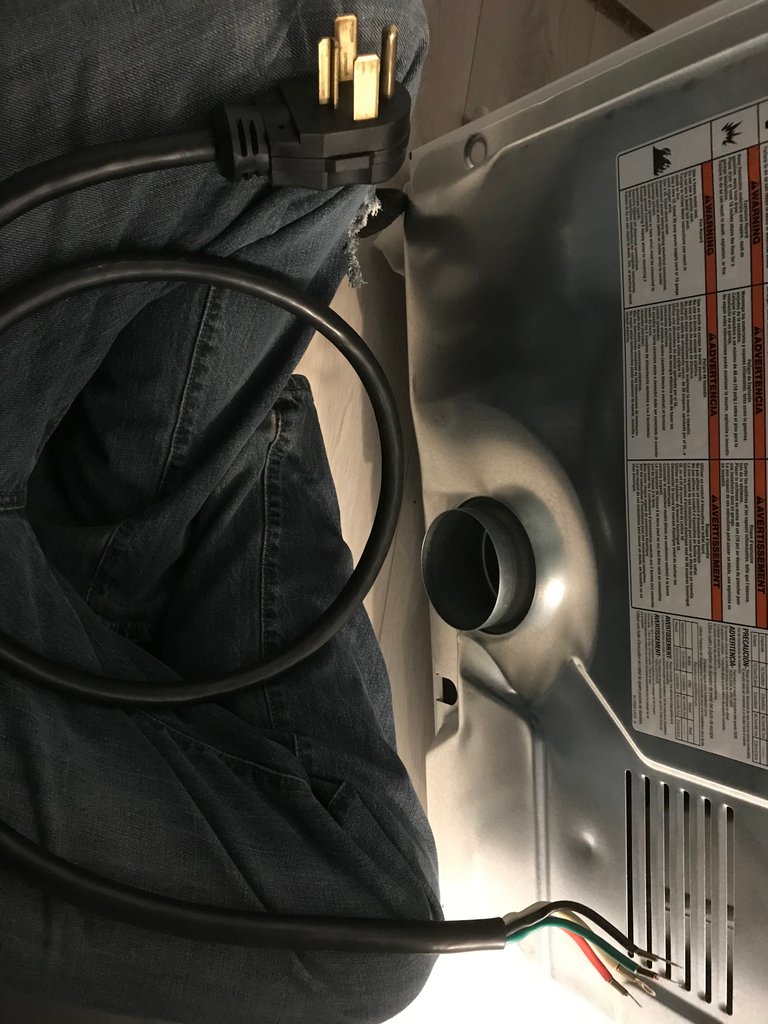
So once I had my wire pushed through the back part of the hole it was time to wire em up.

It’s easier to explain it on this one but the green wire will very often be your ground (not always), the black will be your feed (vast majority of the time), the white will usually be the neutral and the red one is I think another feed. Thankfully it’s pretty easy to just match them up and put the wires with the corresponding color, except for the green one that goes with the white one but it at least goes with the green screw. The good part about it is that I did all of it on my own and I just called my dad who is a licensed master electrician and had him do a FaceTime chat with me and he verified that it looks good. He and I took advantage of the video call though and let the little man talk with him and show off. He’s always a little show off when people are around.

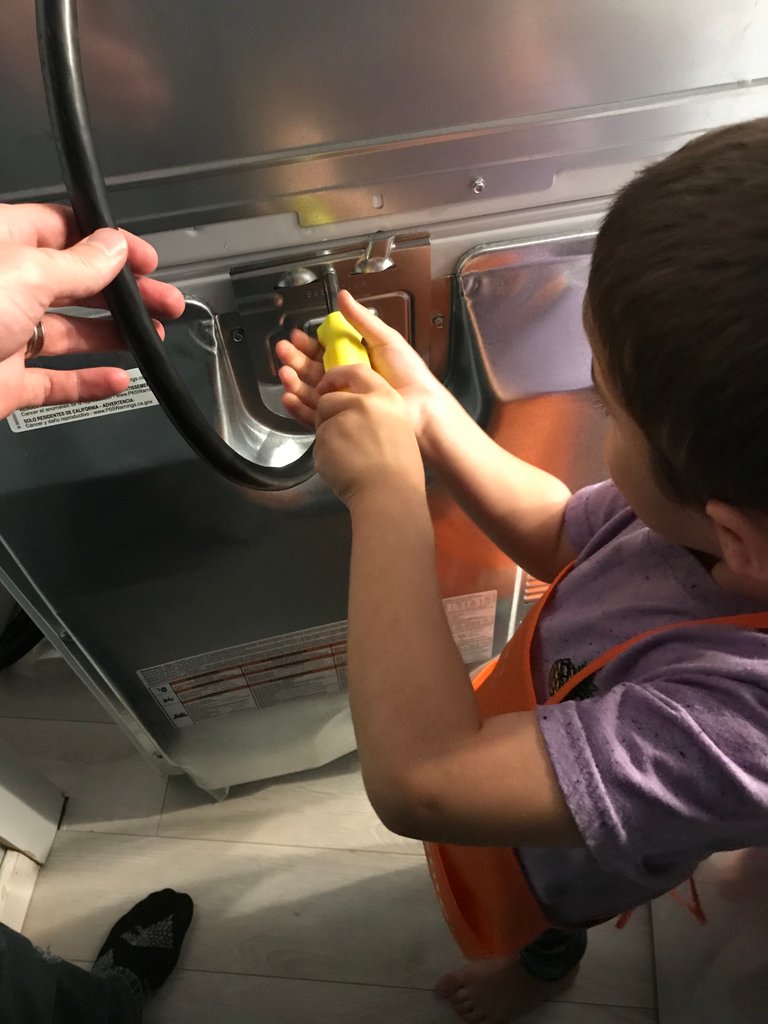
One of the best parts about it all is that the entire time I was doing it I had my little apprentice with me asking me questions and giving me tools to help. It’s a lot of fun having him there with me, learning little bits like this even if he doesn’t fully absorb it now he still gains the confidence to know that he can do things with his hands and skills. He was very excited when I asked him if he could help me use the screw driver and close it up with me. He had carried all of the tools I needed in his little Home Depot pouch there it was a riot. He had some spare screws he got from god knows where, got his level, a hammer, some black electrical tape, the hose that wouldn’t fit on our washer and his plastic hammer. It was funny listening to him bark orders behind me, I swear he’s going to be a little foreman someday lol. He even screwed it in then gave it a little pull to make sure it wasn’t loose at all and says “yup looks good!” I almost peed laughing.
What did you do for any fun DIY things lately? Doesn’t have to be like this but I would love to know! Drop me some comments to let me know!

Do you want to get paid, in crypto, for searching the internet? Try using and signing up for Presearch to earn some great crypto! I've currently got 1,793 PRE tokens, with a market value of $27.57. It doesn't sound like a lot but when you search using sites like Google you get paid $0! Join Presearch to break Google's stranglehold on the internet searches. If you'd like to sign up, use my referral link!
https://www.presearch.org/signup?rid=513043


Cool repairs
Due to one of these reasons:
1. Post is not published with Ecency apps.
2. Post is already curated by our team.
3. Post is not curated by our curators within 24 hours.
4. Post might be too old post, try more recent content.
5. Author already received vote in last few hours, try again later.
Points Boosting refund to @cmplxty! Install Android: https://android.ecency.com, iOS: https://ios.ecency.com mobile app or desktop app for Windows, Mac, Linux: https://desktop.ecency.comLearn more: https://ecency.com Join our discord: https://discord.me/ecency
Congratulations @cmplxty! You have completed the following achievement on the Hive blockchain and have been rewarded with new badge(s) :
You can view your badges on your board and compare yourself to others in the Ranking
If you no longer want to receive notifications, reply to this comment with the word
STOP