Hola amigos de hive blog espero que esten muy bien hoy les traigo un tutorial facil y practico en donde les voy a enseñar como hacer un hermoso cuadro con tematica de trébol de la suerte y lo mejor de todo es que esta hecho con materiales que podemos encontrar en cualquier lugar
Hello friends of hive blog I hope you are very well today I bring you an easy and practical tutorial where I am going to teach you how to make a beautiful picture with a lucky clover theme and the best of all is that it is made with materials that we can find anywhere
Materiales:
⚫ Carton
⚫ Hojas de arbol
⚫ Hoja de maquina
⚫ Tijera
⚫ Pistola de silicon
Materials:
⚫ Cardboard
⚫ Tree leaves
⚫ Machine sheet
⚫ Scissors
⚫ Silicone gun
.jpg)
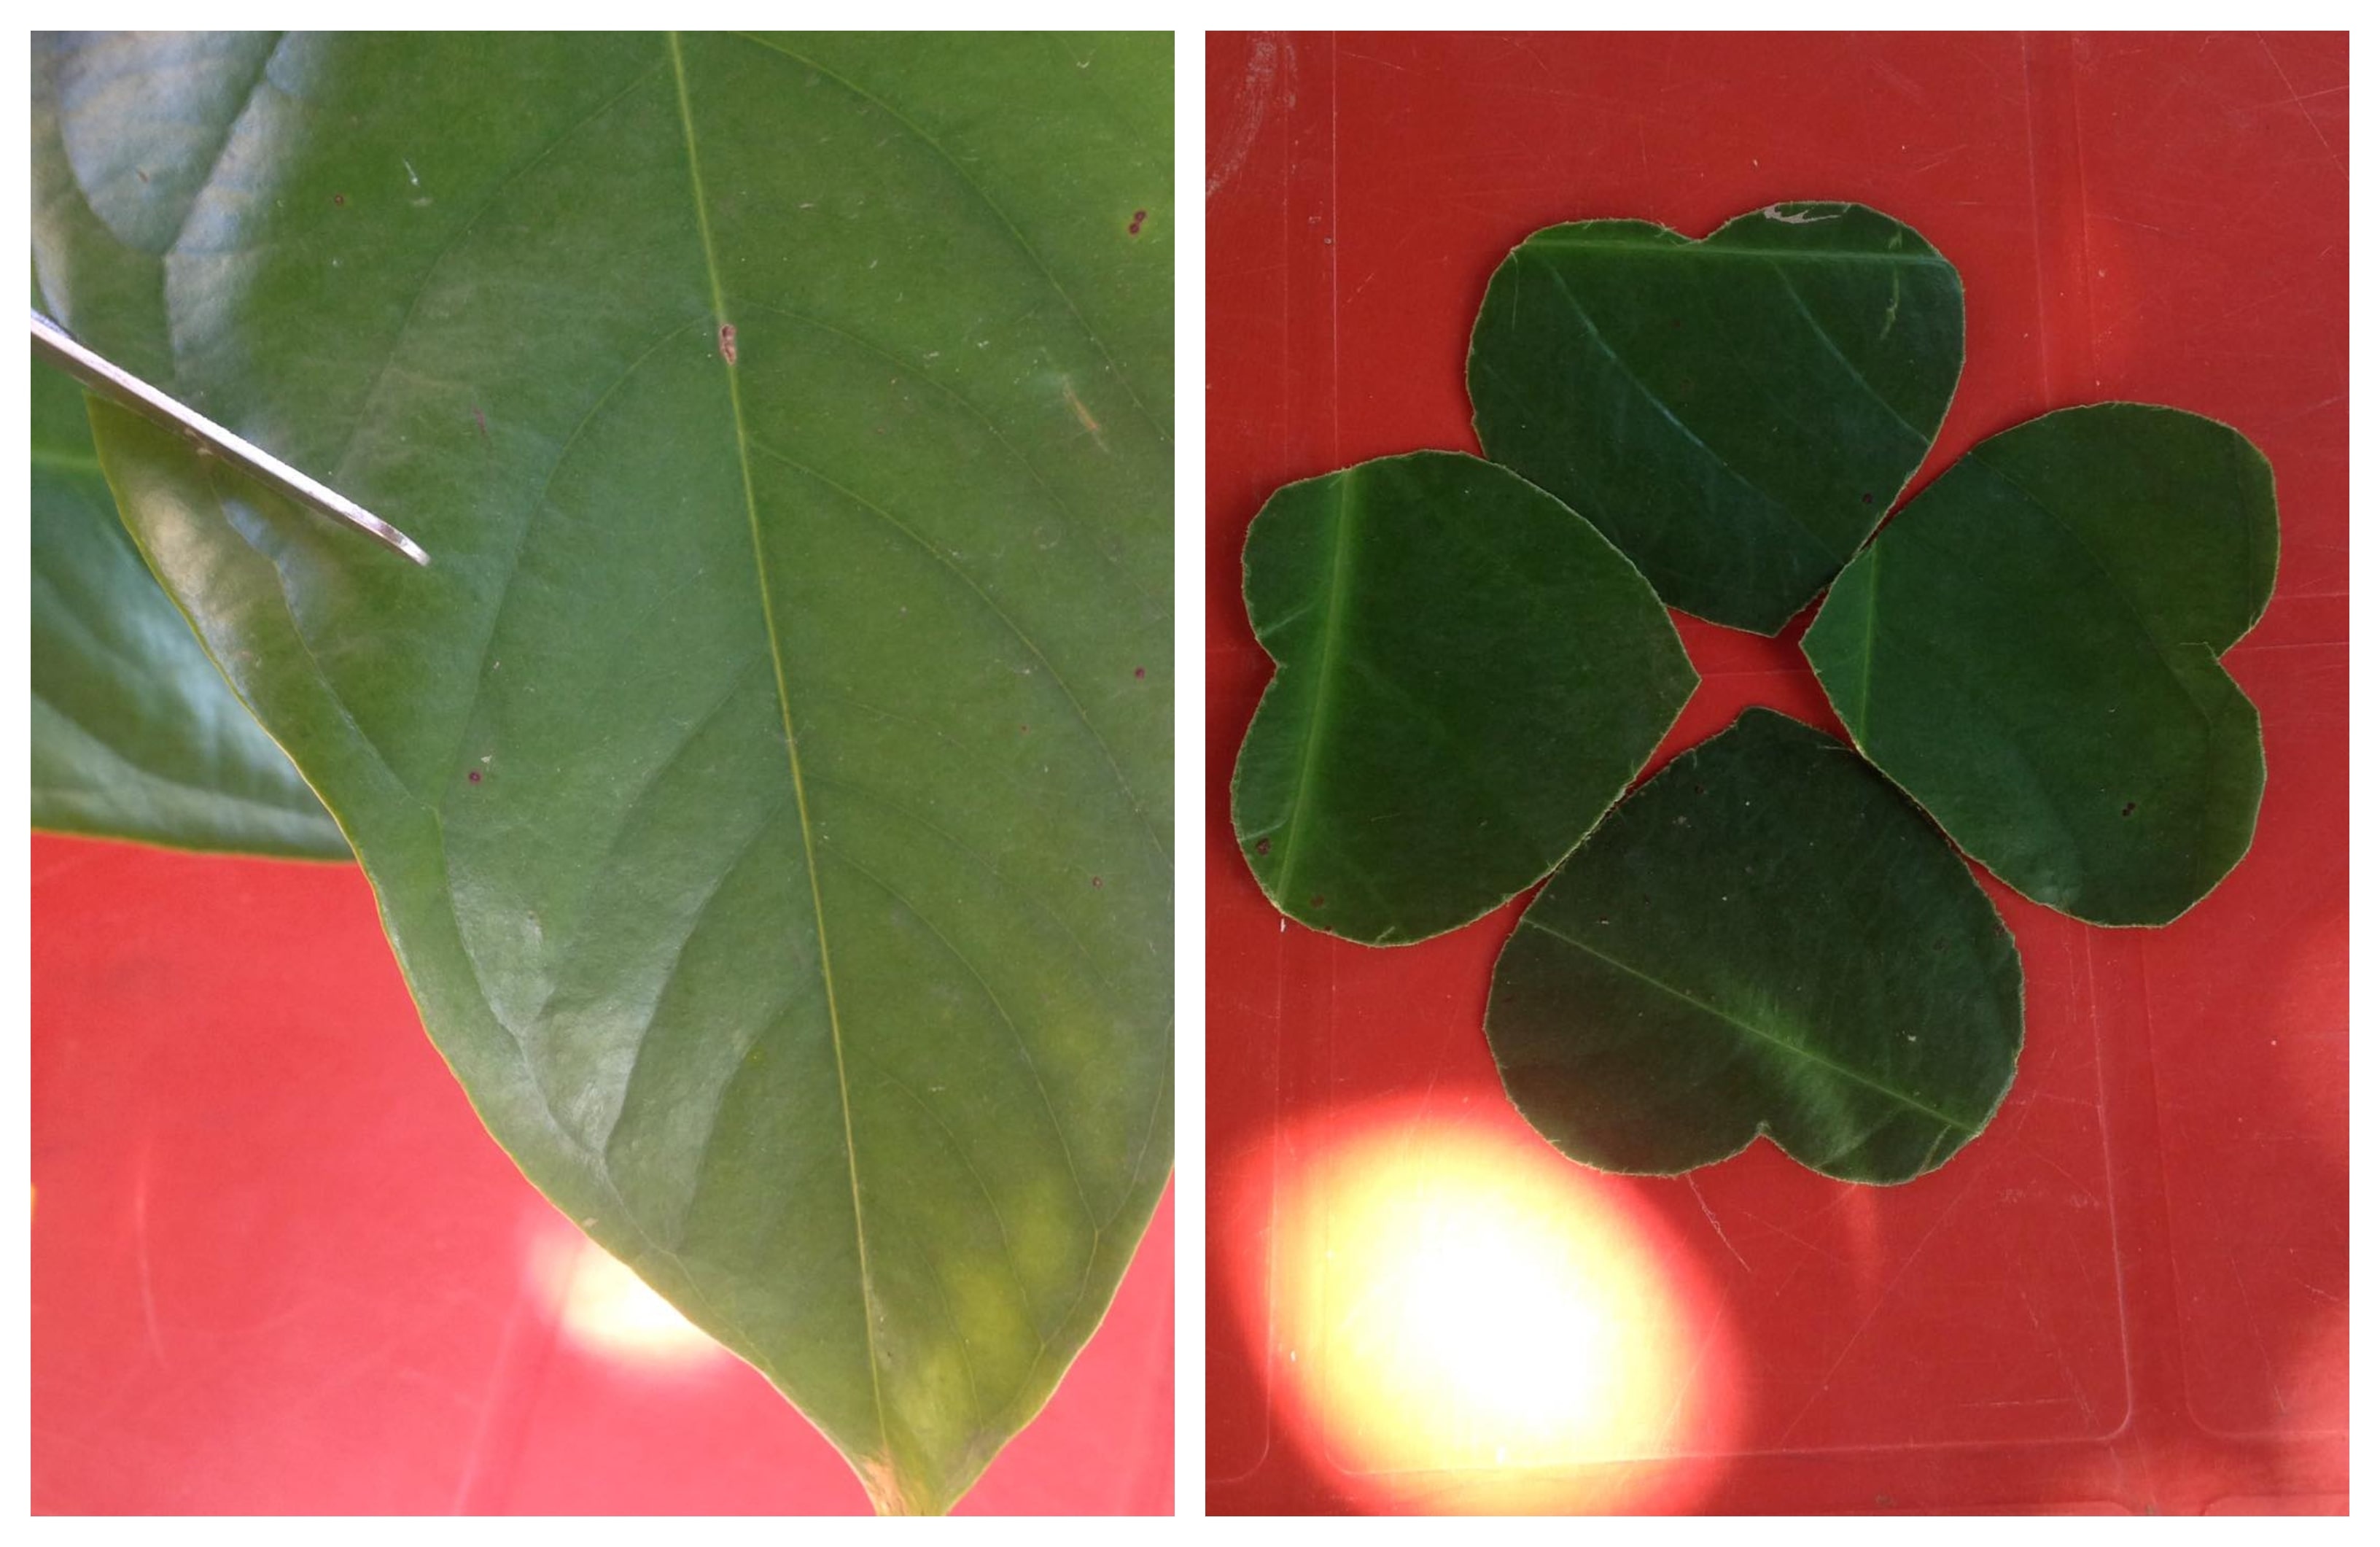
Paso 1
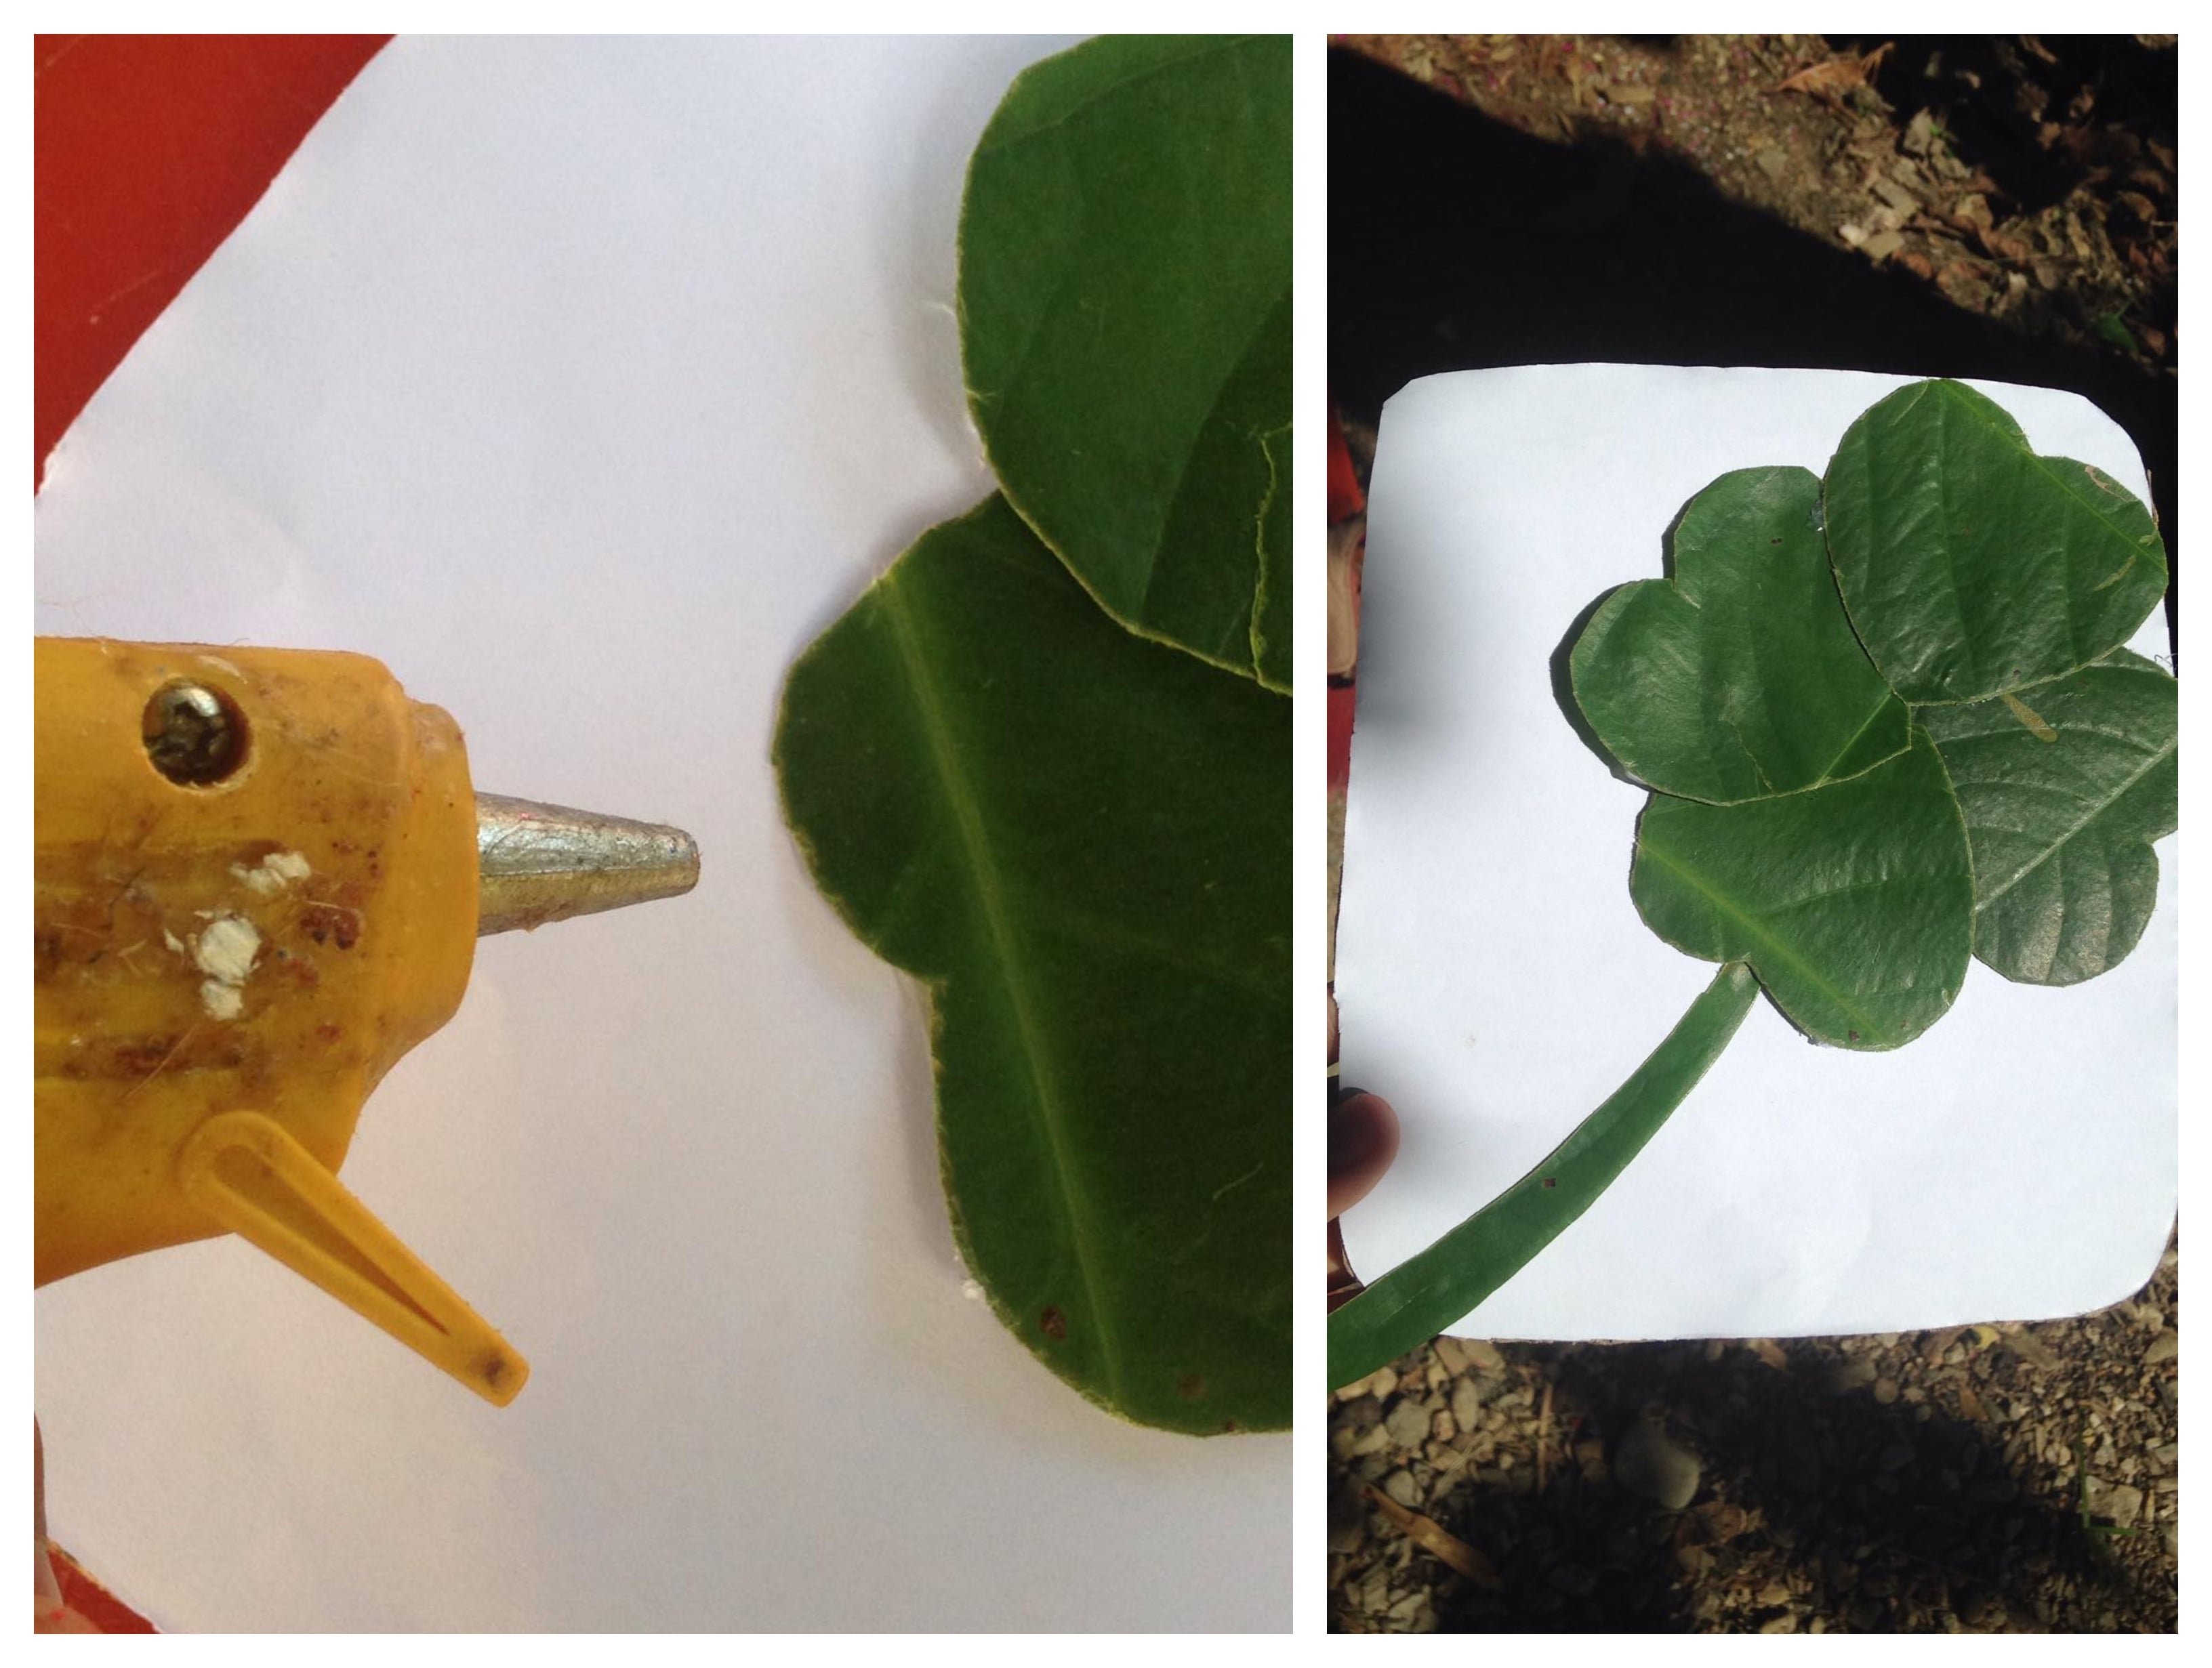
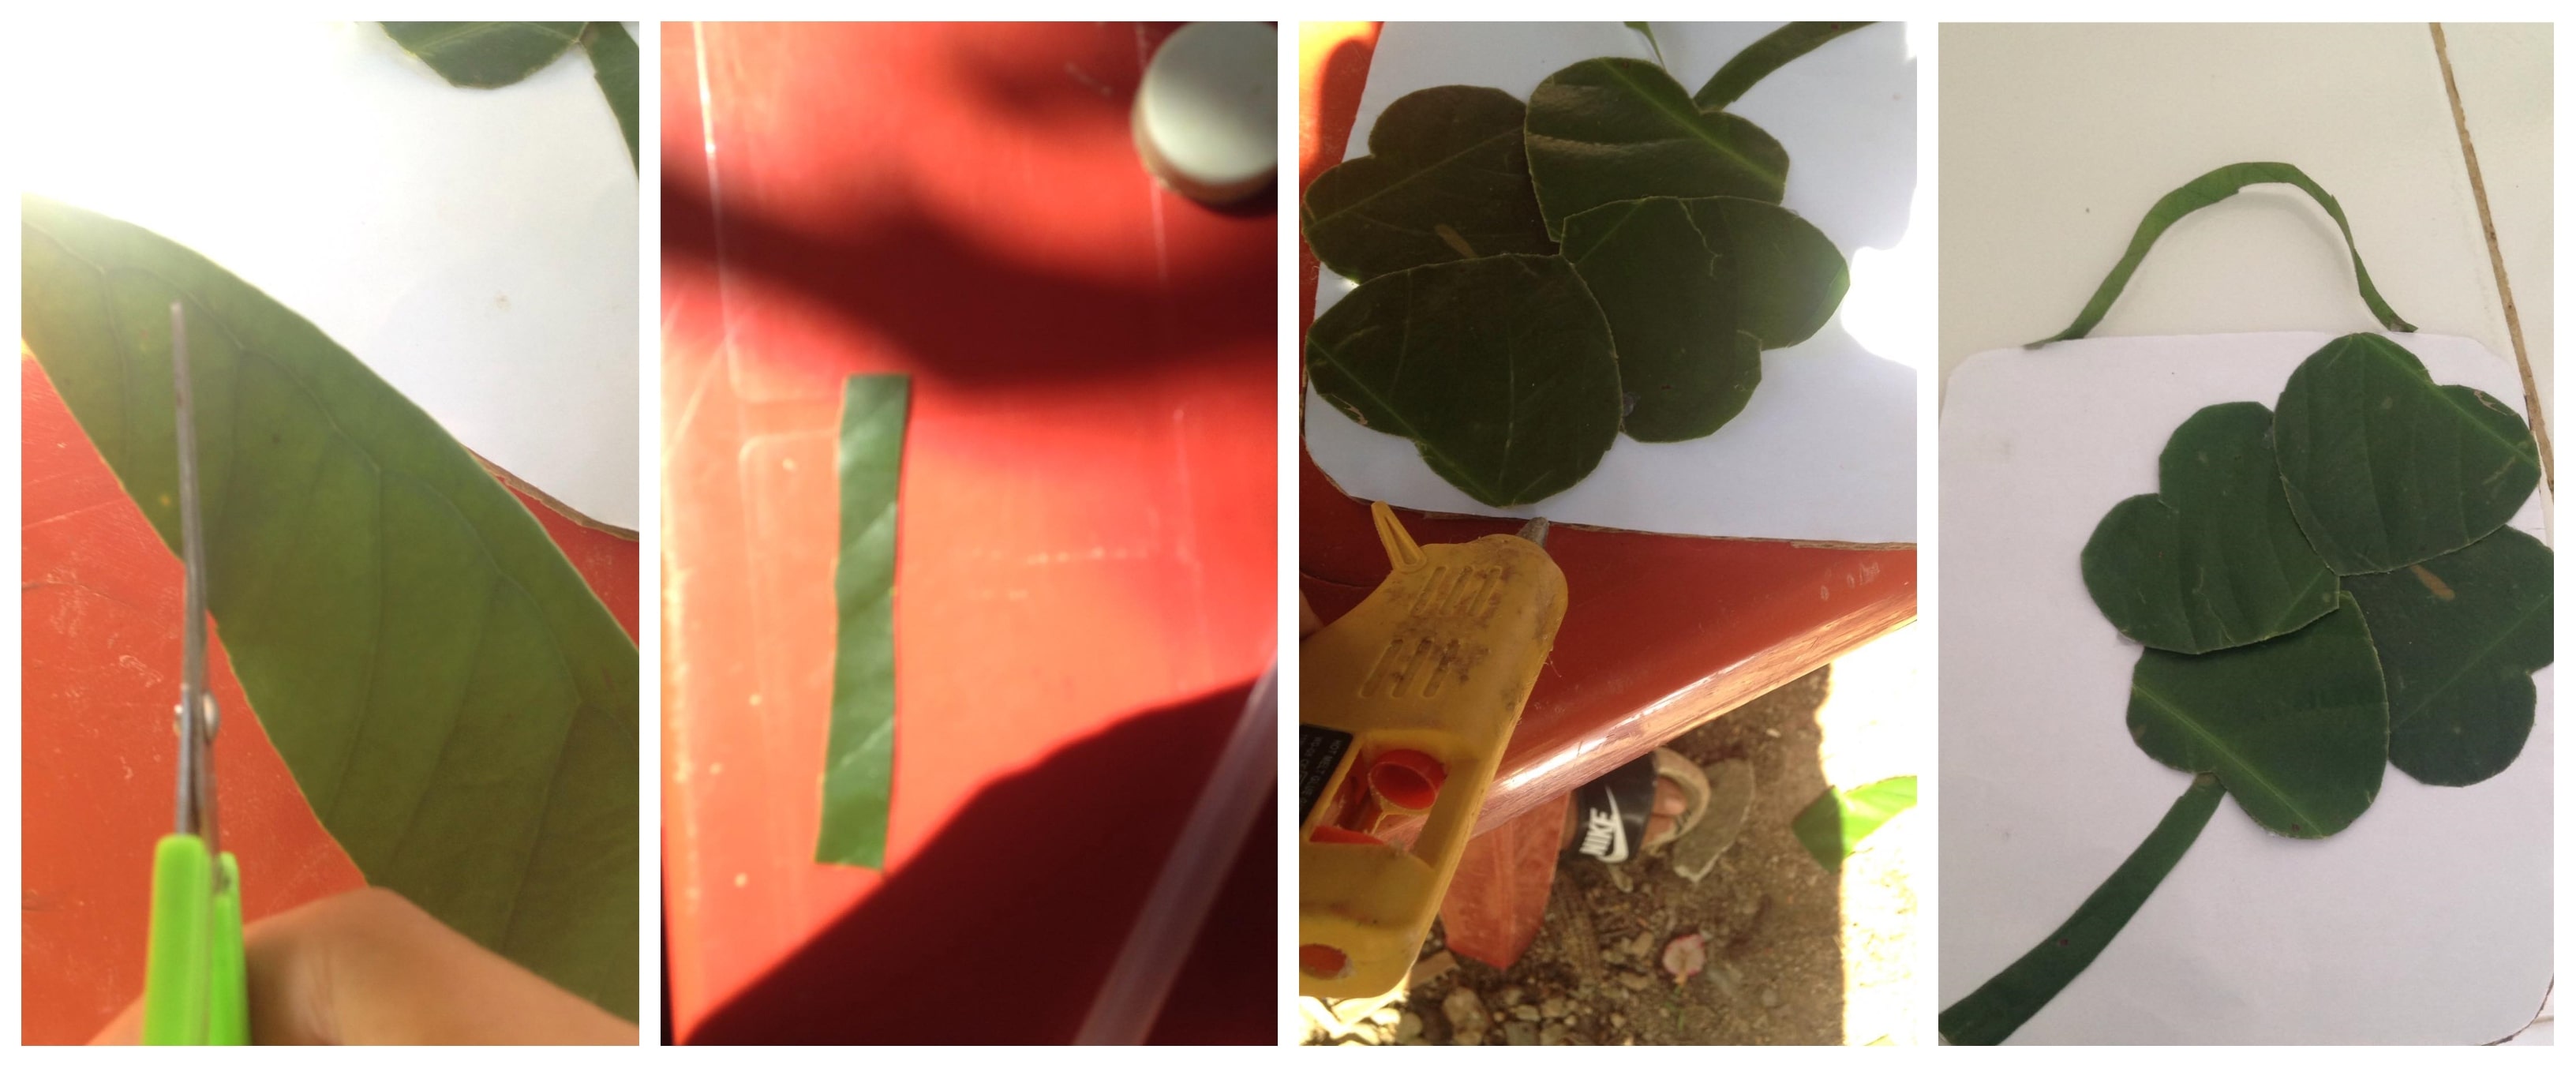
Como primer paso a seguir en este tutorial empezaremos recortando la hoja de arbol en forma de 4 corazones
Step 1
As the first step to follow in this tutorial we will start by cutting the tree leaf in the shape of 4 hearts
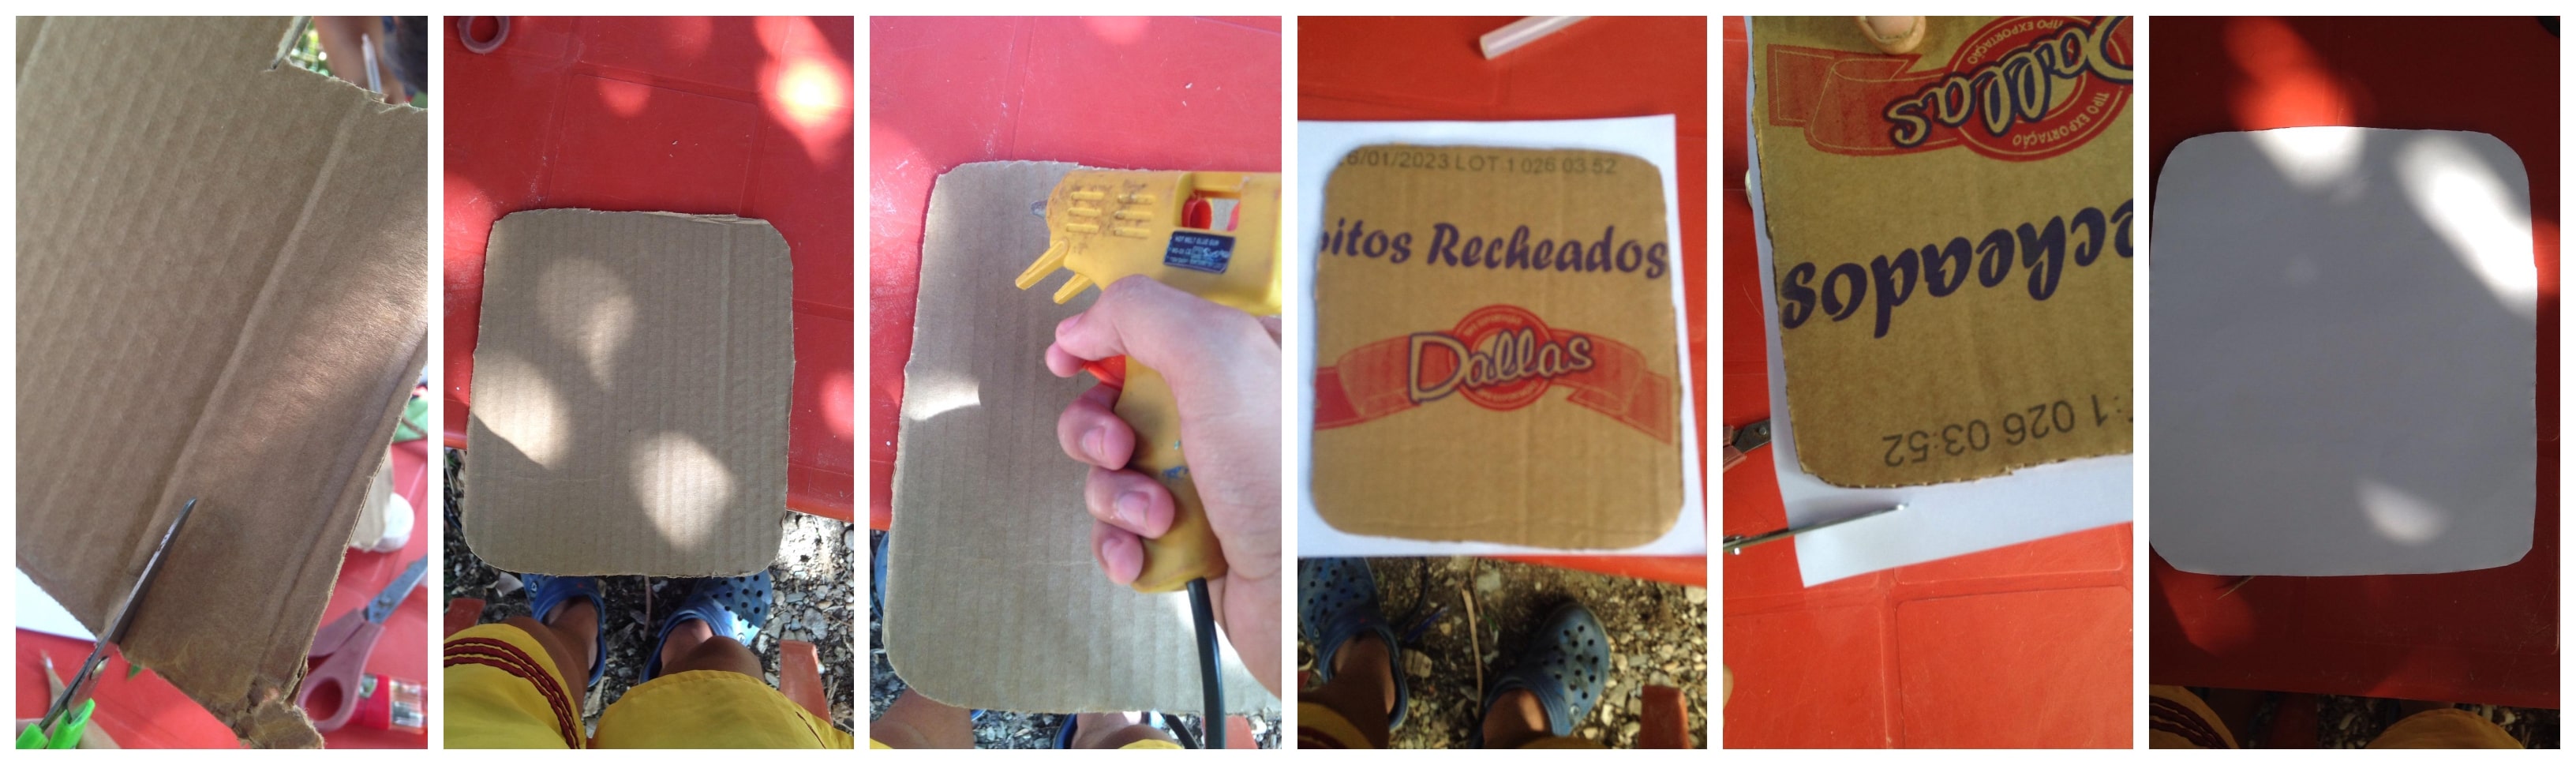
Paso 2
Luego recortaremos un cuadro de carton y le pegaremos encima una hoja de maquina una vez hecho eso le recortaremos los borde que sobresalen
Step 2
Then we will cut out a cardboard box and we will glue a machine sheet on top of it, once that is done we will cut the protruding edges
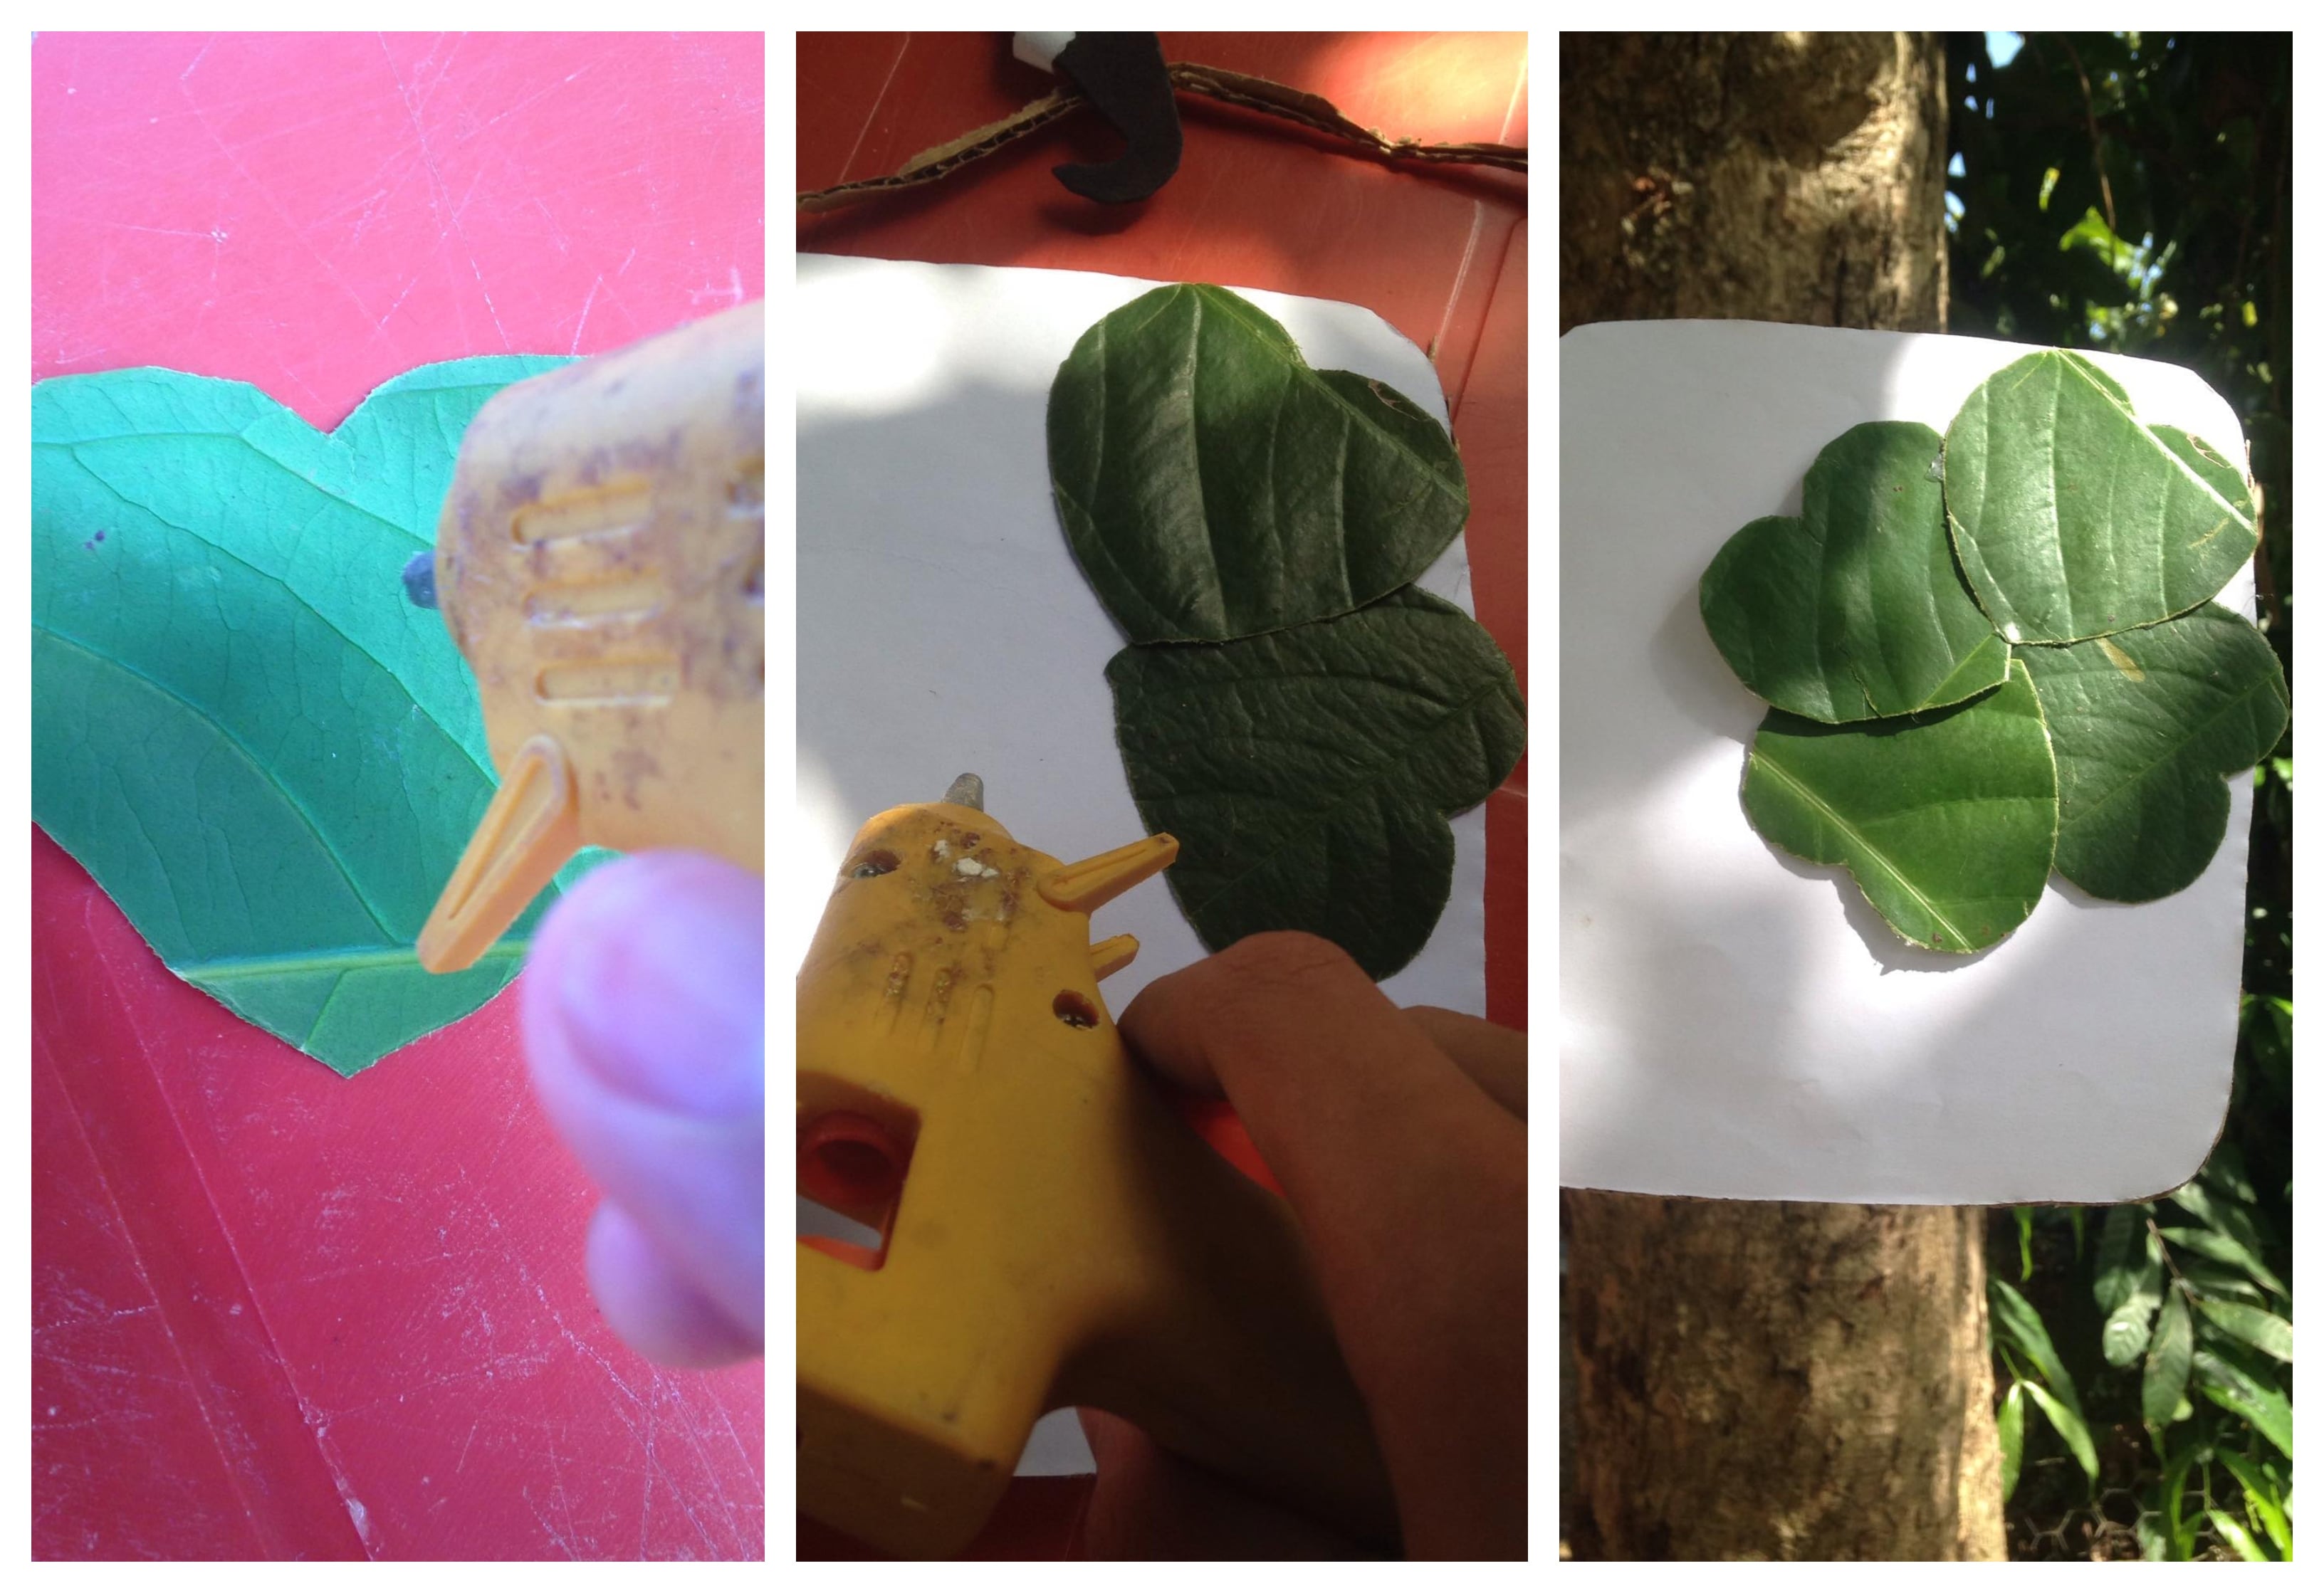
Paso 3
Luego pegaremos los cuatro corazones que hicimos con hojas de arbol en la parte derecha de la esquina de la hoja de maquina asi como muestra la imagen
Step 3
Then we will glue the four hearts that we made with tree leaves on the right side of the corner of the machine sheet as shown in the image
Paso 4
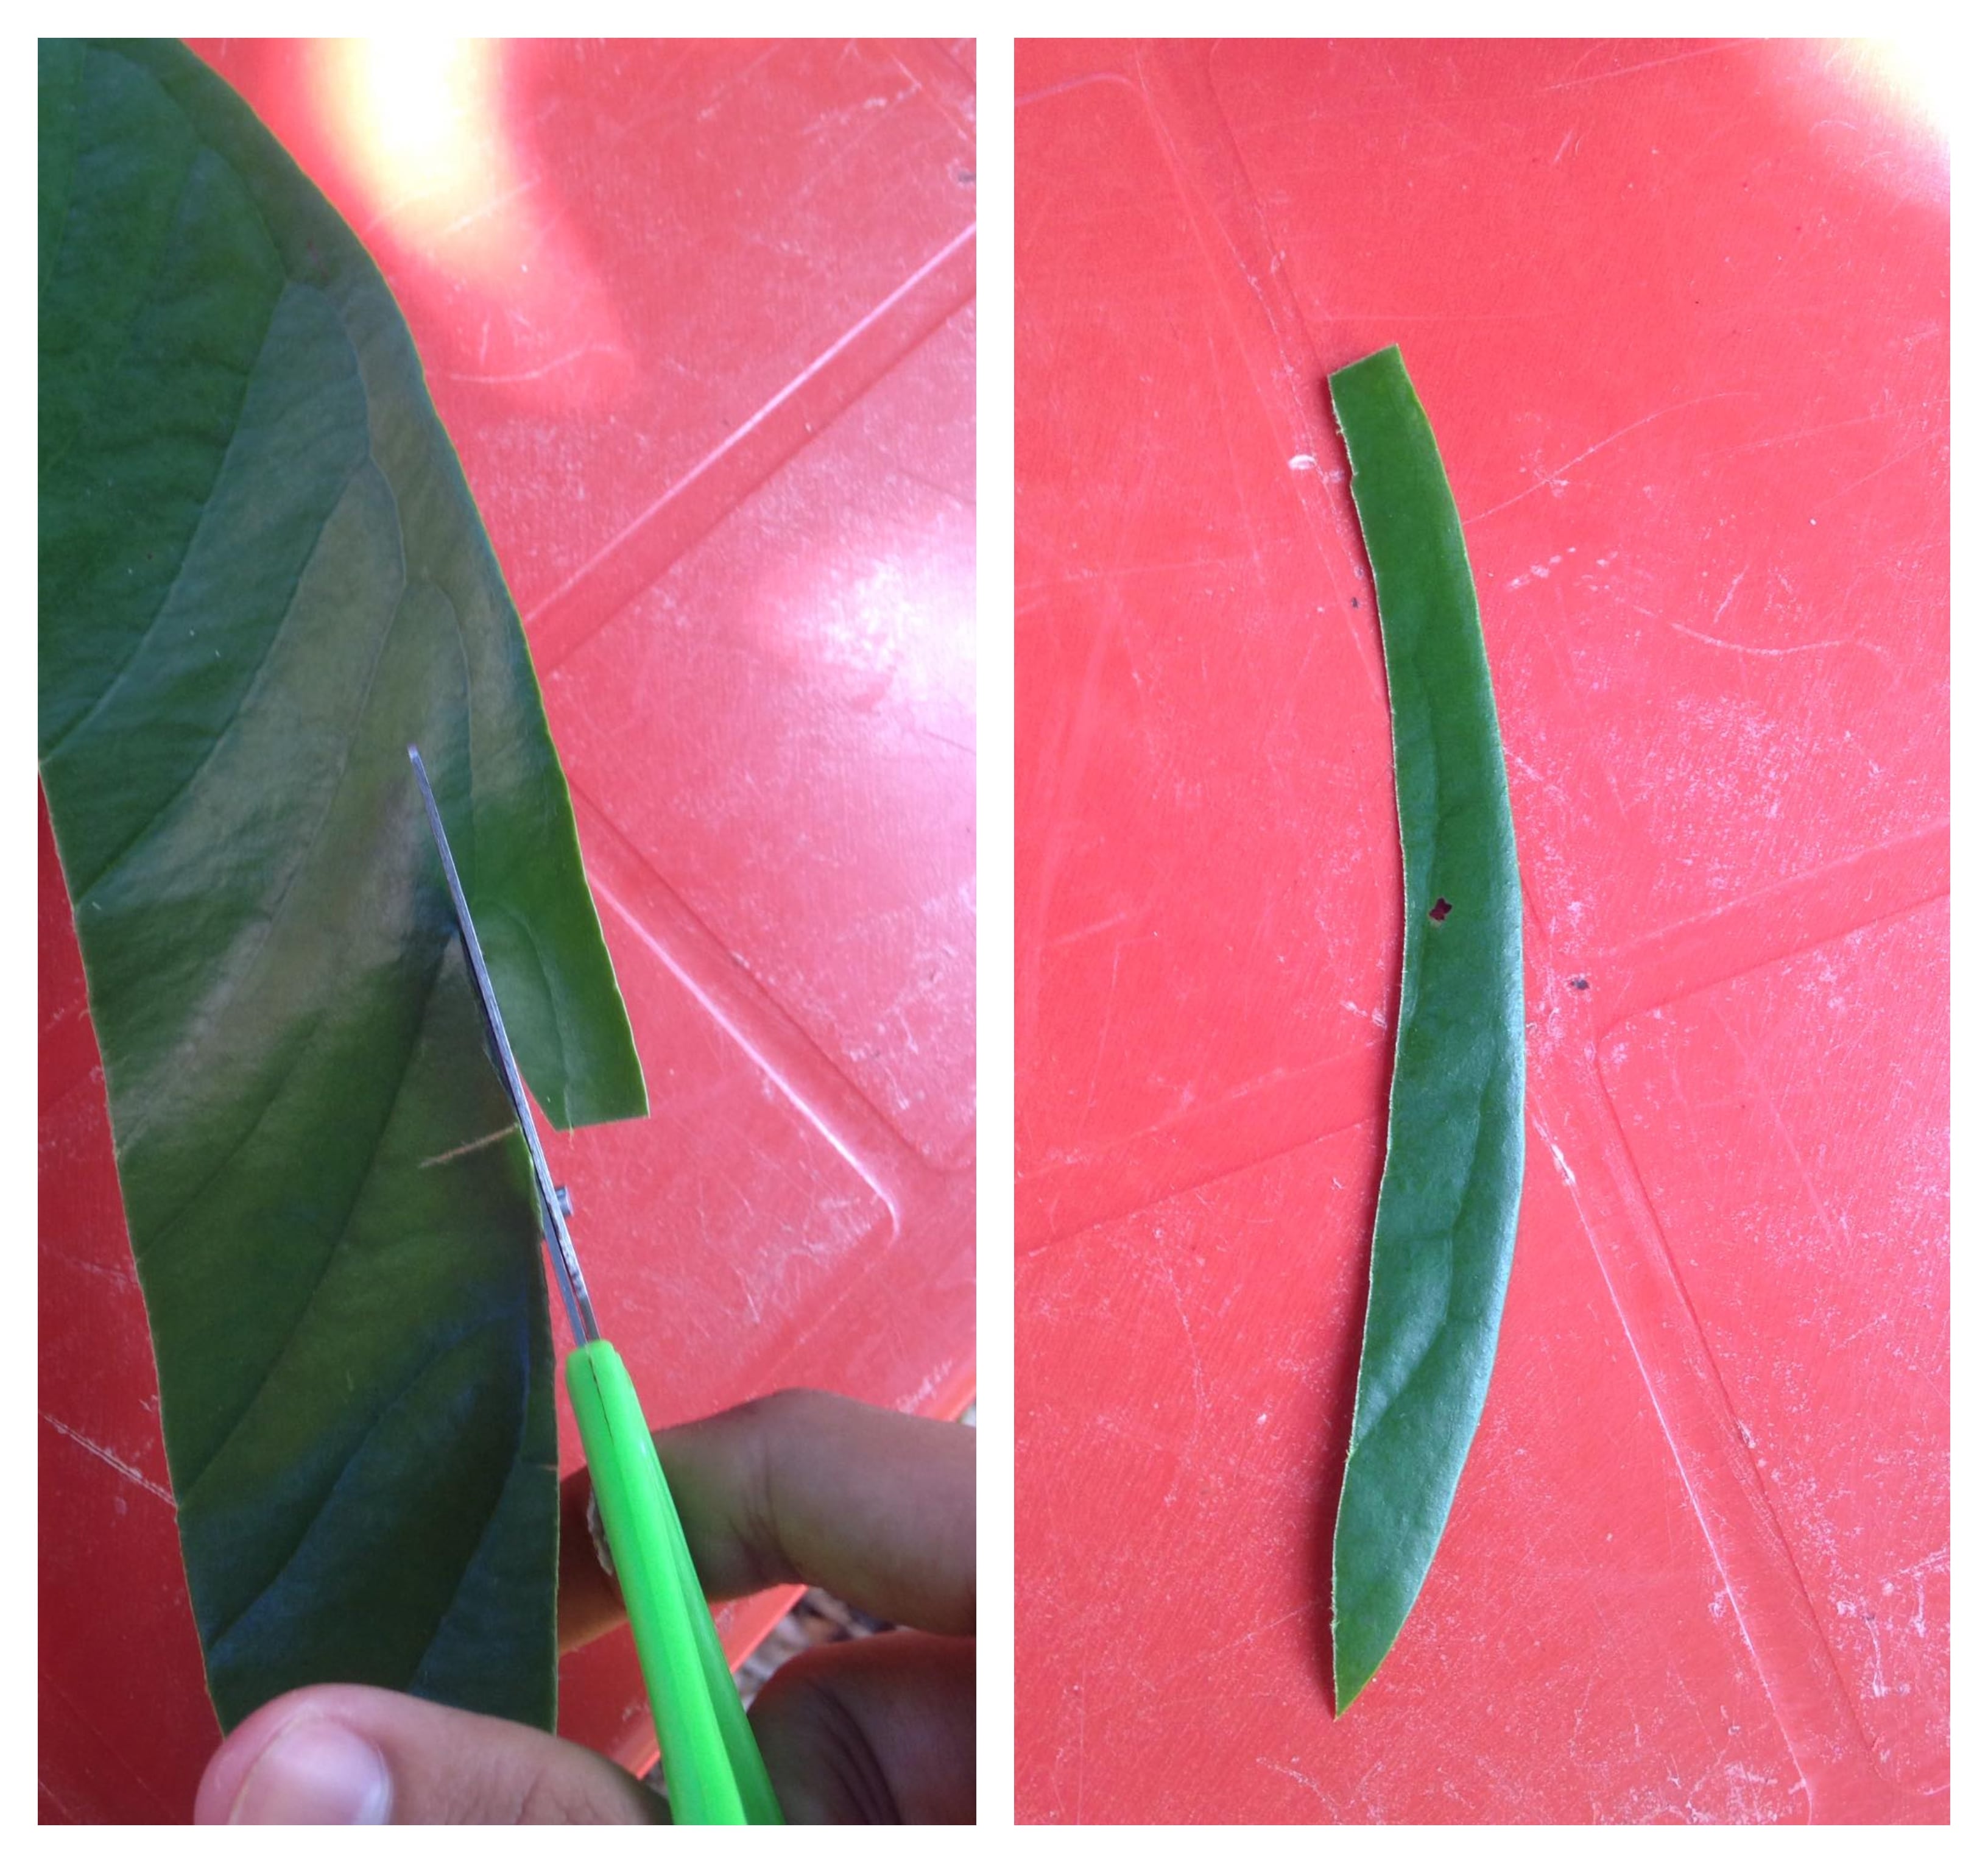
Despues recortaremos una tira de una hoja de arbol y con eso haremos la ramita de nuestro trébol
Step 4
Then we will cut a strip of a tree leaf and with that we will make the twig of our clover
Paso 5
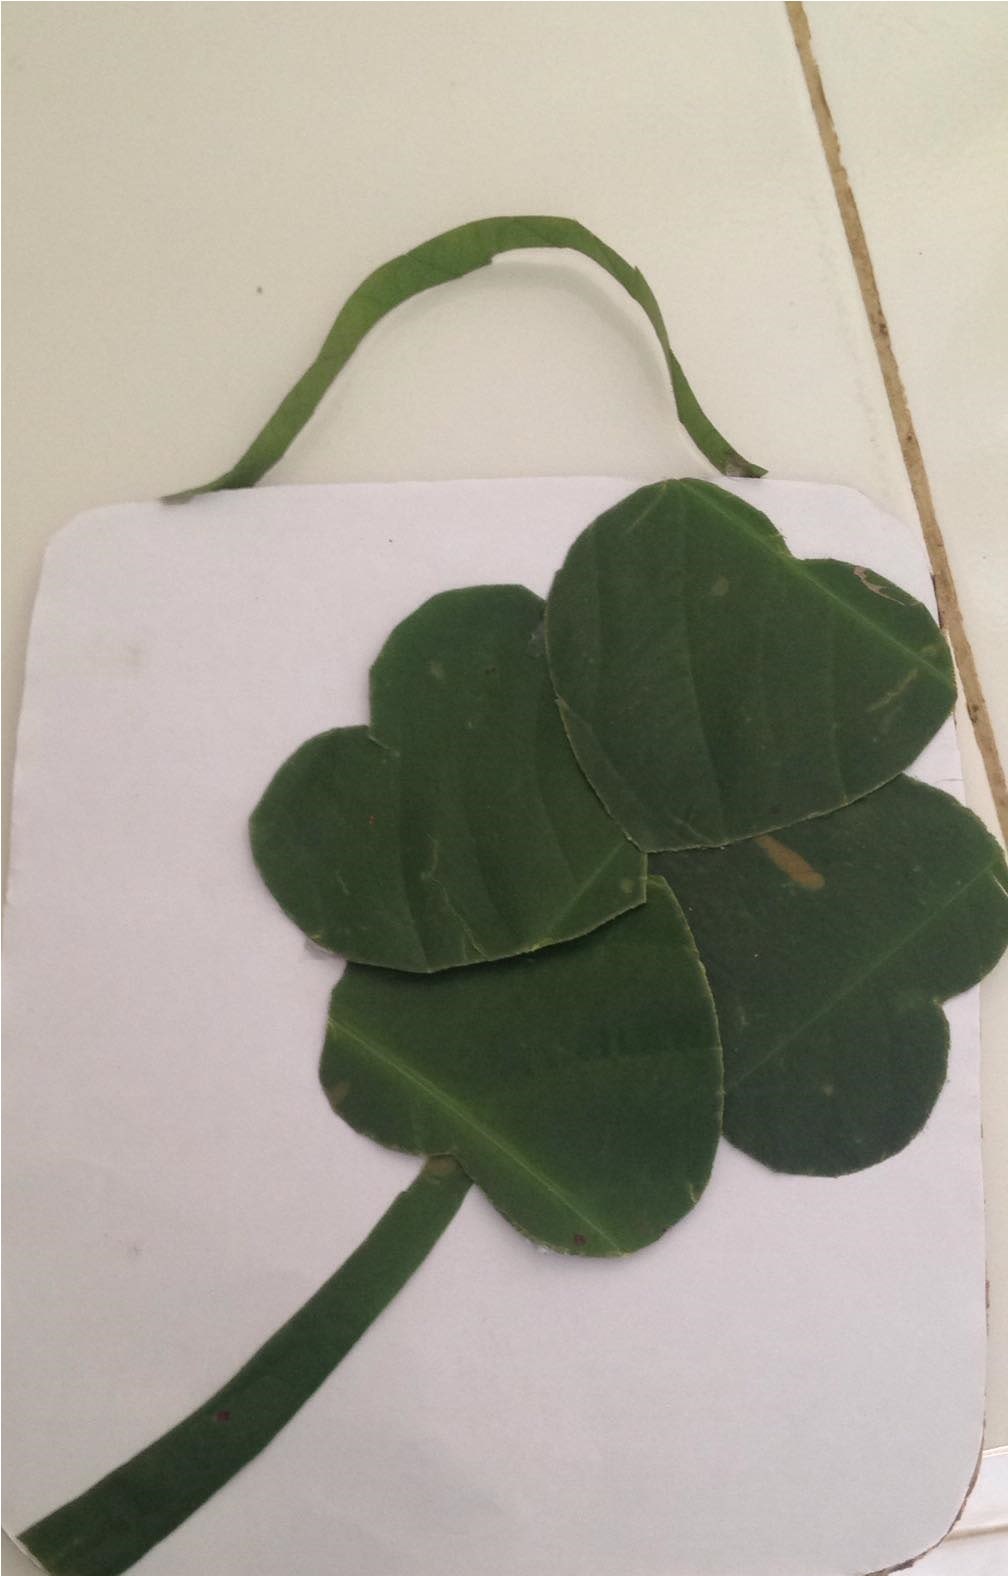
Despues pegaremos la ramita que hicimos con hojas de arbol en el medio de el corazon de hojas de arbol de abajo asi como muestra la imagen
Step 5
Then we will stick the twig that we made with tree leaves in the middle of the heart of tree leaves below as shown in the image
Paso 6
Y como ultimo paso para finalizar este divertido tutorial recortaremos una tira de la hoja de arbol y luego la pegaremos por la parte de arriba de nuestro cuadro asi como muestra la imagen
Step 6
And as the last step to finish this fun tutorial we will cut a strip of the tree leaf and then we will glue it to the top of our box as shown in the image
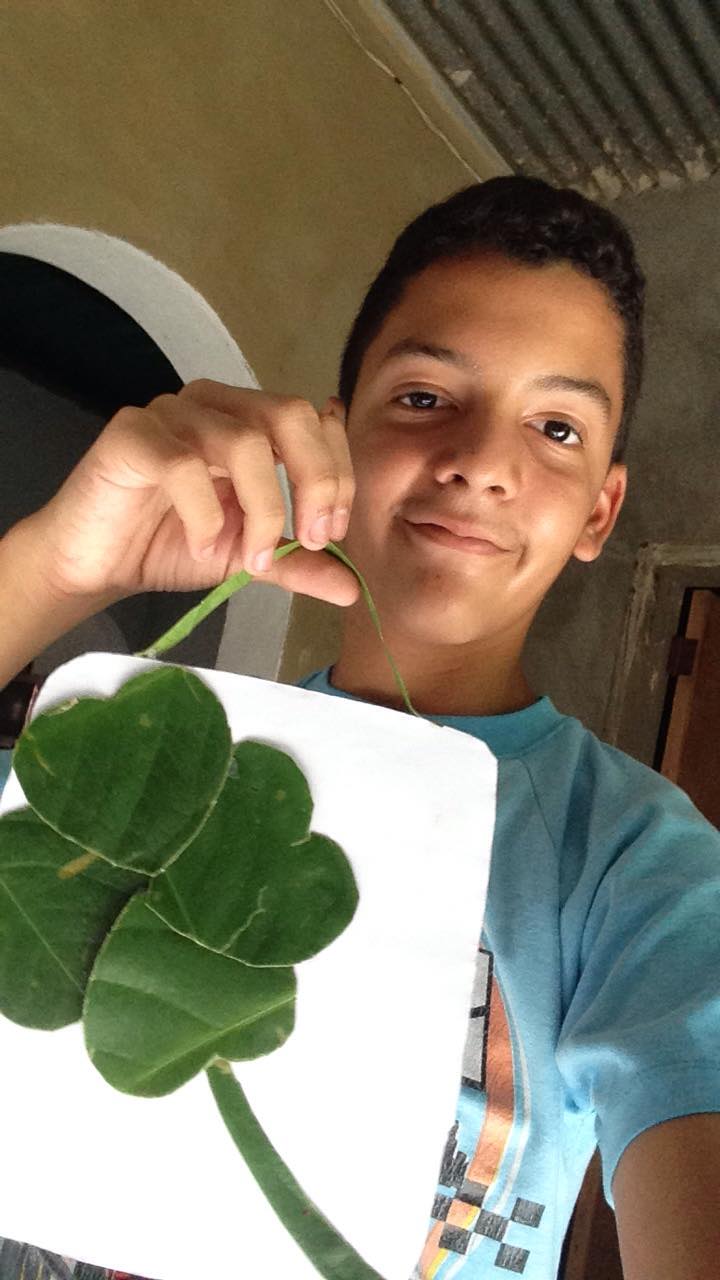
Y listo amigos de hive blog ya tendriamos listo nuestro hermoso cuadro con tematica de trébol y lo mejor de todo es que todos los materiales que utilizamos en este tutorial son reciclados y lo podemos conseguir en casa ya sin nada mas que decir me despido
And ready friends of hive blog we would have ready our beautiful painting with a clover theme and the best of all is that all the materials we use in this tutorial are recycled and we can get it at home without anything else to say I say goodbye
Gracias por vistar mi blog
Thanks for visiting my blog
Congratulations @danielag18! You have completed the following achievement on the Hive blockchain and have been rewarded with new badge(s) :
Your next target is to reach 40 posts.
You can view your badges on your board and compare yourself to others in the Ranking
If you no longer want to receive notifications, reply to this comment with the word
STOPCheck out the last post from @hivebuzz:
Support the HiveBuzz project. Vote for our proposal!