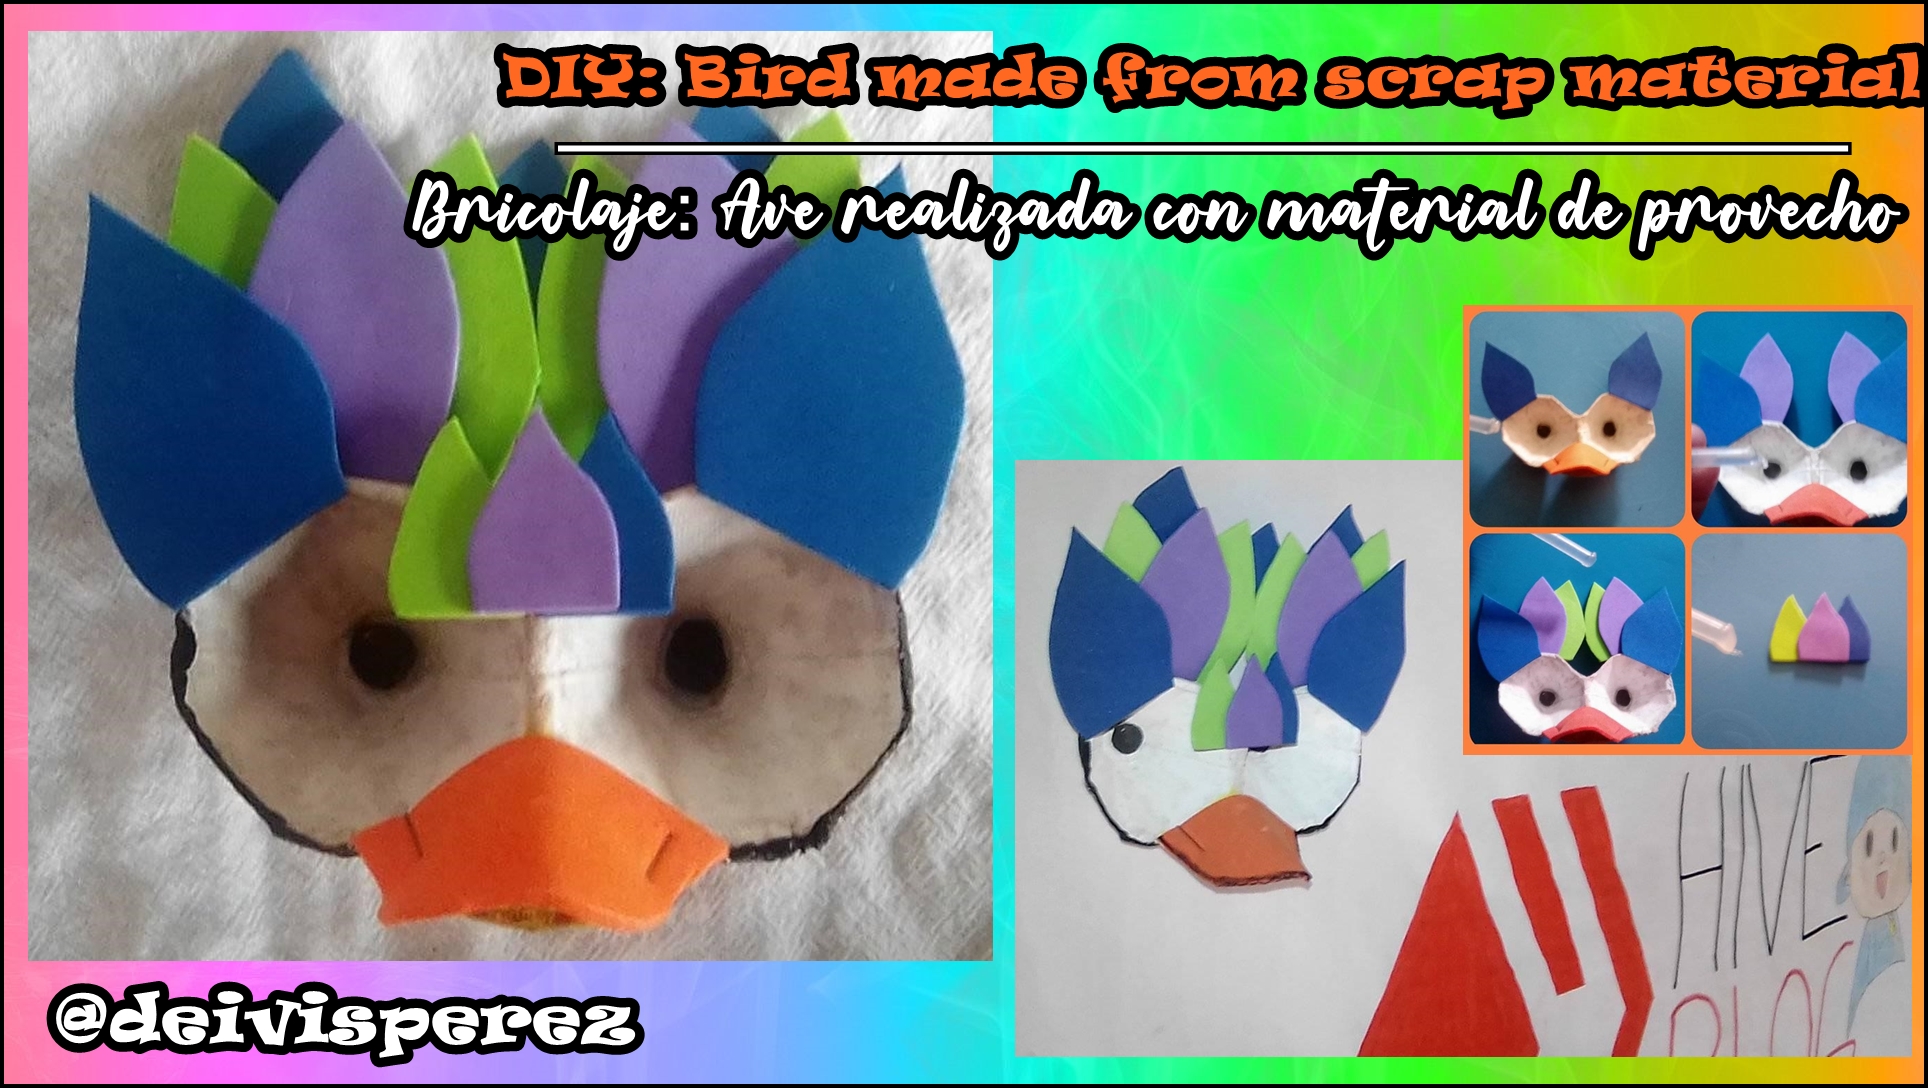
¡Hola, hola! que pasa mi gente creativa? ¿Te gustaría hacer un objeto decorativo que puedas colocar en cualquier lugar? pues, has llegado al lugar correcto. Mira como hice esta ave de manera fácil y usando material sencillo...


•Egg carton.
•Stapler.
•Scissors.
•Cutter.
•Foami color: blue, purple, orange, green.
•Silicone.
•Cold paint color: white, black.
•Cartón de huevo.
•Grapadora.
•Tijera.
•Cutter.
•Foami color: azul, morado, naranja, verde.
•Silicón.
•Pintura al frió color: blanco, negro.


•STEP 1: Cut out 2 egg carton tanks in the shape of eyes (use the cutter or scissors).
•STEP 2: With the white cold paint and the brush, cover the 2 egg carton tanks that we just cut out.
•PASO 1: Recorta 2 depósitos del cartón de huevo dándole forma de ojos (usar el cutter o la tijera).
•PASO 2: Con la pintura al frio blanca y el pincel, cubrimos los 2 depósitos del cartón de huevo que acabamos de recortar.

•STEP 3: On the orange foami, cut out a triangle in the shape of a bird's beak, then glue or staple it to the center of the eyes simulating a bird's beak.
•STEP 4: We use a little black paint and create 2 circles in the center of each egg carton deposit (these are the eyes of our bird).
•PASO 3: En el foami naranja, recortamos un triángulo en forma de pico de ave, seguidamente lo pegamos o grapamos al centro de los ojos simulando un pico de ave.
•PASO 4: Usamos un poco de pintura negra y creamos 2 círculos en centro de cada depósito del cartón de huevo (estos son los ojos de nuestra ave).

•STEP 5: In this step we will use all the pieces of foami and cut out small pieces in the shape of feathers (5 or 6 of each color).
•PASO 5: En este paso usaremos todas las piezas de foami y recortamos pequeñas piezas dándole forma de plumas (5 o 6 de cada color).

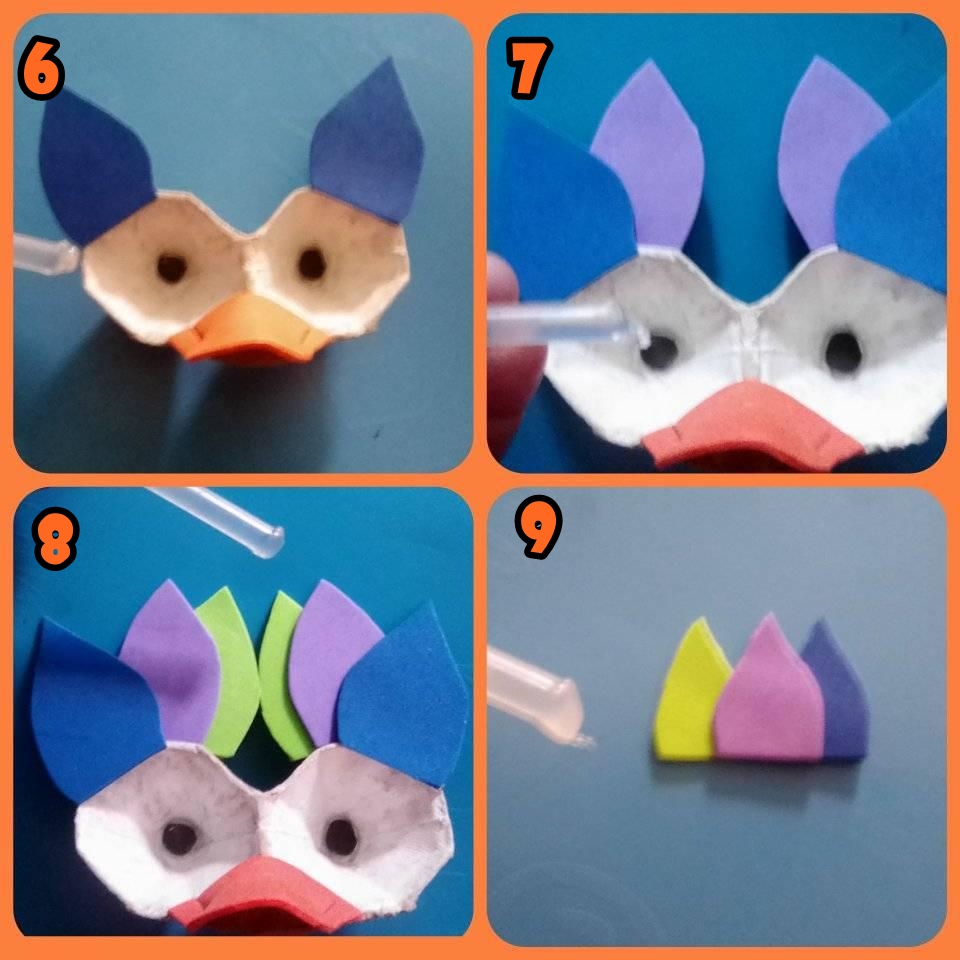
•STEP 6: Glue 1 blue piece on top of each eye.
•STEP 7: Now glue 1 purple piece on the back of the blue pieces (repeat the process with the other piece on the other side).
•STEP 8: Repeat STEP 7, but now with the green color behind the purple color.
•STEP 9: Now we join with silicone a green, purple and blue piece.
•PASO 6: Pegamos 1 pieza del color azul arriba de cada ojo.
•PASO 7: Ahora pegamos 1 pieza de color morado por la parte trasera de las piezas color azul (repetir el proceso con la otra pieza en el otro lado).
•PASO 8: Repetir el PASO 7, pero ahora con el color verde detrás del color morado.
•PASO 9: Ahora unimos con silicón una pieza color verde, morado y azul.

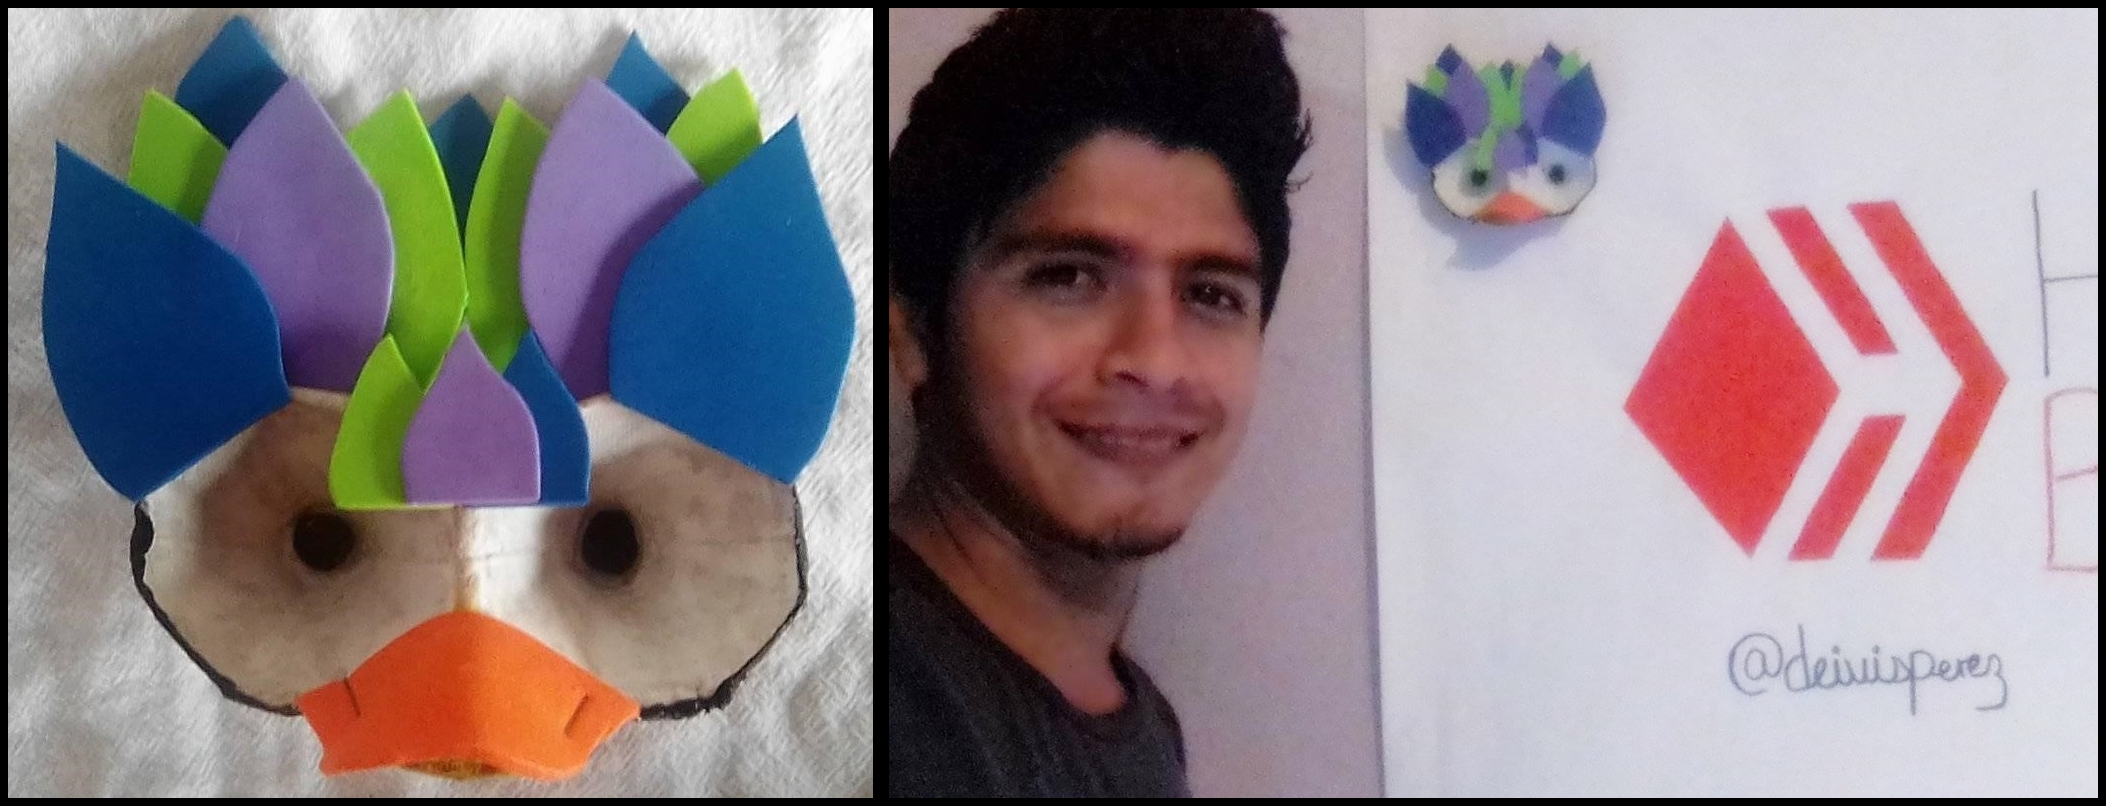
•STEP 10: With silicone, we glue the 3 pieces we have just created to the center of the eyes (on the bird's forehead), then we paint a line with black paint on all the edges of the bird to give an outline of depth and thus finish our creative work.
•PASO 10: Con silicón, pegamos las 3 piezas que acabamos de crear al centro de los ojos (en la frente del ave), seguidamente pintamos una línea con la pintura negra en todos los bordes del ave para dar un contorno de profundidad y así finalizar nuestro trabajo creativo.


All photos are my own, edited in PhotoScape, translator used: DeepL.

Congratulations @deivisperez! You have completed the following achievement on the Hive blockchain and have been rewarded with new badge(s) :
Your next target is to reach 2500 upvotes.
You can view your badges on your board and compare yourself to others in the Ranking
If you no longer want to receive notifications, reply to this comment with the word
STOPCheck out the last post from @hivebuzz:
Support the HiveBuzz project. Vote for our proposal!
Using the egg tray is so clever and it really makes it work
thank you for sharing this :D
Hi there @kaerpediem , thank you for your comment. Yes, it really looks great for decorating. greetings!