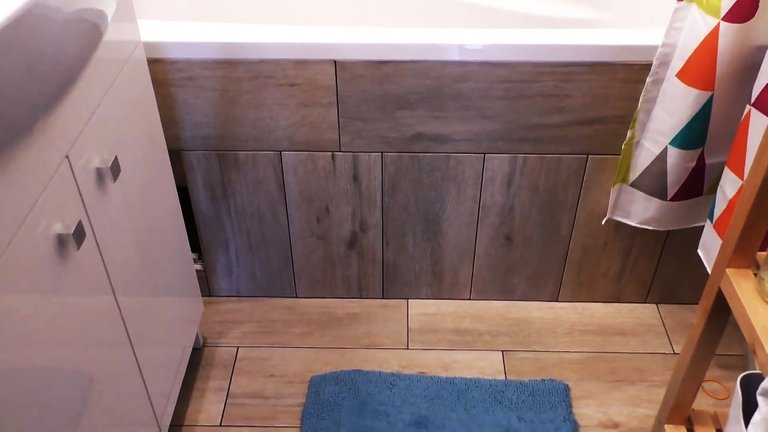
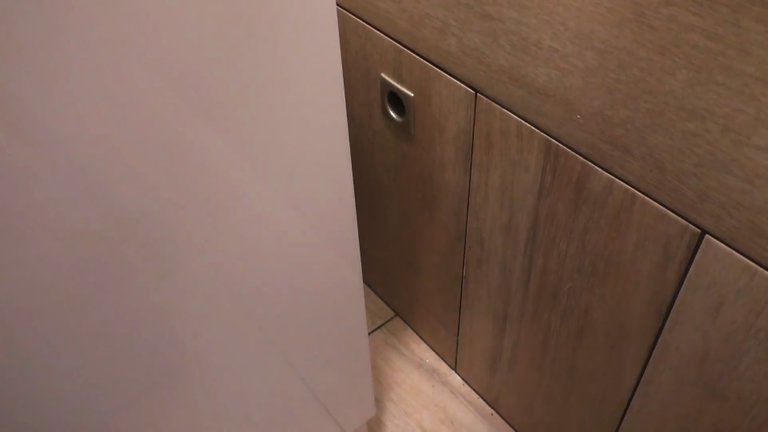
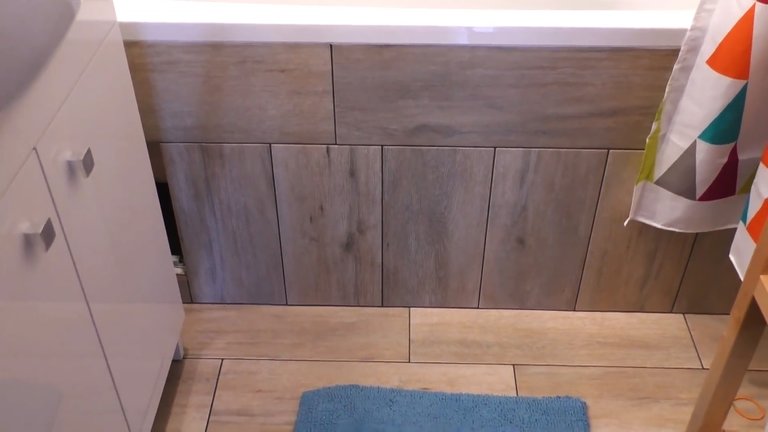
Plastic inspection hatches in bathrooms rarely fit into the overall picture of the repair. With them, even expensive tiles look less presentable. Hatches on magnets look much better. They are almost invisible, because they look like the rest of the screen under the bathroom. You can make a hidden revision hatch from tiles without an expensive pressure mechanism, attaching it with magnets.
Las escotillas de inspección de plástico en los baños rara vez encajan en el panorama general de la reparación. Con ellos, incluso los azulejos caros se ven menos presentables. Las escotillas en los imanes se ven mucho mejor. Son casi invisibles, porque se parecen al resto de la mampara debajo del baño. Puede hacer una trampilla de revisión oculta a partir de mosaicos sin un mecanismo de presión costoso, fijándolo con imanes.
Materials:
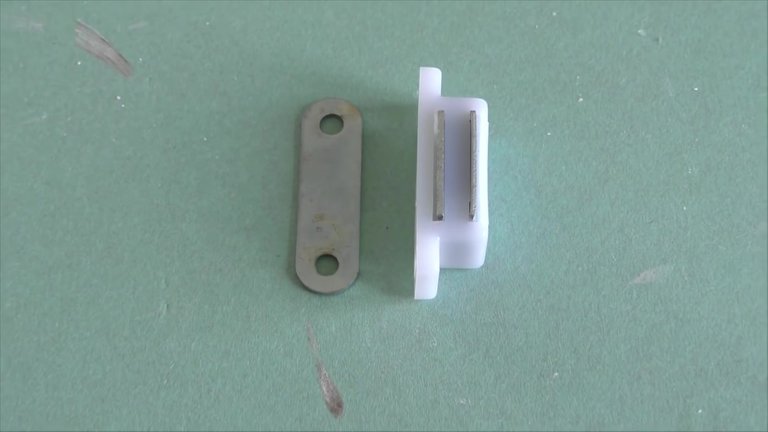
- furniture magnets;
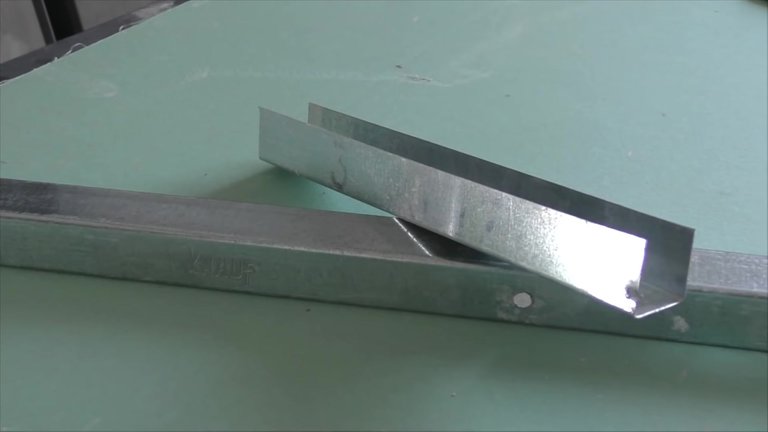
- guide profile UD, CD;
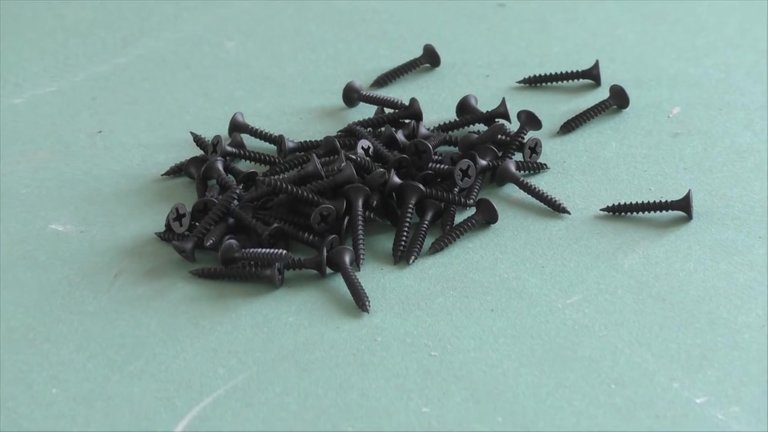
- self-tapping screws for drywall;
- drywall;
- glue Moment;
- polyurethane sealant;
- assembly foam.
Materiales:
- imanes para muebles;
- perfil guía UD, CD;
- tornillos autorroscantes para paneles de yeso;
- paneles de yeso;
- Pegamento Momento;
- sellador de poliuretano;
- espuma de montaje.
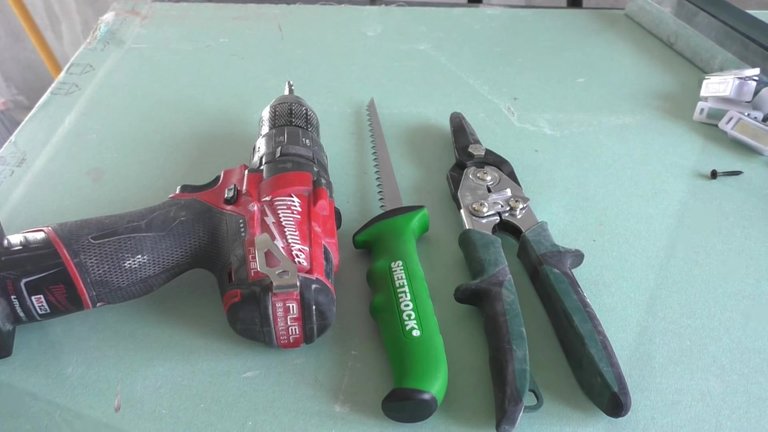
Hidden hatch manufacturing process
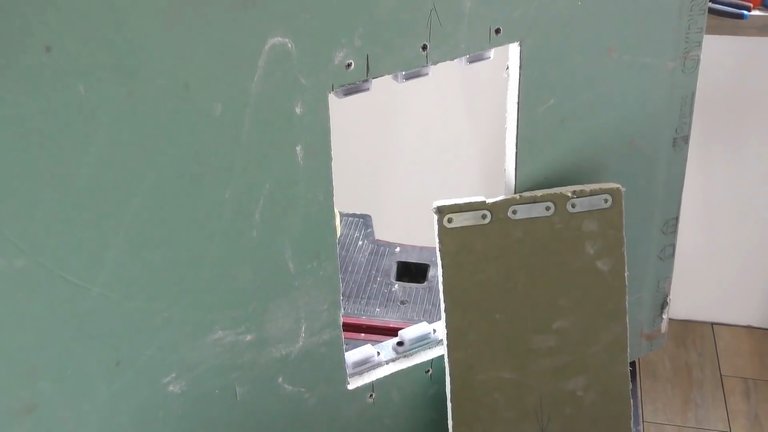
The hatch is usually made from one or more whole tiles. So it will be less noticeable than consisting of scraps. In a piece of drywall for lining a niche or screen under the bathroom, you need to cut a window for the hatch. It must be at least 10 mm smaller than the tile or tiles chosen to make the door in width and height.
Proceso de fabricación de escotilla oculta
La escotilla generalmente está hecha de una o más fichas enteras. Por lo tanto, se notará menos que si se trata de restos. En un panel de yeso para revestir un nicho o una pantalla debajo del baño, debe cortar una ventana para la escotilla. Debe ser al menos 10 mm menor que la teja o tejas elegidas para hacer la puerta en anchura y altura.
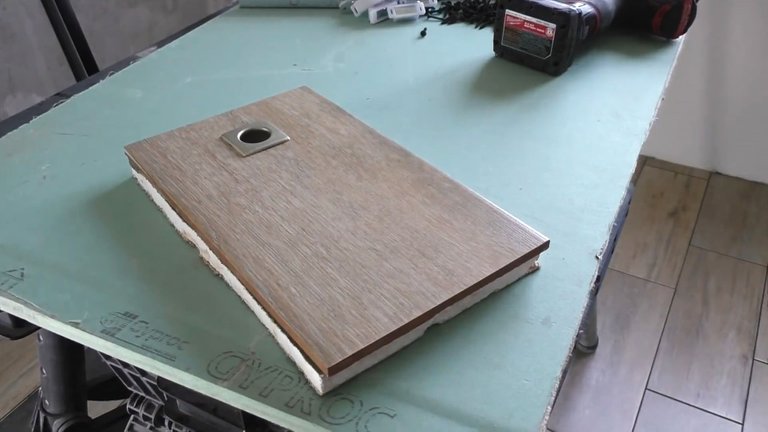
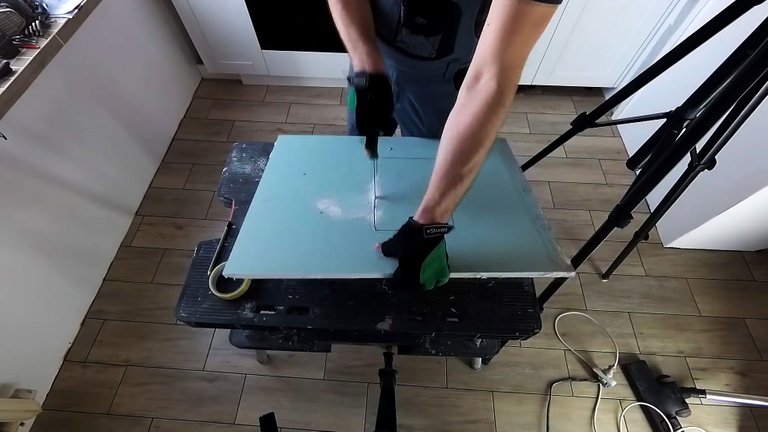
Along the width of the window for the hatch, you need to cut 2 pieces of UD profile. Furniture magnets are screwed flush with the edge to them. The more there are, the more reliable. They hold worse than neodymium ones, but they cost a penny. In sufficient quantity and furniture magnets will hold securely.
A lo largo del ancho de la ventana para la escotilla, debe cortar 2 piezas de perfil UD. Los imanes para muebles se atornillan al ras con el borde. Cuantos más haya, más fiables. Aguantan peor que los de neodimio, pero cuestan un centavo. En cantidad suficiente, los imanes para muebles se mantendrán seguros.
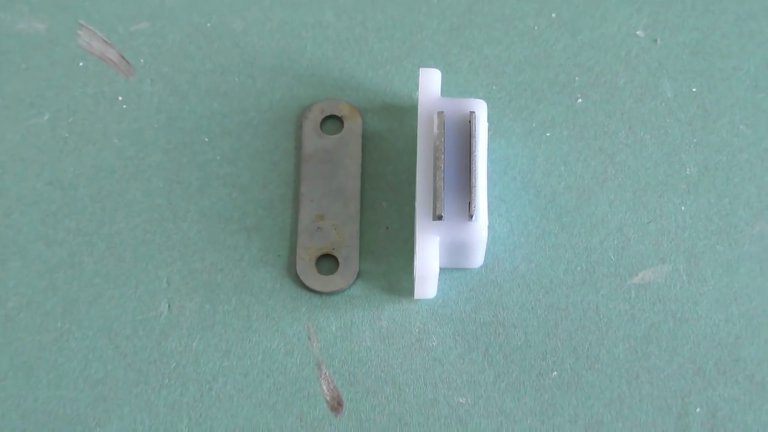
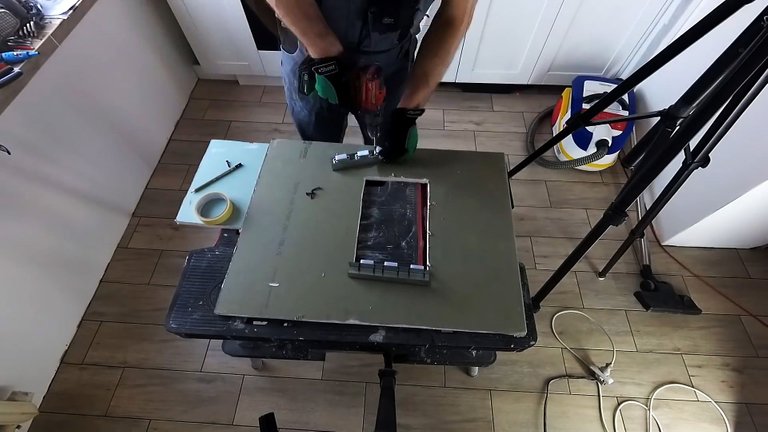
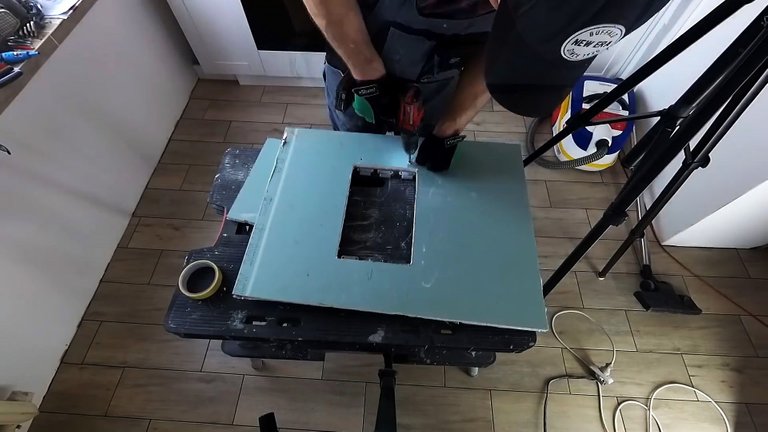
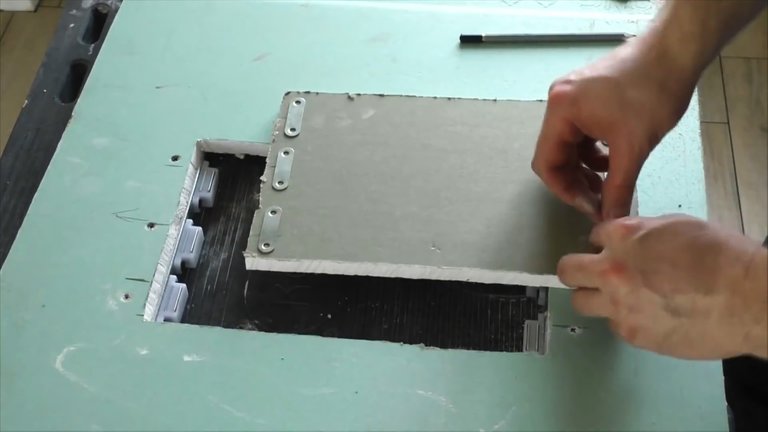
Then we apply the hatch and mark with a pencil the places of gluing the reciprocal metal plates. You need to glue them with Moment glue. After setting it, the hatch will hold securely.
Luego aplicamos la escotilla y marcamos con un lápiz los lugares de pegado de las placas de metal recíprocas. Necesitas pegarlos con pegamento Moment. Después de configurarlo, la escotilla se sostendrá de forma segura.
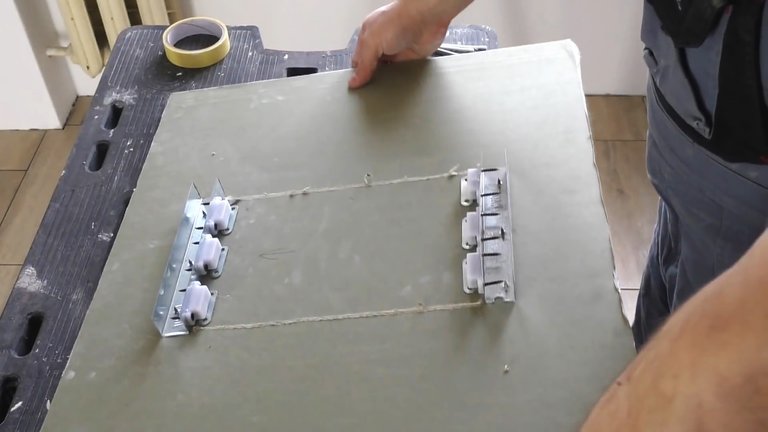
Making such a blank is only half the battle. You also need to properly assemble the screen frame. We glue wooden blocks on liquid nails under the side of the bath. Already on them you need to fasten the UD profile with short self-tapping screws. The void under the profile is foamed with mounting foam.
Hacer tal espacio en blanco es solo la mitad de la batalla. También debe ensamblar correctamente el marco de la pantalla. Pegamos bloques de madera en clavos líquidos debajo del costado del baño. Ya en ellos, debe sujetar el perfil UD con tornillos autorroscantes cortos. El vacío debajo del perfil está cubierto de espuma de montaje.

Then the bath is installed on the legs. After that, you need to fix the frame frame. It is not necessary to fasten the profile with dowels. You can not drill the tile, but glue it on a polyurethane sealant.
Racks made of CD profile are installed between the UD frame. They need to be fastened with self-tapping screws with a press washer. Then a fitted drywall sheet with an embedded hatch is screwed onto the frame, or it is done after.
Luego se instala el baño en las piernas. Después de eso, debe arreglar el marco del marco. No es necesario sujetar el perfil con tacos. No puede perforar el azulejo, sino pegarlo con un sellador de poliuretano.
Los estantes hechos de perfil de CD se instalan entre el marco UD. Deben sujetarse con tornillos autorroscantes con una arandela de presión. Luego, se atornilla una hoja de paneles de yeso ajustada con una escotilla incrustada en el marco, o se hace después.
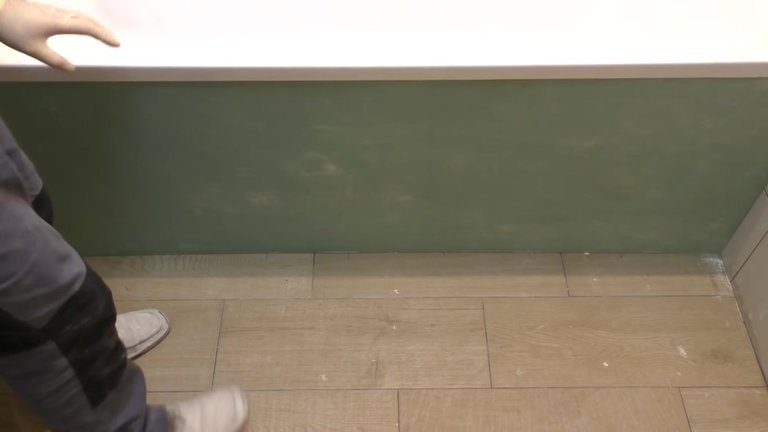
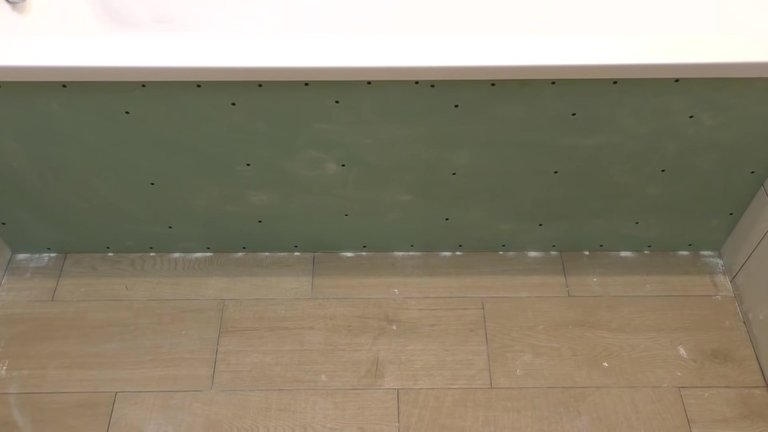
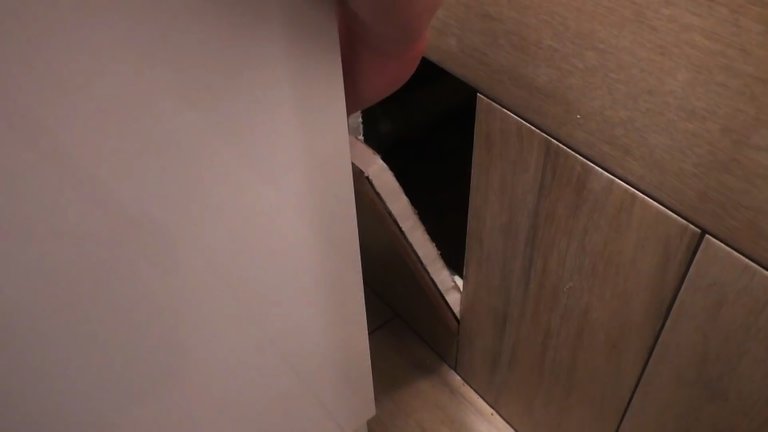
Next, it remains to glue the tiles. A separate tile must be glued to the hatch, not connected to the rest of the base, so it can be easily removed.
A continuación, queda por pegar los azulejos. Se debe pegar un mosaico separado a la escotilla, no conectado al resto de la base, para que se pueda quitar fácilmente.
Some of the photos come from the Internet!