Fashion for today's interior design dictates its own rules and conditions. Therefore, many people do not think about the consequences at all, following modern trends, and in order to increase living space, they combine a balcony with a room, removing interior doors and completely removing partitions. On the one hand, the premises are significantly enlarged, which is a definite plus, but on the other hand, with the advent of cold weather, the room becomes much cooler than before. To create a comfortable temperature regime, many people use electric heating devices as additional heating, such as: fireplaces, heaters, etc.But the thermal effect from them is not significant, and the electricity consumption is solid. The installation of an infrared film floor will help to solve the problem quickly and efficiently, provided that a laminate is laid in the room. This type of heating can be put into operation in just one day, without causing serious damage to the appearance of the room.
Installation of the film floor in this case will look like this:
- Free the entire space of the balcony from furniture.
La moda para el diseño de interiores de hoy dicta sus propias reglas y condiciones. Por lo tanto, muchas personas no piensan en absoluto en las consecuencias, siguiendo las tendencias modernas, y para aumentar el espacio habitable, combinan un balcón con una habitación, eliminan las puertas interiores y eliminan completamente las particiones. Por un lado, las instalaciones se amplían significativamente, lo que definitivamente es una ventaja, pero por otro lado, con la llegada del clima frío, la habitación se vuelve mucho más fresca que antes. Para crear un régimen de temperatura confortable, muchas personas usan dispositivos de calefacción eléctrica como calefacción adicional, como: chimeneas, calentadores, etc.Pero el efecto térmico de ellos no es significativo y el consumo de electricidad es sólido. La instalación de un piso de película infrarroja ayudará a resolver el problema de manera rápida y eficiente, siempre que se coloque un laminado en la habitación. Este tipo de calefacción se puede poner en funcionamiento en un solo día, sin causar daños graves en la apariencia de la habitación.
La instalación del piso de película en este caso se verá así:
- Liberar todo el espacio del balcón de muebles.
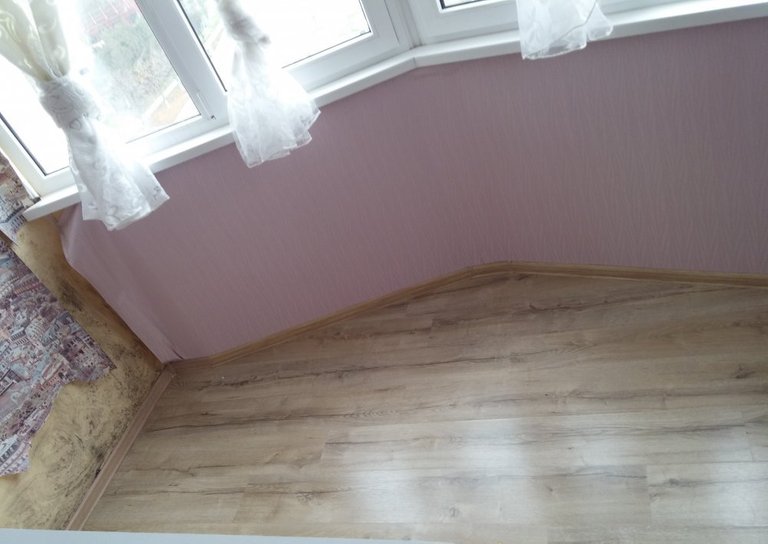
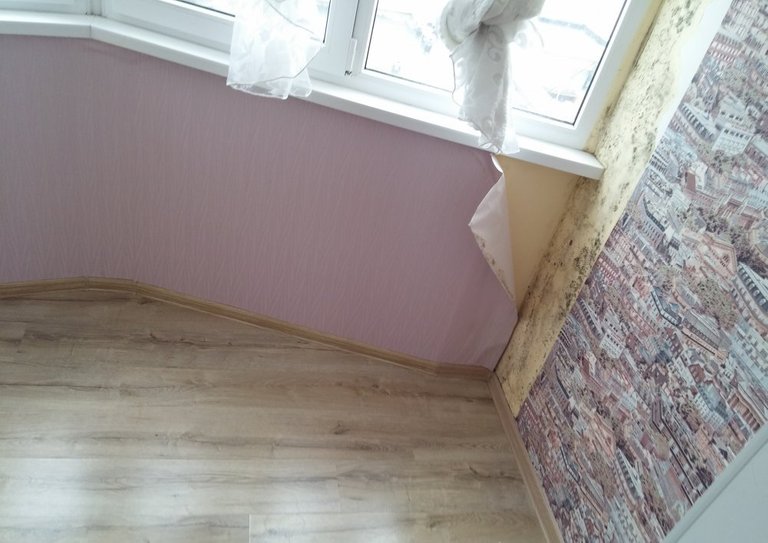
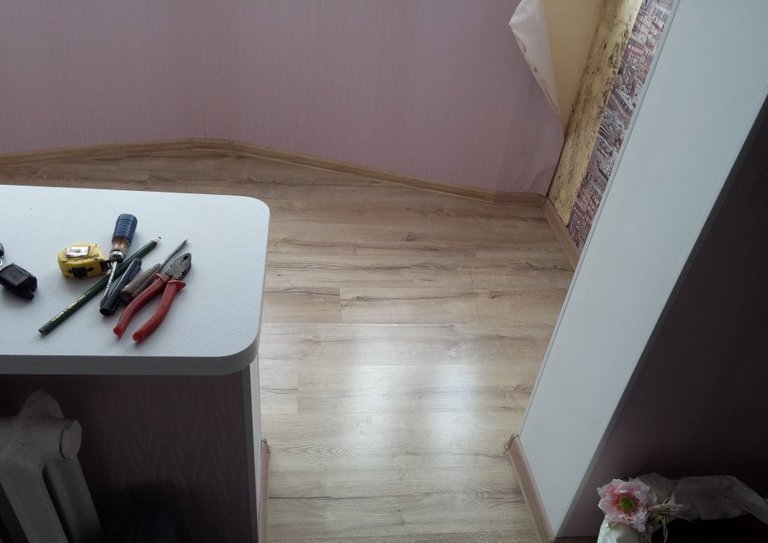
2 Remove the plinth around the perimeter of the room.
2 Retire el zócalo alrededor del perímetro de la habitación.
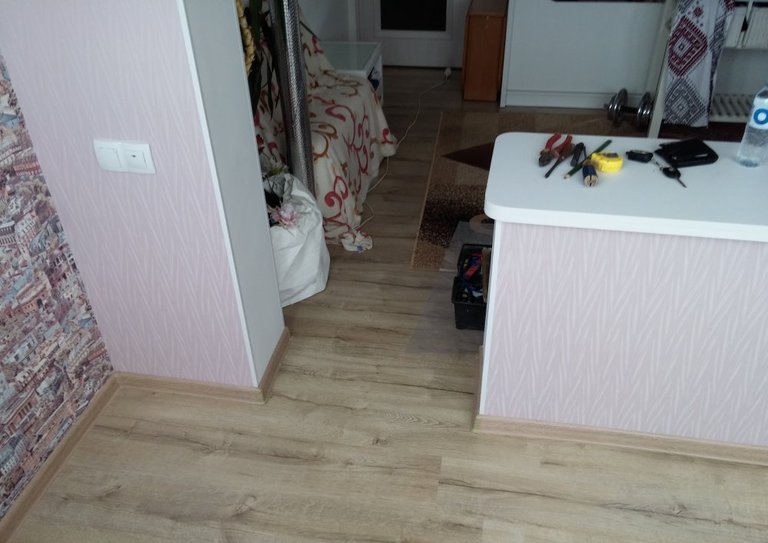
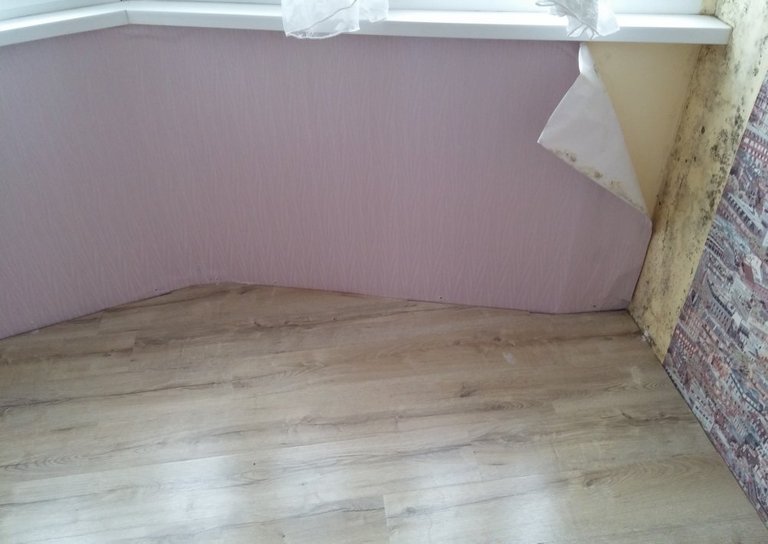
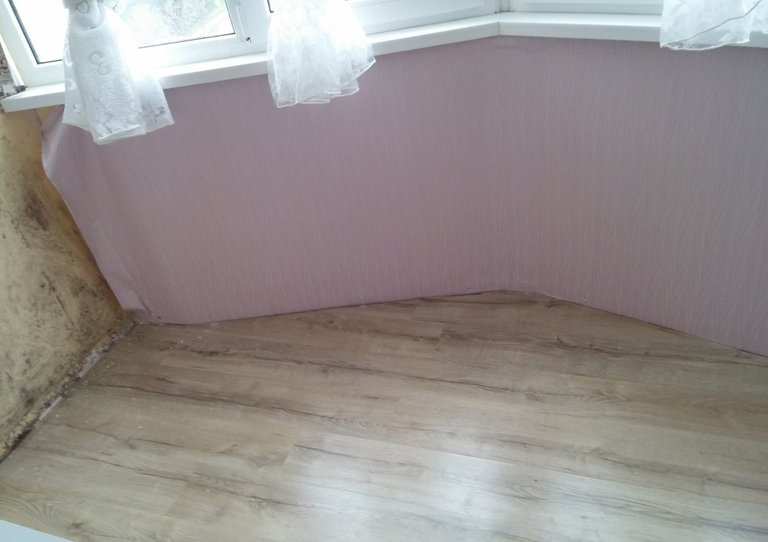
3 Carefully dismantle the laminate, signing each board to facilitate its installation back.
3 Desmontar con cuidado el laminado, firmando cada tablero para facilitar su instalación posterior.
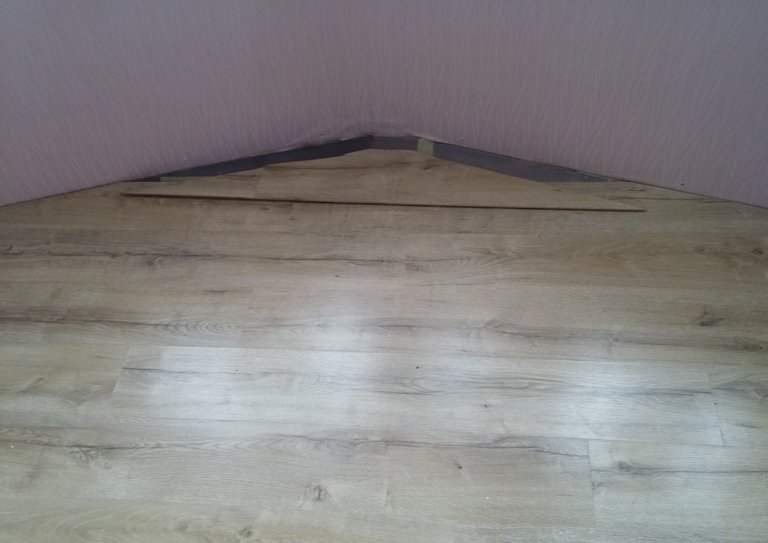
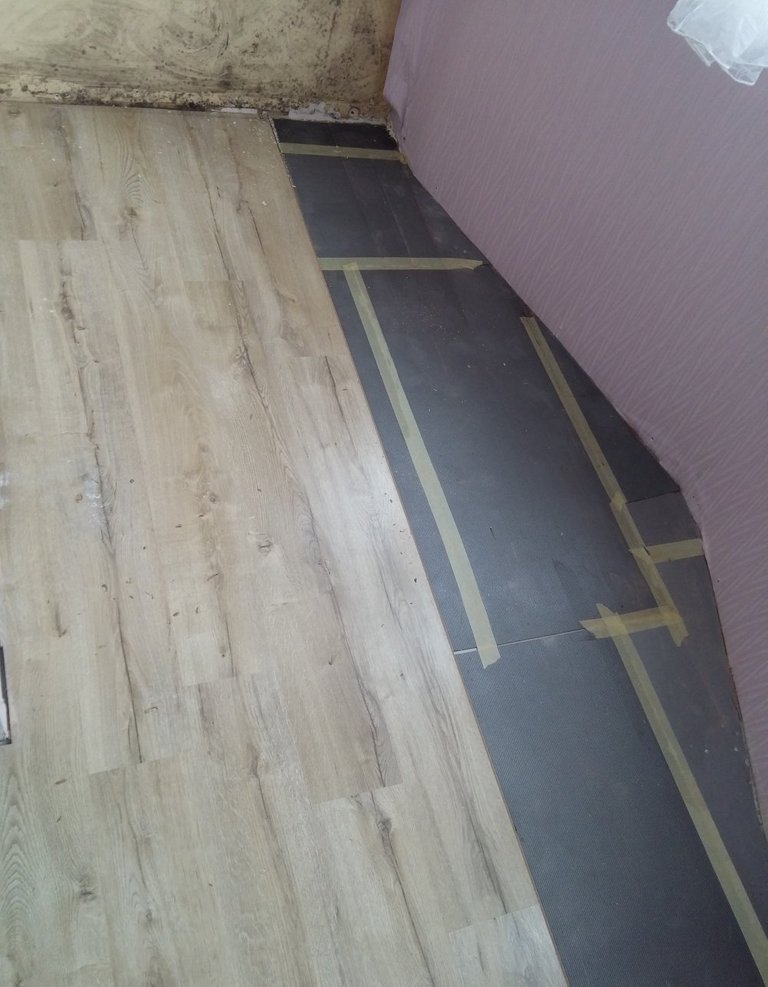
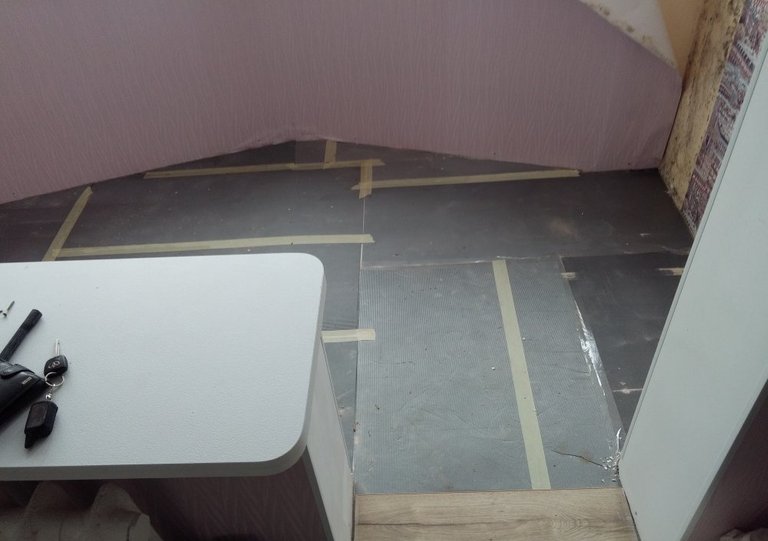
4 Remove all underlayment under the laminate.
4 Retire todo el contrapiso debajo del laminado.
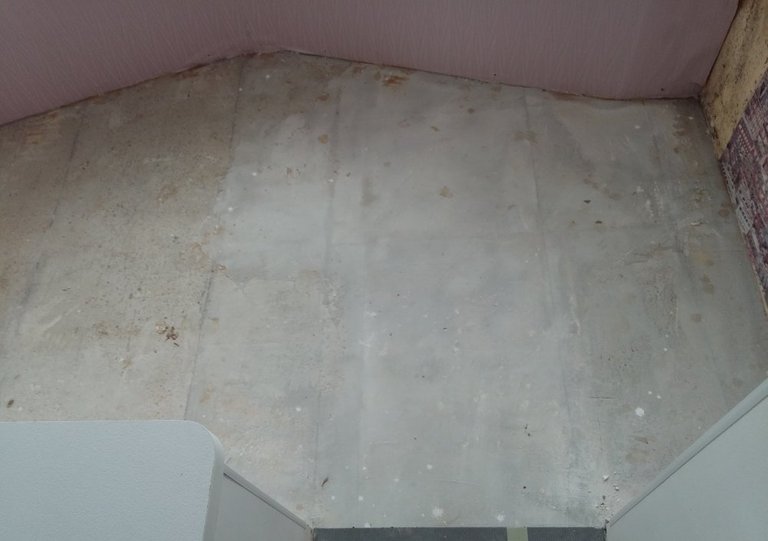
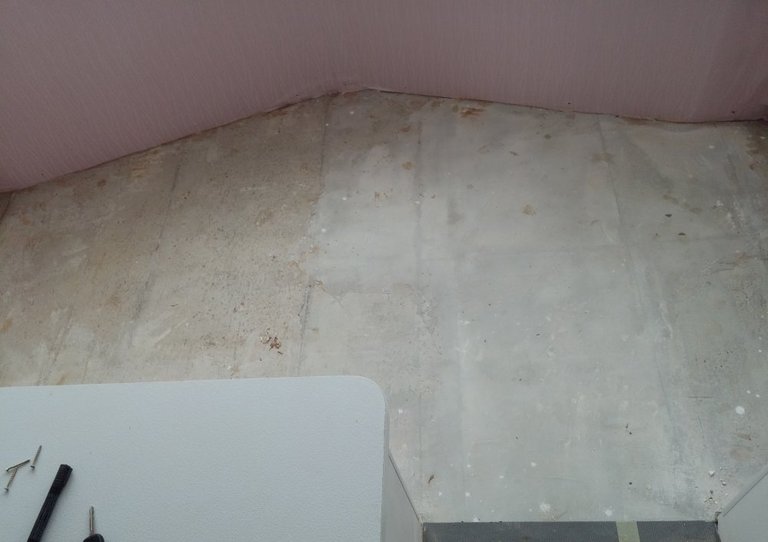
5 Decide on the installation location of the socket box. If the number of shoulder floor strips is small, you can take power for the thermostat from the nearest outlet. For clarity, mark the diameter of the future hole on the wall, as well as mark the floor sensor and the connecting eclectic cable.
5 Decida la ubicación de instalación de la caja de conexiones. Si la cantidad de tiras de piso de hombro es pequeña, puede tomar energía para el termostato desde el tomacorriente más cercano. Para mayor claridad, marque el diámetro del futuro orificio en la pared, así como marque el sensor de piso y el cable ecléctico de conexión.
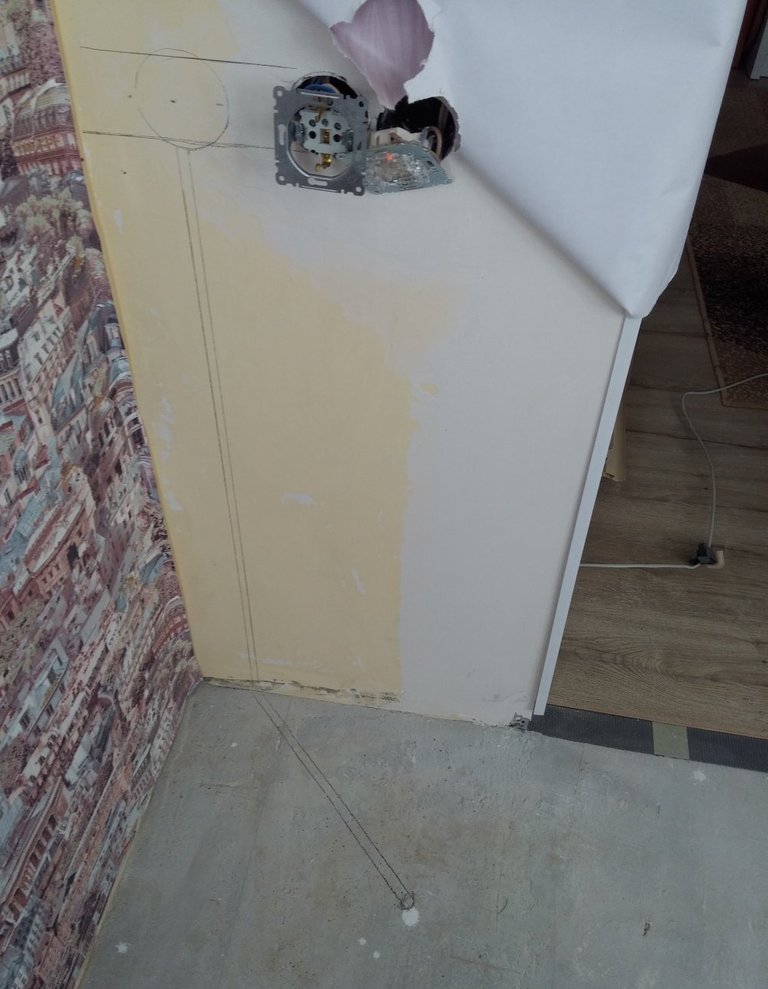
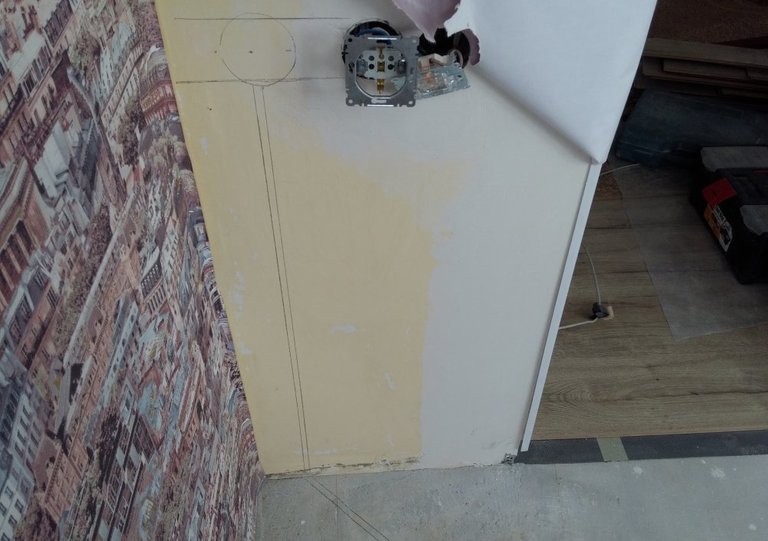
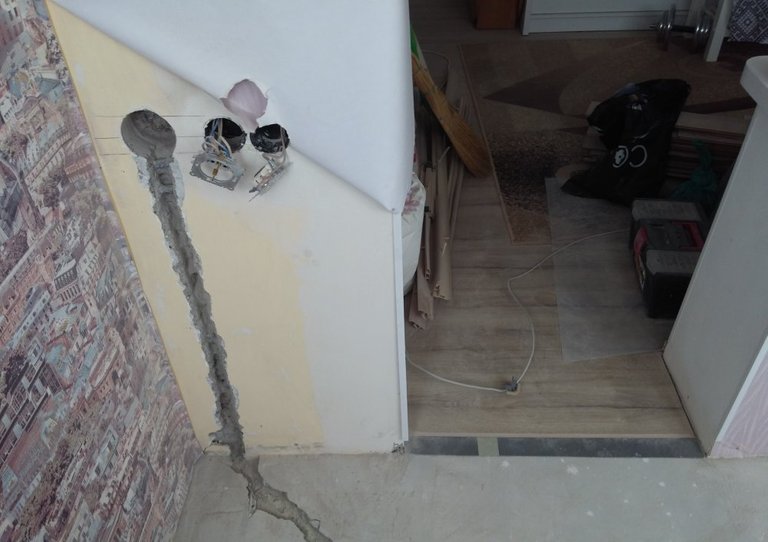
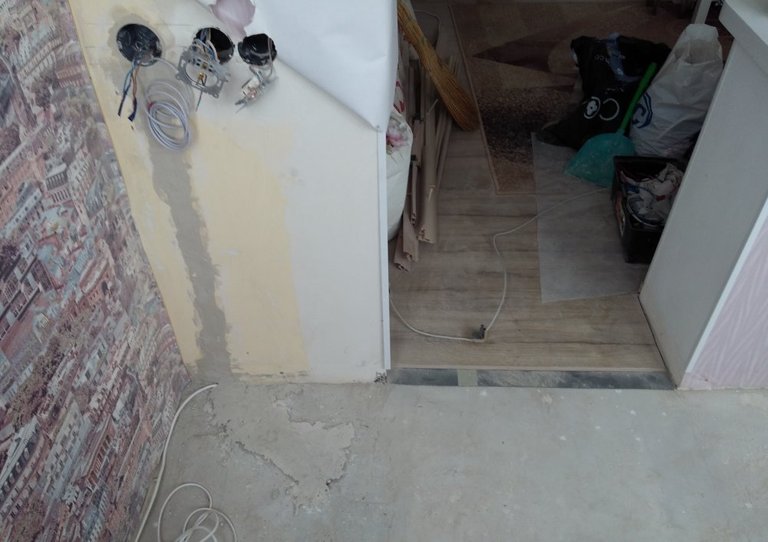
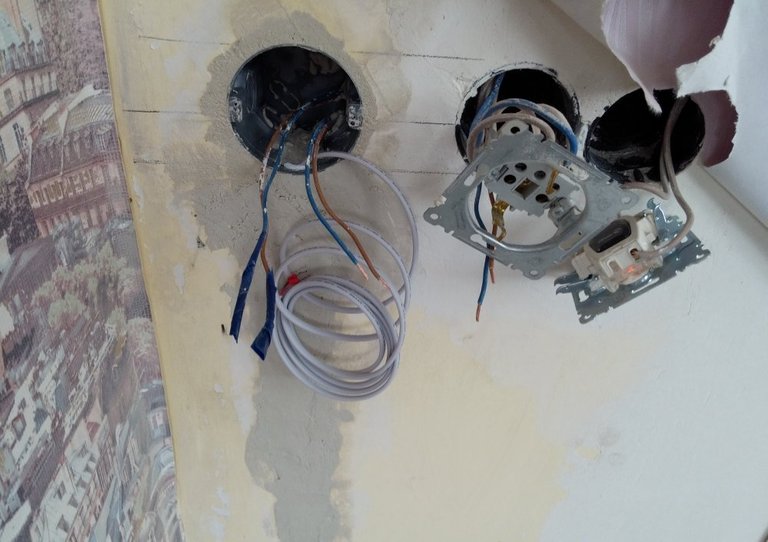
6 Slot the canvas of the desired size and a hole for the future thermostat. Connect all necessary wires. For quick drying, cover the canvas with gypsum plaster.
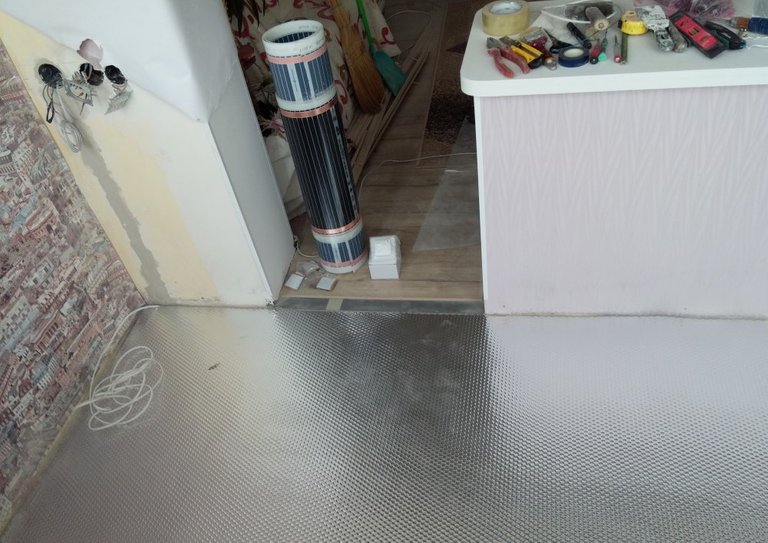
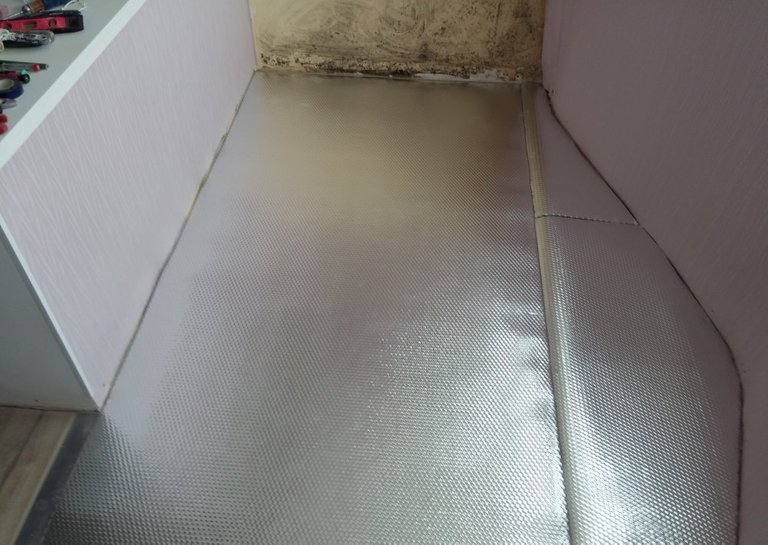
7 Choose a specialized substrate for underfloor heating, equal in thickness to the previous one. This eliminates the formation of unevenness (transition from a thinner to a thicker substrate) when laying the laminate back. Spread the substrate over the entire free area. If necessary, connect its individual parts with reflective tape.
6 Ranurar la lona del tamaño deseado y un hueco para el futuro termostato. Conecte todos los cables necesarios. Para un secado rápido, cubra el lienzo con yeso.
7 Elija un sustrato especializado para calefacción por suelo radiante, igual en espesor que el anterior. Esto elimina la formación de irregularidades (transición de un sustrato más delgado a uno más grueso) al volver a colocar el laminado. Extender el sustrato por toda la zona libre. Si es necesario, conecte sus partes individuales con cinta reflectante.
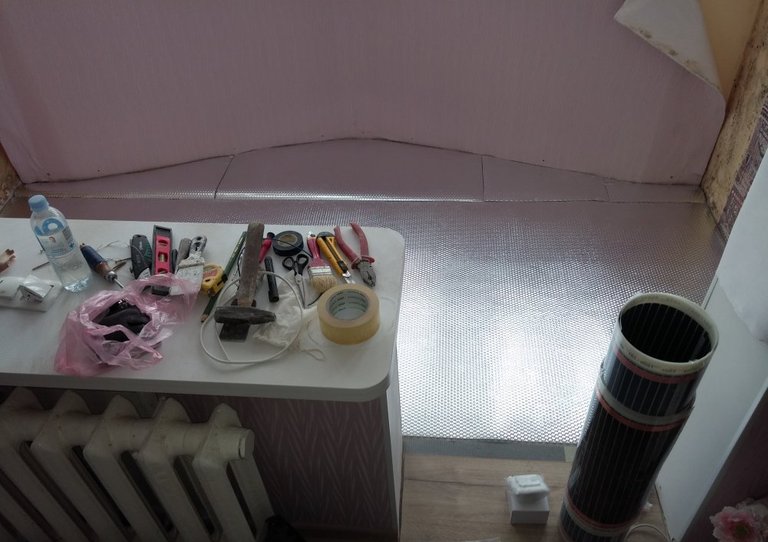
8 Lay the strips of the infrared captive floor on the free area of the room according to the instructions.
8 Coloque las tiras del piso cautivo de infrarrojos en el área libre de la habitación de acuerdo con las instrucciones.
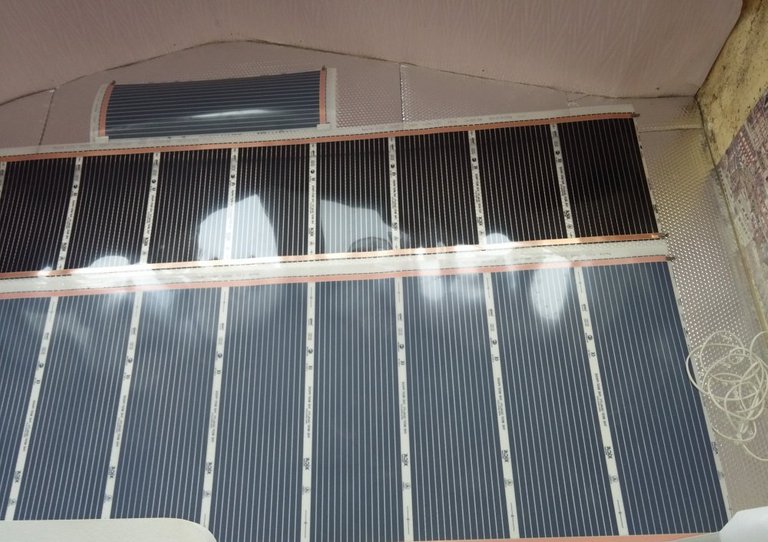
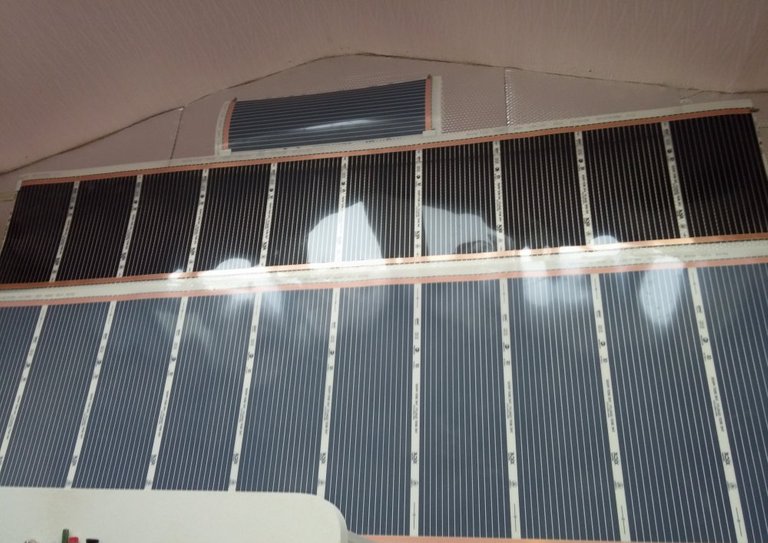
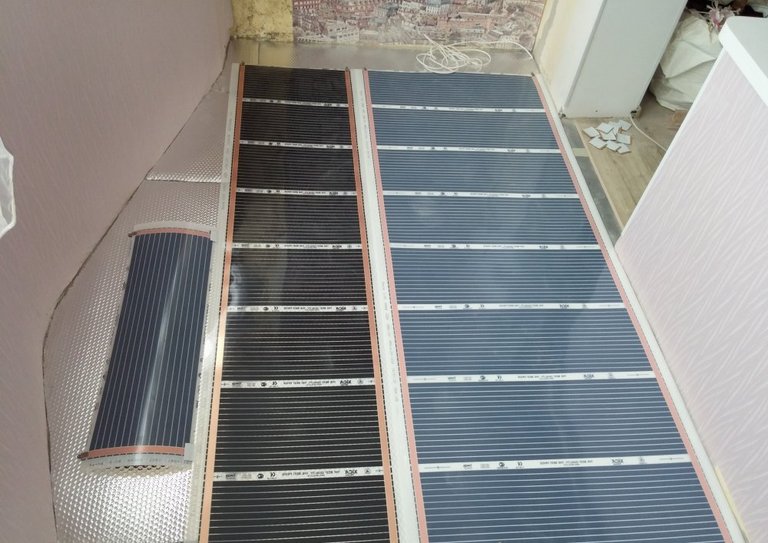
9 Connect all strips with each other using a cable of the appropriate section. The thickness of the cable section in each case is selected individually, based on the total power of the underfloor heating system. Test the functionality of the elements. Each of the strips should warm up well within 10-15 minutes.
10 To prevent moisture from getting on the electrical elements of the underfloor heating, manufacturers recommend covering it with medium density polyethylene film.
9 Conectar todas las tiras entre sí mediante un cable de la sección adecuada. El grosor de la sección del cable en cada caso se selecciona individualmente, en función de la potencia total del sistema de calefacción por suelo radiante. Probar la funcionalidad de los elementos. Cada una de las tiras debe calentarse bien en 10 a 15 minutos.
10 Para evitar que la humedad entre en contacto con los elementos eléctricos del suelo radiante, los fabricantes recomiendan cubrirlo con una película de polietileno de densidad media.
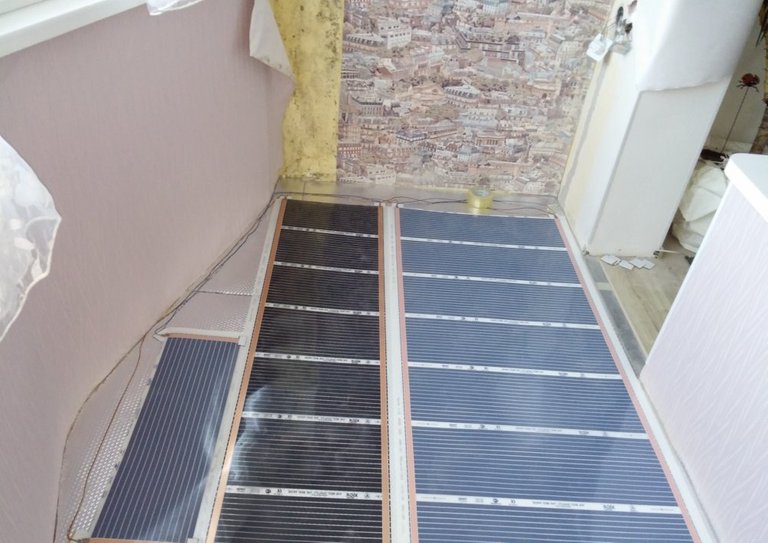
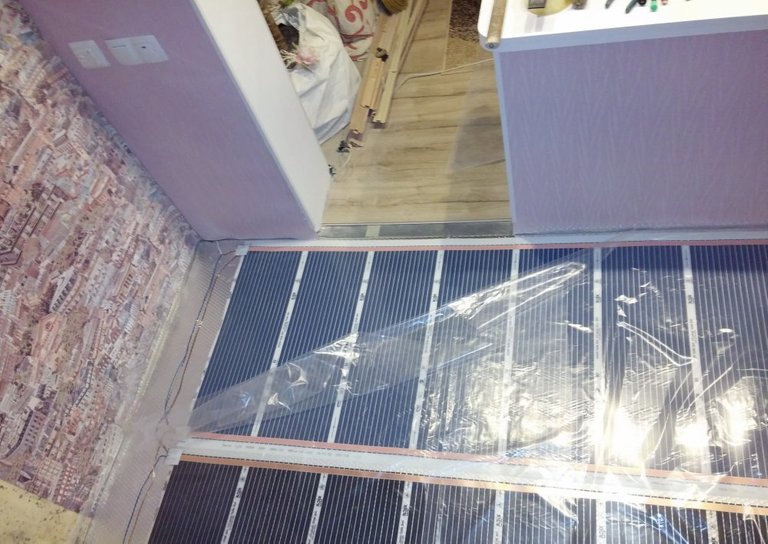
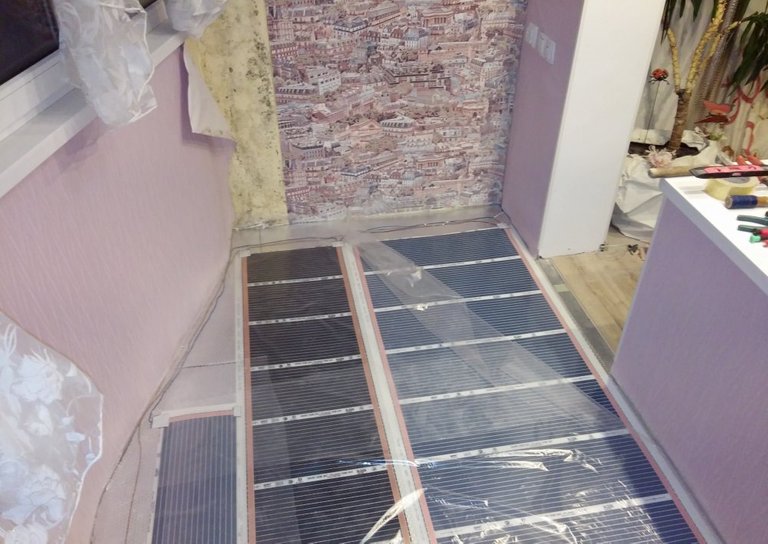
11 The temperature controller is installed according to the attached wiring diagram.
11 El controlador de temperatura se instala de acuerdo con el diagrama de cableado adjunto.
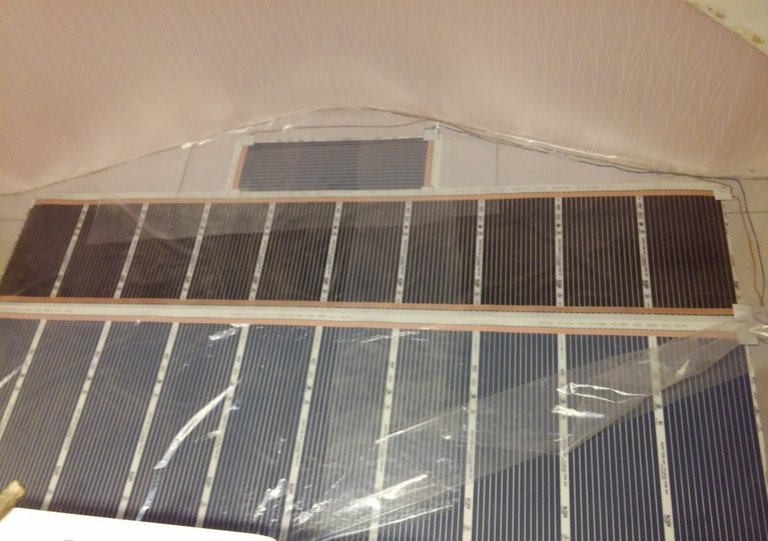
12 After checking the performance of the underfloor heating system, you can start laying the laminate. It fits according to the standard scheme. At the final stage, install the plinth.
12 Después de verificar el rendimiento del sistema de calefacción por suelo radiante, puede comenzar a colocar el laminado. Se ajusta según el esquema estándar. En la etapa final, instale el zócalo.
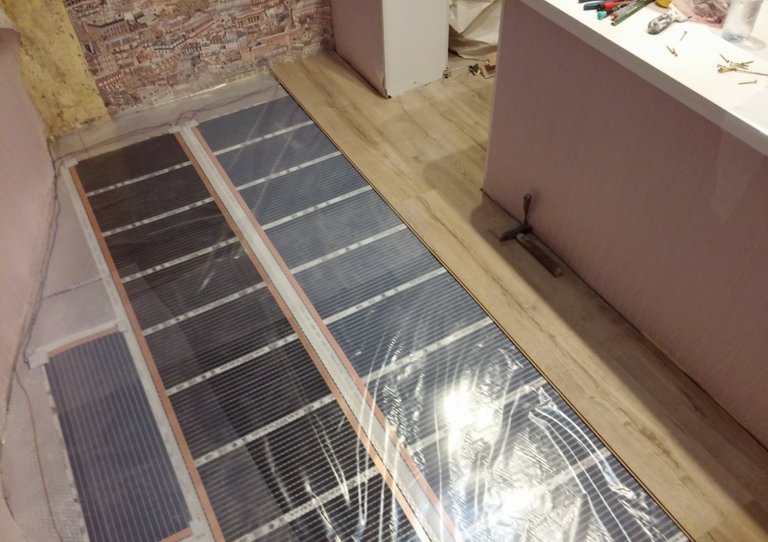
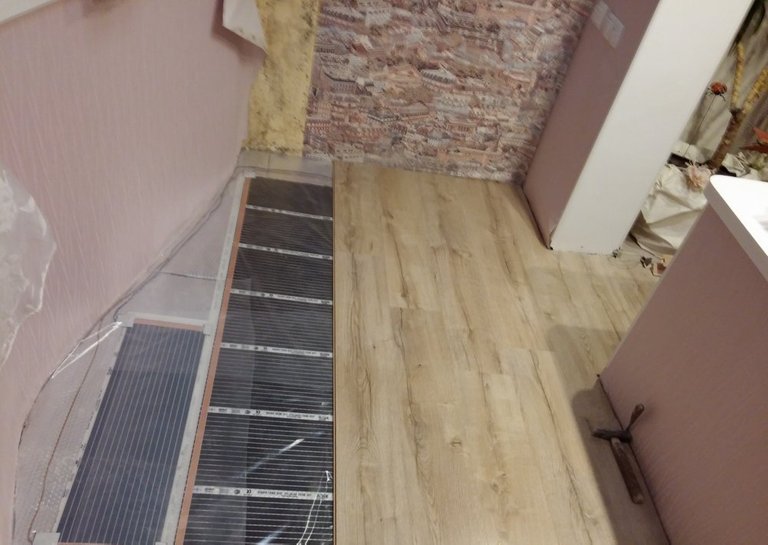
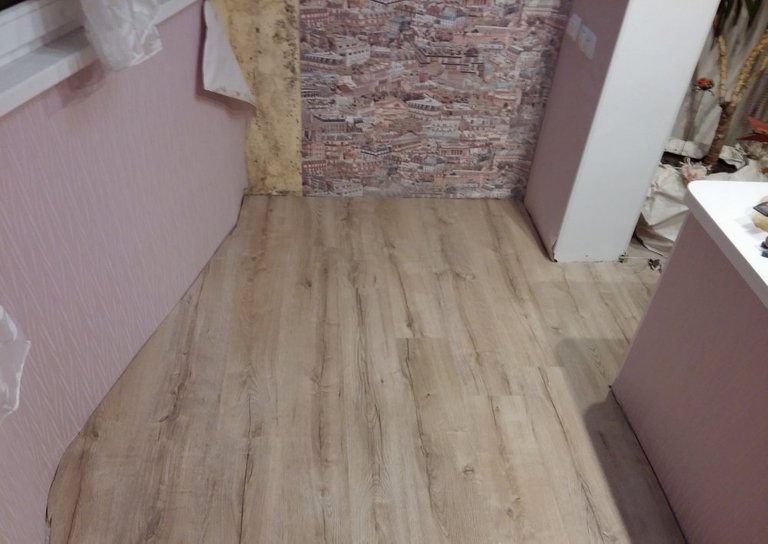
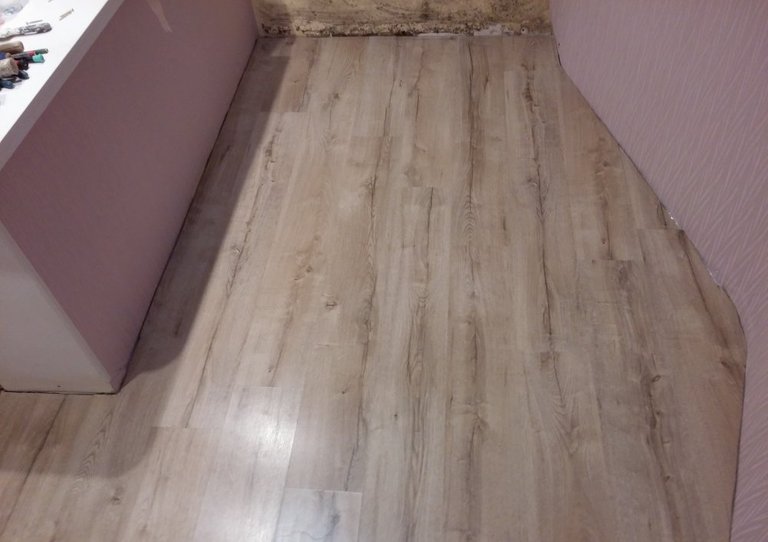
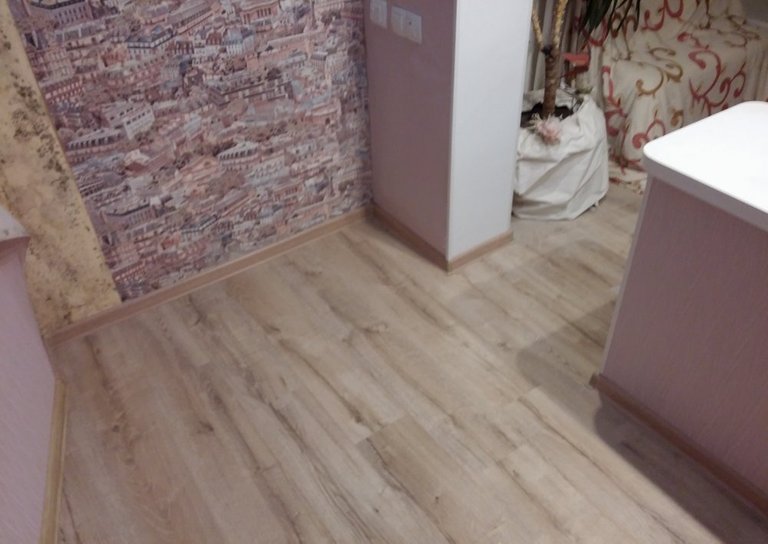
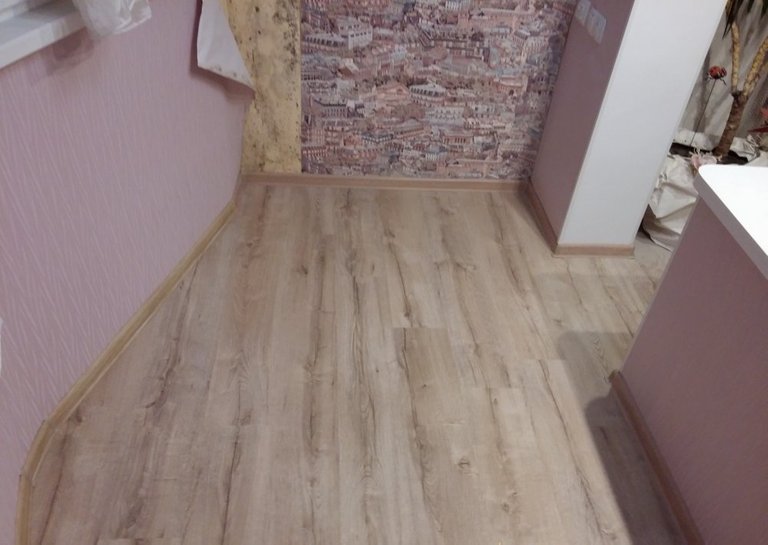
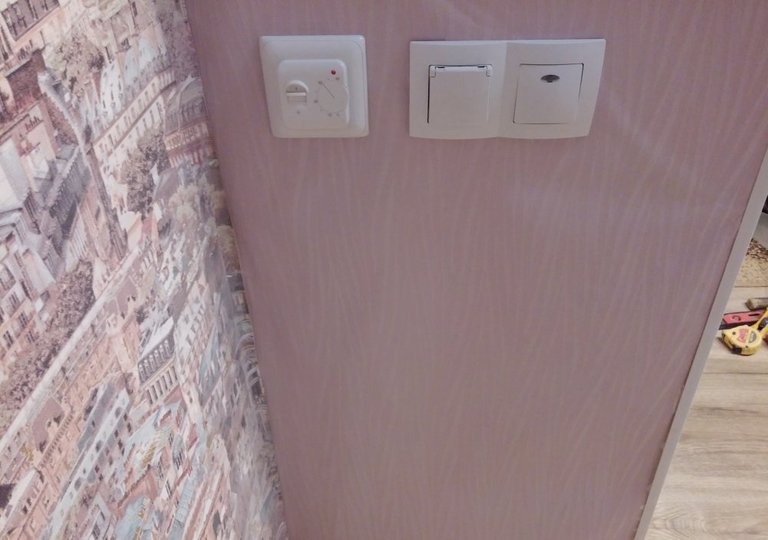
You can fully use the underfloor heating system immediately after the installation of the floor covering. Initially, it is recommended to set the temperature on the thermostat above 30 degrees. And after warming up the room to a comfortable temperature regime (depending on the temperature outside and inside the room, it may take from several hours to several days), switch the thermostat to 23-27 degrees.
Puede utilizar completamente el sistema de calefacción por suelo radiante inmediatamente después de la instalación del revestimiento del suelo. Inicialmente, se recomienda configurar la temperatura en el termostato por encima de 30 grados. Y después de calentar la habitación a un régimen de temperatura confortable (dependiendo de la temperatura exterior e interior de la habitación, puede llevar de varias horas a varios días), cambie el termostato a 23-27 grados.