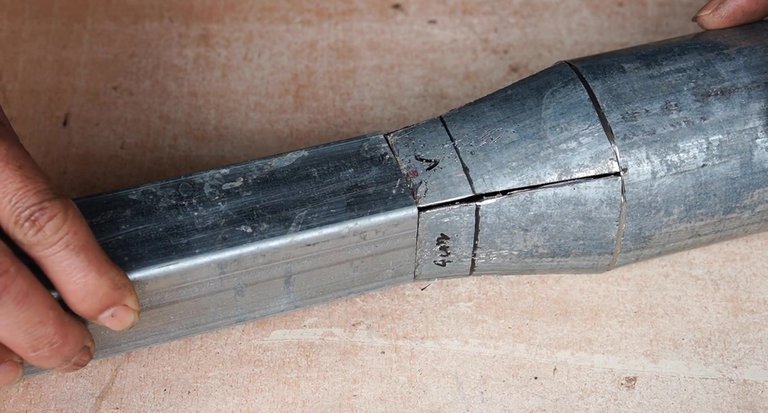
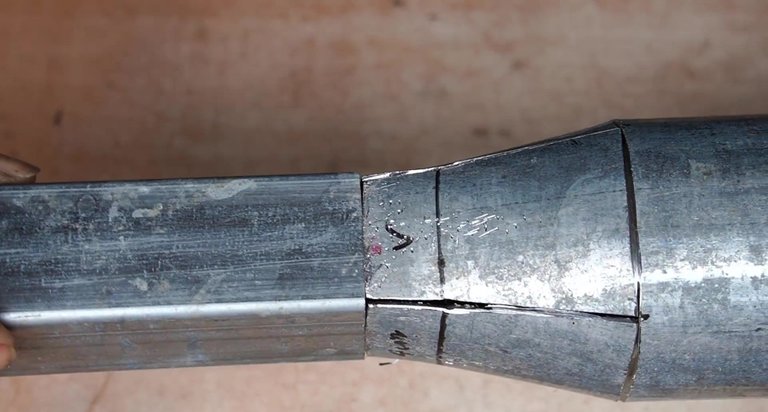
When repairing a house, in a home workshop or at work, we are faced with the problem of the need to connect a profile square pipe with a round pipe of a obviously larger cross section. This can be done in many ways. Consider one of them, which any adult can implement.
Al reparar una casa, en un taller doméstico o en el trabajo, nos enfrentamos al problema de la necesidad de conectar un tubo de perfil cuadrado con un tubo redondo de una sección transversal obviamente mayor. Esto puede hacerse de muchas maneras. Considere uno de ellos, que cualquier adulto puede implementar.
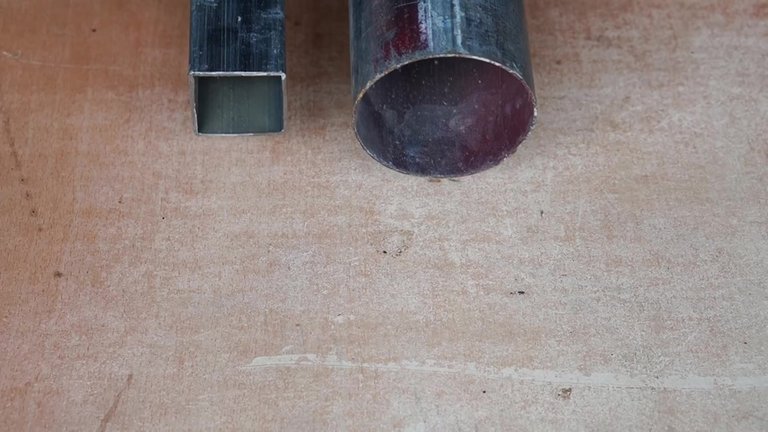
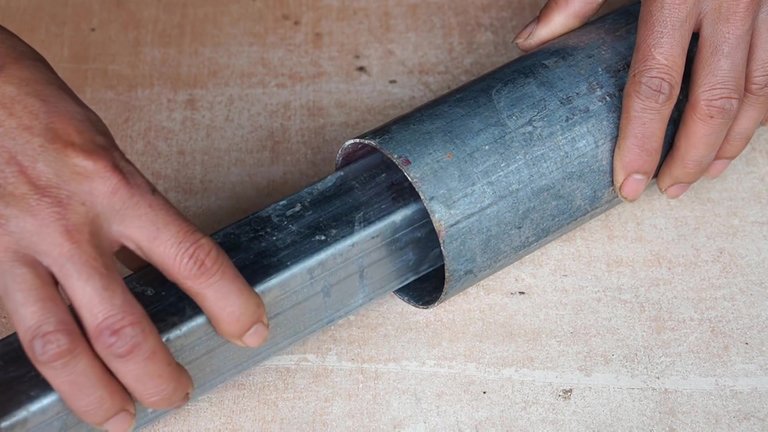
For this work, we will need:
Materials
• round pipe of large diameter;
• a profile square pipe of the smaller size;
• paper strip 24×5 cm;
Instruments
• marking and measuring means;
• grinder with cutting disc;
• metalwork hammer.
** Para este trabajo necesitaremos:**
Materiales
• tubería redonda de gran diámetro;
• el tubo cuadrado de perfil de la dimensión menor;
• tira de papel 24×5 cm;
Instrumentos
• medios de marcado y medición;
• molinillo con disco de corte;
• martillo metalúrgico.
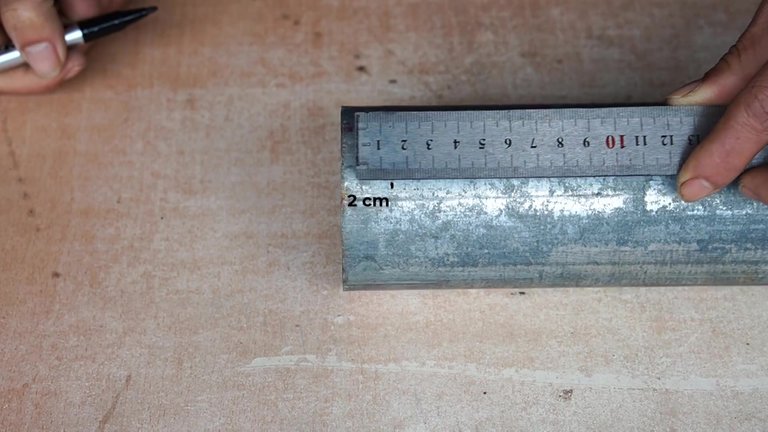
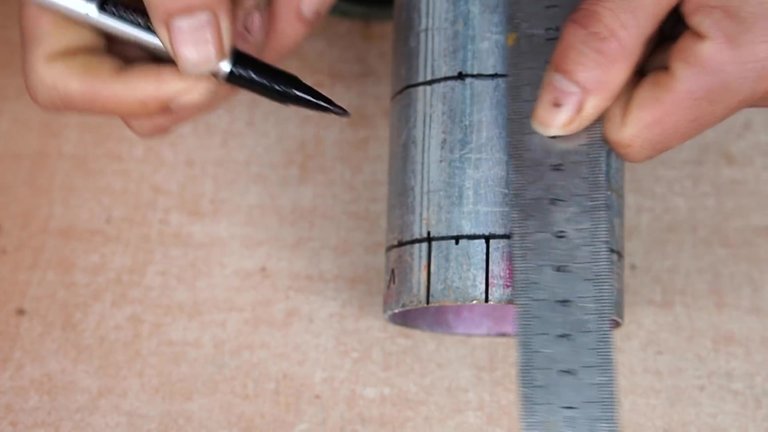
At the beginning of the process, on a round pipe, set aside 2 cm from the end and put a mark.
Al principio del proceso, en un tubo redondo, apartar 2 cm del final y marcar.
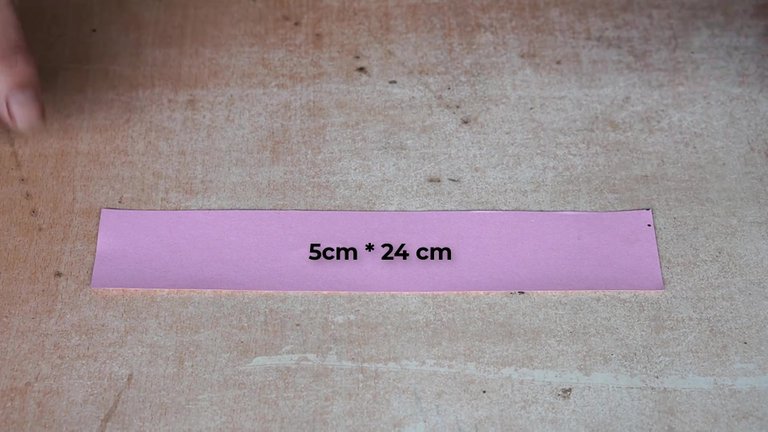
We take a paper strip with a size of 5 by 24, which will coincide with the outer circumference of the round pipe. (Depending on the circumference size of the round pipe, the paper strip will also be different size)
Tomamos una tira de papel de 5 por 24, que coincidirá con la circunferencia exterior del tubo redondo. (Dependiendo del tamaño de la circunferencia del tubo redondo, la tira de papel también tendrá un tamaño diferente)
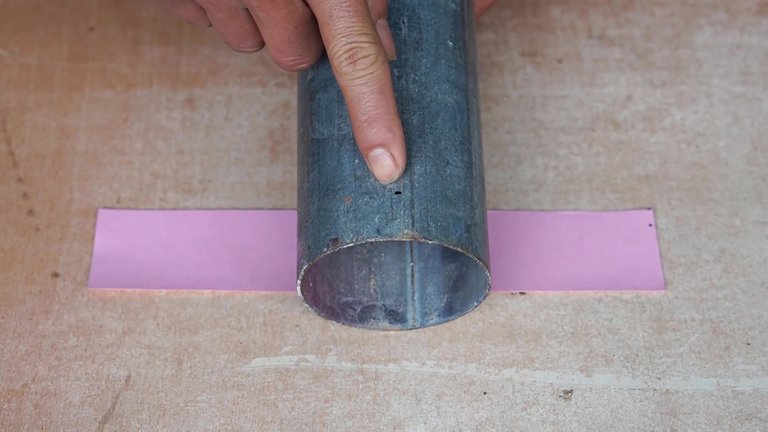
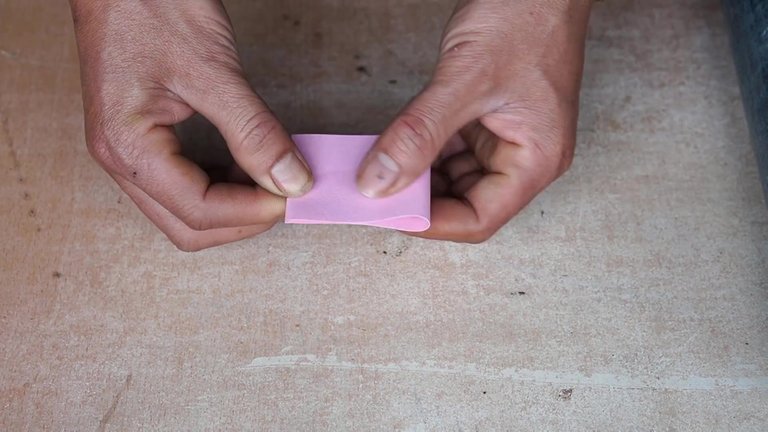
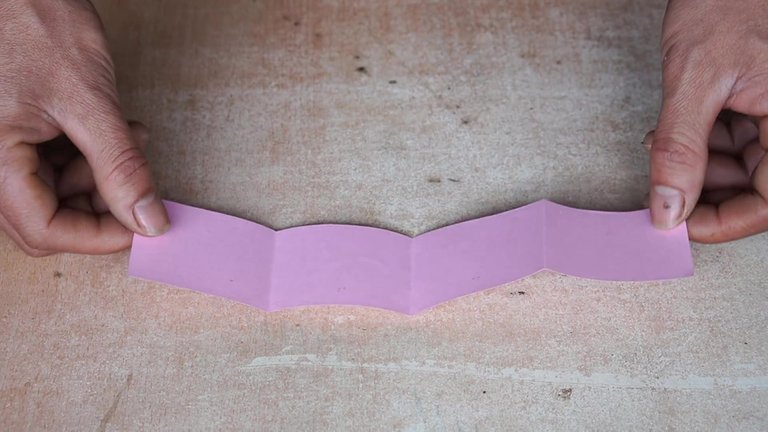
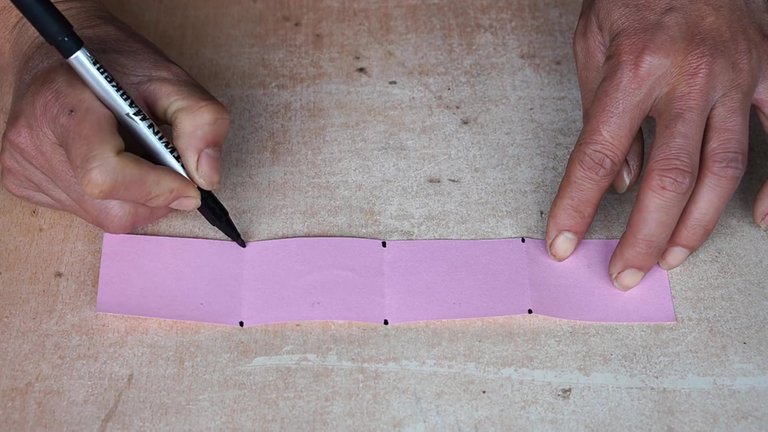
Fold the paper strip twice lengthwise, as accurately as possible. We mark with dots three vertical lines obtained from double addition from below and above, as well as on both sides of the strip.
Dobla la tira de papel dos veces a lo largo de la manera más ordenada posible. Marcamos con puntos tres líneas verticales obtenidas de la doble suma por abajo y por arriba, así como a ambos lados de la tira.
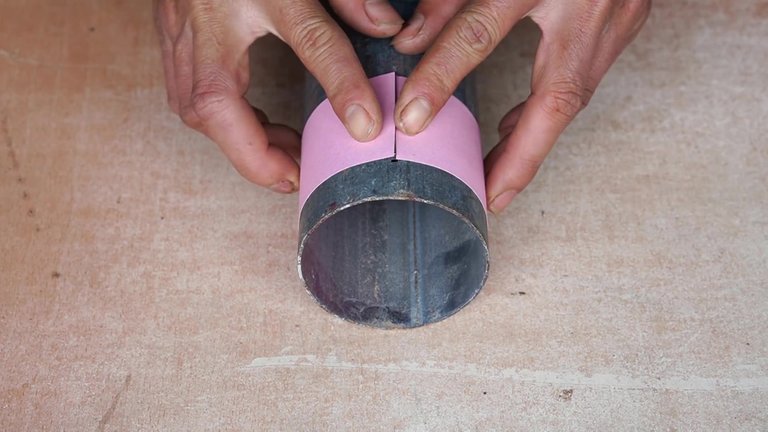
Cover the outer surface of the pipe with a marked strip so that its ends connect along a line passing through a mark 2 cm away from the end of the pipe.
Cubra la superficie exterior de la tubería con una tira marcada para que sus extremos se conecten a lo largo de una línea que pase a través de una marca a 2 cm del extremo de la tubería.
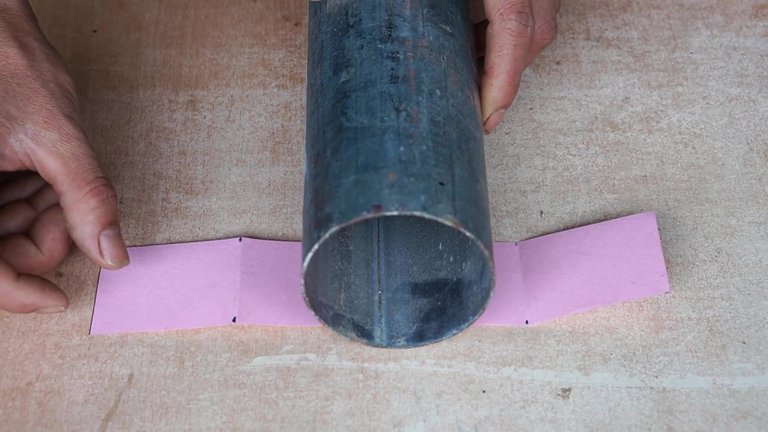
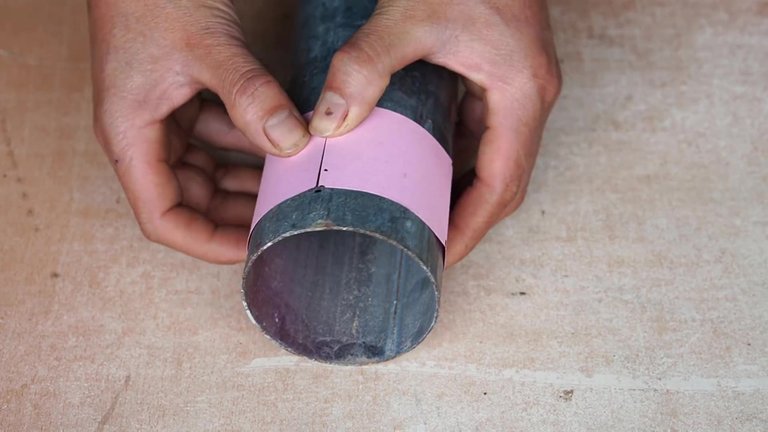
We transfer all the marks from both sides of the paper strip to the surface of the pipe and simultaneously draw it from both sides. There should be four matching marks on the surface of the pipe.
Transferimos todas las marcas de ambos lados de la tira de papel a la superficie de la tubería y la dibujamos simultáneamente desde ambos lados. Debe haber cuatro marcas coincidentes en la superficie de la tubería.
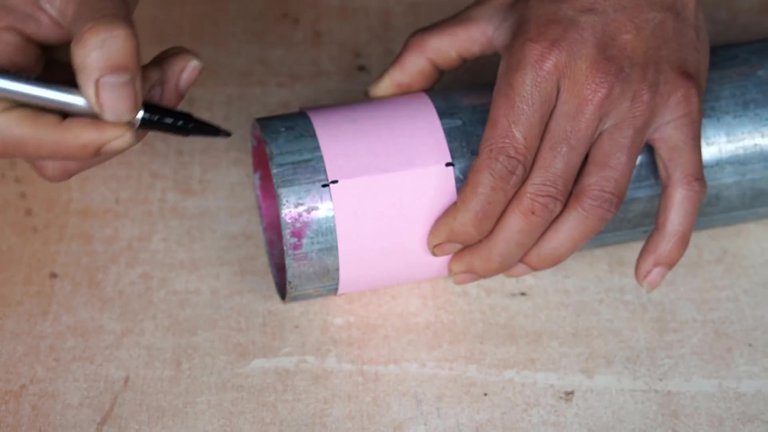
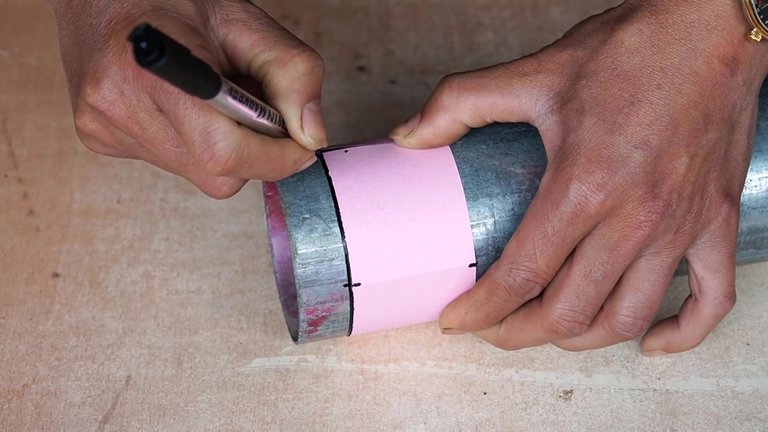
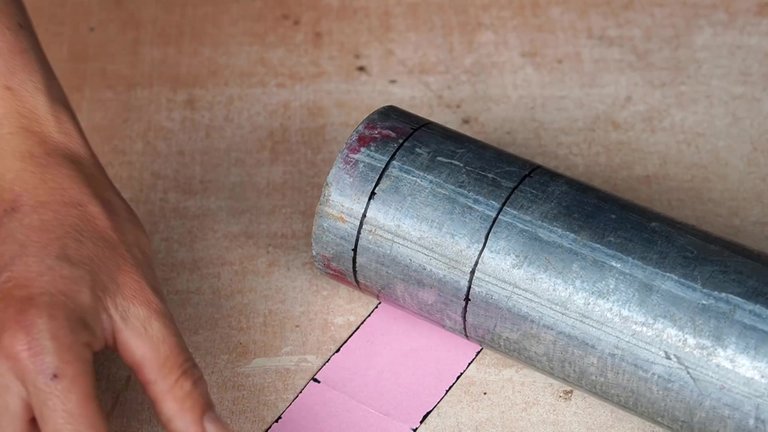
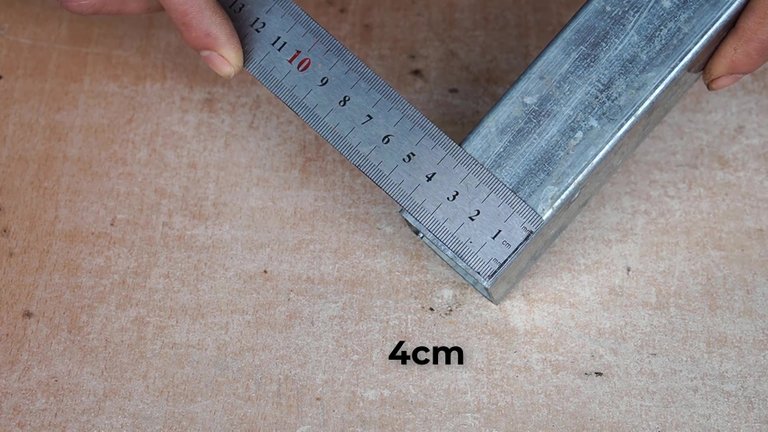
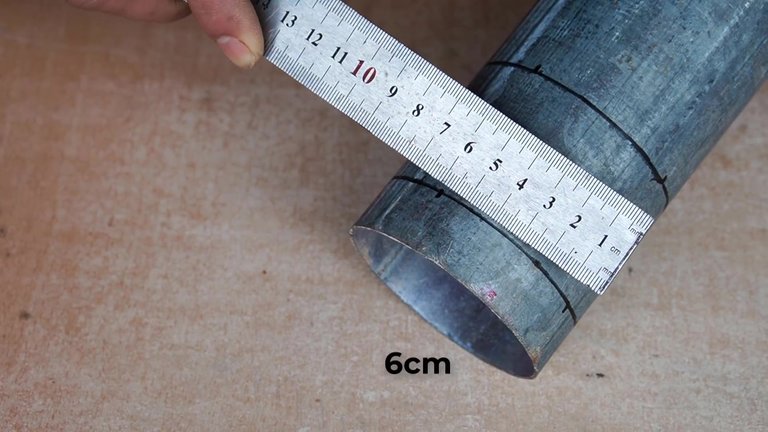
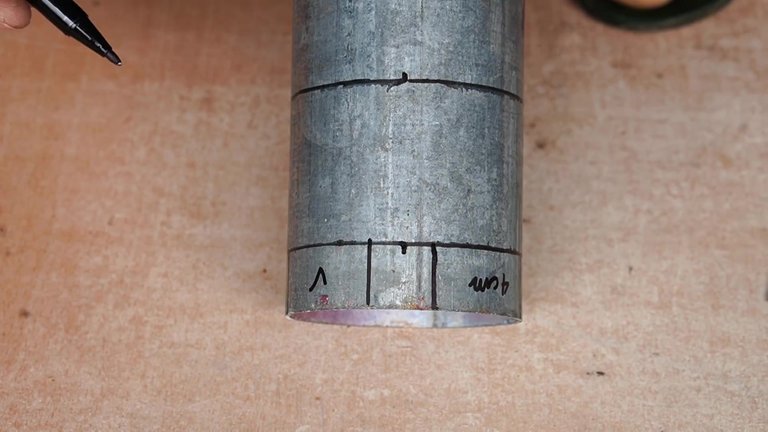
We measure the side of the square pipe, which was 4 cm. We measure the circumference of the pipe between adjacent marks, which turned out to be 6 cm.
Medimos el lado del tubo cuadrado, que era de 4 cm, medimos la circunferencia del tubo entre las marcas adyacentes, resultó 6 cm.
From each of the four marks, we lay down a circular arc in both directions of 1 cm and draw straight lines from their ends to the end of the pipe, the distance between which will be 4 cm.
Desde cada una de las cuatro marcas, colocamos un arco circular en ambos lados de 1 cm y desde sus extremos dibujamos líneas rectas hasta el extremo del tubo, cuya distancia será de 4 cm.
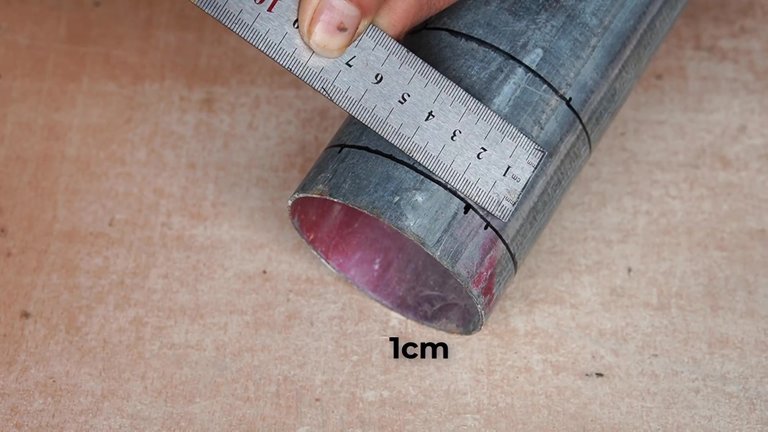
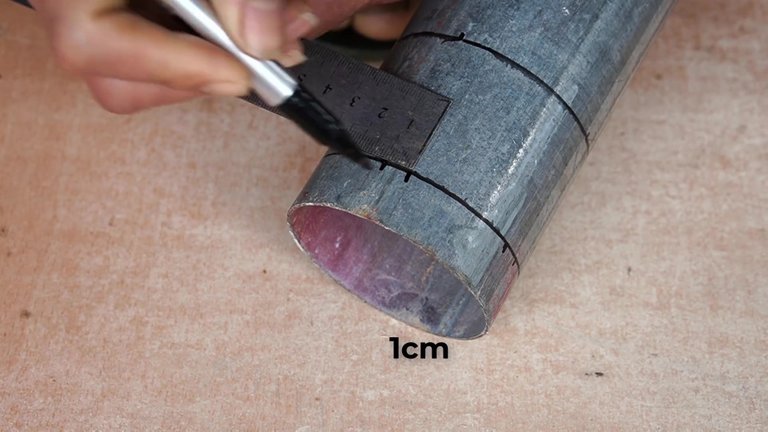
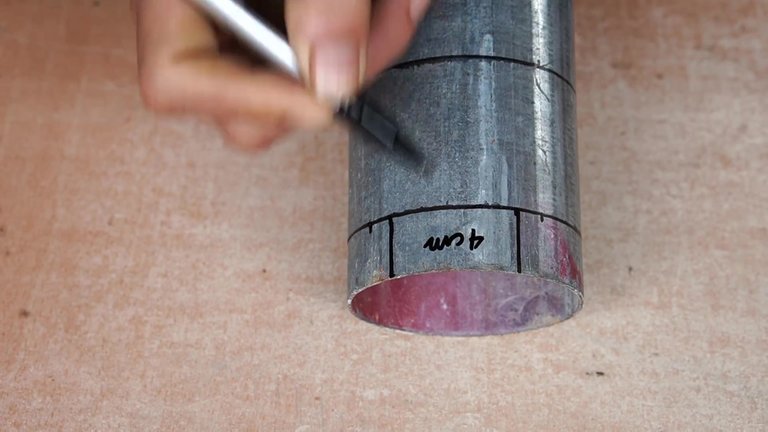
The four sections at the end of the pipe with a 4 cm arc are marked with checkmarks.
Las cuatro secciones en el extremo del tubo con un arco de circunferencia de 4 cm están marcadas con marcas de verificación.
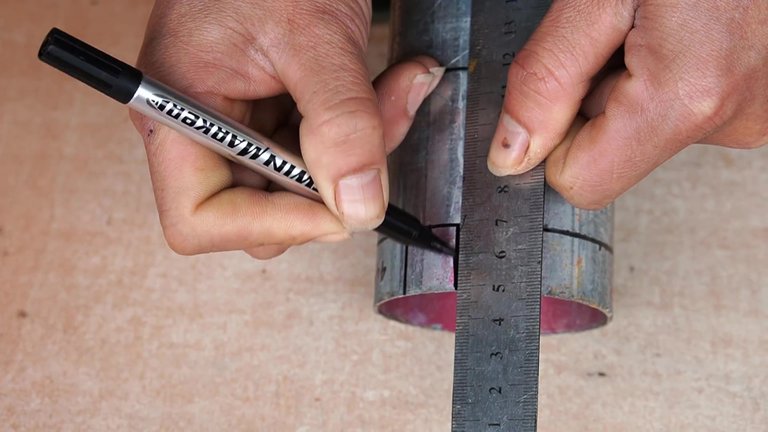
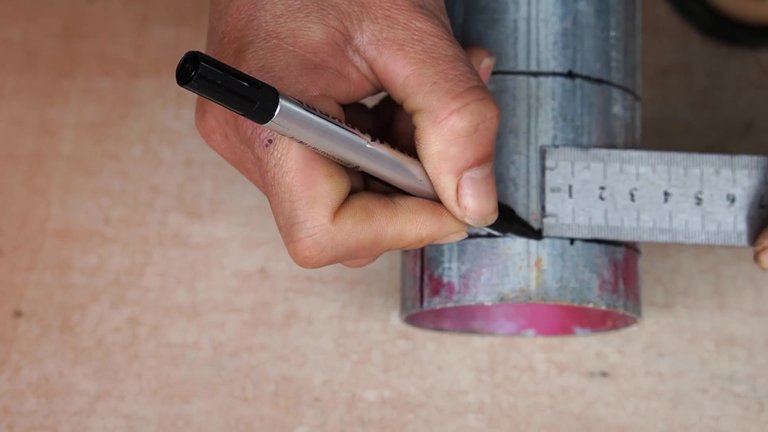
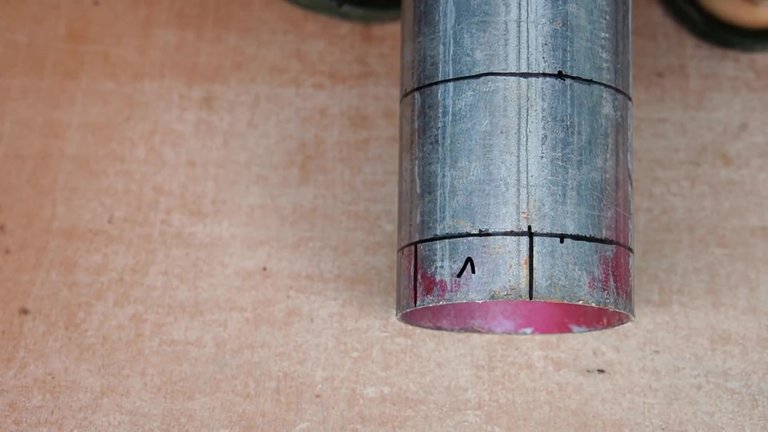
From the points spaced from the first four by 1 cm, we draw straight lines to the corresponding points on the second circle. We mark these triangle sections with crosses.
A partir de los puntos separados de los primeros cuatro por 1 cm, dibujamos líneas rectas a los puntos correspondientes en el segundo círculo. Marcamos estas secciones triangulares con cruces.
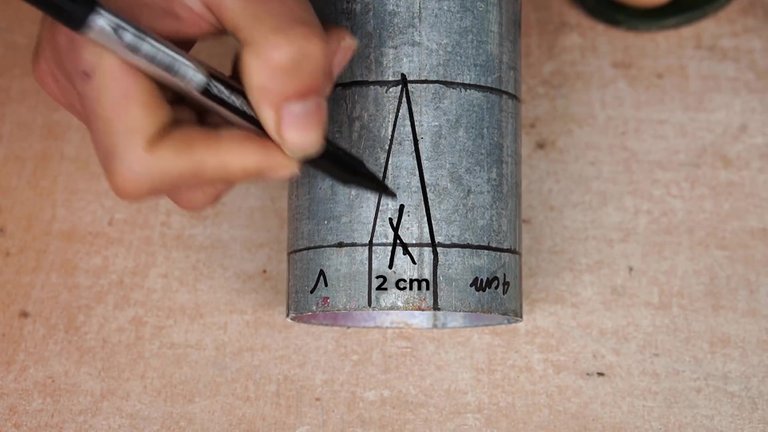
Using a grinder, we cut out 4 sections marked with crosses. Along the circumference more distant from the end of the pipe, we perform a non-through annular recess.
Usando un molinillo, cortamos 4 secciones marcadas con cruces. A lo largo de la circunferencia más distante del extremo de la tubería, realizamos un rebaje anular no pasante.
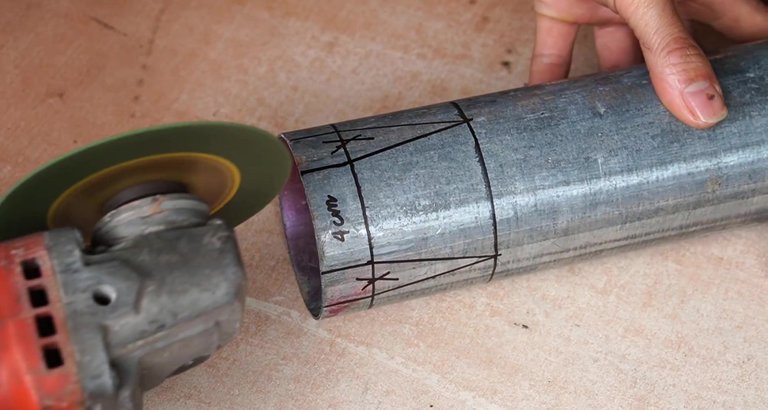
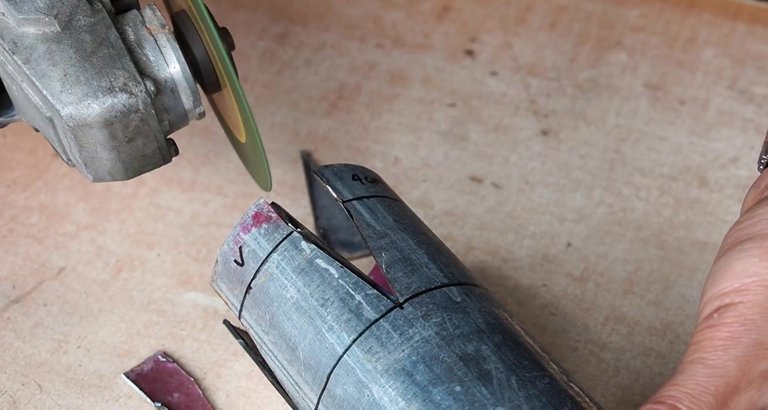
Four sections (petals) marked with ticks are bent to the center of the pipe, hitting their ends with a hammer. In this case, the bend occurs along the annular recess made earlier by the grinder.
Cuatro secciones (pétalos) marcadas con garrapatas se doblan hacia el centro de la tubería, golpeando sus extremos con un martillo. En este caso, la curva se produce a lo largo del rebaje anular realizado anteriormente por la amoladora.
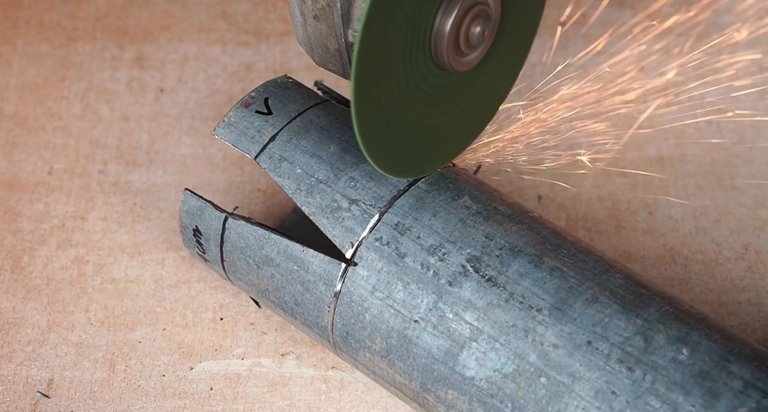
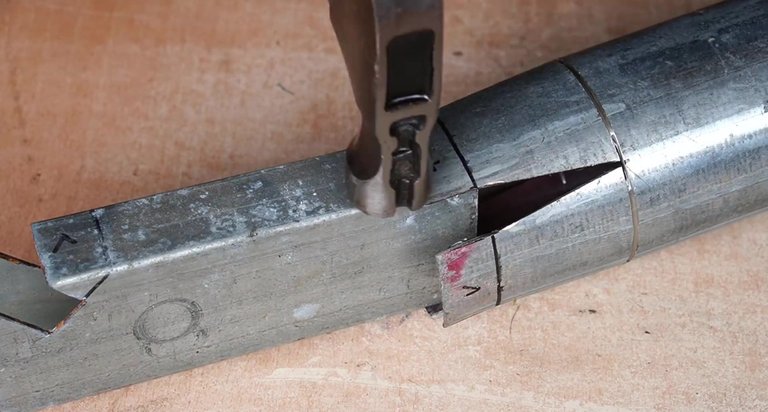
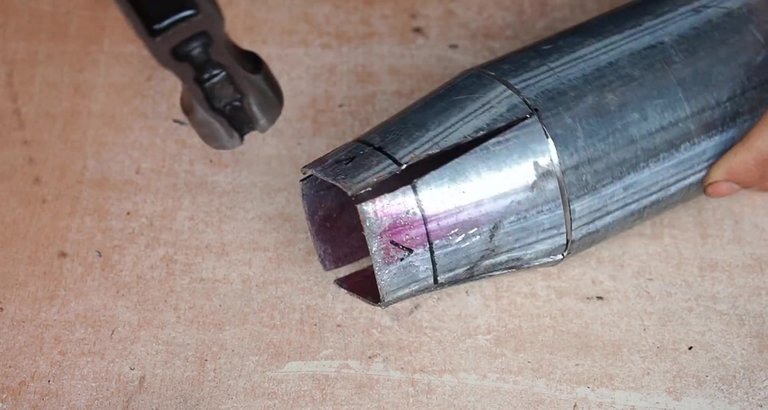
The deformation continues until the adjacent sides of the petals converge, and a square is formed at the end, exactly corresponding to the cross section of the profile square pipe for connection.
La deformación continúa hasta que los lados adyacentes de los pétalos convergen, y se forma un cuadrado en el extremo, que corresponde exactamente a la sección transversal del tubo cuadrado de perfil para la conexión.
