[ESP-ENG] Mi Sello Hive | My Hive Seal

in Build-It4 years ago

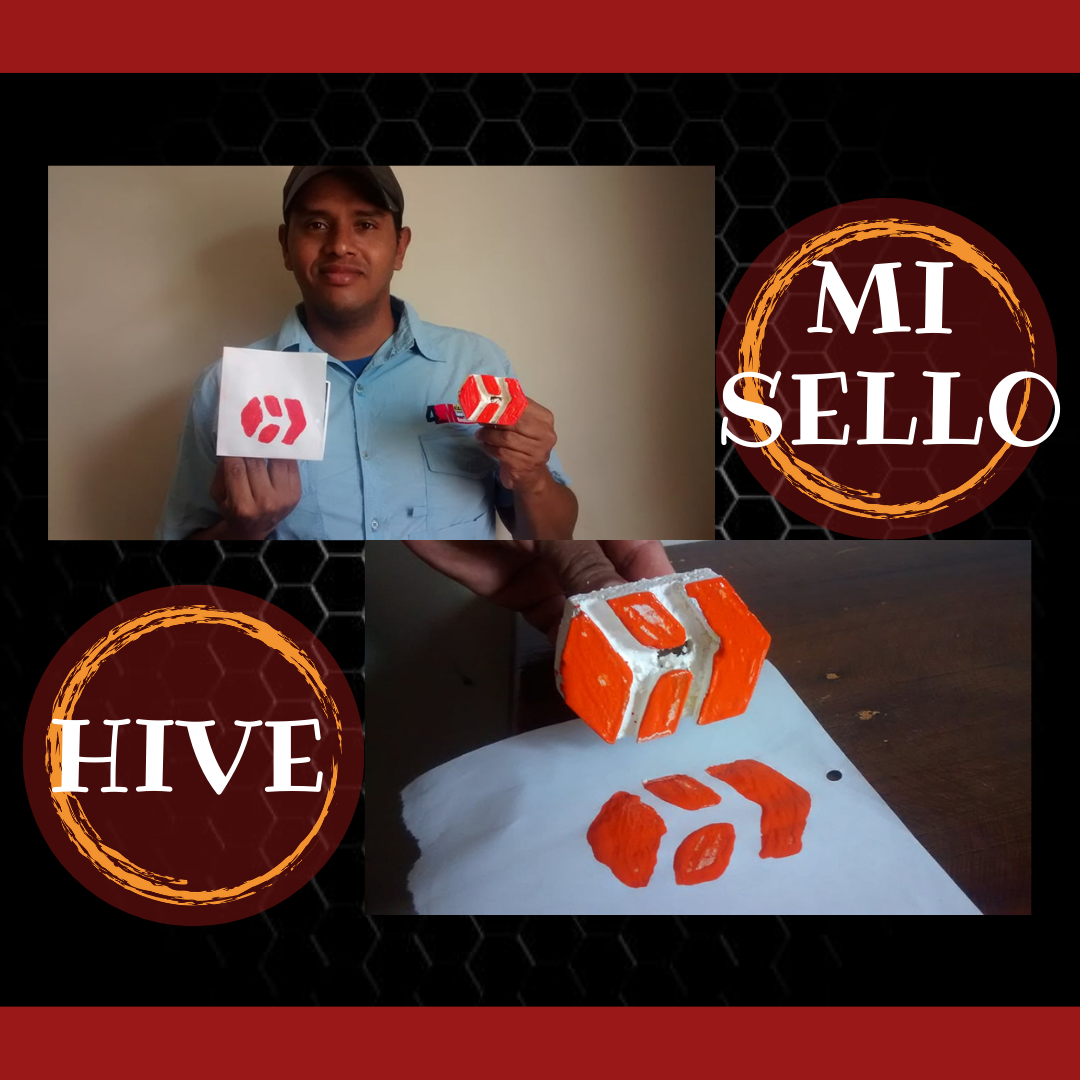
Saludos familia de Hive, hoy quiero mostrarles este grandioso sello, para personificar todo lo que hagamos, y dejar una gran marca, como lo es Esta gran familia de Hive, es de mucha alegría compartir esto con todos ustedes, espero les pueda servir de ayuda, para que todos personifiquemos nuestras ideas, con el Logo Hive, comencemos.

Greetings Hive family, today I want to show you this great seal, to customize everything we do, and leave a great mark, as is this great family of Hive, it is of great joy to share this with you all, I hope it can help you, so that we all customize our ideas, with the Hive Logo, let's start.
Mi Sello.png

Agregar un título.png

179230952_471114847439352_8015833859026819370_n.jpg

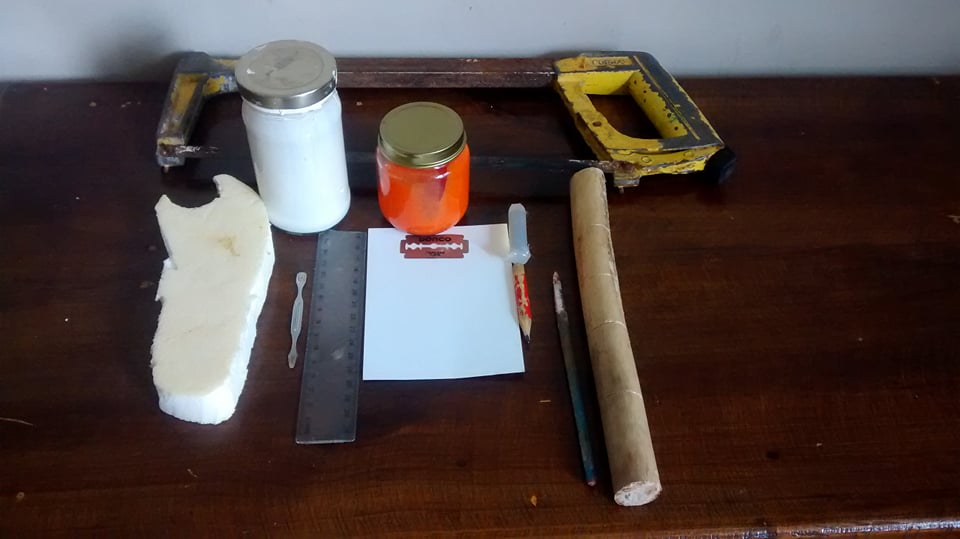
Materiales:

  • Pintura al frió.
  • Anime.
  • Hojilla.
  • Silicón.
  • Pincel.
  • Regla.
  • Hoja en blanco.
  • Trozo de madera
    para el soporte del sello.
  • Segueta.
  • Lápiz.

Materials:

  • Cold paint.
  • Anime.
  • Blade.
  • Silicone.
  • Paintbrush.
  • Ruler.
  • Blank sheet.
  • Piece of wood for the support of the stamp.
  • Saw.
  • Pencil.

Agregar un título.png

179820530_281498420351645_8032086583956851630_n.jpg

178845550_516669479358480_5752168990295027793_n.jpg

173113794_574761016780829_8324968227355988586_n.jpg

180232920_2800472220205104_7204609066932288530_n.jpg

178794286_1126686797839843_5122436400352590911_n.jpg

180127924_2926423204300779_5148224694367696461_n.jpg

178437461_824775468399771_3968754766912241683_n.jpg

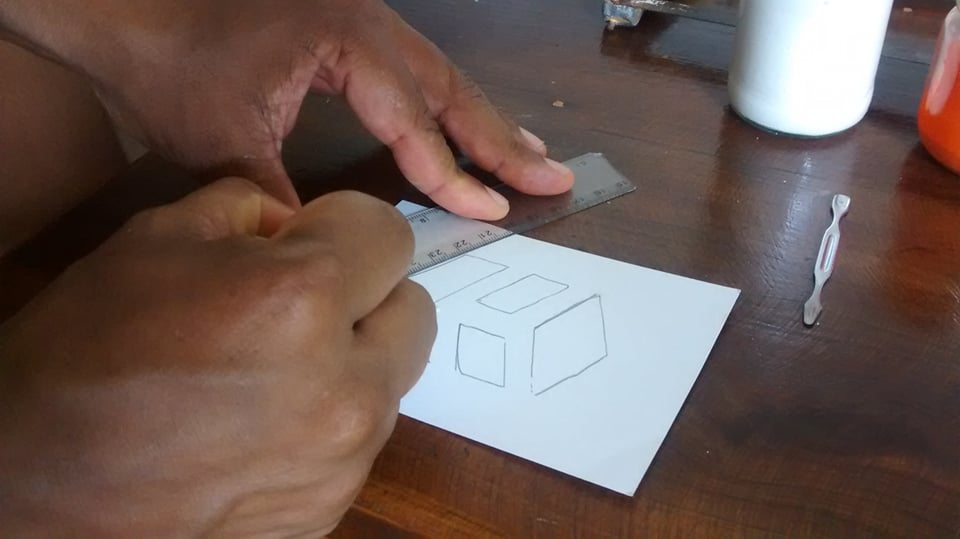
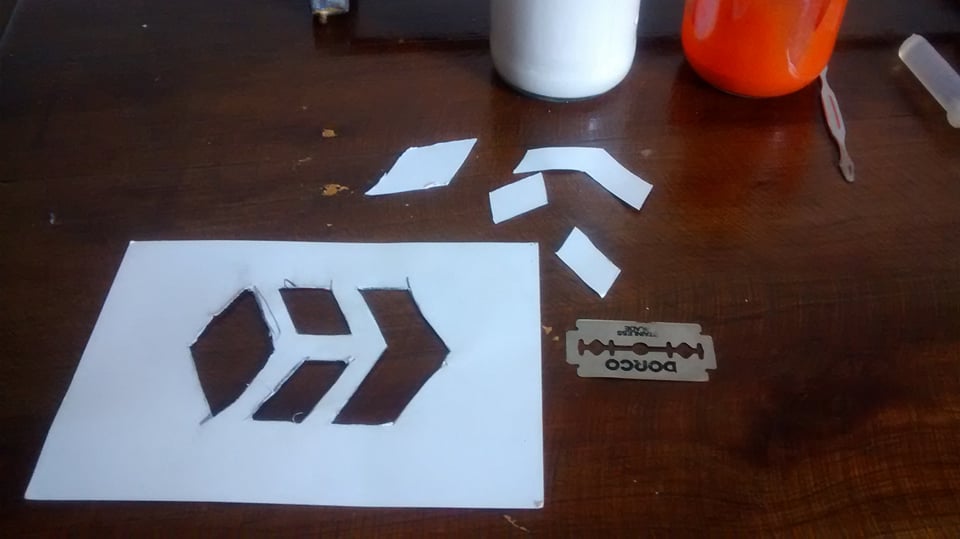
  • Paso 1: Dibujamos el logo de Hive, y lo recortamos, de manera que quede como un molde.
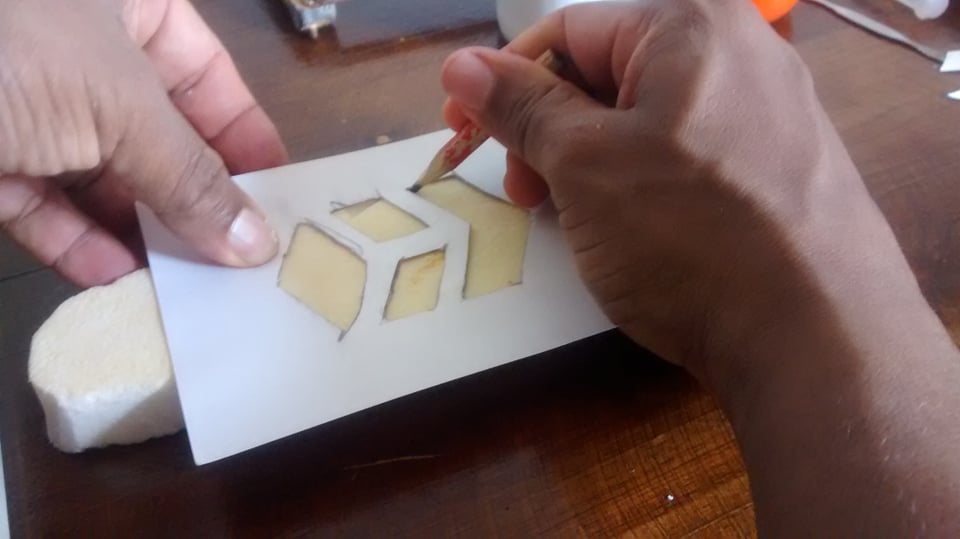
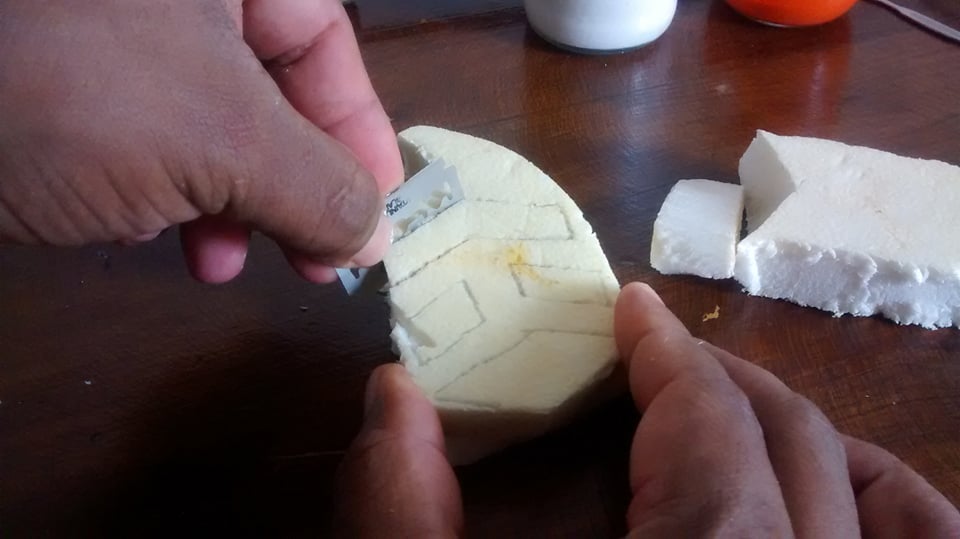
  • Paso 2: Dibujamos el logo al anime y recortamos la forma del logo.
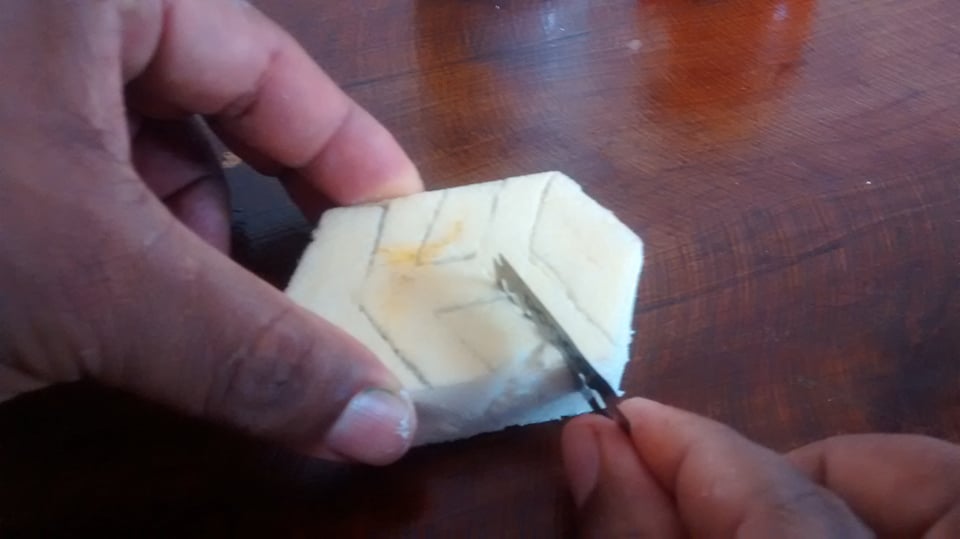
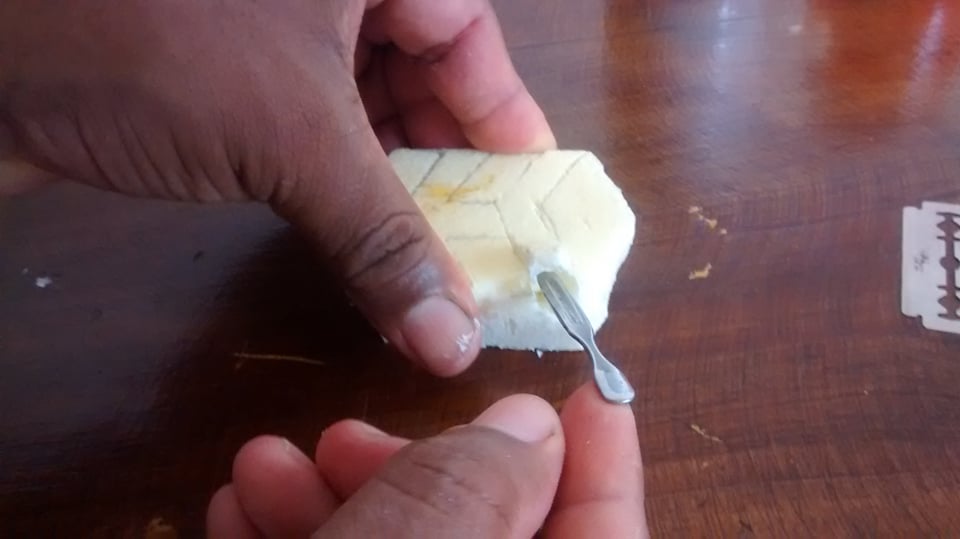
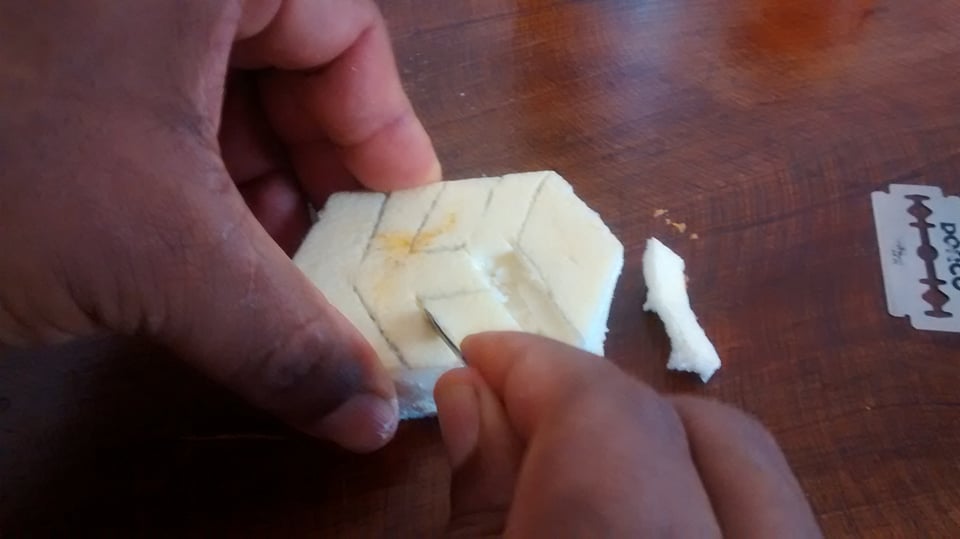
  • Paso 3: Sacamos cuidadosamente el relleno del logo.
  • Step 1: Draw the Hive logo, and cut it out, so that it looks like a mold.
  • Step 2: Draw the logo to the anime and cut out the shape of the logo.
  • Step 3: Carefully remove the filling from the logo.

Agregar un título.png

181291800_783738592275082_4558213682834838698_n.jpg

178562747_128876722602086_6550438801656865338_n.jpg

173478971_232534758562988_1272345068768294498_n.jpg

179254687_949399452463859_3111500992290633714_n.jpg

179226737_307258147433279_7411367359687677445_n.jpg

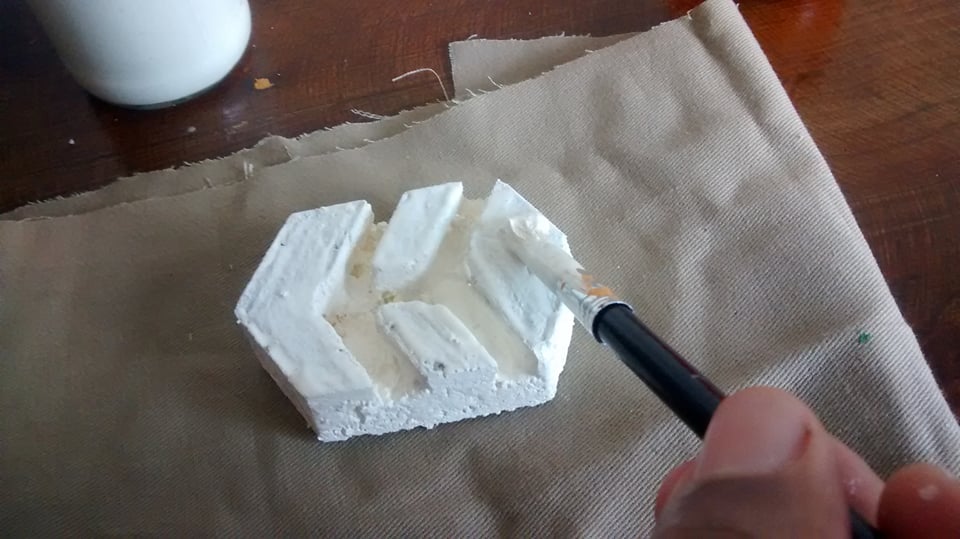
  • Paso 4: Pintamos nuestro logo de blanco,
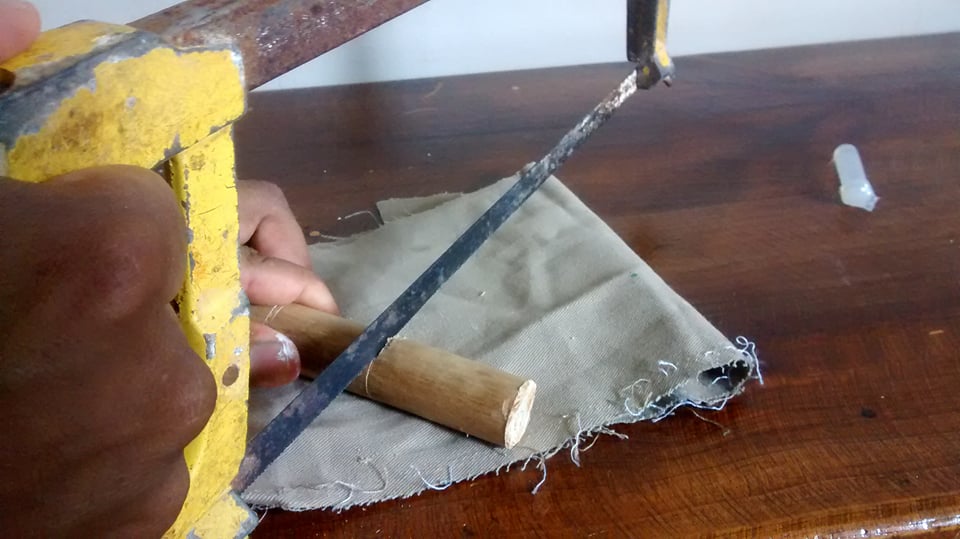
  • Procedemos a cortar la madera, para realizar el soporte de nuestro sello.
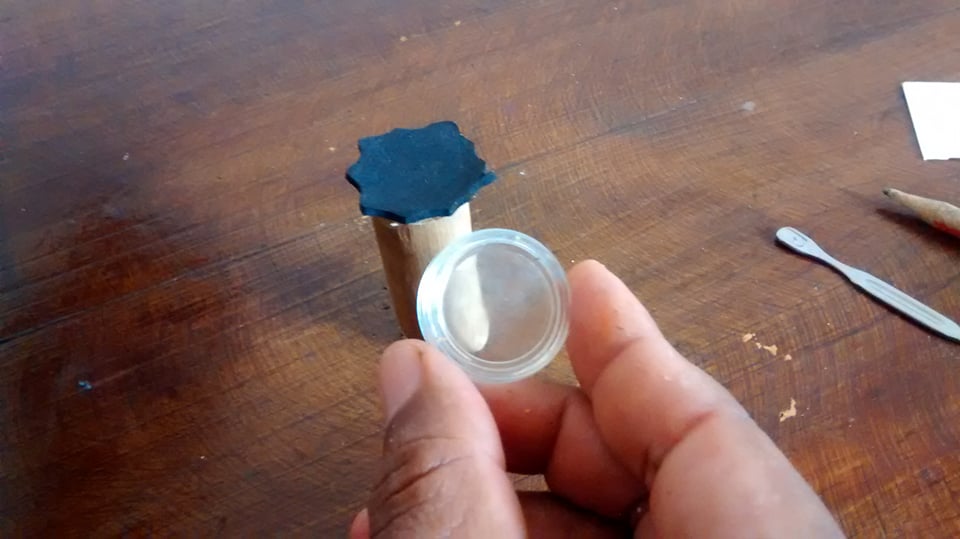
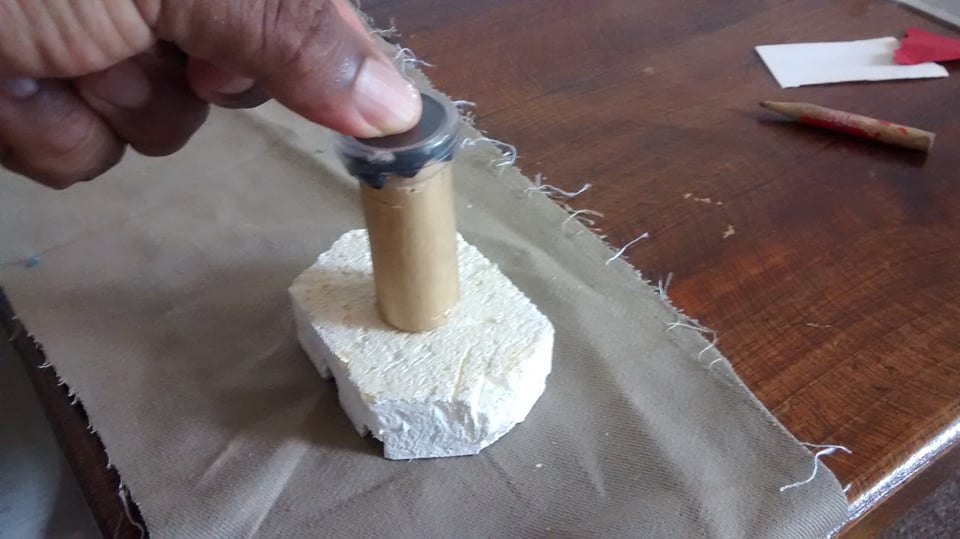
  • Paso 5: Colocamos un pedazo de foami arribe de la madera, y lo tapamos con un plástico.
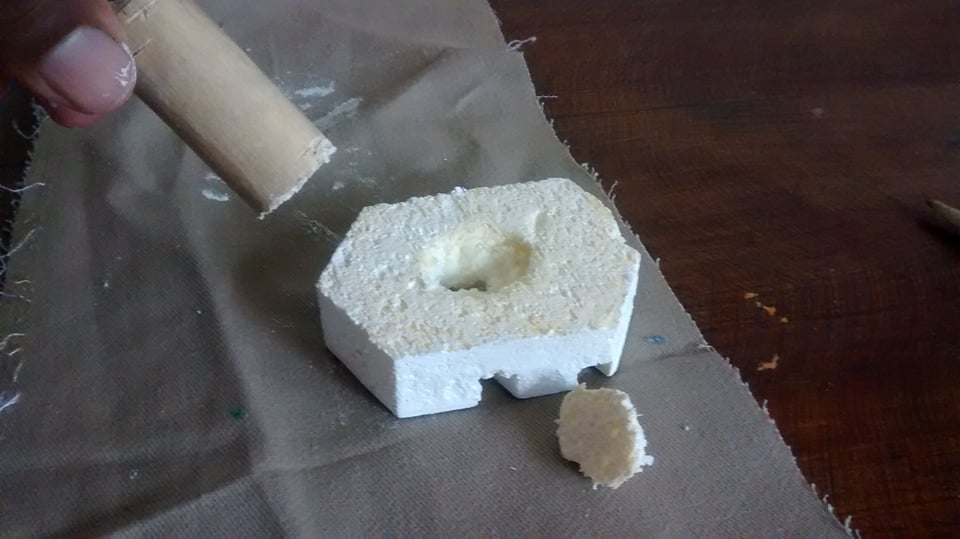
  • Paso 6: Abrimos un agujero del tamaño de nuestro soporte y lo pegamos.
  • Step 4: We paint our logo white,
  • We proceed to cut the wood, to make the support for our stamp.
  • Step 5: Place a piece of foami on top of the wood and cover it with plastic.
  • Step 6: We open a hole the size of our support and glue it.

Agregar un título.png

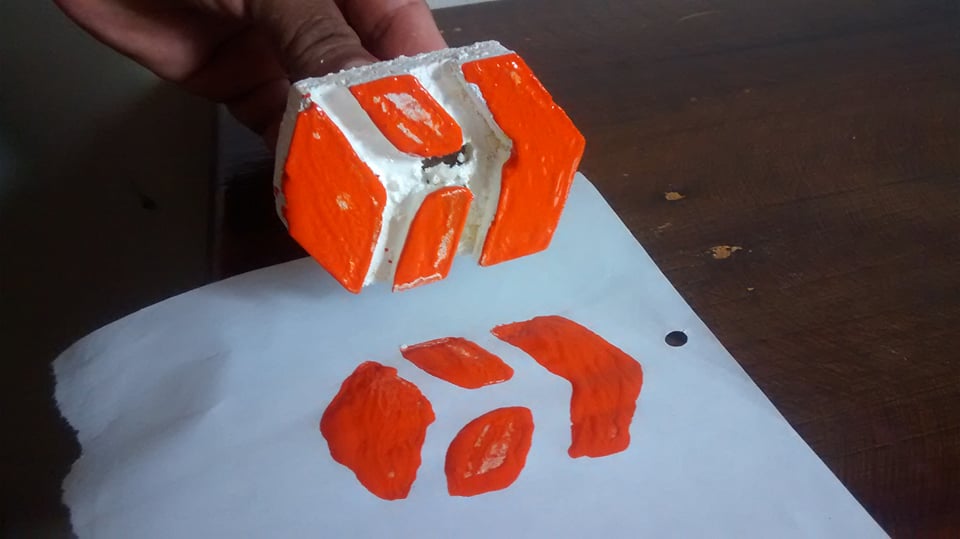
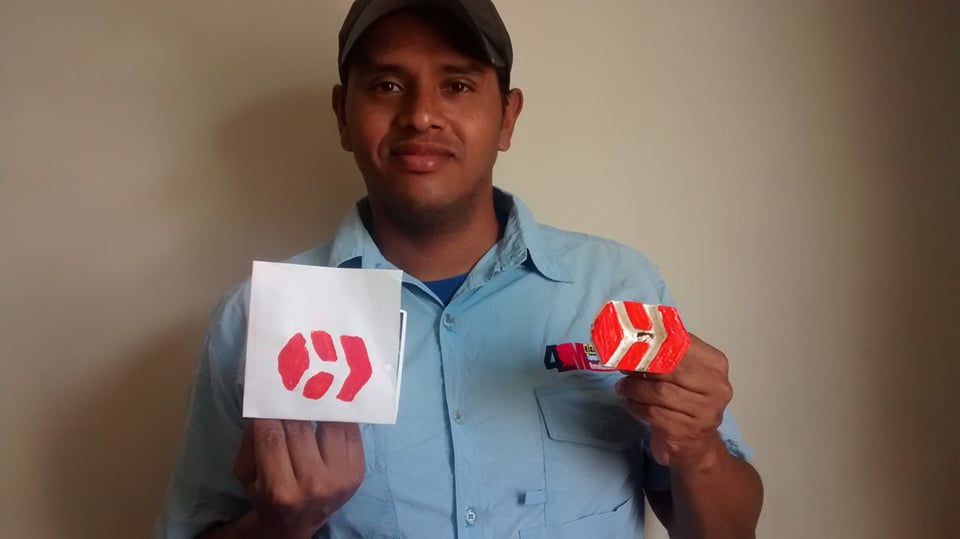
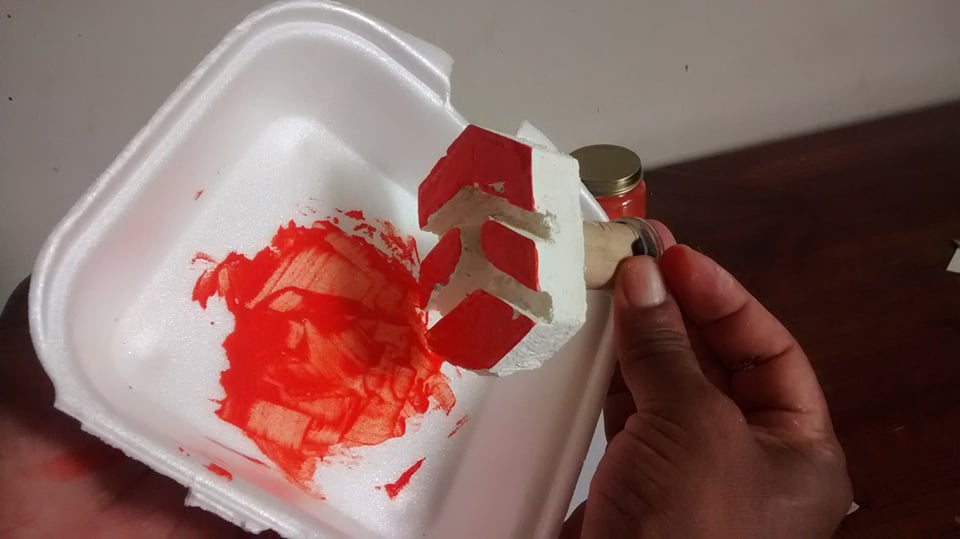
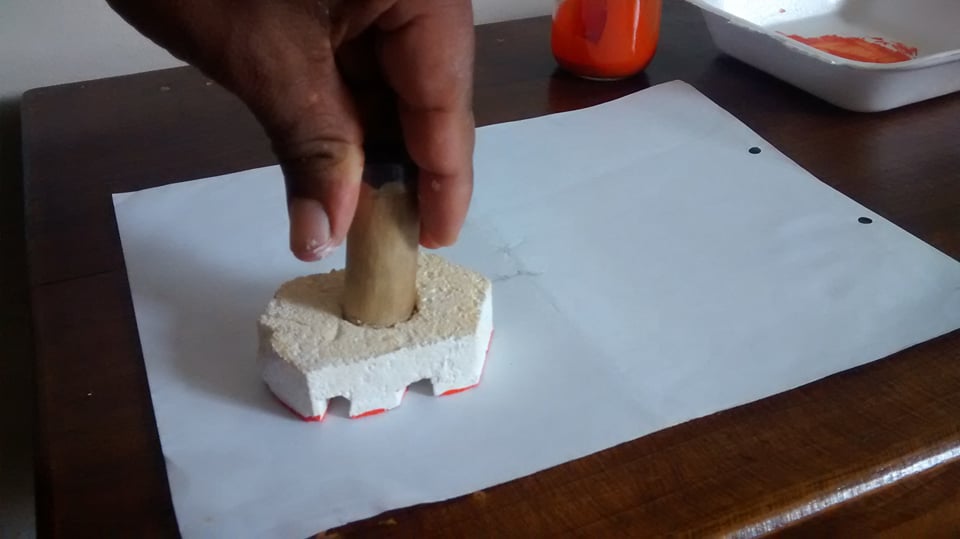
Este es nuestro resultado final, gracias a todos por leer mi post, Dios les bendiga, espero que les haya gustado.

This is our final result, thank you all for reading my post, God bless you, I hope you liked it.
179431552_488541849246487_5677195392780122259_n.jpg

177877533_158440652878193_4273404791393967584_n.jpg

178417864_276664444100177_1286475593248918973_n.jpg

177930111_1003269366876511_8229750118152692278_n.jpg

Agregar un título.png

Todas las fotos son de mi Autoría.

All photos are my own

Agregar un título.png

¡Gracias por Visitar mi Blog!.png