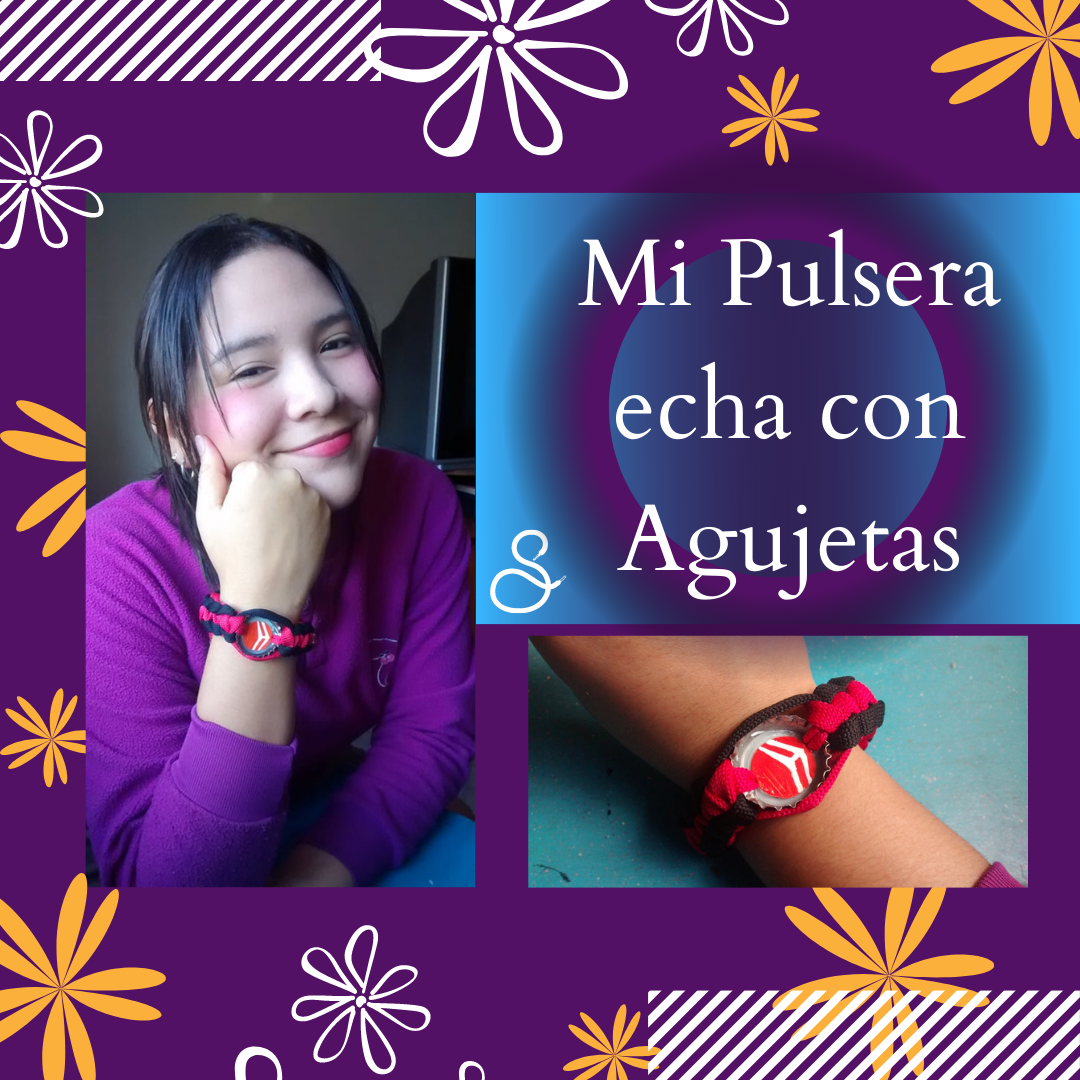
Hello cute Hive Family, I am really very happy, I was at home, and I noticed that my mom had a series of braids, better known as Agujetas, and I came up with the idea of making a bracelet, not only serve for shoes, but for bracelets as well, I really enjoyed making it, some years ago, when I was in school, I attended a group where they gave classes of Macrame, macrame is a handmade weaving, it is an art, and the knowledge of those classes still live in me, and today I implemented it in this great bracelet, and I wanted to share it with all of you, so let's start, I will show you the step by step, to make it.
.png)

Materiales:
-Pintura Blanca y Roja.
-Pincel.
-Chapas de refresco.
-Tijera.
-3 Agujetas, 2 de un mismo color, y otra diferente.
-Martillo.
-1 clavo.Paso 1: Primero, realizamos 1 orificio en nuestra chapa, en cada extremo que sean grandes, de modo que nuestra agujeta entre por allí. Procedemos a pintar de blanco el fondo de la chapa, dejamos secar y luego pintamos el logo de Hive.
-Materials:
-White and red paint.
-Paintbrush.
-Soda cans.
-Scissors.
-3 shoelaces, 2 of the same color, and another different one.
-Hammer.
-1 nail.
- Step 1: First, we make 1 hole in our sheet, at each end that are large, so that our needle enters through there. We proceed to paint the bottom of the plate white, let it dry and then paint the Hive logo.
.png)
.png)
Paso 2: Unimos nuestras agujetas en este orden, las dos de colores iguales juntas, y después la del otro color. Realizamos un nudo resistente, y procedemos a tejer nuestra pulsera. Pasamos la agujeta negra por debajo de la agujeta roja que esta en medio, y la pasamos por arriba de la otra agujeta roja que esta al final, luego la agujeta roja que esta al final, la pasamos por en medio del agujero que dejo la agujeta negra, y apretamos.
Step 2: We join our laces in this order, the two of the same color together, and then the other color. We make a strong knot, and proceed to weave our bracelet. We pass the black needle under the red needle that is in the middle, and pass it over the other red needle that is at the end, then the red needle that is at the end, we pass it through the middle of the hole left by the black needle, and tighten.
.png)
.png)
Paso 3: Luego de haber tejido una distancia, procedemos a introducir de arriba hacia abajo la agujeta de en medio, y la sacamos por el otro extremo de nuestra chapa, luego seguimos tejiendo de la misma manera que venimos aplicando.
Step 3: After weaving a distance, we proceed to introduce from top to bottom the middle needle, and we pull it out through the other end of our sheet, then we continue weaving in the same way we have been applying.
.png)
.png)
Paso 4: Tejemos hasta el final, midiendo el grosor de nuestra muñeca. Luego al final realizamos un nudo al otro extremo, cortamos las agujetas que están a los lados, dejando la del medio larga, para así poder colocarnos nuestra pulsera. Con un yesquero quemamos los extremos cortados, de tal manera que queden con un gran acabado.
Step 4: We weave until the end, measuring the thickness of our wrist. Then at the end we tie a knot at the other end, cut the laces that are on the sides, leaving the middle one long, so we can put on our bracelet. With a tinder we burn the cut ends, so that they are with a great finish.
.png)
This is my final result I really hope you like it as much as I do, thank you all for reading my post, I love you very much, greetings and blessings.
.png)
.png)
All photos are my Authored, and edited from canva.
.png)

Congratulations @eribetzi! You have completed the following achievement on the Hive blockchain and have been rewarded with new badge(s) :
Your next target is to reach 40 posts.
Your next target is to reach 4250 upvotes.
Your next target is to reach 200 comments.
You can view your badges on your board and compare yourself to others in the Ranking
If you no longer want to receive notifications, reply to this comment with the word
STOPCheck out the last post from @hivebuzz:
Support the HiveBuzz project. Vote for our proposal!
cool :3
Muchas gracias.
Muchísimas Gracias por su valoración, saludos.