BIENVENIDOS A MI BLOG 💖
WELCOME TO MY BLOG 💖


Hola mis queridos amigos de Hive.blog espero siempre se encuentren bien.
Hello my dear friends from Hive.blog I hope you are always well.
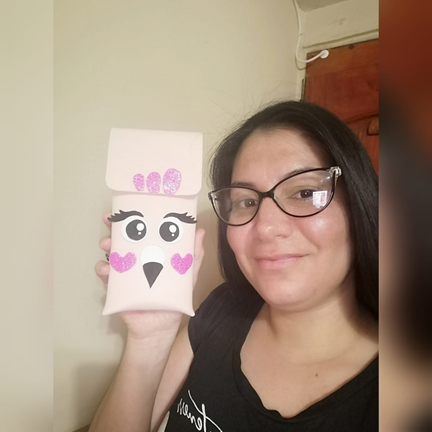
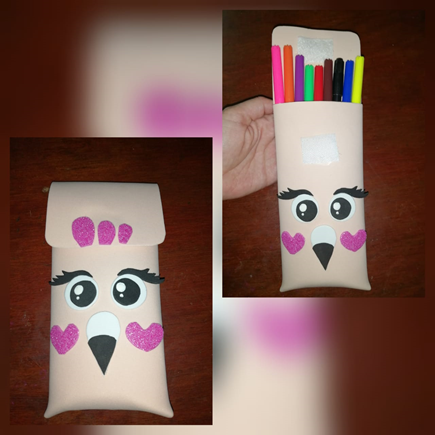
En esta oportunidad haremos un estuche de goma eva con la figura de un flamenco kawaii.
Quedaras encantada (o) con el resultado de este trabajo. No solo se ve bello sino la gran utilidad del mismo.
This time we will make an eva rubber case with the figure of a kawaii flamingo.
You will be delighted with the result of this work. It not only looks beautiful but the great utility it has.
Lo mejor de este trabajo es que son muy pocos los materiales que debemos usar.
The best thing about this work is that there are very few materials that we must use.
Sin más que decir acompáñame a hacer este paso a paso.
Without more to say join me to do this step by step.

1.- Pistola y barra de silicón.
1.- Gun and silicone stick.
2.- Goma eva.
2.- Eva rubber.
3.- Tijeras.
3.- Scissors .
4.- Regla.
4.- Ruler.
5.- Puntero (opcional).
5.- Pointer (optional).
6.-Pintura acrílica.
6.-Acrylic paint
7.- Velcro.
7.- Velcro.

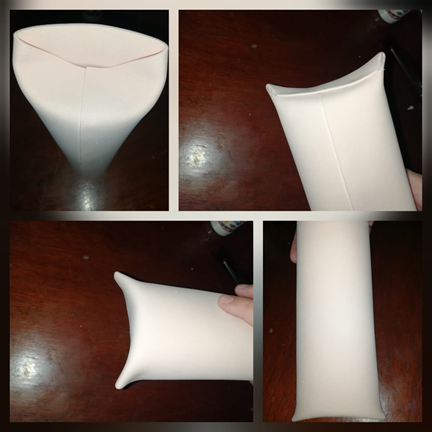
FIRST STEP: We fold in foami to mark an exact square since the eva rubber letter type sheets are rectangular. Then we cut and take a measure of 1 cm from one of the selvages and then be glued with the other end and form a cylinder.
Then we fold one of the parts of the cylinder inwards and then glue the other end and close the base of the case
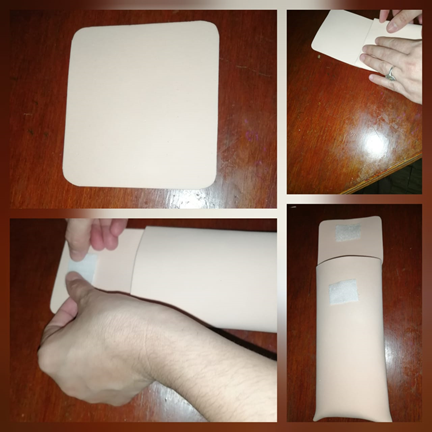
STEP TWO: we cut a rectangle 9 cm wide by 10 cm long and shape the ends, glue it to the case and put a small Velcro square on it so that you can easily close the pencil case.
THIRD STEP: once the above is ready, we make the eyes, beak and eyelashes of the flamingo in rubber eva.
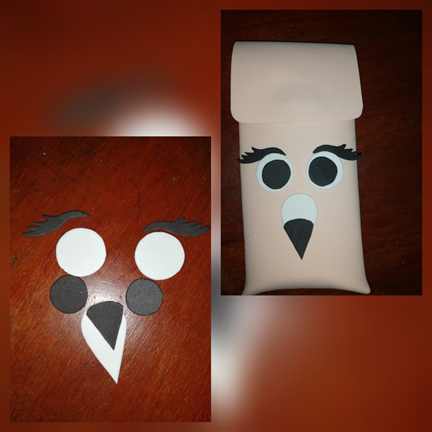
FOURTH STEP: I also made some feathers and two hearts to further decorate the image I want to make. After having all the pieces we glue them to the case.
Todas las fotos son de mi autoria/ All photos are my authorship
Nos vemos en un próximo post, me despido con amor 😍 @jayoxaju.
See you in a next post, I say goodbye with love 😍 @jayoxaju.

Hola...Qué bien! Luce como un estuche resistente, pudiese servir hacer uno para el móvil. Saludos
Hola bella, así es. El foami es resistente y si también podría ser como un estuche para el celular.
Gracias por la visita por mi blog💖.
Hola bella, así es. El foami es resistente y si también podría ser como un estuche para el celular.
Gracias por la visita por mi blog💖.