Hola hivers.Espero que se encuentre bién todos.
Hoy les traigo un bonito carrito para regalar a cualquier sobrino ,primo o niño que no cuente con los recursos para comprar uno.
Es un sencillo pero bonito:
Carrito de cartón reciclable/DIY Recyclable cardboard cart
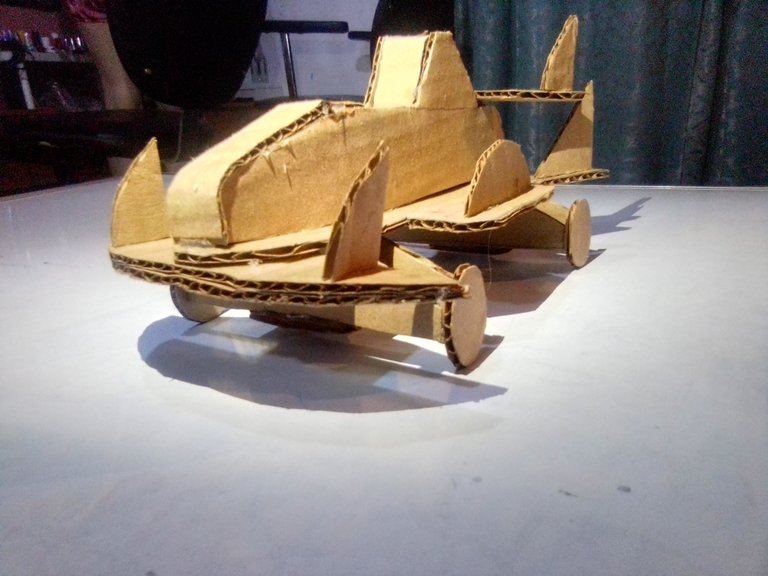
Sin mas preámbulo,empezamos.
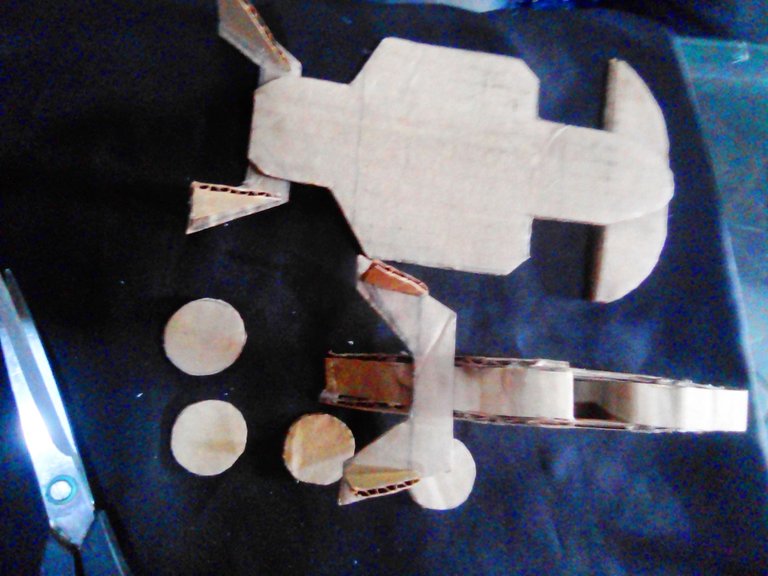
Vamos a buscar en nuestra casa o en cualquier lado un pedazo de cartón y vamos a cortar y sacar muchas piezas como las que van a ver en la siguiente imagen.
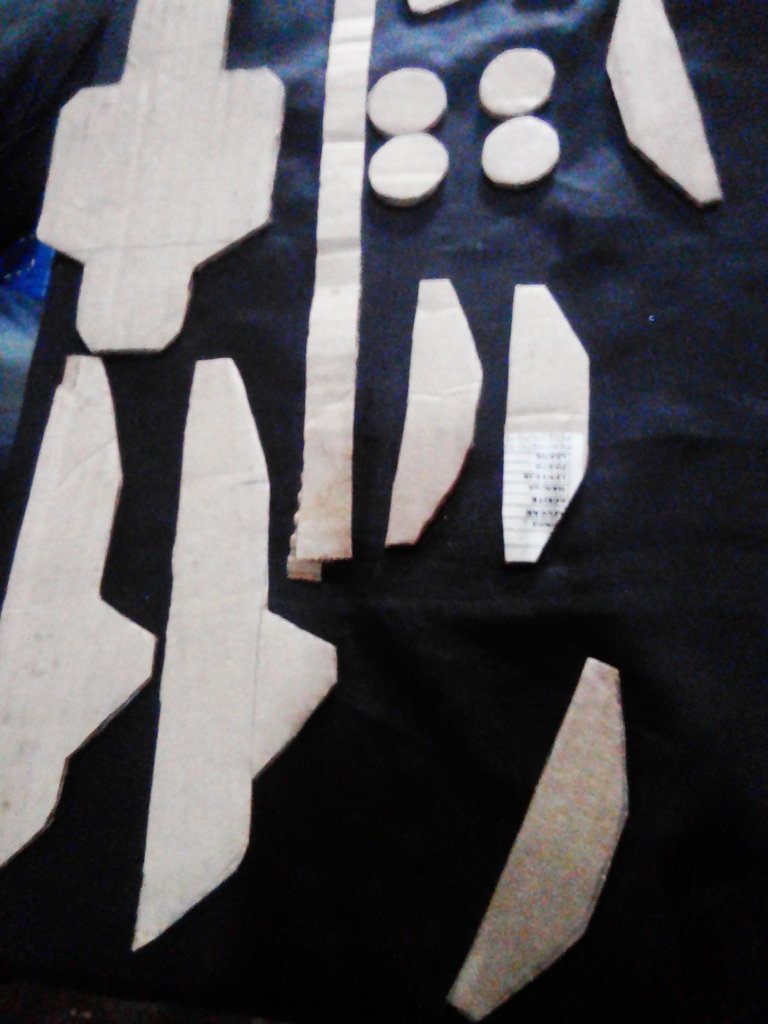
Una vez cortado nuestro cartón y haber sacado esas piezas ya mencionadas.
Vamos a empezar a pegar y armar nuestro carrito.
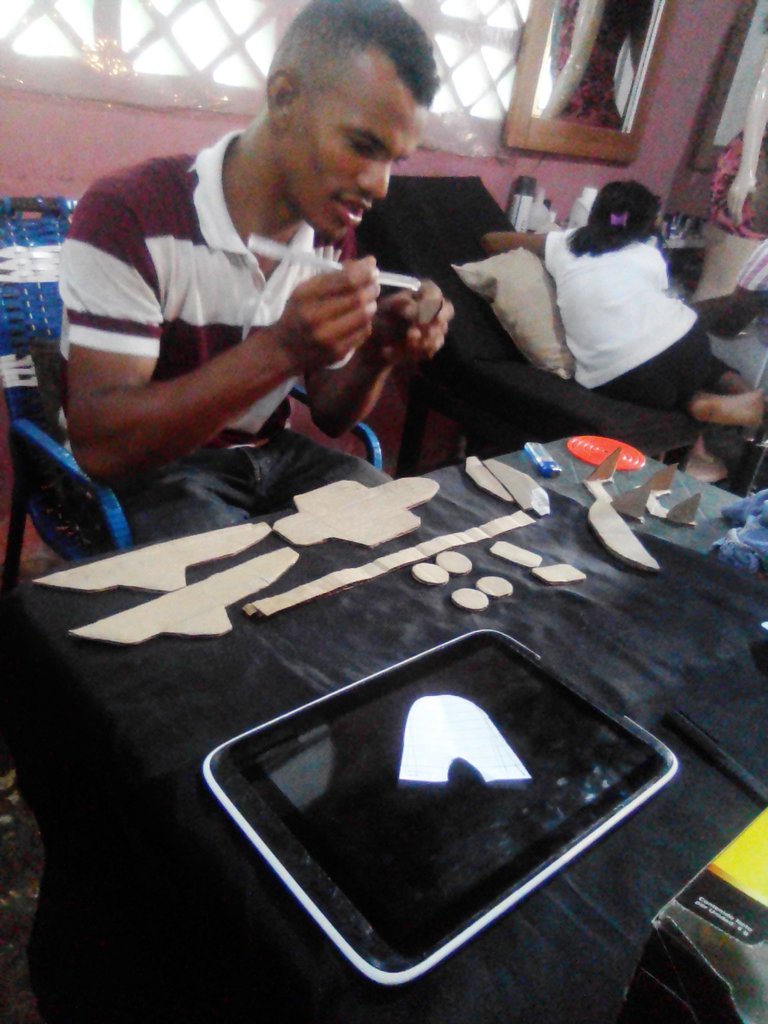
Para pegar puedes utilizar cualquier tipo de pegamento,en mi caso yo usé una barra de silicona.
Ya con nuestro pegamento en nuestra mano.
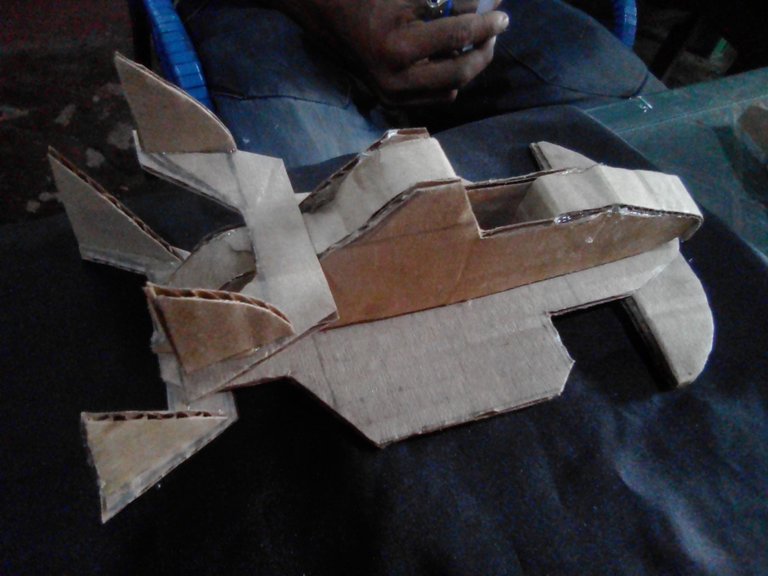
principalmente vamos a crear la cabina de nuestro carrito de esta misma forma que hice yo:
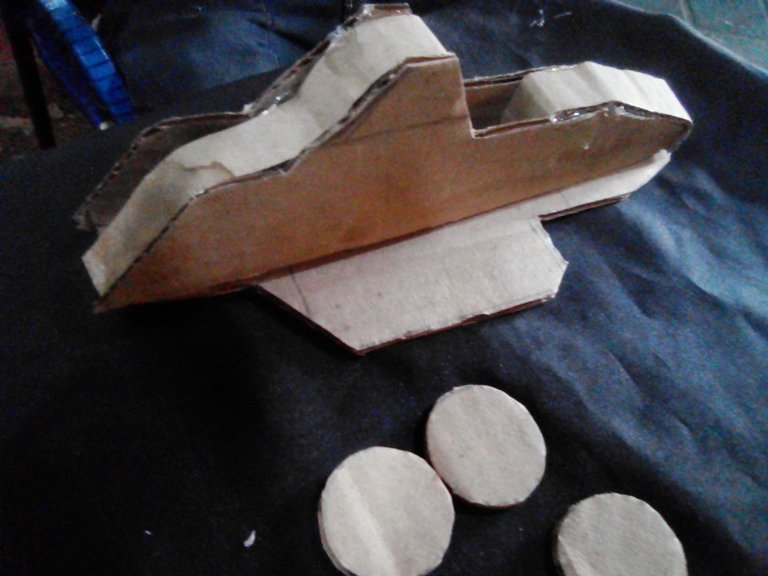
Ahora vamos a crearle la parte inferior.
para hacer eso tendrán que observar como o hice en la siguiente imagen:
Ahora vamos a colocar nuestras ruedas.
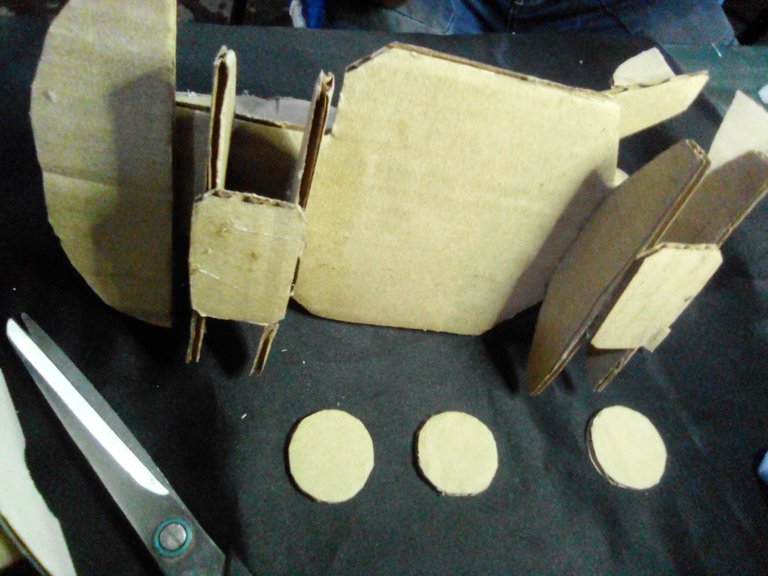
y para hacer eso tenemos que tener listo el soporte para la misma.
ya una vez teniendo listo el soporte empezaremos a colocar las ruedas.
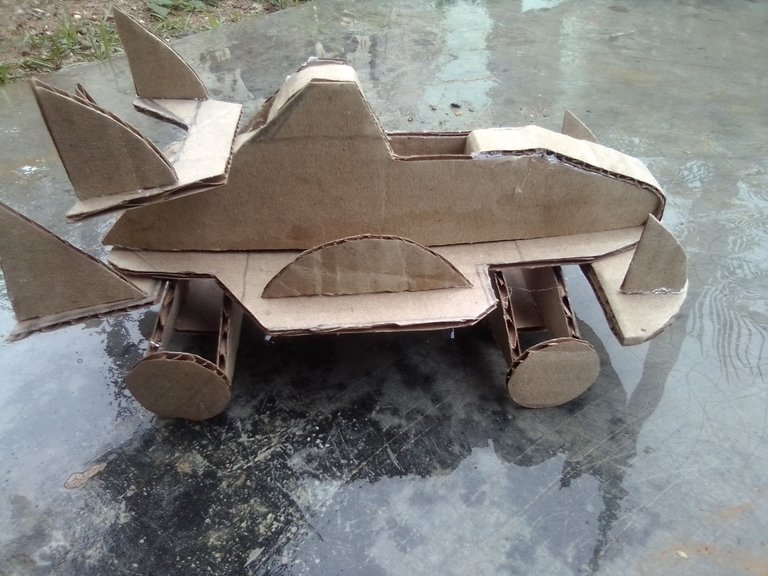
Ya con las ruedas lista y la transmisión hecha.
Nuestro carrito está listo para hacer entregado a cualquier niño,que en verdad lo aprecie y lo sepa cuidar bién.
Aquí les dejos una sesión de fotos:
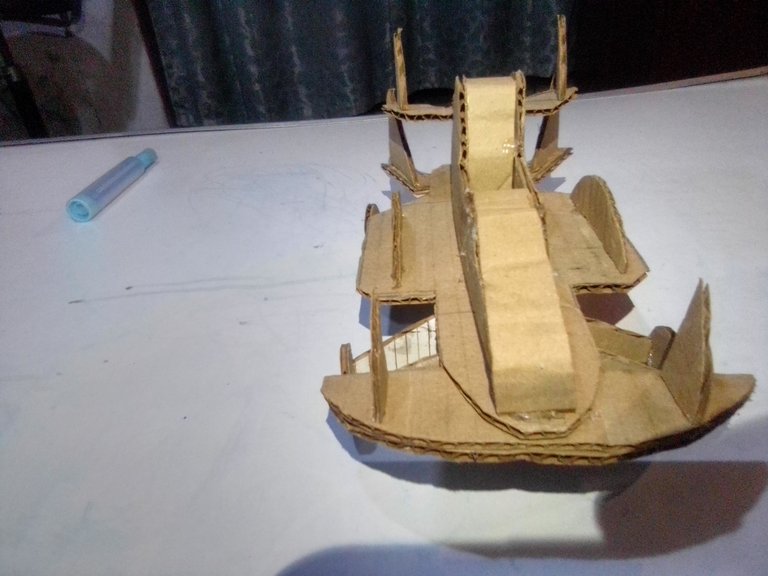
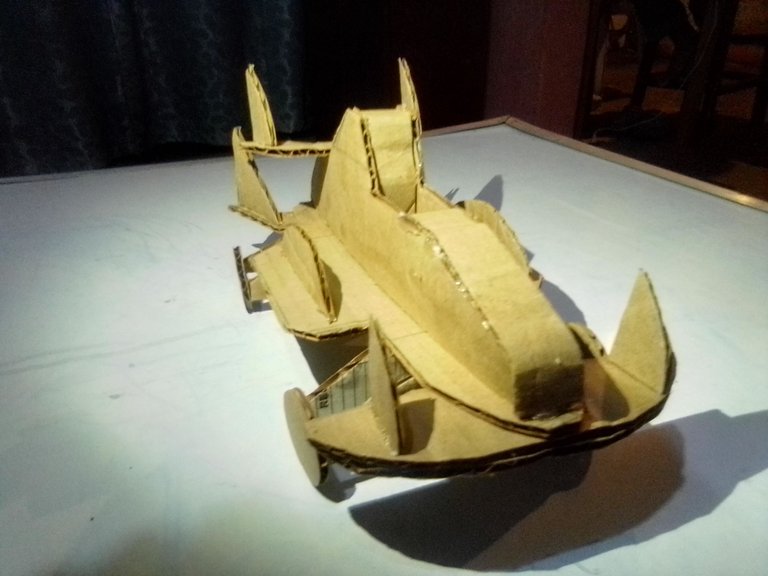
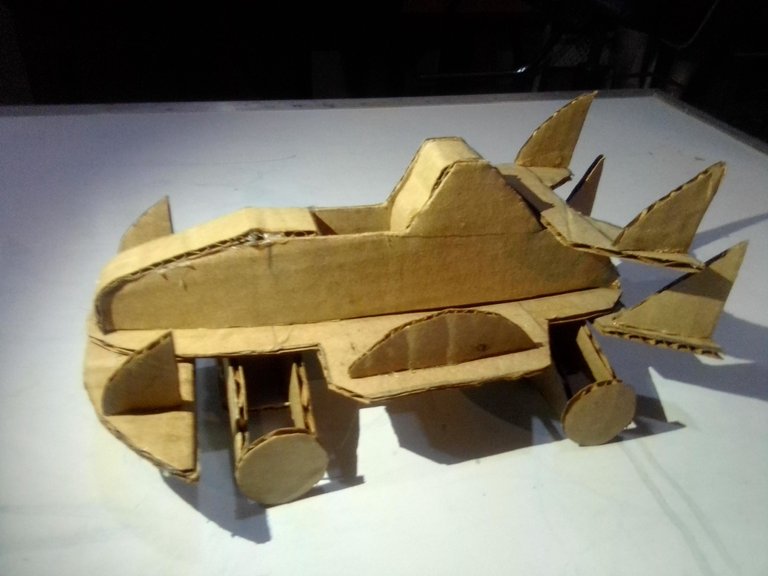
Gracias por leer mi publicación.
Que tengan un bonito día,saludos!
ENGLISH
Hello hivers, I hope you are all well.
Today I bring you a nice cart to give to any nephew, cousin or child who does not have the resources to buy one.
It's a simple but nice:
Recyclable cardboard cart / DIY Recyclable cardboard cart

Without further ado, we begin.
We are going to look at our house or anywhere for a piece of cardboard and we are going to cut and remove many pieces like the ones you will see in the following image.

Once we have cut our cardboard and have removed those pieces already mentioned.
We are going to start gluing and assembling our cart.

To stick you can use any type of glue, in my case I used a silicone stick.
Already with our glue in our hand.
We are mainly going to create the cabin of our cart in the same way that I did:

Now we are going to create the bottom part for it.
to do that you will have to observe how I did in the following image:


Now we are going to place our wheels.

and to do that we have to have the support ready for it.
Once we have the support ready, we will begin to place the wheels.
With the wheels ready and the transmission done.
Our stroller is ready to be delivered to any child, who really appreciates it and knows how to take good care of it.

Here is a photo session:


Thanks for reading my post.
Have a nice day, greetings!
Hola Jesús! Espero estés bien, te cuento que estoy encantada con la creatividad que posees, gracias por traer cosas tan interesante a la plataforma. Te sugiero hacer revisión de los tags ya que he podido observar no estás haciendo buen uso de ellos. Si gustas puedes leer una excelente publicación https://peakd.com/hive-186377/@ilaz.aliento/esp-or-eng-hablemos-sobre-las-etiquetas-lets-talk-about-tags-or-continuacion-continue-or que hizo el amigo @ilaz.aliento para orientarnos . Te deseo suerte! 😉
Hola Mary, Muchas gracias por la sugerencia, tomaré tu consejo en cuenta. Gracias por tus buenos deseos.
Congratulations @jesusramirez11! You have completed the following achievement on the Hive blockchain and have been rewarded with new badge(s) :
Your next target is to reach 600 upvotes.
Your next payout target is 50 HP.
The unit is Hive Power equivalent because your rewards can be split into HP and HBD
You can view your badges on your board and compare yourself to others in the Ranking
If you no longer want to receive notifications, reply to this comment with the word
STOPSupport the HiveBuzz project. Vote for our proposal!