Hello friends of the Build-It community, I hope you are all very well and, above all, have a very successful day!
Es mi primera publicación en esta comunidad, realmente tenia días queriendo hacerlo, pero no estaba 100% segura si mi post sería de su agrado. Anteriormente me gustaba realizar manualidades, especialmente cajitas sorpresas o tarjetas para regalar a mis amigas, pero desde hace tres años no lo hago. Sin embargo, hace unos días decidí retomar esta práctica; dado que, deseaba regalarles unos cactus a unas amigas, pero buscando en Google, note que algunas personas les colocaban tarjeticas con algún mensaje, entonces, me puse manos a la obra y realice dos pequeñas tarjetas con motivo de cactus.
This is my first post in this community, I really had been wanting to do it for days, but I wasn't 100% sure if my post would be to your liking. Previously I liked to make crafts, especially surprise boxes or cards, to give to my friends, but I haven't done it for three years. However, a few days ago I decided to resume this practice; since I wanted to give some cactus as a gift to some friends, but looking on Google, I noticed that some people put cards with a message, so I got down to work and made two small cards with cactus motif.
- MATERIALES -
- MATERIALES -Materials : 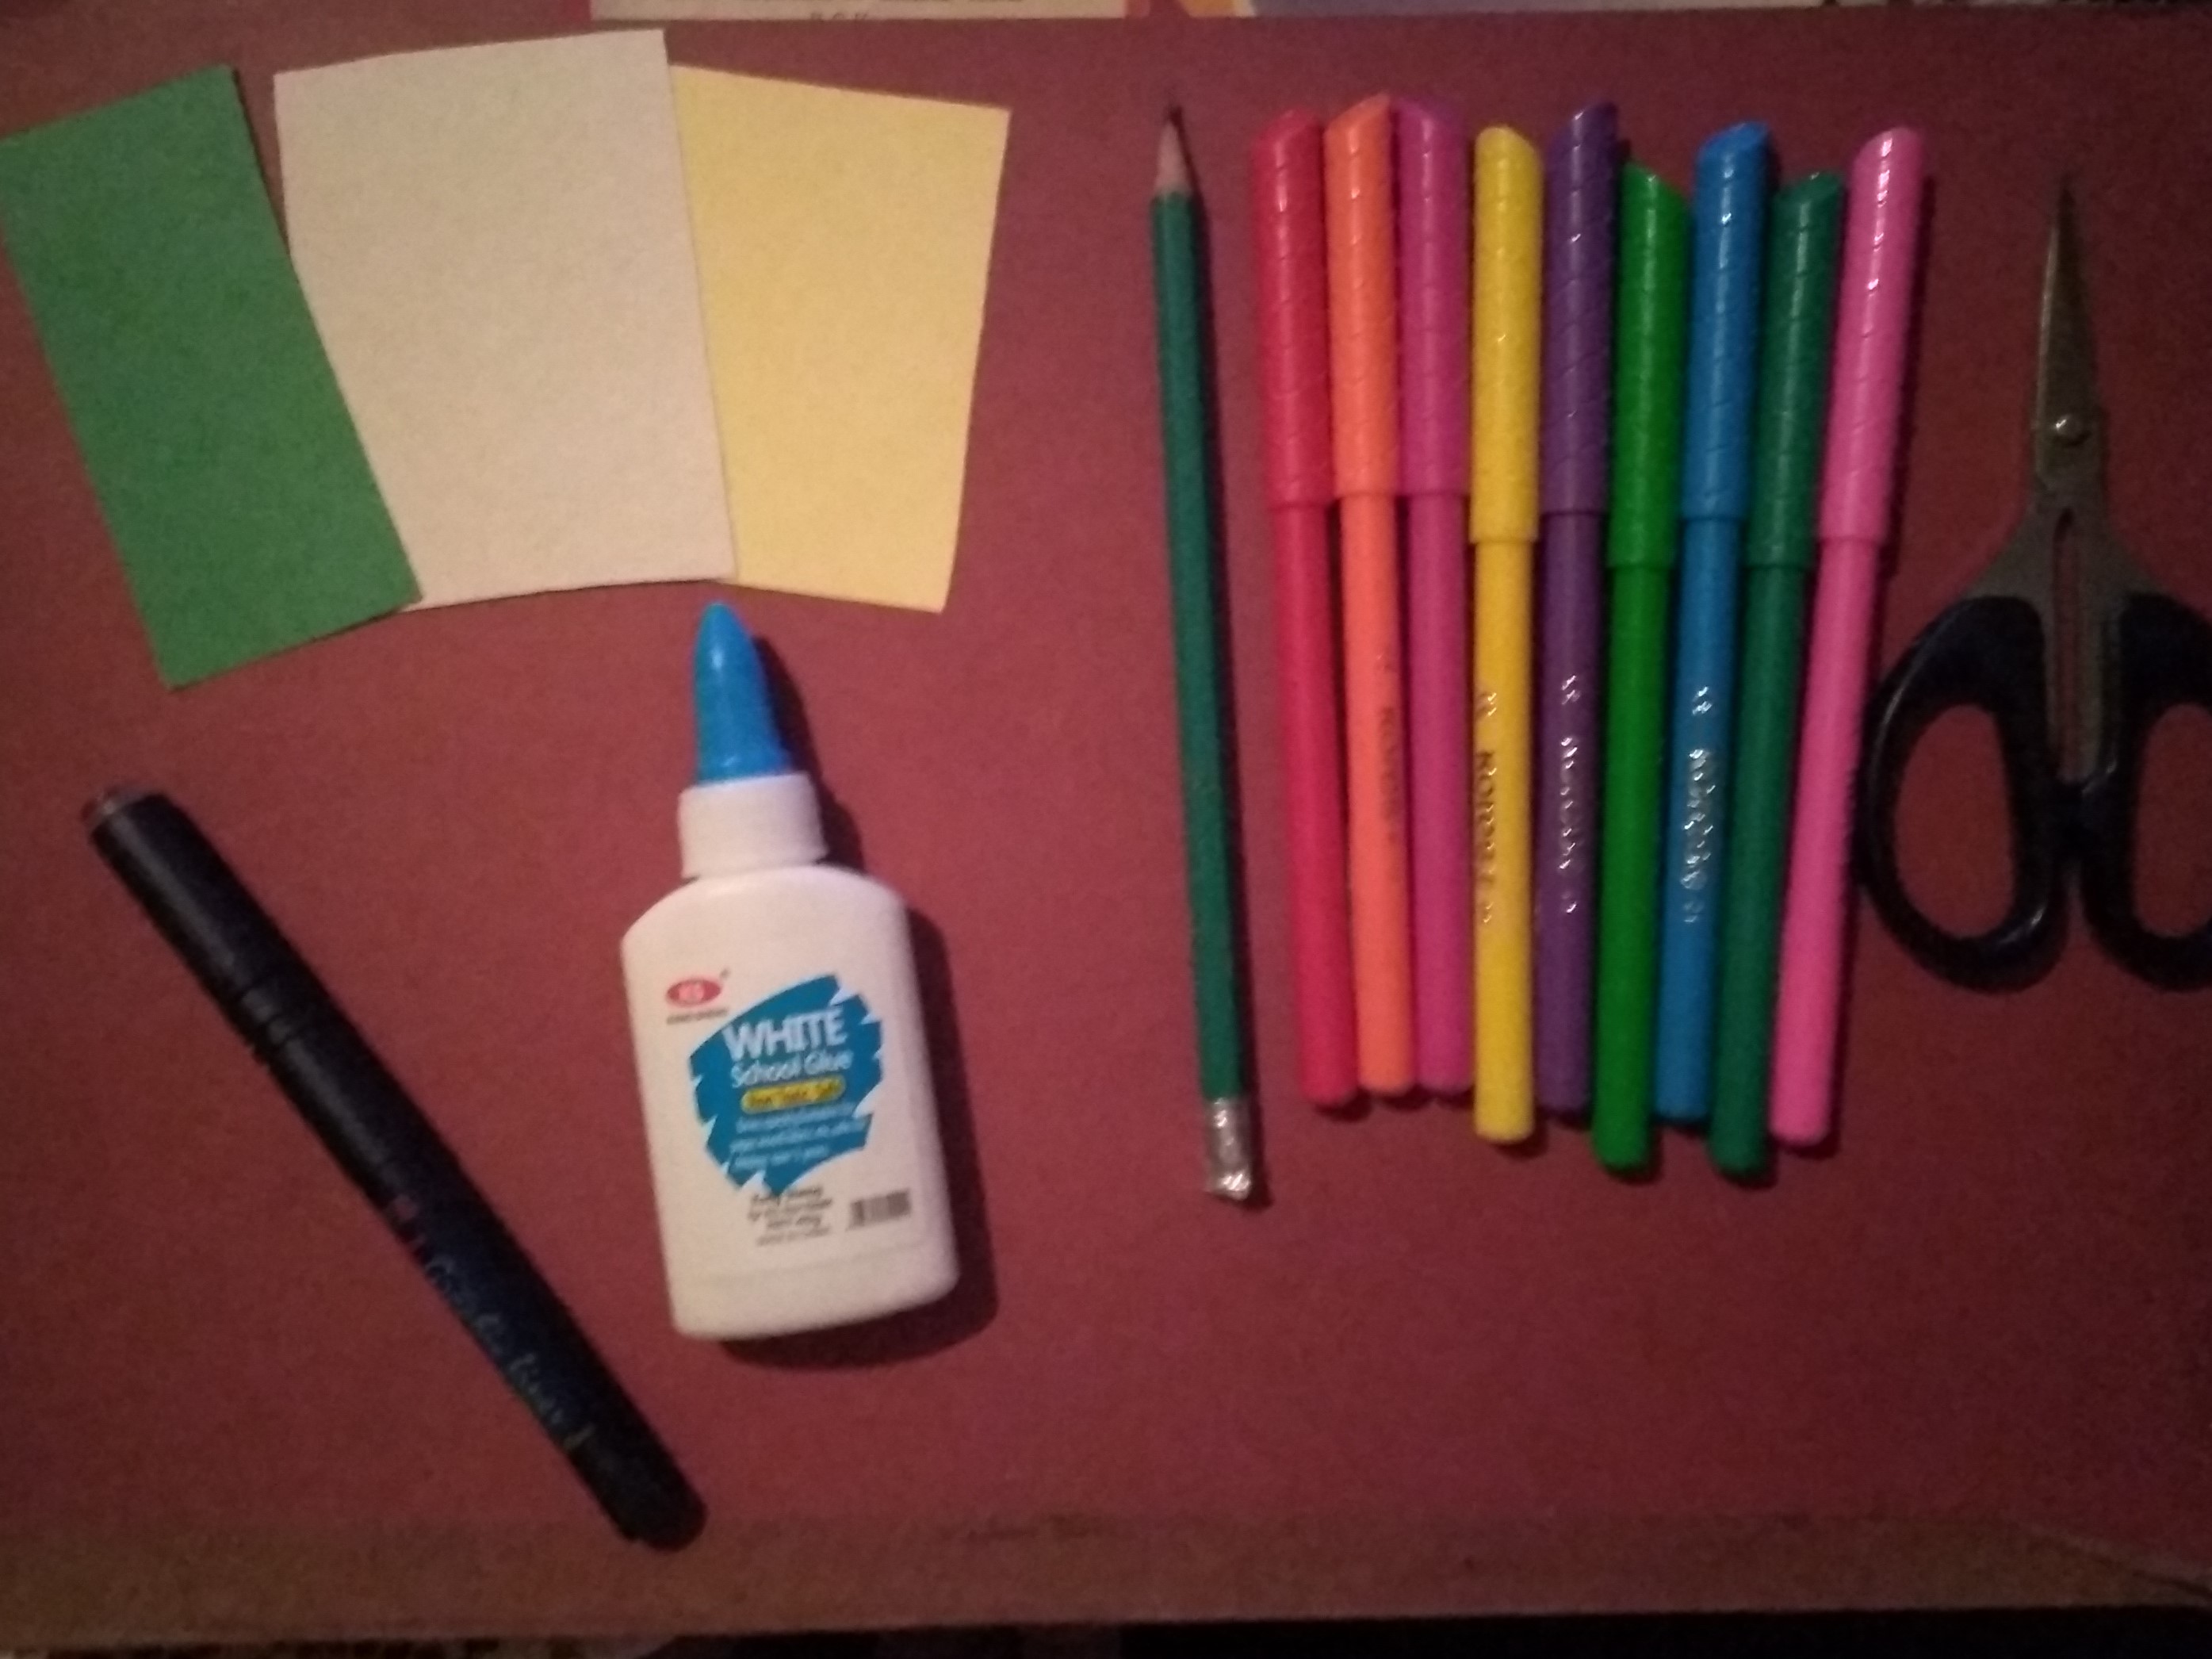
-Recortes de cartulinas, en mi caso tome tres colores (amarillo, verde y beige)
-Lápiz
-Marcador negro punta fina
-Marcadores de colores
-Tijera
-Pegamento
-Palito de altura
Cardboard cut-outs, in my case I took three colors (yellow, green and beige), pencil, black fine tip marker, colored markers, scissors, glue and height stick
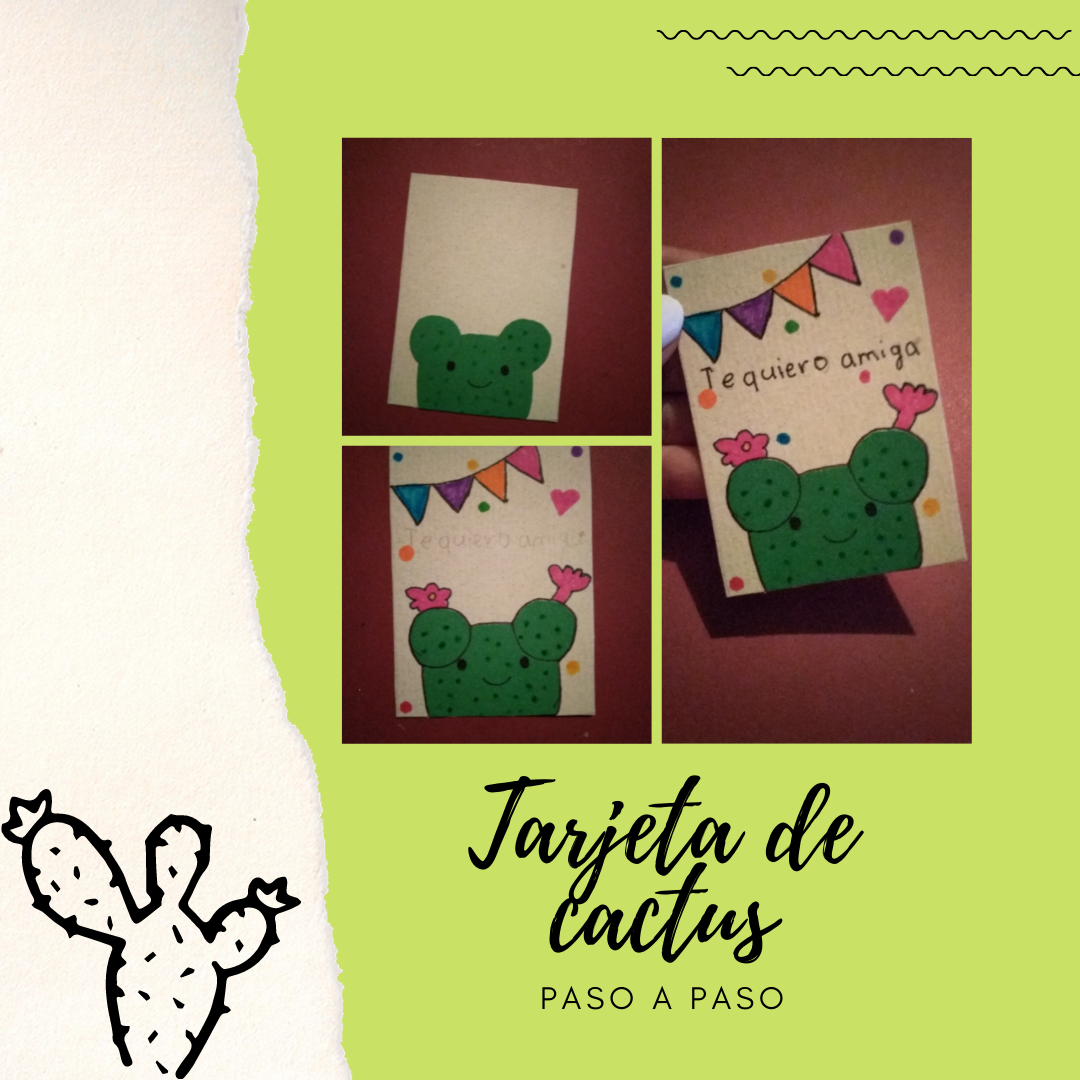
- PASO A PASO -
- PASO A PASO -Step by step: 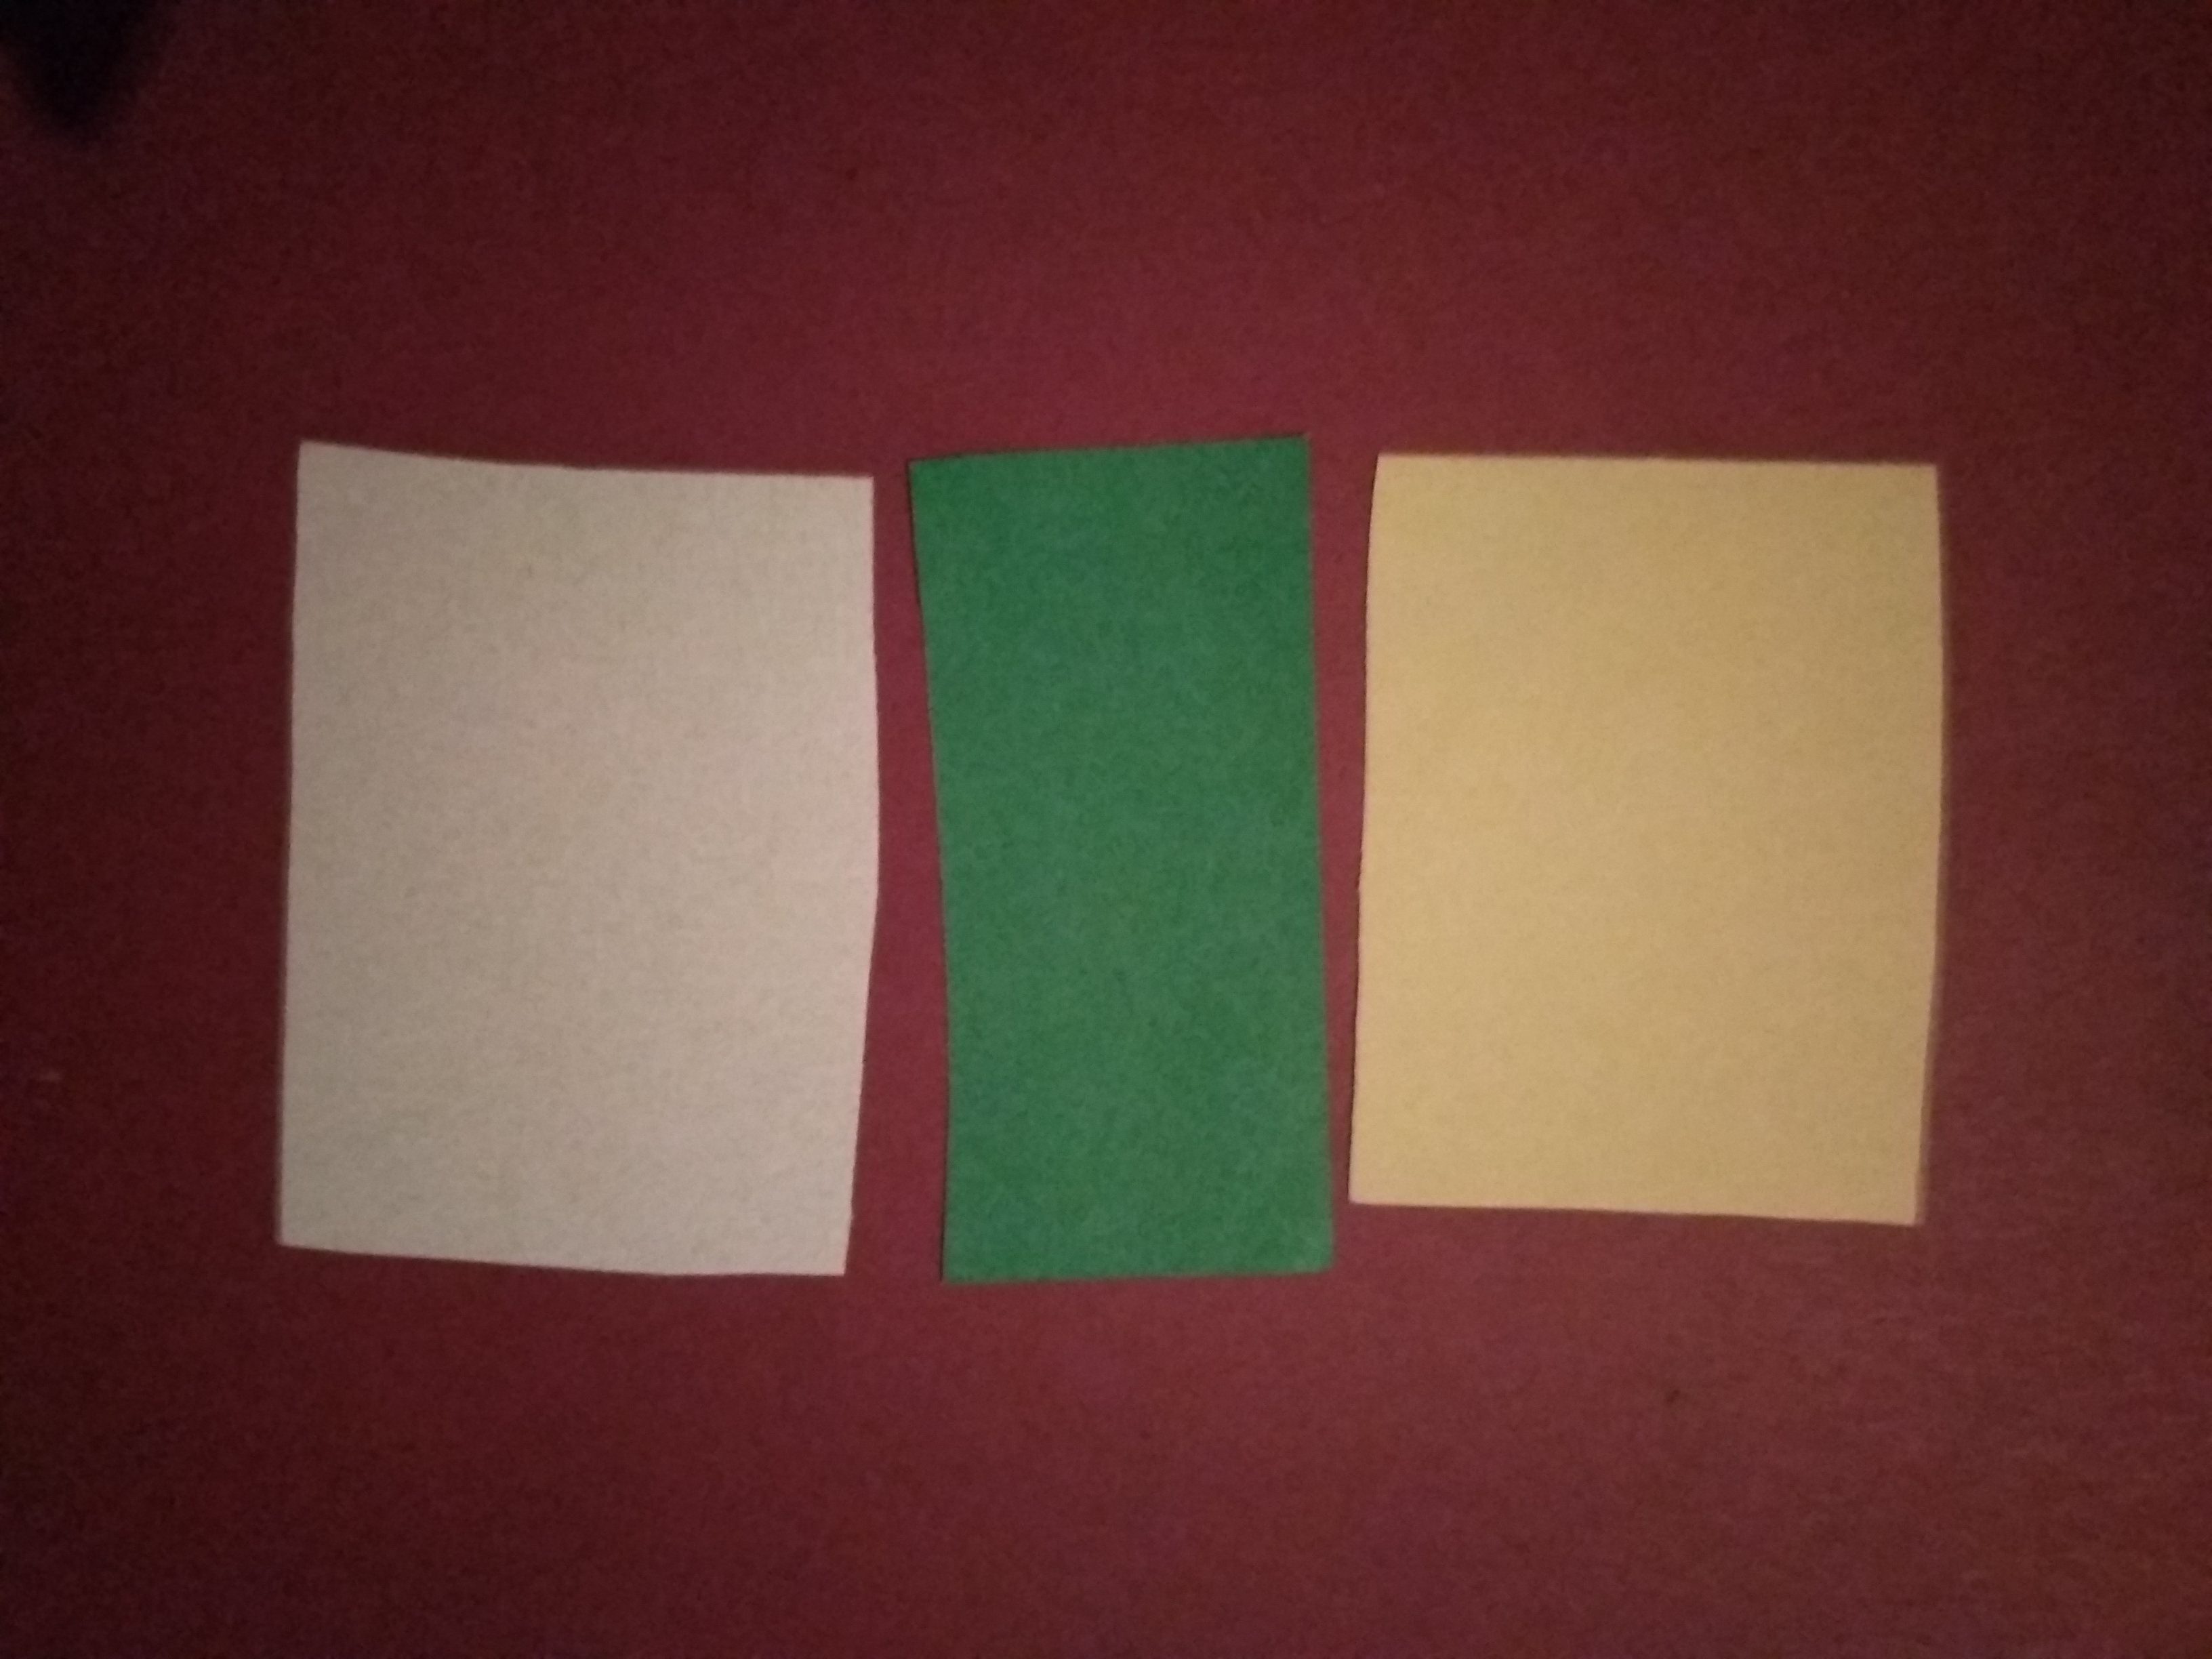
Primero, tomamos los recortes de cartulina (en mi caso, y como pueden notar en la imagen no están derechos) y con la tijera recortamos los bordes para que queden más derechos. Luego, elegimos el color que más nos guste para que sea el fondo de la tarjeta, yo decidí tomar el beige.
First, we take the cardboard cutouts (in my case, and as you can see in the image they are not straight) and with the scissors we cut the edges to make them straighter. Then, we choose the color we like the most to be the background of the card, I decided to choose beige.
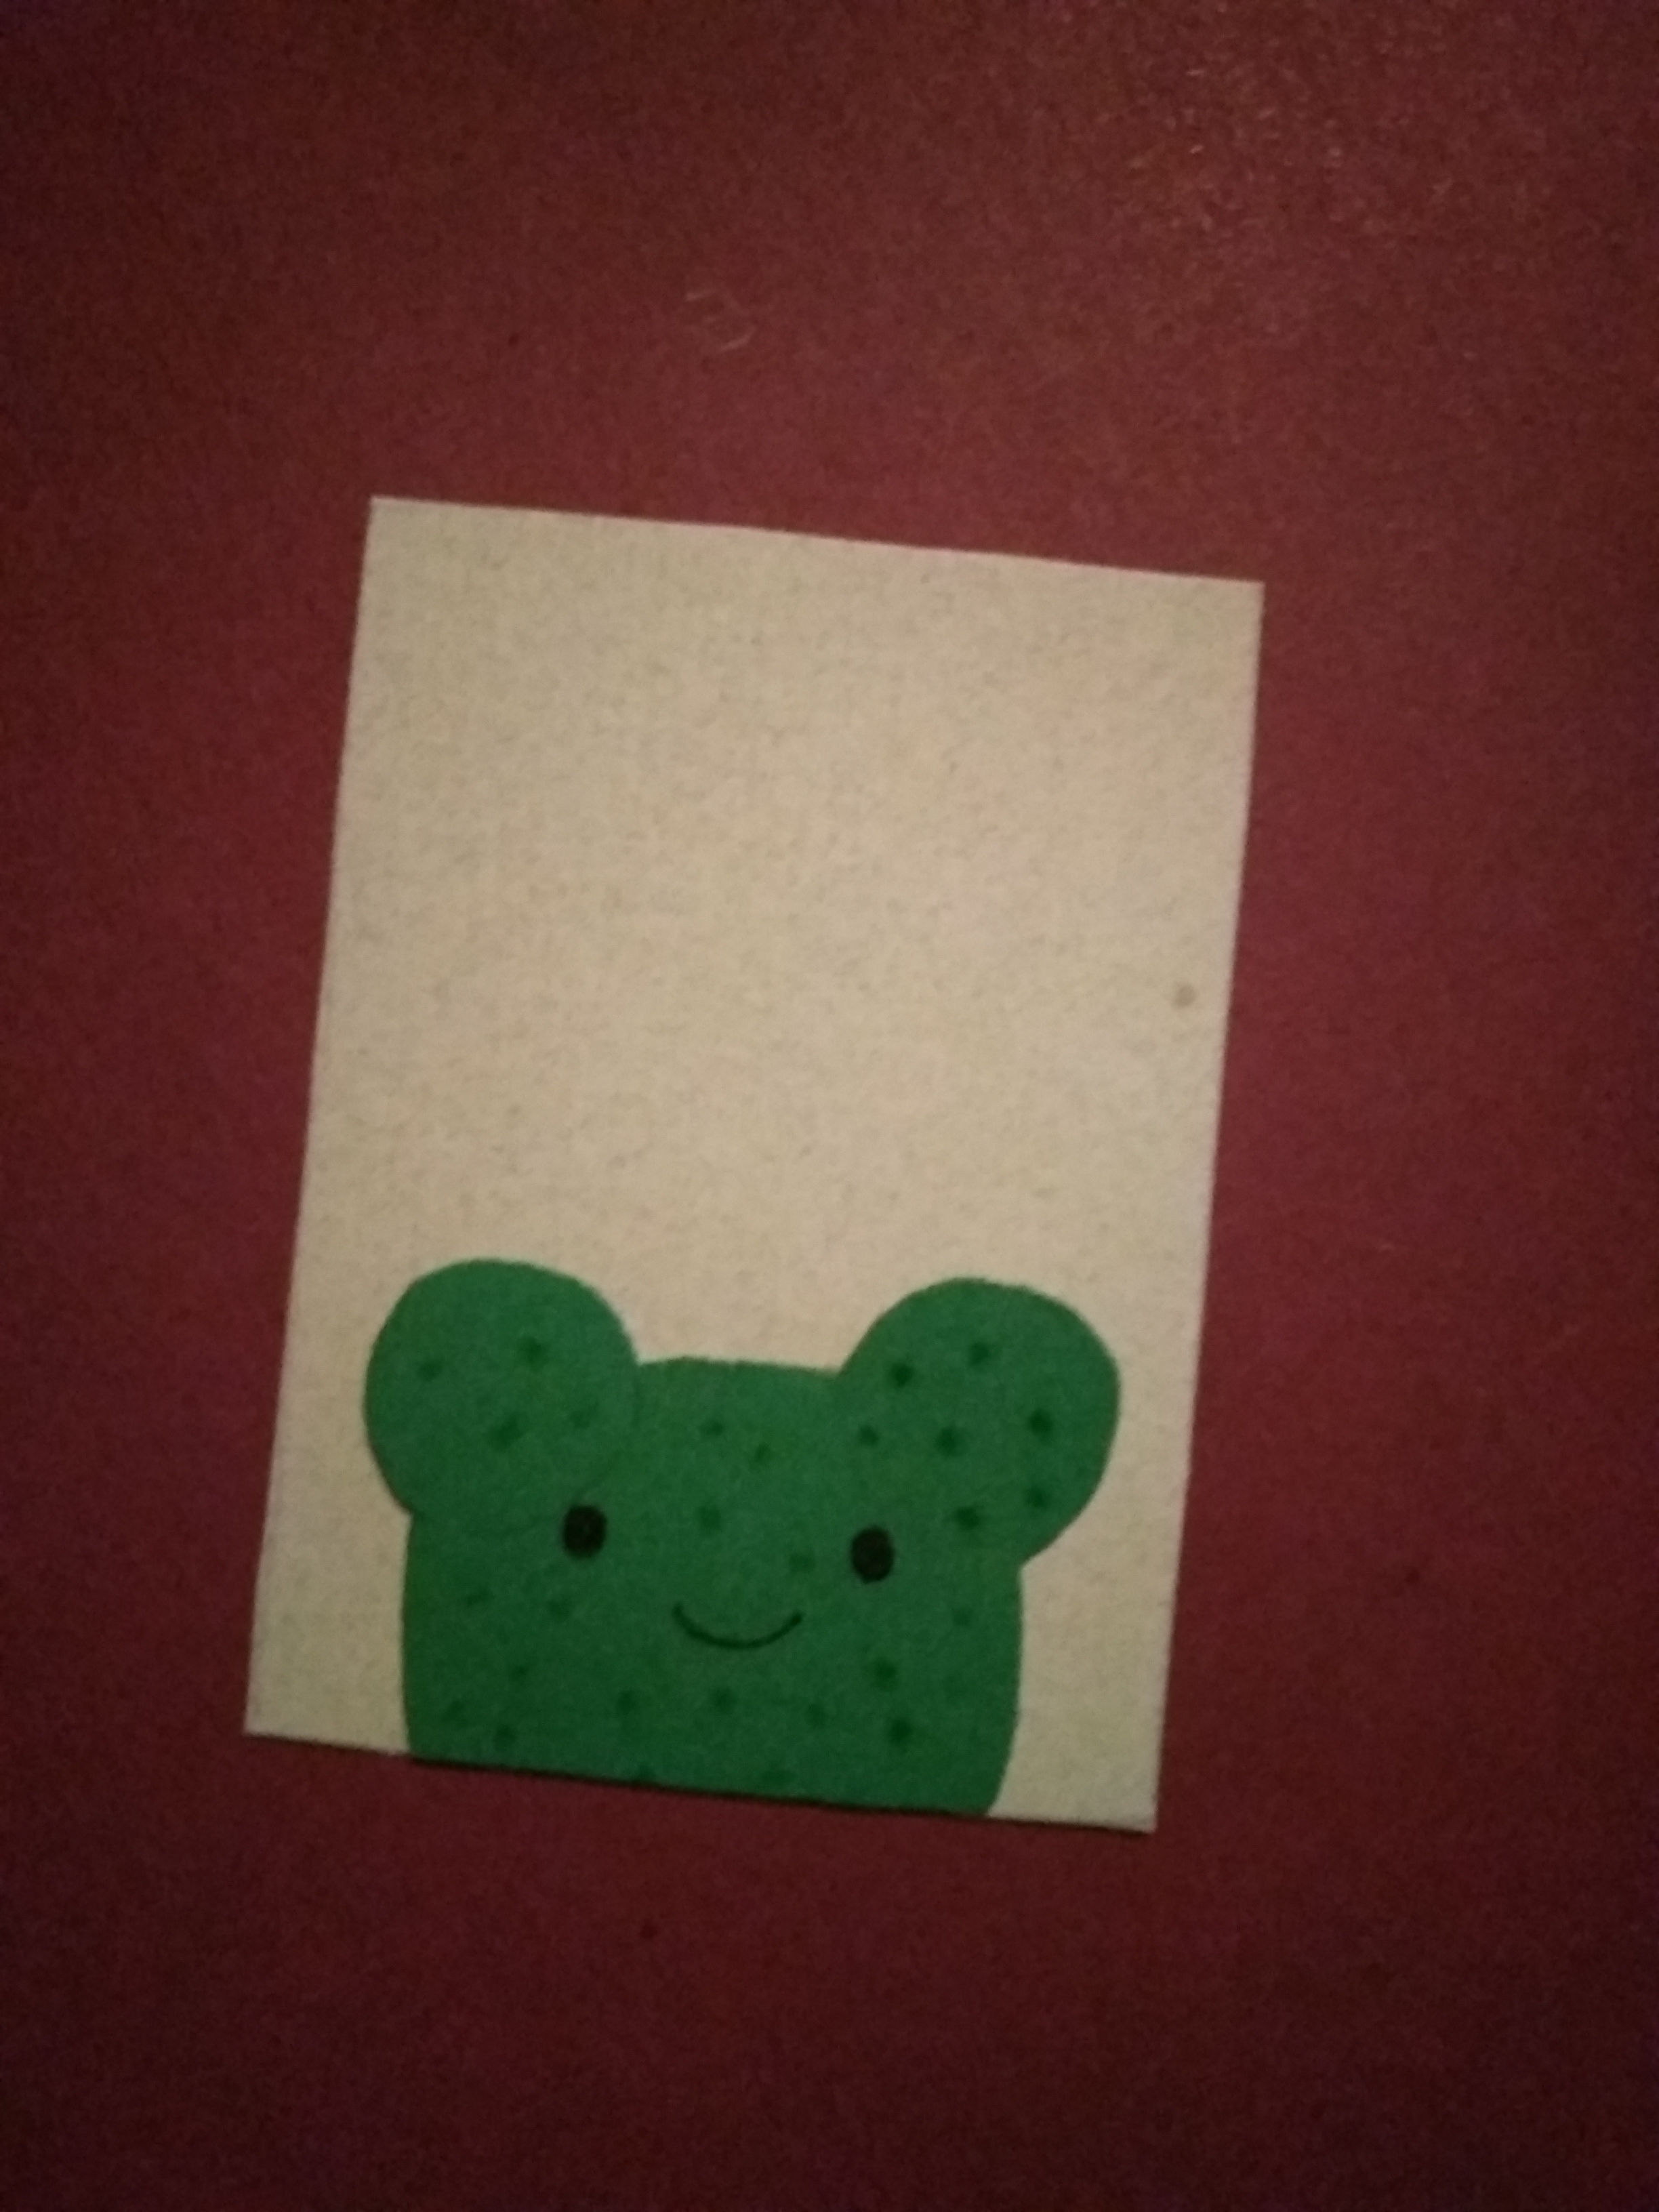
En la cartulina verde dibuje un cactus (me guie por imágenes de internet), el cual, recorte y pegue en la parte inferior de la cartulina beige. Yo lo hice así porque no soy muy buena dibujando y me daba temor hacerlo desde un principio en la cartulina de fondo y que no quedara bien, pero si ustedes son buenos en esto, pueden dibujar el cactus directamente en la tarjetica y luego lo colorean.
On the green cardboard I drew a cactus (I was guided by images from the internet), which I cut out and glued to the bottom of the beige cardboard. I did it this way because I am not very good at drawing and I was afraid to do it from the beginning on the background cardboard and that it would not look good, but if you are good at this, you can draw the cactus directly on the card and then color it.
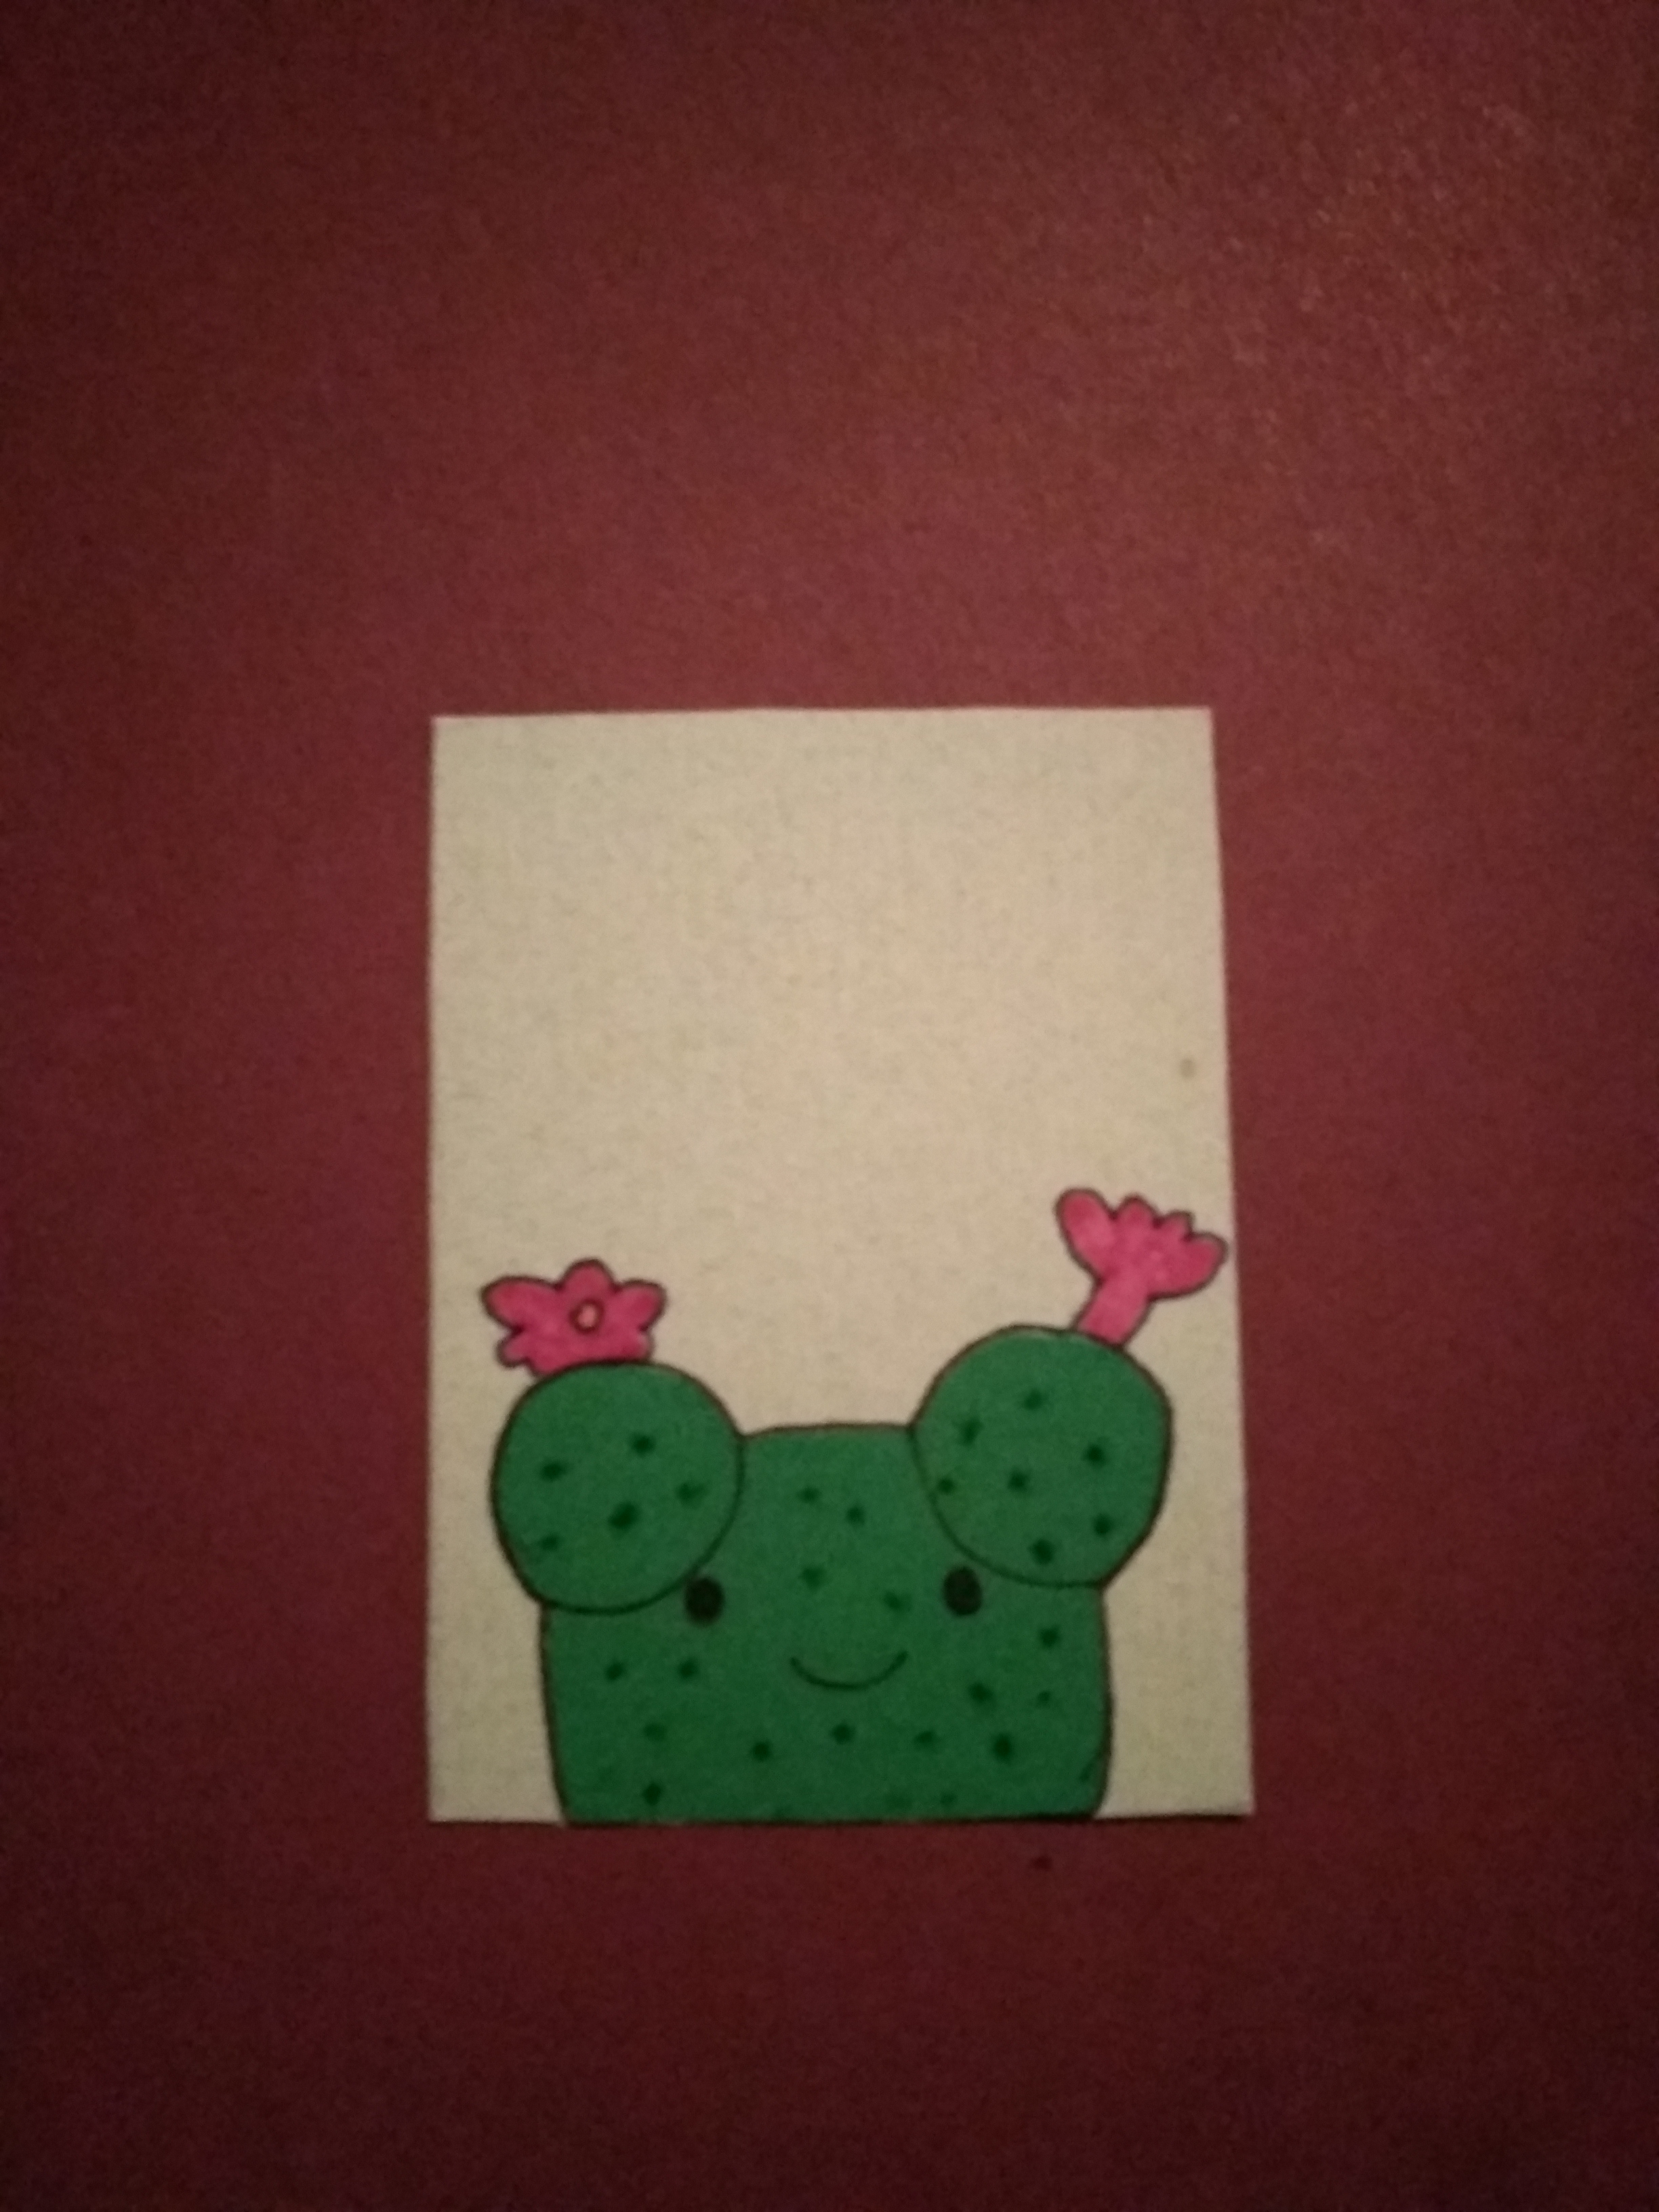
Con los marcadores de colores y el marcador negro punta fina fui marcando los bordes del cactus ya pegado en la cartulina beige, y le realice pequeñas florecitas.
With the colored markers and the black fine tip marker, I marked the edges of the cactus already glued on the beige cardboard, and made little flowers.
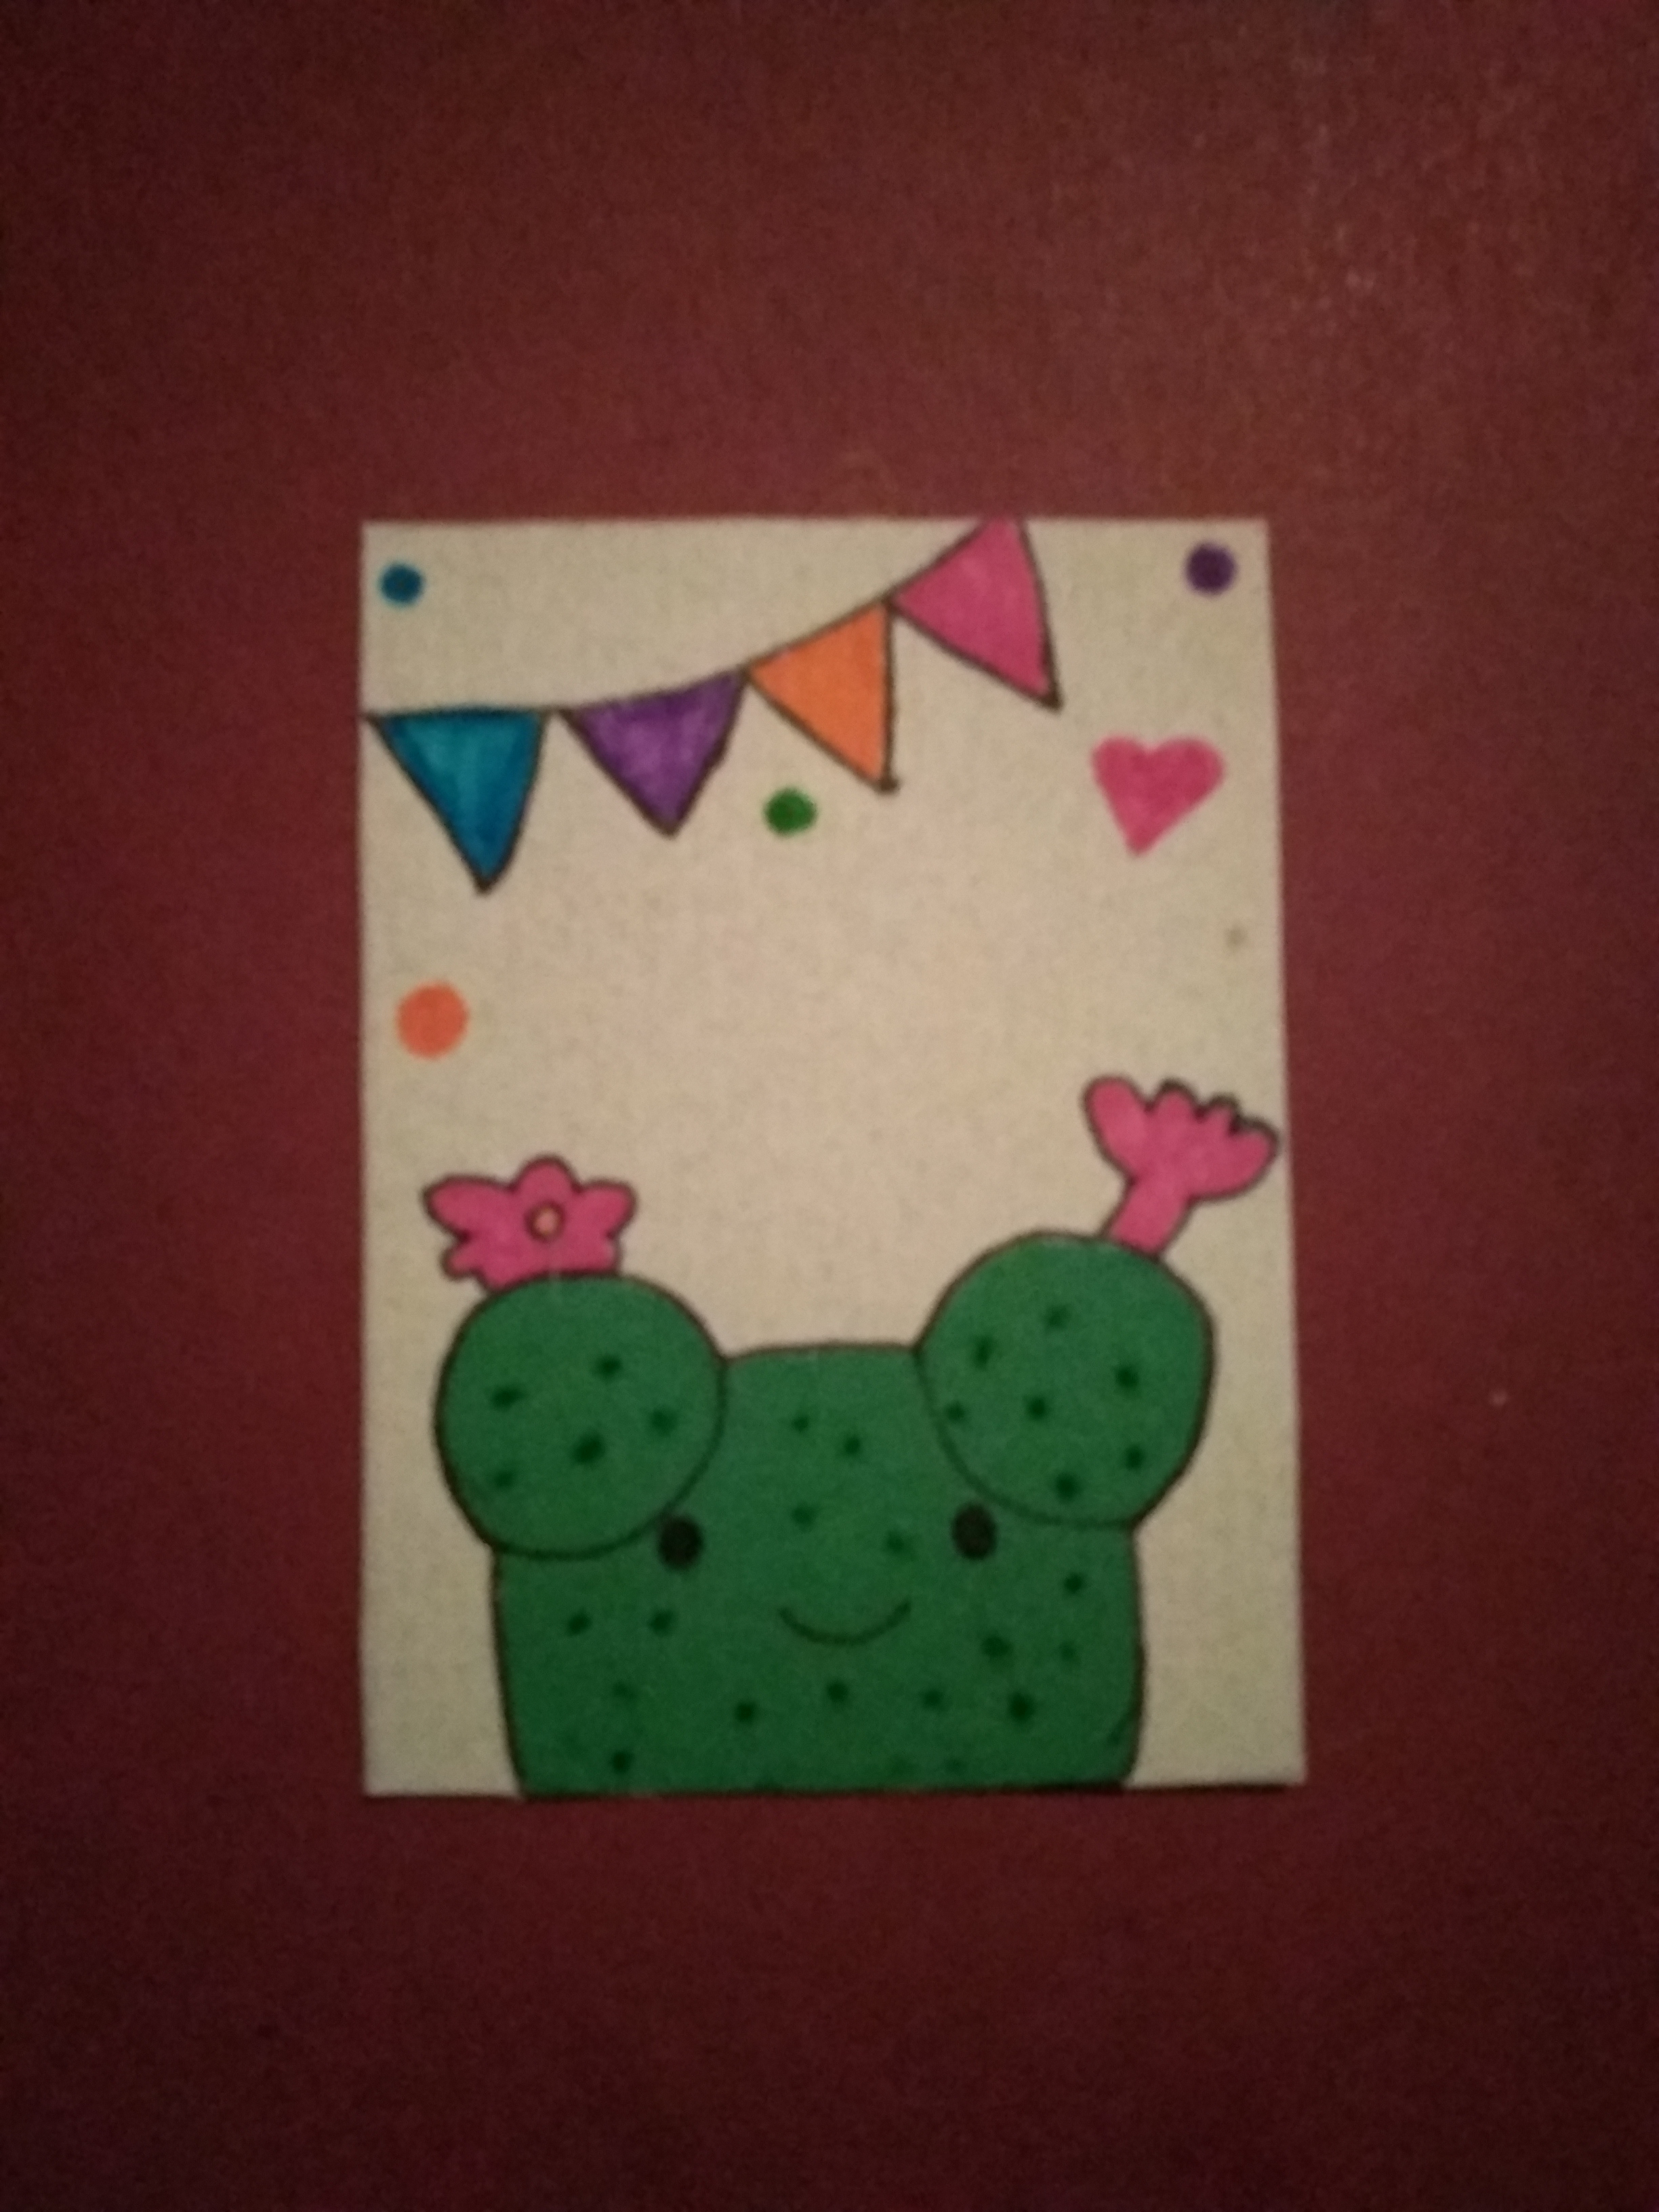
Posteriormente, fui realizando más detalles, en la parte superior unos banderines y a los lados pequeños puntos de colores. Esto, si lo dibuje directamente en la cartulina; es decir, no dibuje aparte y pegue.
Later, I made more details, some pennants on the top and small colored dots on the sides. This, if I drew directly on the cardboard; that is, I did not draw separately and glue.
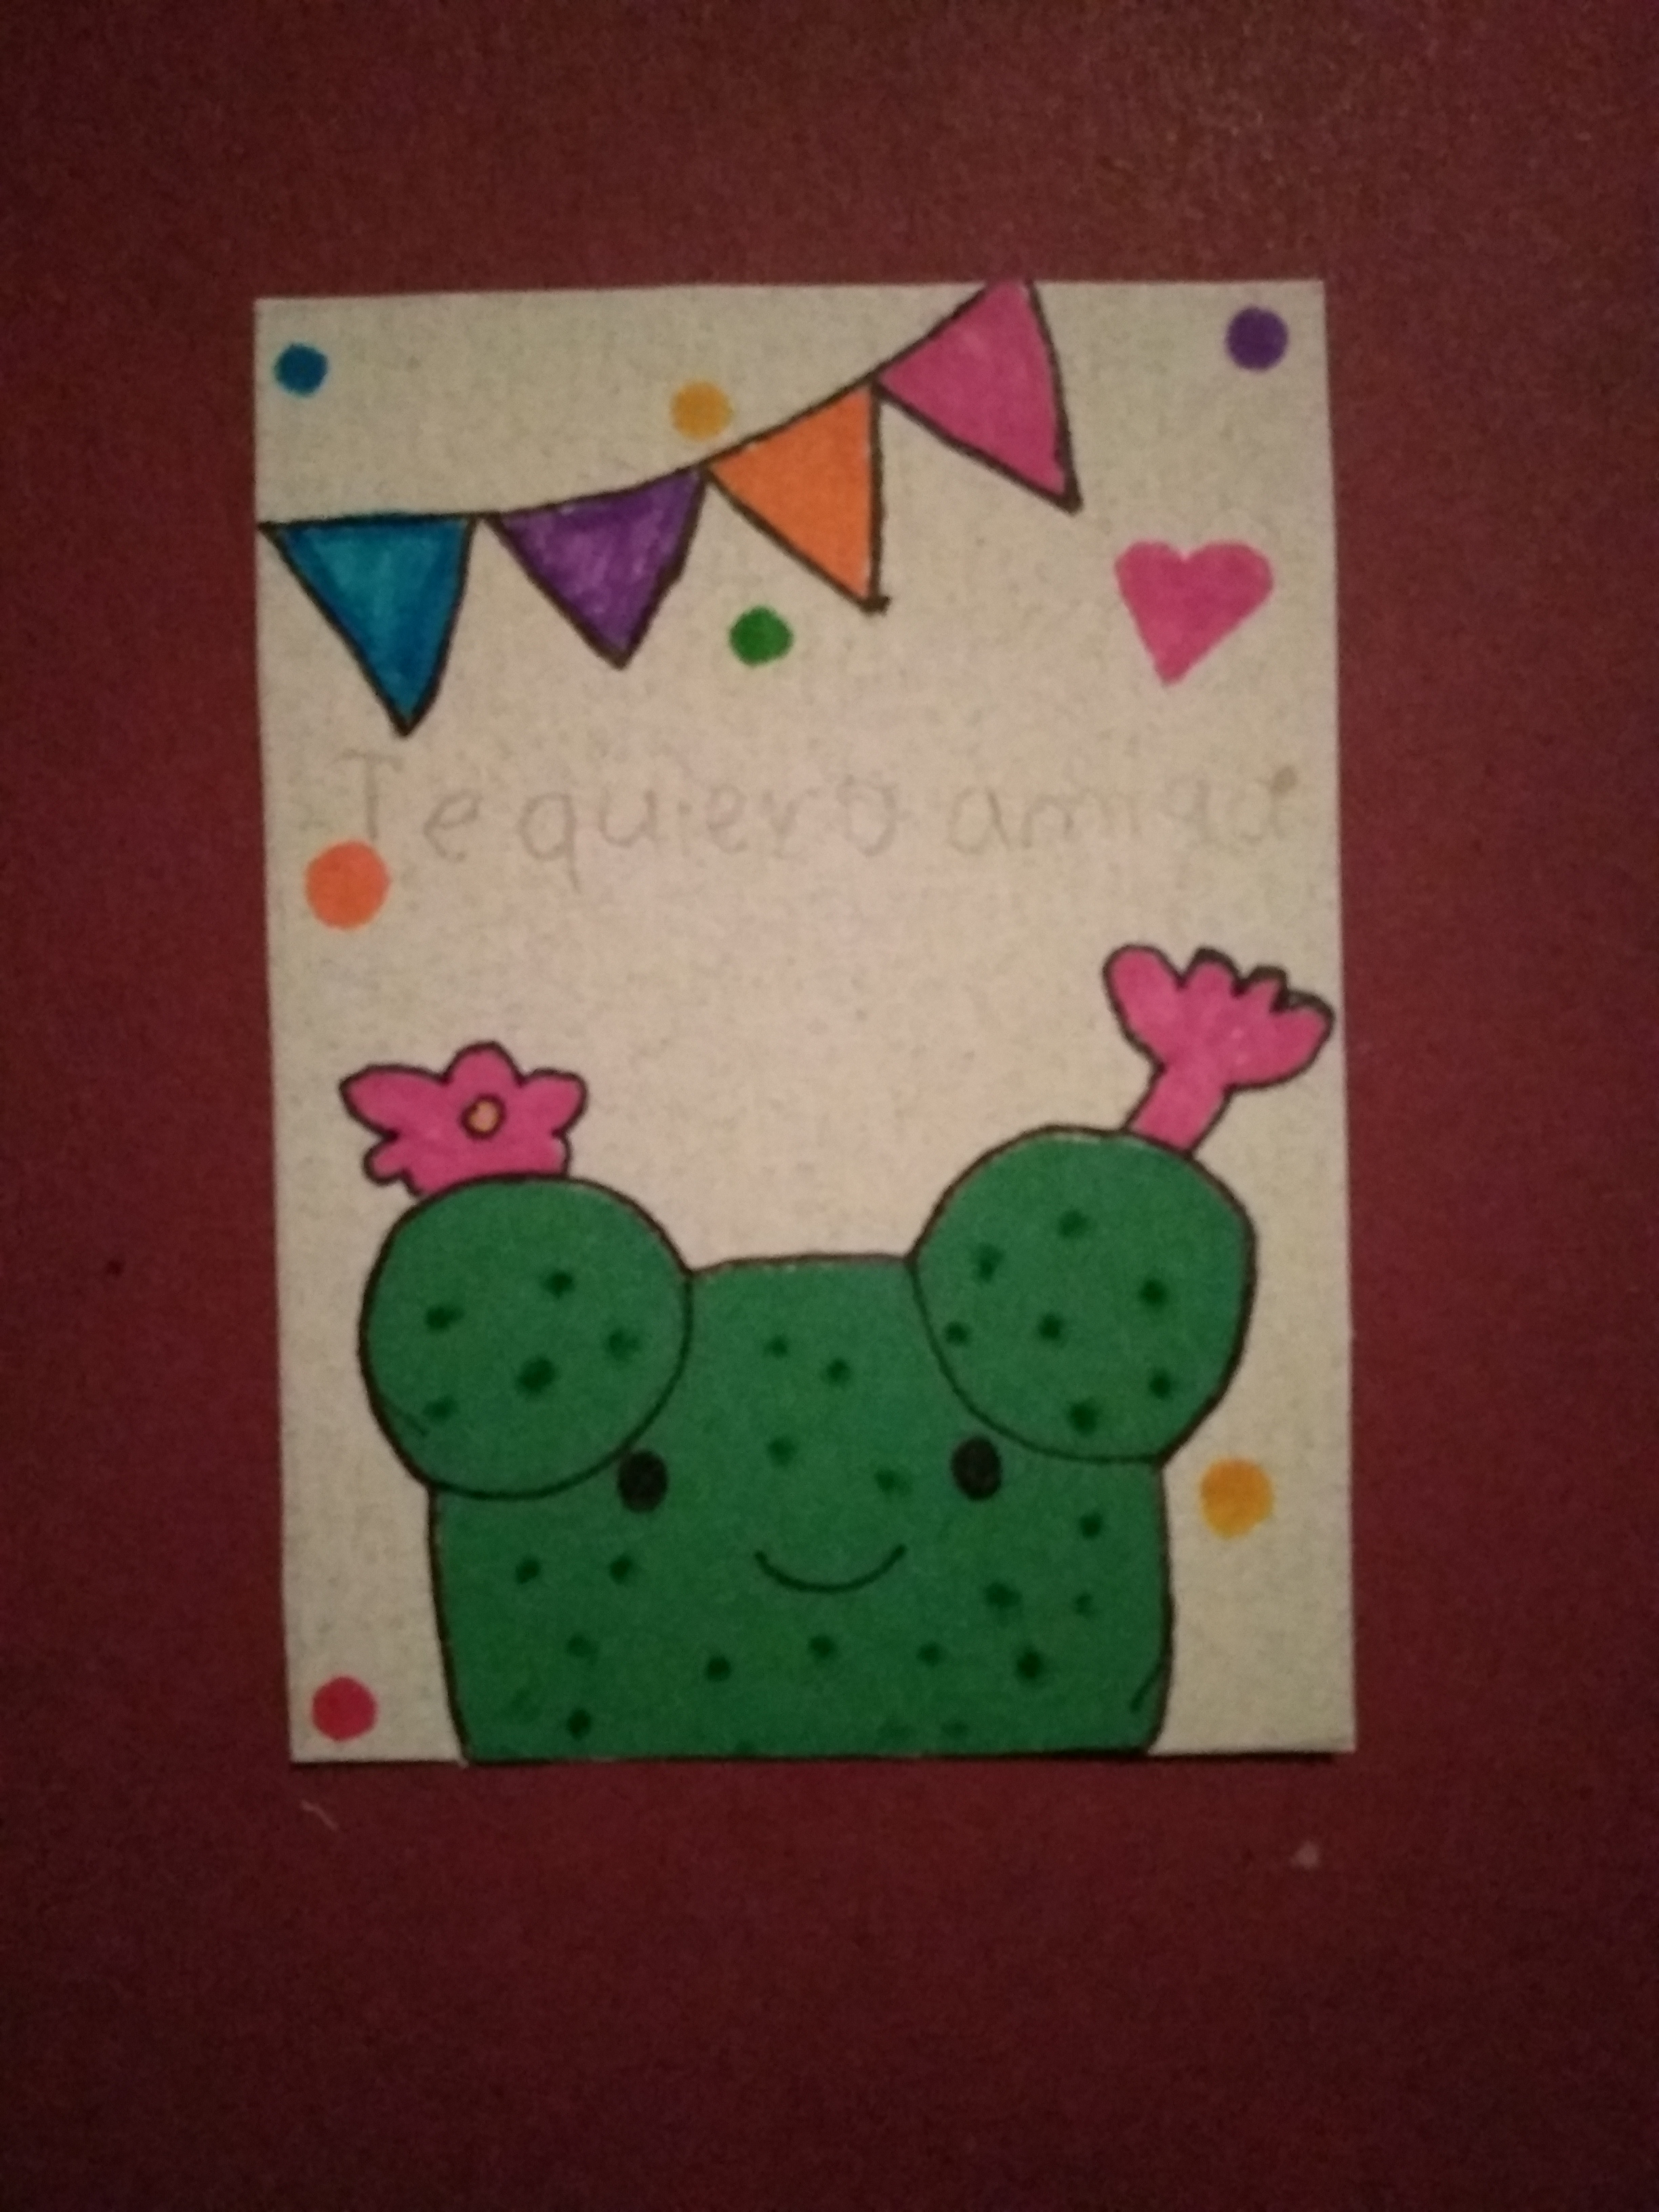
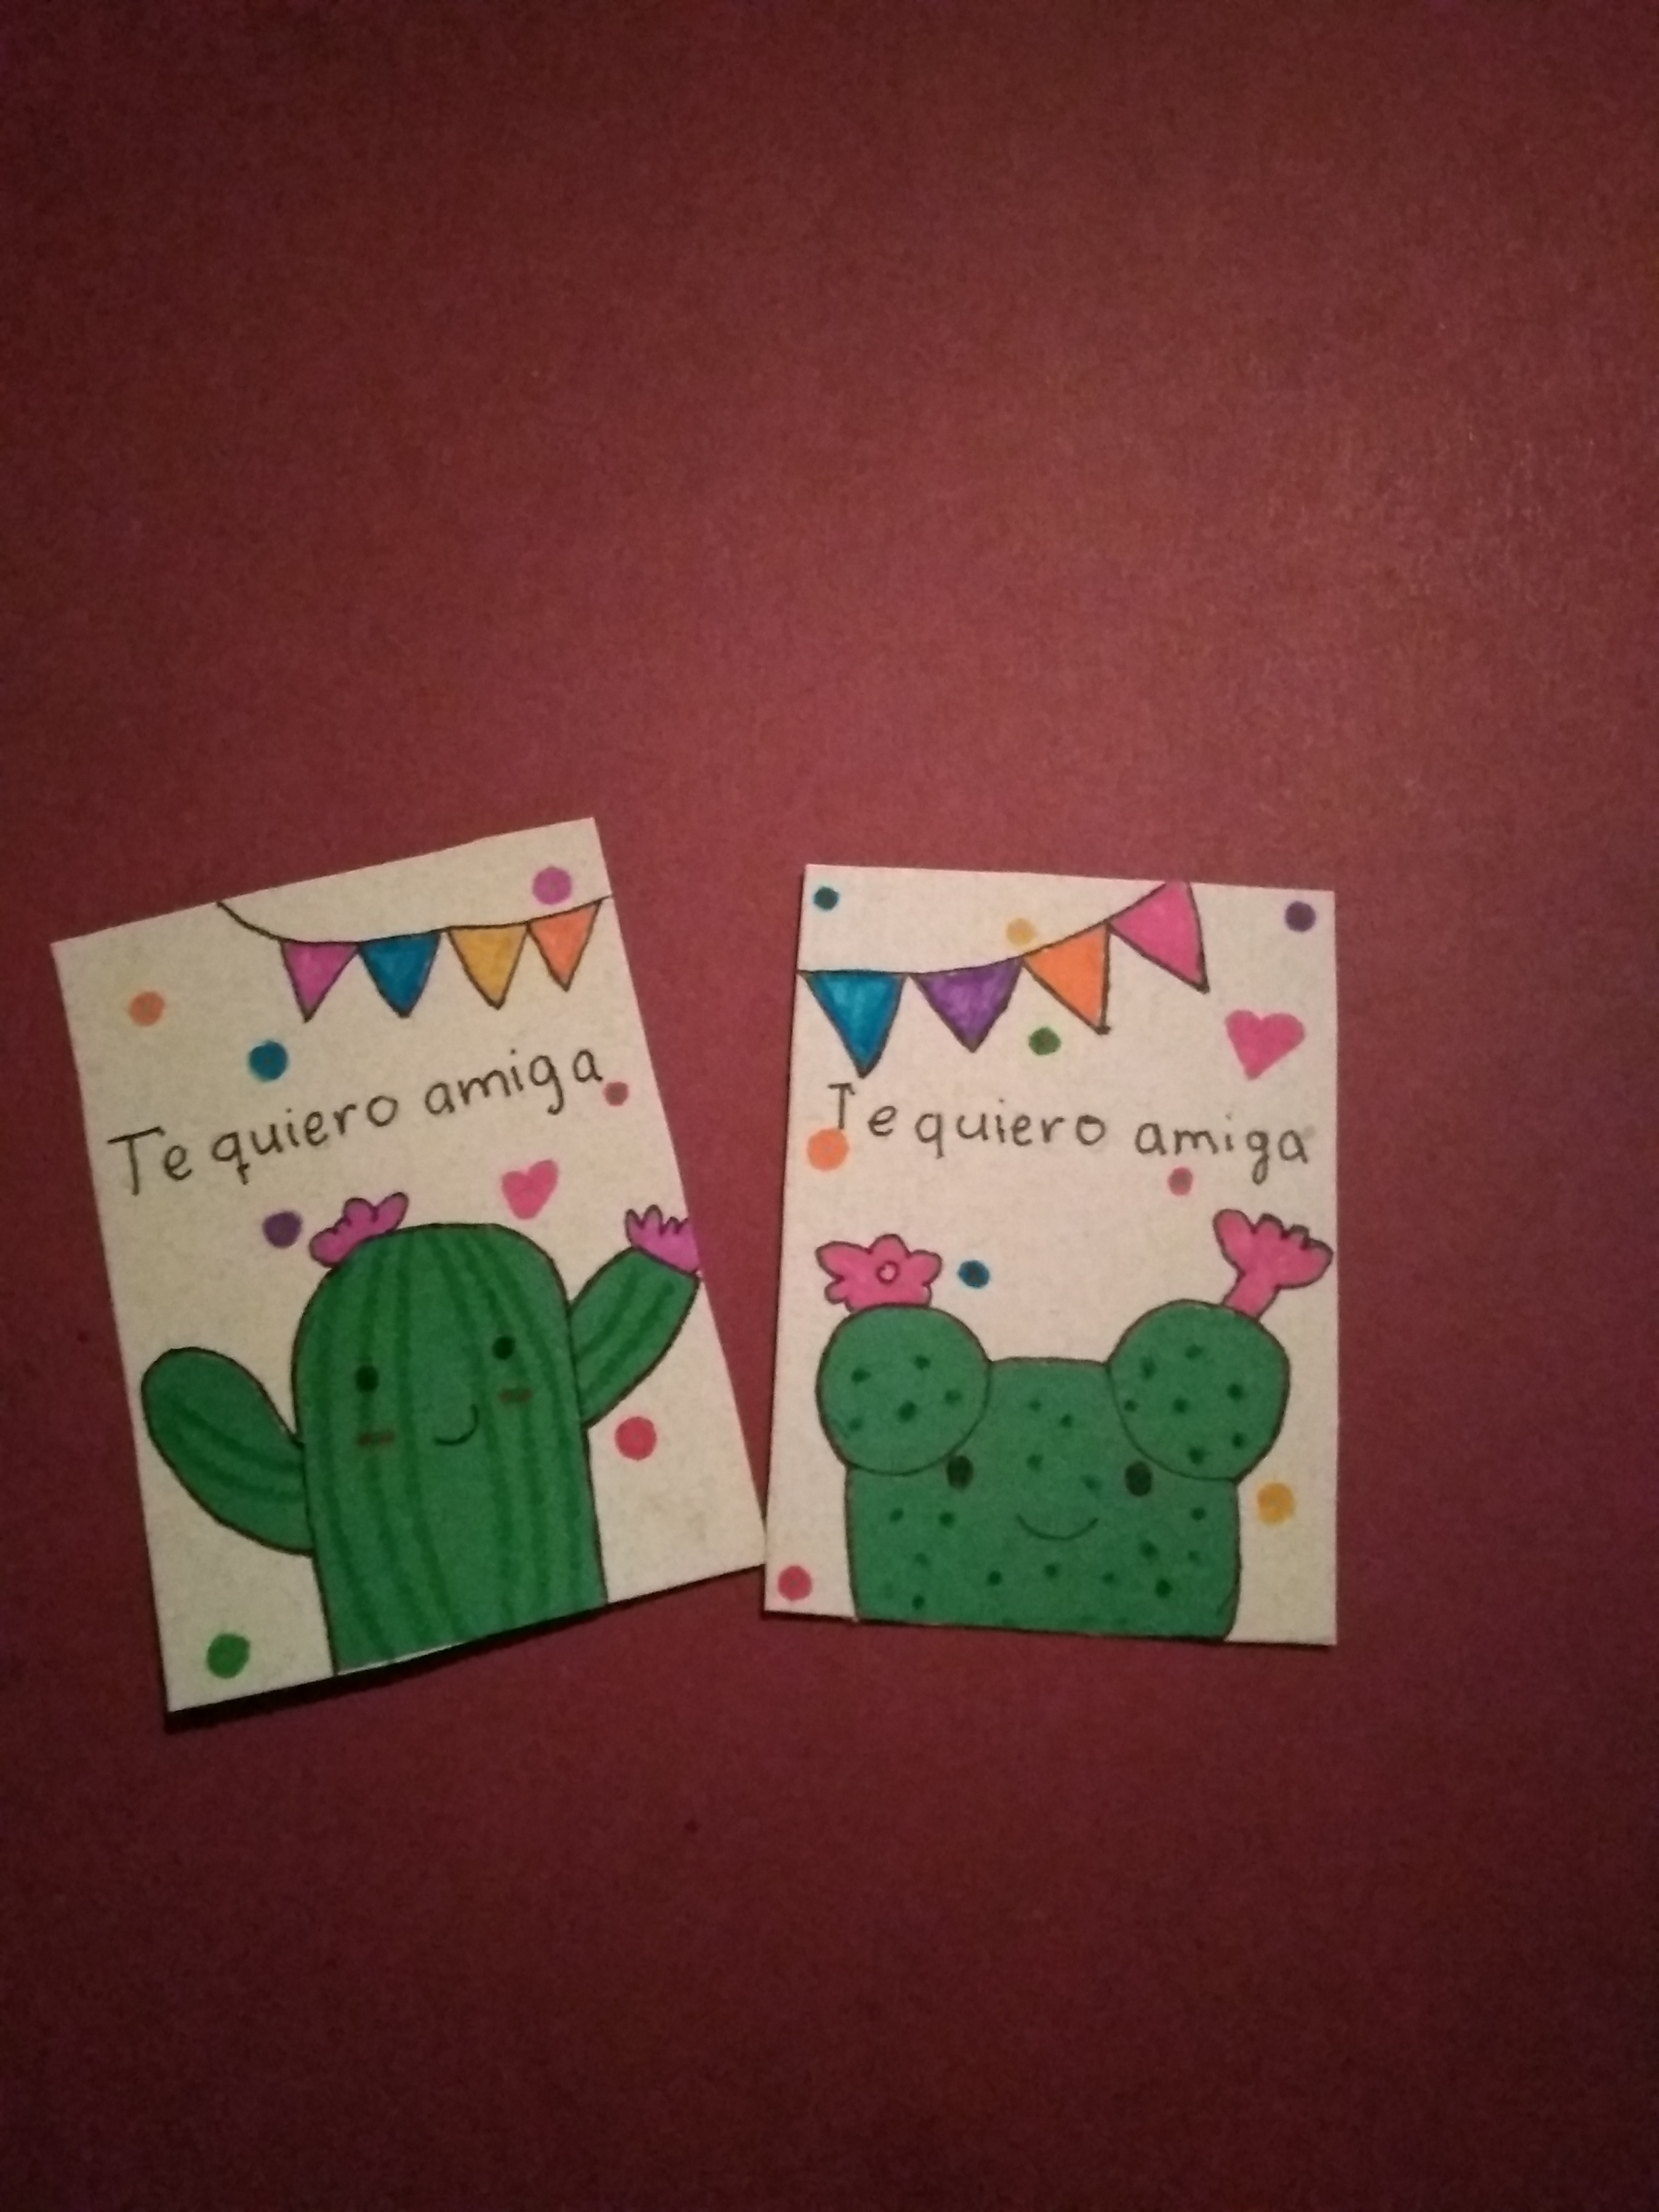
En el centro, le escribí “Te quiero amiga”, pero ustedes pueden elegir la frase que más les guste, y finalmente remarque con marcador negro. Quedando así estas tarjeticas:
In the center, I wrote "I love you friend", but you can choose the phrase you like the most, and finally I marked it with black marker. This is how these little cards look like:
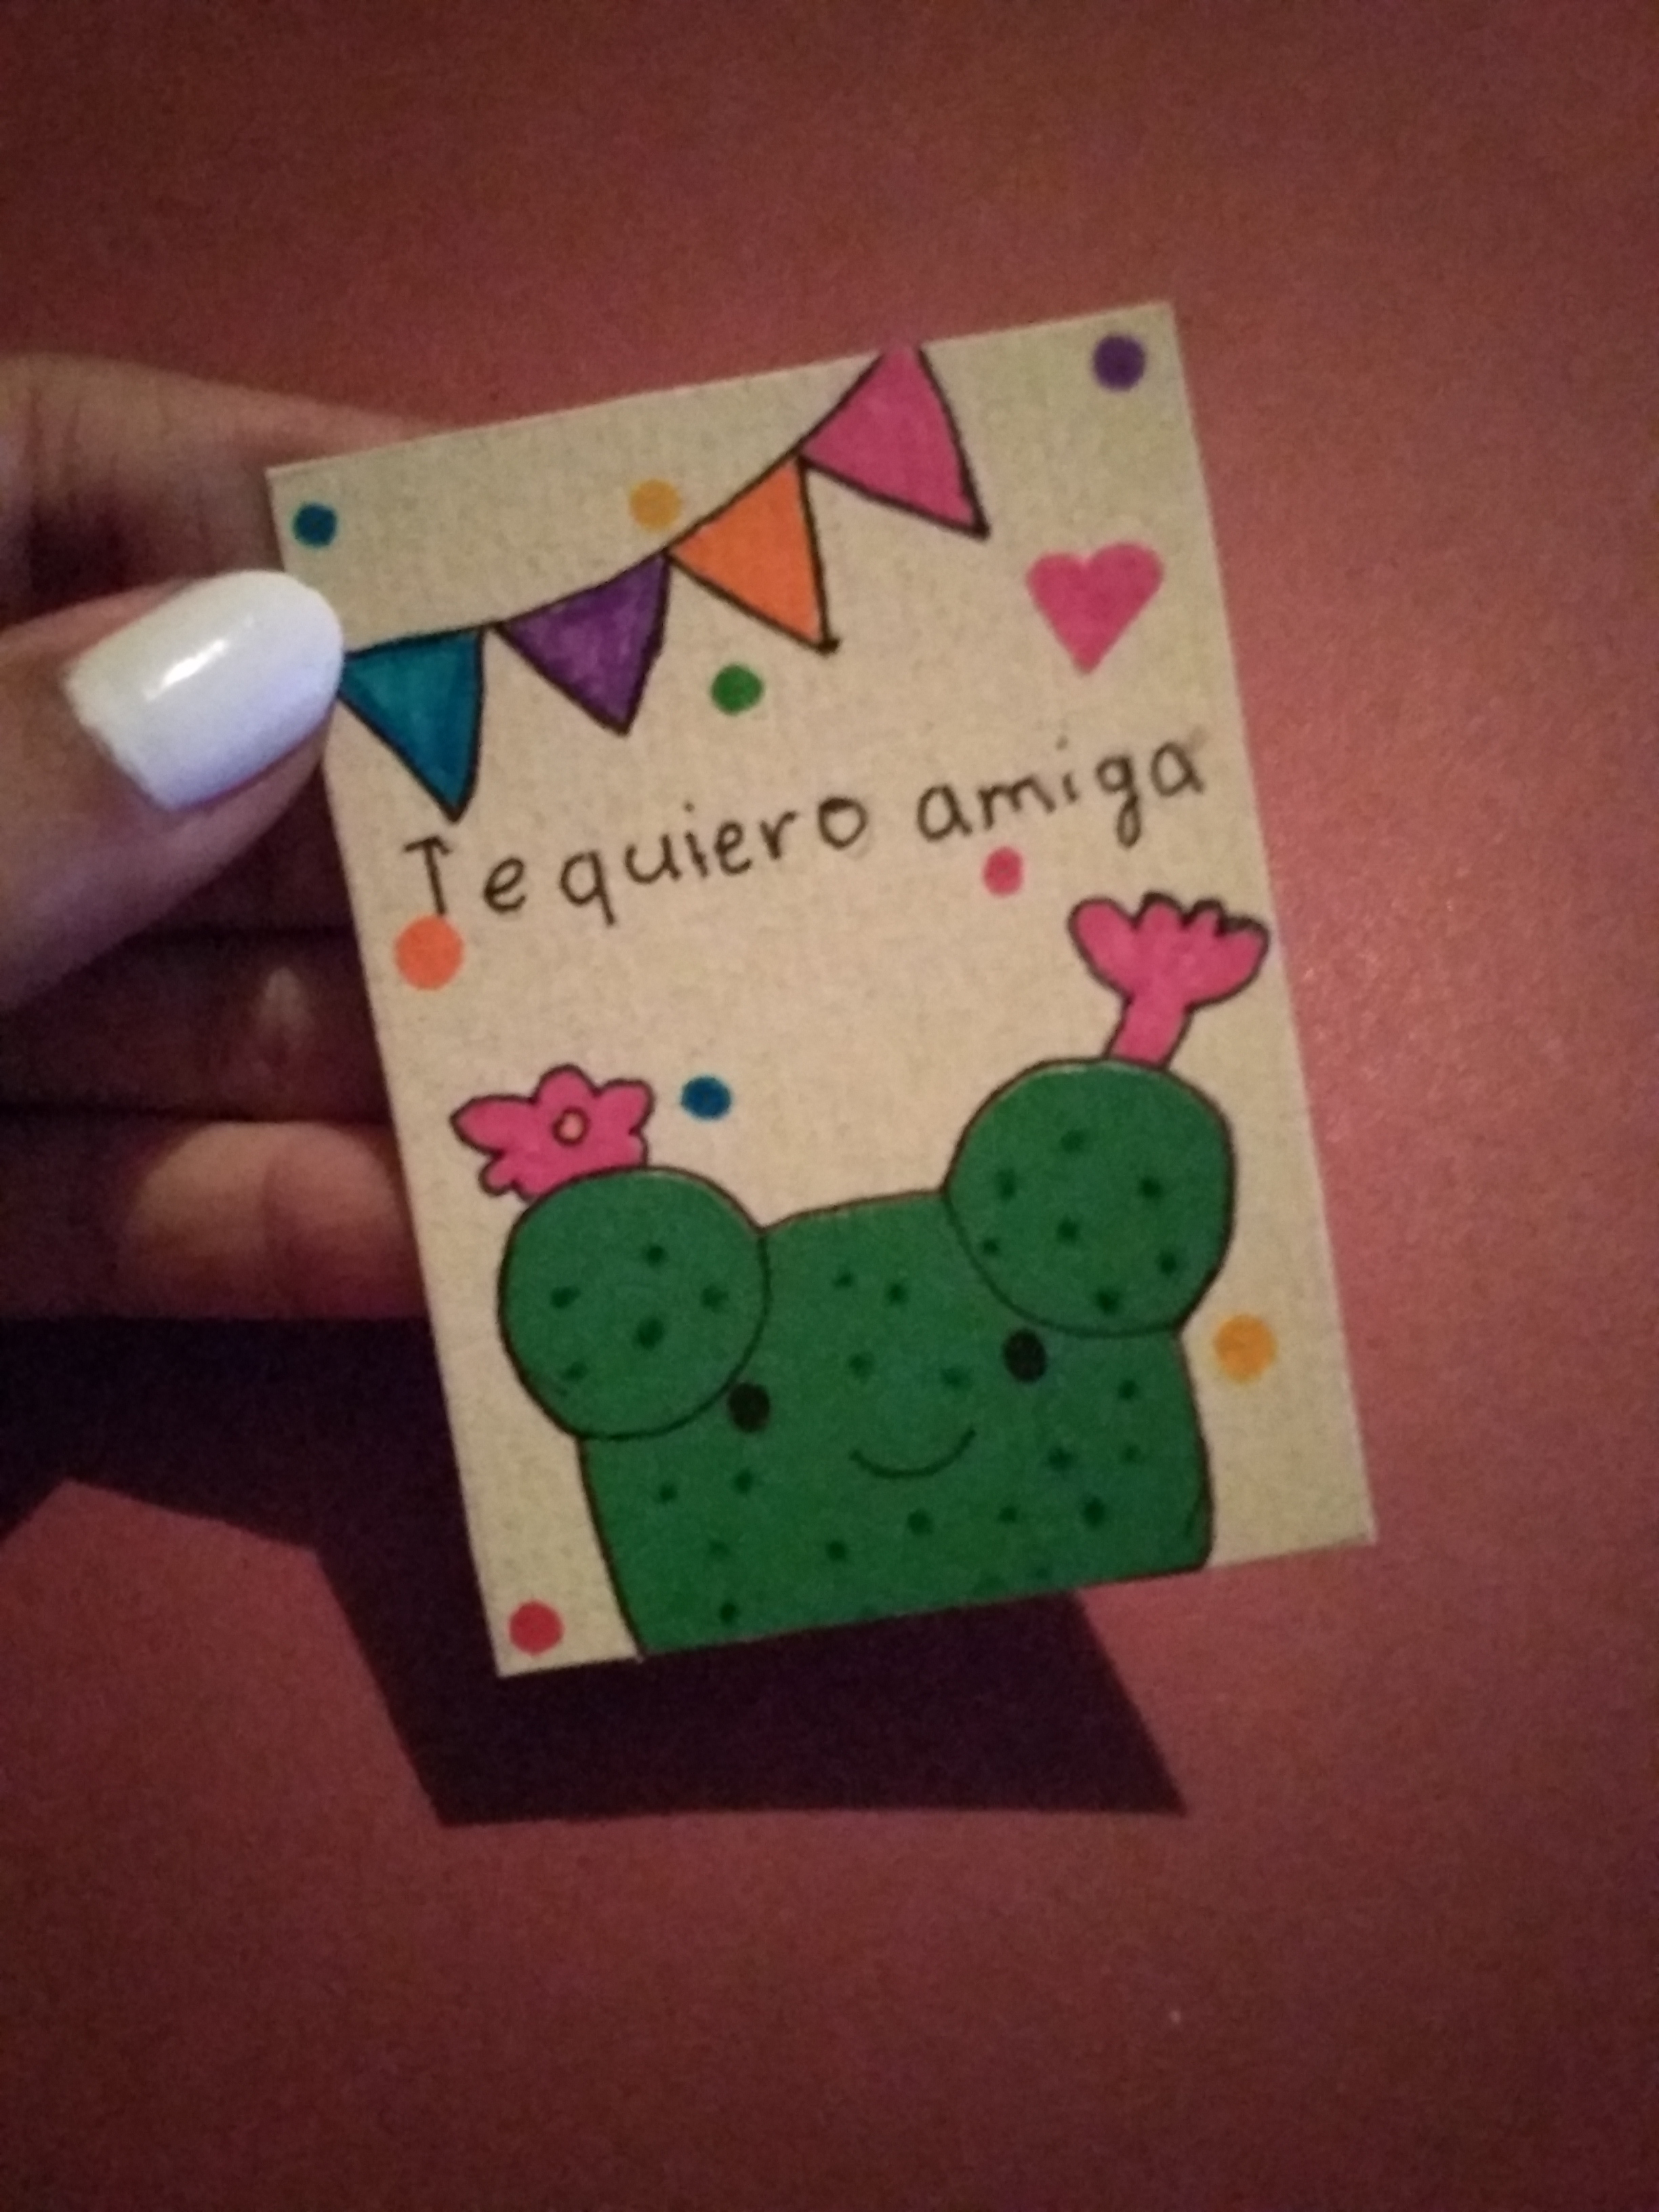
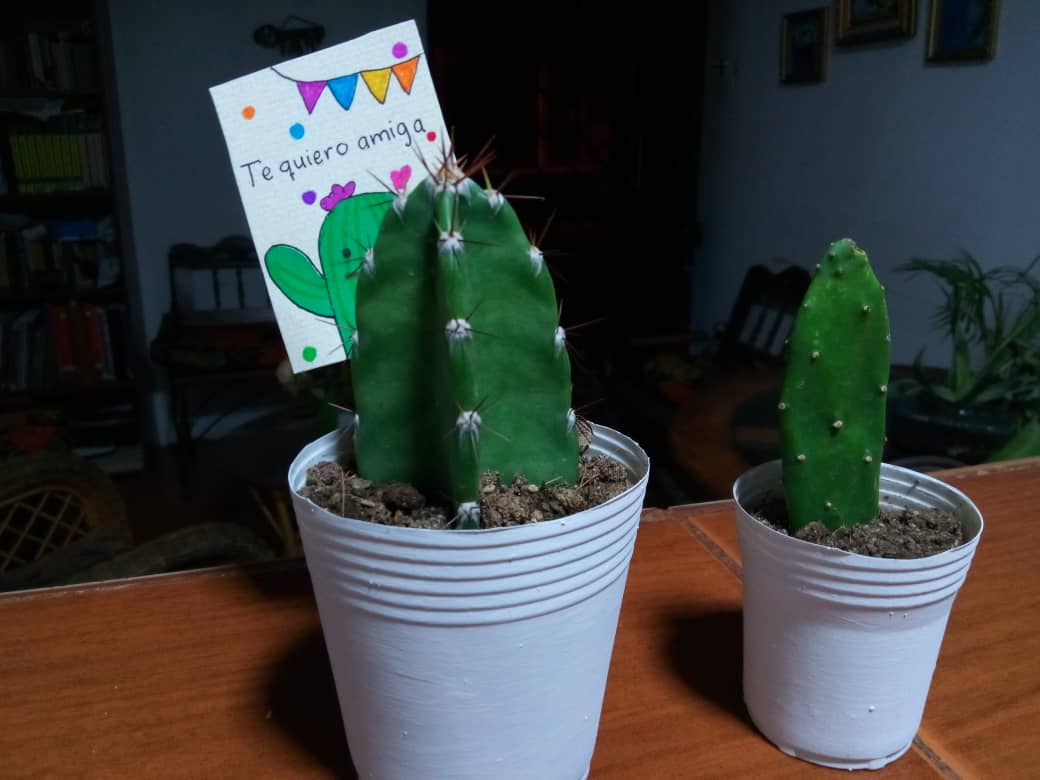
Como les había mencionado anteriormente, yo las use para colocárselos a unos cactus que regale a unas amigas.
As I mentioned before, I used them to put them on some cactus that I gave to some friends.
- Gracias por haber llegado hasta aquí, por leerme y apoyarme. Espero que este post sea de tu agrado! -
- Gracias por haber llegado hasta aquí, por leerme y apoyarme. Espero que este post sea de tu agrado! -Thank you for making it this far, for reading and supporting me. I hope you like this post!
Texto traducido en deeLp/Text translated in deeLp
Primera y última imagen realizada en Canvas/First and last image made in Canvas
El resto de las imágenes fueron capturadas con mi teléfono Xiaomi Redmi Go/The rest of the images were captured with my Xiaomi Redmi Go phone.
Me gusto mucho tu post, sigue perseverando y pronto obtendrás tus frutos, tienen tus post buena presentación y se ven muy bien estructurados, el comienzo siempre es duro, te deseo muchos éxitos y sigue así,
@hernleon74 que alegría que te haya gustado mi post! Gracias por tu consejo, y por tus buenos deseos.