I am a coffee lover and occasional tea drinker, I love my mugs :) I wanted to find a cute way to display my favorite mugs and also clear out some cabinet space.
This is a quick day or two project that can add some fun and function to your space for very little money. I was able to make mine from things I had in my basement and new hooks ($7) Here is what you will need:
- a piece of wood (my boards are approx 6″x18″, can also be new wood if you prefer)
- newspaper or plastic
- paint
- paintbrush
- hooks (I used a pack of 6 from Walmart)
- screws
- drill
- sand paper (optional)
I had an old wood crate from my Grandma that I have been using in different ways over the years, but nothing seemed quite right so it ended up in our basement. I forgot to take a pic before I disassembled the crate but here is the pile of wood that came from it :).
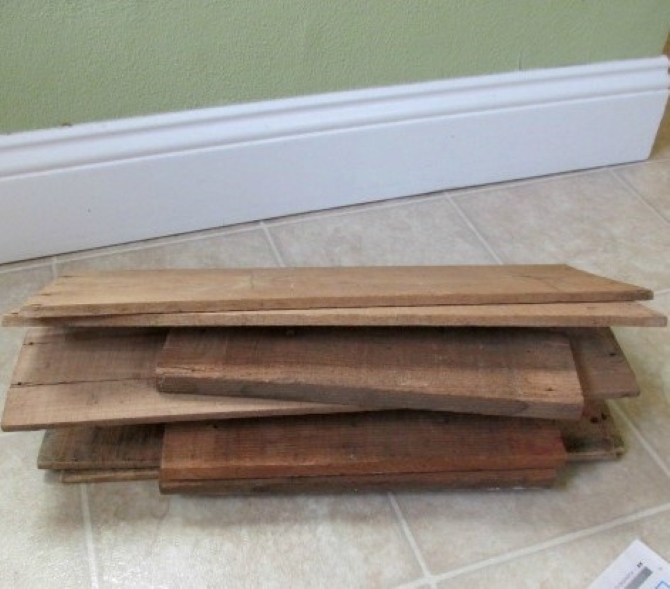
When I started brainstorming for this project I remembered this old crate and began measuring to see if I could make any pieces work. The longest boards were a perfect size! (6″x18″) This was a great money saver for me :)
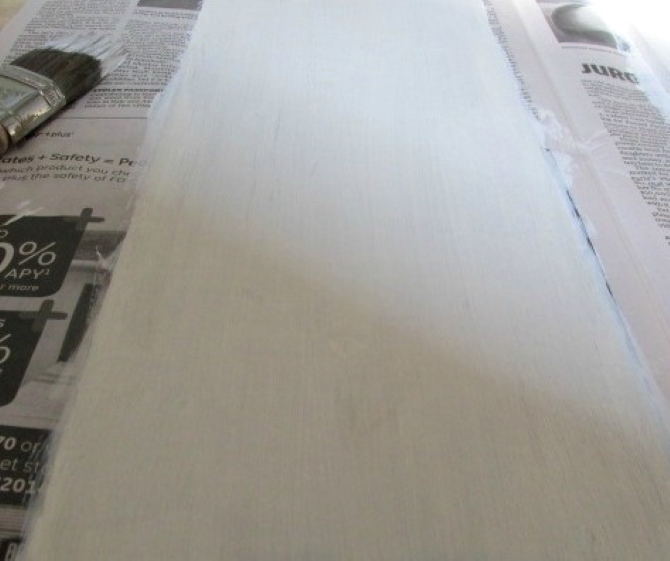
I laid newspaper under my boards and used a white paint we had from another project. I chose white because my favorite mugs are multicolored and I wanted them to stand out. But you can choose any color that suits you :)
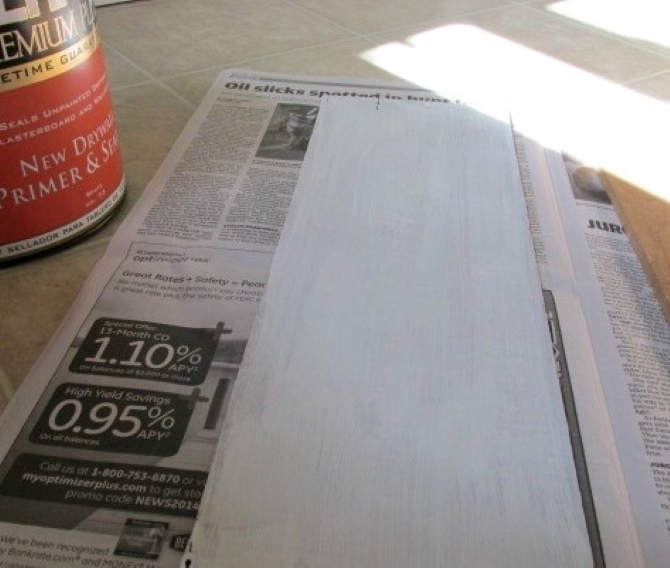
I used 3 coats of paint (letting the paint dry between coats) because of the light color and because my paint didn’t cover well (don’t forget the edges!) One tip my husband shared with me, after my mistake, is don’t let the wet board dry on the newspaper, it will stick! You can prop it up on spare boards before you start painting (as shown in the next pic) or just lift it off the newspaper before the paint starts to dry.
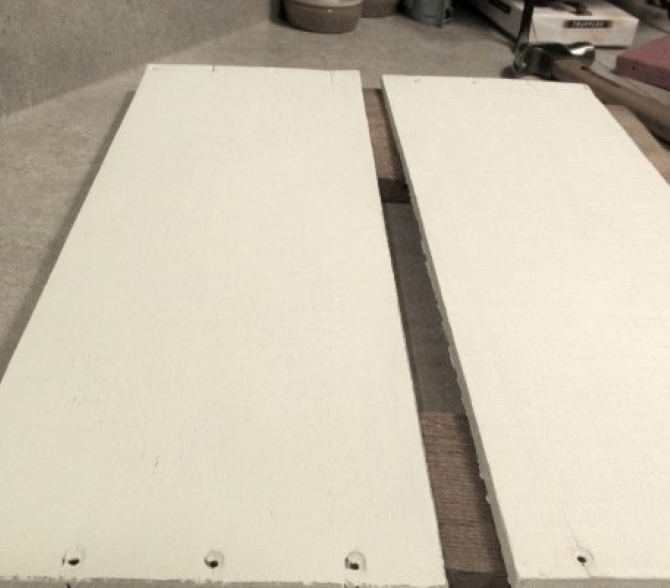
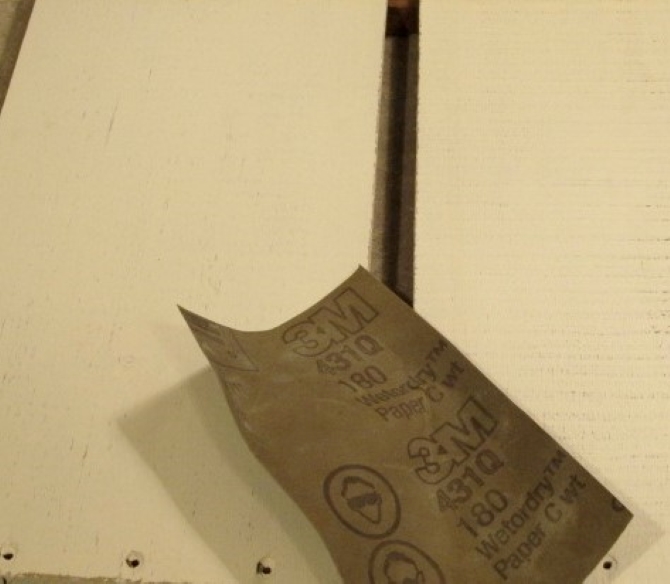
Next, I propped my dry boards on spare boards and lightly sanded the edges and top so my boards had a slightly distressed look. You can skip this step if you prefer a more fresh or modern look. I apologize for the lighting on these last pics, I decided to finish the project after my kids went to bed so the natural light was no longer an option.
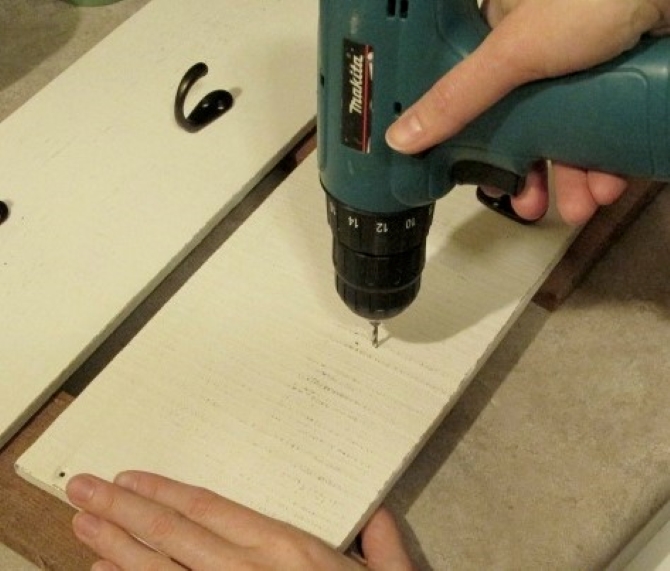
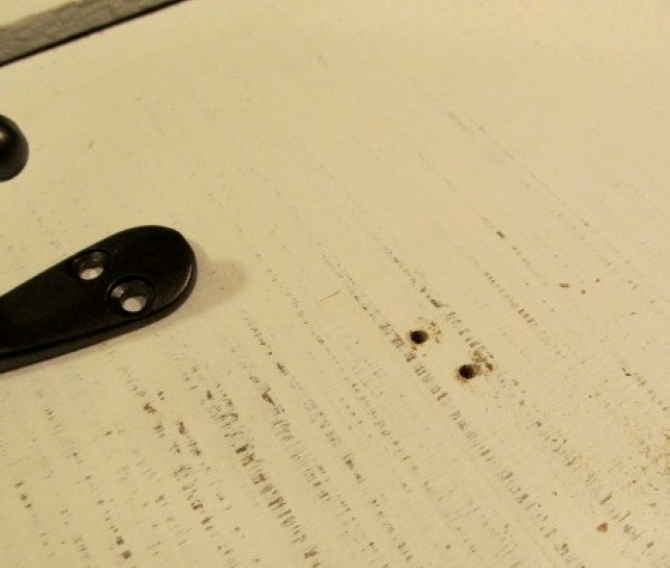
Under the very close watch of my husband, I measured, to make sure my mugs would fit nicely, and drilled holes for my mug hooks. TIP: Keep your boards propped up, you do not want to accidentally drill a hole through your counter :)
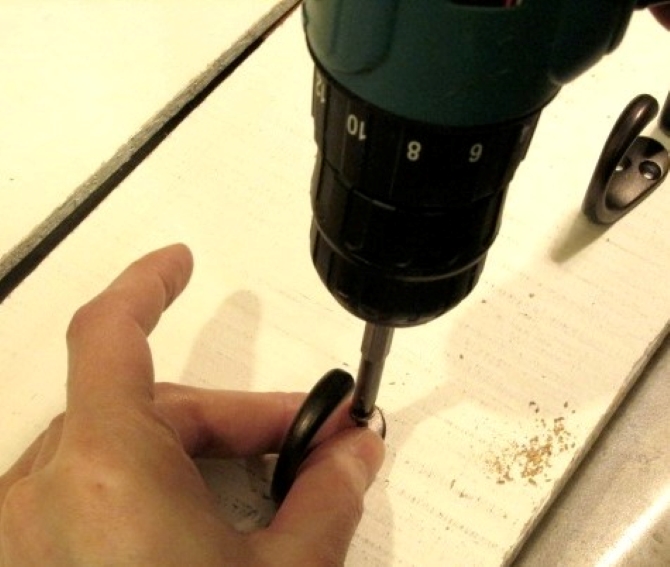
Then line the holes in your hooks with the holes you drilled in the board and screw in the screws. (You can see my distressing a little better in these pics as well).
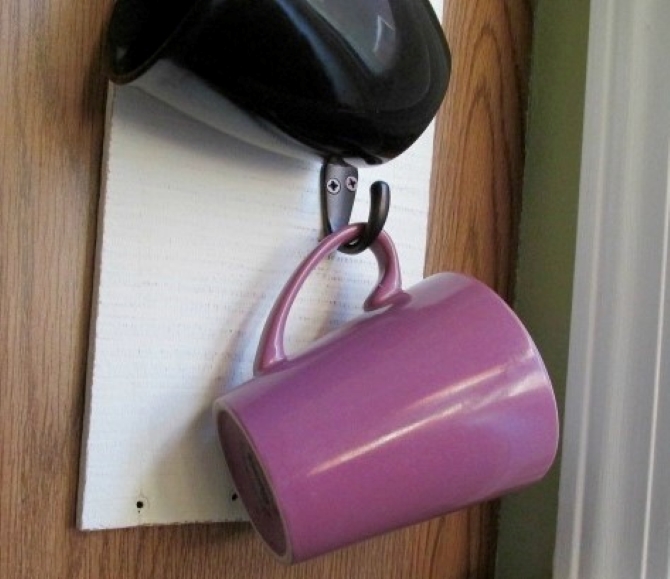
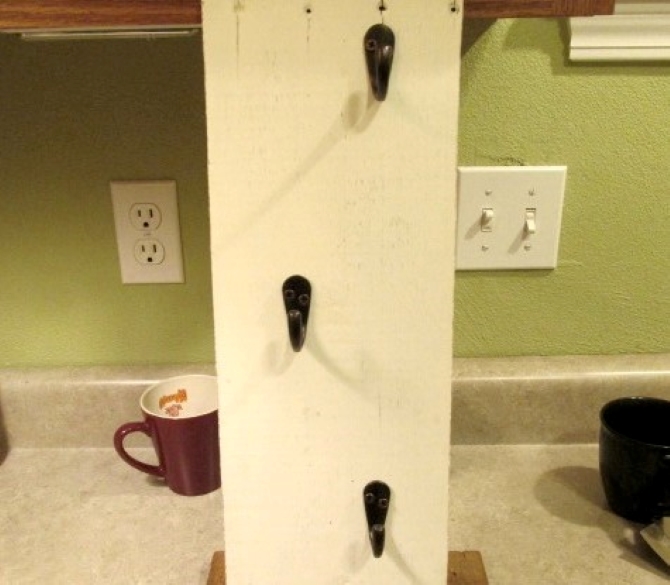
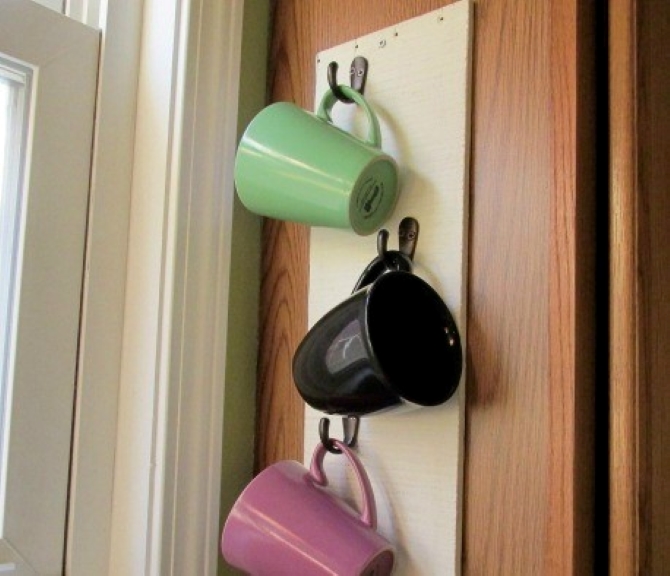
TADA! You have a beautiful new place to hang your mugs!
I left it to my husband to screw the finished boards onto our cabinets and he was happy to take his drill back :)
I love how this piece turned out and that I was able to use things I already had to create something new! Thanks for letting me share and I would love to see how your DIY pieces look.
Hive Community Page This article will be passed to other curation projects for more votes support. Keep up the good works!Hi @lett ! Thank you for posting through our
Congratulations @lett! You have completed the following achievement on the Hive blockchain and have been rewarded with new badge(s) :
You can view your badges on your board and compare yourself to others in the Ranking
If you no longer want to receive notifications, reply to this comment with the word
STOPDo not miss the last post from @hivebuzz:
Cool, I like the distressing effect!
Very smart and innovative! Perfect for mug collectors or those who have some wonderful mugs that deserve more exposure instead of leaving them locked down on a shelf.