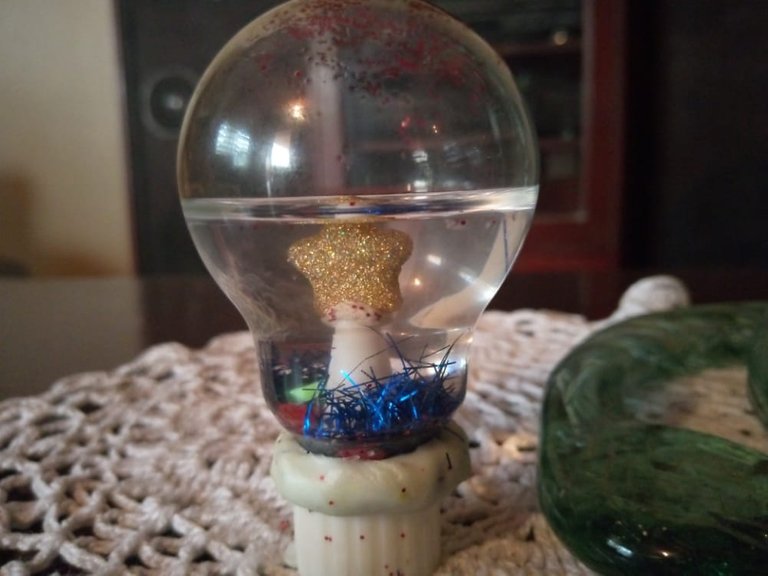
Un saludo a esta gran colmena, hoy quería hacer alguna manualidad y me puse a pensar que podría hacer en ese momento recordé que se había quemado el bombillo del cuarto por una baja de luz jajaja. Me pregunte si esos bombillos amarillos se podían destapar y pues lo intente busque un cuchillo, una tijera algo con punta para ir aflojando los lados sin partir el bombillo con mucho cuidado.
Greetings to this great hive, today I wanted to do some crafts and I started thinking about what I could do at that moment I remembered that the light bulb in the room had burned out because of a low light hahaha. I wondered if those yellow bulbs could be uncovered and I tried to find a knife, a scissors, something with a point to loosen the sides without breaking the bulb carefully.
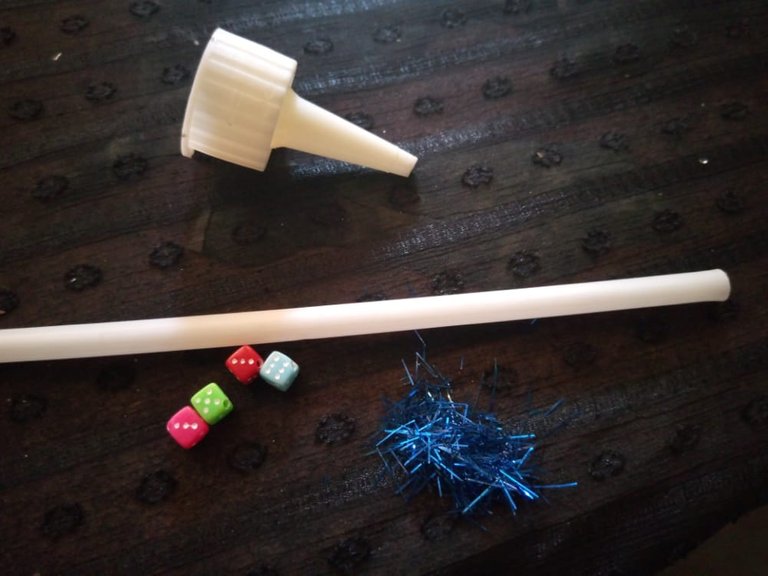
Los materiales a usar fueron:
• Bombillo amarrillo.
• Cuchillo.
• Tijera.
• Escarcha.
• Tornillo mediano.
• Cualquier adorno pequeño que pueda entrar en el bombillo. En mi caso use unos 4 dados y una estrella.
• Tapa de un silicón pequeño o una tapa de refresco.
• Silicón en barra, pero use fue pega blanca muy espeja.
• Agua.
The materials to use were:
- Yellow bulb.
- Knife.
- Scissors.
- Frosting.
- Medium screw.
- Any small ornament that can fit into the bulb. In my case I used about 4 dice and a star.
- Lid of a small silicone or soda cap.
- Silicone glue stick, but I used very mirror white glue.
- Water.
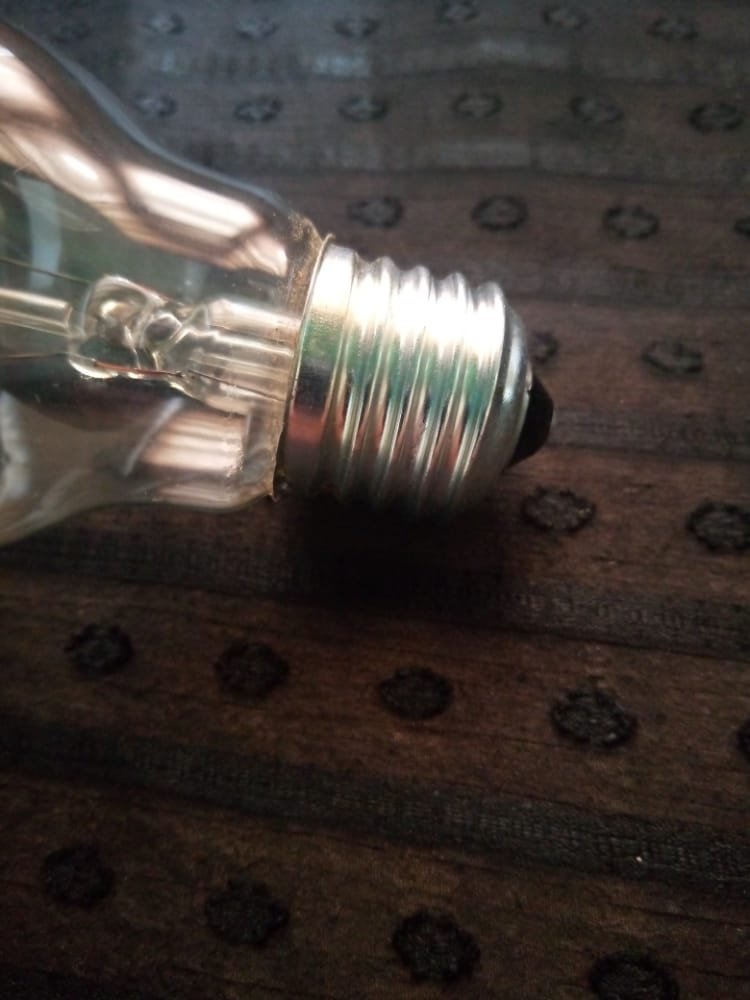
Paso 1
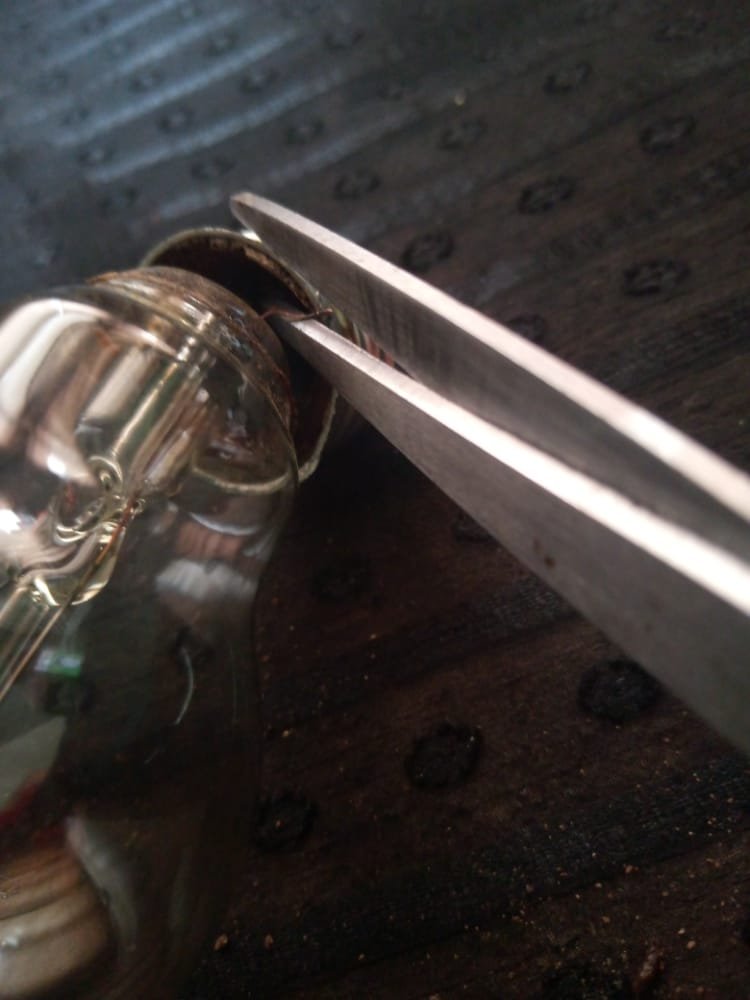
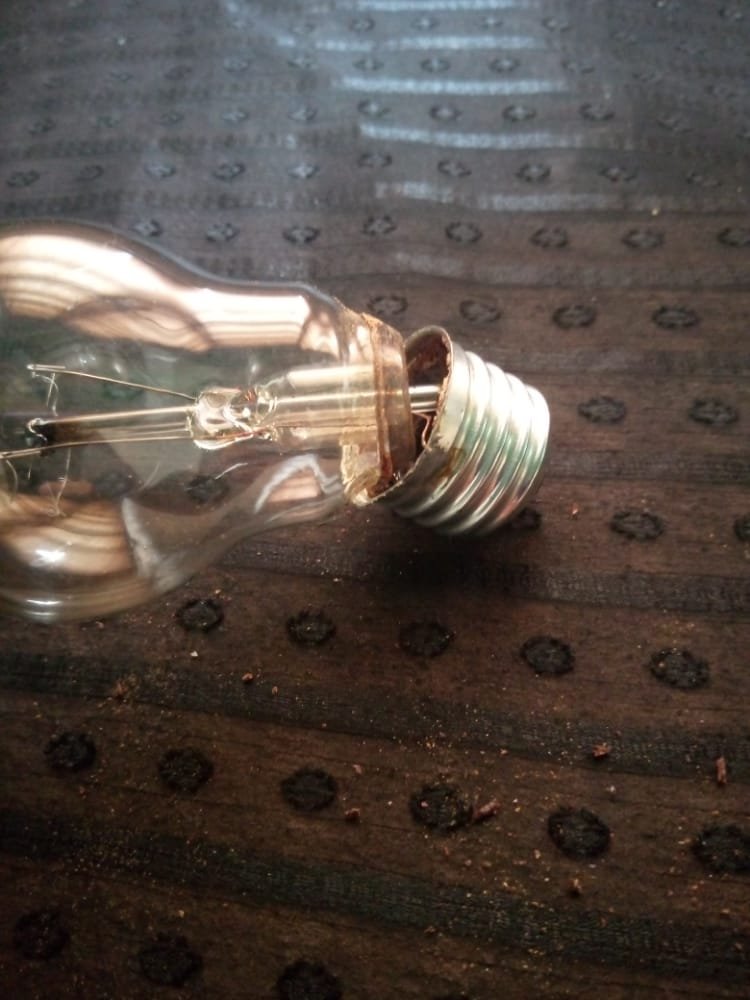
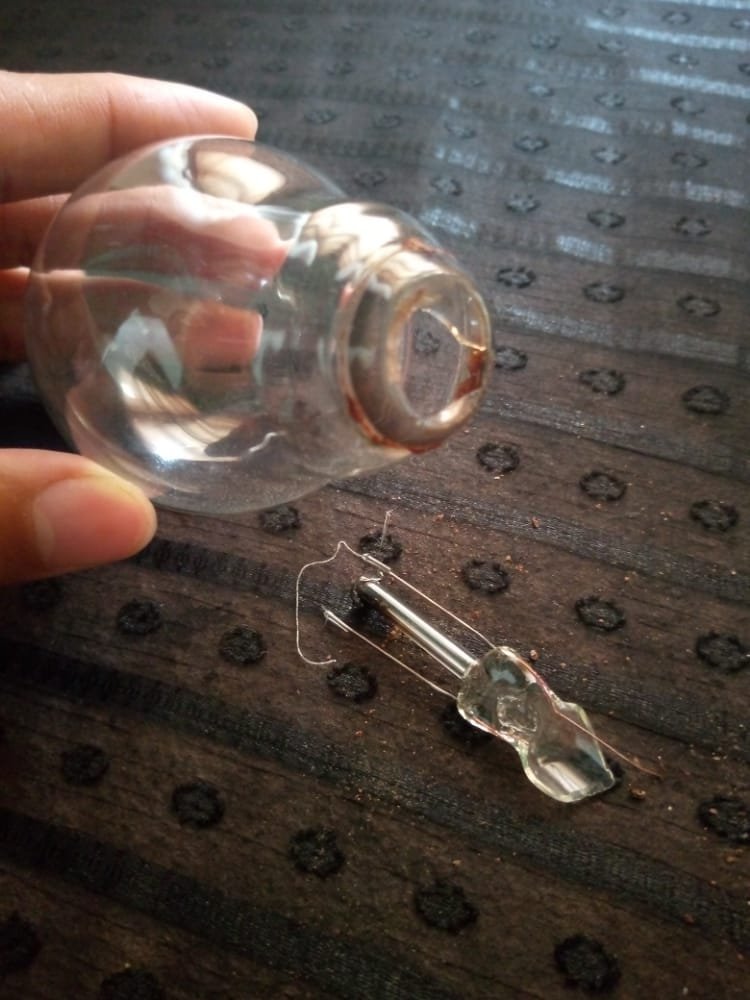
Con el cuchillo afloje la parte metálica del bombillo con mucha delicadeza, con las tijeras corte las dos tiras de cobre que están por dentro. Seguido de eso con el tornillo hice movimientos circulares para romper el vidrio y sacar lo de que tiene por dentro del bombillo para luego lavarlo.
Step 1
With the knife I loosen the metal part of the bulb very delicately, with the scissors I cut the two copper strips that are inside. After that with the screw I made circular movements to break the glass and take out the inside of the bulb to wash it later.
Paso 2
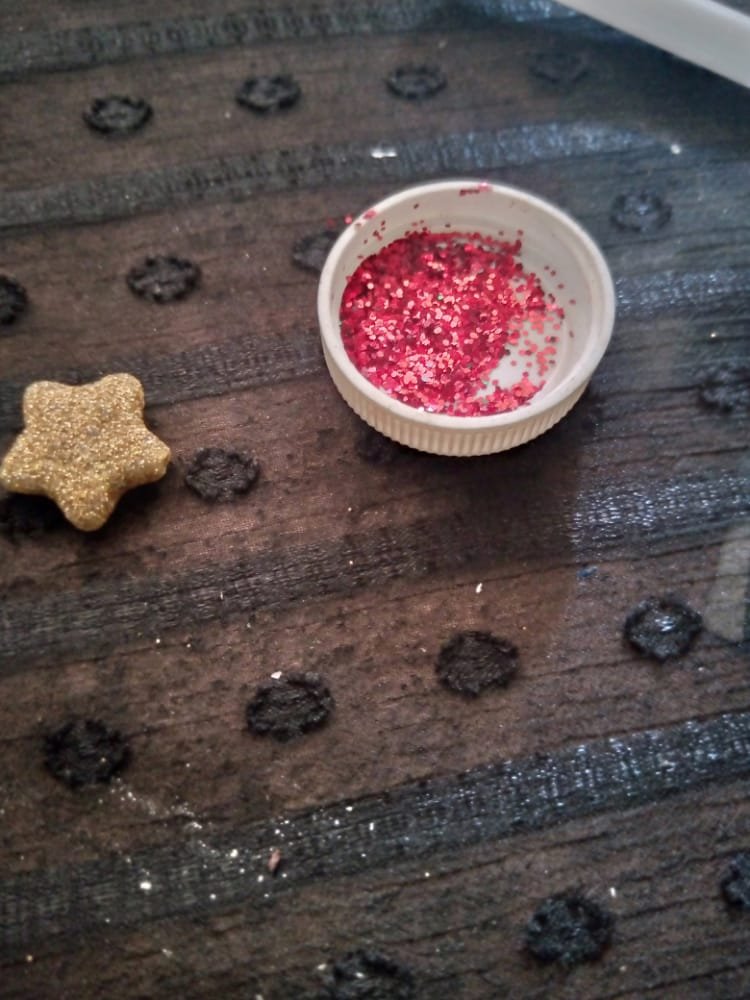
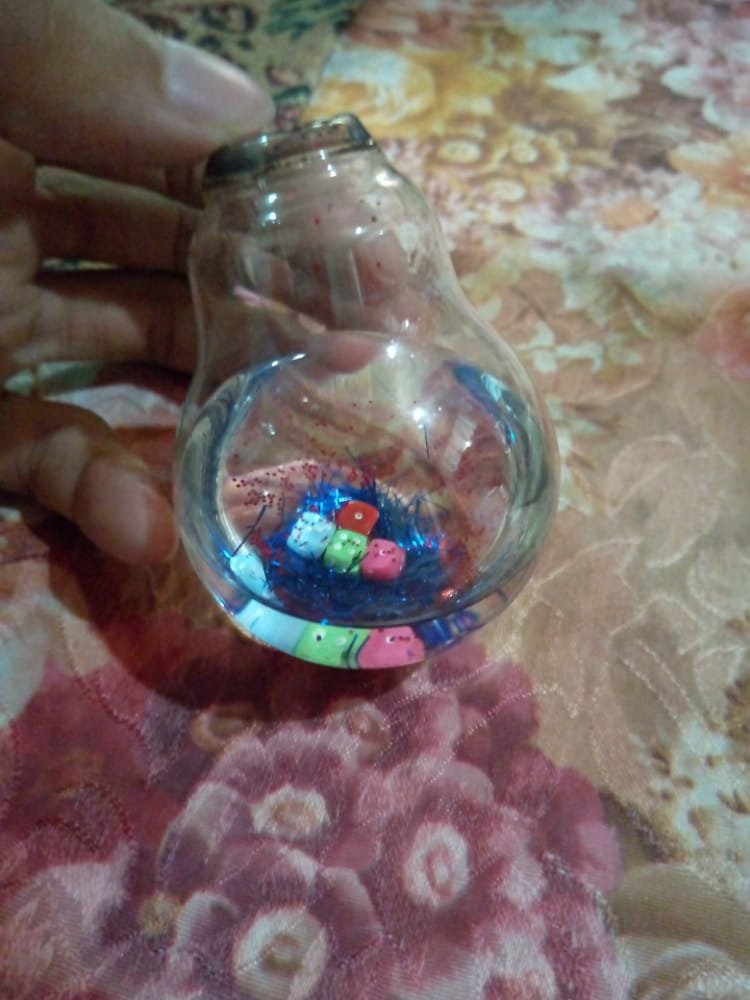
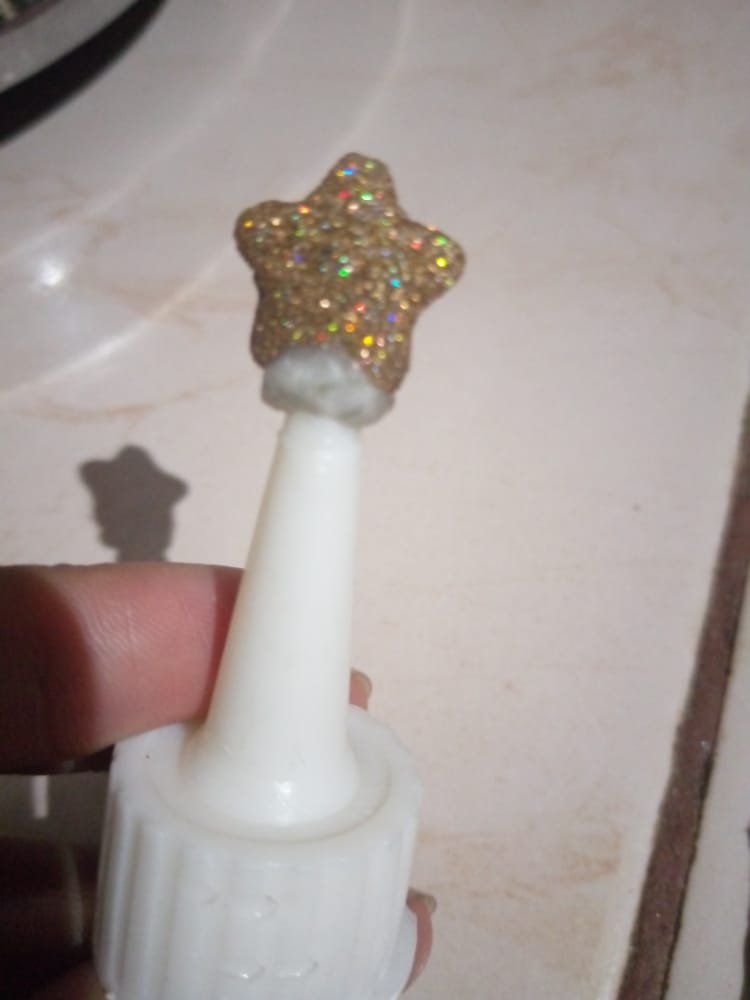
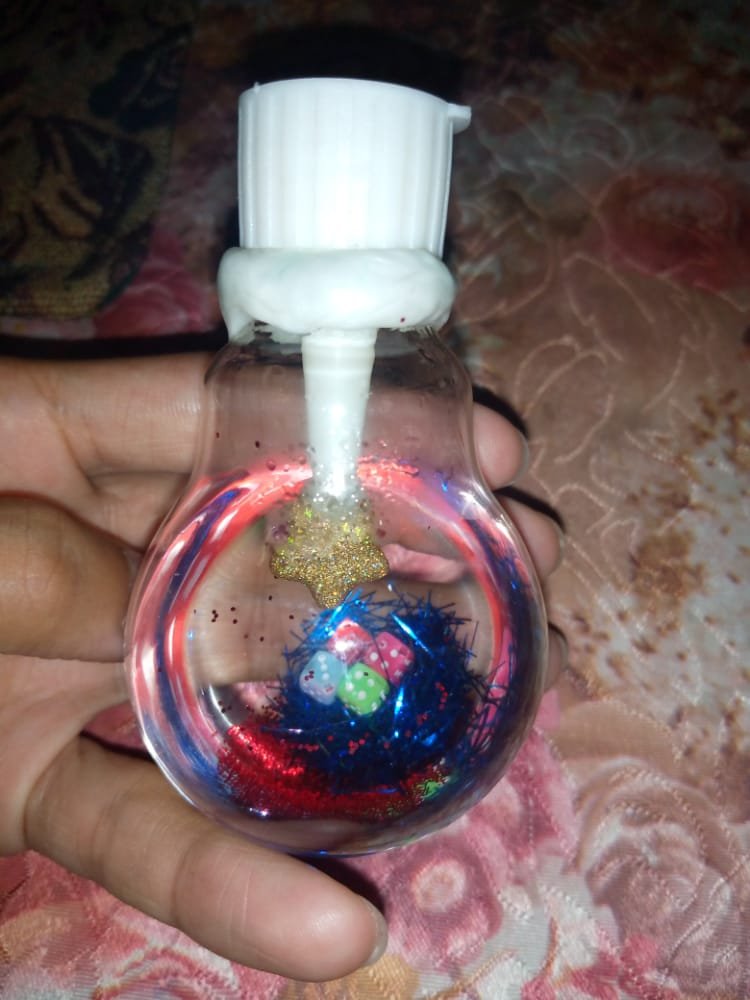
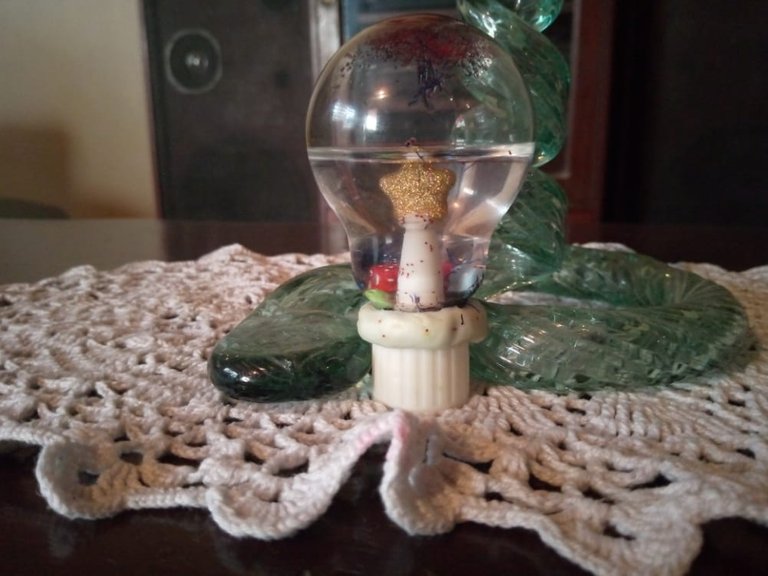
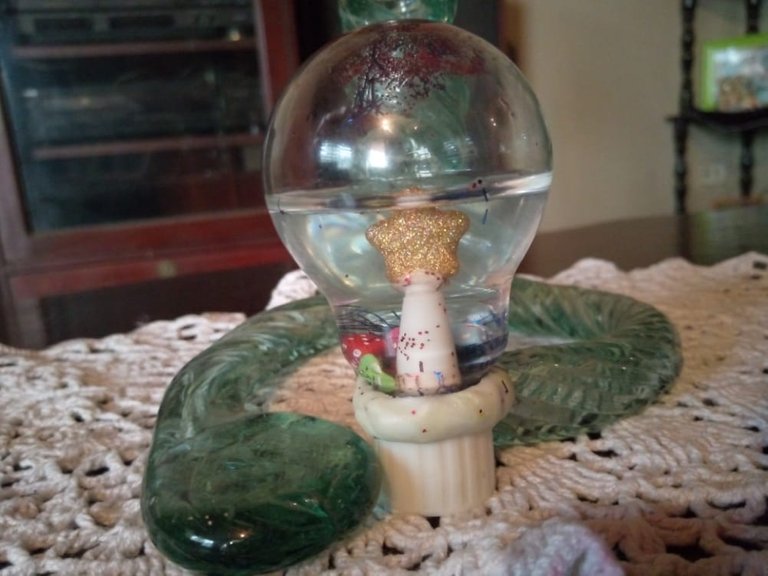
Agregamos la escarcha y los adornos al bombillo, tomo la tapa del silicón y le pegue una pequeña estrella la deje secar luego de eso al bombillo le agregamos agua no mucha, introducimos la tapa del silicón y sellamos con el silicón para que no haya ningún derrame.
Step 2
Add the frost and decorations to the bulb, take the silicone cap and stick a small star and let it dry after that to the bulb we add water not much, we introduce the silicone cap and sealed with silicone so there is no spill.
Bueno amigos eso es todo espero sea de interés para ustedes un pequeño adorno, muchas gracias por ver mi post, que estén muy bien.
Toda la traducción fue hecha por la pagina Deepl en su (versión gratuita).
Well friends that's all I hope it is of interest to you a small ornament, thank you very much for seeing my post, be very well.
Translated with www.DeepL.com/Translator (free version).
Congratulations @lgrr2002! You have completed the following achievement on the Hive blockchain and have been rewarded with new badge(s) :
Your next target is to reach 100 replies.
You can view your badges on your board and compare yourself to others in the Ranking
If you no longer want to receive notifications, reply to this comment with the word
STOPThank you for sharing this amazing post on HIVE!
non-profit curation initiative!Your content got selected by our fellow curator @rezoanulvibes & you just received a little thank you via an upvote from our
You will be featured in one of our recurring curation compilations and on our pinterest boards! Both are aiming to offer you a stage to widen your audience within and outside of the DIY scene of hive.
Join the official DIYHub community on HIVE and show us more of your amazing work and feel free to connect with us and other DIYers via our discord server: https://discord.gg/mY5uCfQ !
If you want to support our goal to motivate other DIY/art/music/homesteading/... creators just delegate to us and earn 100% of your curation rewards!
Stay creative & hive on!
Thank you very much for letting me share this little creation with all of you.