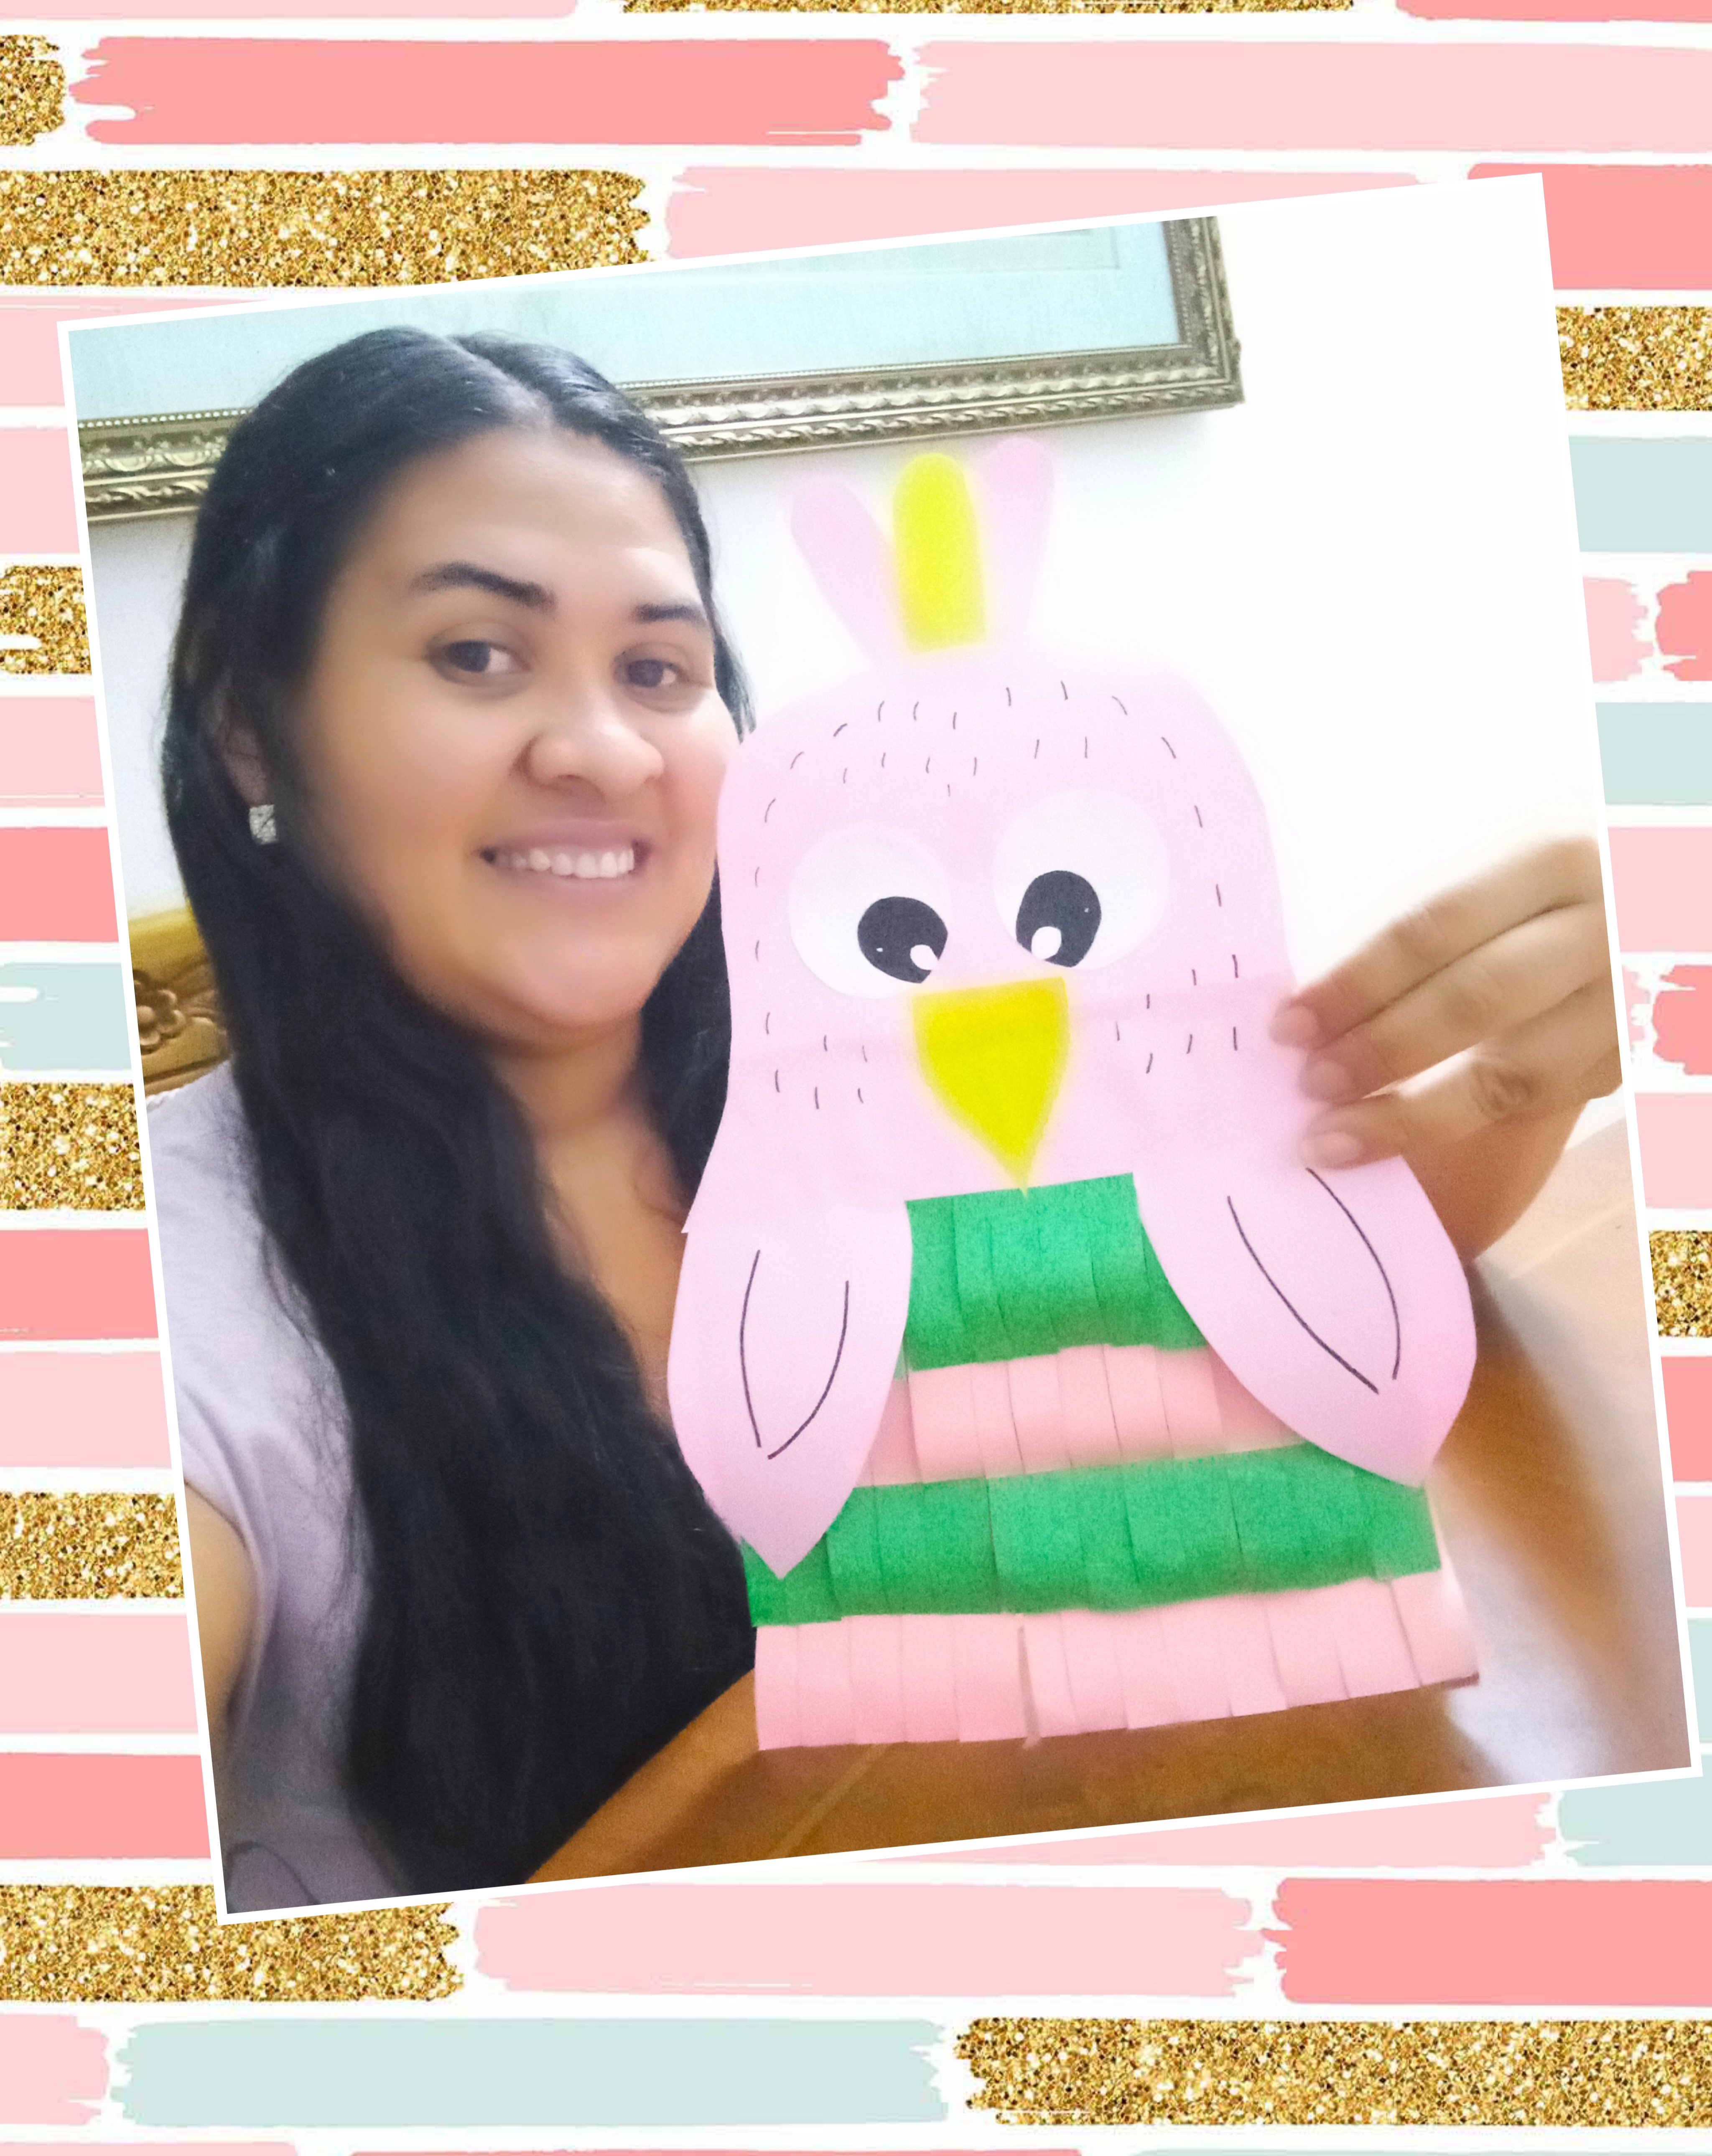
Buenas noches a toda mi querida comunidad, la noche de hoy les compartire la elaboración de un lindo búho Decorativo para el cuarto de nuestros hijos.
Acompáñame hasta el final y veraz!!
Good evening to all my dear community, tonight I will share with you the elaboration of a cute Decorative owl for our children's room.
Join me until the end and truthful !!
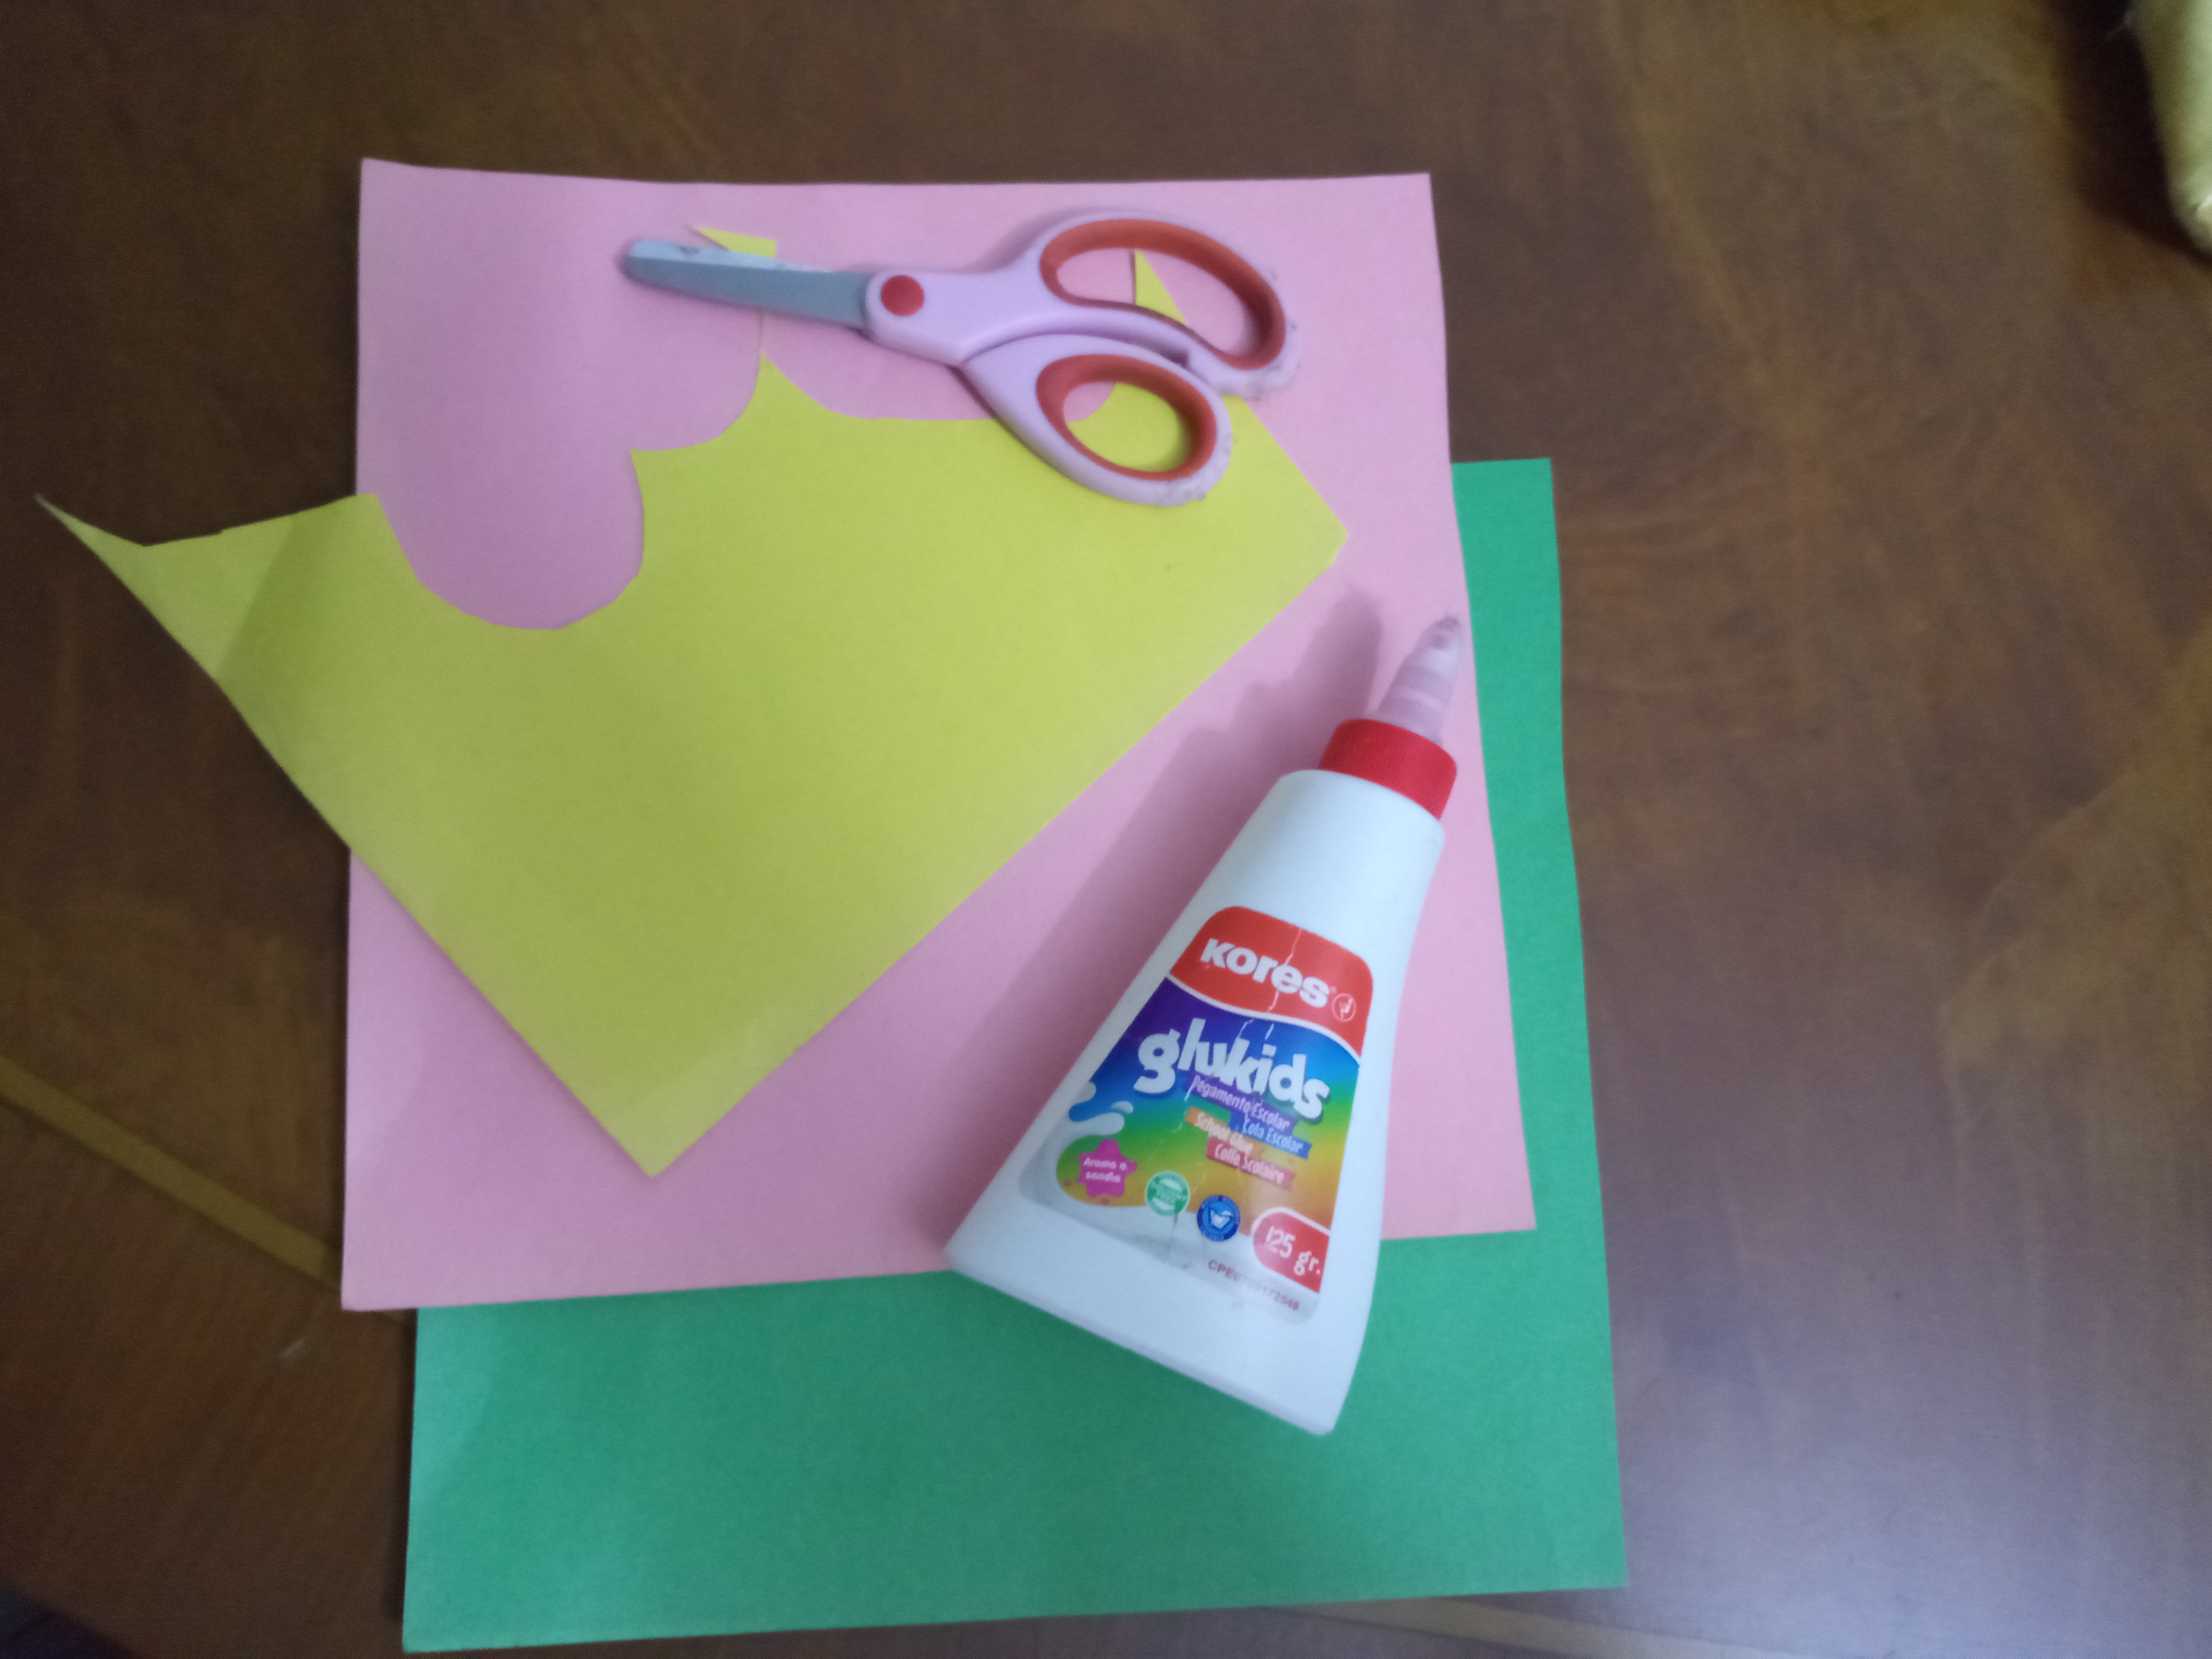
QUE UTILICE?
- Cartulina de colores
- Tijera
- Pega
- Marcador
WHAT DO I USE?
- Colour cardboard
- Scissor
- Job
- Marker
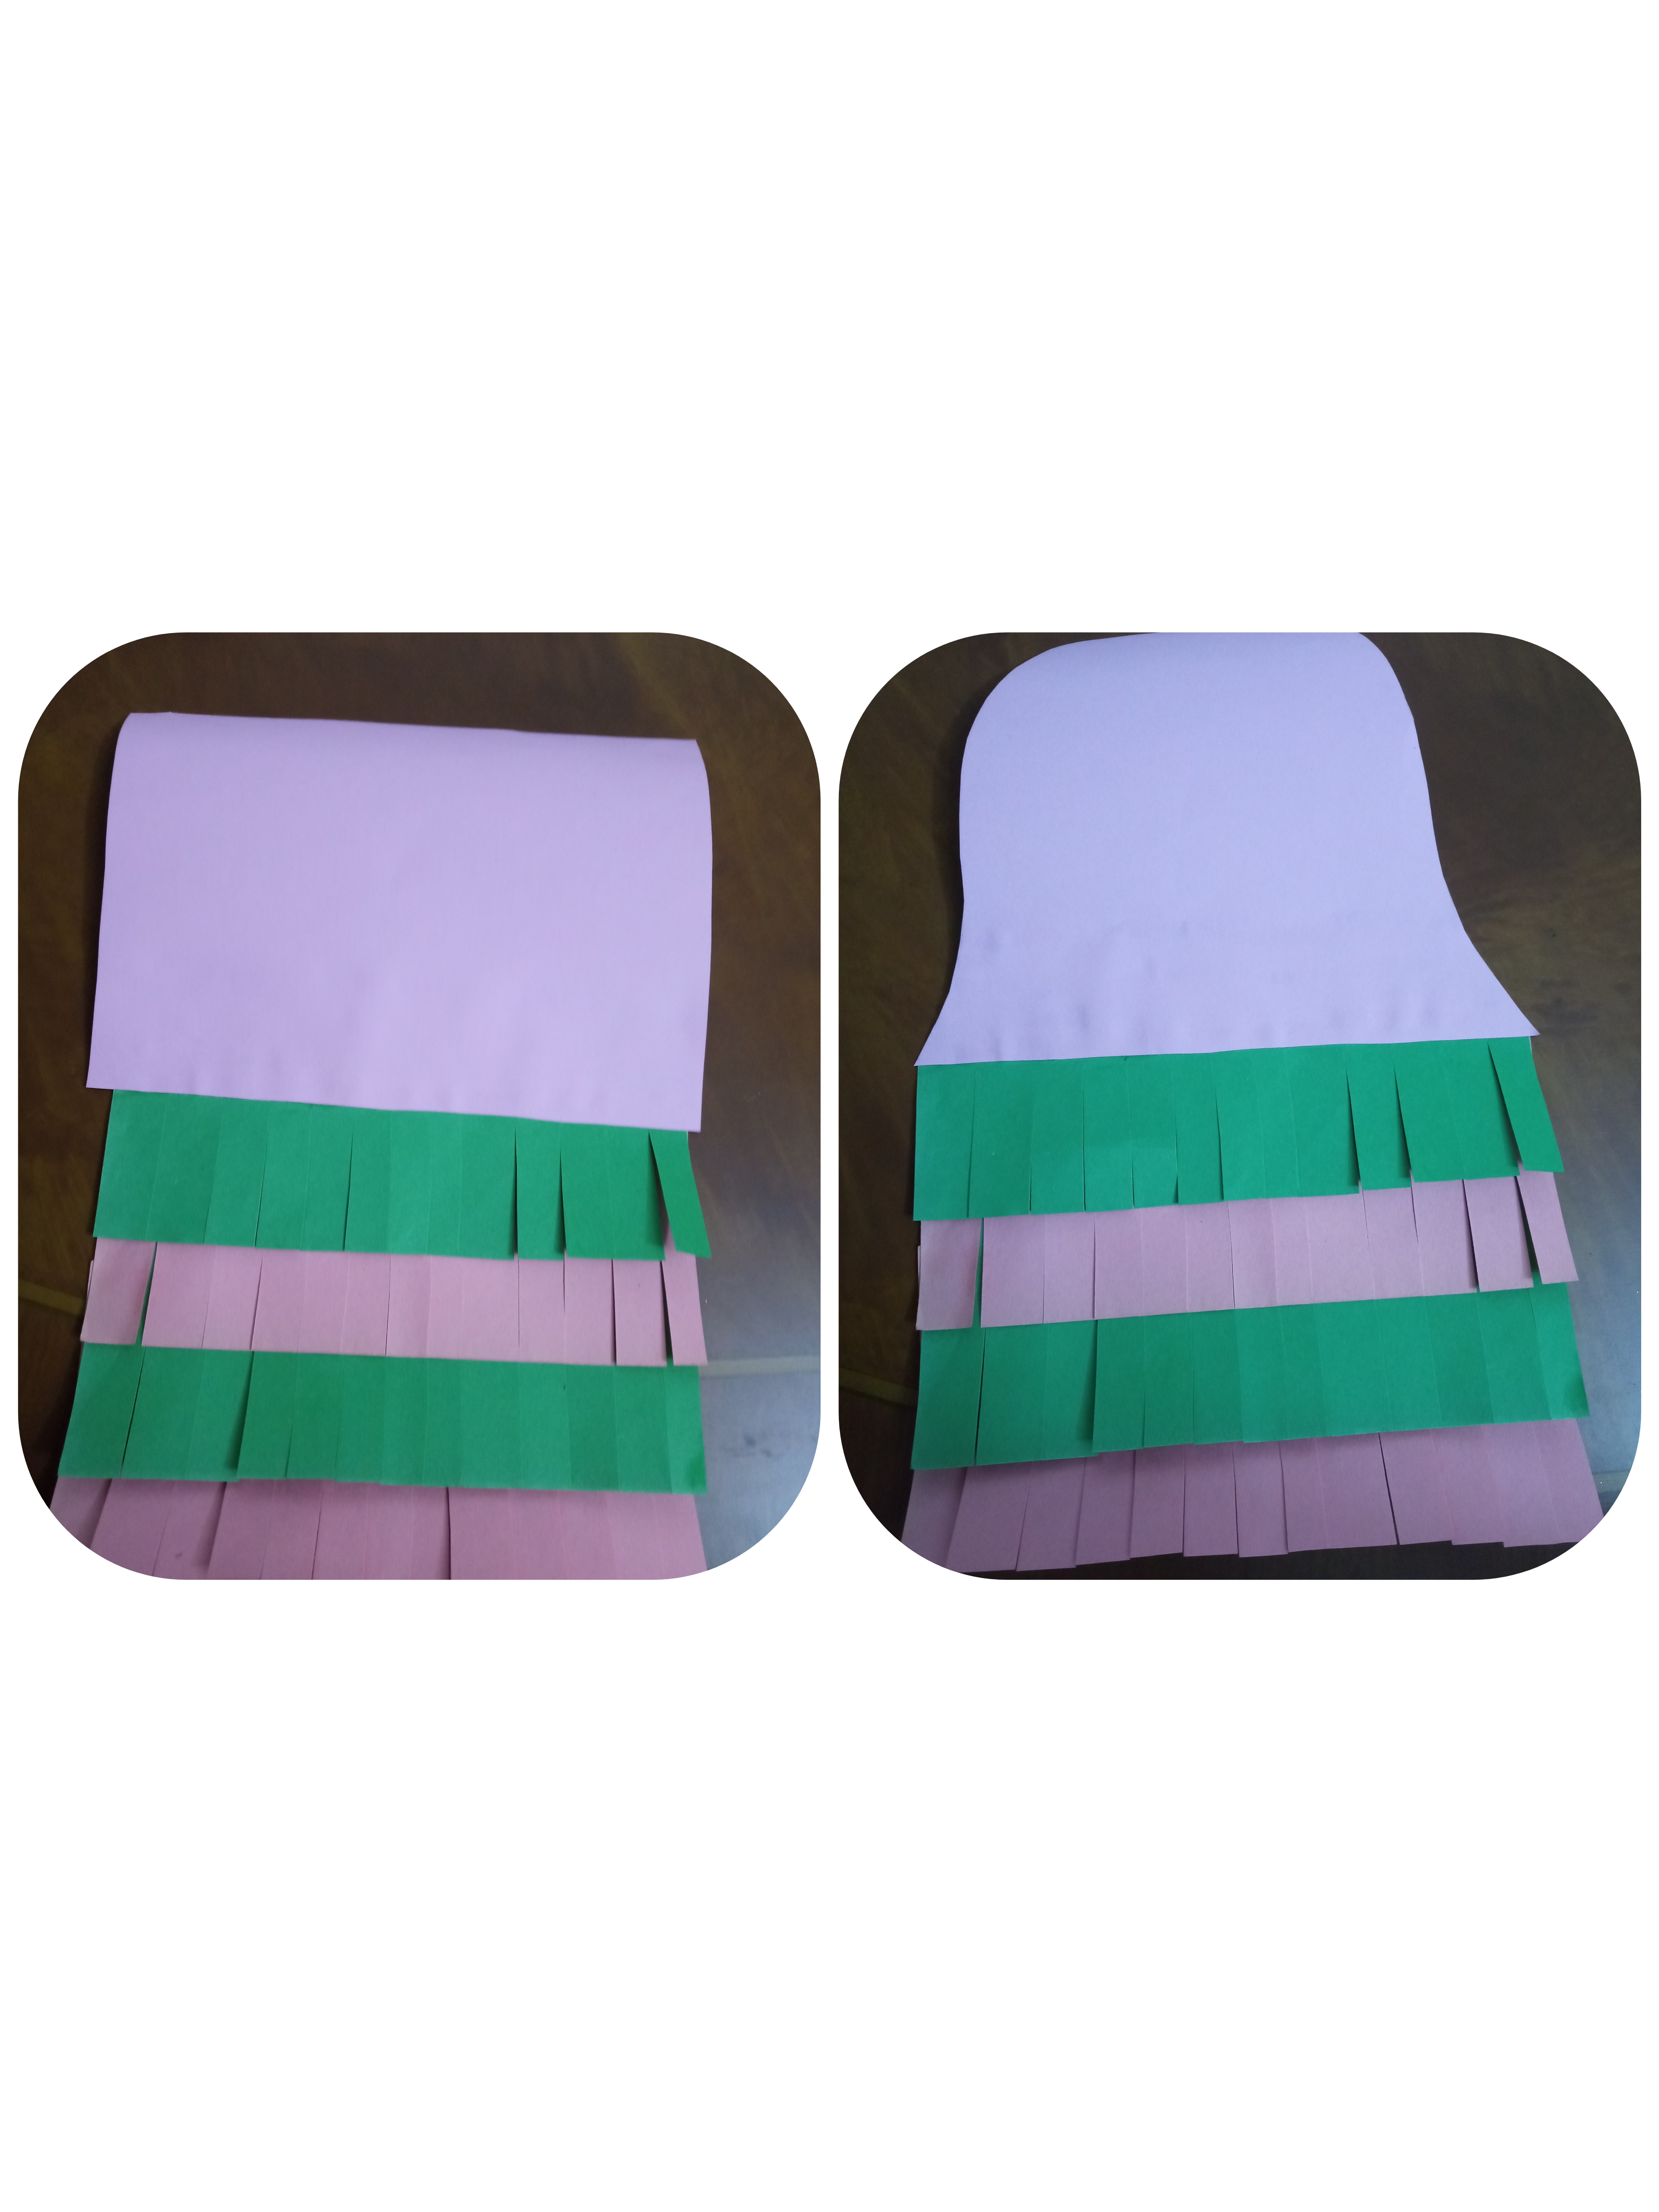
Paso a paso
Paso 1
Lo primero haremos es cortar a la mitad las cartulinas tamaño carta y luego doblarlas nuevamente a la mitad.
Step by Step
Step 1
The first thing we will do is cut the letter-size cards in half and then fold them in half again.
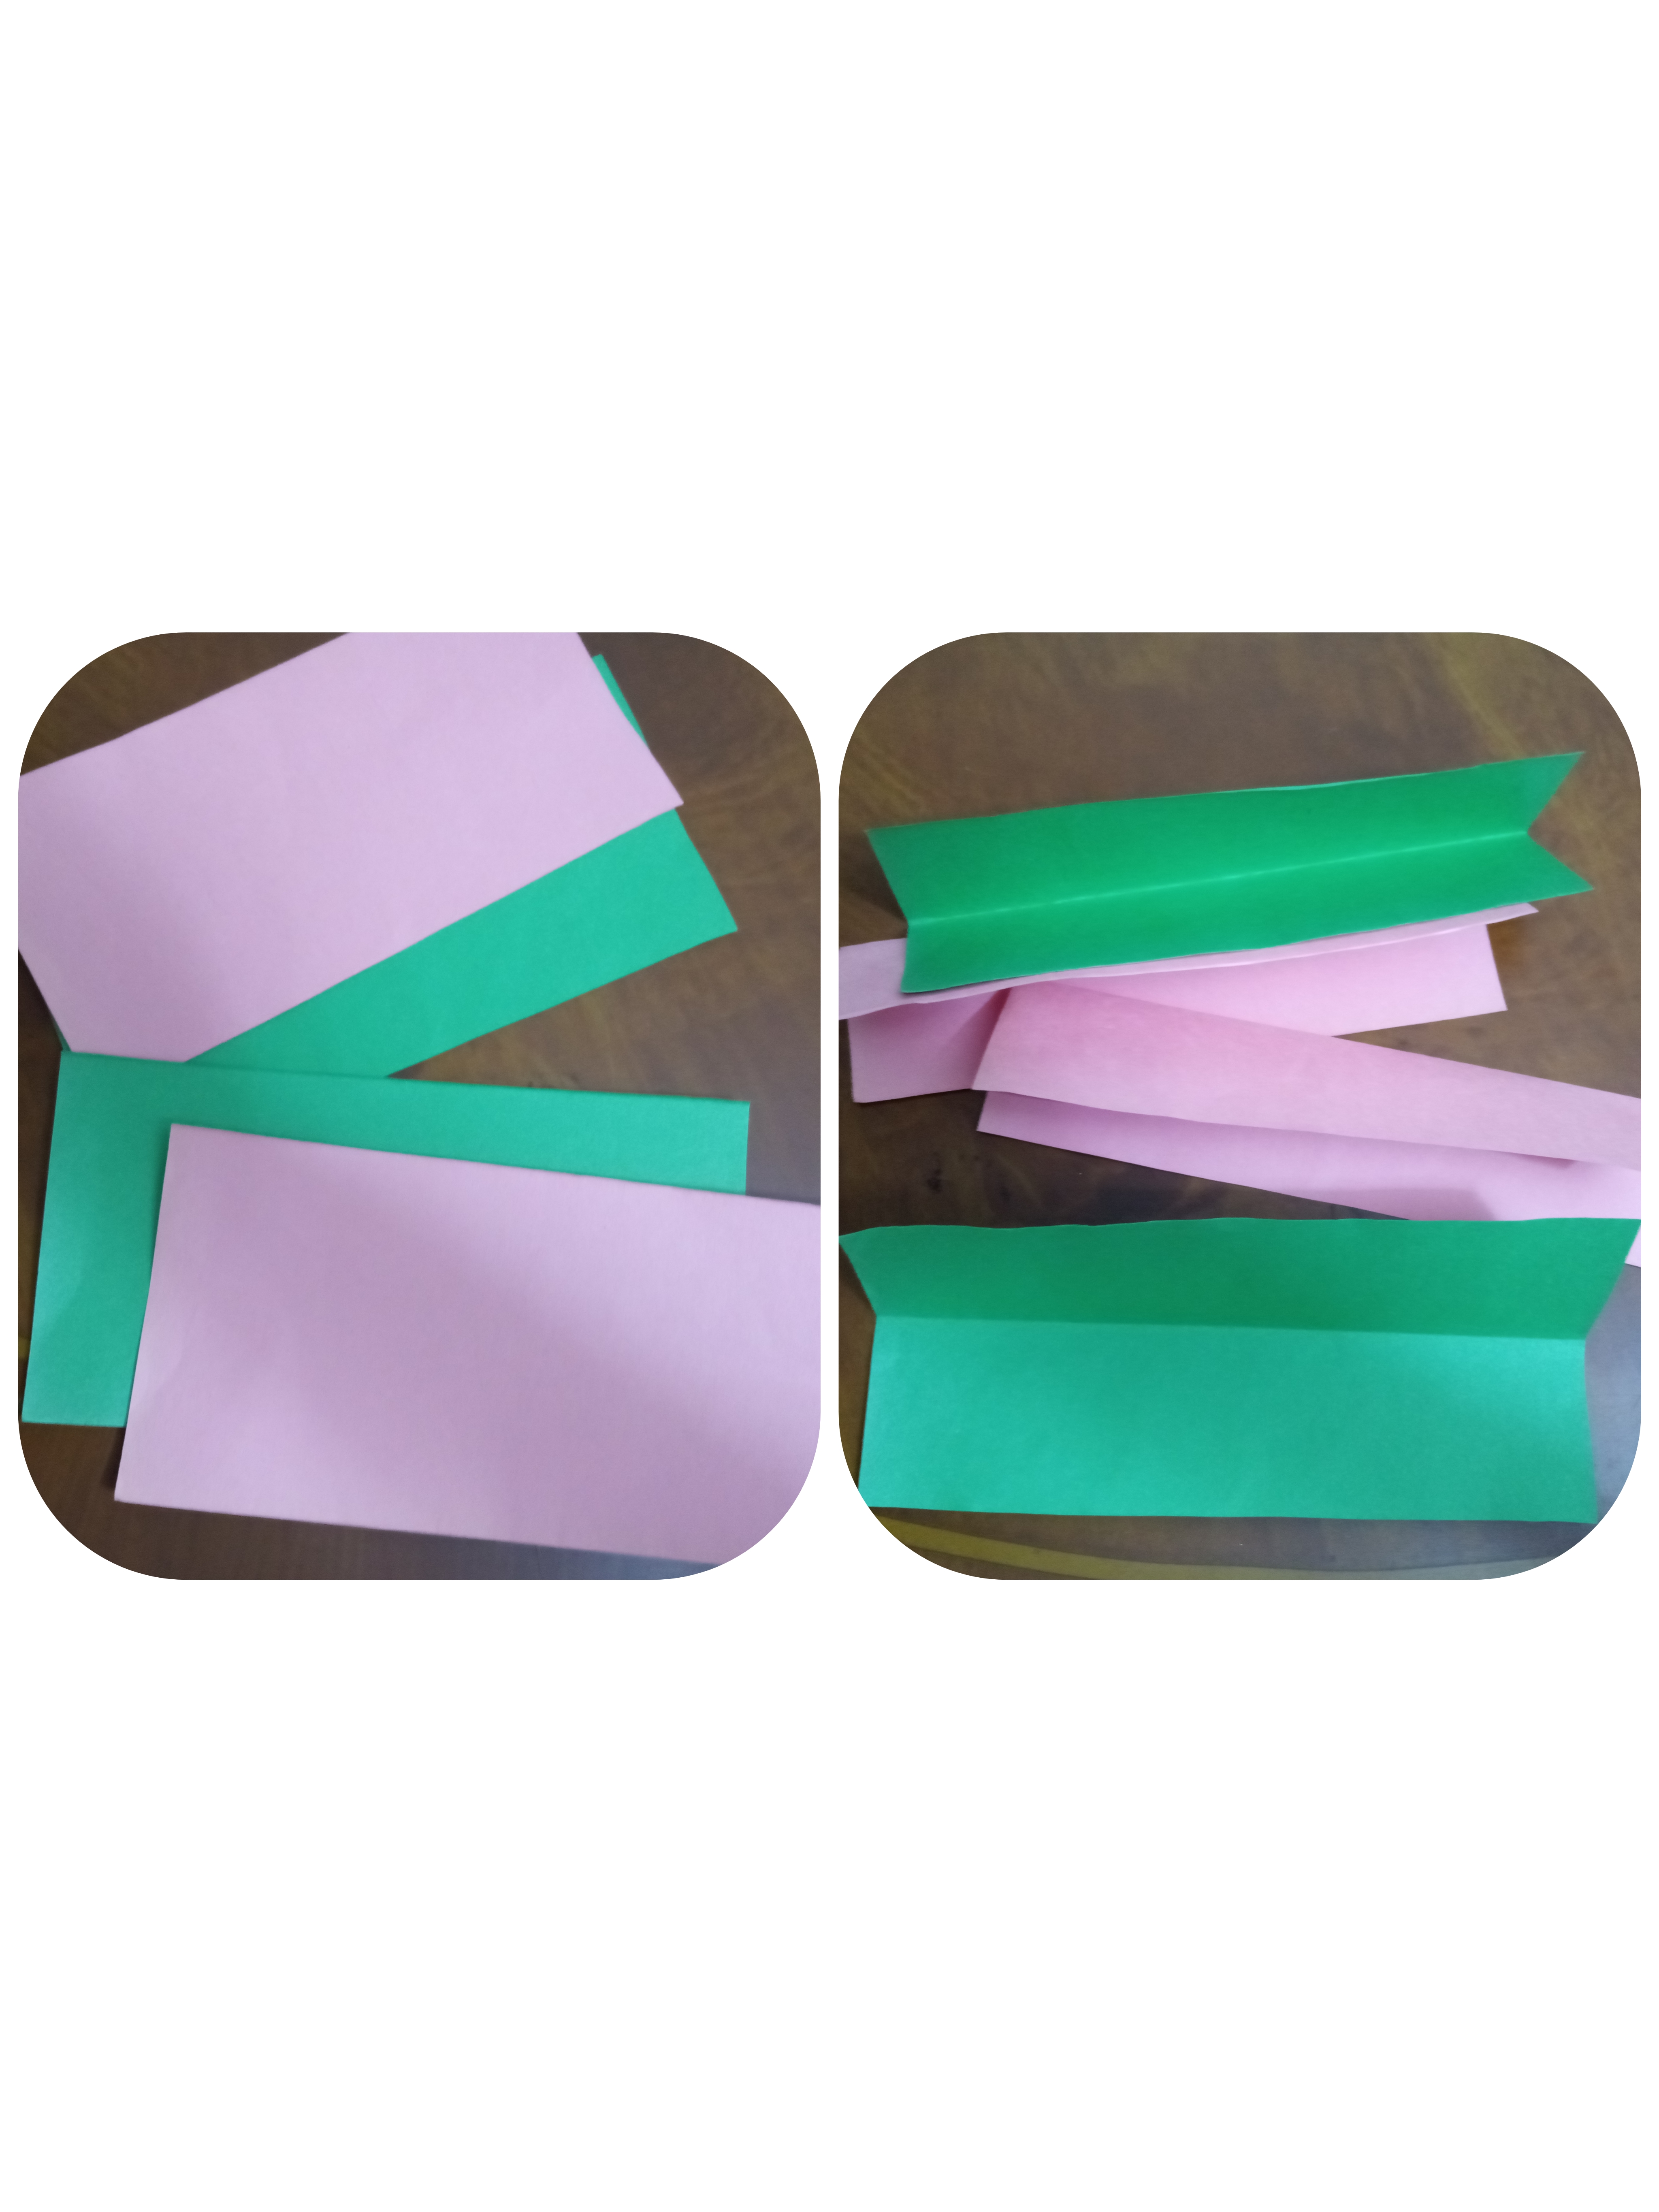
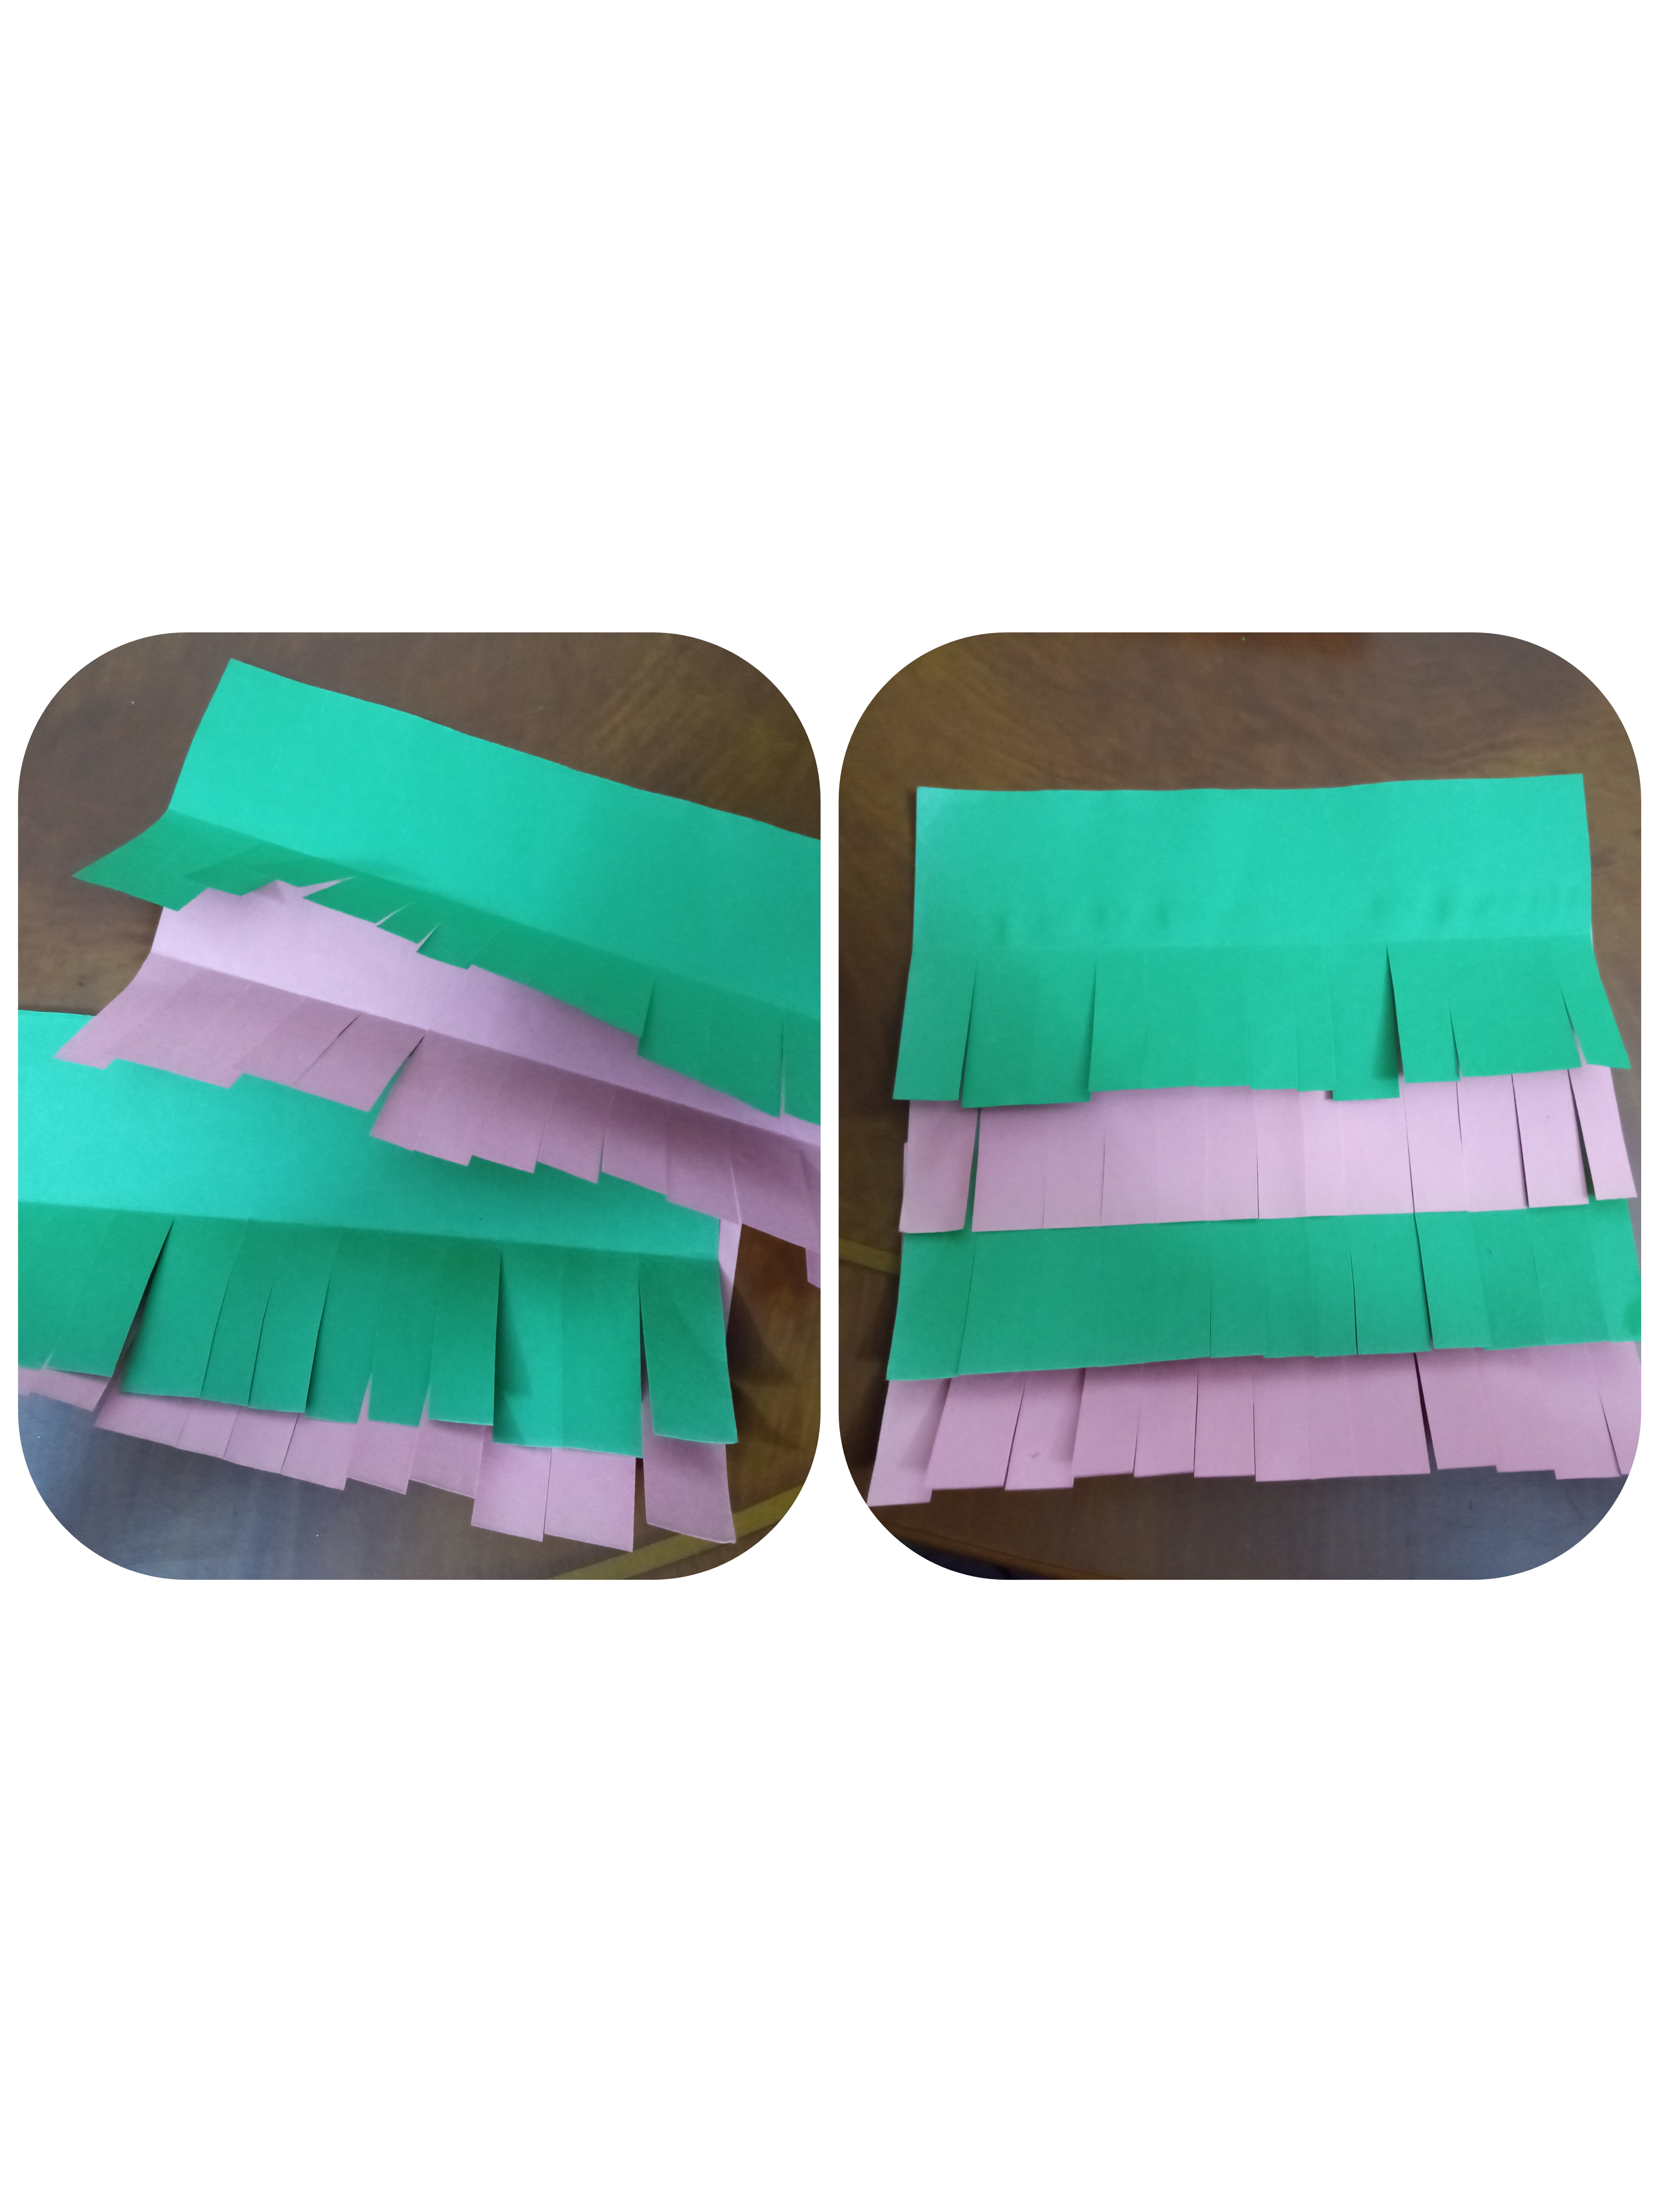
Paso 2
Cortamos varios trazos de la cartulina que tenemos doblada y empezamos a pegar una arriba de la otra.
Step 2
We cut several strokes of the cardboard that we have folded and we begin to glue one on top of the other.
Paso 3
Luego tomamos la mitad de otra cartulina y la pegamos en la parte superior, con una tijera damos forma a la cabeza.
Step 3
Then we take half of another cardboard and glue it on top, with a scissors we shape the head.
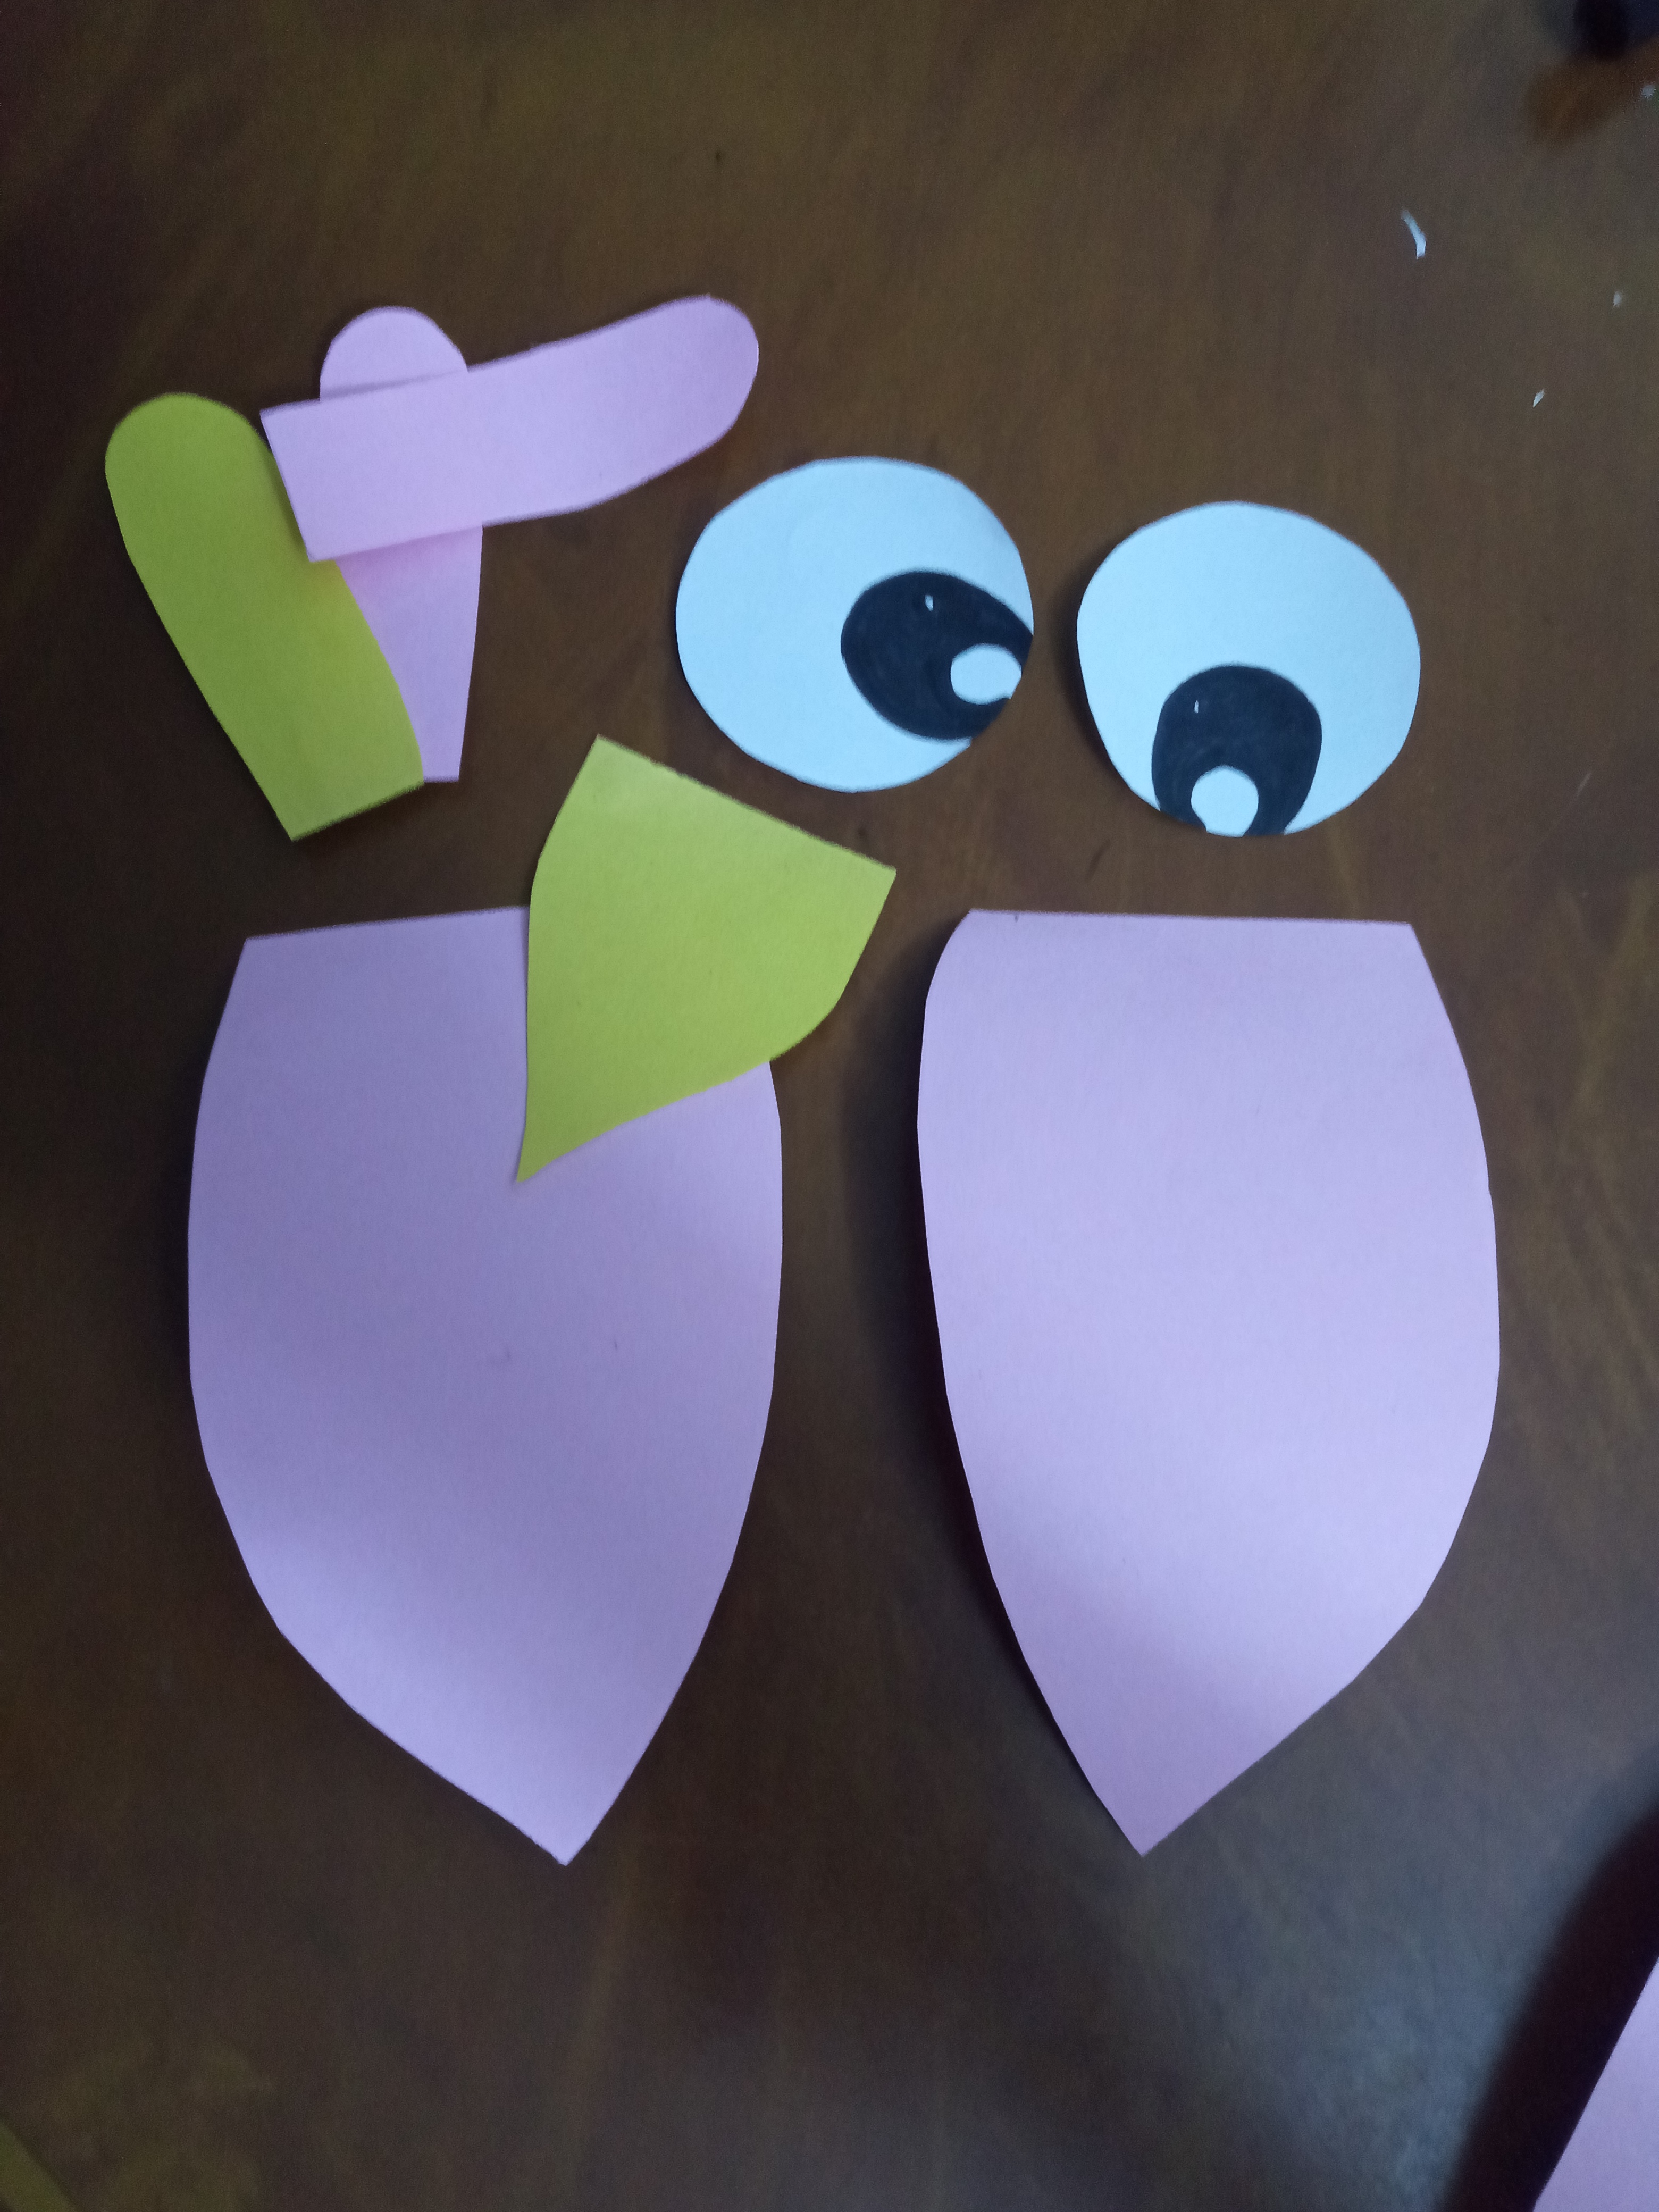
Paso 4
Para finalizar pegamos los ojos que los elabore con hoja blanca y marcador, las alas y las plumas de la cabeza. Luego damos los últimos detalles con marcador.
Step 4
Finally, we glue the eyes that I made with a white sheet and marker, the wings and the feathers of the head. Then we give the last details with the marker.
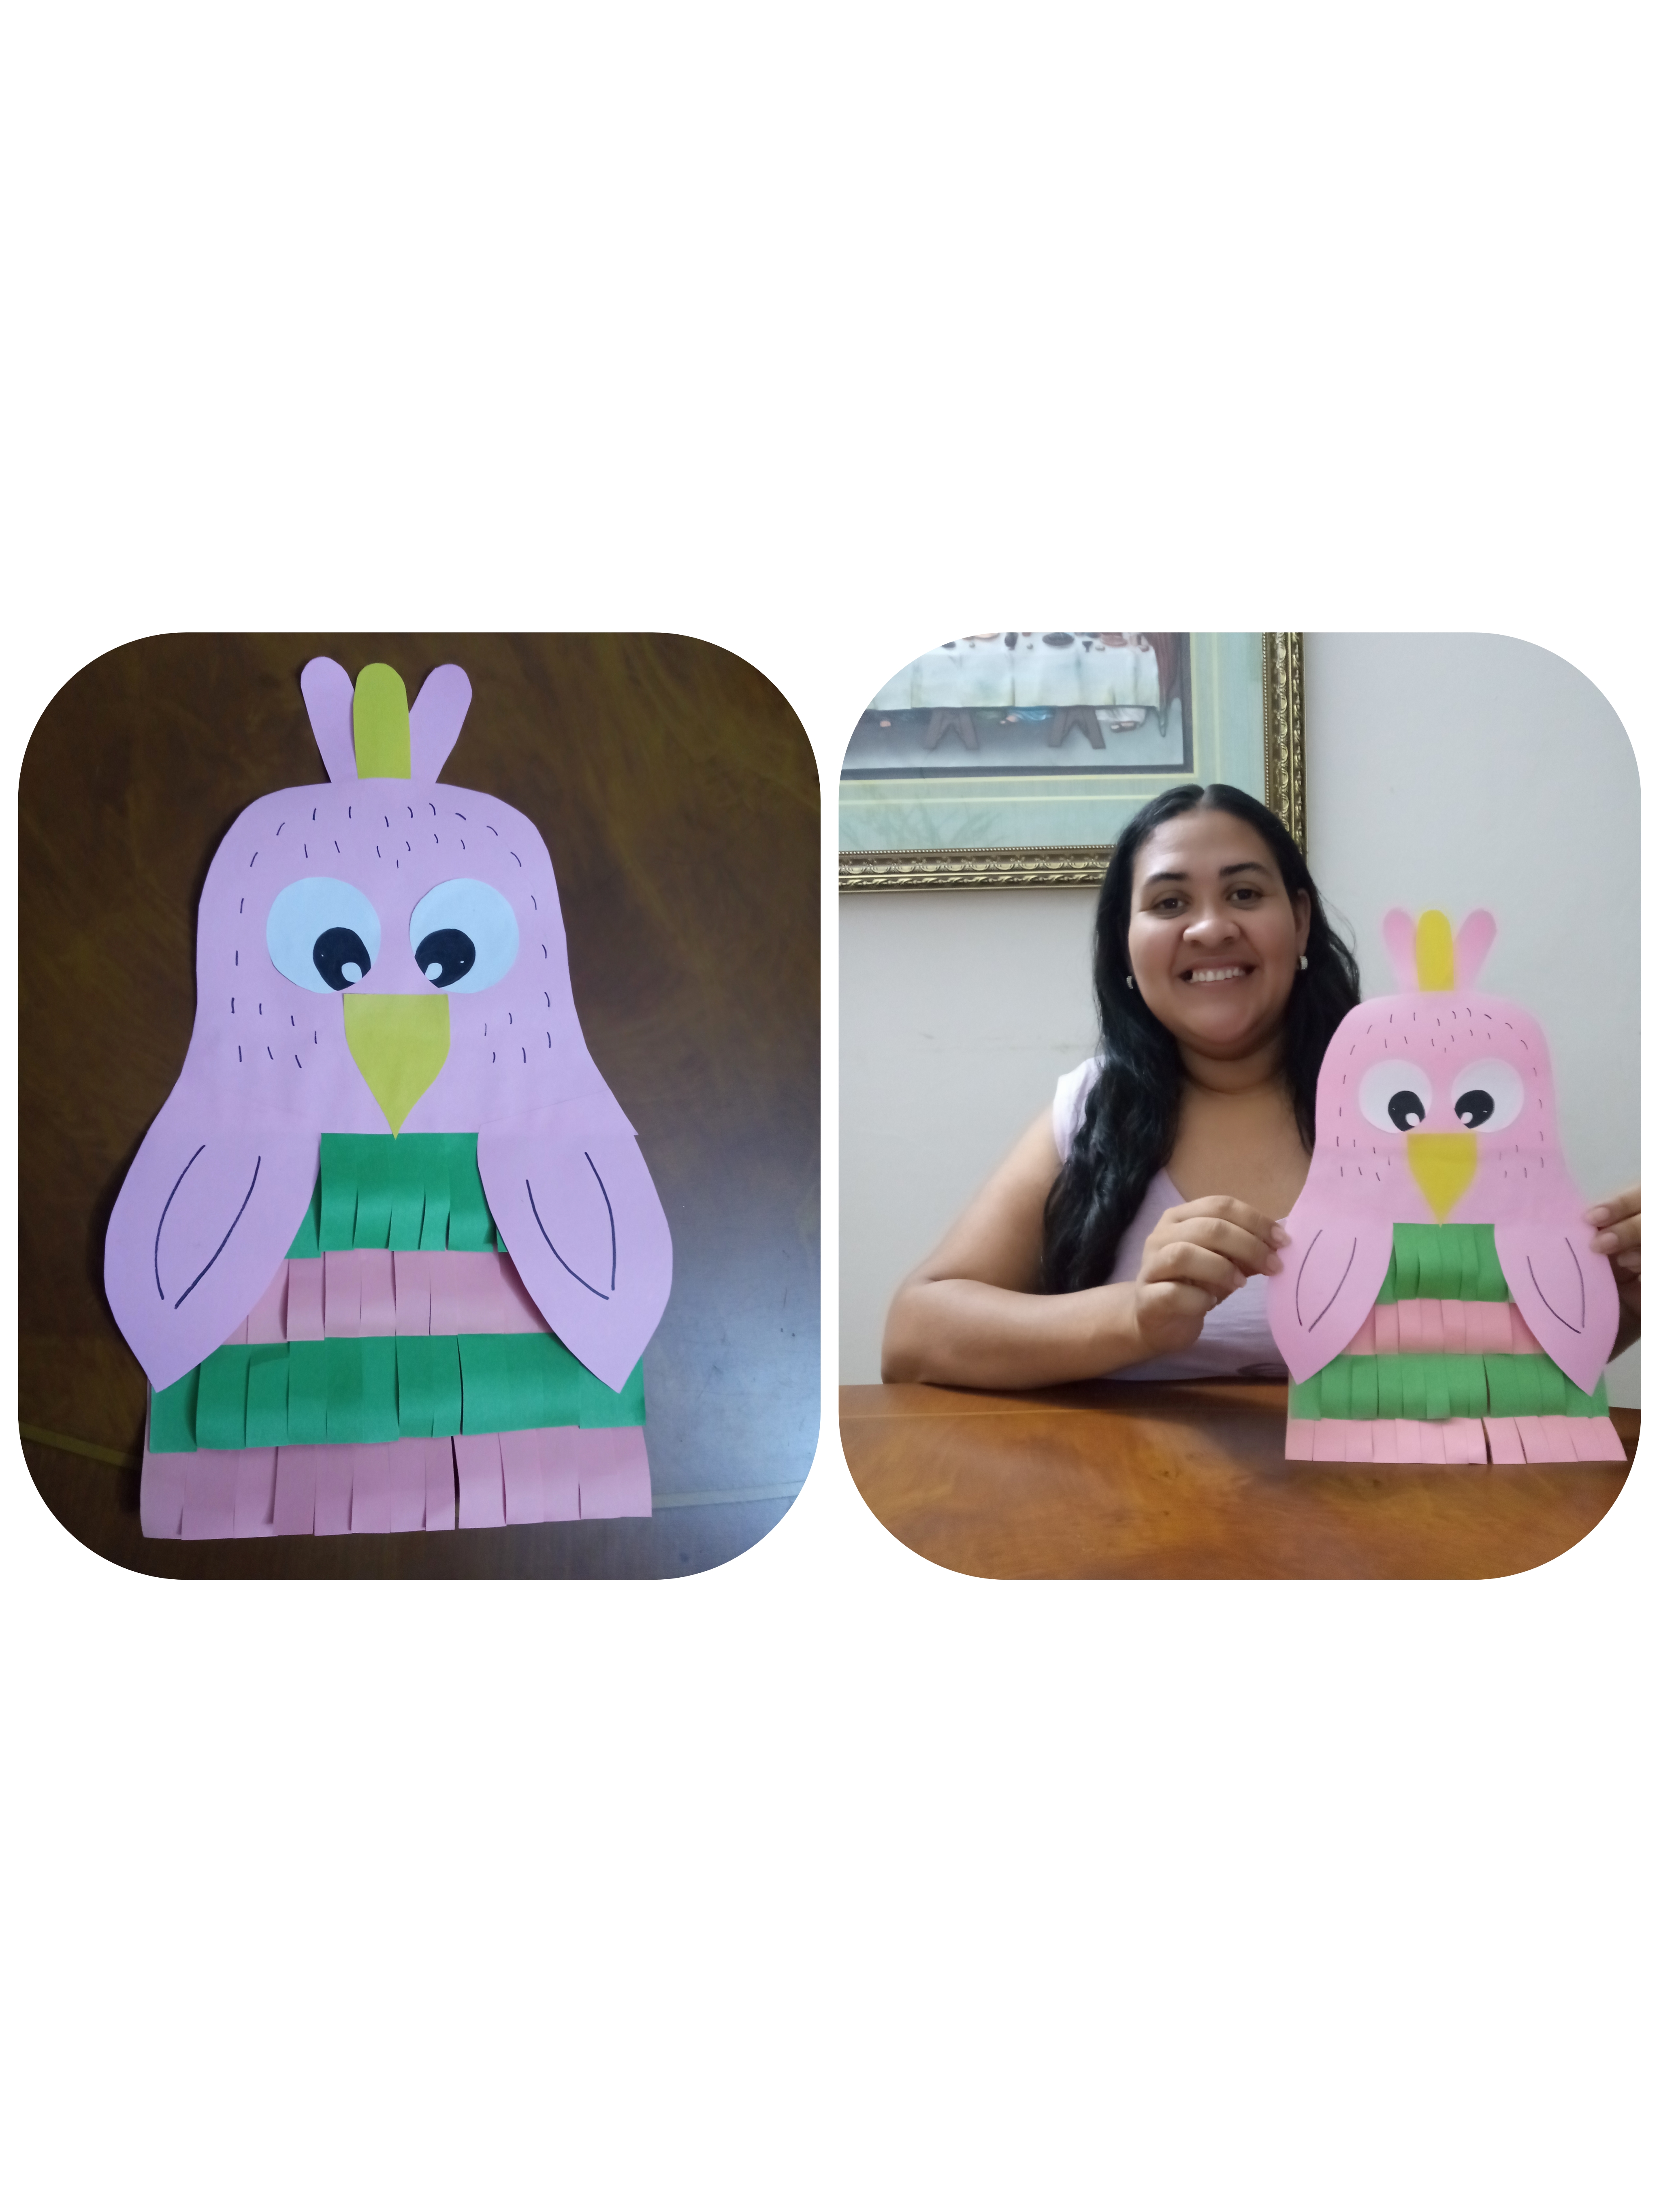
Bueno amigos Espero que les haya gustado la elaboración de este hermoso buhito decorativo, puedes colgarlos en la habitación de los más pequeños de la casa para decorar. Nos vemos en la próxima.
Well friends. I hope you liked the elaboration of this beautiful decorative owl, you can hang them in the room of the smallest of the house to decorate. See you next time.
SaludosHola @litzismar te ha quedado lindo, yo adoro trabajar con cartulina, es mi material favorito.