Hello there pips!
It's finally time to write the final chapter of our building journey. It's been two weeks since I posted the first one and here we are today writing the conclusion. First of all I'd like to thank everyone who appreciate what I shared in the previous postings. And I'd also like to say sorry because I didn't document the final part well. We're really busy during these past two weeks and I only manage to grab a few snaps of what we were able to finish.
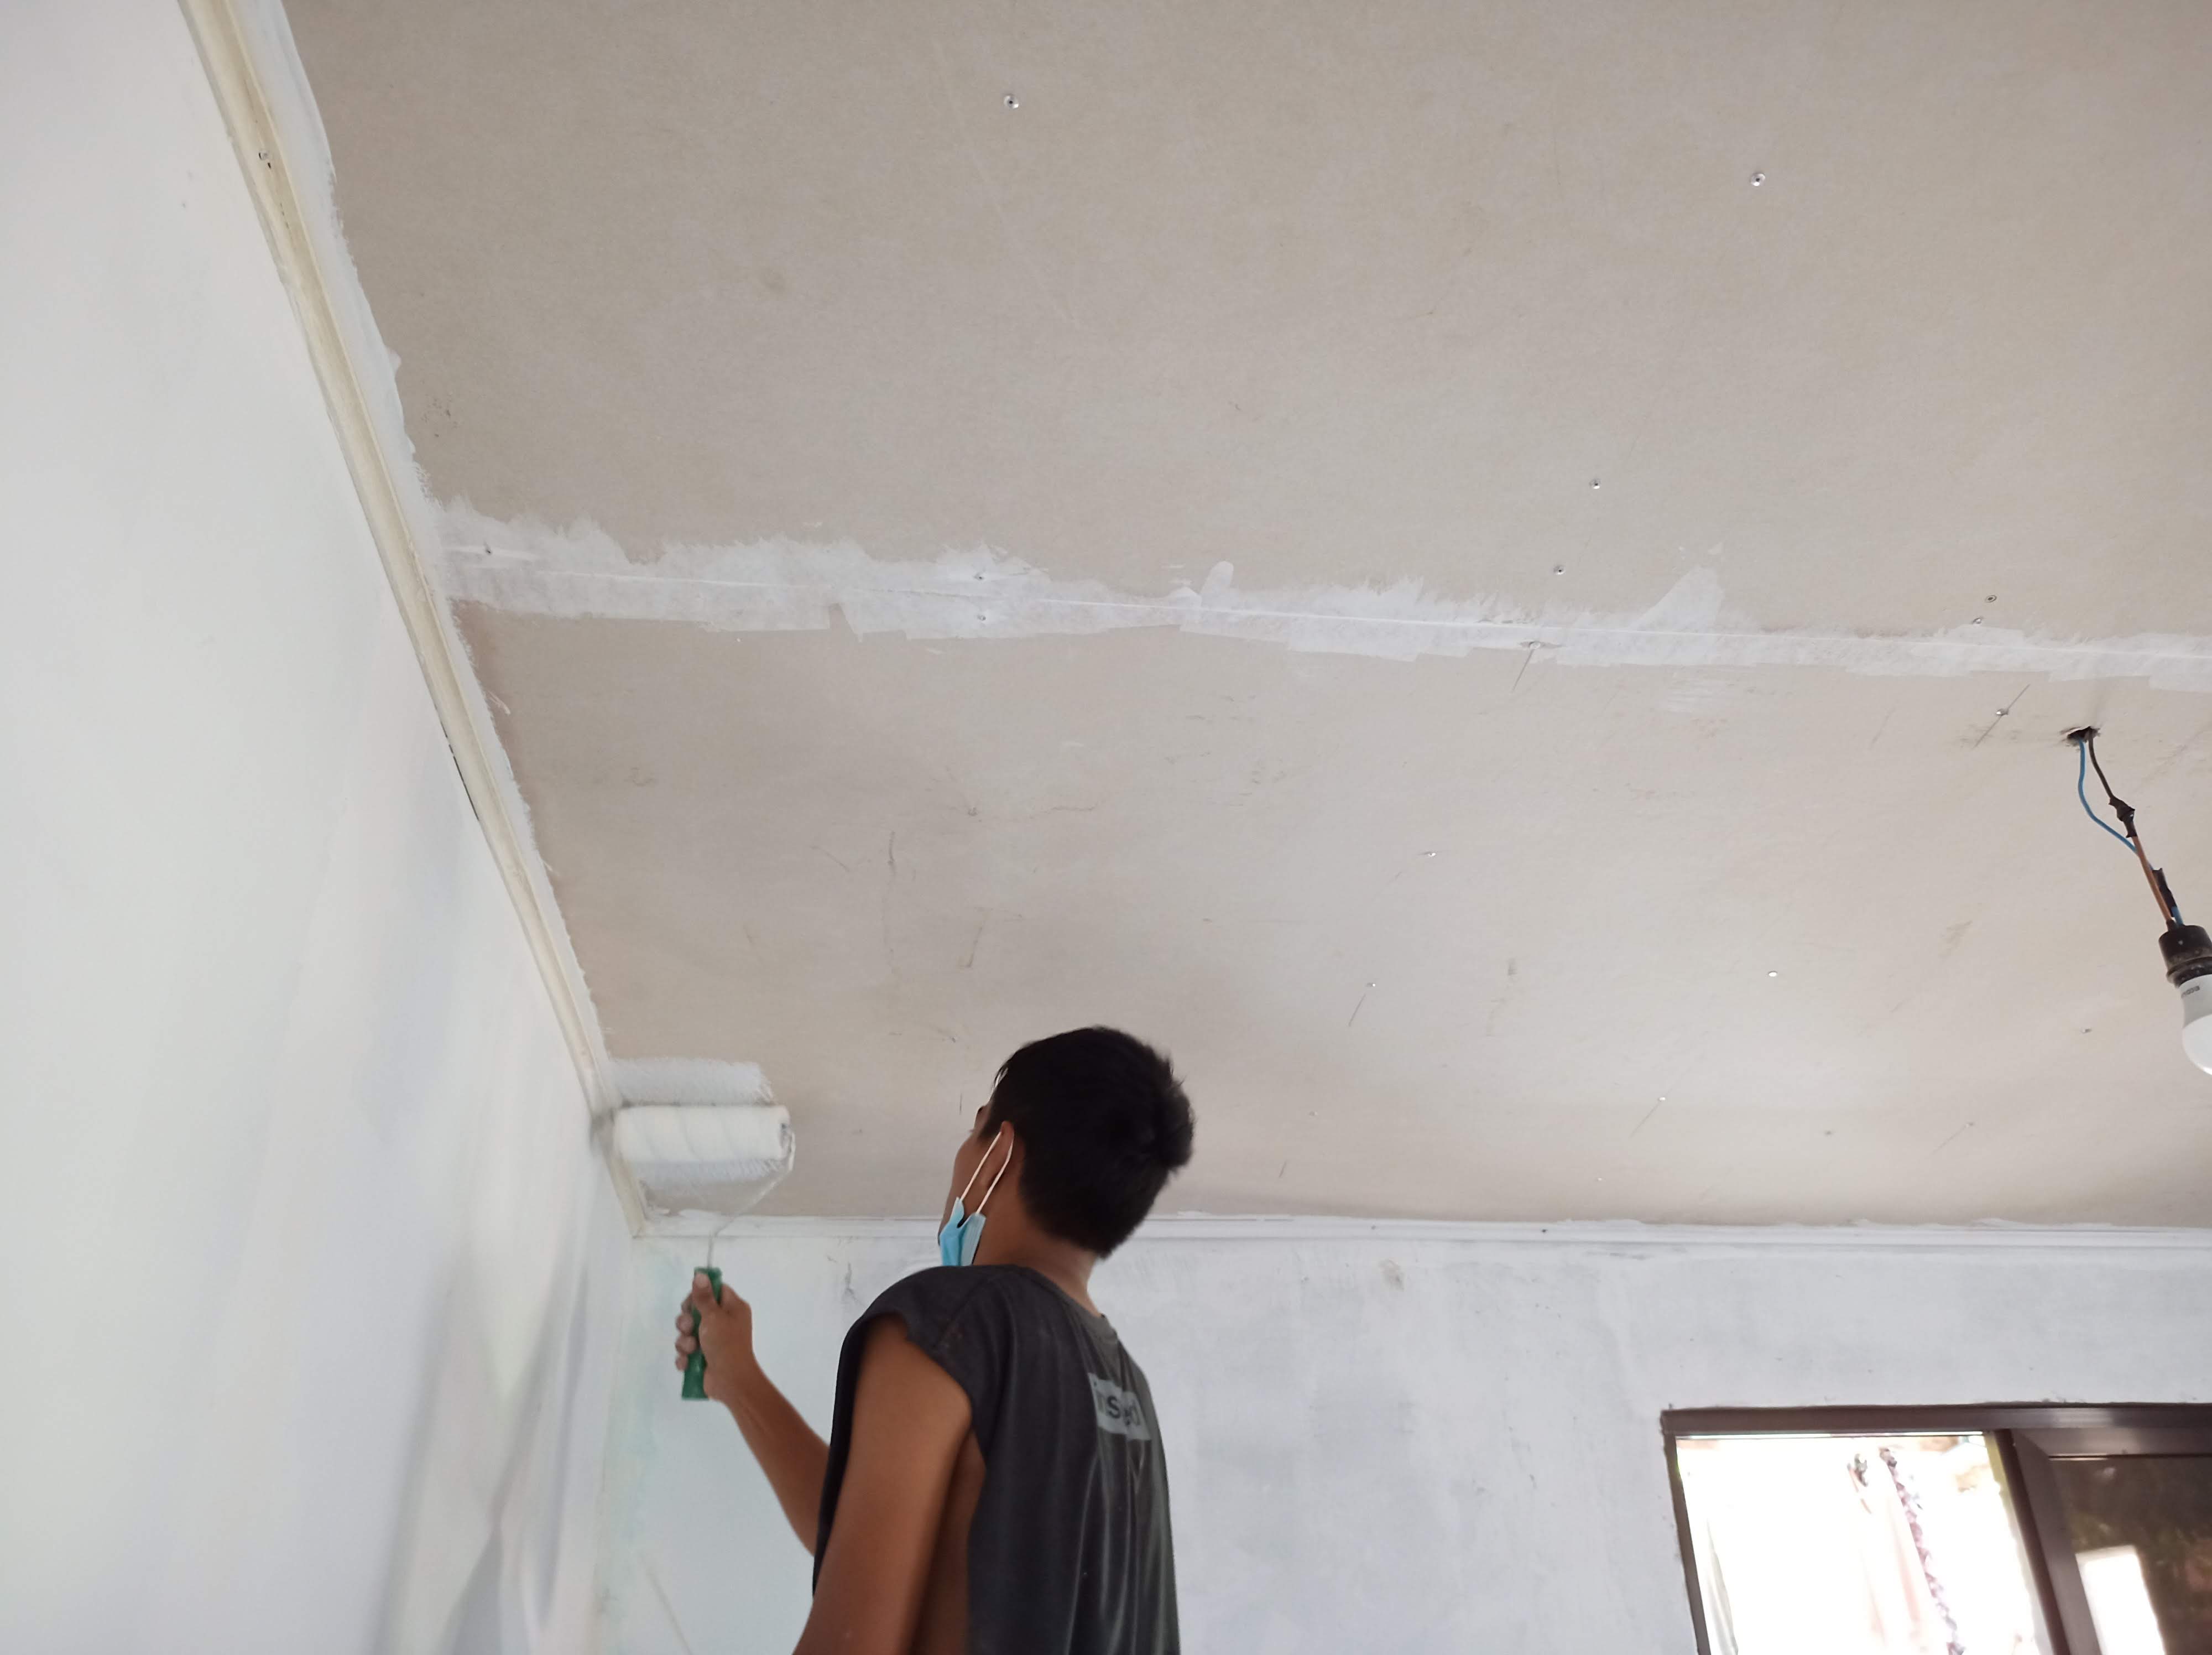 My nephew painting the ceiling
Last time we ended up talking about paints and plasters. Actually this part is where I learnt the most. If you're working on a project I strongly suggest to buy materials from trusted brands. Although it might be a little more costly it will actually saves you more in the long run. After we finished painting the drywall and the concrete wall with the paint we mixed, we started working with the door. I order this door from a local craftsman. It was actually the cheapest wooden door which costed me only around $60 together with the frame.
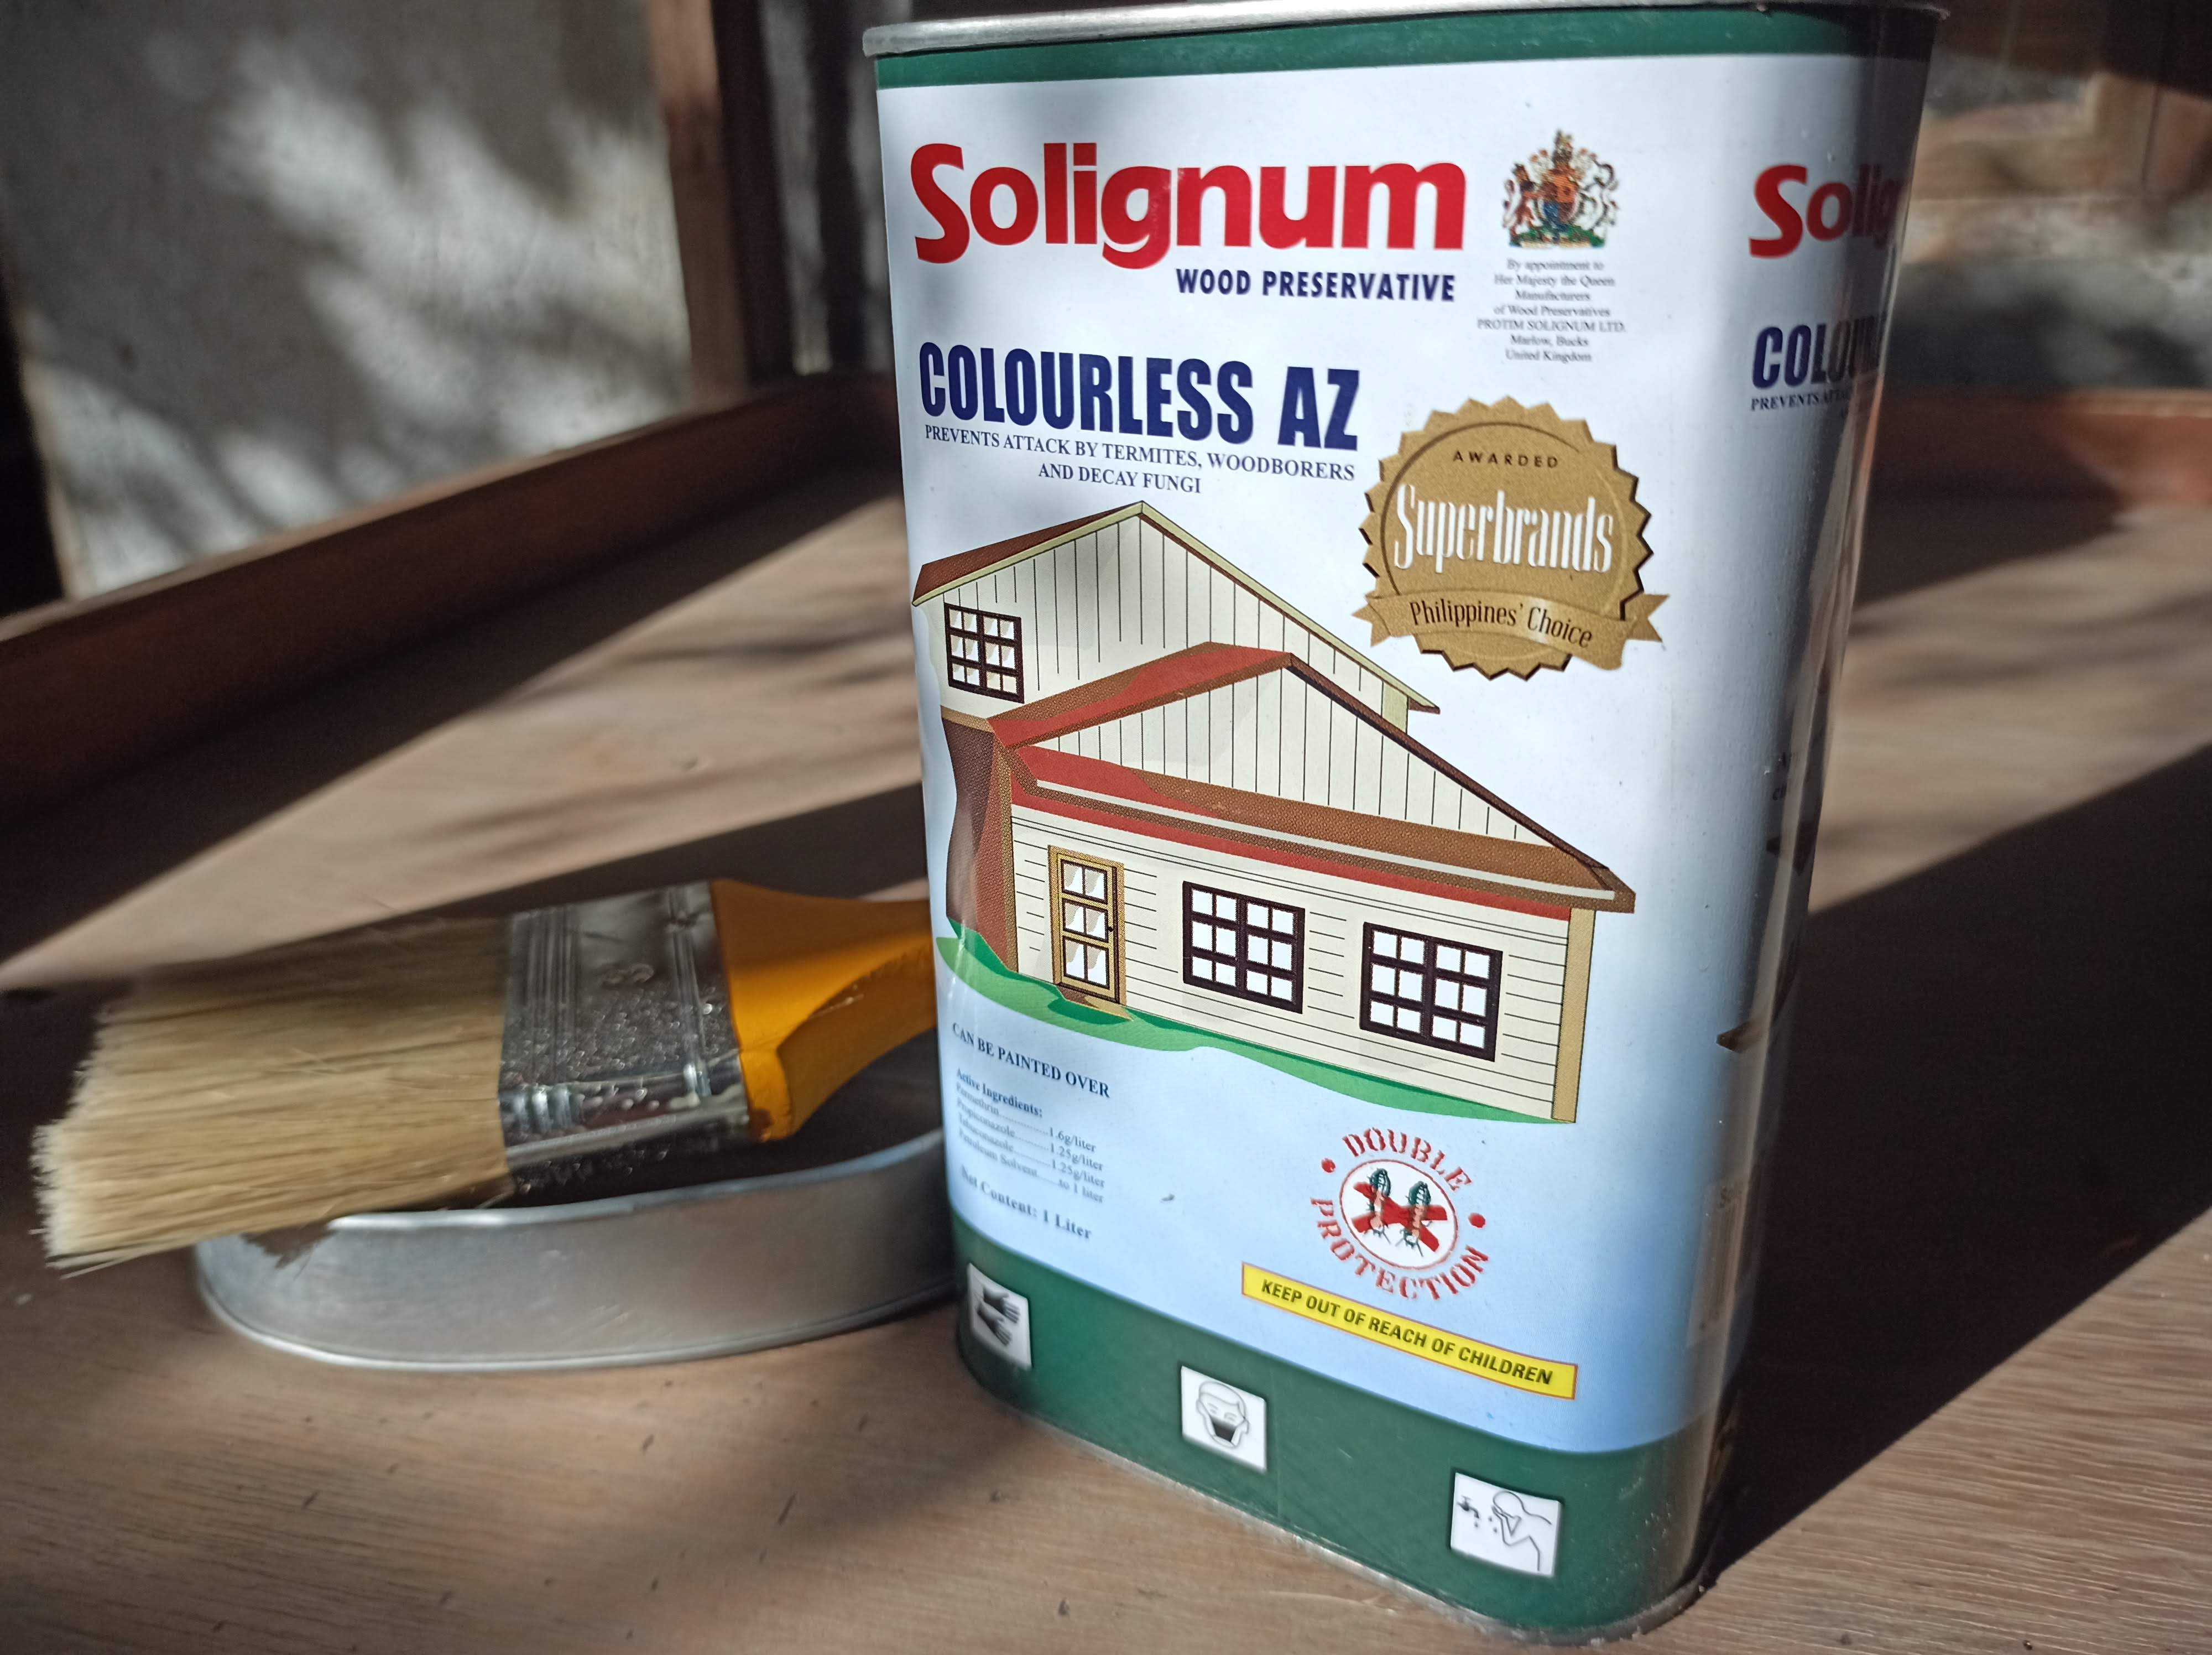 Solignum is a trusted brand, we used it for termites control in soil (soilguard version) and to prevent wood borers eating furniture (wood guard version) like this one.
 Before installing, we applied wood preservative. Wood preservative is quite expensive, 1 liter costed me around $13. But we got no choice, we're lucky if this door survives wood borers in a few years without this. Just remember to apply the preservative in an open space. The fumes is quite irritating and might be dangerous if you have some respiratory illness. I was searching for a spray type but couldn't find one so I just purchased a regular liter (clear color) one. Using a paint brush we applied the treatment all over the door and the frame. It's important to not miss any nook or cranny because it might be targeted by borers later on.
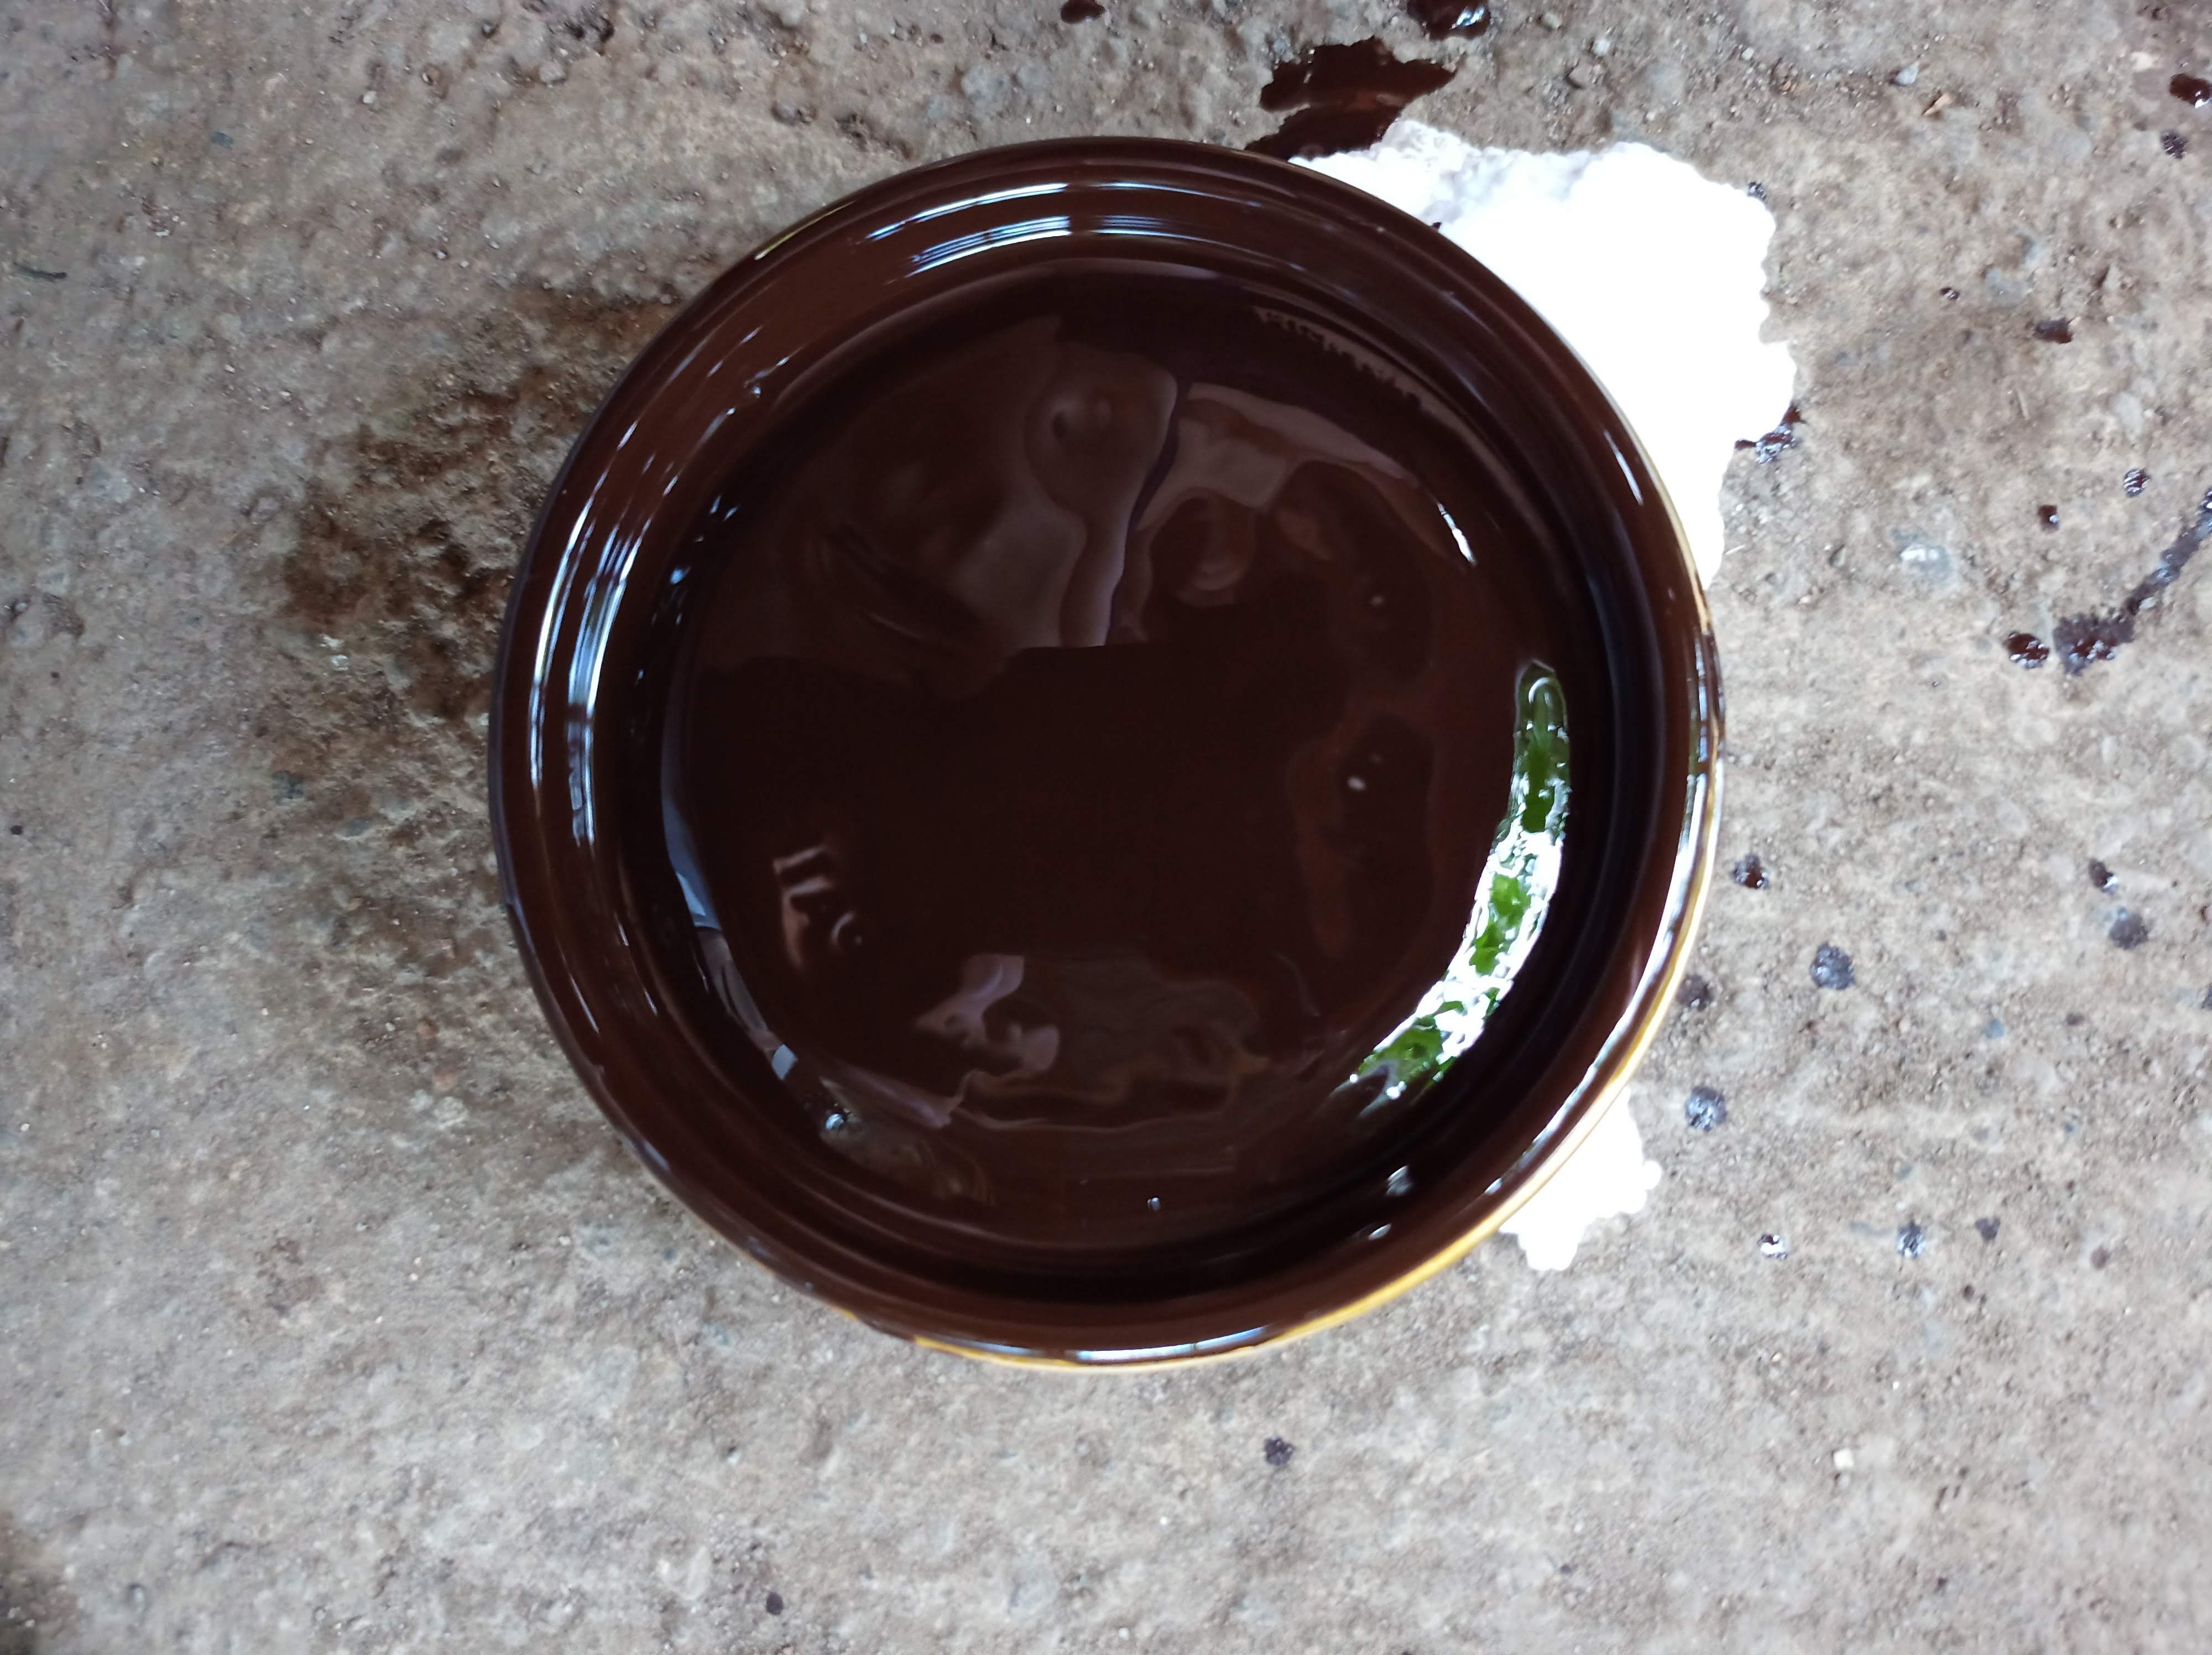
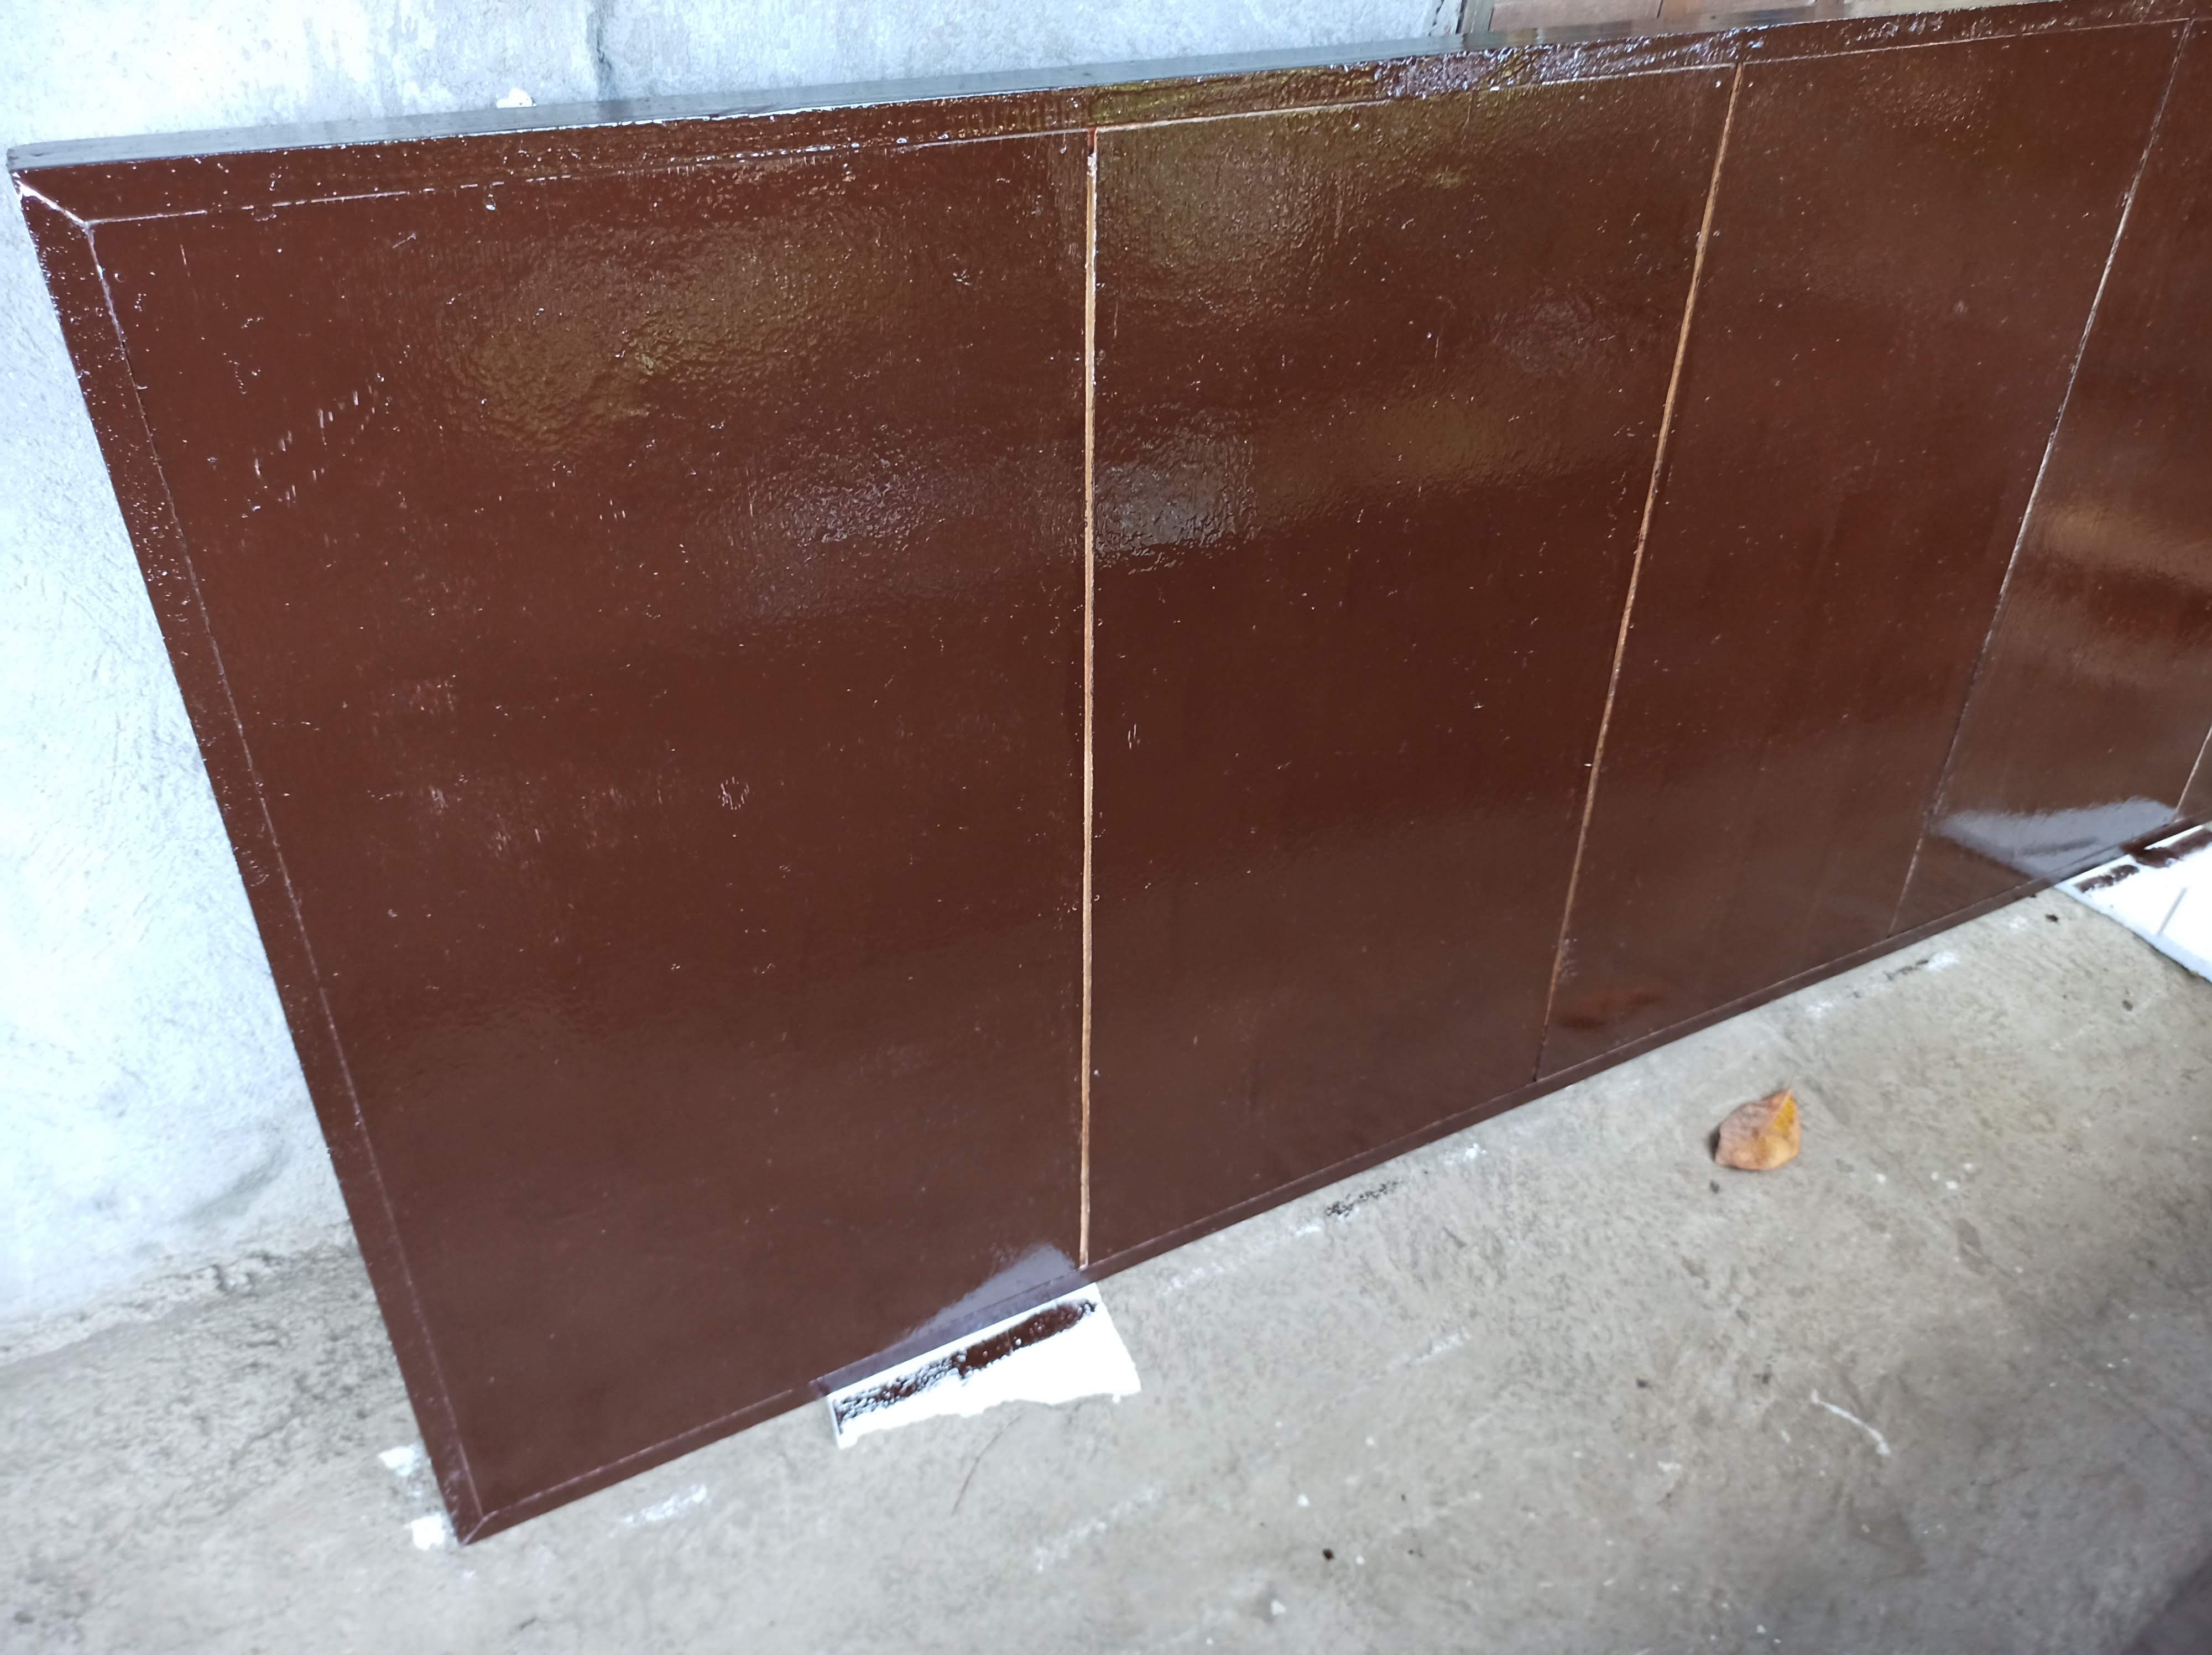
After that we've painted it with quick drying enamel for the first coat. Unlike latex, paints like quick drying enamel are oil based so use thinner instead of water to dilute it if needed. Do not ever switch the two lest it will be a disaster. We have plenty of paints and wood preservatives so we also treated and painted a bed frame. What I hate about oil based paints is that they took longer time to dry than water based paints. Take Q.D.E. for example, ironically the prefix 'quick drying' doesn't really suit it in my opinion. It took us a day and a half to dry the first coat for both door and bed. Take note we dried it in open space with at least 8 hours of direct sun exposure. Anyways, if we used regular ones it might even take 2 days so yeah let's stick with the 'quick drying' one.
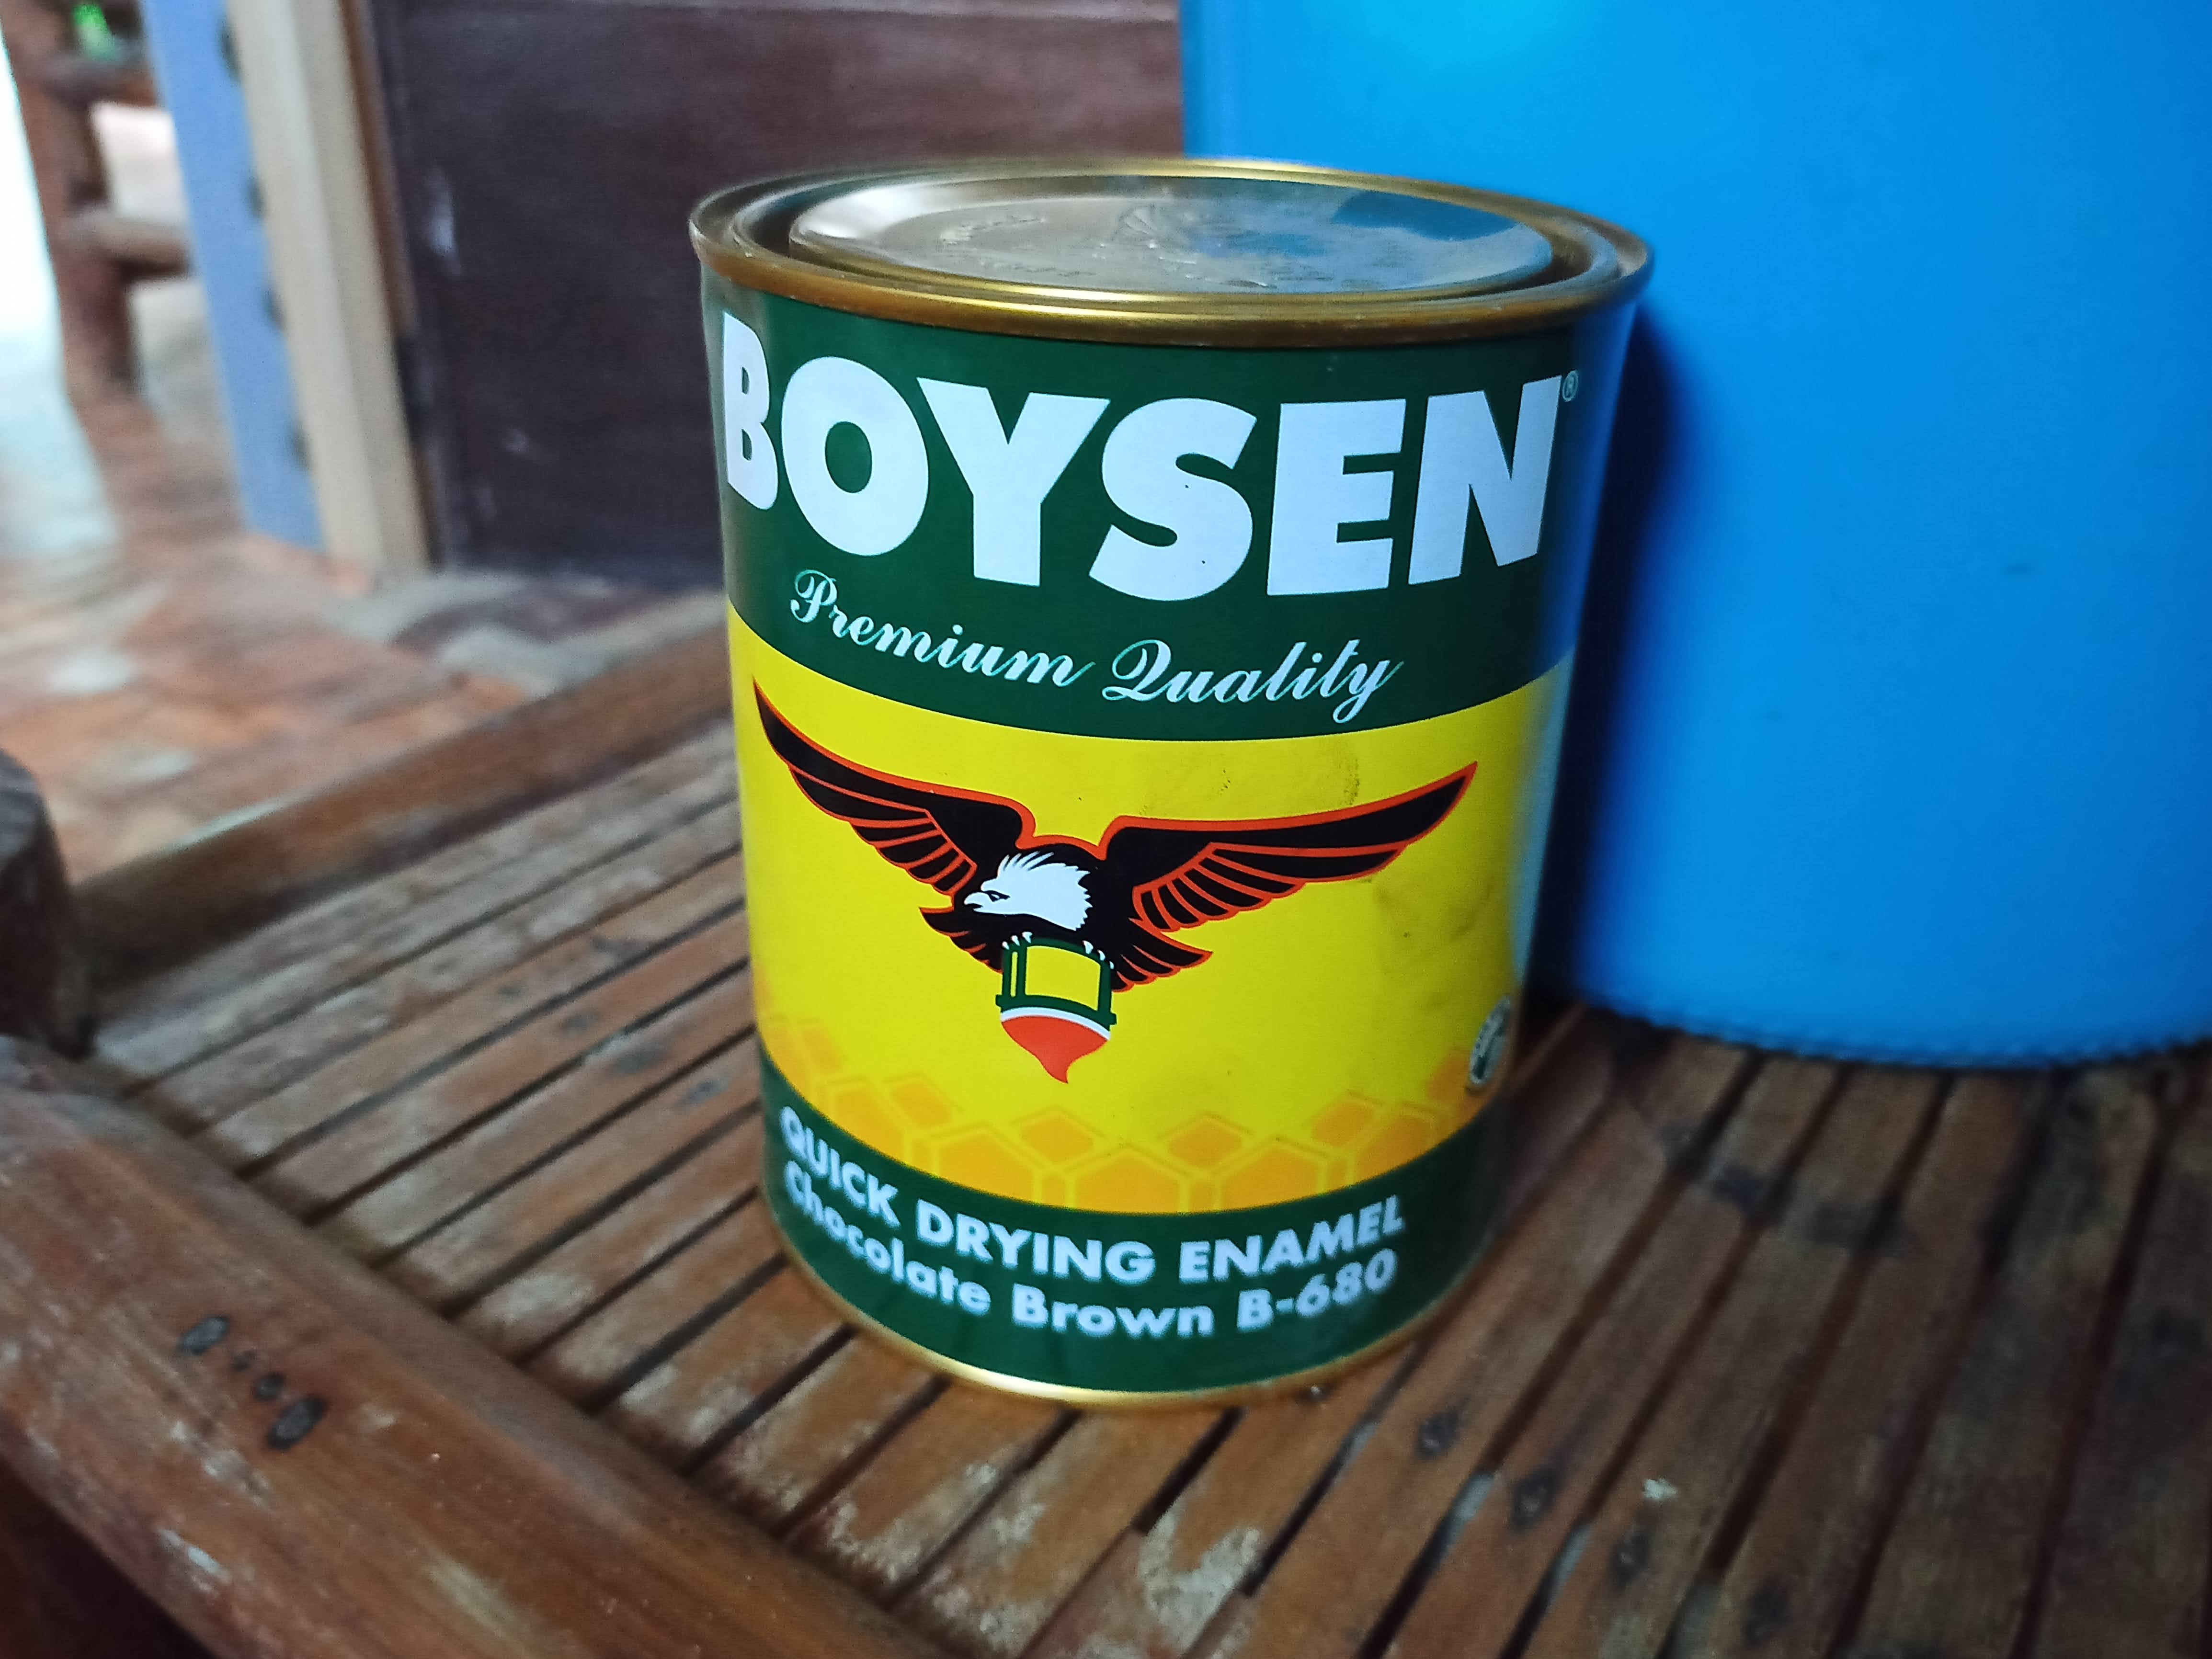
After the first coat dried up we painted it with the second one. We used another QDE (quick drying enamel) but now we used a different color, in this case chocolate brown. So, just painting and drying up two coats of paints already took us three days to be done.

There are times when tiny shreds or pieces of wood sticking out so make sure to sand them using 120 or 140 grit of sandpaper. Unlike sanding concrete do it more gently, too much force might create permanent damage on the surface of the wood. Before painting wood make sure that it's clean and dust free. Cleaning the surface before applying paint is very important in any surface be it wood or concrete. Impurities like dust prevent paint from sticking well, they also help in forming bubbles that made the paint more vulnerable to peeling once dried up.
For a smoother and cleaner application of any type of paint I recommend using a scrap plywood. Use it in your roller or brush to achieve a great consistency throughout. It helps to even out the paint applied and also minimize or even prevent splattering and dripping.
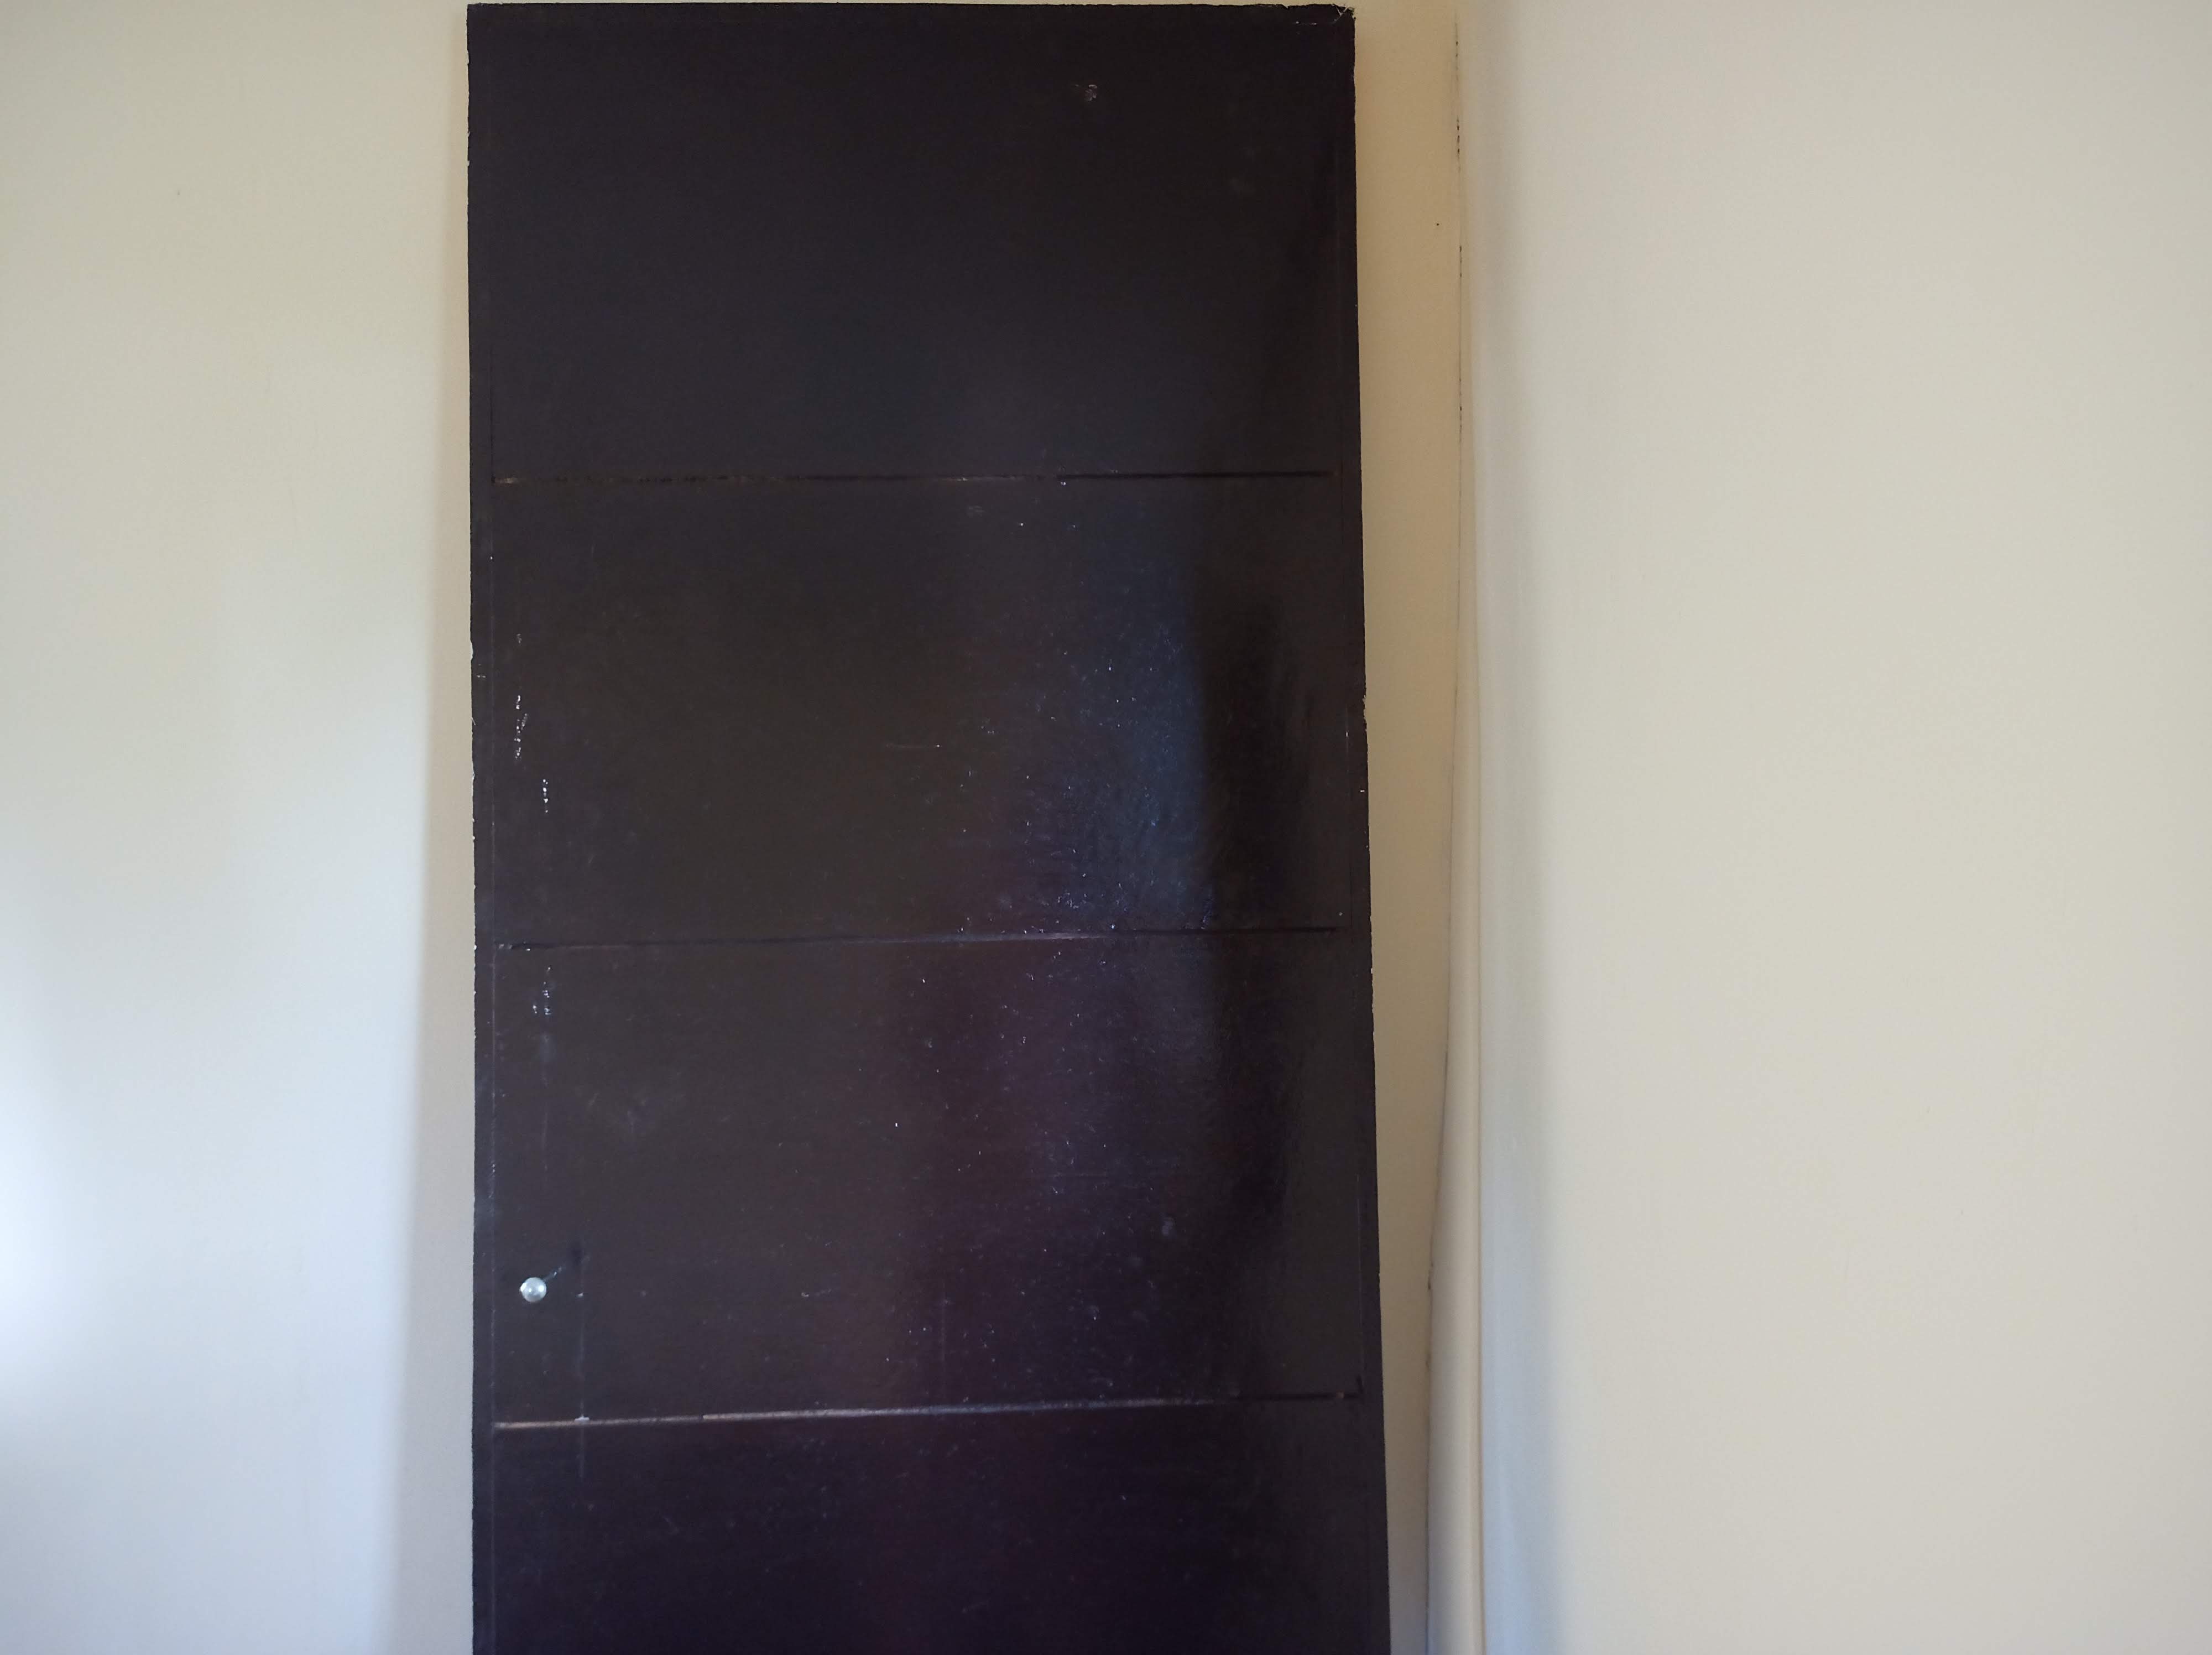
After we're done painting the door, it's time to install it. Unlike the other jobs installing a door is actually the one that needed the most skill. You need to be an experienced carpenter so it would fit perfectly. But we got a problem, turned out that the frame became tighter after we install it in the drywall partition and the door would not f*cking fit. So, I ended up shaving the sides of a newly painted door. You know, aside from losing my first love to another this is the most heart breaking moment in my life so far. Just kidding.
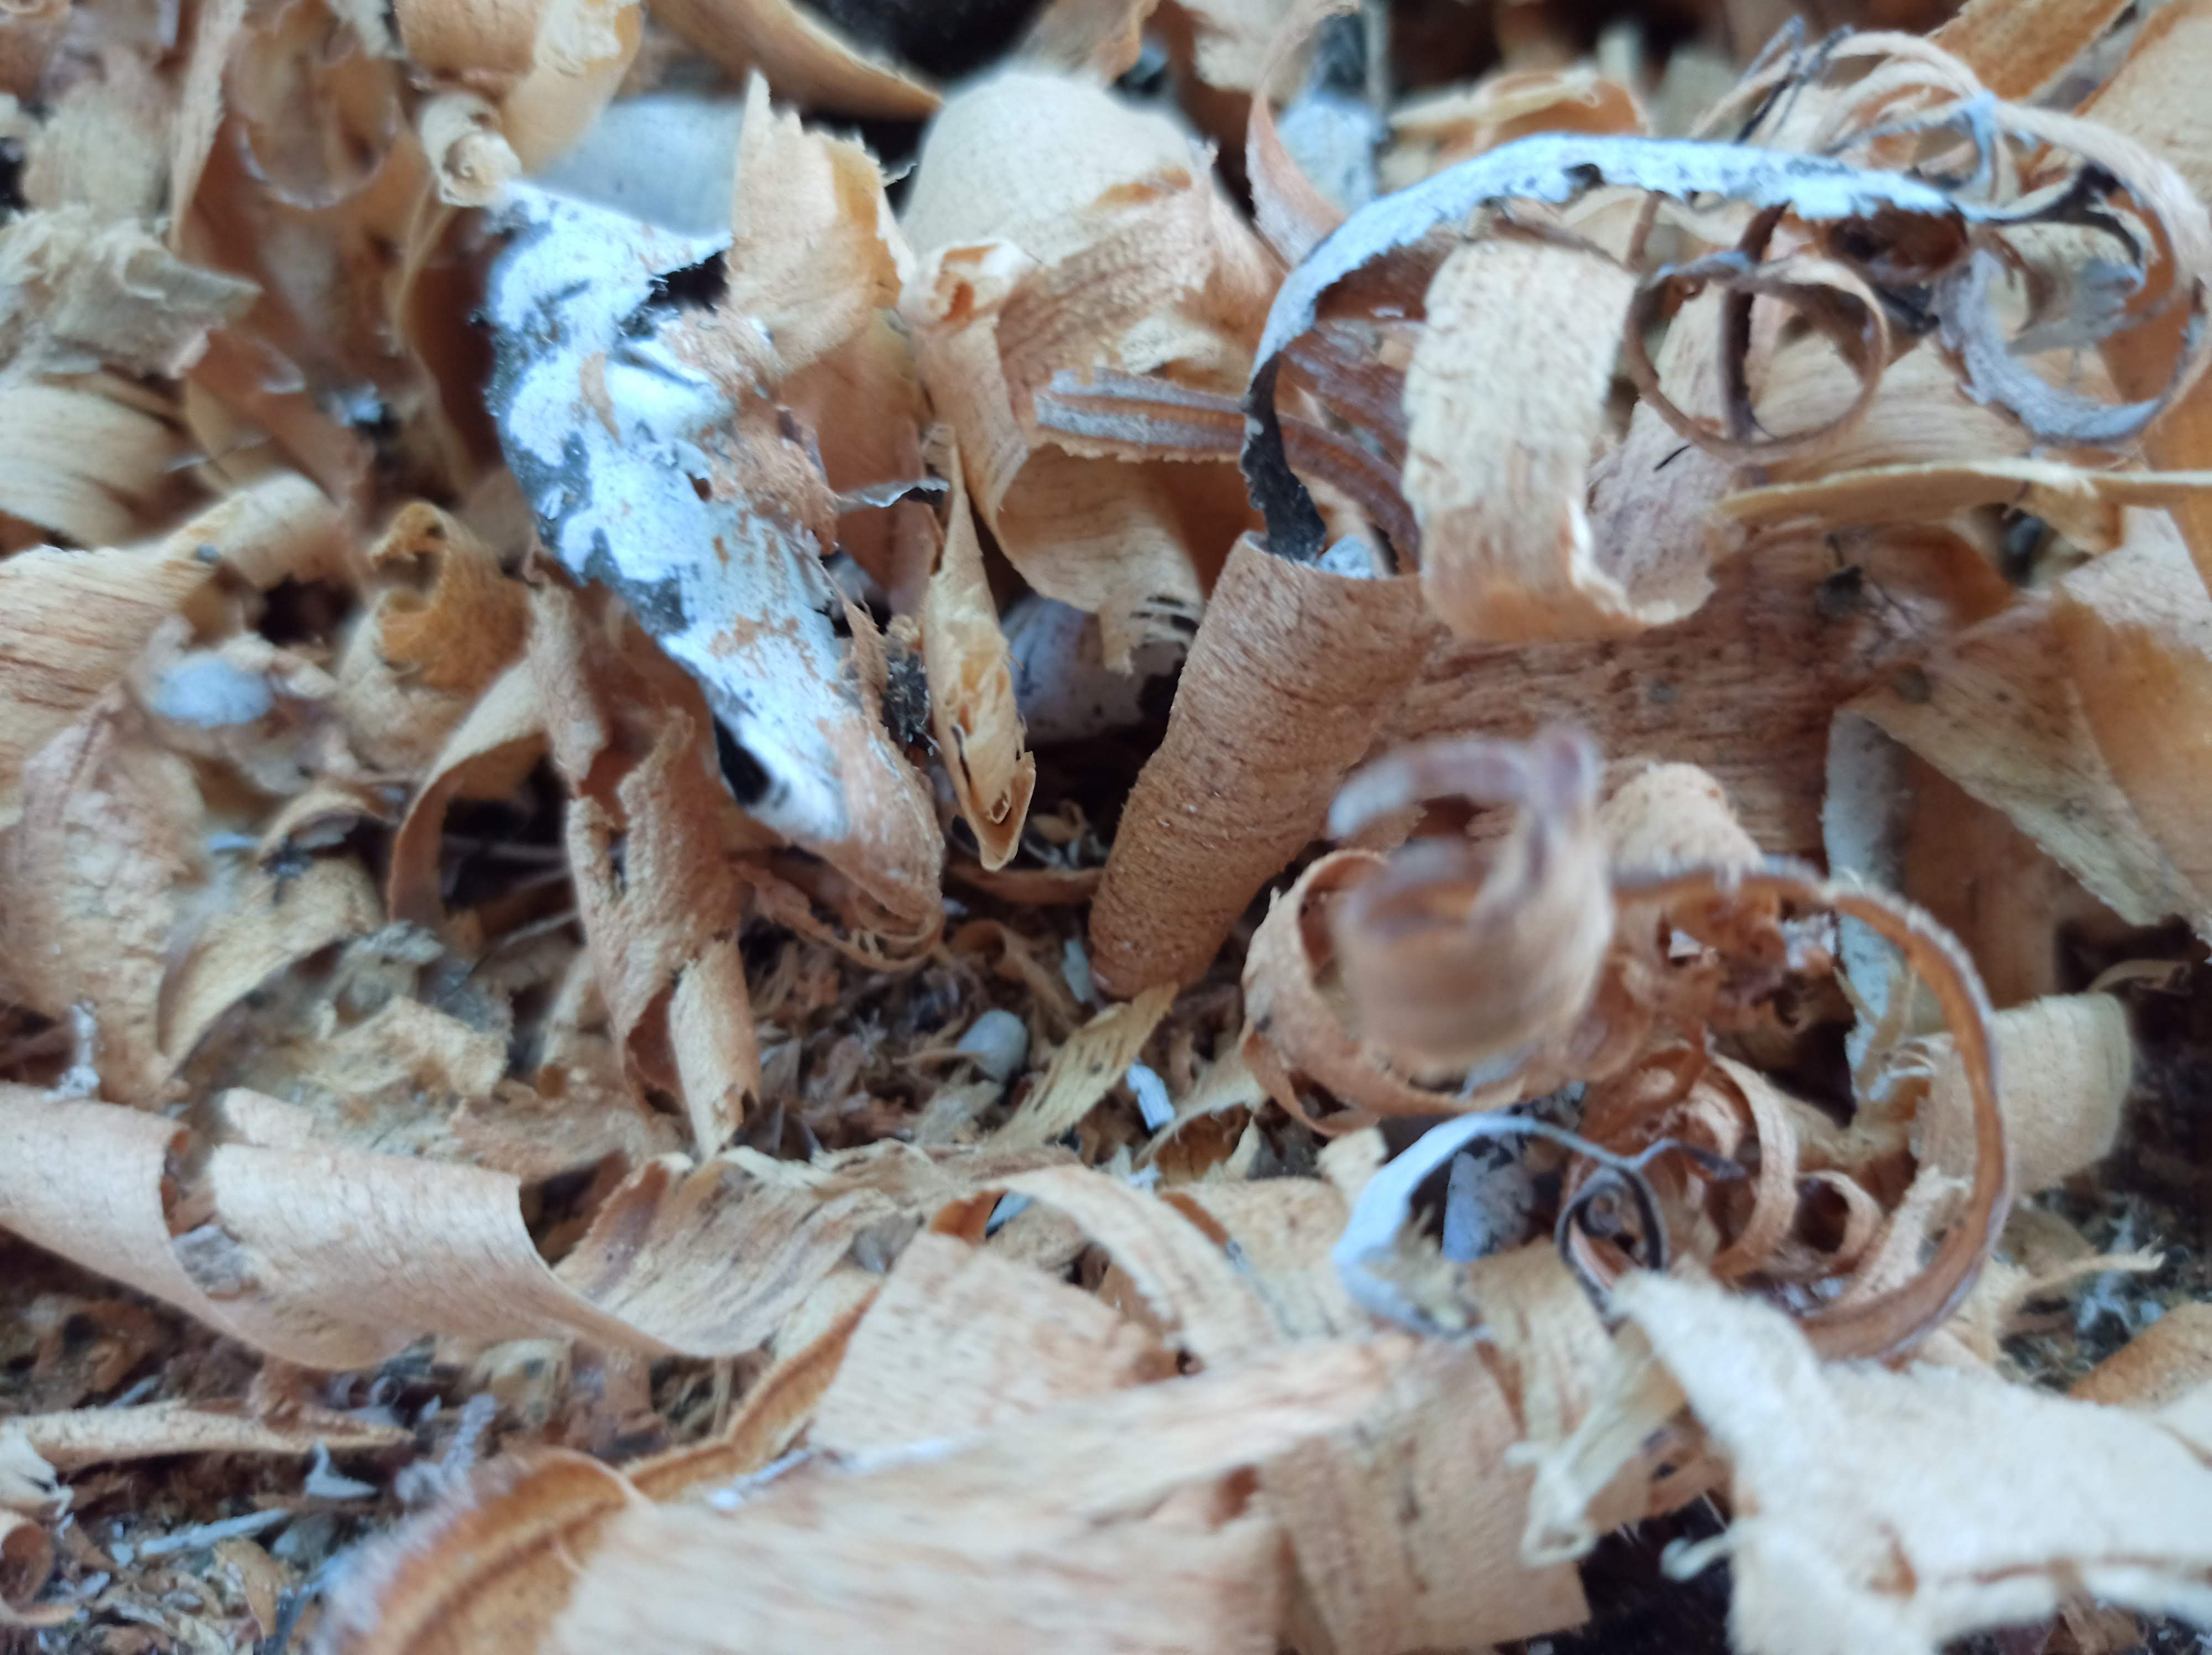
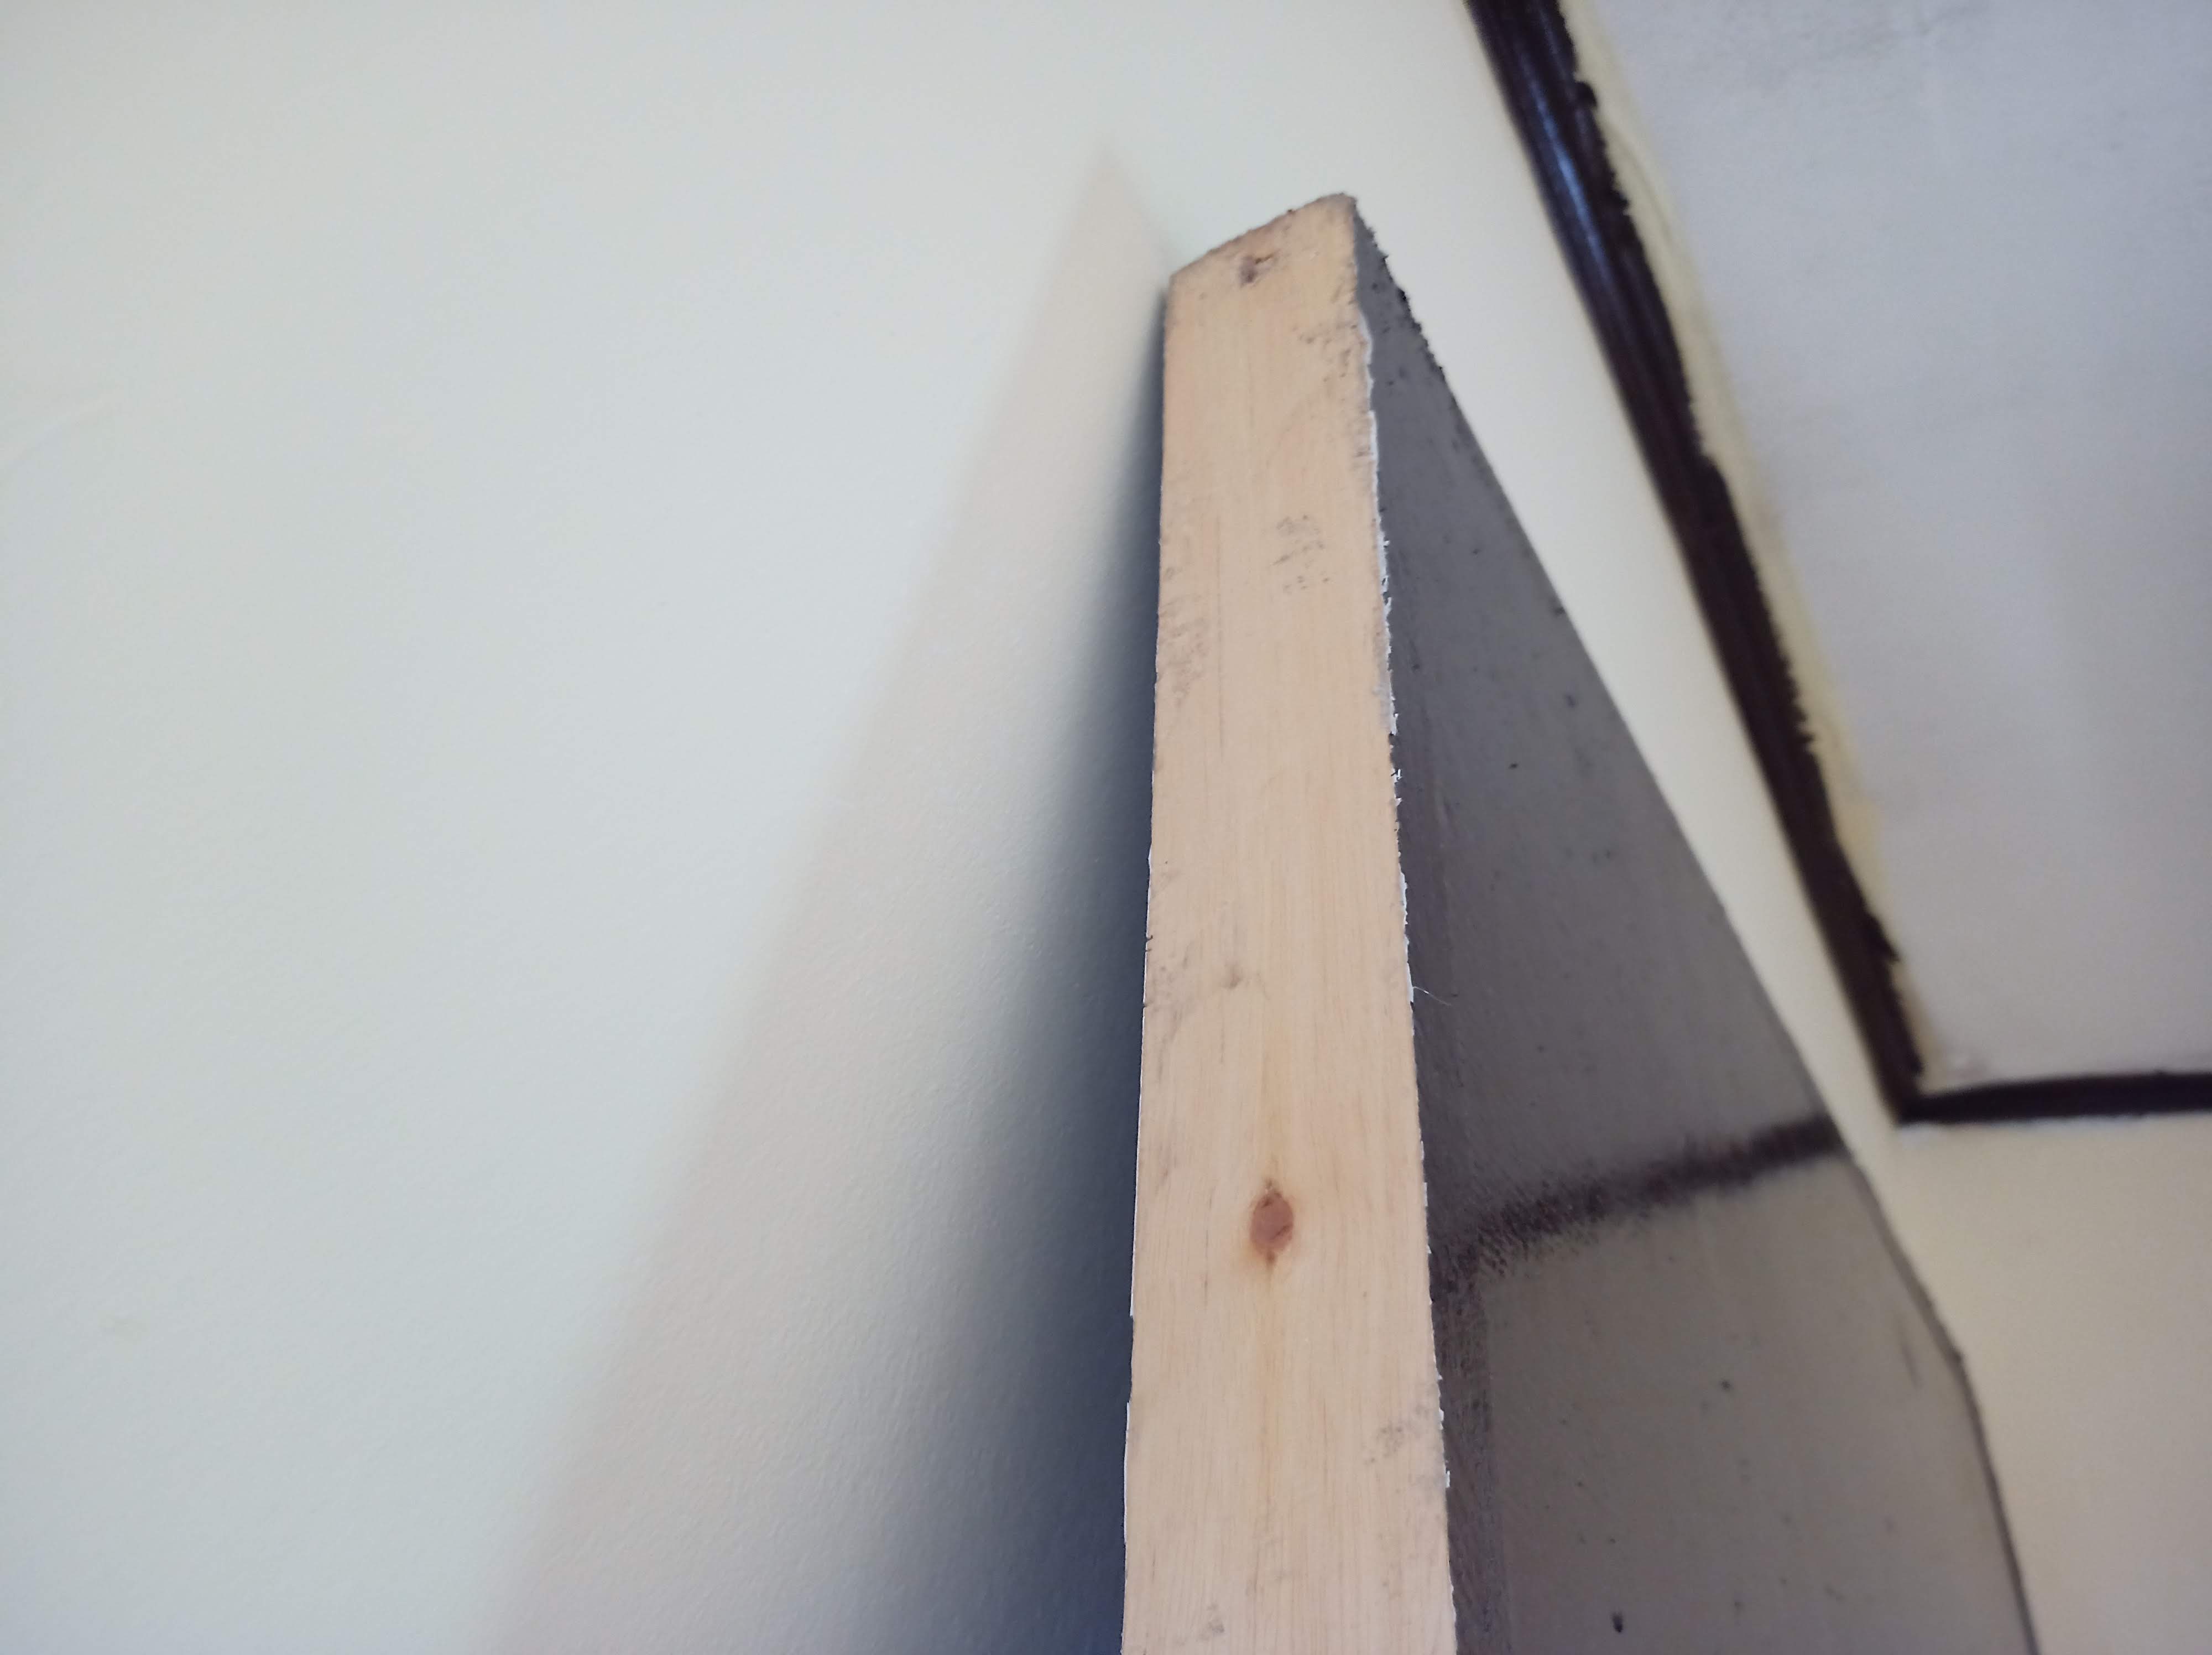 It really hurtssssss...
After fitting the door and re-painting the sides we finally installed it! I was just a helper in this case though, it was my father who installed it. We used 3 - 3 1/2 hinges, screws and drill for the installation.
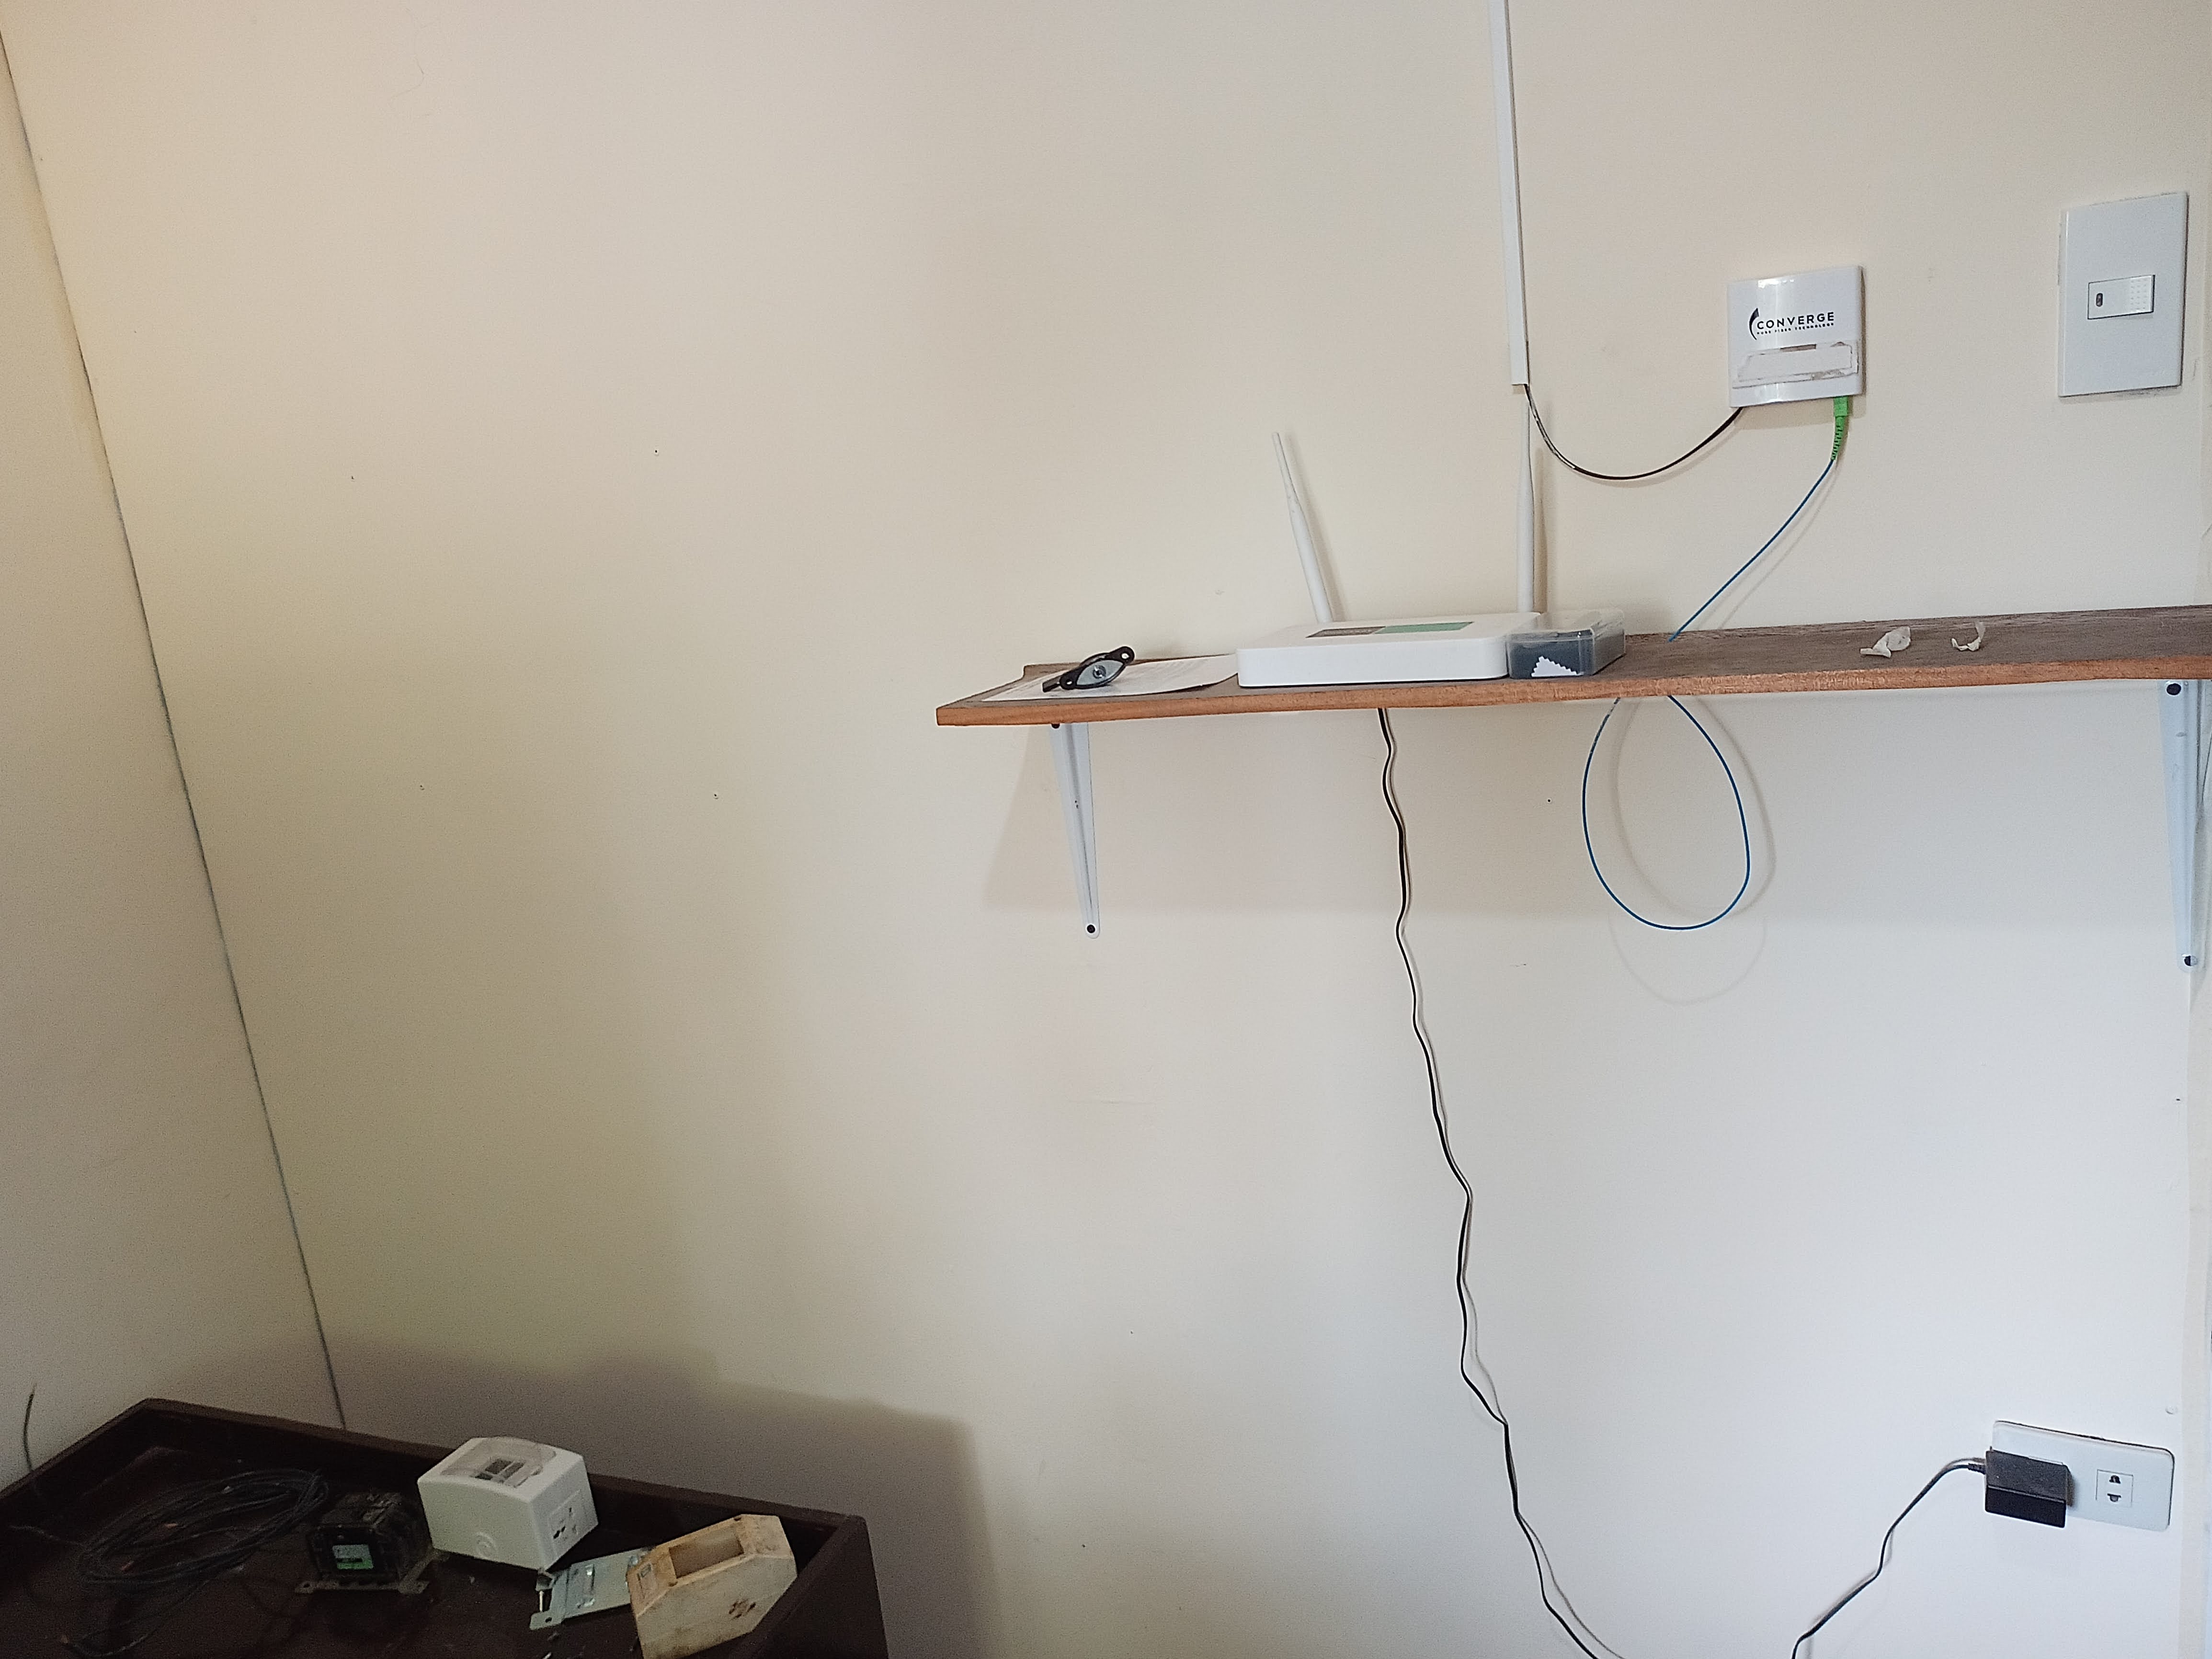
So, here we are with the final touches. I've remove the plastic covering the switches and the electrical outlets. We were left with few small unpainted drywall spaces. Another tip is that you should save some left over paint if the project is not yet finished. In case you threw them away and happen to need them again you'll end up buying another one. In saving a little amount of leftovers you'd actually save up more than you can imagine.
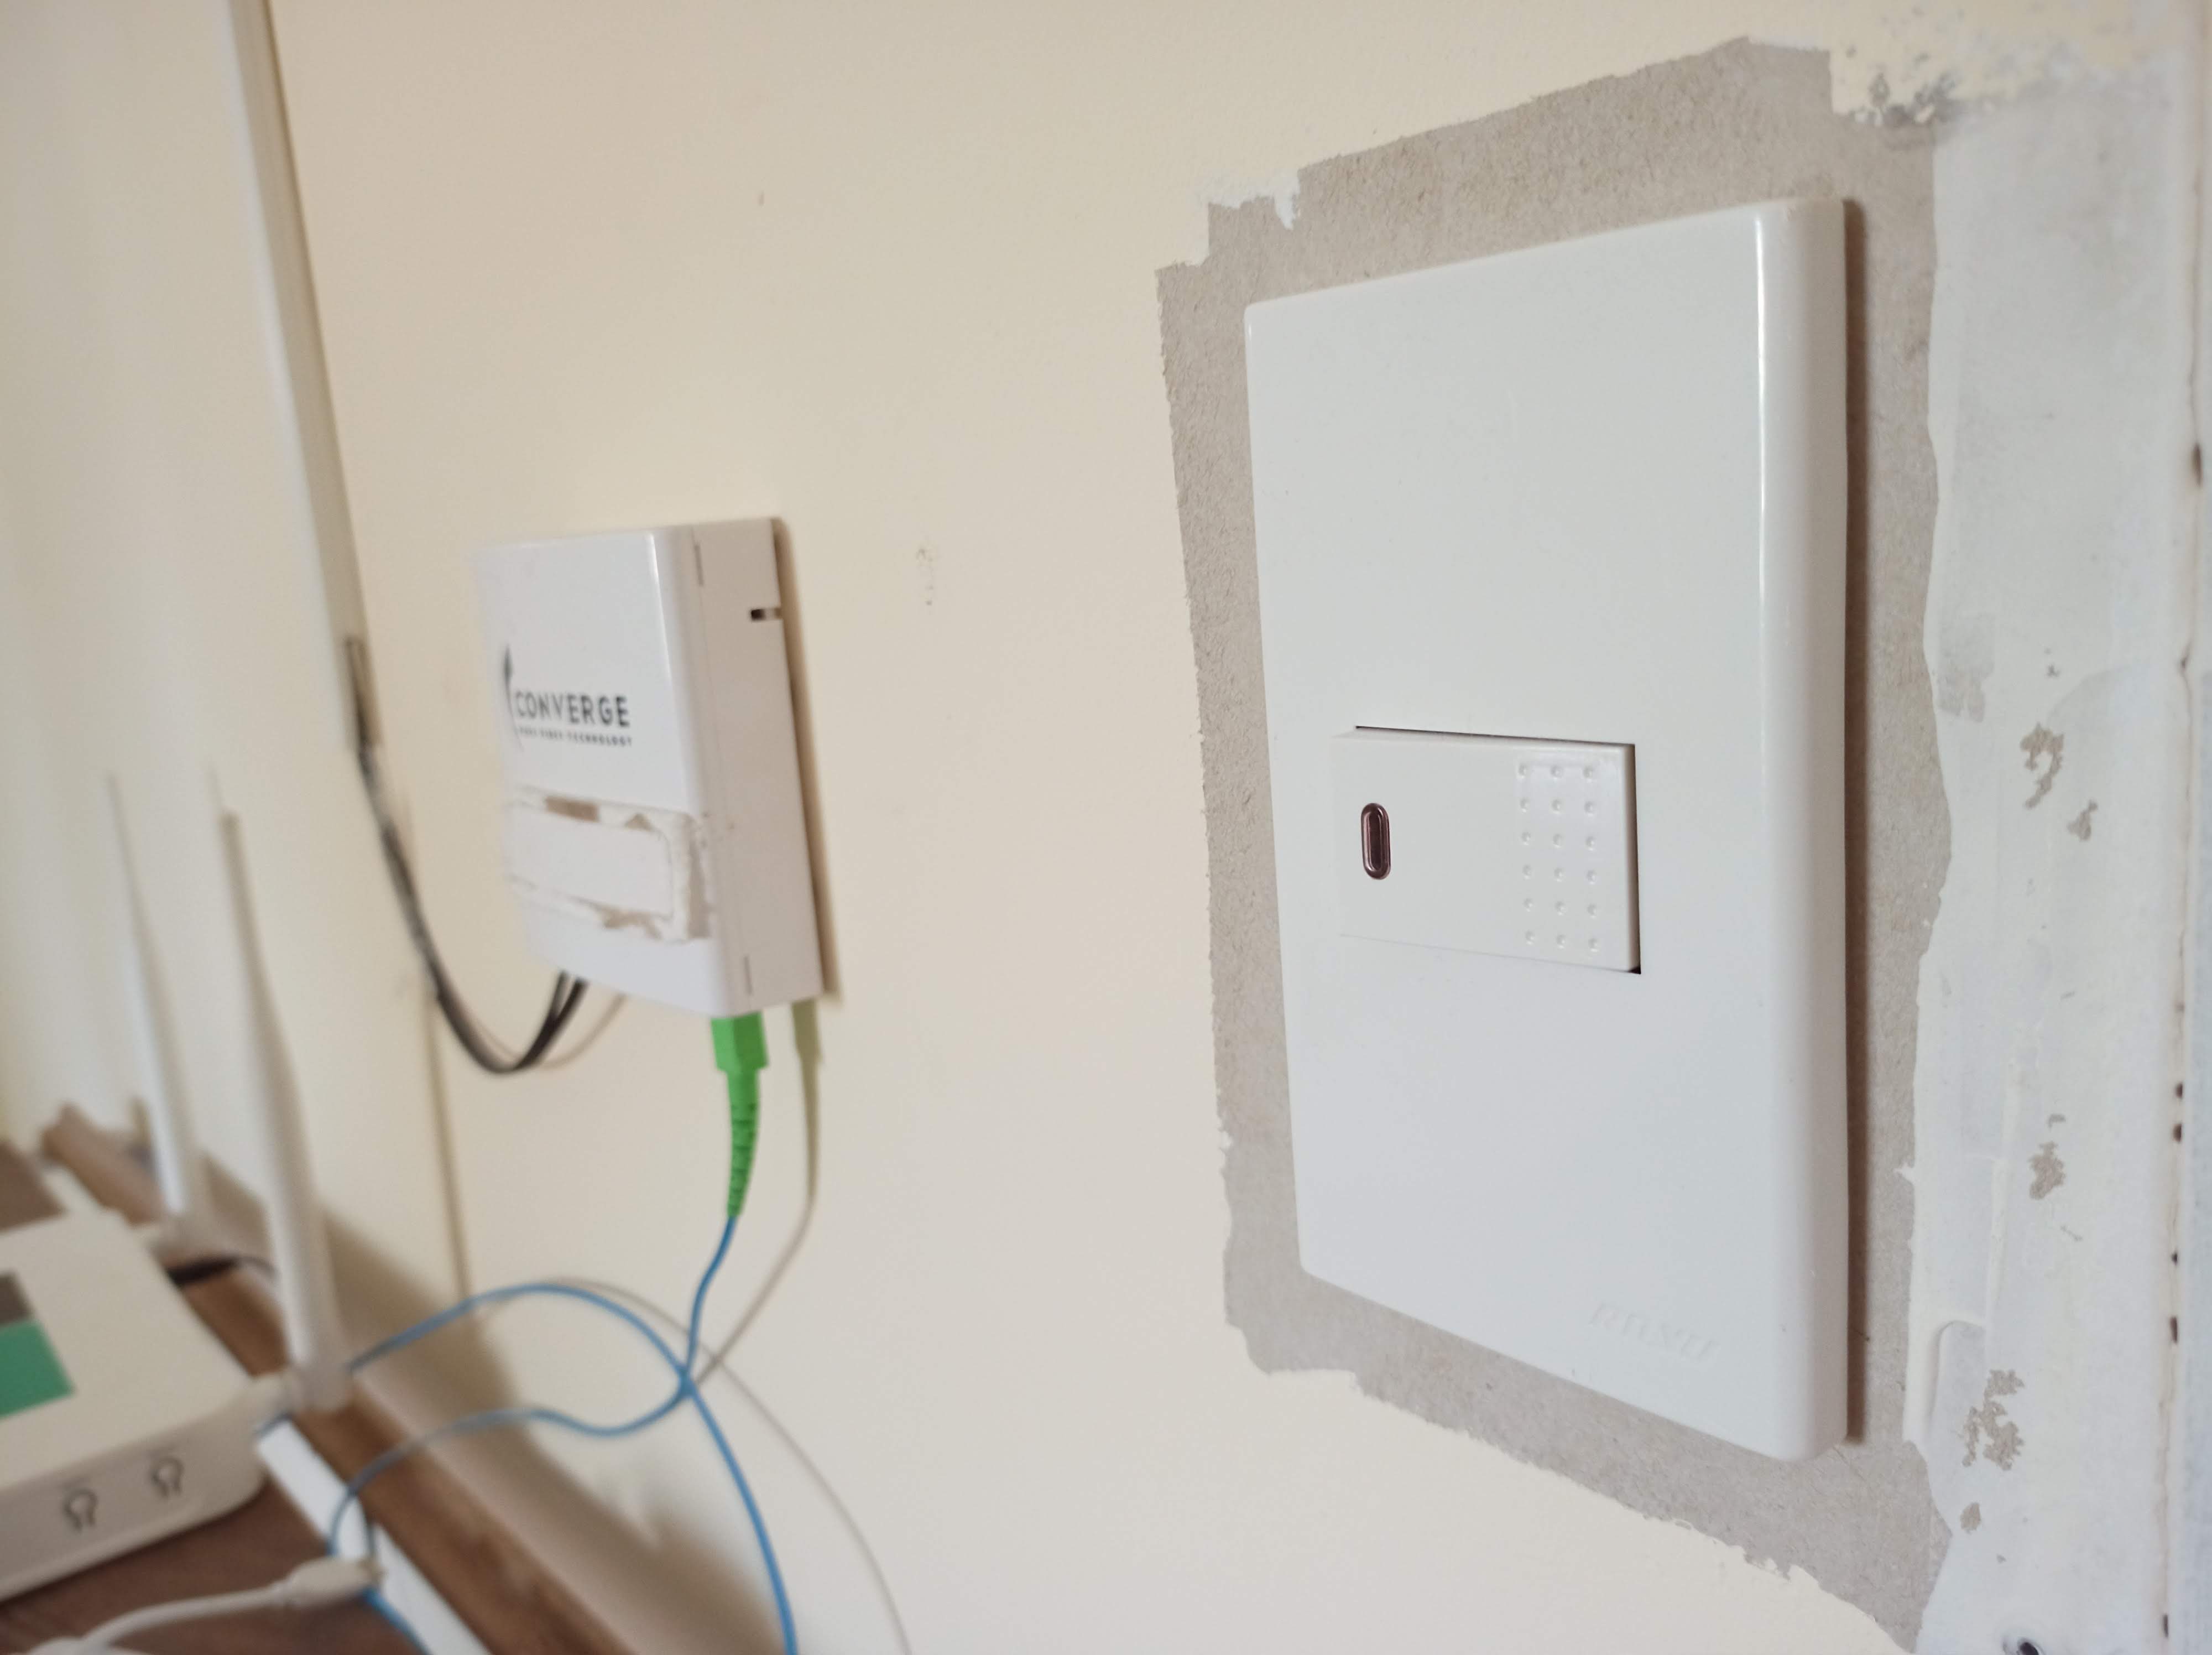 Removing the plastic
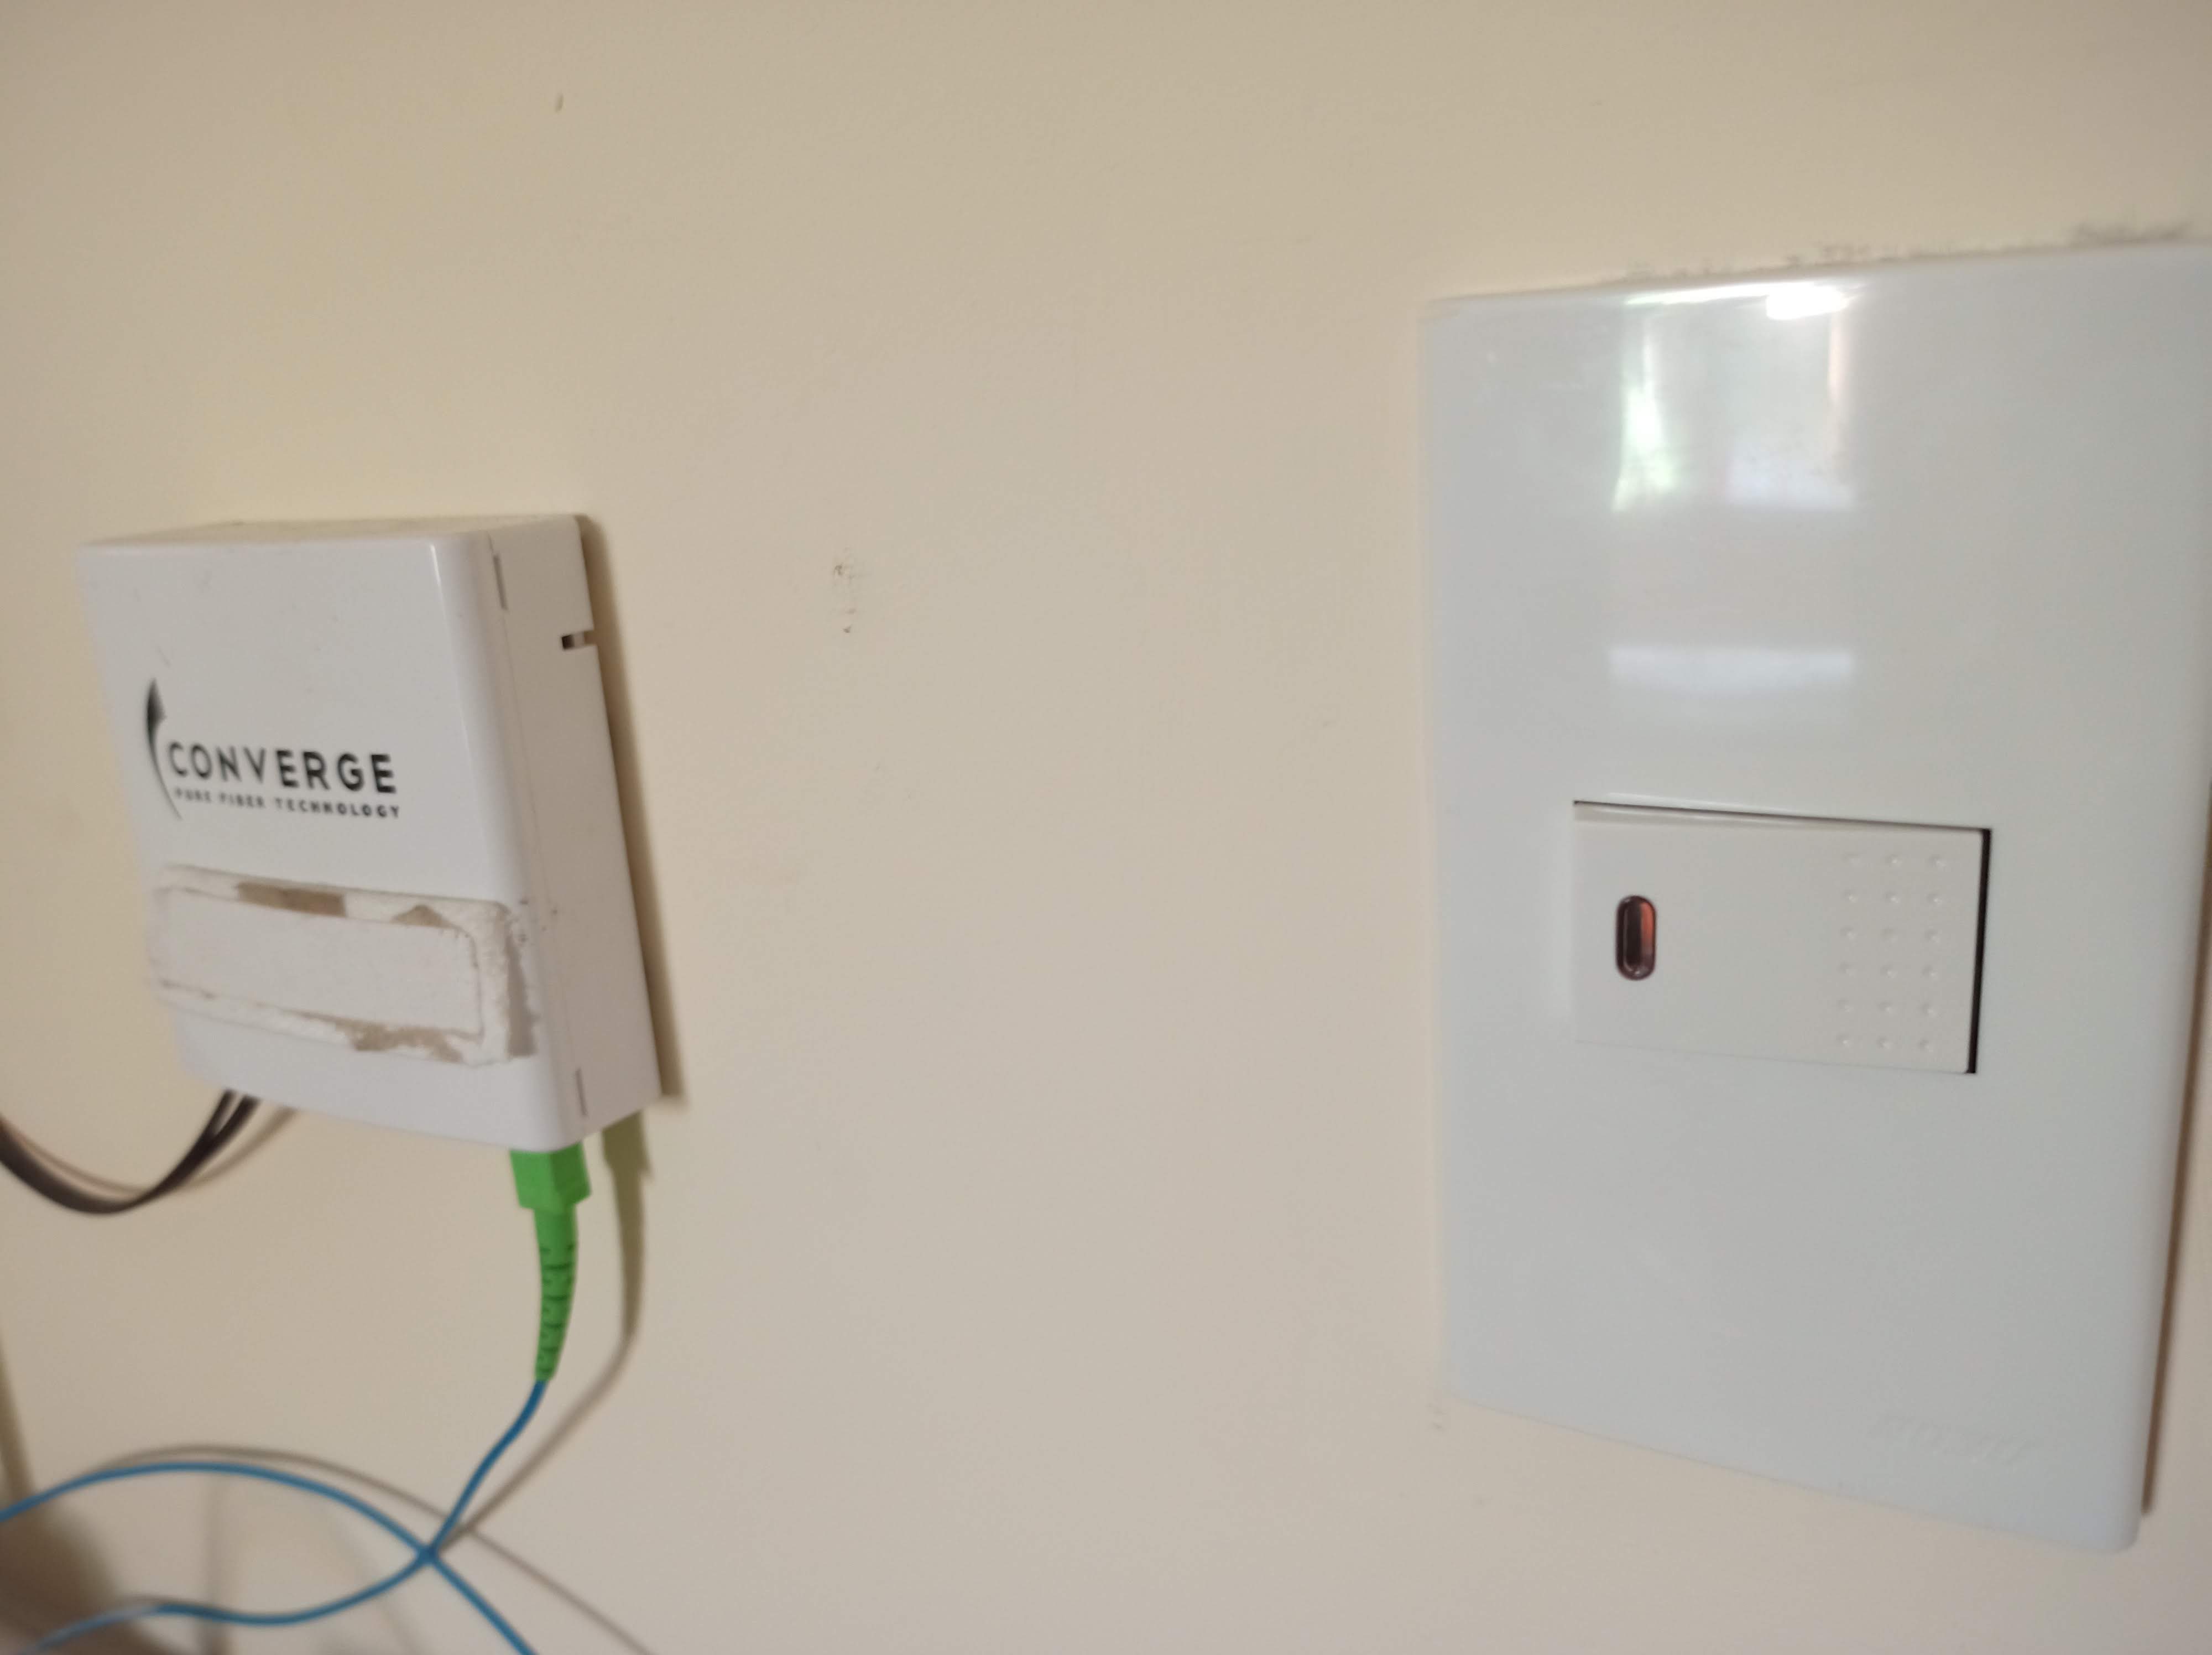 After retouching the sides
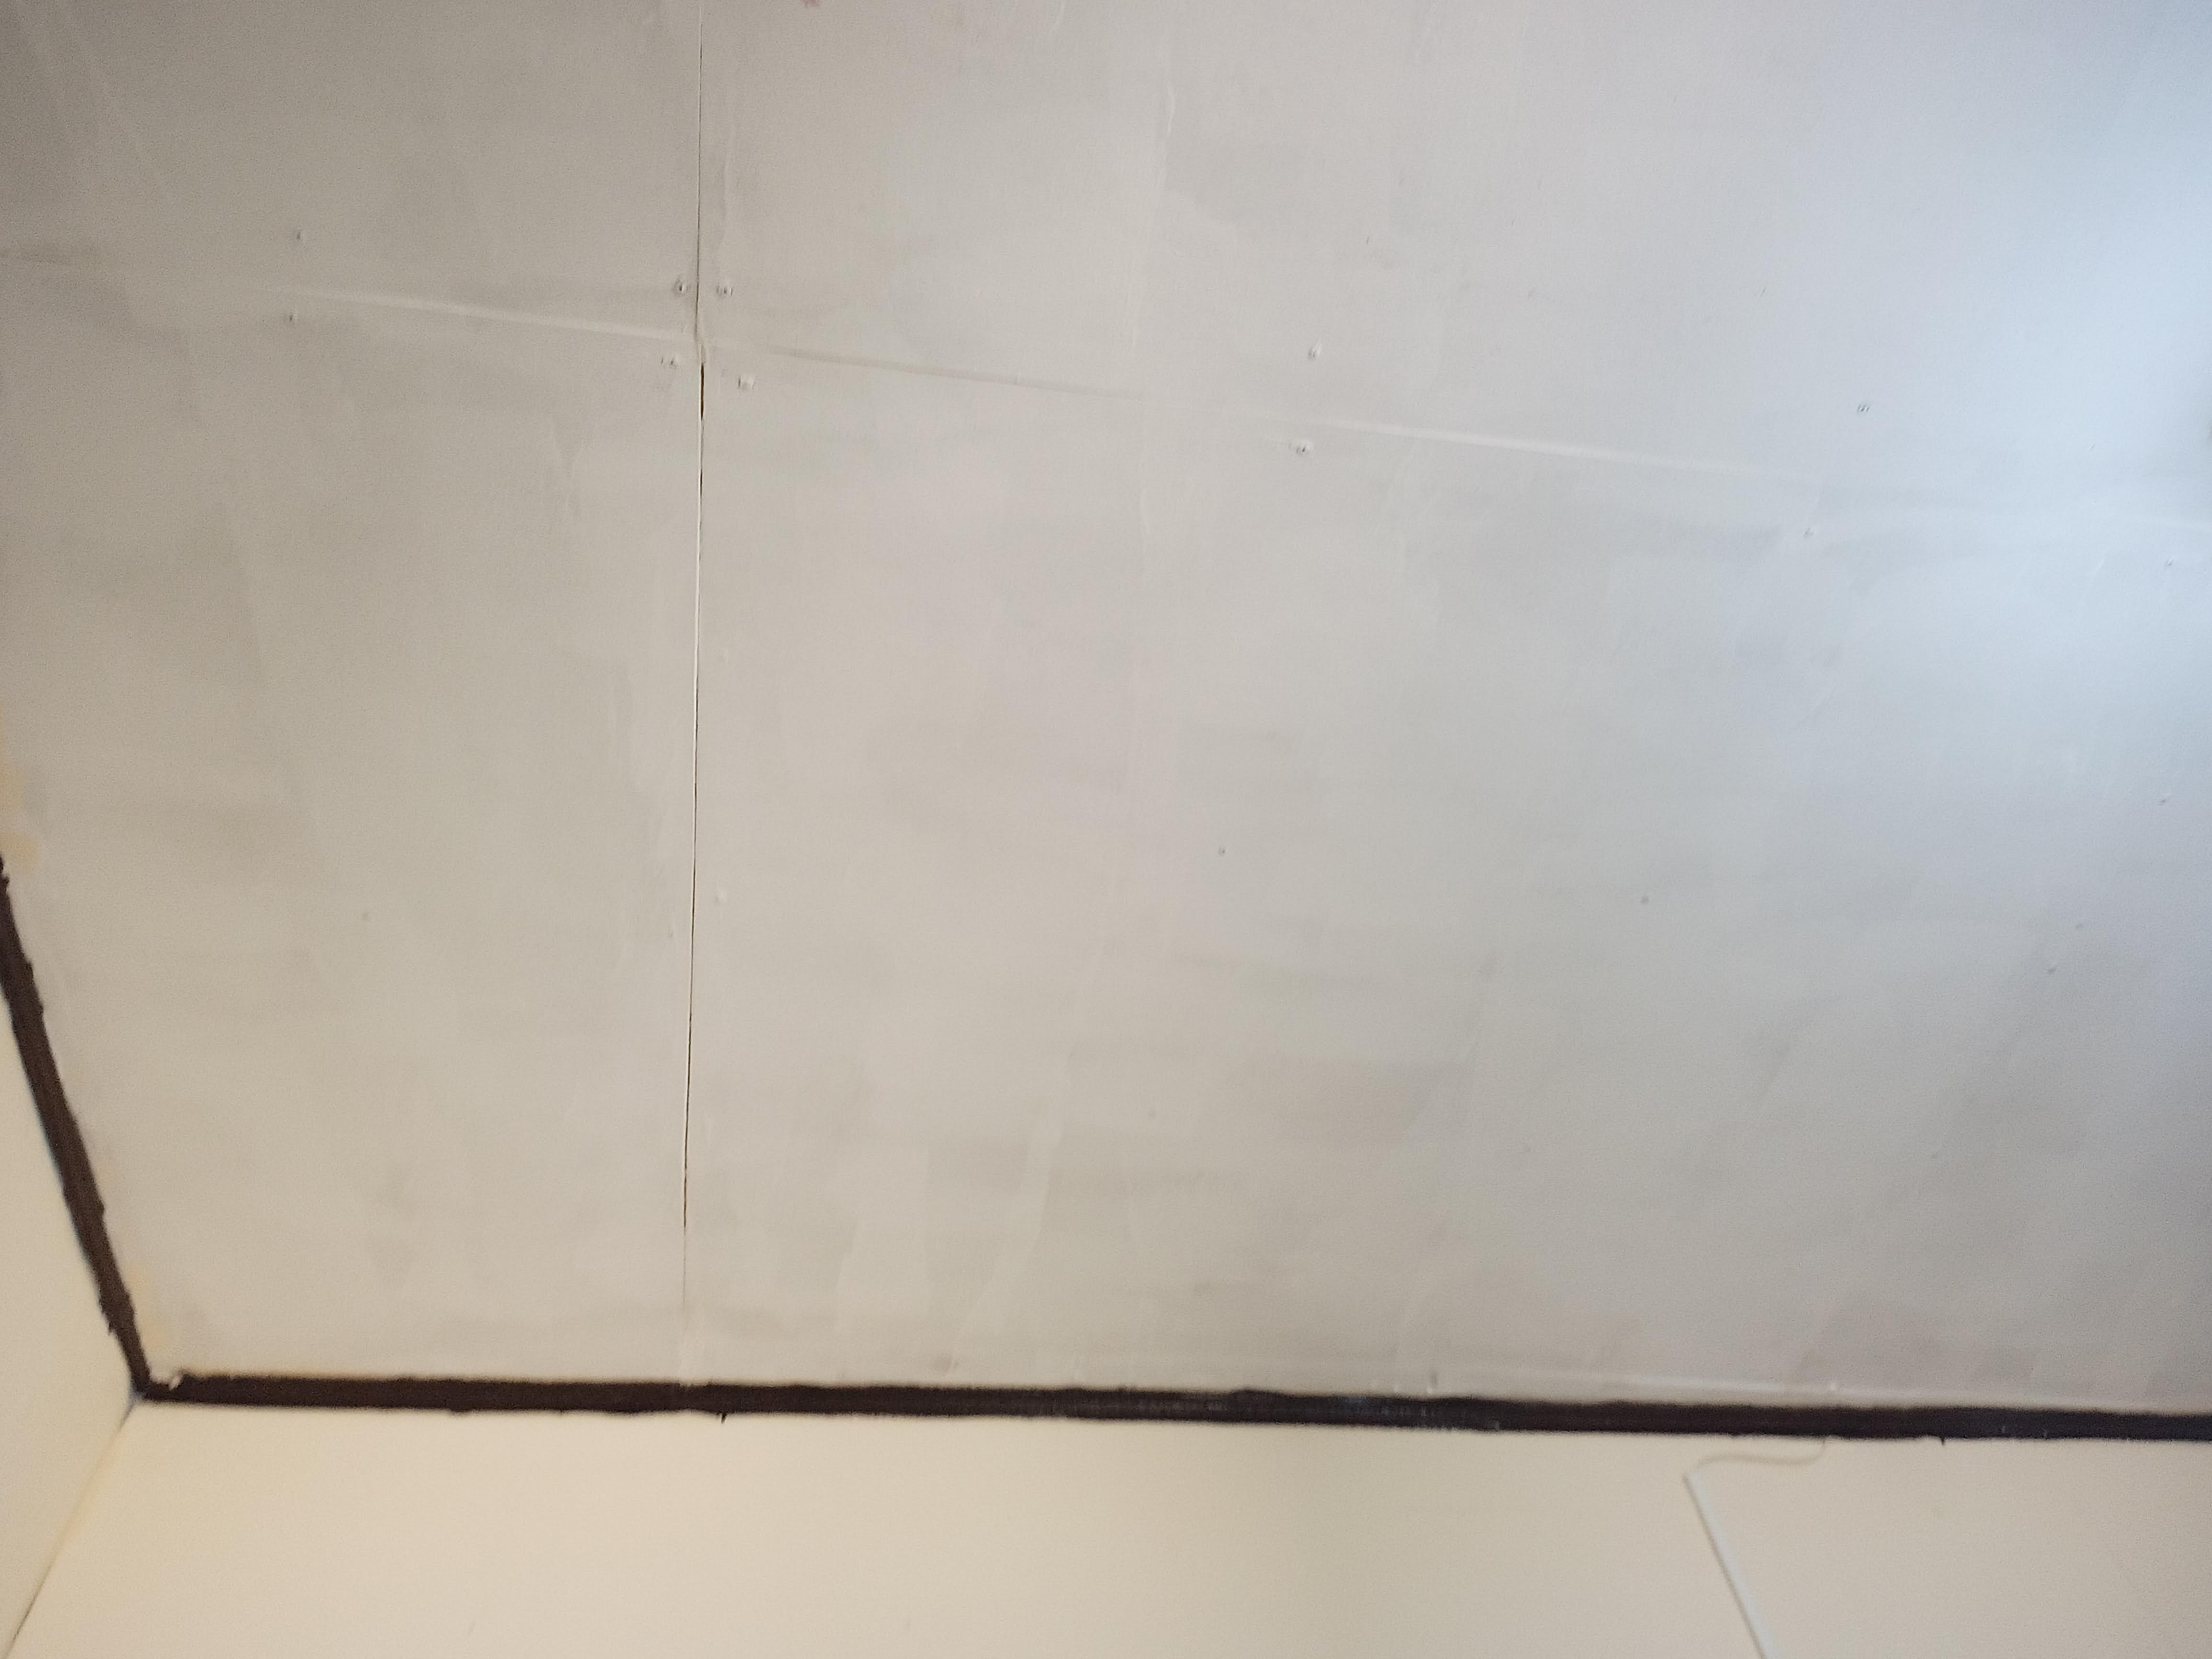
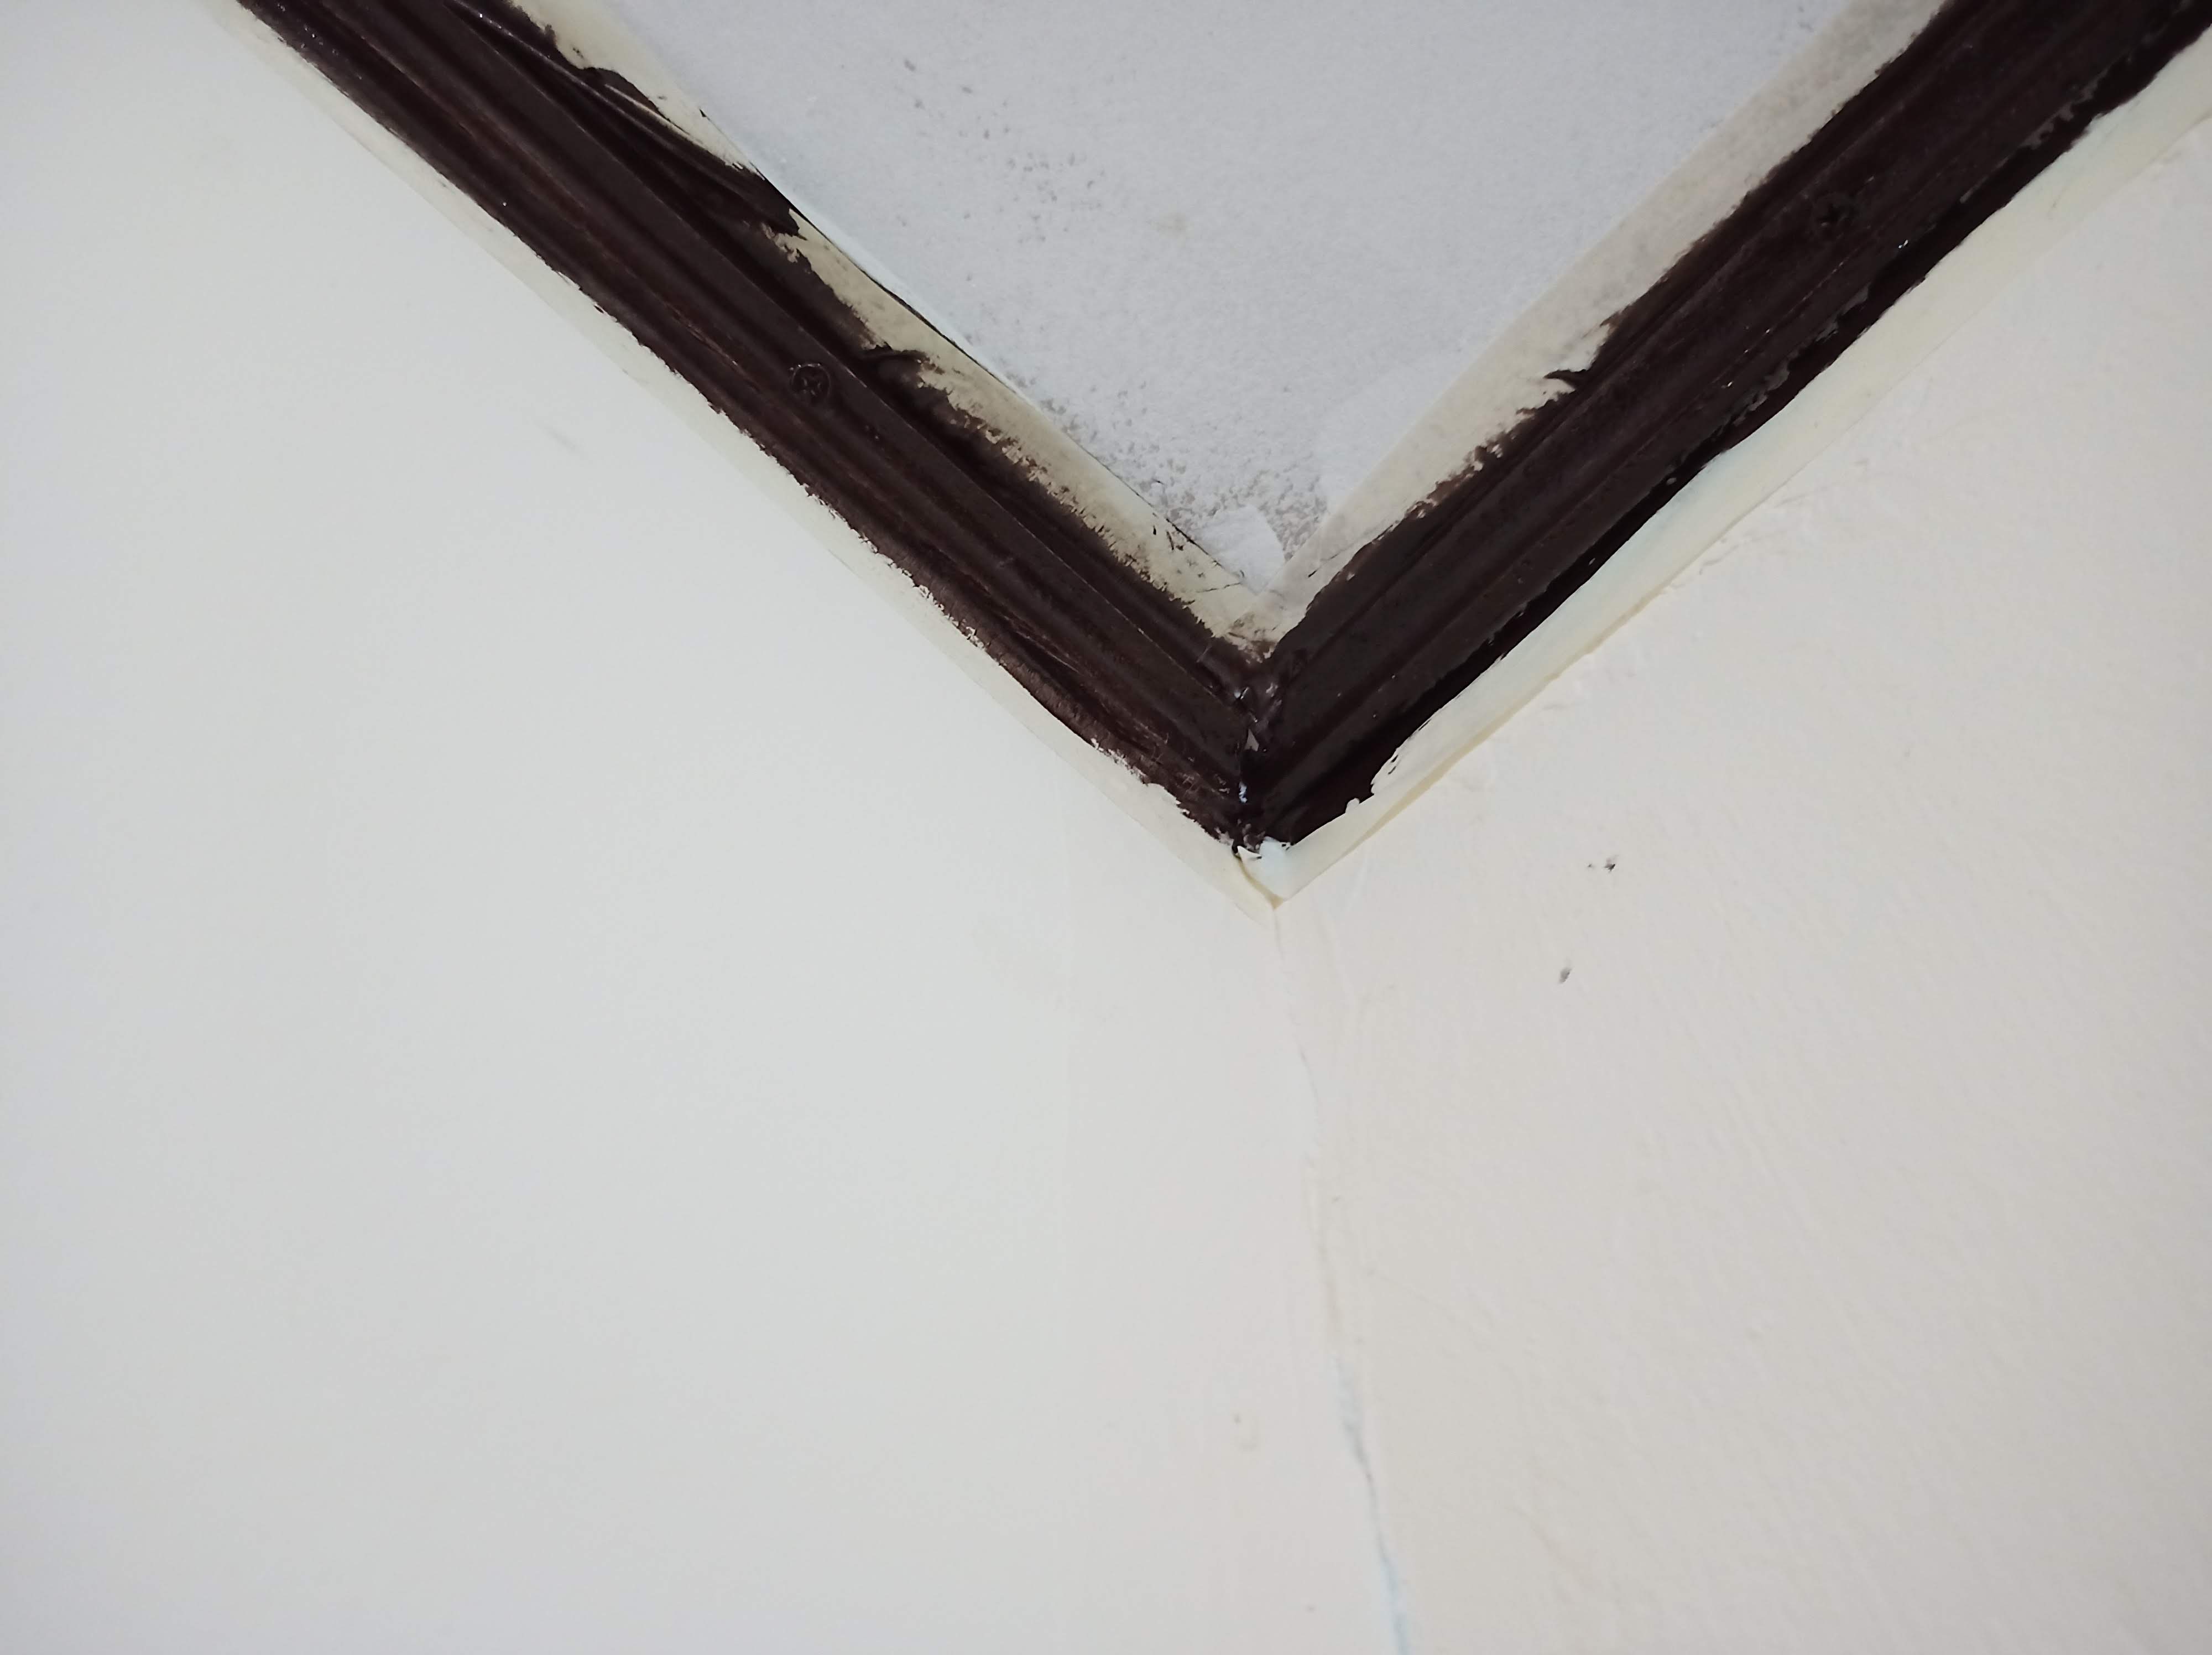
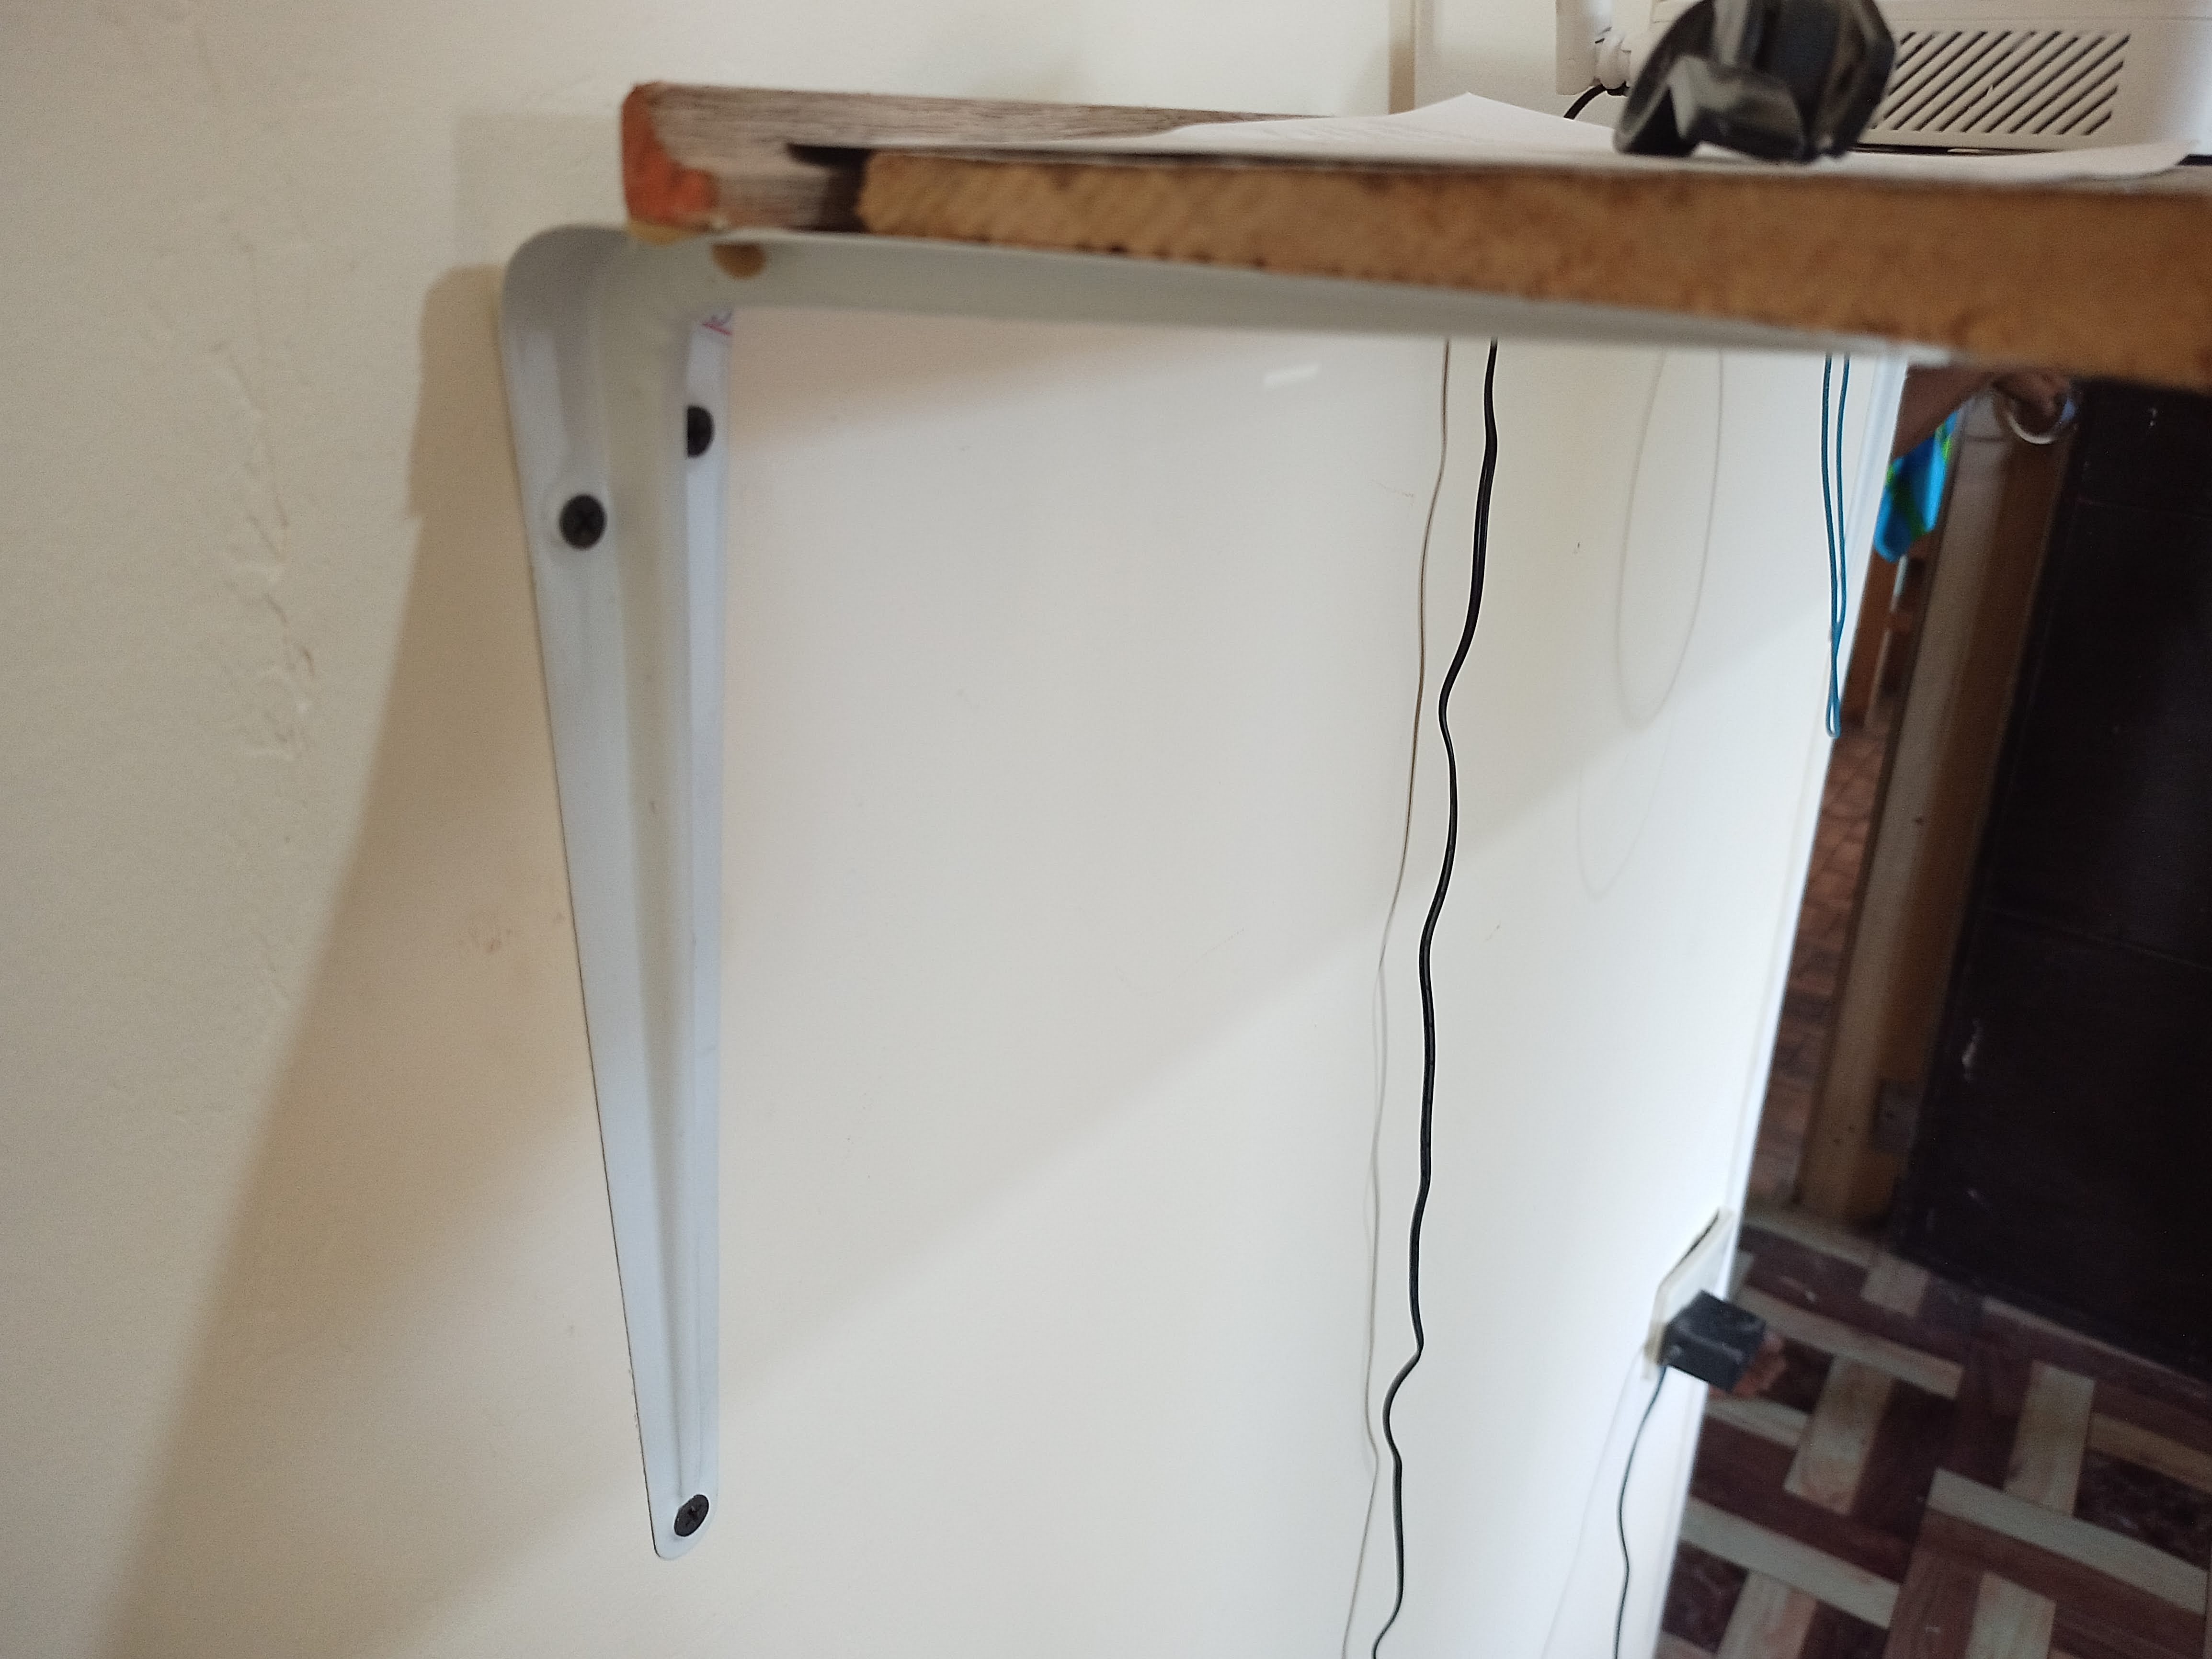
The edge formed between the walls and ceiling still have some little spaces. I wanted to install crown molding but it seems that I'm out of budget. I ended up using quarter c along the ceiling edge. If I'm not mistaken it's 4-5 times cheaper than the crown molding I wanted. We used black screws for the installation, taped in on both sides using masking tape then painted it with left over Q.D.E. chocolate brown paint.
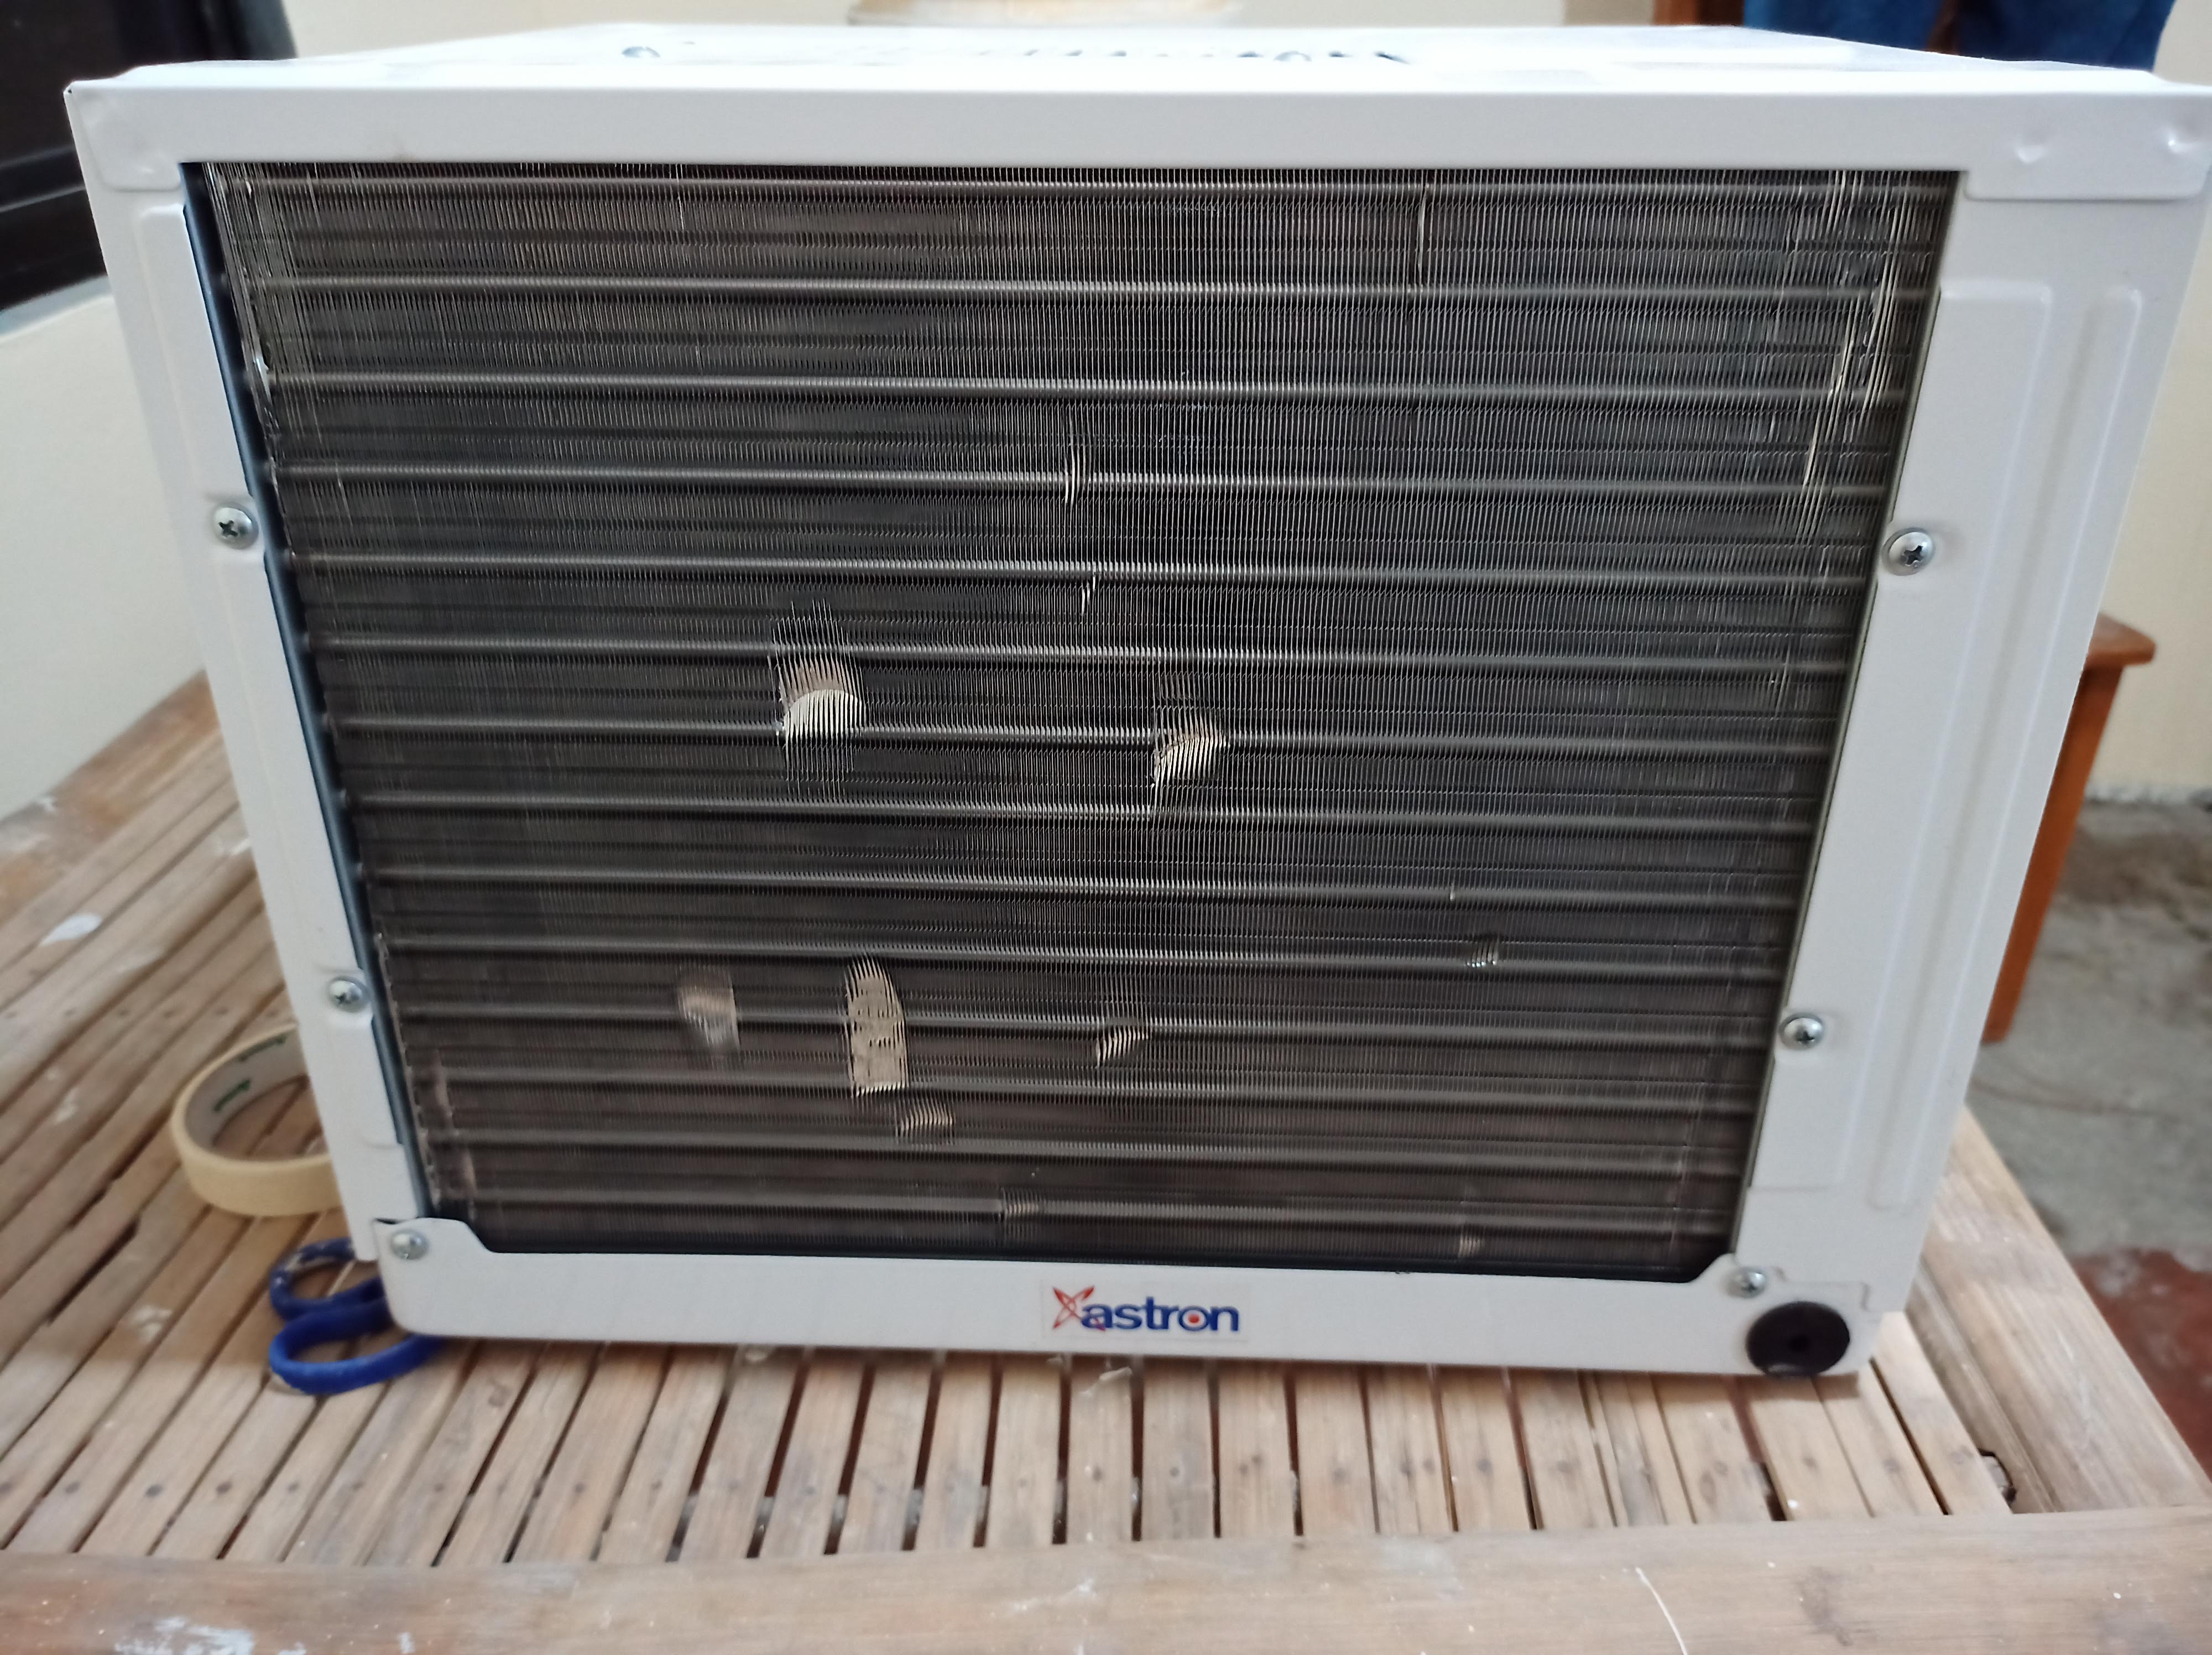
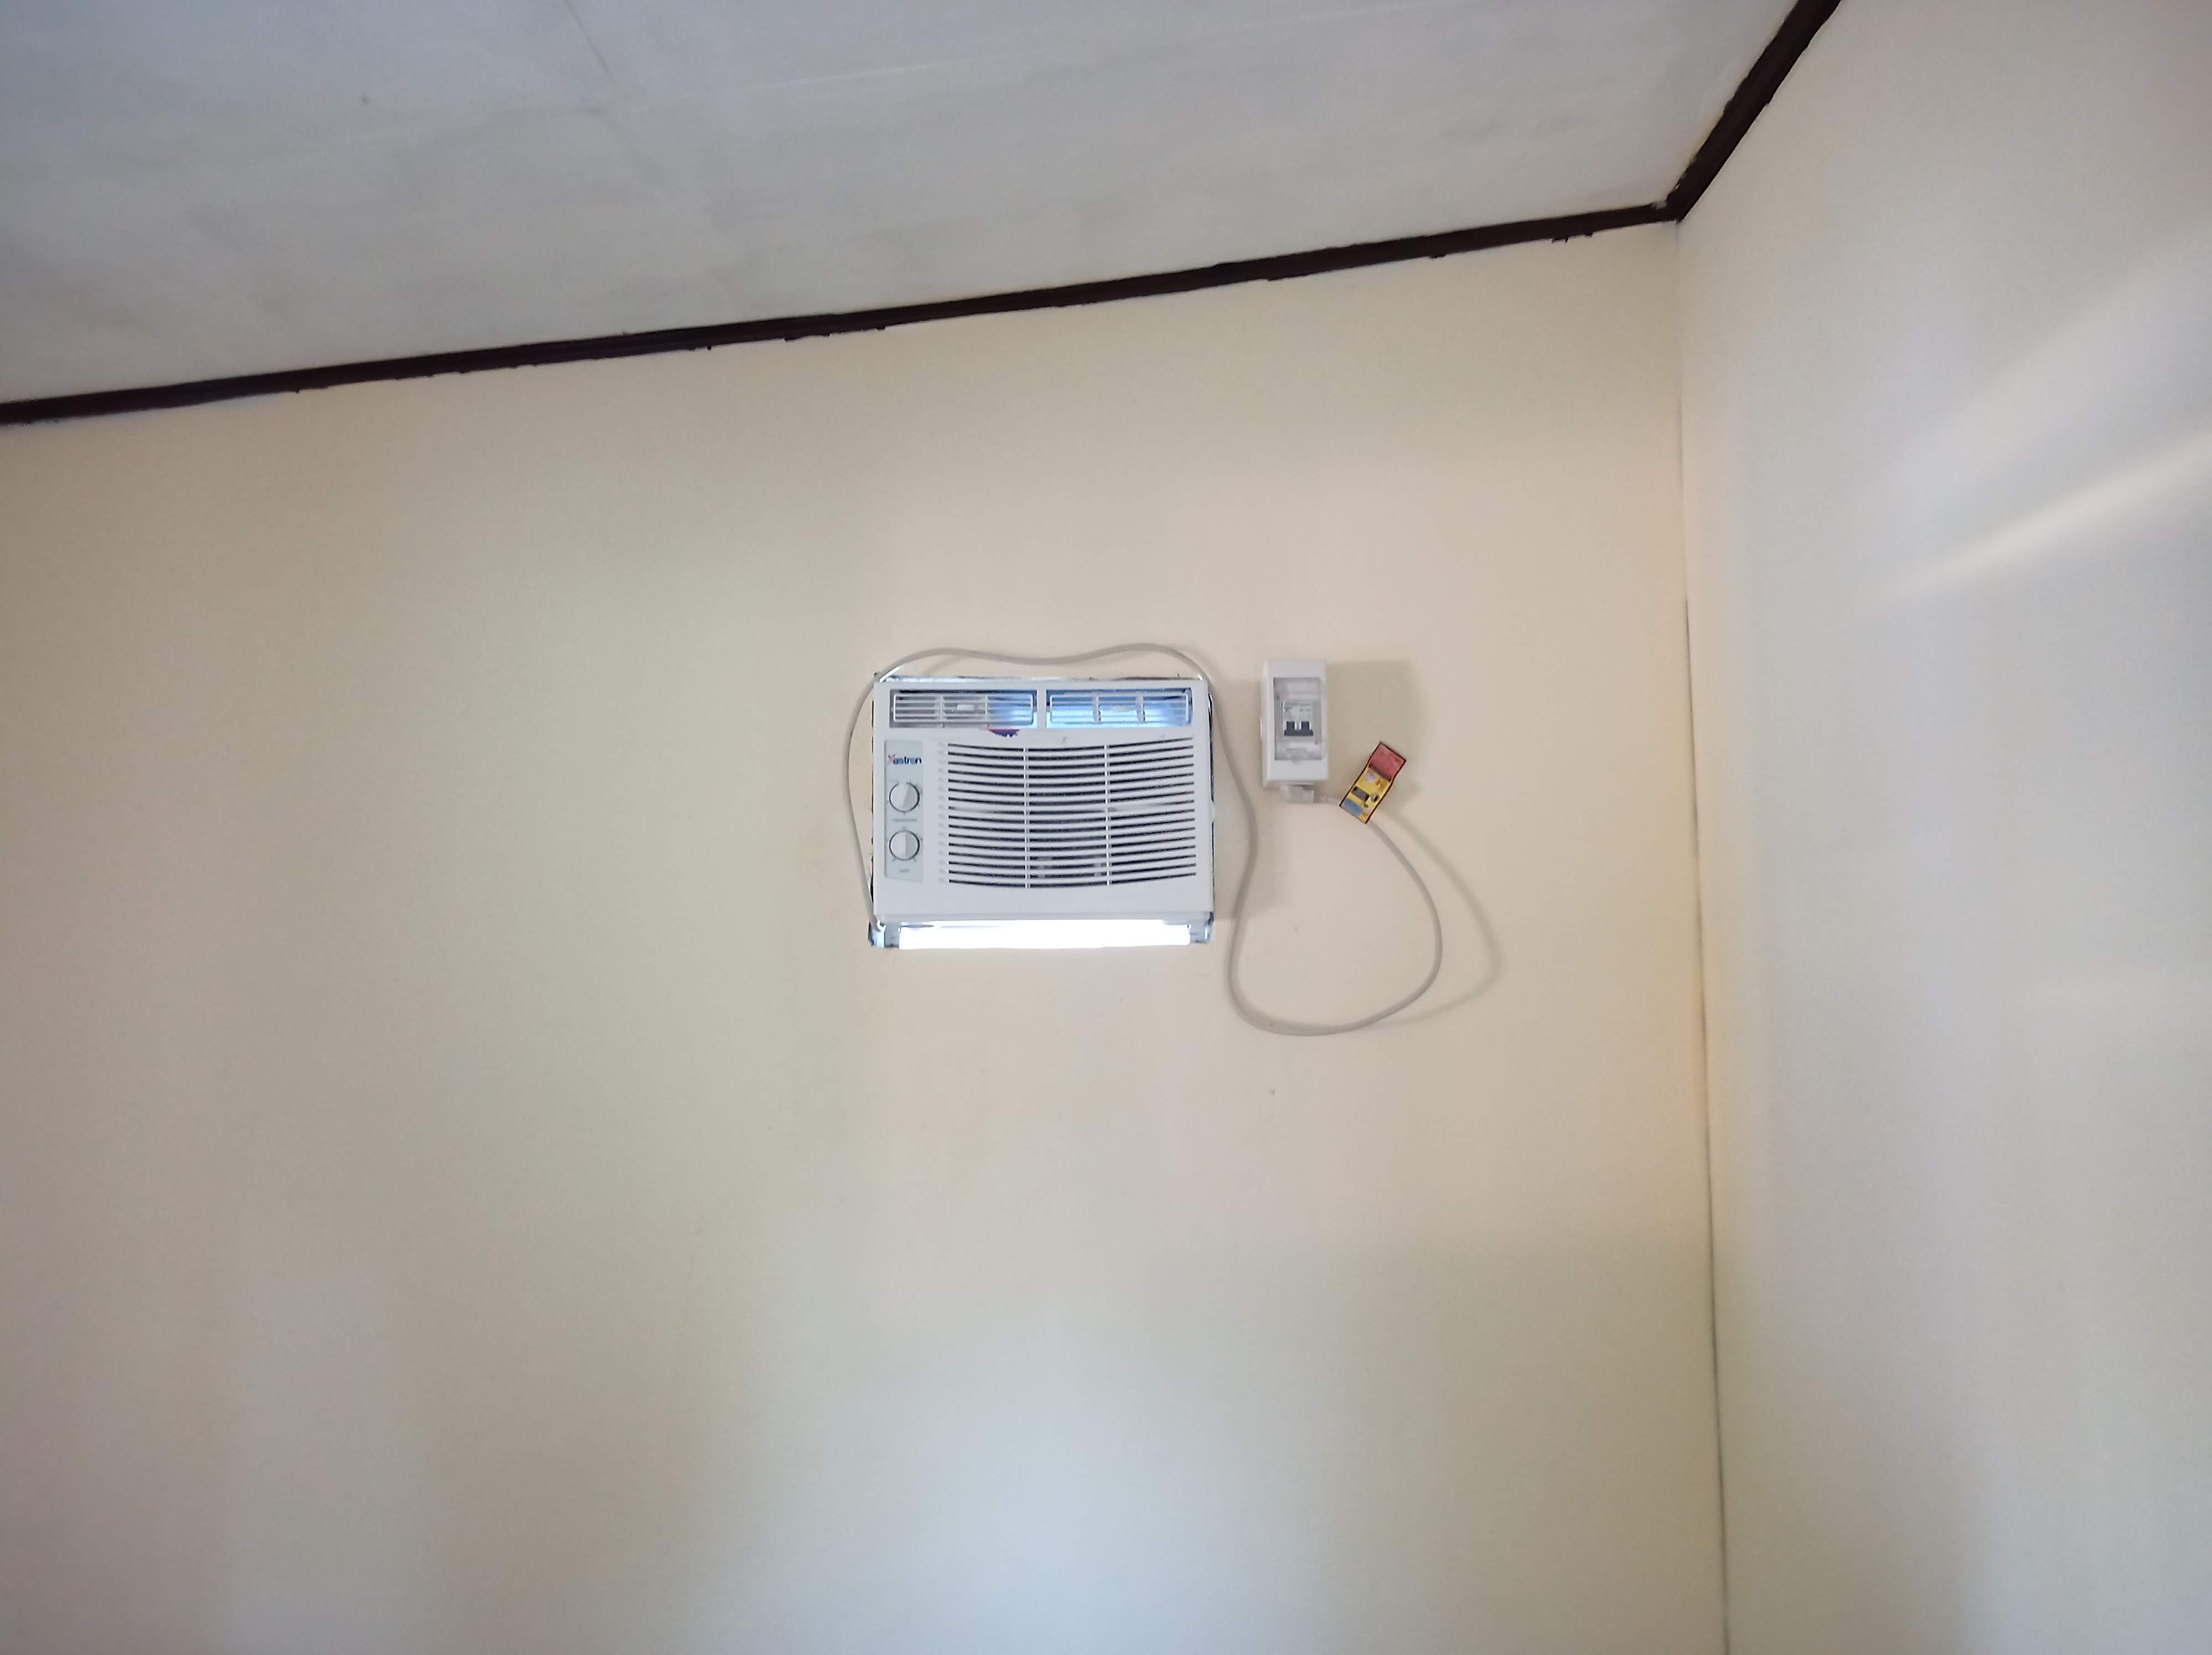
Another thing we did was installing a window type air conditioning unit to the room. It's the cheapest and one of the most economical option for us. It's a non-iverter 0.6 hp unit. It's not that powerful .6 hp is only around 450 Watts? What I like about it is that it's cheap and uses the same refrigerant as those inverter type aircons. Just remember to allocate a separate breaker for it. Do not use an adaptor or just plug it elsewhere. In my case I used a 20 A breaker with an A.C. plug. I bought it at around $13 at the hardware store.
It has some scratches at he back, maybe during transpo but it worked just fine when we tested it 12 hours after installation.
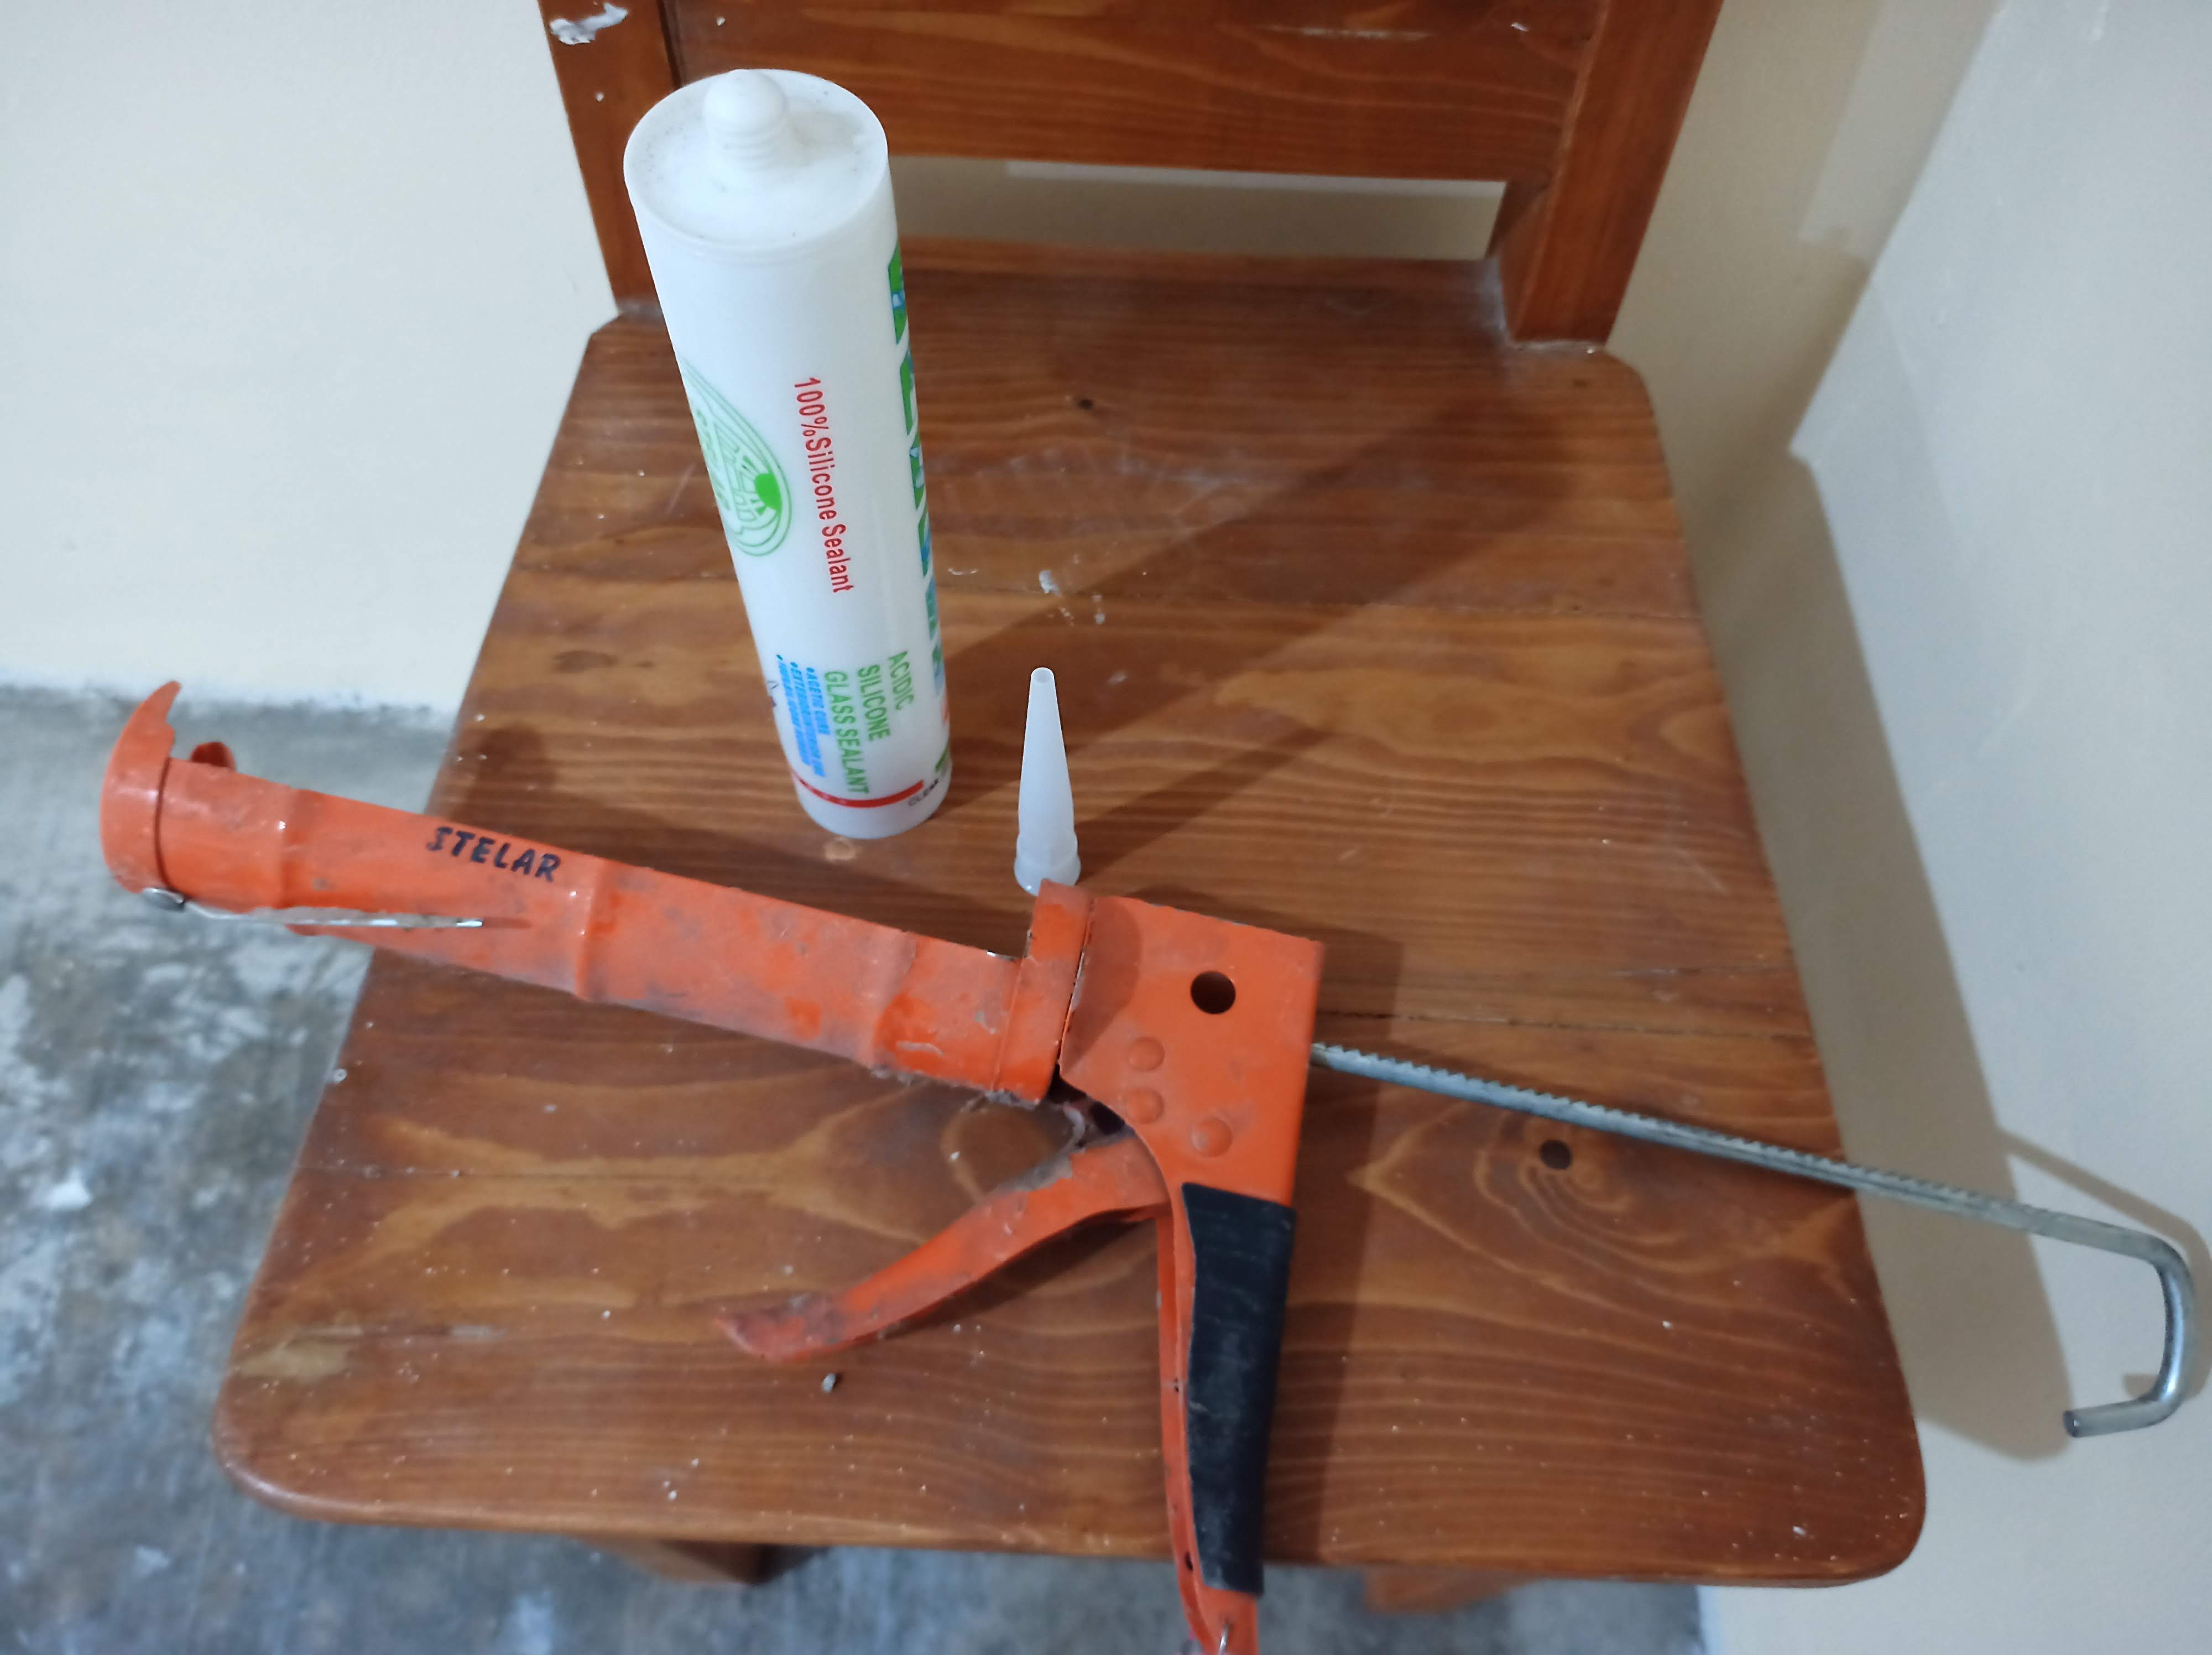
The last step would be sealing everything. I used Styrofoam between the large spaces of the A.C. unit. I then covered it with aluminum insulation. For other spaces I used silicone sealant. I love everything about using the sealant except for the smell. It's like the purest of vinegars the world has produced. It's very easy to apply. To avoid bulging I recommend using your fingers to even it out. Just remember to wash to your hands properly after application.
The Final-est of Thoughts
There are many things I've learnt in this journey. It's not only a drywall, there are lots of other things involve. From installing the studs, cutting the itchy insulations, dealing with materials that are falsely advertised and many more. It's quite a roller coaster ride, there are frustrations but most of the time are fun and satisfying moments. I've learnt about being patient, in this type project being hasty would only prolong the process and make it even more arduous in the long run. Slow, steady and precise those are three ethics that really help me throughout. It might take a long time before I started another project like this and I do hope you'll still be there to join me. Thank you very much! See you soon...