Hello friends of this platform, today I bring you a tutorial where I am going to teach you how to make a beautiful personalized invitation for the birthdays of the smallest of the house
Hola amigos de esta plataforma hoy les traigo un tutorial en donde les voy a enseñar como elaborar una hermosa invitación personalizada para cumpleaños de los mas pequeños de la casa
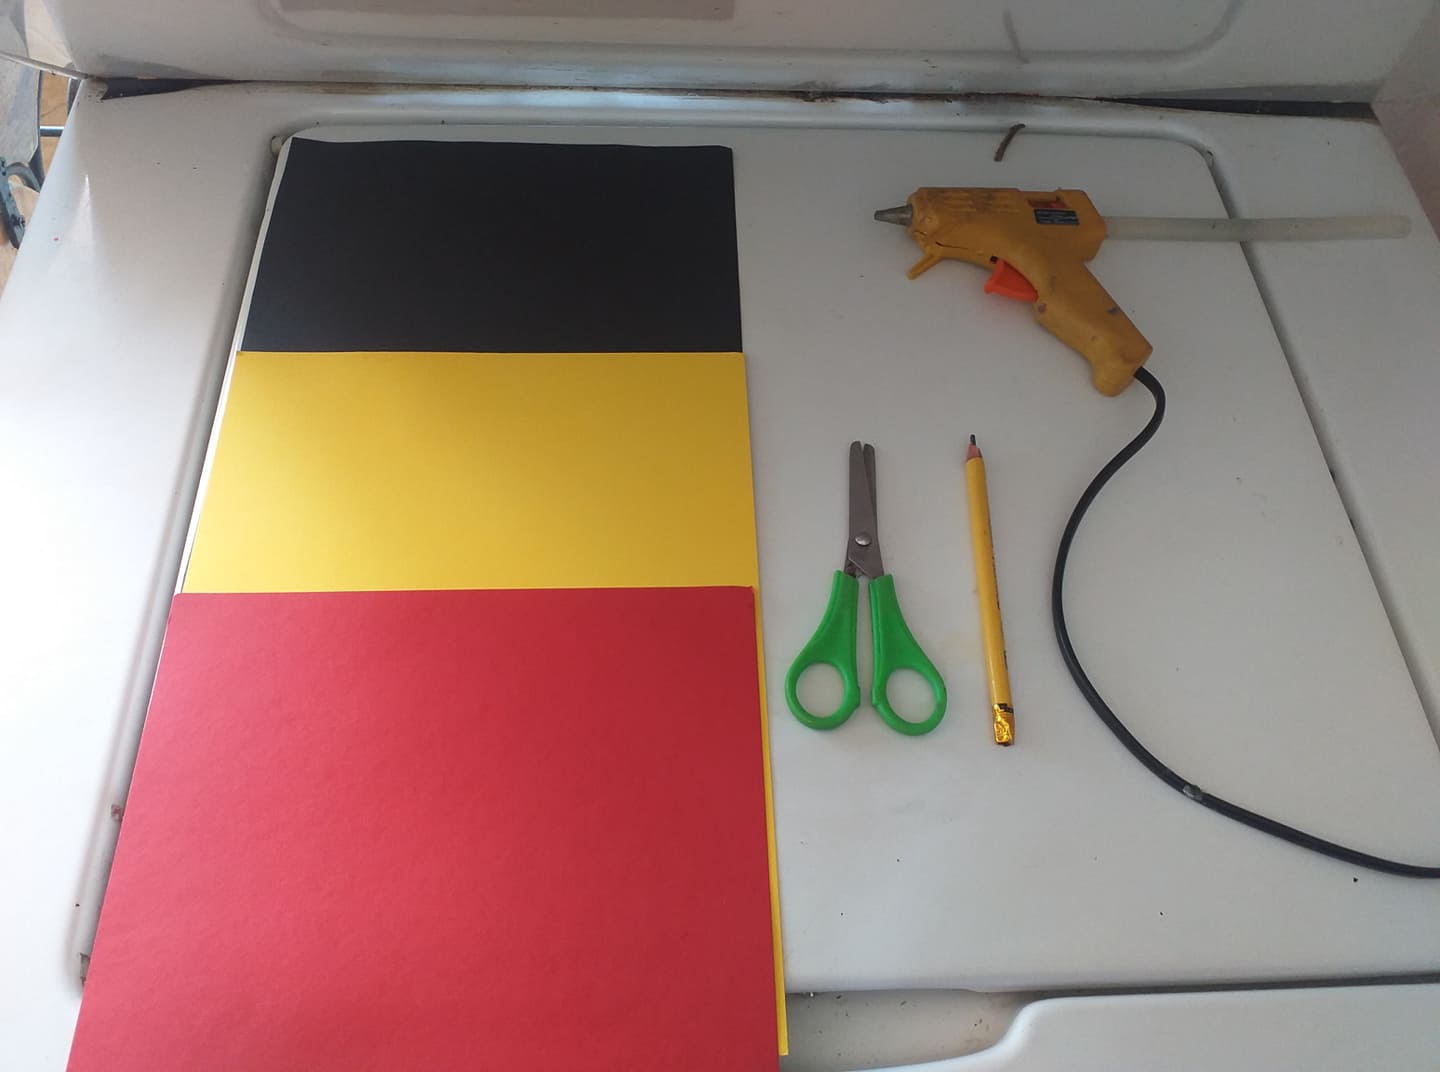
Materials:
⚫ Yellow cardstock
⚫ Black cardstock
⚫ Red cardstock
⚫ Scissors
⚫ Pencil
⚫ Silicone gun
Materiales:
⚫ Cartulina amarilla
⚫ Cartulina negra
⚫ Cartulina roja
⚫ Tijera
⚫ Lápiz
⚫ Pistola de silicon
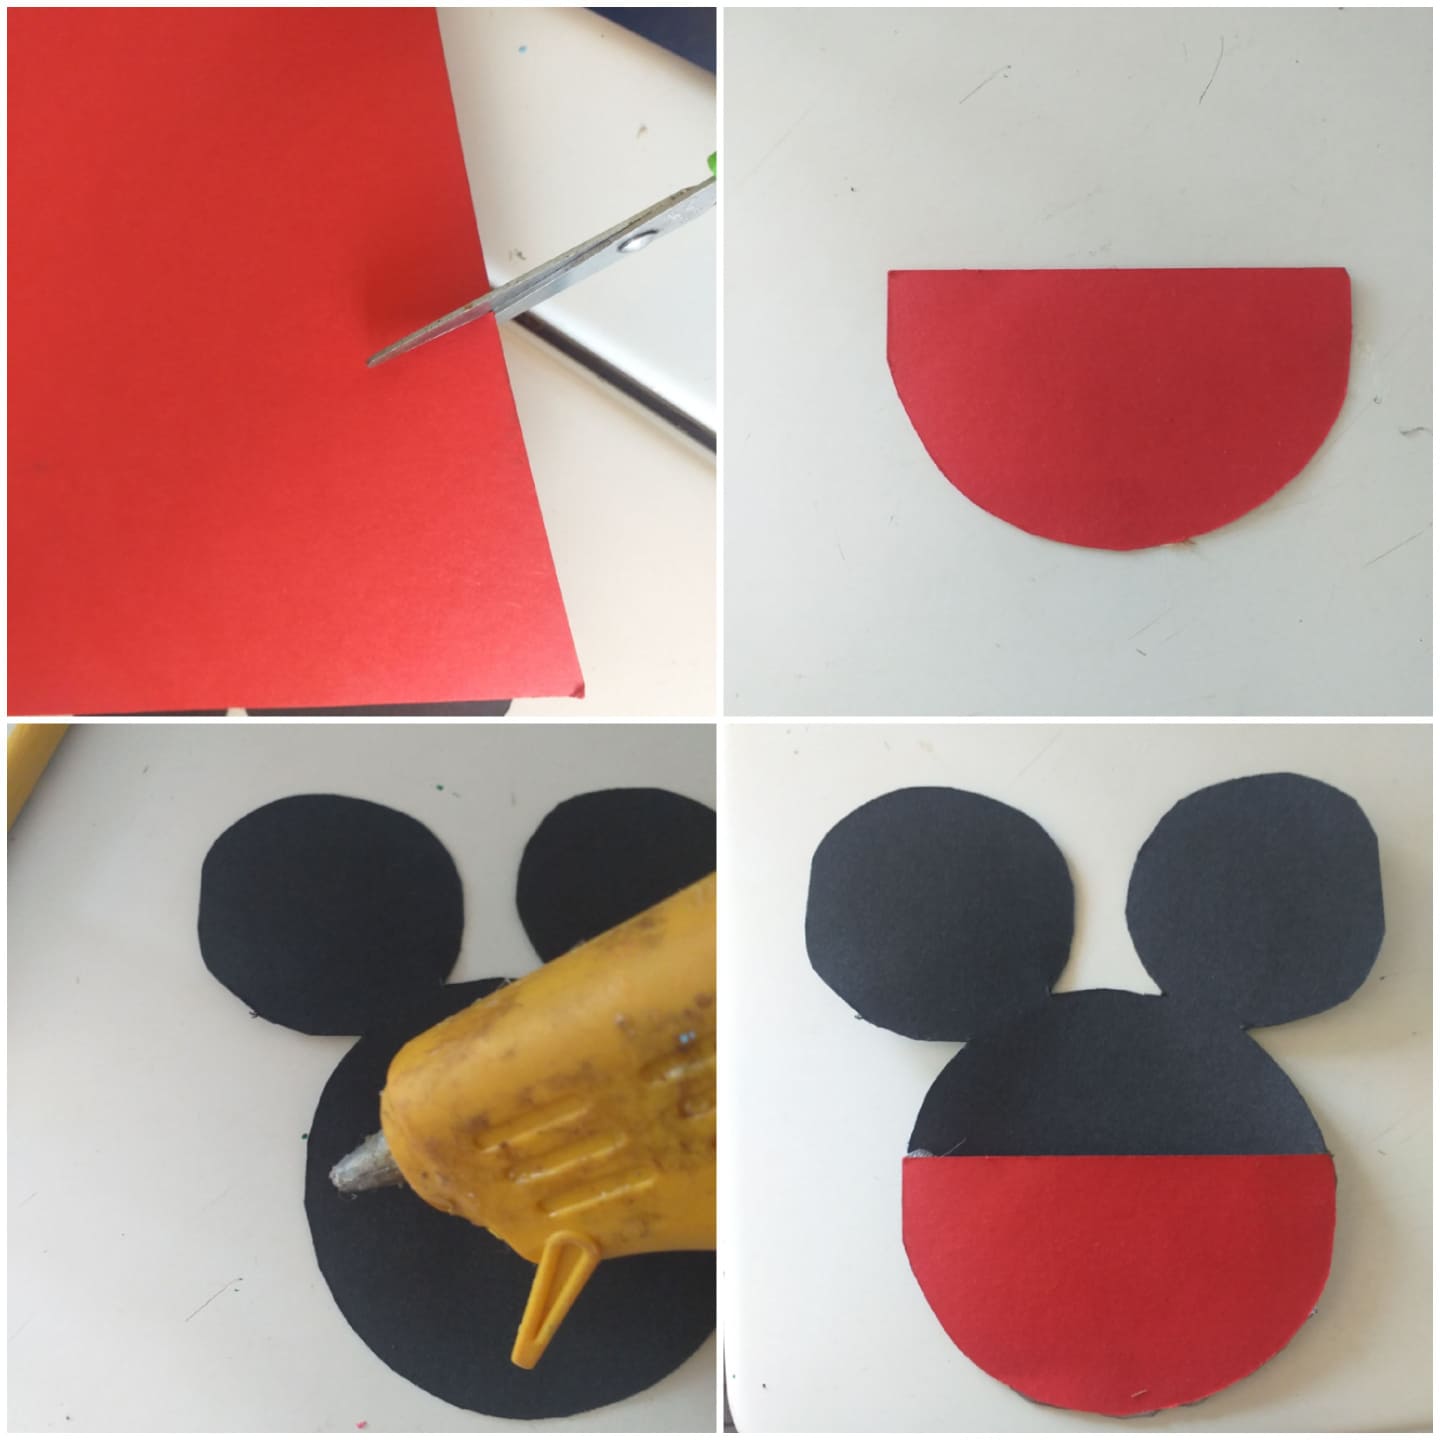
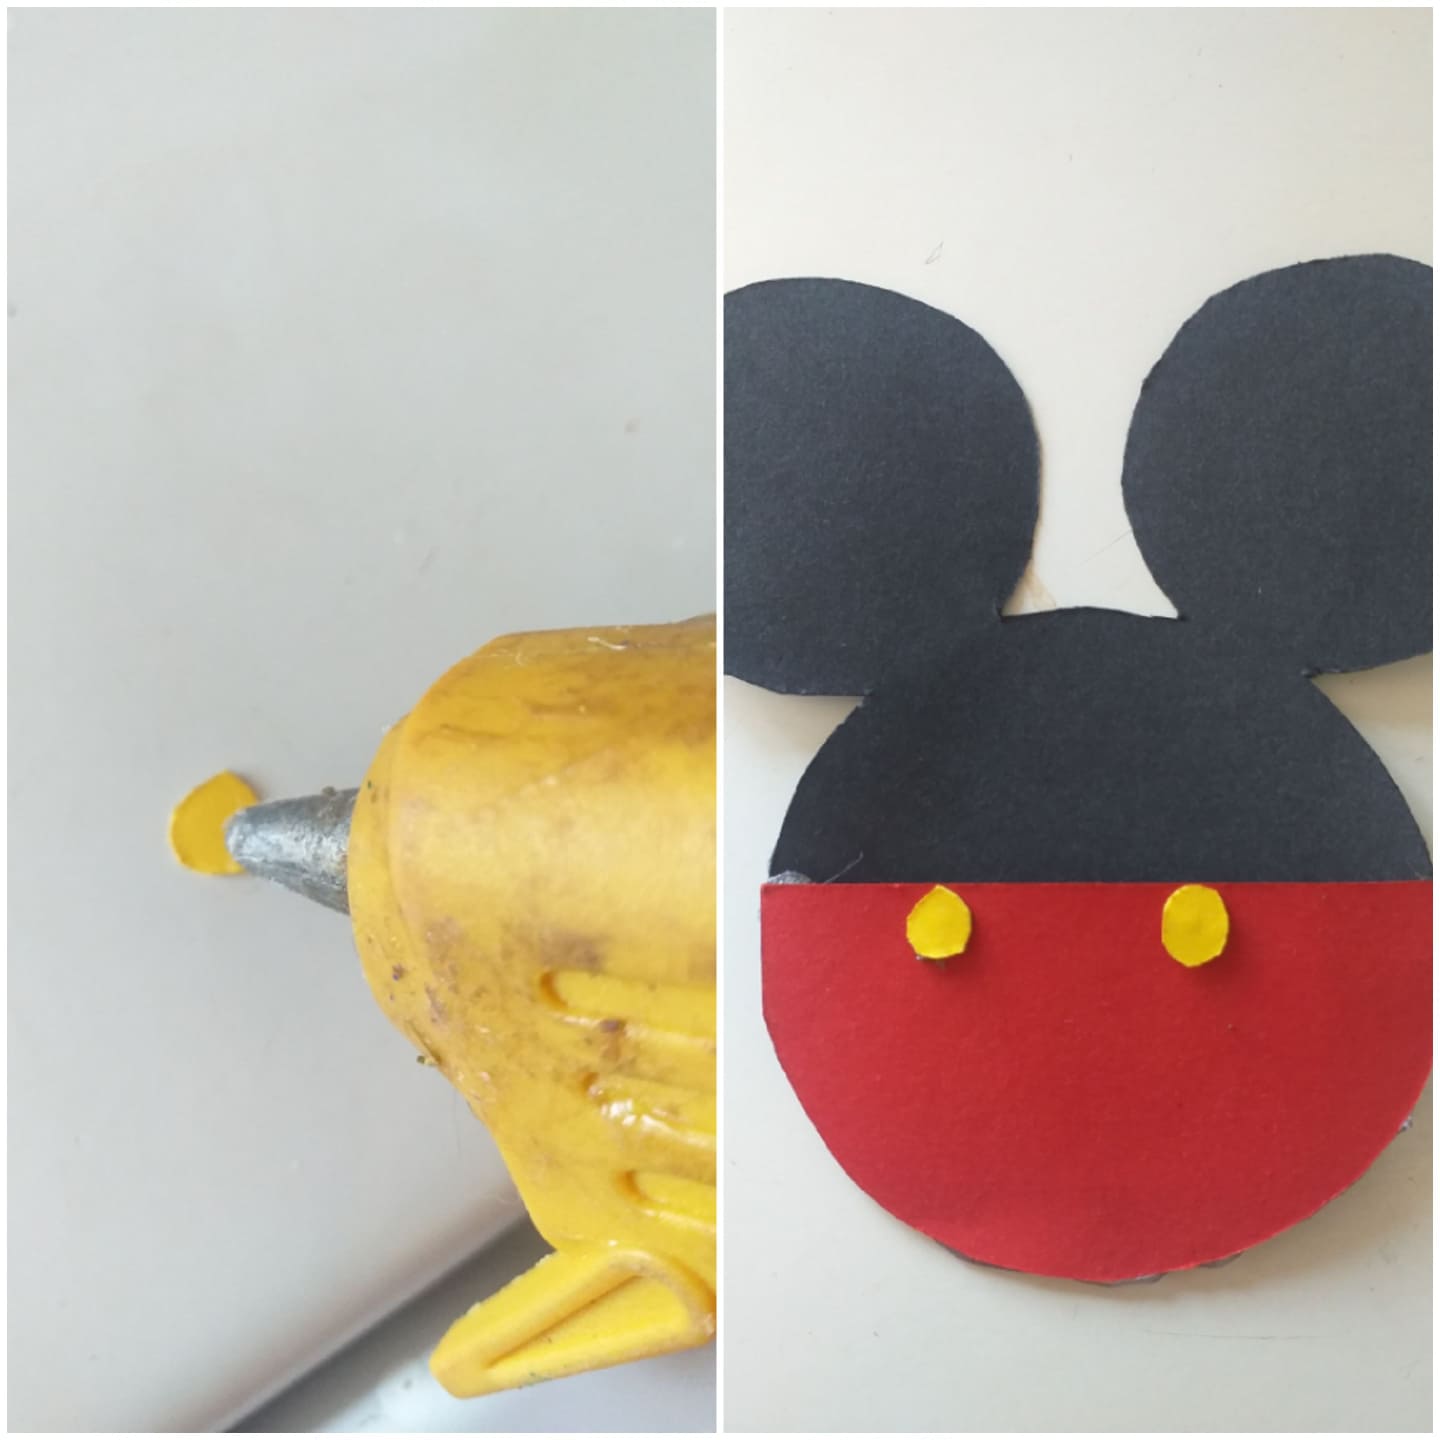
Step 1
As the first step to follow, we will start by drawing on the black cardstock the shape of the head and the ears of Mickey Mouse, once that is done we will cut out the head and the ears of Mickey
Paso 1
Como primer paso a seguir,iniciaremos dibujando en la cartulina negra la forma de la cabeza y las orejas de Mickey Mouse,una vez hecho eso recortaremos la cabeza y las orejas de Mickey

Step 2
Then we will cut the red cardstock in the shape of a half circle, once that is done it will stick from the bottom to our Mickey Mouse head
Paso 2
Luego recortaremos la cartulina roja en forma de un medio circulo,una vez hecho eso se le pegara por la parte de abajo a nuestra cabeza de Mickey Mouse
Step 3
Then we will draw two small circles on the yellow cardstock, once that is done we will cut out the two circles of yellow cardstock
Paso 3
Despues dibujaremos dos pequeños circulos en la cartulina amarilla, una vez hecho eso recortaremos los dos circulos de cartulina amarilla
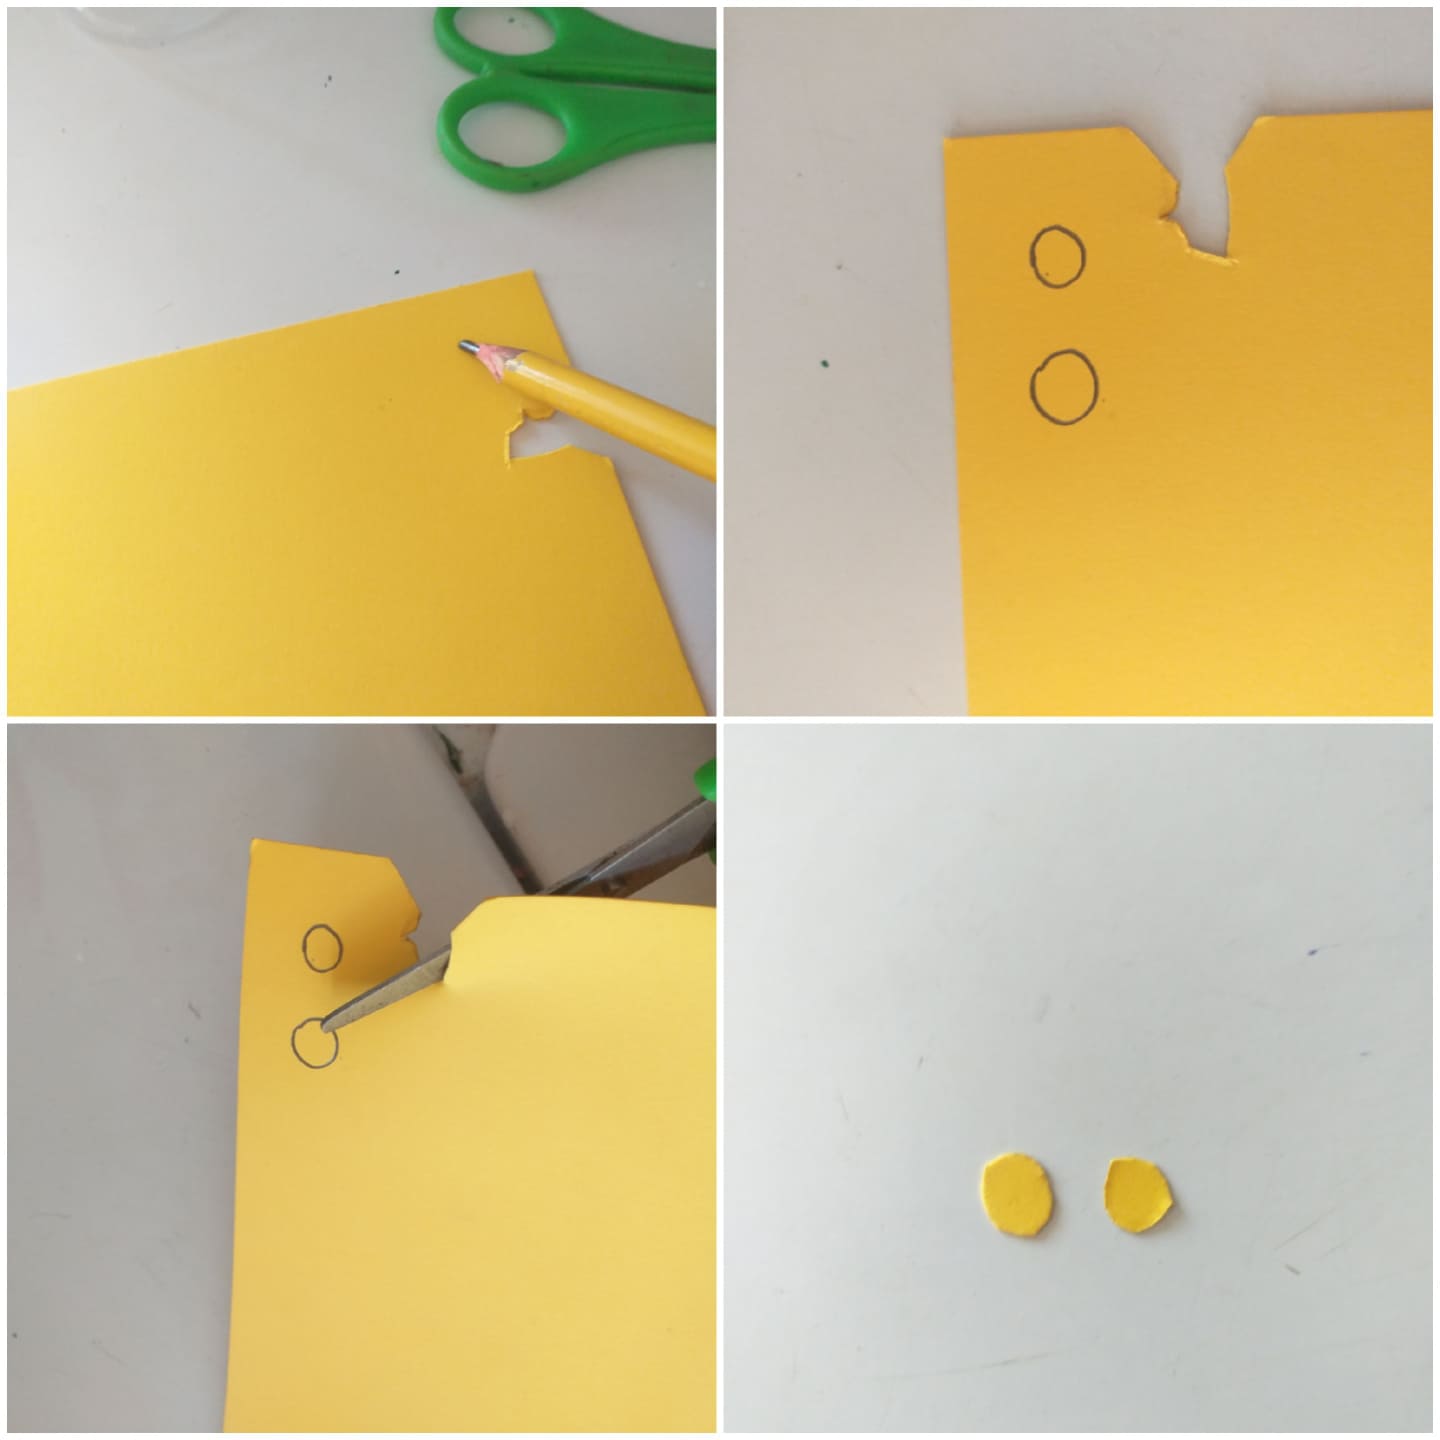
Step 4
And as a last step, we will glue the two yellow cardboard circles on top of the red cardboard as shown in the image
Paso 4
Y como ultimo paso, pegaremos los dos circulos de cartulina amarilla en la parte de arriba de la cartulina roja asi como muestra la imagen
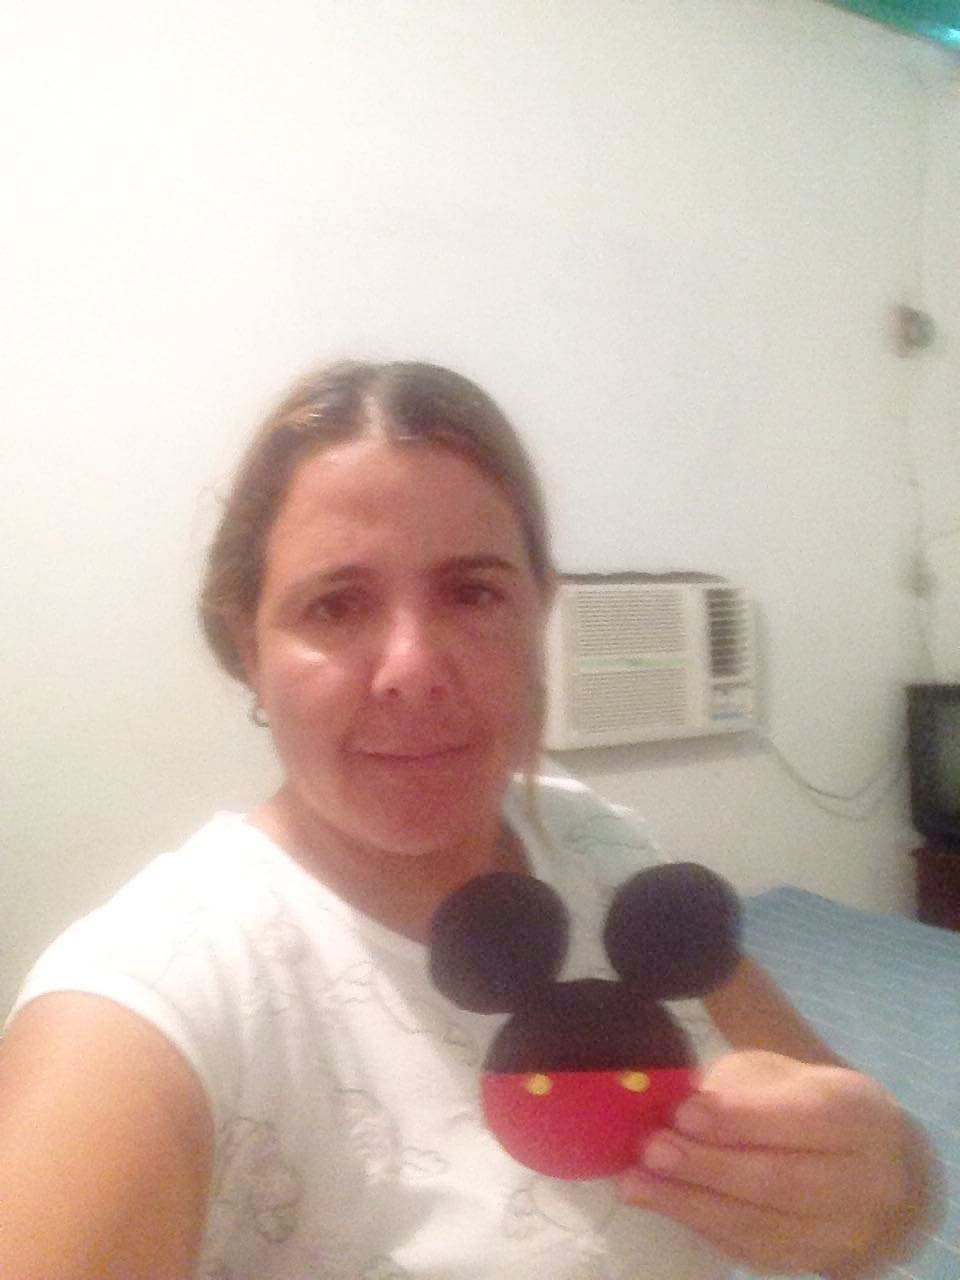
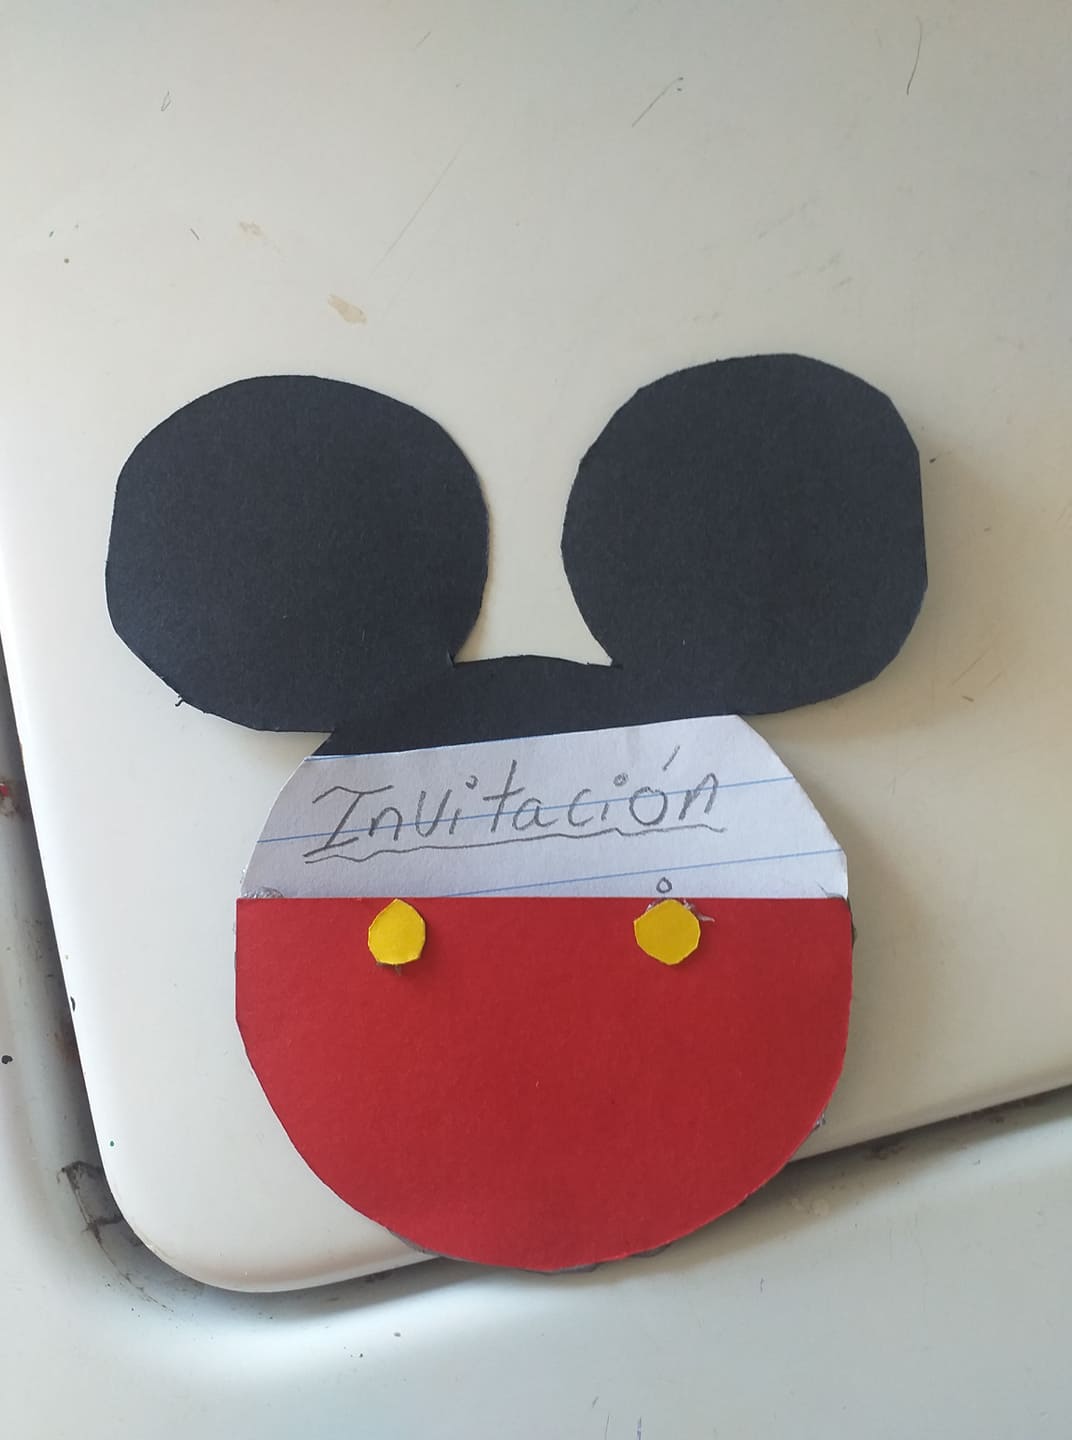
And ready friends, this is the result of our beautiful personalized invitation for the birthday of the smallest of the house
Y listo amigos este es el resultado de nuestra hermosa invitación personalizada para el cumpleaños de los mas pequeños de la casa
Thank you for visiting my blog
Gracias por visitar mi blog