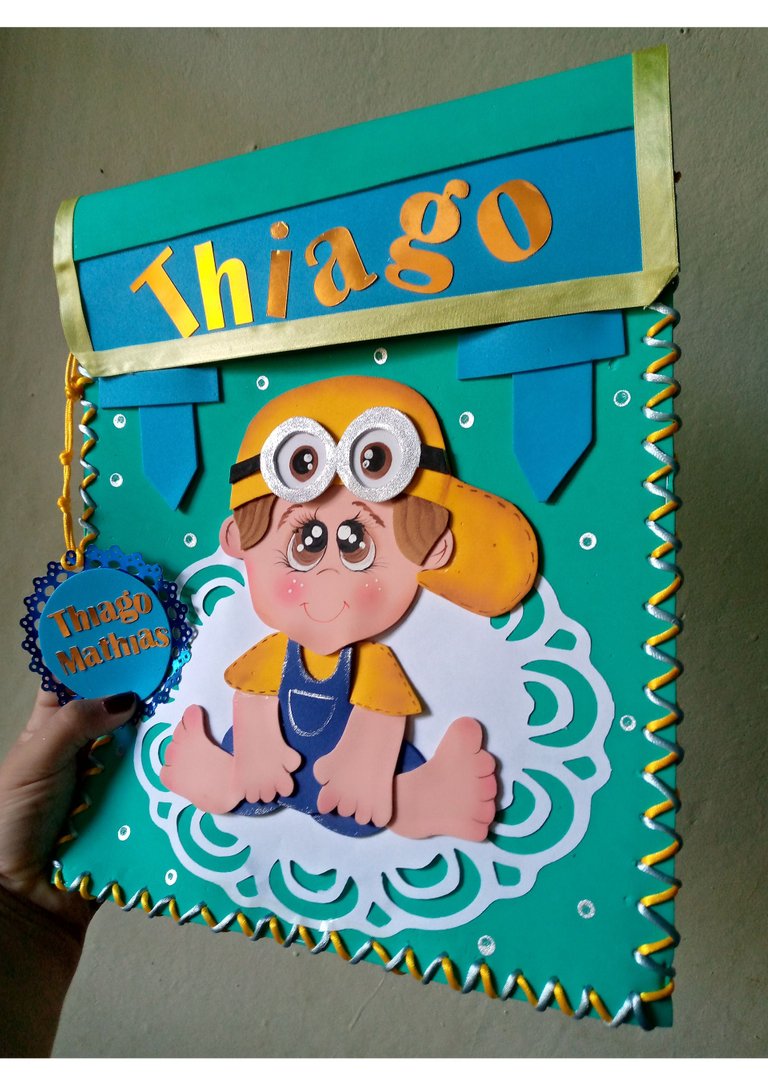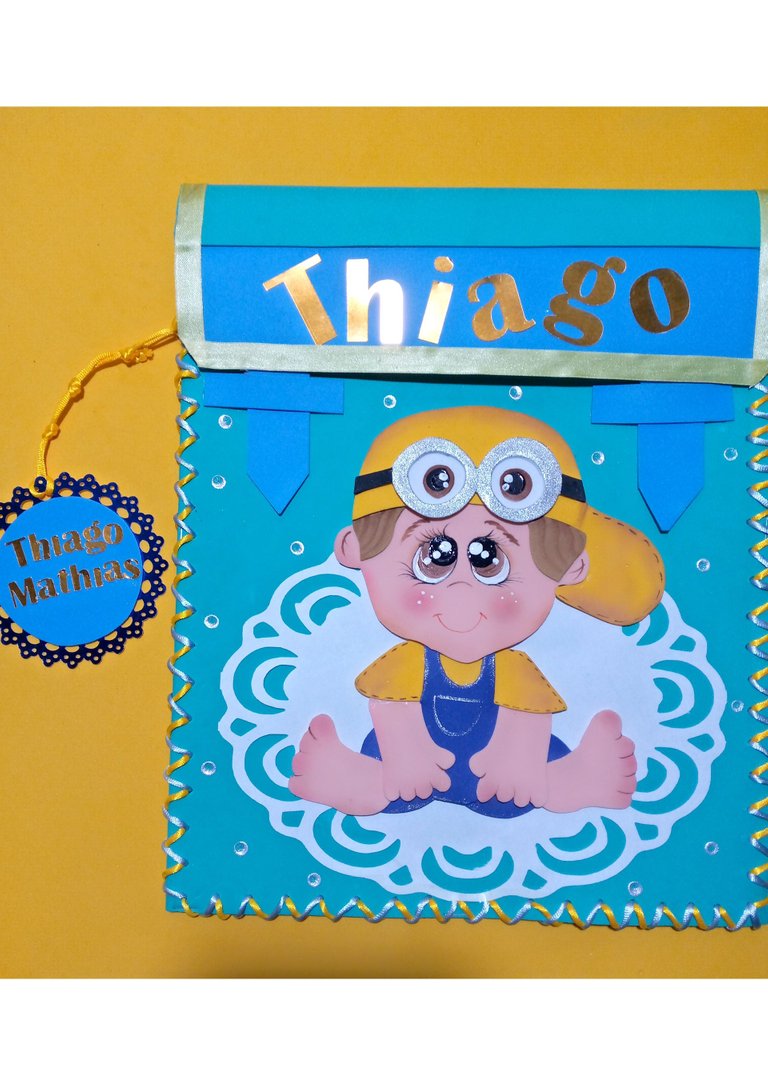
Hola queridos amigos, nuevamente activa en la plataforma Hive donde quiero compartir lo que antes hacía con ustedes, parte de las manualidades que a diario suelo realizar, para mi es totalmente gratificante todo esto, dado que me permite que otros vean de una manera u otra la habilidad o facilidad de crear cosas con solo el ingenio y creatividad de cada quien. Acà estarè compartiendo una linda carpeta elaborada con foami, un paso a paso muy fácil de hacer y sobretodo muy práctico. Espero les guste.
Hello dear friends, once again active on the Hive platform where I want to share what I used to do with you, part of the crafts that I usually do on a daily basis, for me all this is totally gratifying, since It allows others to see in one way or another the ability or ease of creating things with just the ingenuity and creativity of each person. Here I will be sharing a beautiful folder made with foami, a step by step very easy to do and above all very practical. I hope you like it.
MATERIALES UTILIZADOS
- Foami de varios colores turquesa, amarillo, piel, azul, blanco, café
- Liston de color amarillo y azul bebè
- Silicòn liquido
- Tijeras
- Pinturas
- Cartulina
- Hojas y lápiz
USED MATERIALS
- Foami of various colors turquoise, yellow, skin, blue, white, brown
- Yellow and baby blue ribbon
- Liquid silicone
- Scissors
- Paintings
- Cardstock
- Sheets and pencil
PASO 1
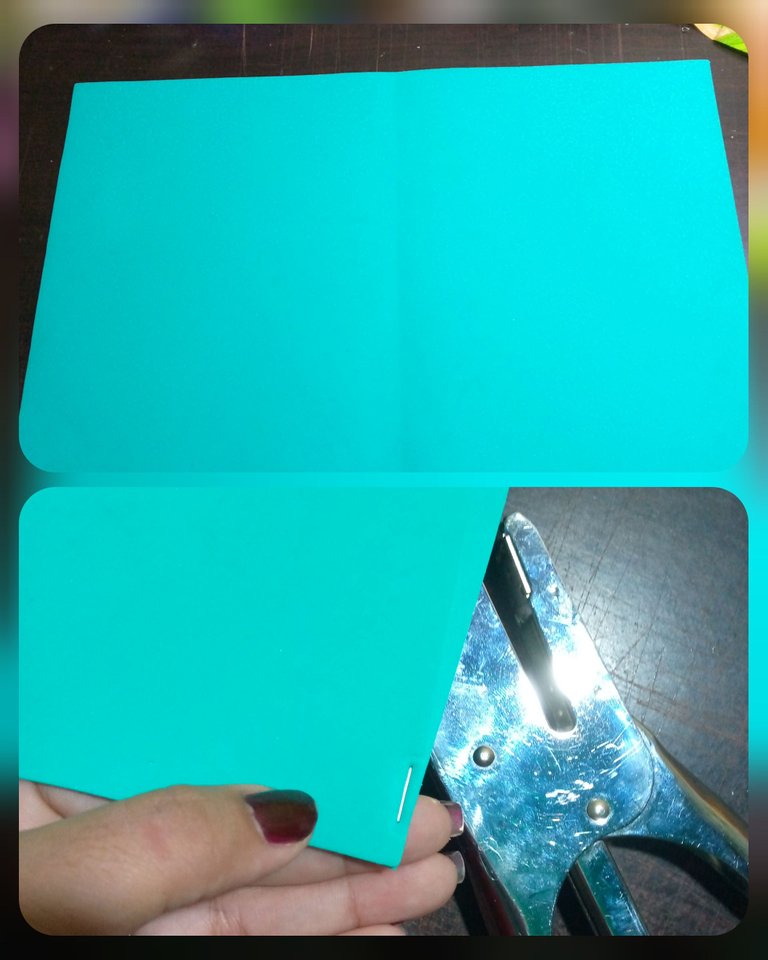
Lo primero que debemos tener en cuenta, es el color de foami base que vamos a usar, en este caso es un turquesa o verde agua muy claro, cortamos con un aproximado de 40cm x 30cm, doble de tal forma que de la medidas que deseamos, se debe tener en cuenta para asegurar y que no se mueva al momento de tejer, usamos grapas, cuidadosamente para no dañar el foami.
STEP 1
The first thing we must take into account is the color of the base foami that we are going to use, in this case it is a very light turquoise or aqua green, we cut with an approximate 40cm x 30cm, fold in such a way that the measurements we want must be taken into account to ensure that it does not move when weaving, we use staples, carefully so as not to damage the foami.
PASO 2
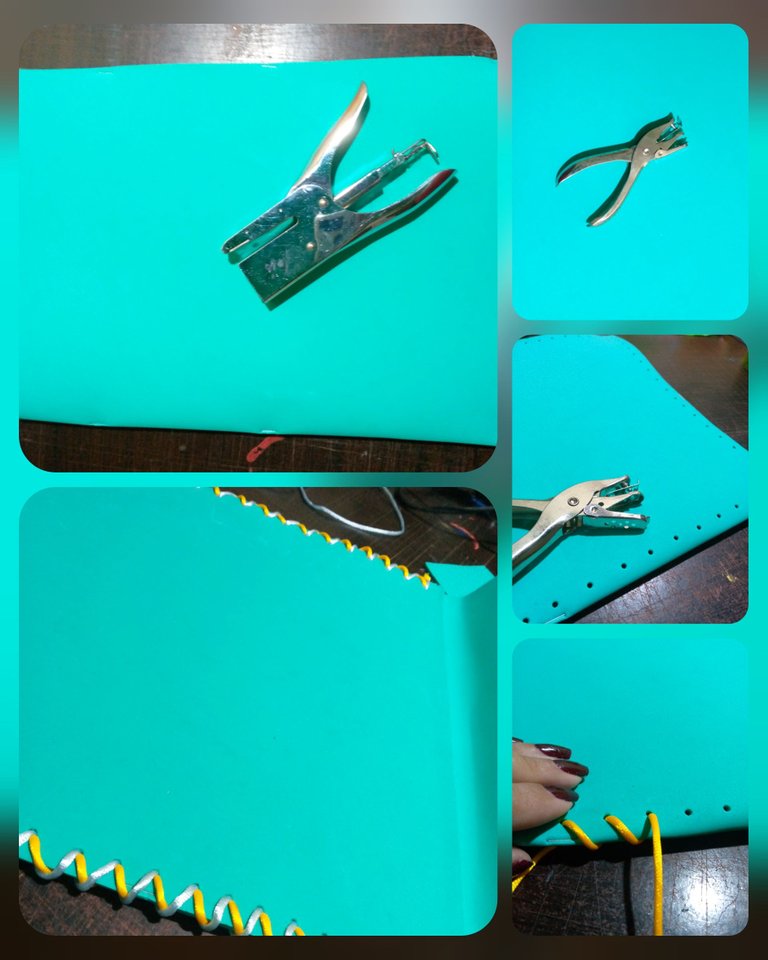
Con un liston llamado cola de raton, debemos tejer, por todo el borde, a su vez previamente deben estar listos los agujeros que se realizan con una perforadora pequeña, usamos dos colores diferentes para dar relieve, esto se debe hacer por toda la carpeta, permitiendo seguridad al momento de guardar cosas allì.
STEP 2
With a ribbon called mouse tail, we must weave, along the entire edge, in turn, the holes that are made with a small punch must be previously ready, we use two different colors to give relief , this must be done for the entire folder, allowing security when saving things there.
STEP 3
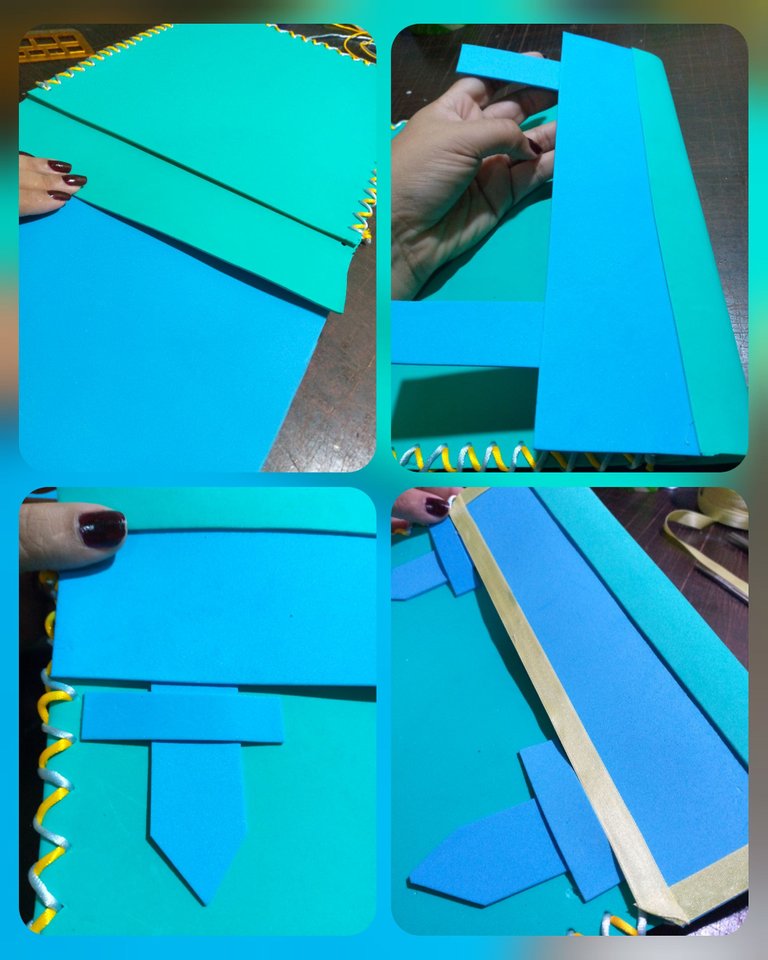
Ya se supone que tenemos la parte superior de la carpeta, añadiendo en color azul, para que tenga más soporte, así mismo los dos sujetadores esto no permite que la carpeta se abra.
STEP 3
We are already supposed to have the upper part of the folder, adding in blue color, so that it has more support, also the two fasteners this does not allow the folder to open.
PASO 4
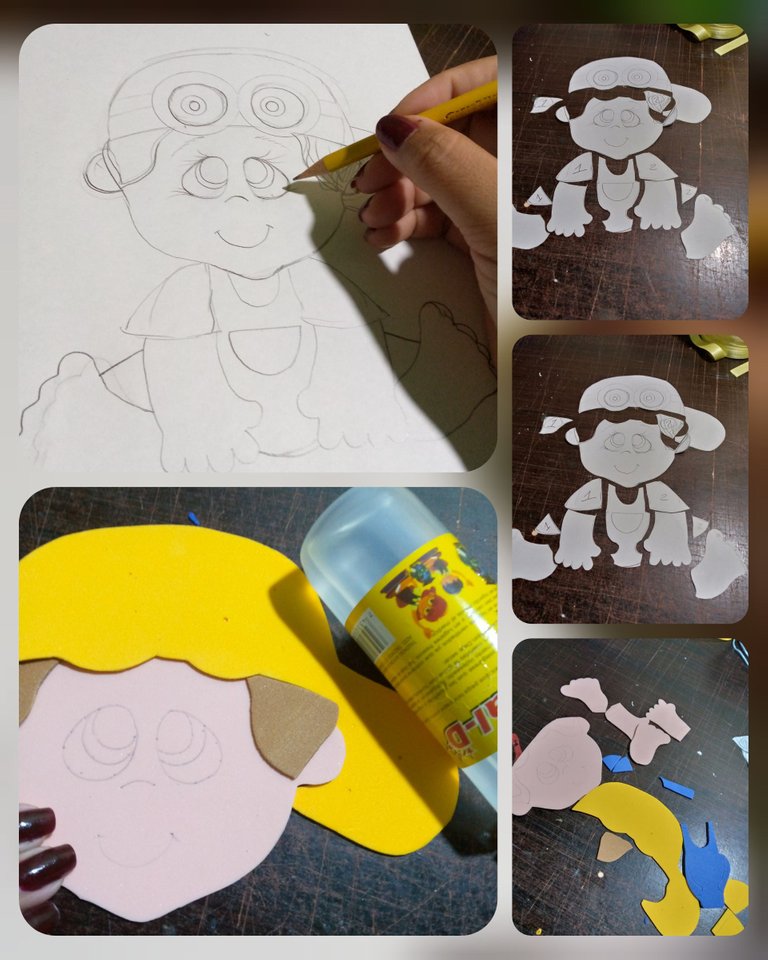
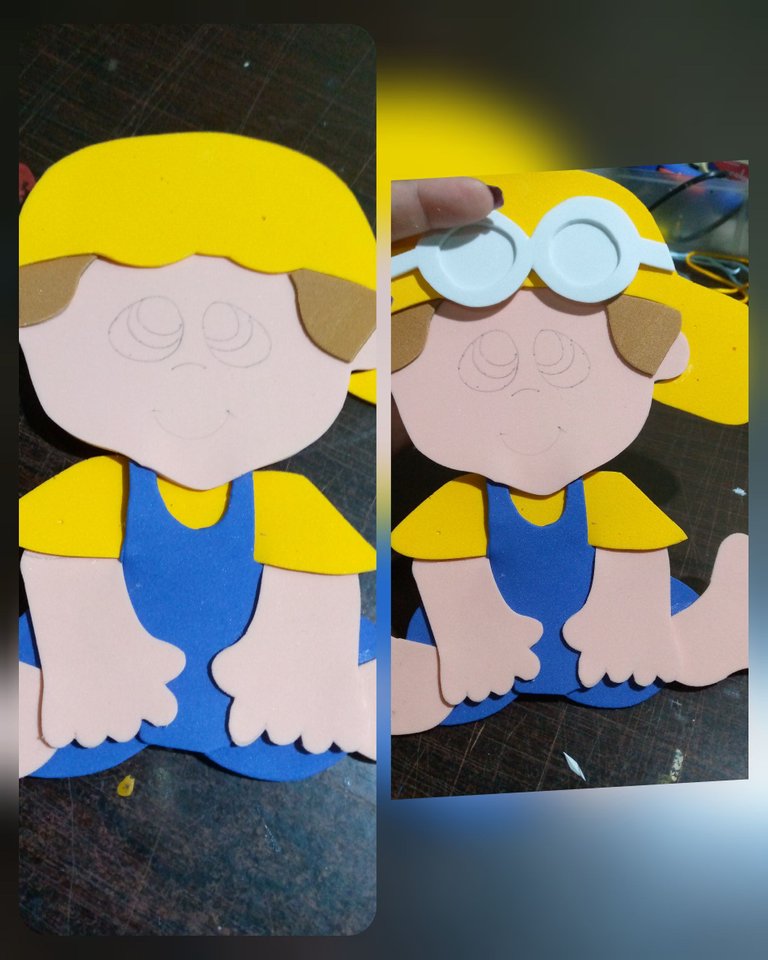
Lista la carpeta, la misma debe llevar un muñeco, para esto, lo dibujo en hoja común y corriente con ayuda de un lápiz de grafito, luego saco las piezas de acuerdo y como crea conveniente, esto depende la dificultad del muñeco a la hora de armarlo, cada una de las piezas, las marco en foami según corresponda. Para luego armarlas con silicón frio, también se puede usar silicón frio
STEP 4
The folder is ready, it must have a doll, for this, I draw it on an ordinary sheet with the help of a graphite pencil, then I take out the pieces according to what I see fit, this depends on the difficulty of the doll when assembling it, each one of the pieces, I mark them in foami as appropriate. To then assemble them with cold silicone, you can also use cold silicone
PASO 5
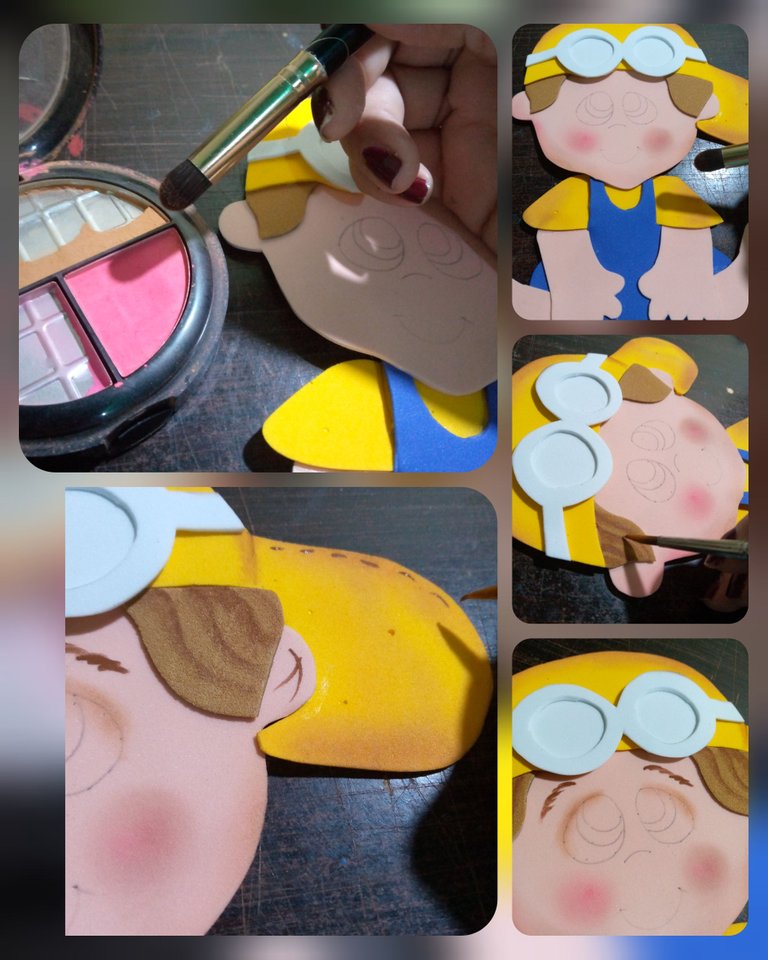
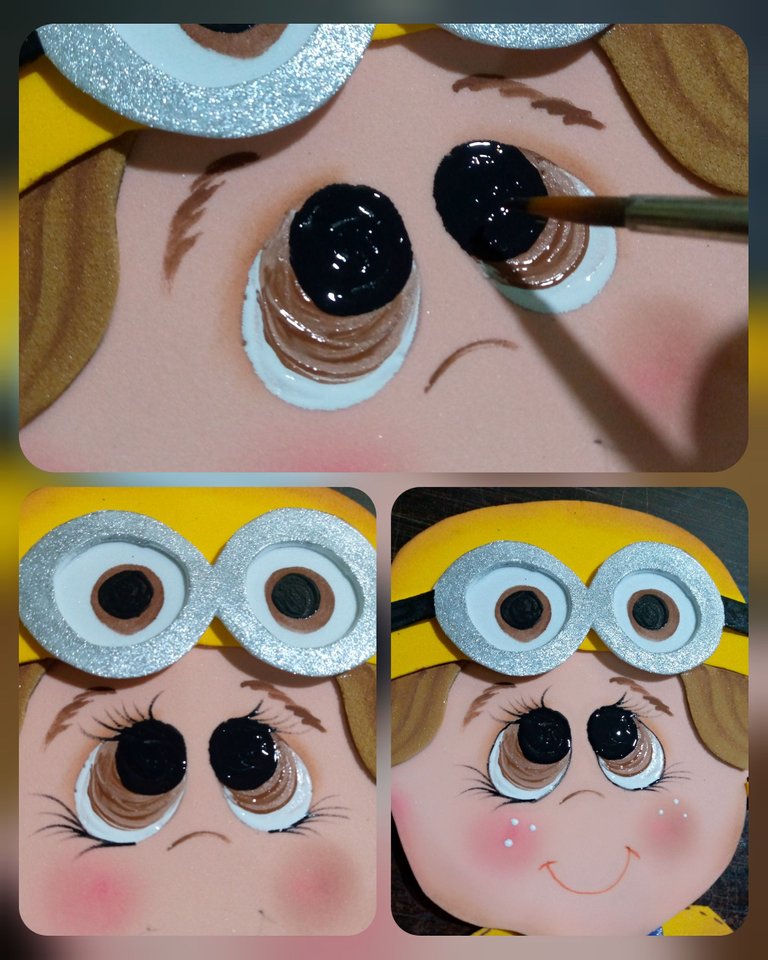
Hago detalles con rubor o con tiza pastel de acuerdo lo que desee resaltar, en este caso las mejillas, borde del diseño entre otros, continuando con el pintado de la cara, específicamente los ojos, con pinturas de color blanco, café entre otras, los ojos son el centro de atracción de las piezas en foami sin esto no queda bien el diseño por debemos tener muy en cuenta forma, tamaño y colores a usar.
STEP 5
I make details with blush or pastel chalk according to what I want to highlight, in this case the cheeks, the edge of the design among others, continuing with the painting of the face, specifically the eyes, with white paints, brown among others, the eyes are the center of attraction of the pieces in foami without this the design does not look good because we must take into account the shape, size and colors to use.
PASO 6
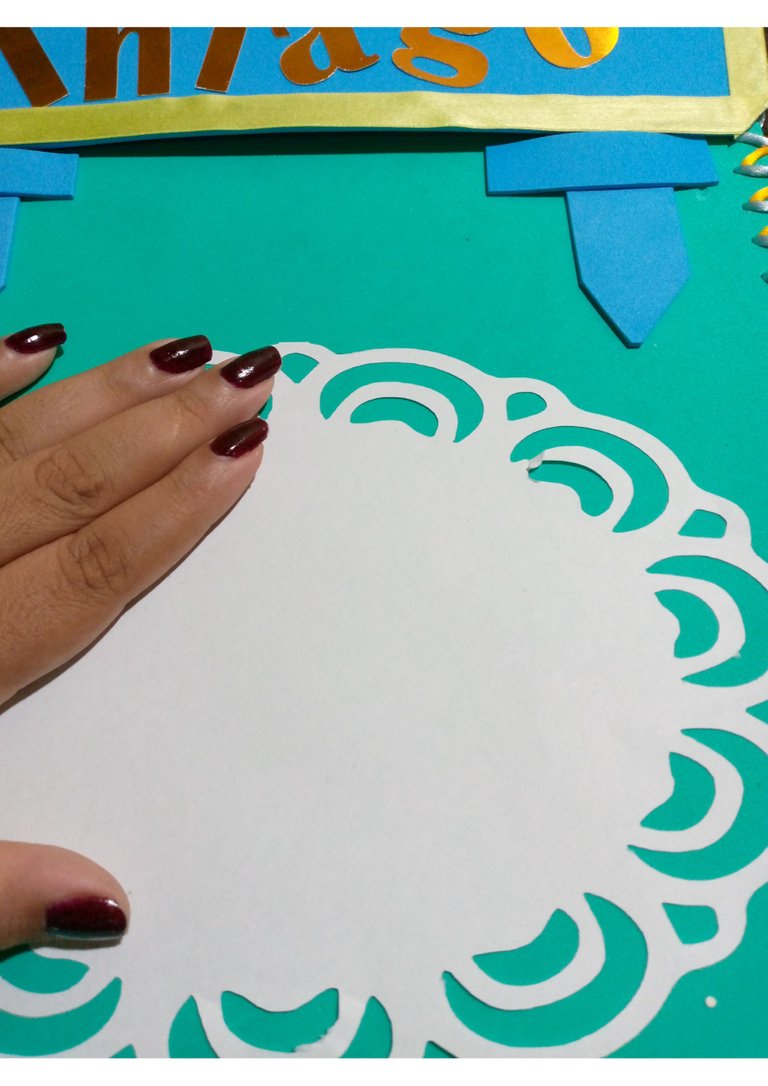
Agrego algunos detalles ya previamente cortados para así resaltar la carpeta
STEP 6
I add some previously cut details to highlight the folder
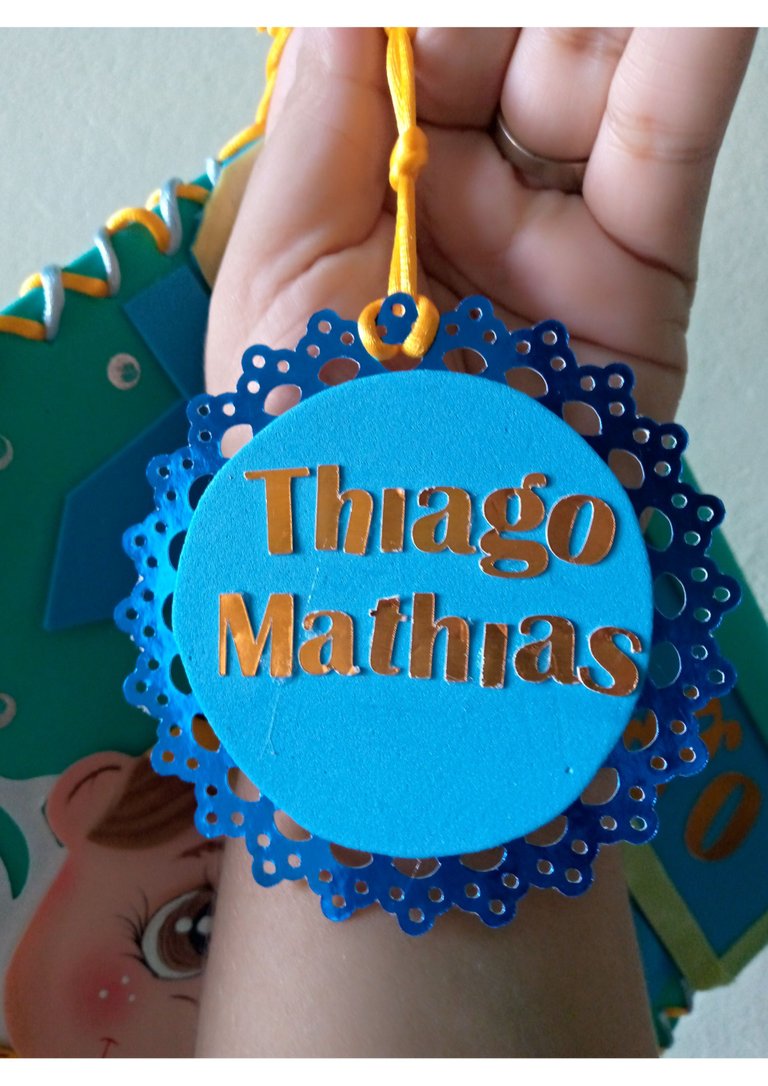
De esta manera, así queda la carpeta elaborada en foami, cuidado cada detalles, a fin de que se vea realmente bella, espero les haya gustado.
In this way, this is how the folder made in foami looks like, take care of every detail, so that it looks really beautiful, I hope you liked it.

