💜Hola Comunidad HIVE💜
Hello HIVE Community

Hola amigos, las manualidades son un mundo maravilloso donde puedes hacer hermosas creaciones para diversos usos. El día de hoy les muestro cómo hacer un mini morral hecho con foami, que es una hermosura y lo que más me encanta es que se le puede dar diversos usos, yo por ejemplo lo usaría para decorar mi cartera o cómo llavero, ustedes me pueden decir que otro uso le darían y estoy segura que lucirá muy bien.
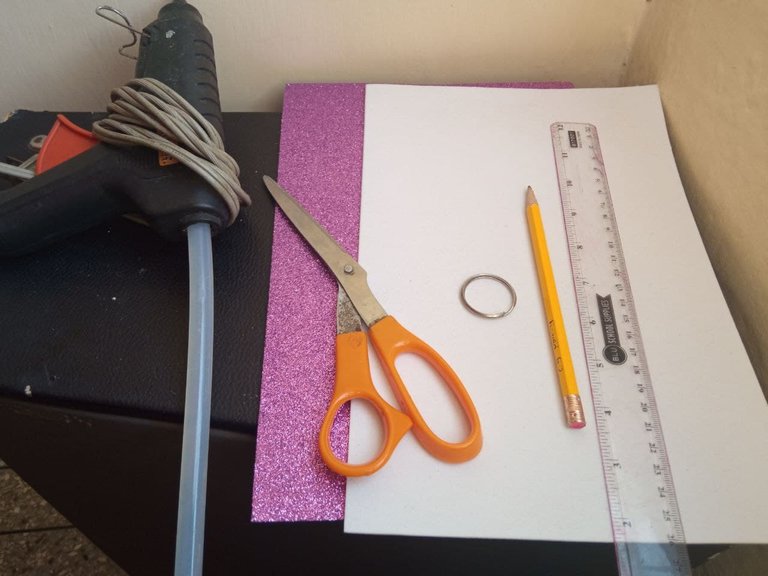
Los materiales a utilizar son.
Con esto hemos terminado, miren que lindo mini bolso hemos realizados.
Hello friends, crafts are a wonderful world where you can make beautiful creations for different uses. Today I bring you how to make a mini backpack made with foami, which is beautiful and what I love the most is that it can be given various uses, I for example would use it to decorate my wallet or as a keychain, you can tell me what other use you would give it and I'm sure it will look great.
Los materiales a utilizar son.
The materials to use are.
- Foami escarchado.
- Foami unicolor a juego con el escarchado.
- Tijera.
- Silicón.
- Frosted foami sheet.
- Unicolor foami to match the frosting.
- Scissors.
- Silicone.
Paso a Paso || Step by Step
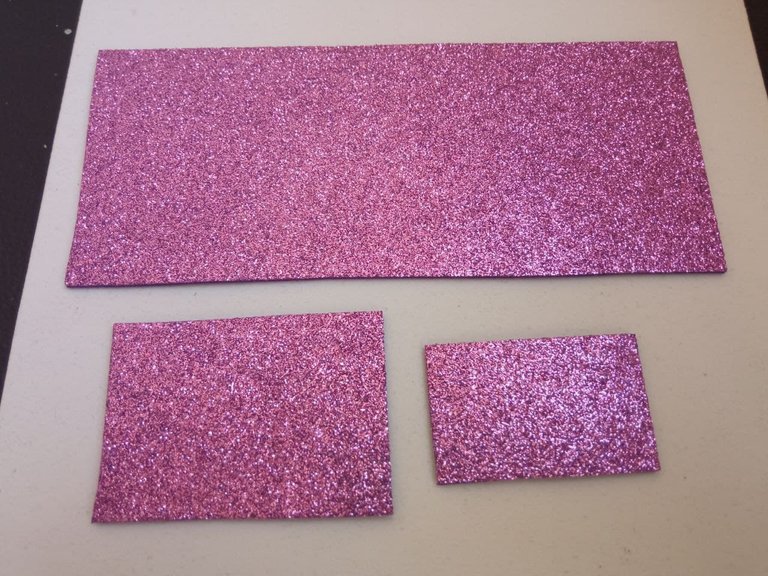
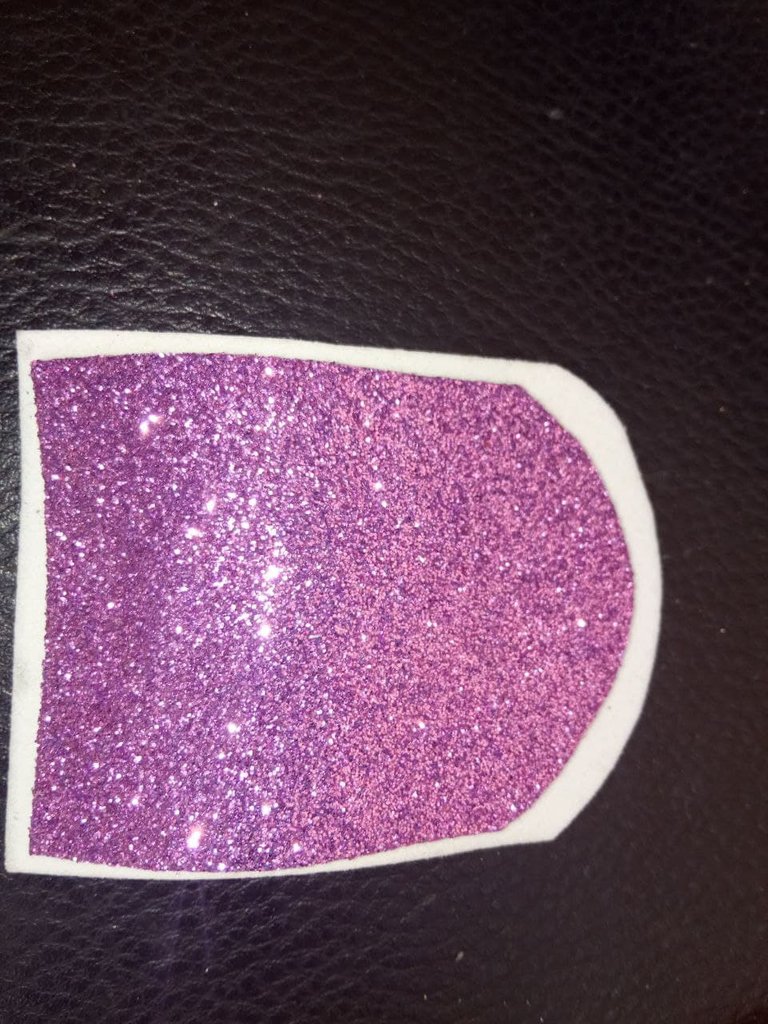
1.- Del foami escarchado recortamos 3 piezas con: 16.7x7; 4.5x6.5 y 3x5 cm respectivamente.
1.- From the frosted foami cut 3 pieces with 16.7x7; 4.5x6.5 and 3x5 cm respectively.
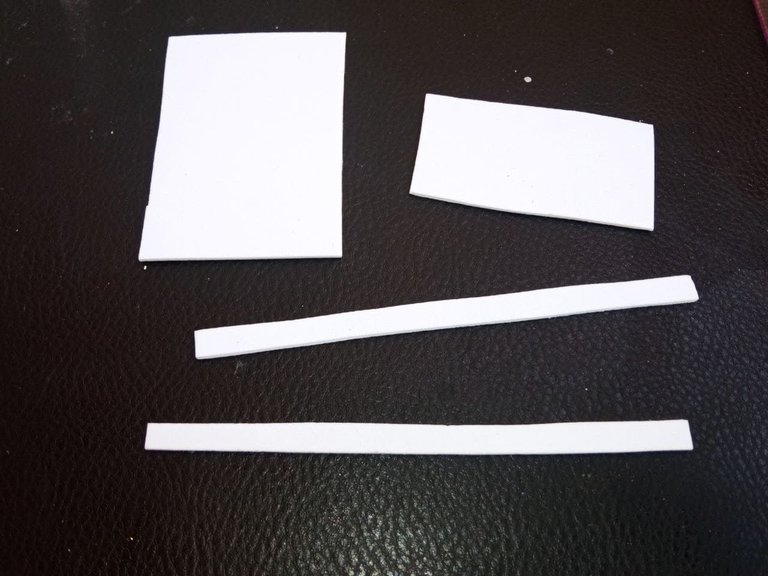
2.- Recortar del foami unicolor piezas de las siguientes medidas 7x5; 3x6 y 2 piezas de 12x0.5.
2.- From the unicolor foami cut out pieces of the following sizes: 7x5; 3x6 and 2 pieces of 12x0.5.
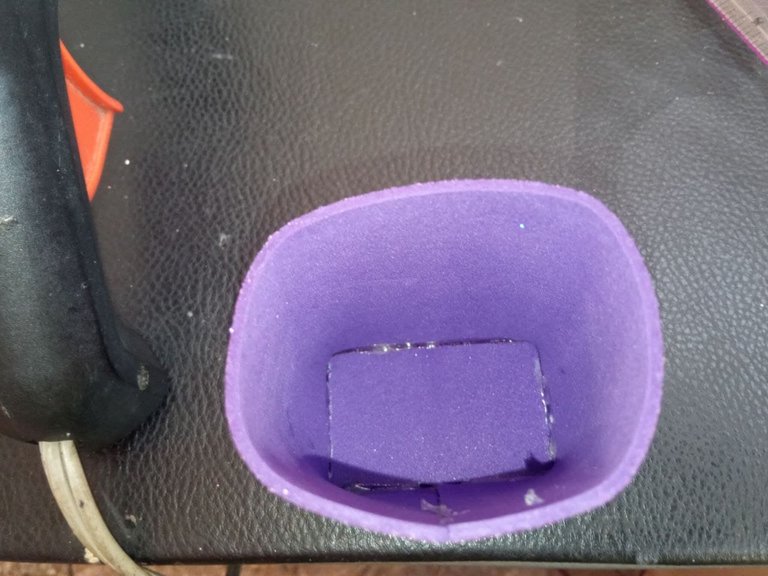
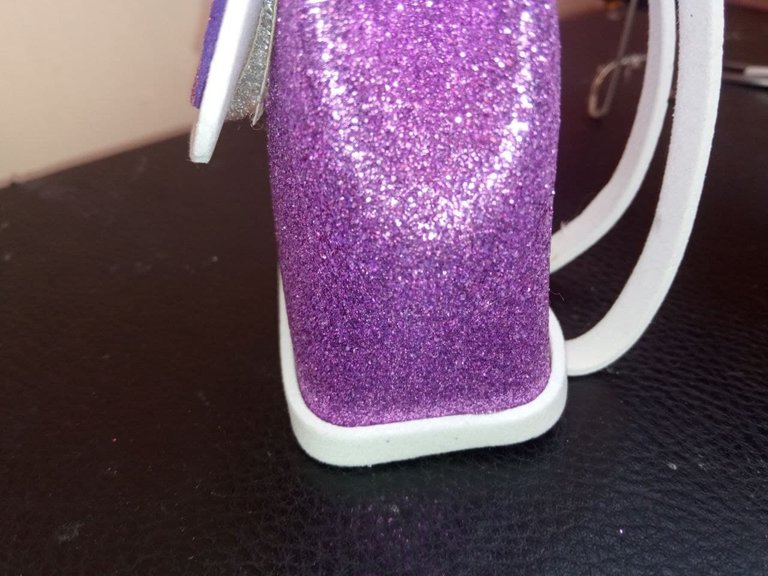
3.- Tomamos la pieza escarchada de 16x7 cm y la pegamos a la pieza escarchada de 3x5cm. Esta última formará la base del morral o bolso.
3.- Take the frosted piece of 16x7 cm and glue it to the frosted piece of 3x5cm. The latter will form the base of the backpack or bag.
4.- Pegamos la pieza unicolor de 7x5 y la escarchada 4.5x6.5, a ambas le hacemos la forma de semicírculo en uno de sus lados. Luego pegamos la escarchada encima de la unicolor.
4.- We glue the unicolor piece of 7x5 and the frosted piece 4.5x6.5, we make a semicircle shape on one of its sides. Then we glue the frosted piece on top of the unicolor.
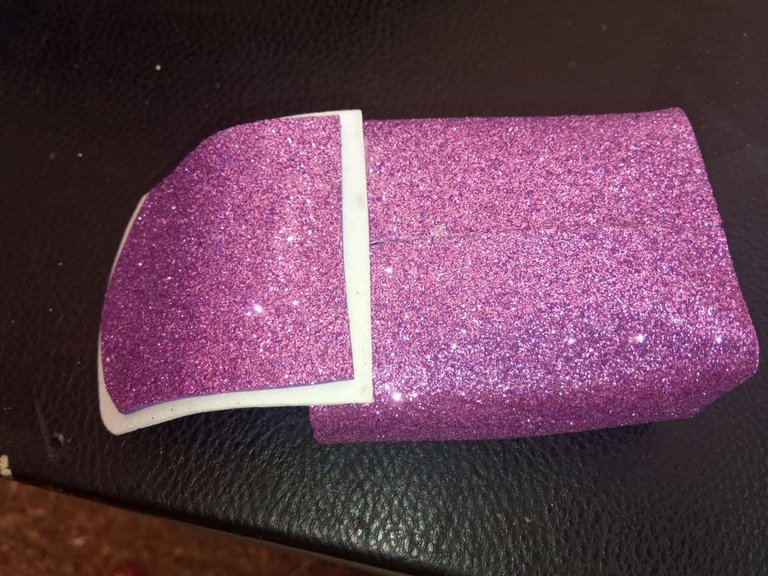
5.- Esta última pieza la pegamos en la parte trasera. Esta será la tapa del bolso.
5.- This last piece we glue it on the back. This will be the top of the bag.
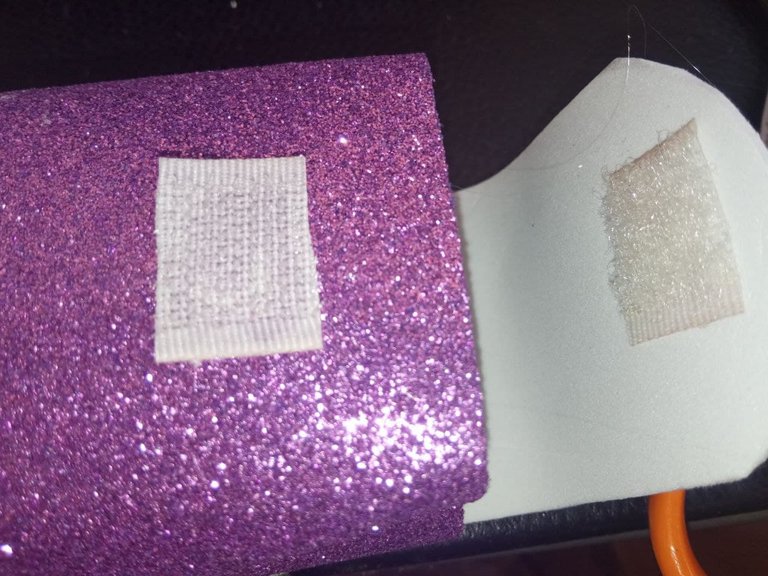
6.- Pegamos un poco de cierre mágico.
6.- Glue a little bit of magic zipper.
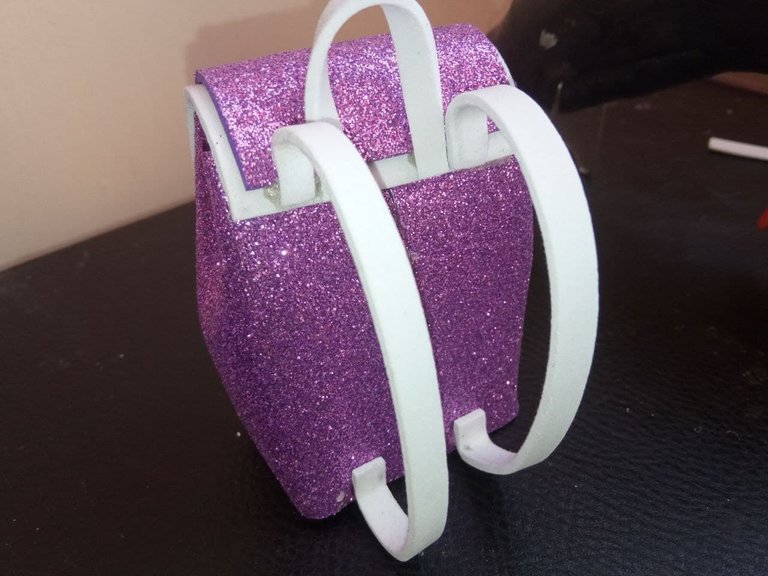
7.- Pegamos las asas del bolsos.
7.- We glue the handles of the bag.
8.- Pegamos una tira decorativa en la parte inferior.
8.- Glue a decorative strip on the bottom.
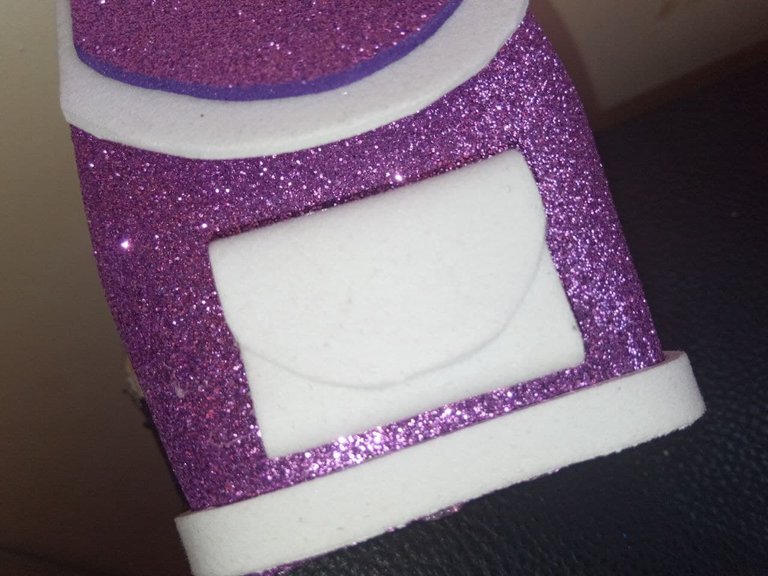
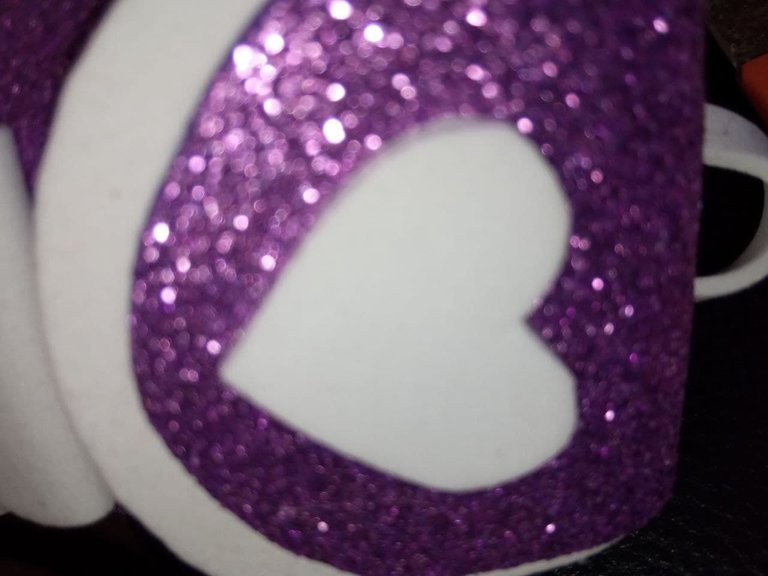
9.- Formamos como un sobre y la pegamos en el frente del bolso y complementamos la decoración con un corazón unicolor.
9.- Shape it like an envelope and glue it on the front of the bag and complement the decoration with a unicolor heart.
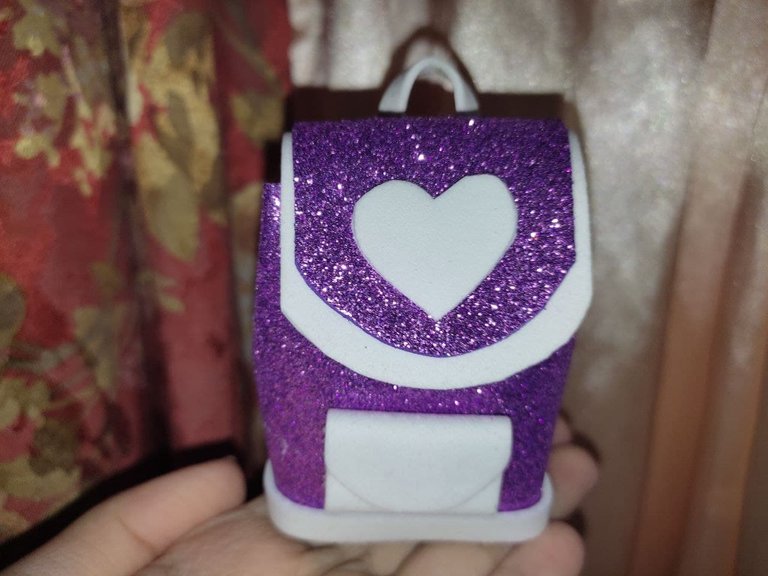
Con esto hemos terminado, miren que lindo mini bolso hemos realizados.
Espero les haya gustado mi publicación y se animen a realizarlo para ustedes.
With this we have finished, look what a nice mini bag we have made.I hope you liked my publication and I encourage you to make it for you.
Que hermoso bolso, se ve tierno. Me encanta. Mis saludos.
Gracias 😗
Ests muy lindo y práctico. Me encanto
Gracias, Que bueno que te gustó
Que lindo te quedo 😃
Gracias linda.
Interesante propuesta con foami, me gusta que tiene un buen acabado. Eso es importante en las manualidades. Bendiciones.
Gracias amiga. Amén
Me gustó este mini bolsito, yo lo usaría para guardar coleros y otros accesorios para el cabello. Saludos
Que bueno que te gustó. Buena idea 😉
Congratulations @mariela-b! You have completed the following achievement on the Hive blockchain and have been rewarded with new badge(s) :
Your next target is to reach 4750 upvotes.
You can view your badges on your board and compare yourself to others in the Ranking
If you no longer want to receive notifications, reply to this comment with the word
STOPCheck out the last post from @hivebuzz:
Support the HiveBuzz project. Vote for our proposal!