*We start with the materials used.
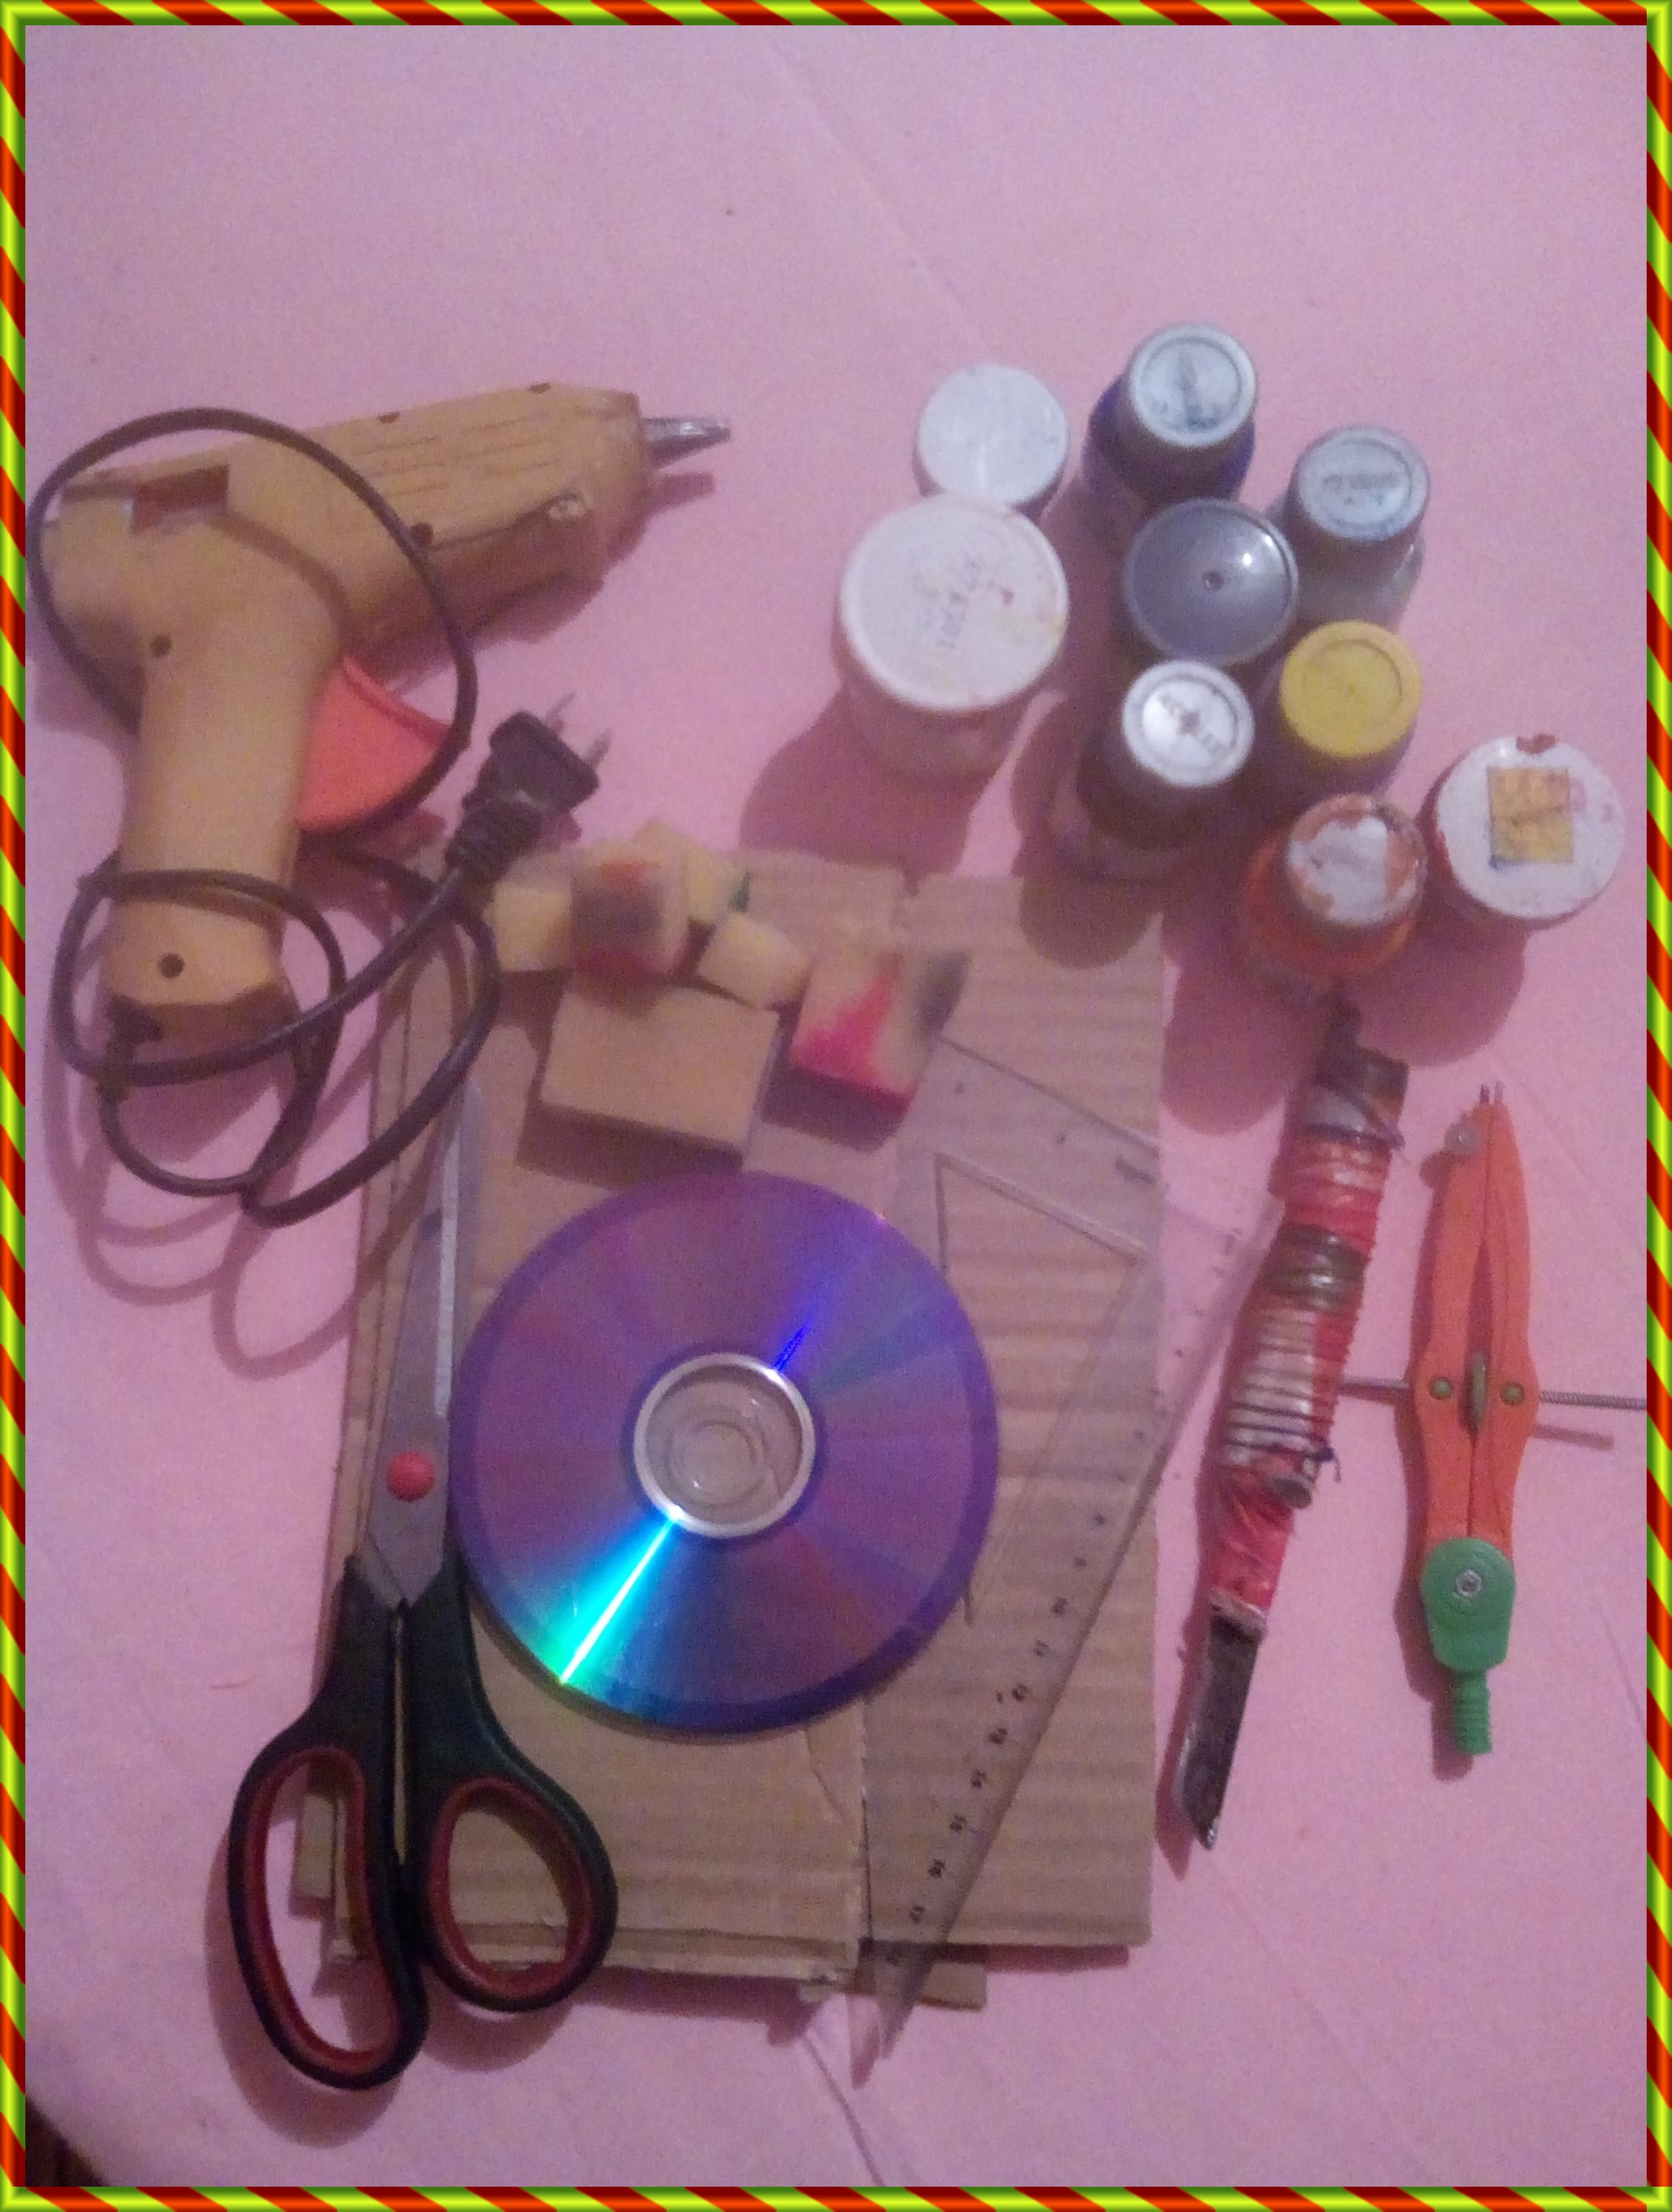
1.Silicone gun
2.Paints
3.Cardboard
4.Pencil
5.Measuring ruler
6.Compass
7.Sponge for painting
8.Knife to cut the cardboard.
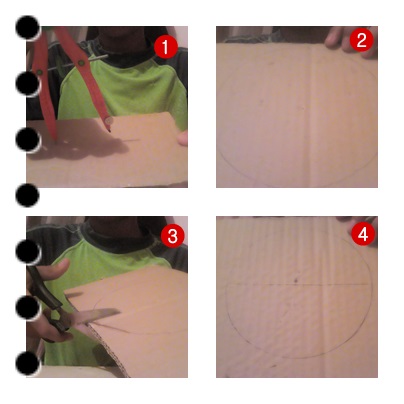
First with the compass I traced a circle of 20 cm in diameter and cut it out. I made the second circle and cut it to get its half.
We continue...
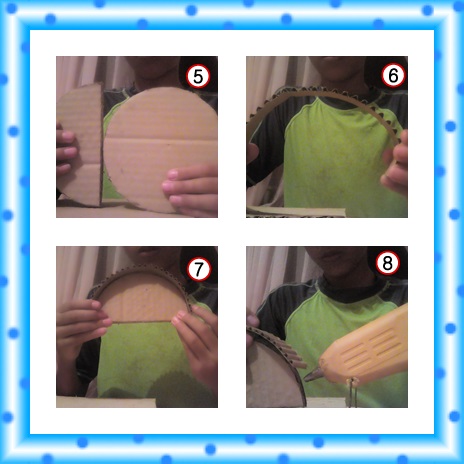
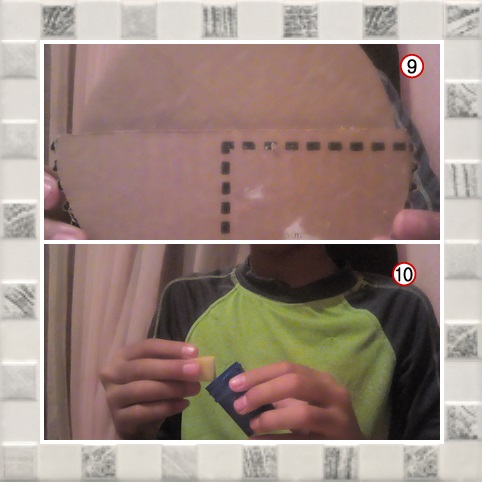
In this section I already have the cuts of the pieces that I then proceed to assemble by gluing with hot silicone.
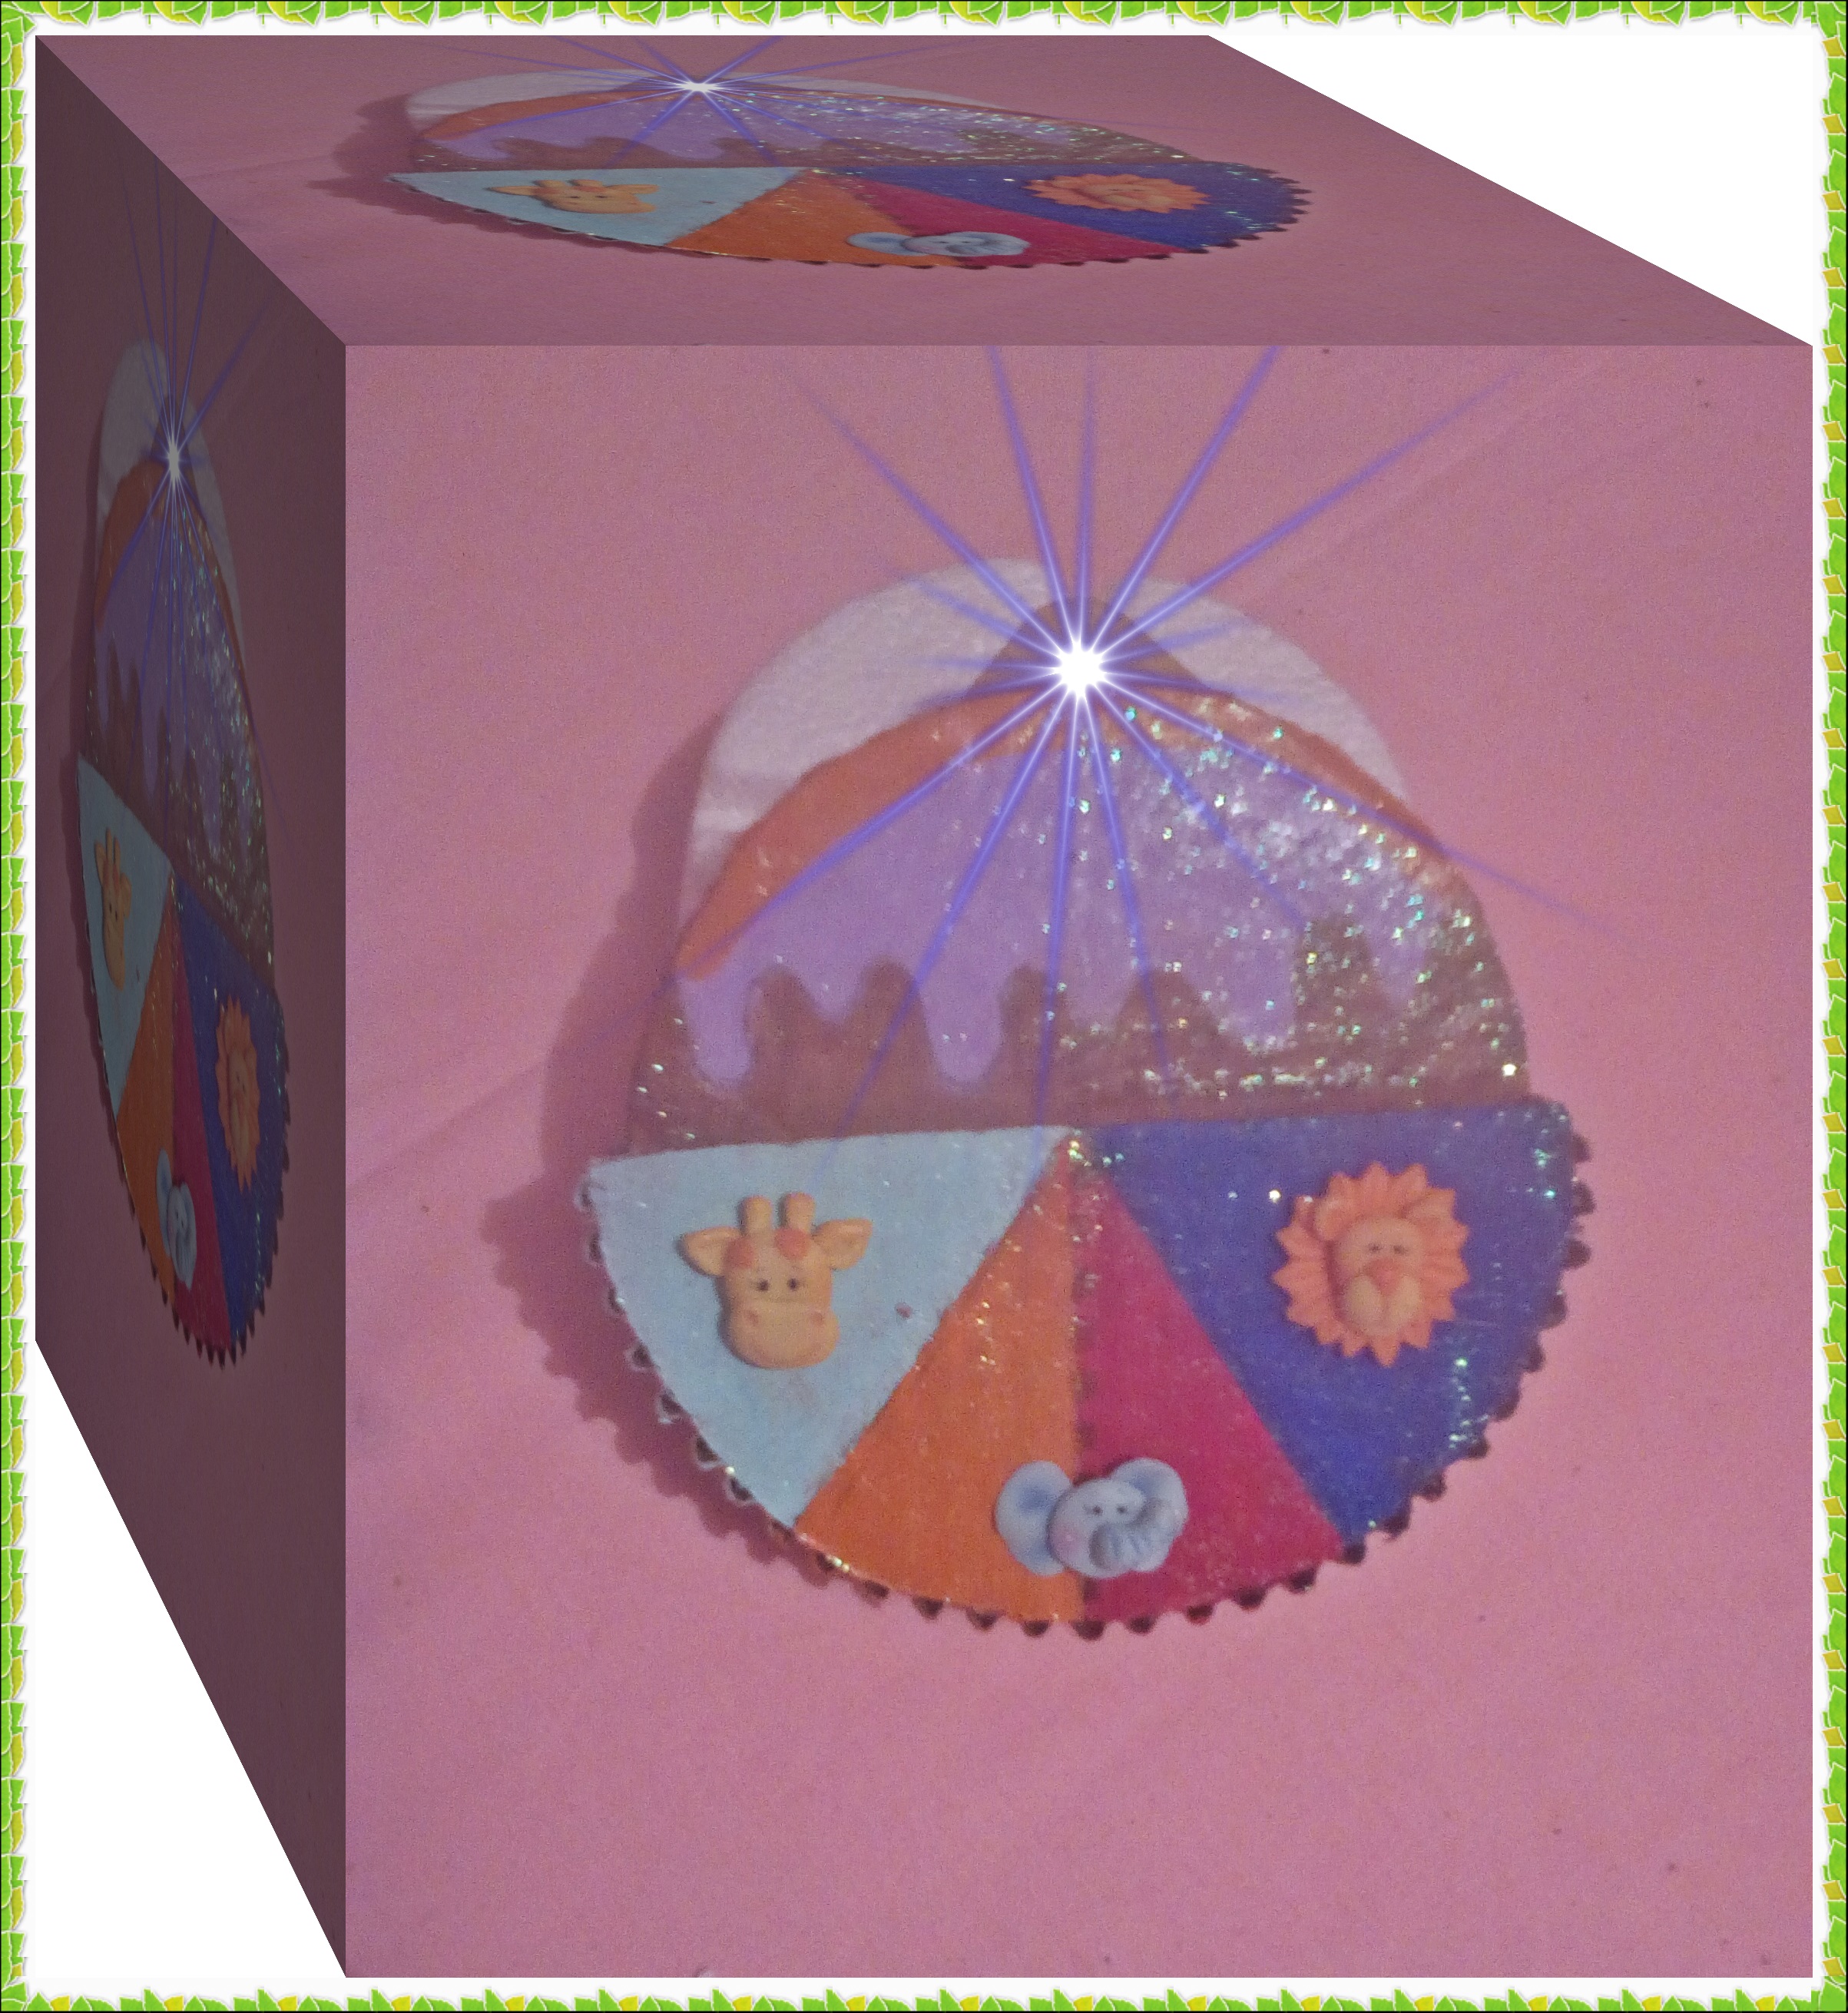
Now I proceed to finish gluing the pieces and painting them.
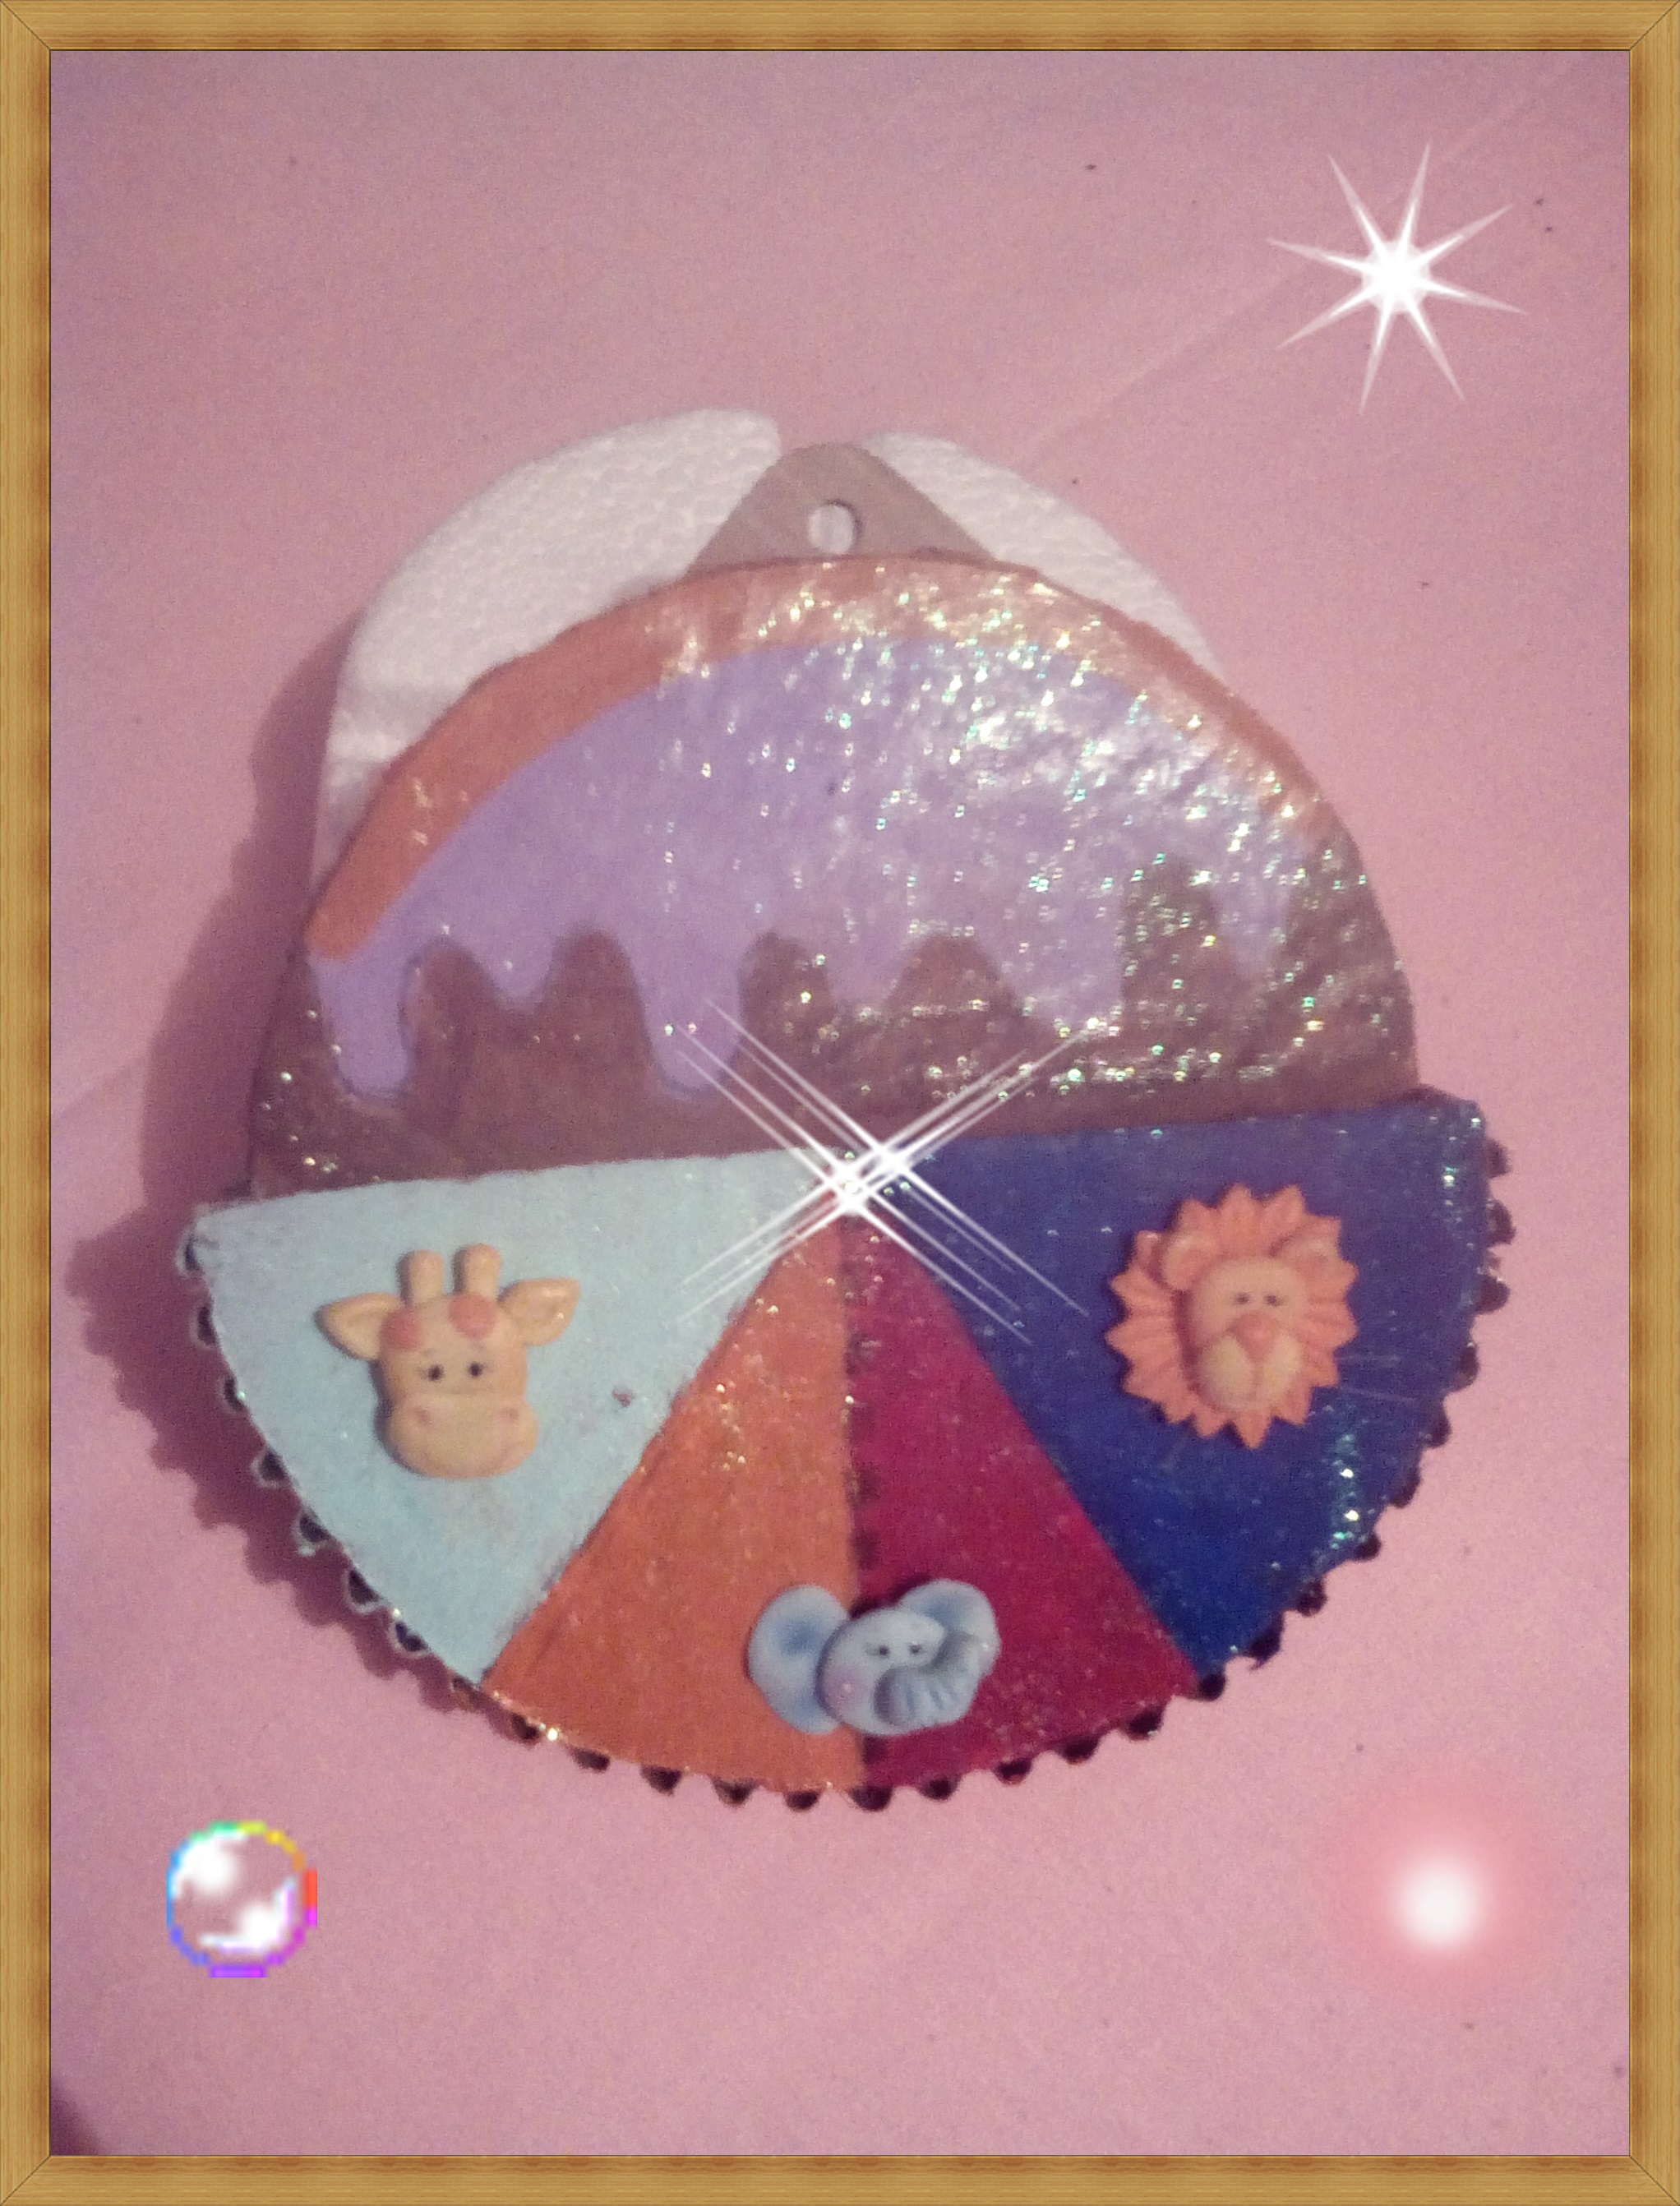
This is how I got the Wall CD Holder.
Translated with www.DeepL.com/Translator (free version)
Comenzamos con los materiales utilizados
1.Pistola de silicón
2.Pinturas
3.Cartón
4.Lápiz
5.Regla para medir
6.Compás
7.Esponjas para pintar
8.Cuchilla para cortar el cartón.
Primero con el compás tracé un círculo de 20 cm de diámetro y lo recorté. Hice el segundo círculo y lo corté para obtener su mitad.
Seguimos...
En esta sección ya tengo los cortes de las piezas que luego procedo a ensamblar pegando con silicón caliente.
Ahora procedo a terminar de pegar las piezas y pintarlas.
De esta manera me quedó el Porta CDs de Pared.
ESPERO LES HAYA GUSTADO MI TRABAJO. Muchas gracias y hasta pronto.
 fuente