Hola buenas tardes querida comunidad,que Dios les bendiga siempre ,feliz domingo para todos ,en esta oportunidad les traigo este hermoso, divertido y colorido payaso para los mas pequeños de la casa se diviertan jugando, ven y acompañame a realizarlo


Hello, good afternoon dear community, may God bless you always, happy Sunday to all of you, this time I bring you this beautiful, fun and colorful clown for the little ones in the house, have fun playing, come and accompany me to do it.
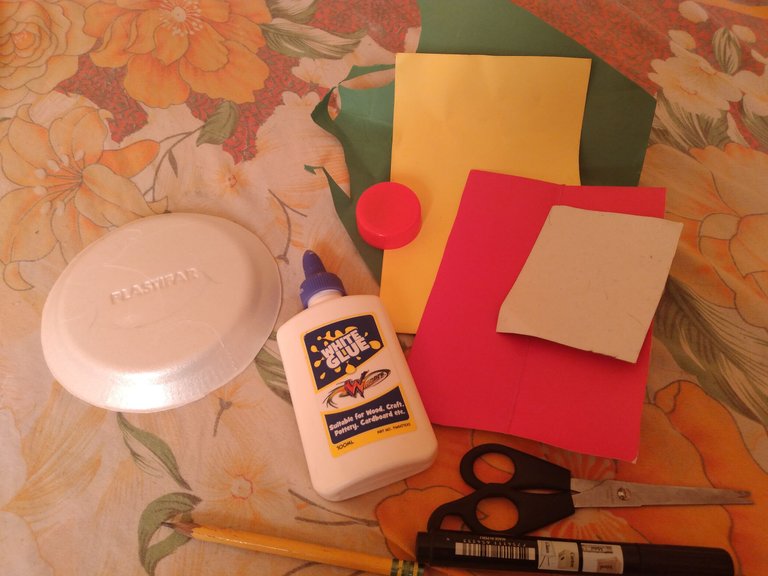
Materiales:
-plato desechable
-tapa de refresco
-cartulinas de colores
-lentejuelas
-pega blanca
-tijera
-lapiz y marcador
Materials:
-disposable plate
-soda cap
-colored posters
-sequins
-white glue
-scissor
-pencil and marker
Como lo realize/How I did it:
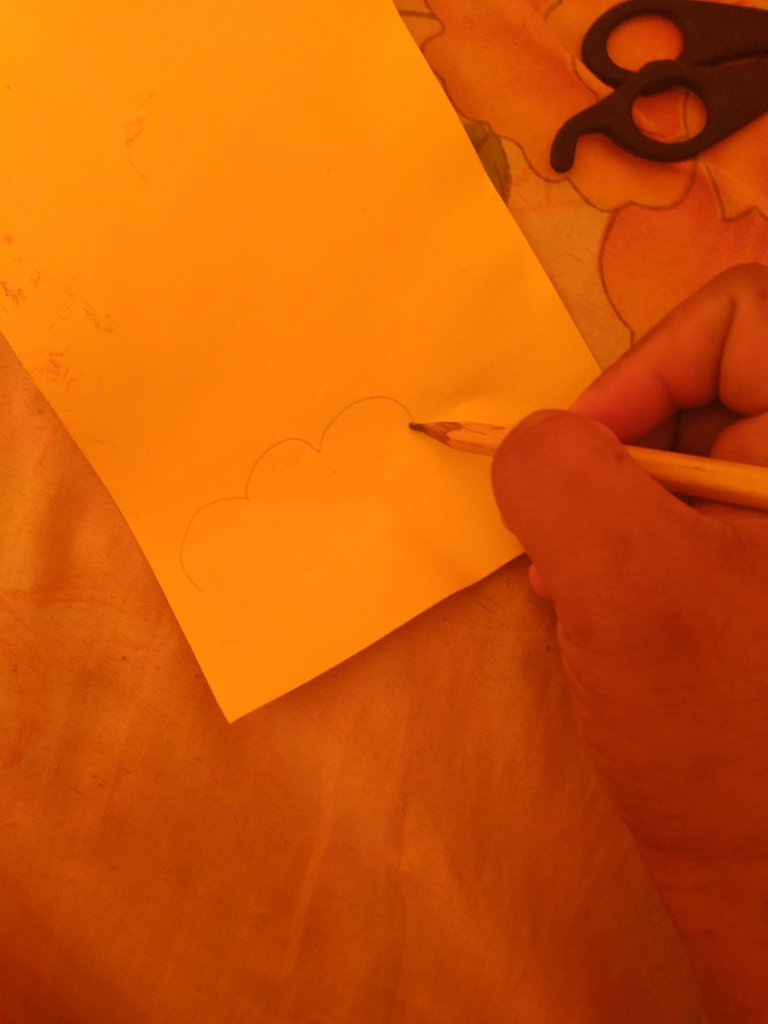
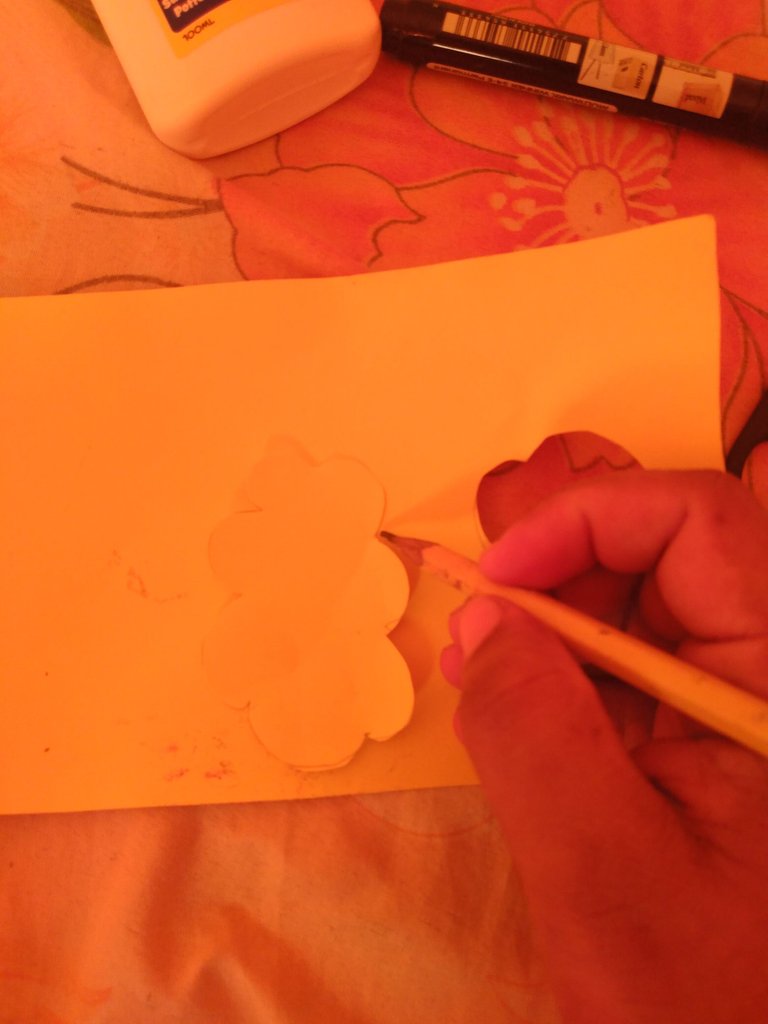
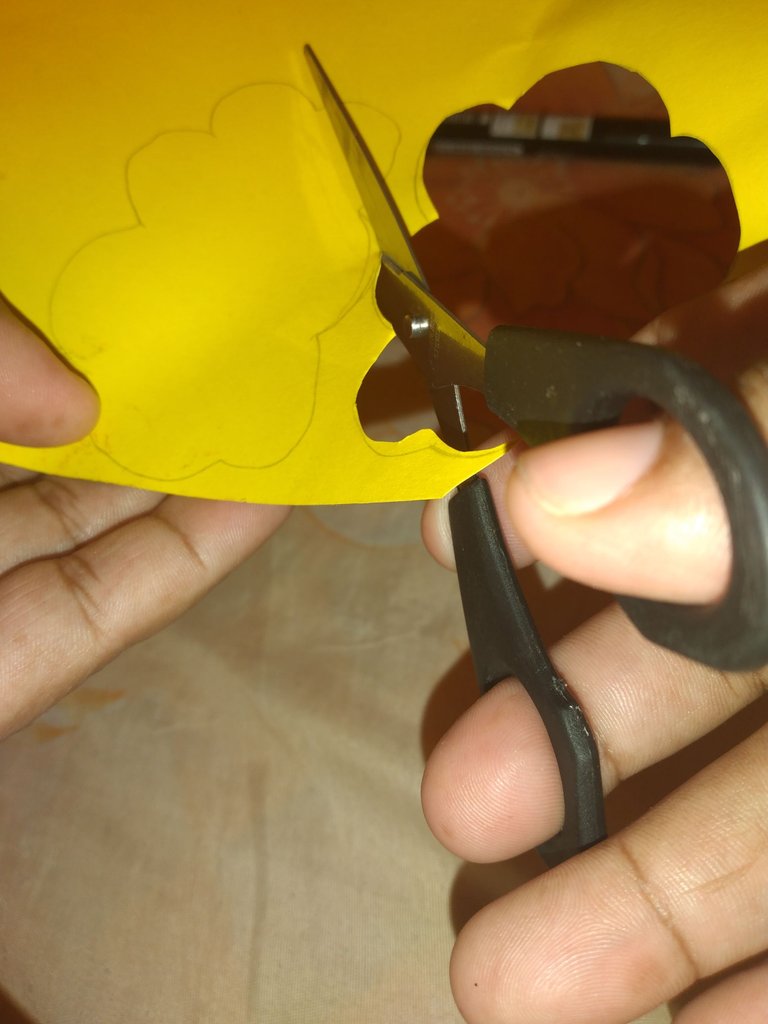
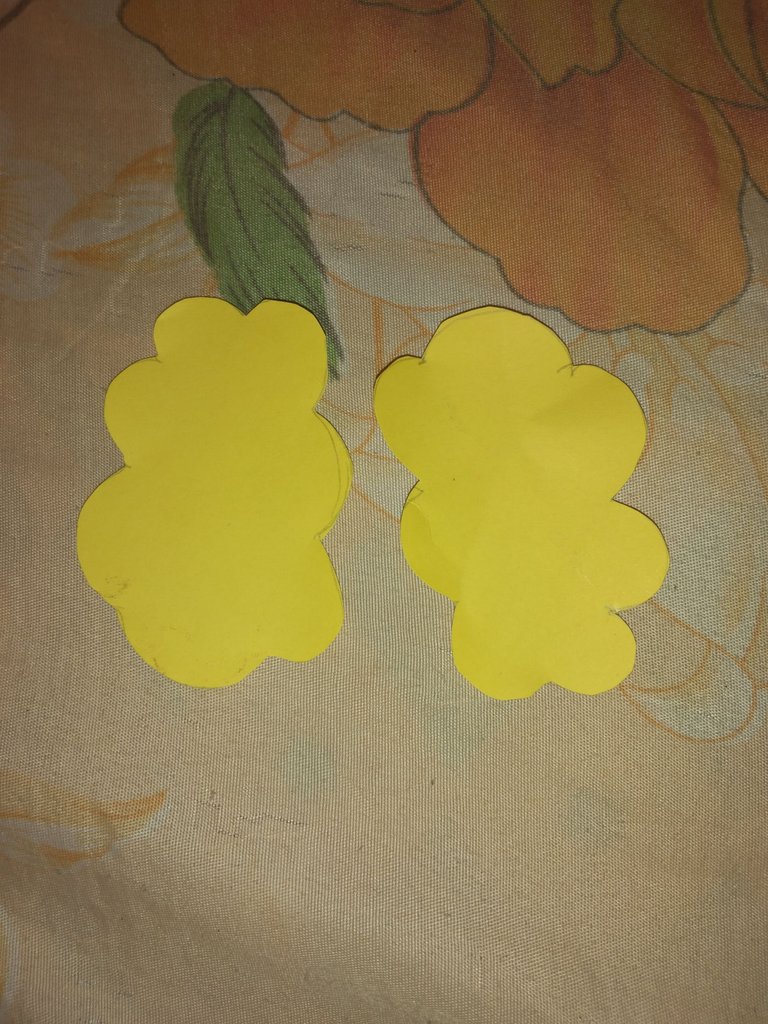
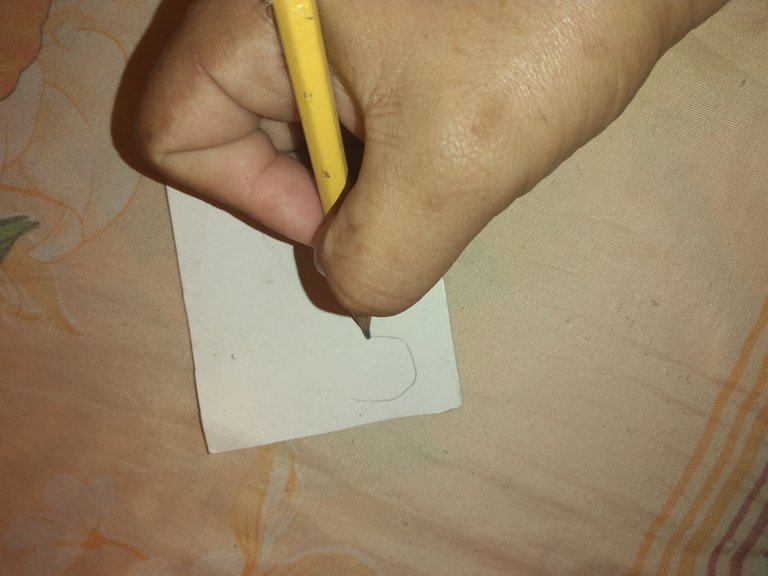
- Paso 1:comenzaremos dibujando en la cartulina dos siluetas en forma de nubes y la recortamos
- Step 1: we will start by drawing two silhouettes in the shape of clouds on the cardboard and cut it out
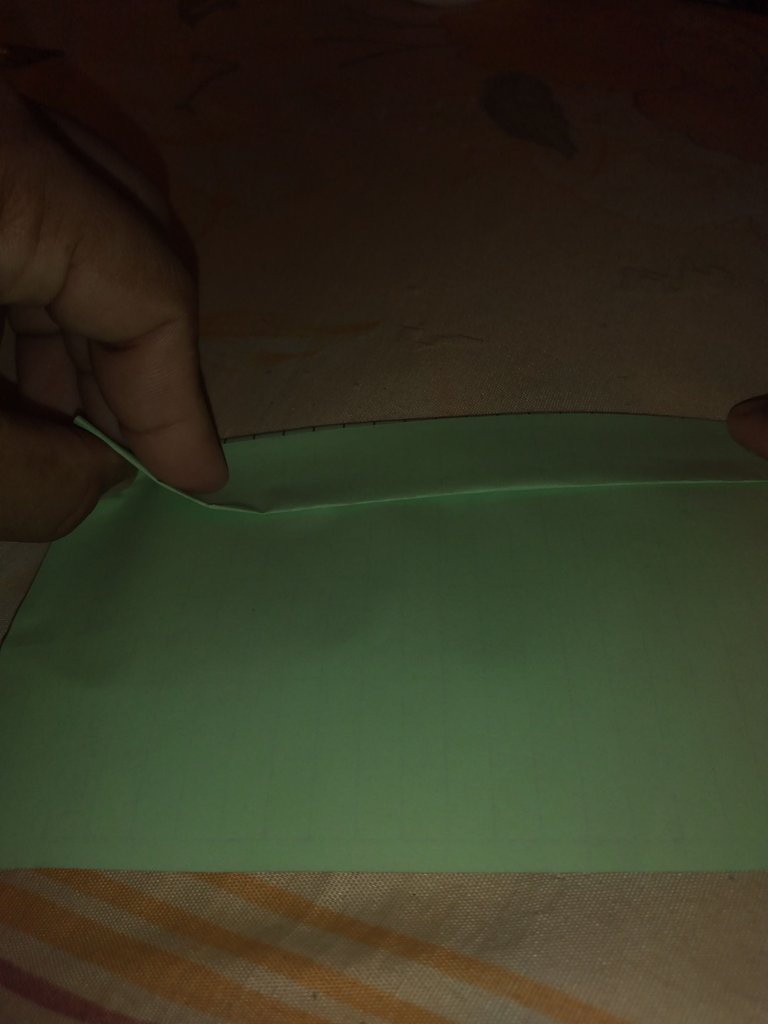
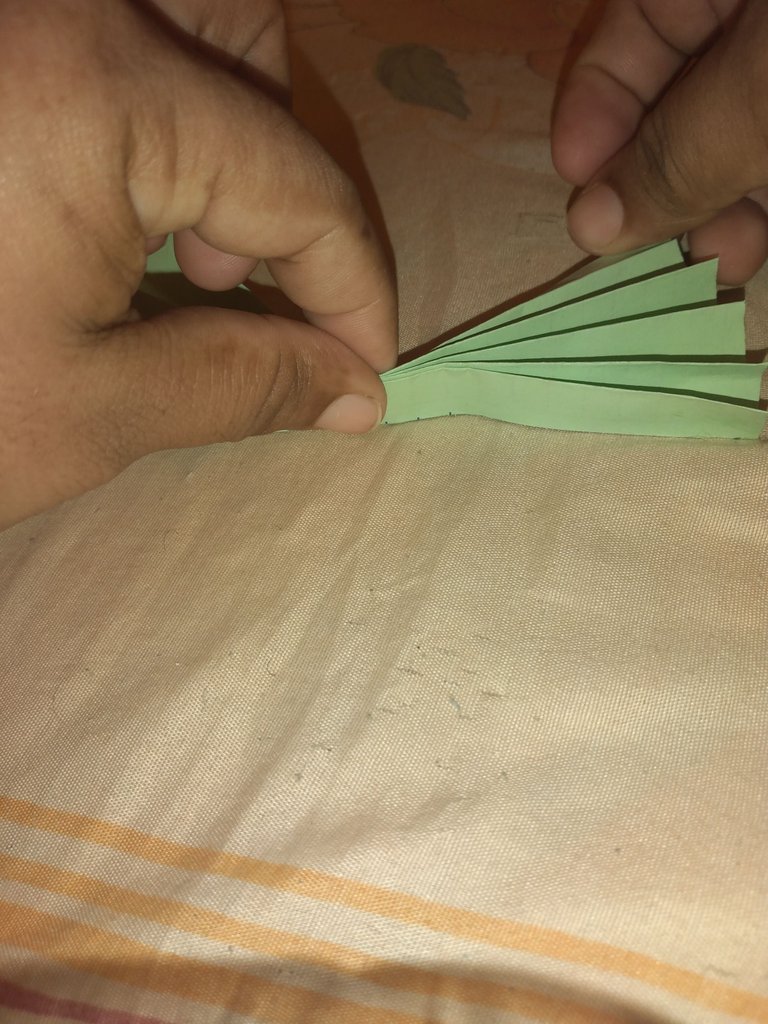
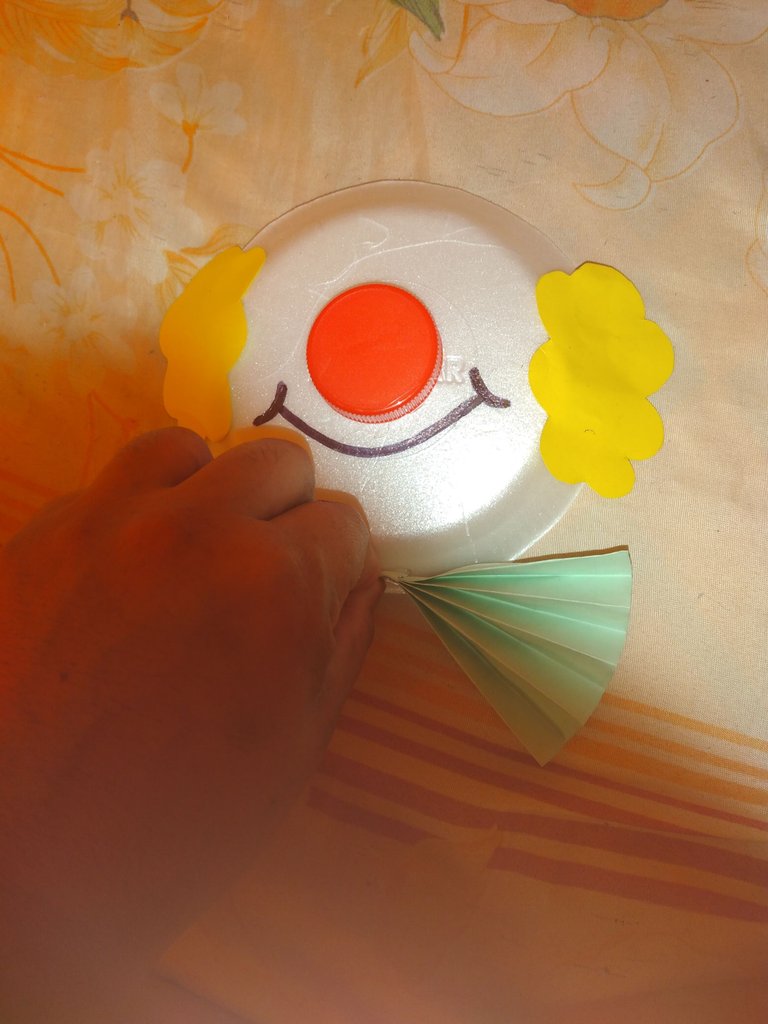
- Paso 2:Luego tomamos un cuadrado de cartulina y lo doblamos al derecho y al reves, como si fueramos a realizar un abanico
- Step 2: Then we take a cardboard square and fold it to the right and the other way around, as if we were to make a fan
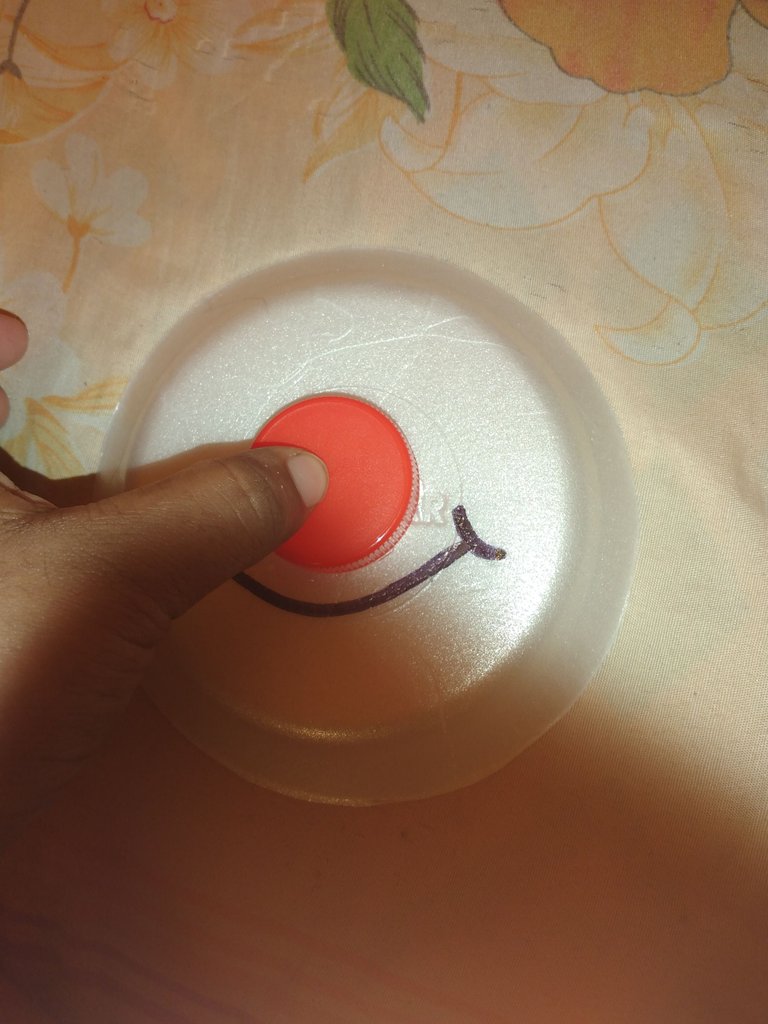
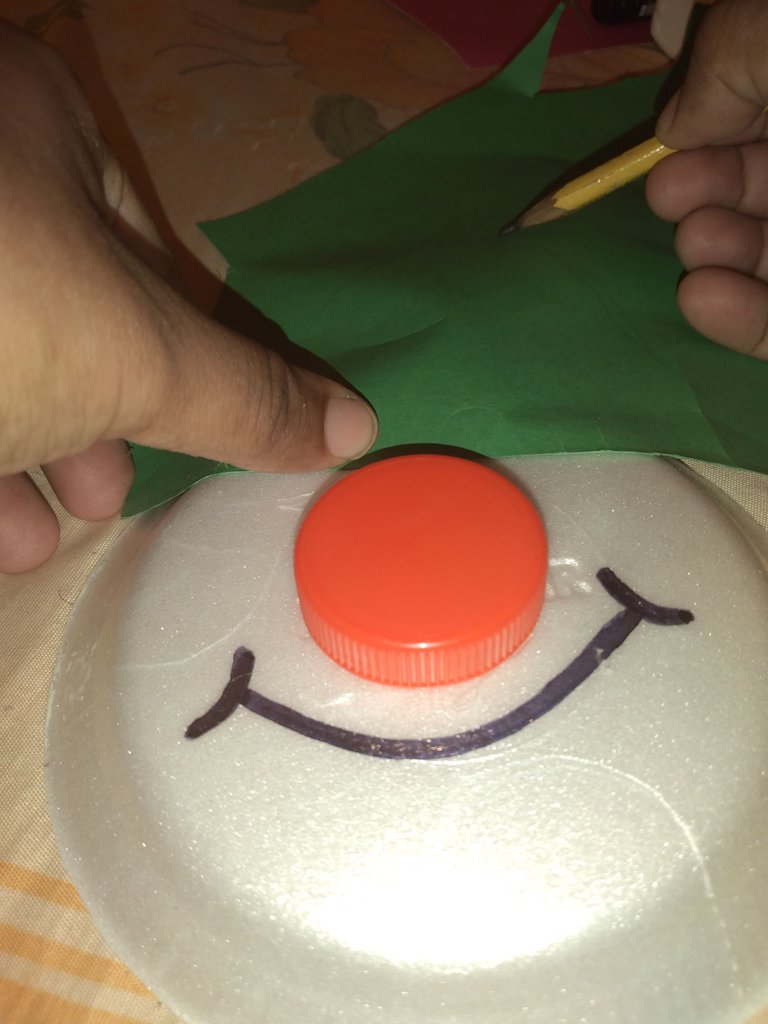
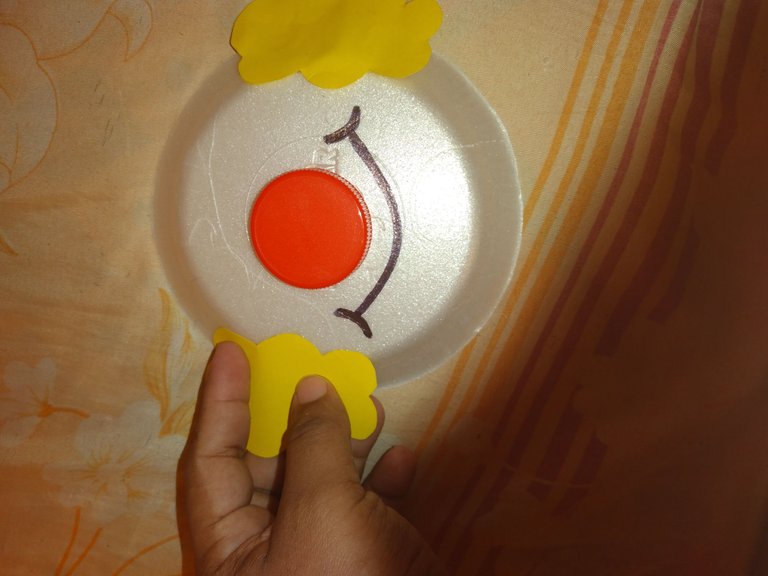
- Paso 3: A continuacion tomamos el plato y marcamos la silueta de la boca y pegamos la tapa de refresco y formaremos la nariz
- Step 3: Next we take the plate and mark the silhouette of the mouth and glue the soft drink cover and we will form the nose
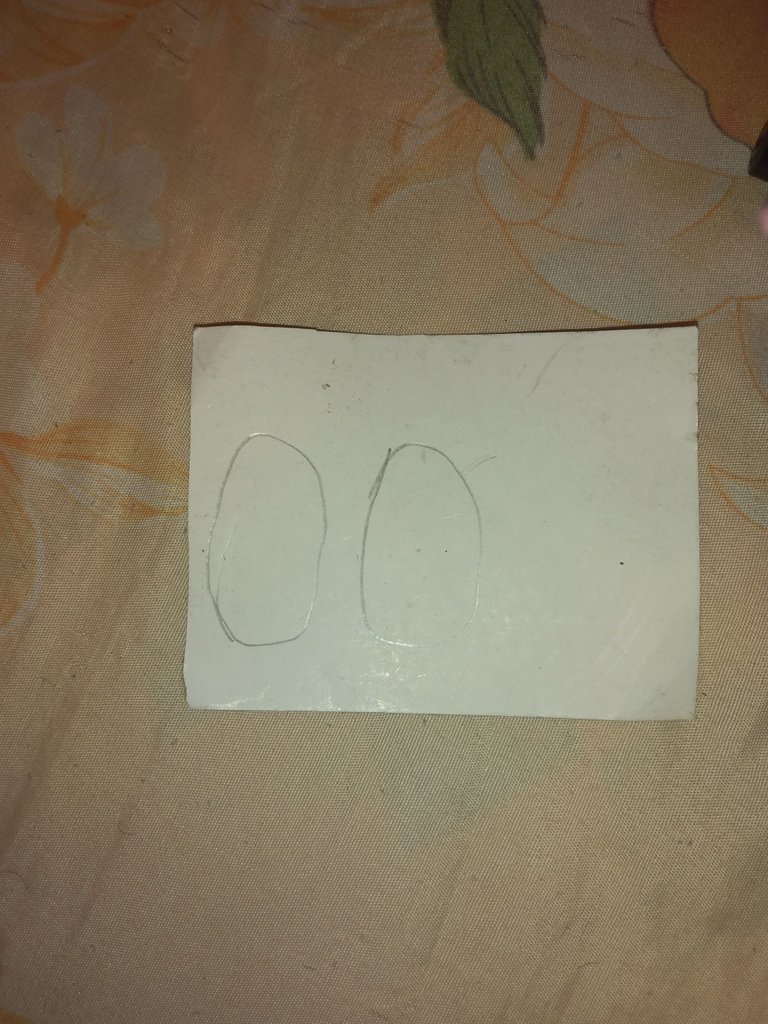
- Paso 4:luego dibujamos los ojos en la cartulina y cortamos ,tambien cortamos un triangulo grande para realizar el gorro
- Step 4: then we draw the eyes on the cardboard and cut, we also cut a large triangle to make the hat
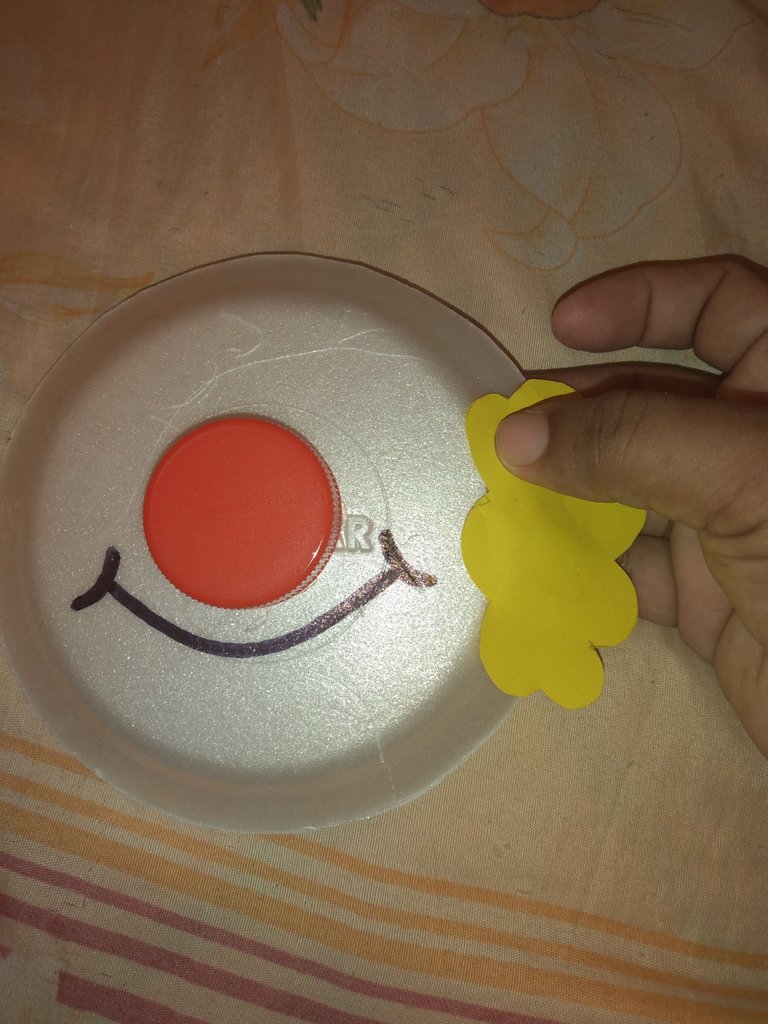
- Paso 5: ahora la parte mas divertida, unir con pegamento todas la figuras, pegaremos las nubes que hicimos anteriormente , una a cada lado del borde del plato
- Step 5: now the funniest part, glue all the figures together, we will glue the clouds that we made previously, one on each side of the edge of the plate
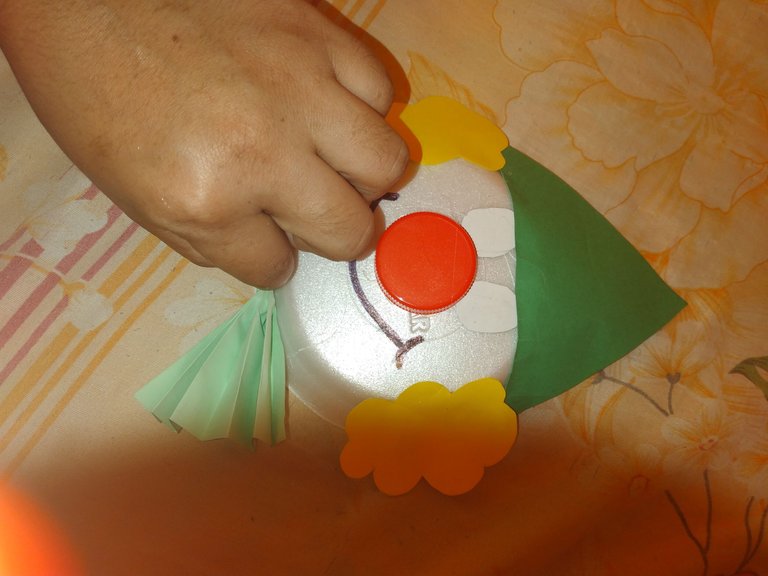
- Paso 6:Continuamos pegando ,ahora pegamos el lazo en la parte inferior del plato, pegamos los ojos y el gorro
- Step 6: We continue gluing, now we glue the loop to the bottom of the plate, we glue the eyes and the hat
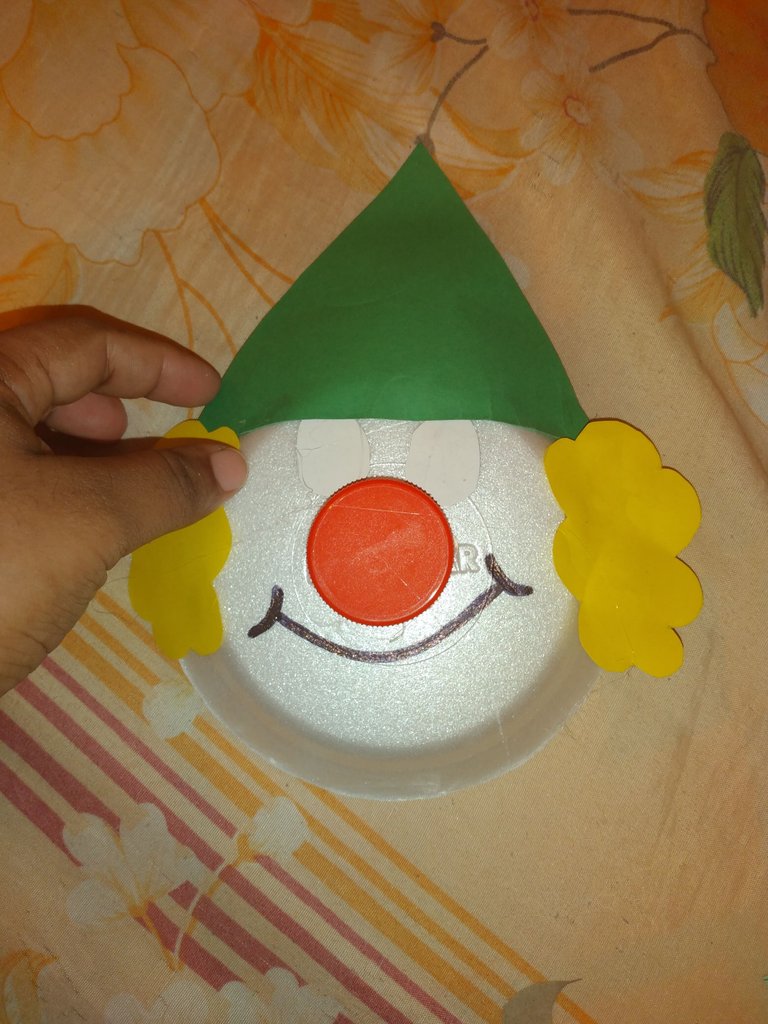
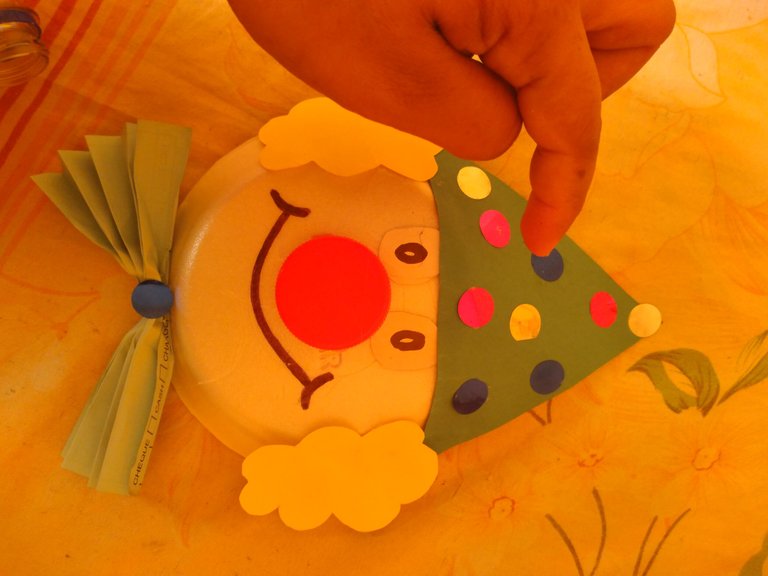
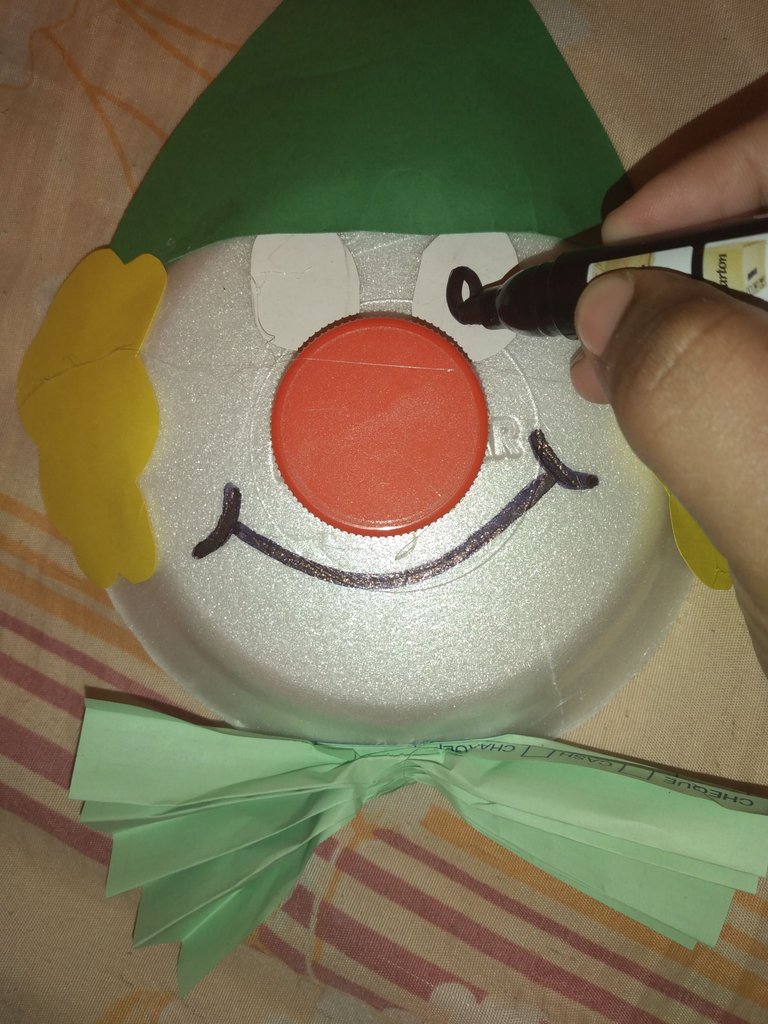
- Paso 7: para terminar le dibujamos los ojos con marcador y agregamos detalles de lentejuelas al gorro y ya nuestro payasito colorido esta listo
- Step 7: to finish we draw the eyes with a marker and add sequin details to the hat and our colorful clown is ready
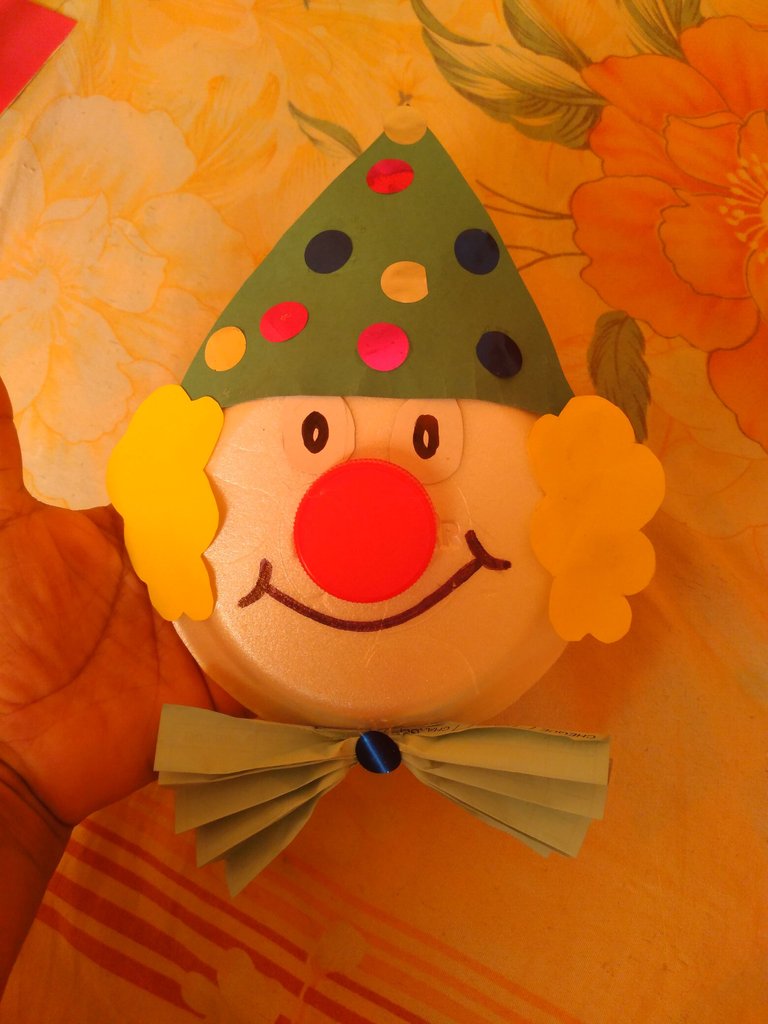
- Paso 8: Y de esta manera nos quedo este hermoso payasito , espero les haya gustado mucho y se animen a realizarlo , gracias por leer mi post , nos vemos pronto , recuerda dejarme tus bendiciones!
- Step 8: And in this way we have this beautiful clown, I hope you liked it a lot and are encouraged to do it, thanks for reading my post, see you soon, remember to leave me your blessings!
TEXTO TRADUCIDO POR:GOOGLE TRADUCTOR/TEXT TRANSLATED BY:GOOGLE TRANSLATE
Me gusta tu manera de hacer las cosas. Ha sido una buena manualidad. Felicidades
Gracias @oscarcampos86
Congratulations @miguelys20! You have completed the following achievement on the Hive blockchain and have been rewarded with new badge(s) :
Your next target is to reach 600 upvotes.
You can view your badges on your board and compare yourself to others in the Ranking
If you no longer want to receive notifications, reply to this comment with the word
STOP