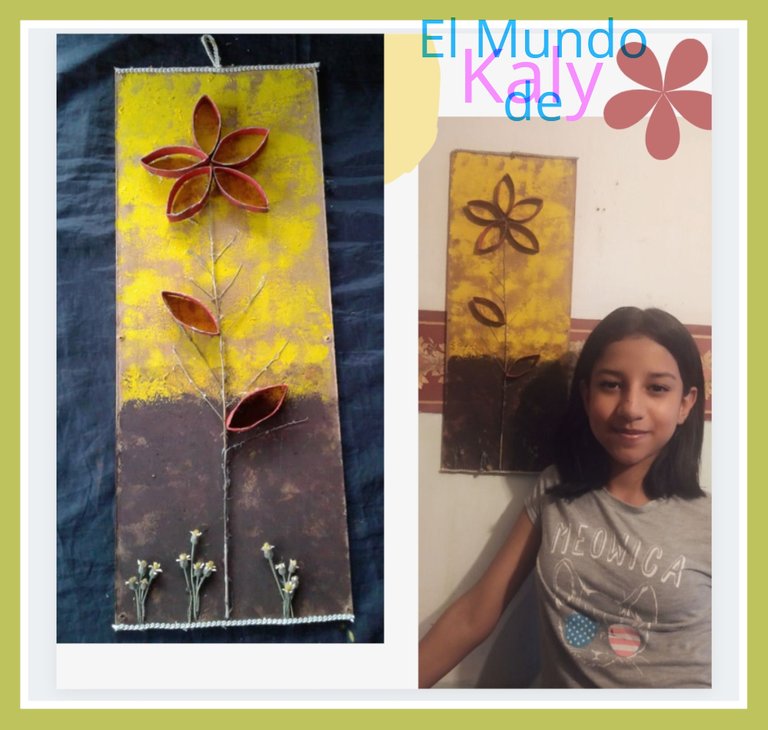

Hoy les ensañare un cuadro decorativo que hice para la sala de mi casa, con materiales de provecho. La idea nació porque me encontré una tabla tirada en el patio y quise sacarle algún provecho.
Hello friends, I was off for several days because I was very busy with school work, but now I'm on vacation, with enough time to be active on the platform.
Today I will show you a decorative painting I made for the living room of my house, with useful materials. The idea was born because I found a board lying in the yard and I wanted to make some use of it.

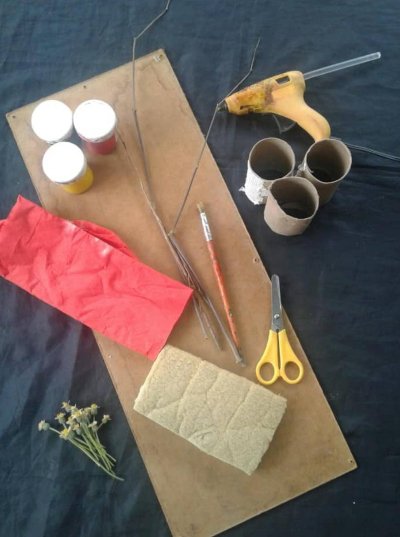
Materiales
- Tabla o cartón Mide aproximadamente 19cm de ancho con 57 cm de largo
- 2 Rollos de papel higiénico
- 1 ramita (de alguna mata)
- Pintura al frió (amarilla, Marrón, Roja
- Cinta decorativa
- Pincel
- Pegamento
Materials
- Board or cardboard measuring approximately 19 cm wide and 57 cm long.
- 2 rolls of toilet paper
- 1 twig (from a bush)
- Cold paint (yellow, brown, red, etc.)
- Decorative tape
- Brush
- Glue

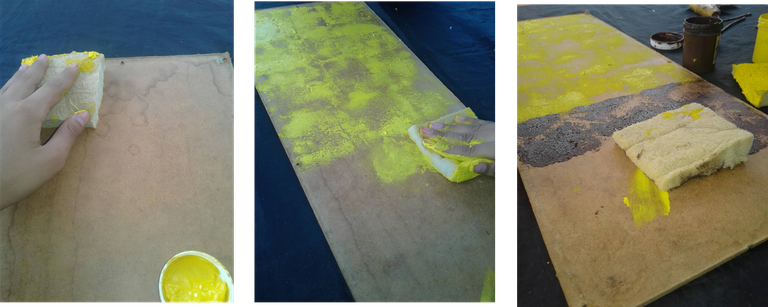
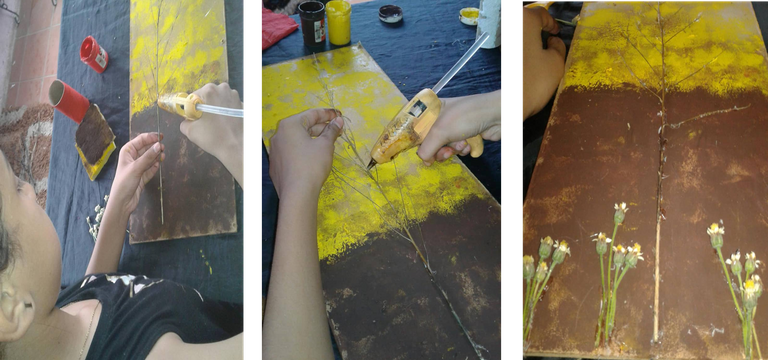
We paint the board or cardboard, I used a sponge giving touches. Painting a little more than half in yellow and the rest in brown.
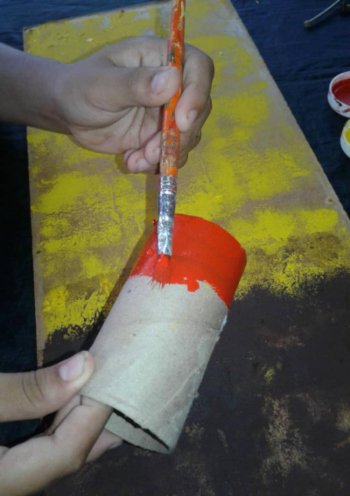
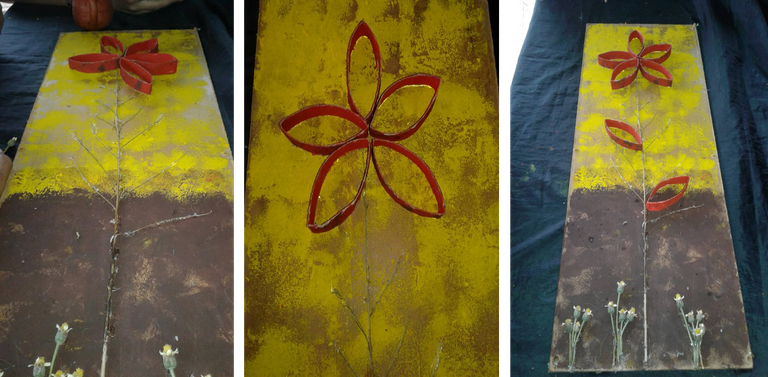
We paint two cardboard rolls. I used red, but you can paint them in the color of your choice. When they are dry, cut them in a circular shape and then flatten them a little to simulate petals.
We glued the branch, in the lot of my house I saw some flowers (which must be mount hehe) but I liked them and glued them at the bottom.
Then place 5 petals that I made with the rolls, at the top of the branch forming a flower, and two petals below.
On the top and bottom edge I placed a decorative ribbon that I found at home.
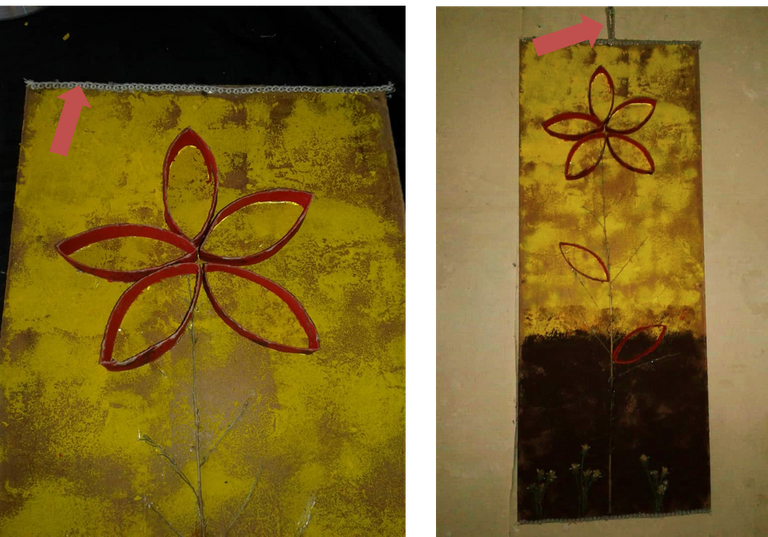
Terminando así mi cuadro decorativo
Thus ending my decorative painting

Muchas gracias por leer esta publicación, espero que les haya gustado y si es de agrado me lo hagan saber. ¡Hasta luego!
Thank you very much for reading this publication, I hope you liked it and if you like it, please let me know, see you soon!
Contenido 100% original
100% original content